|
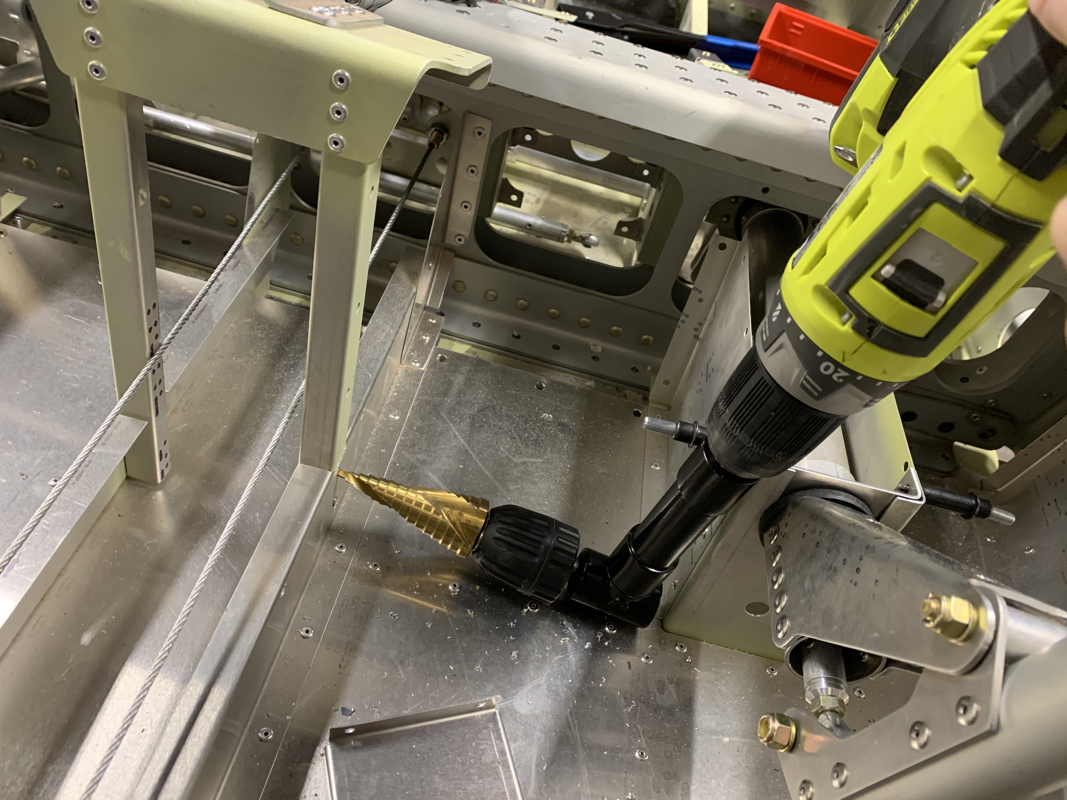
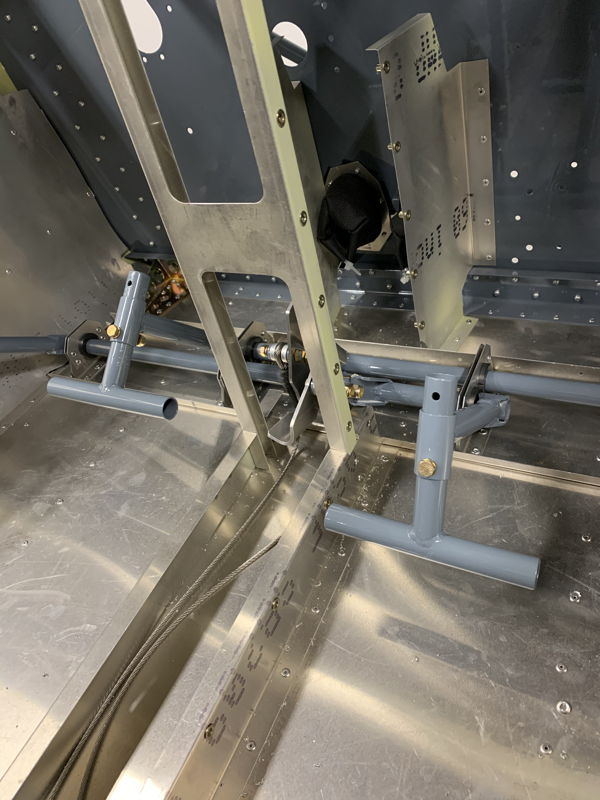
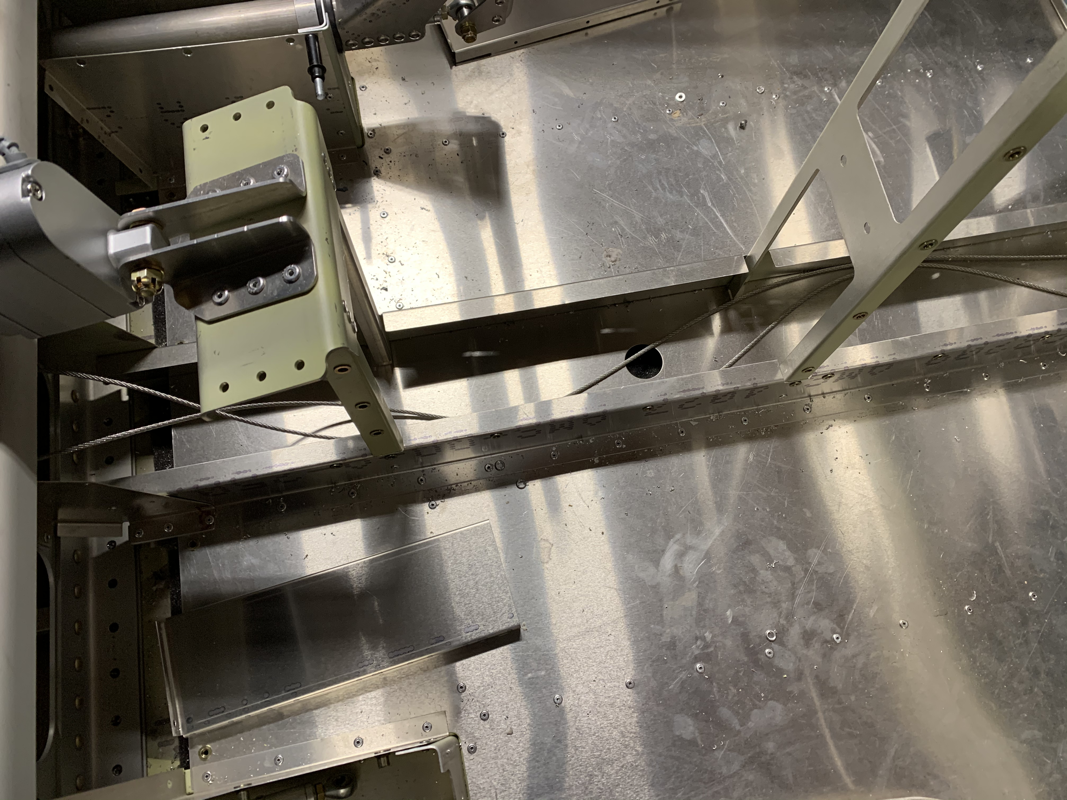
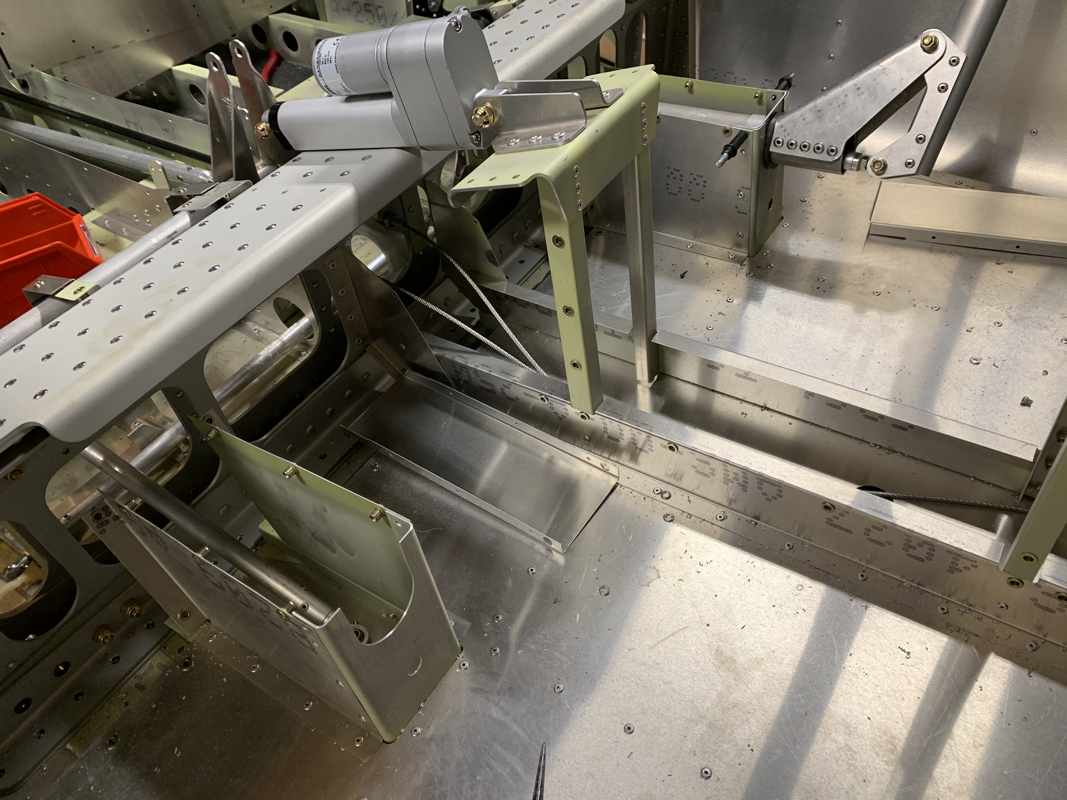
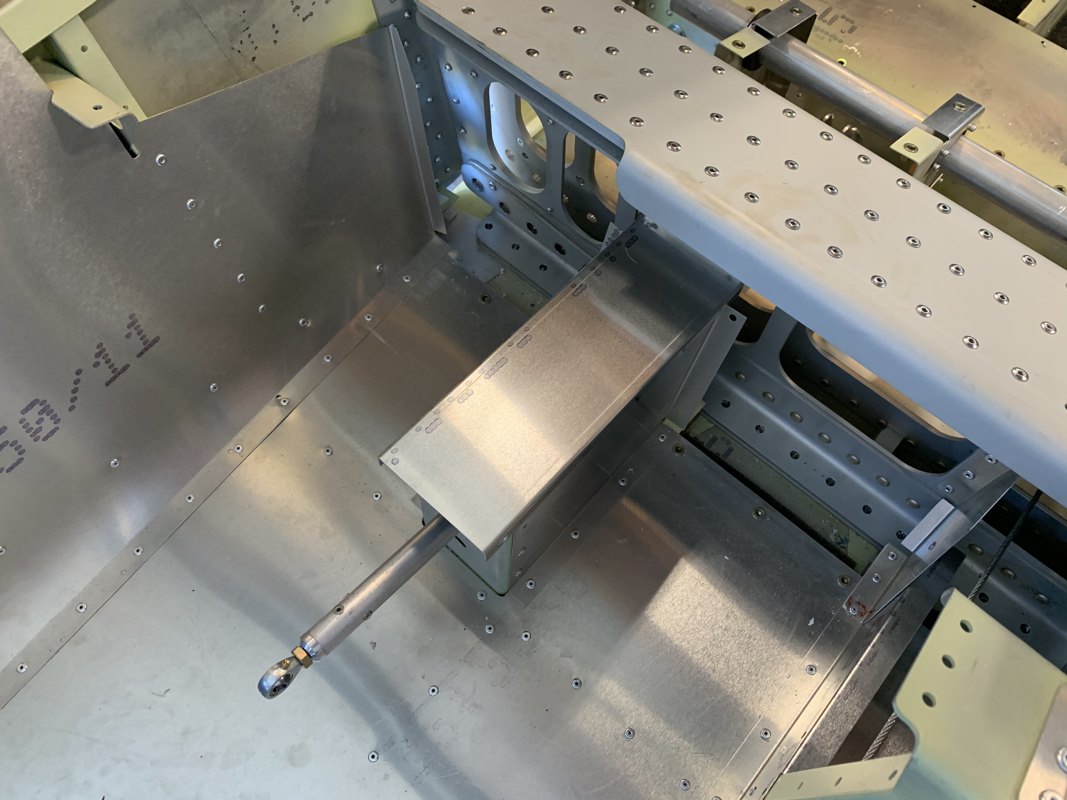
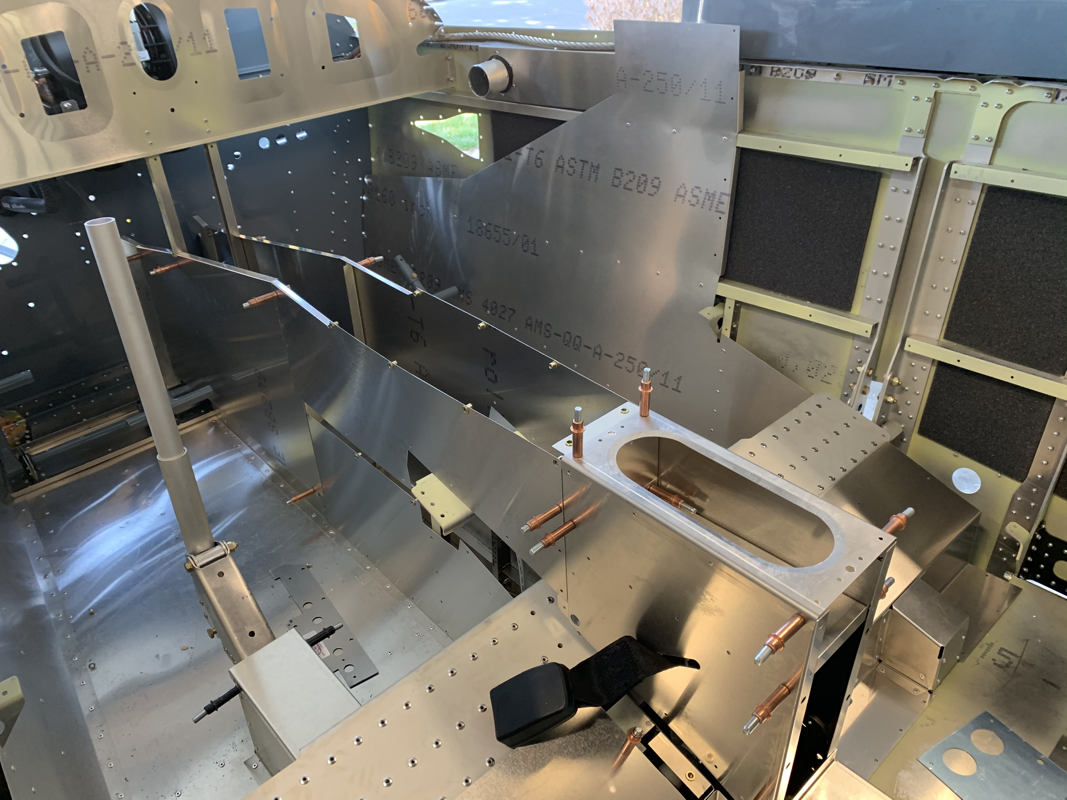
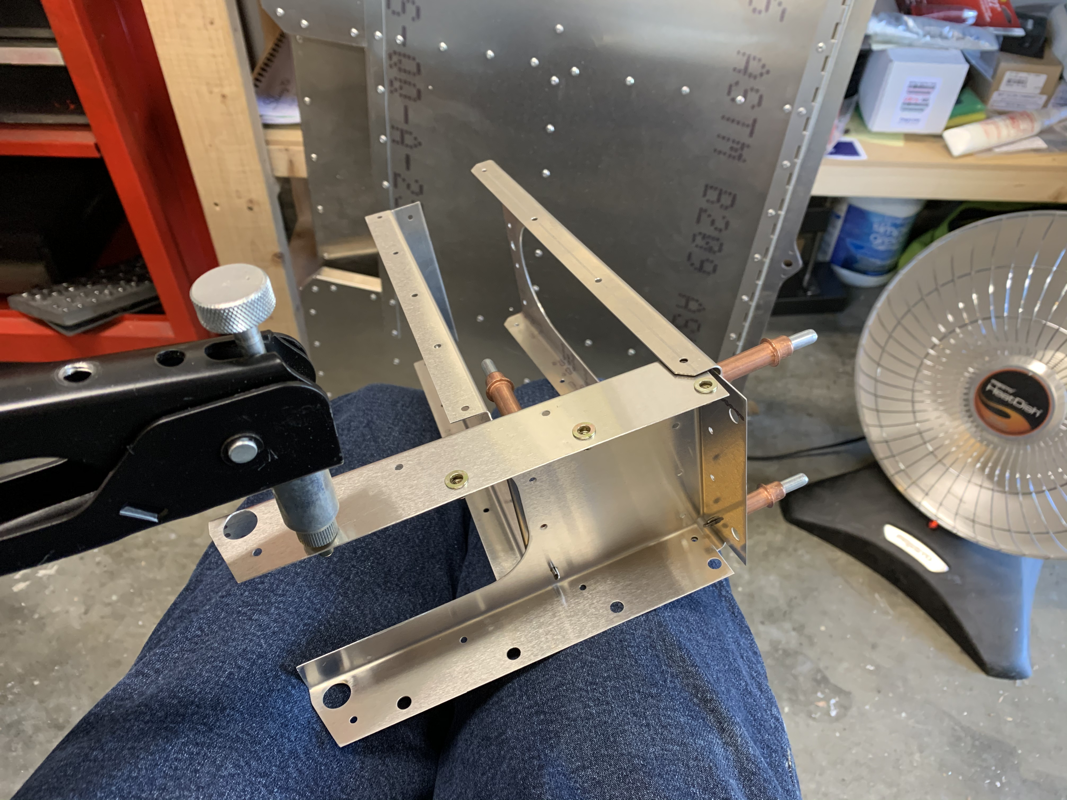
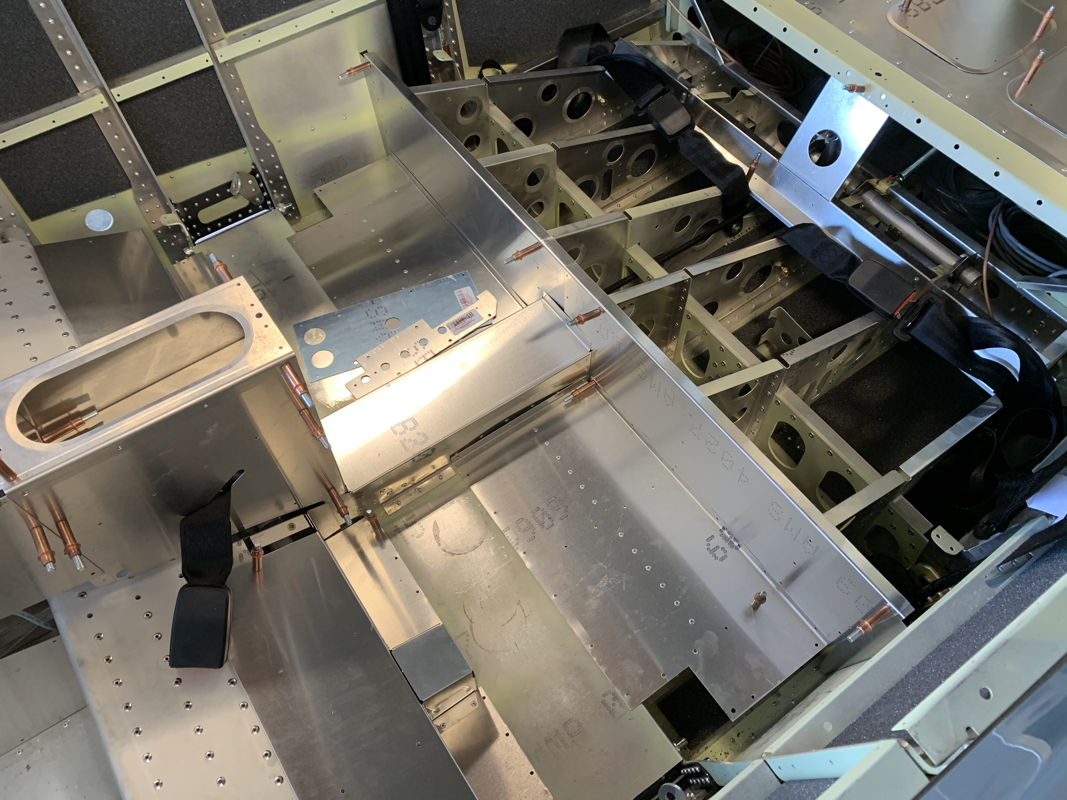
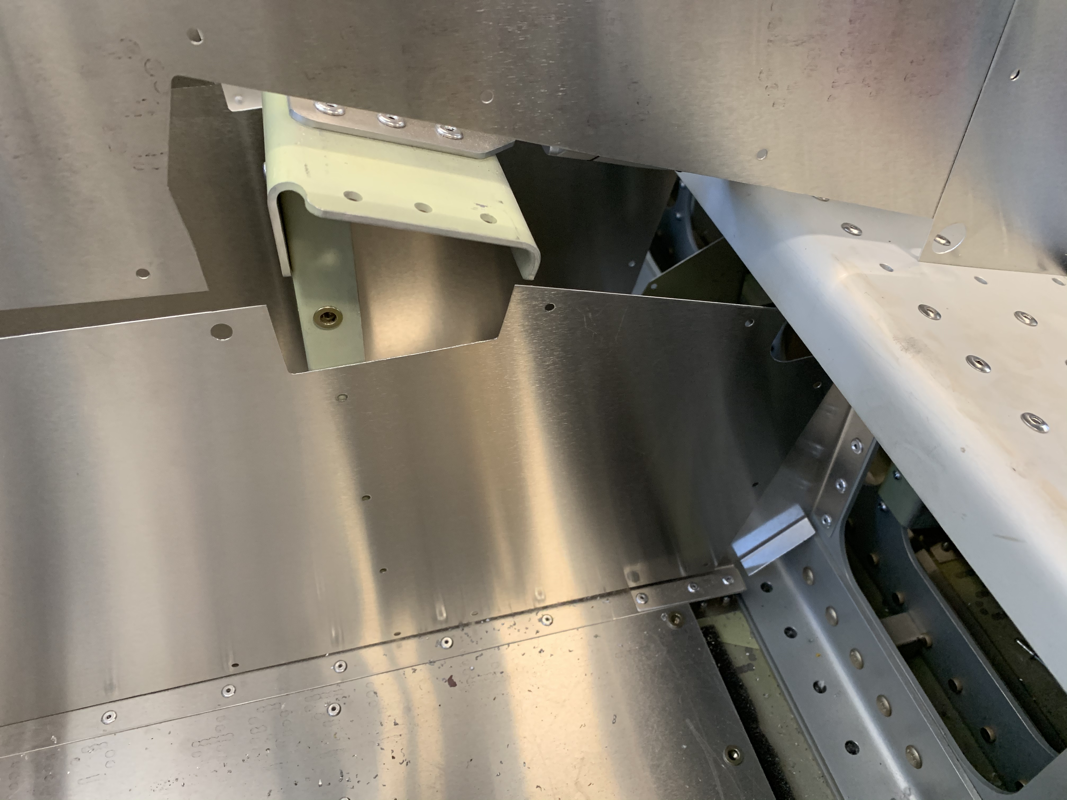
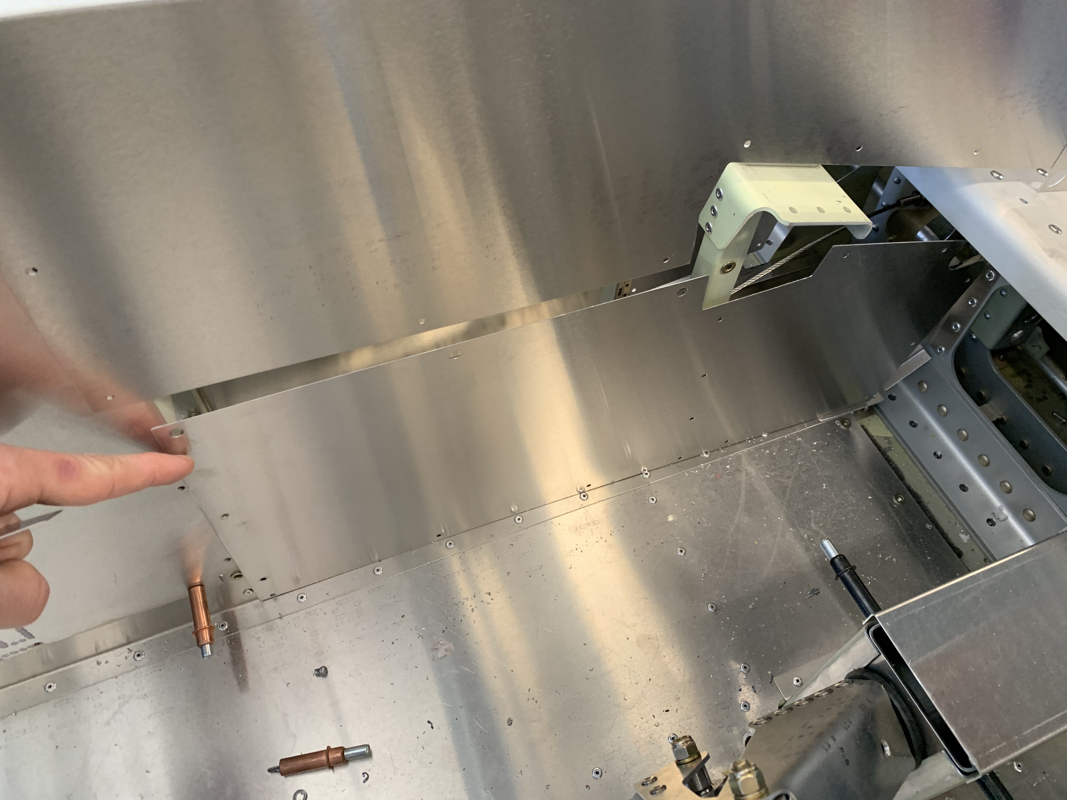
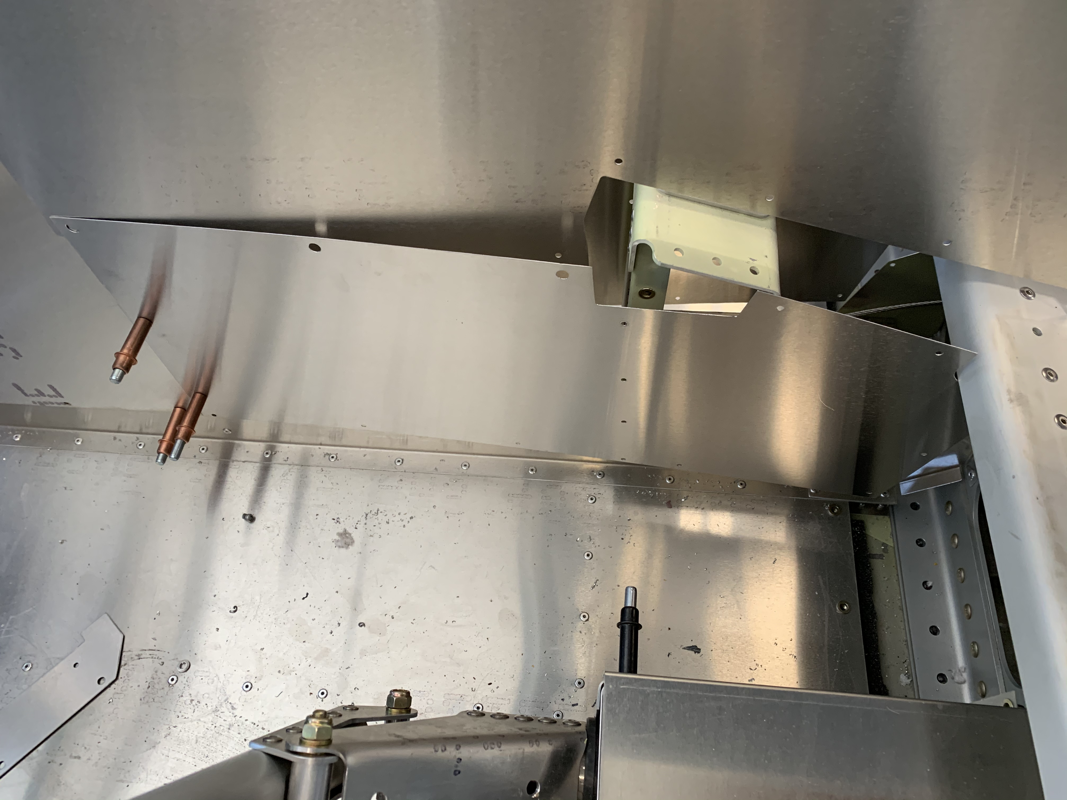
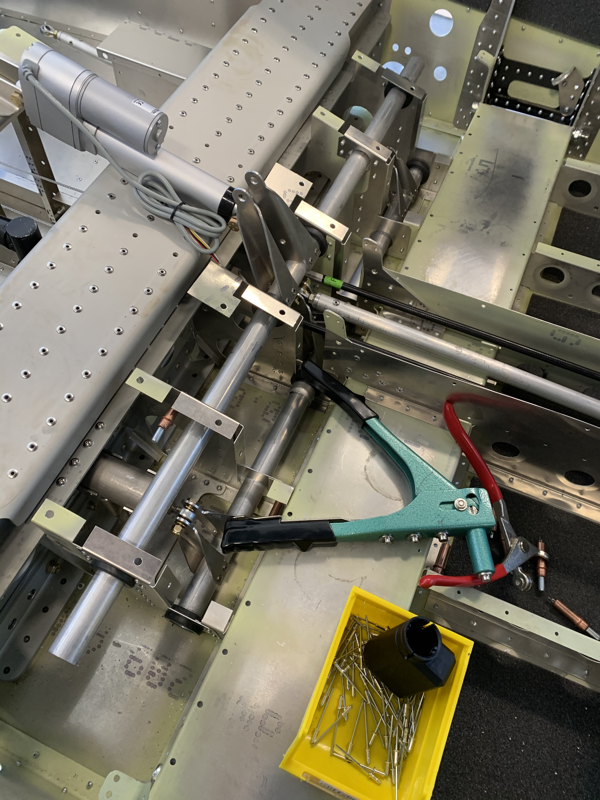
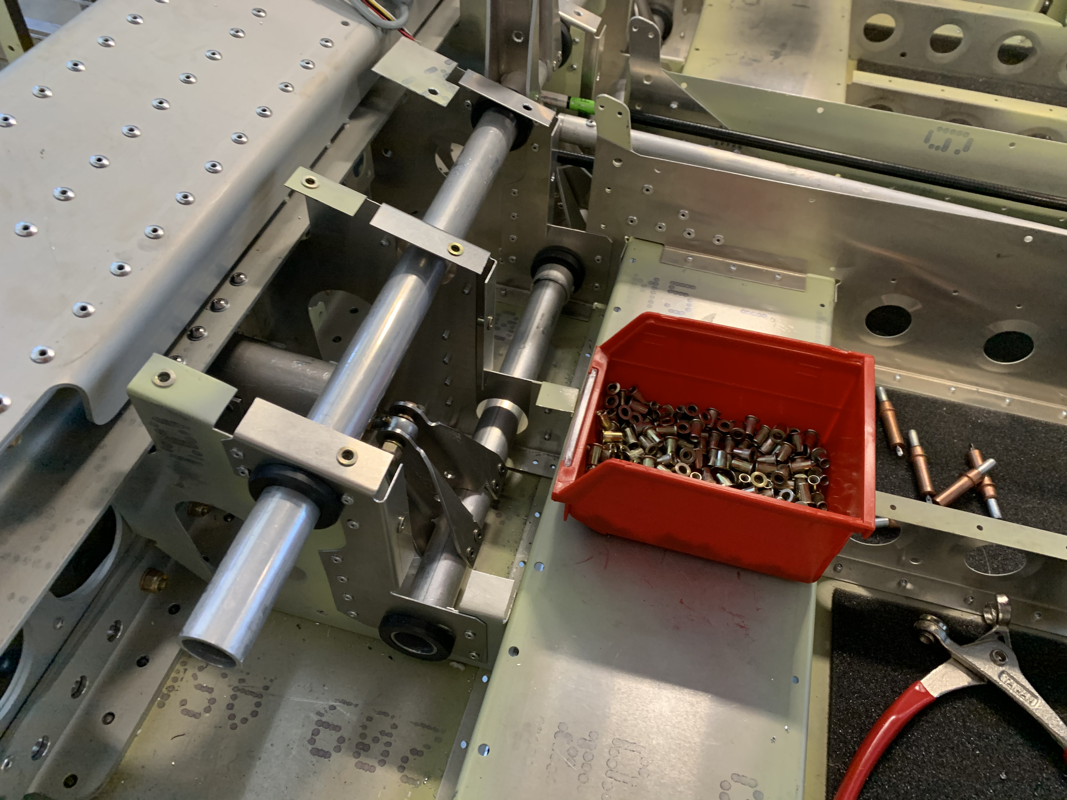
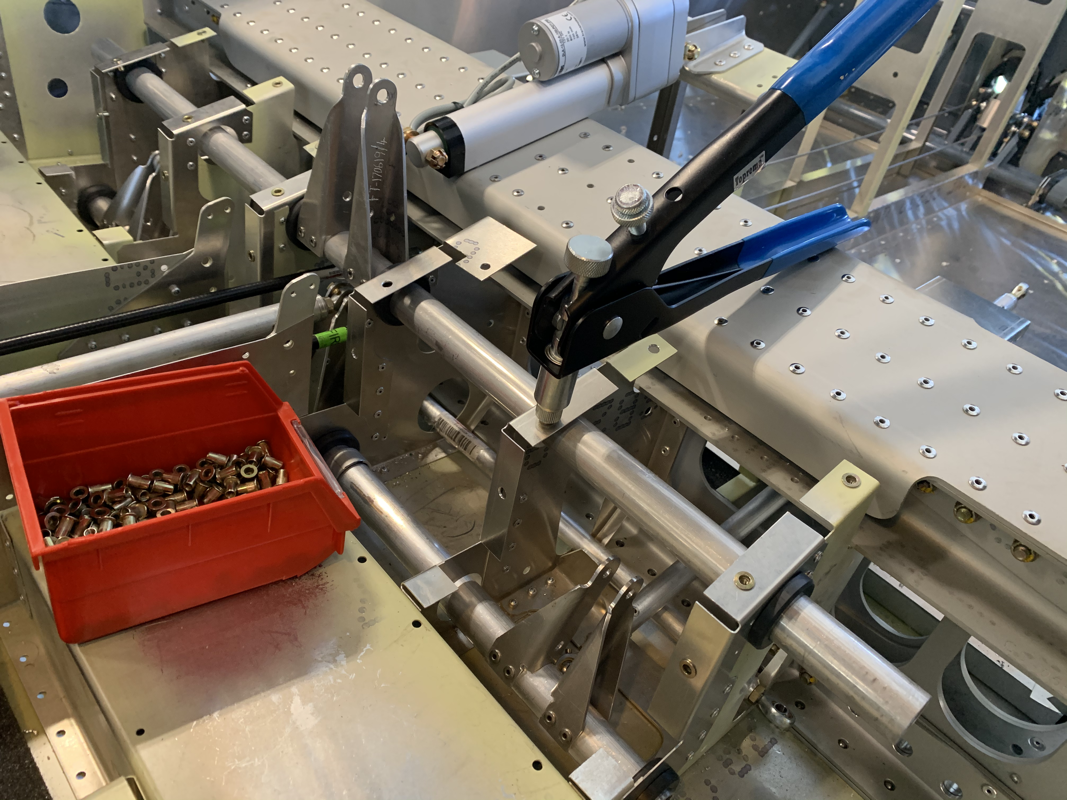
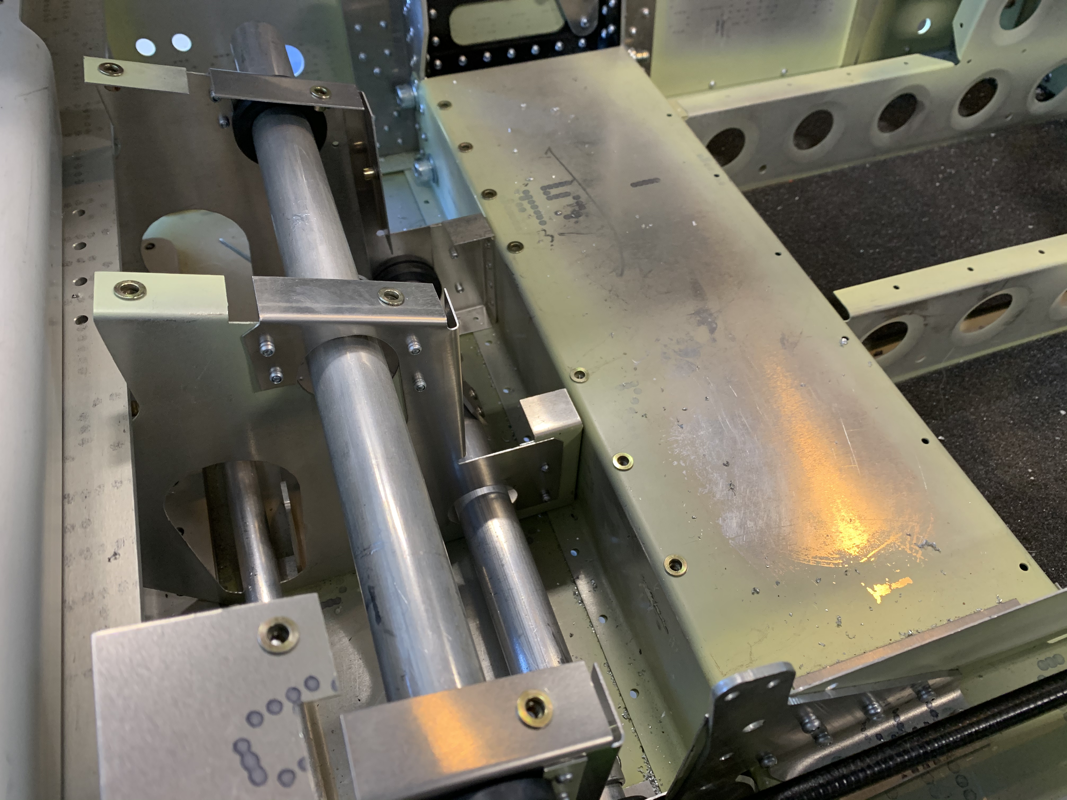
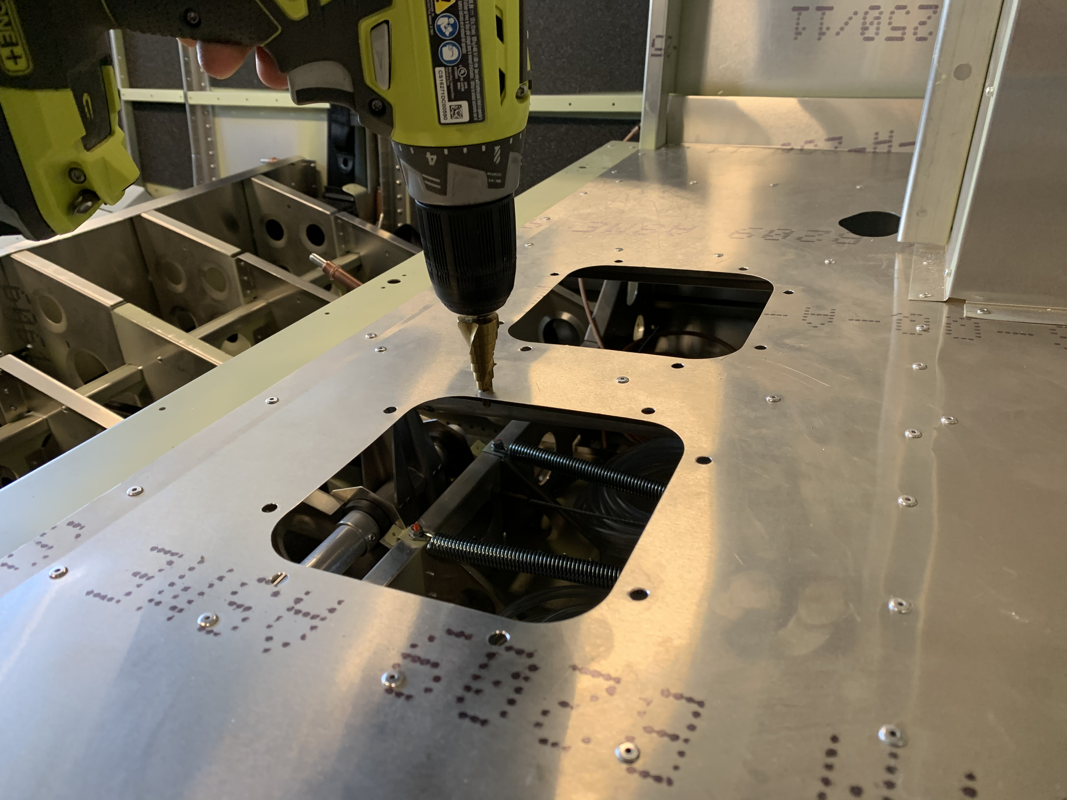
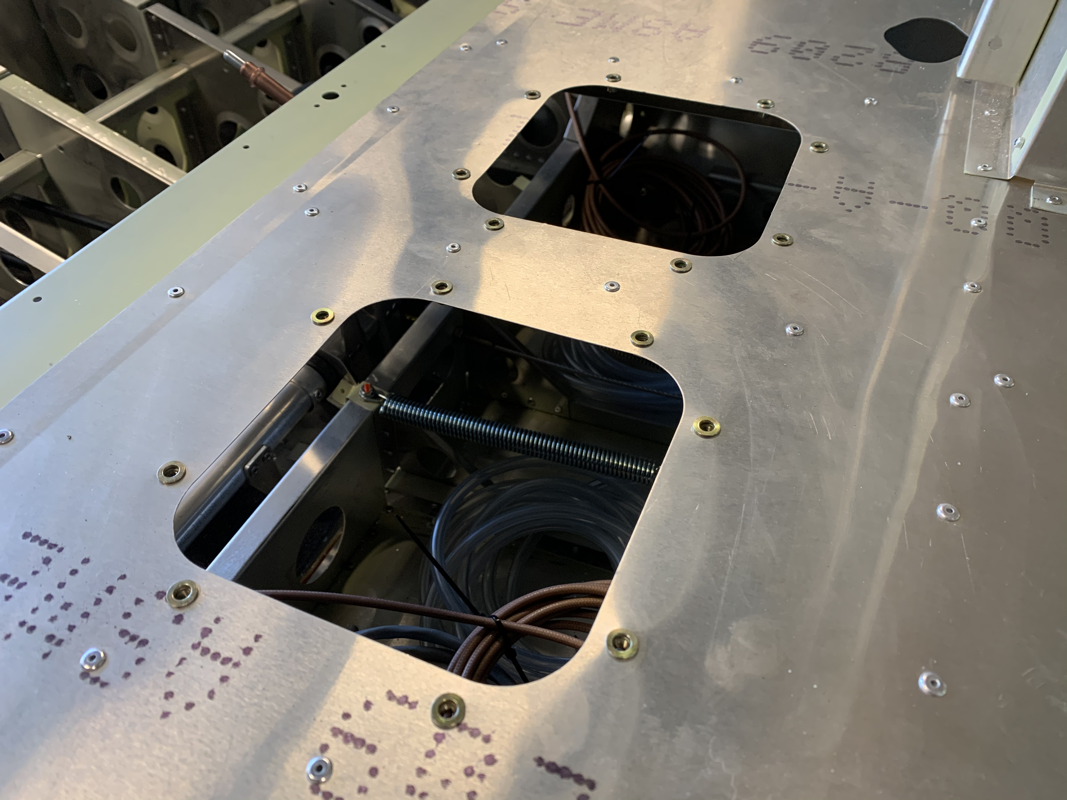
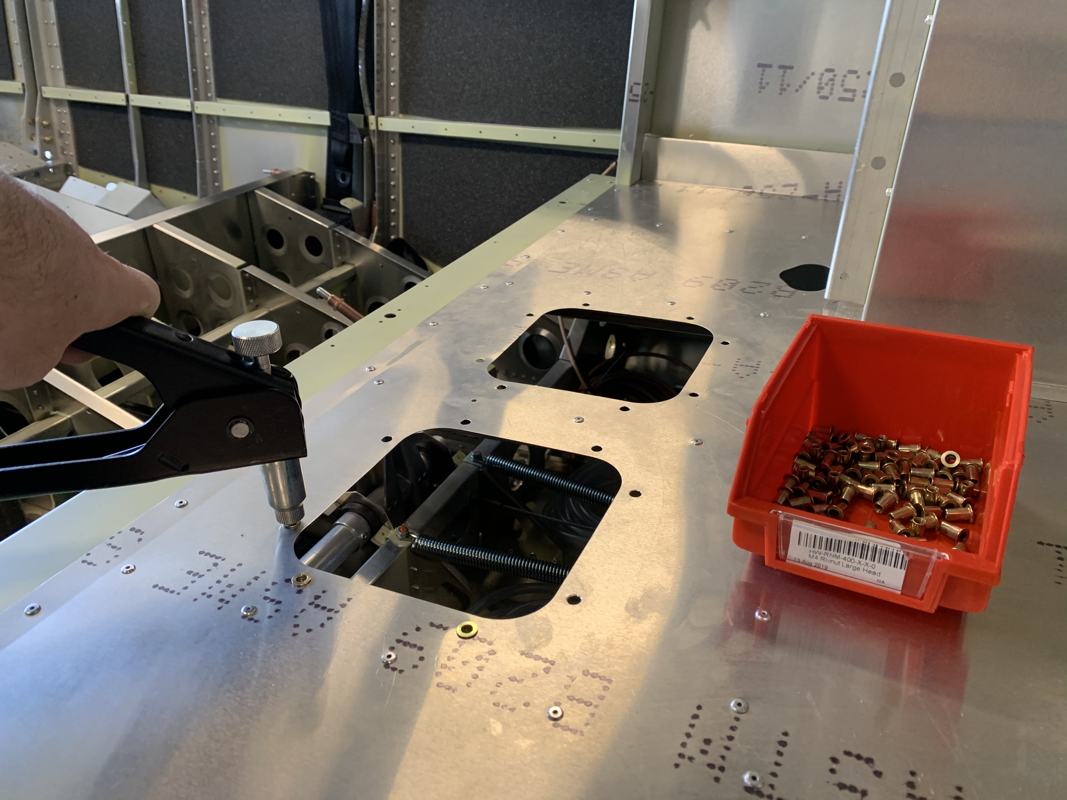
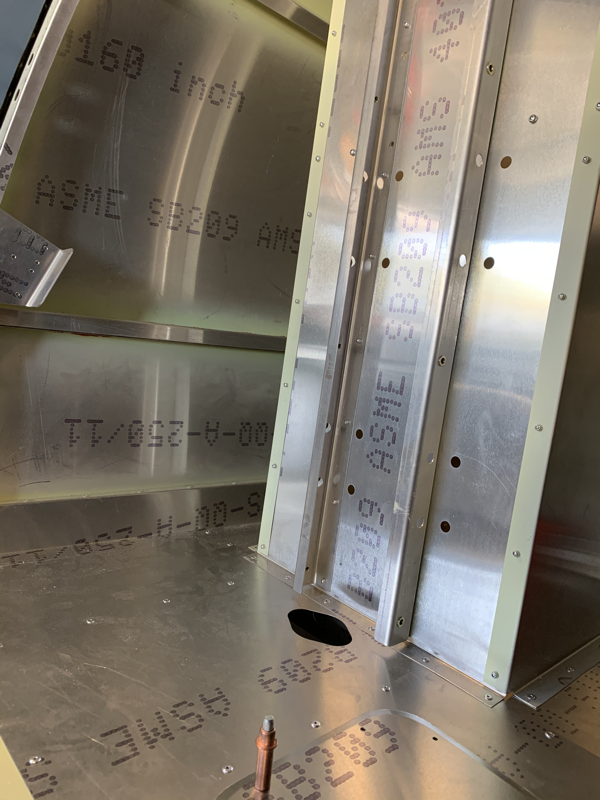
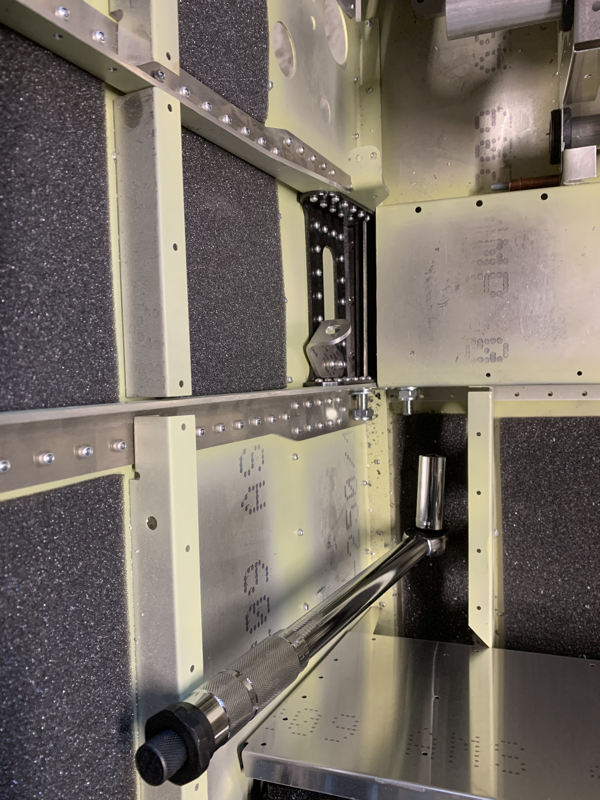
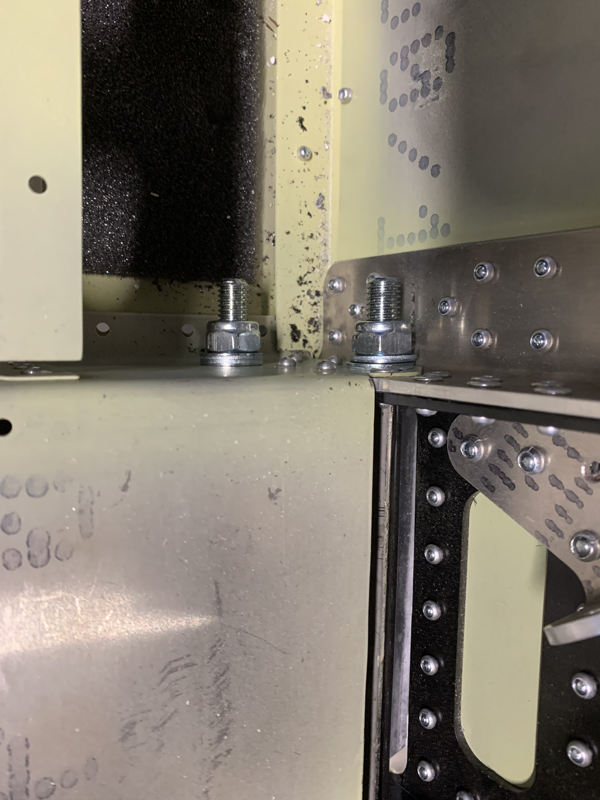
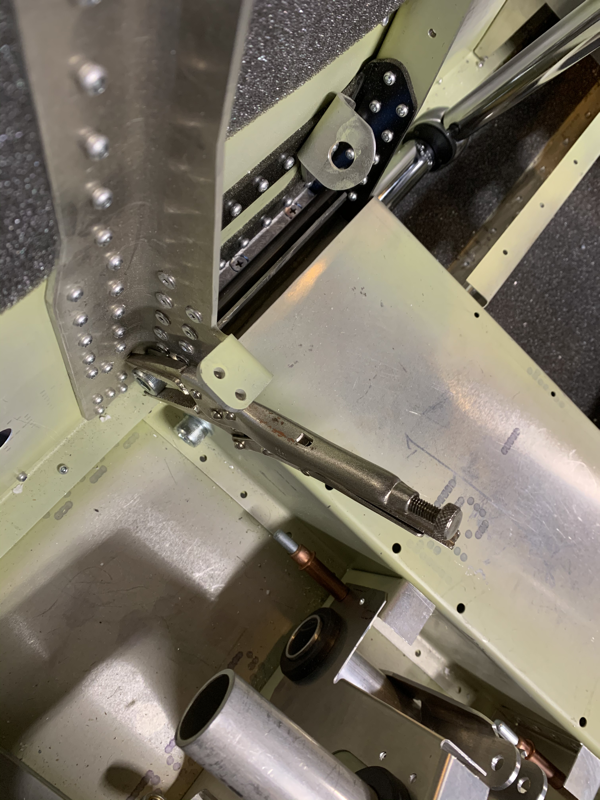
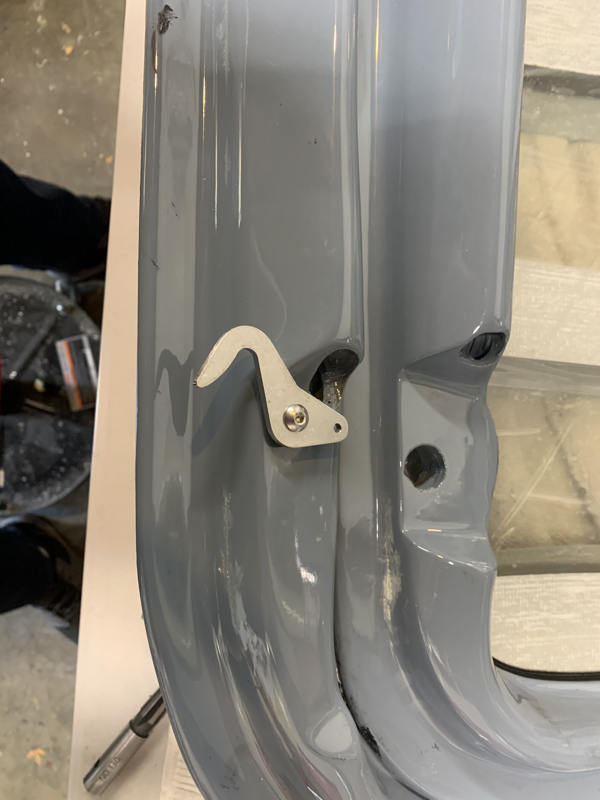
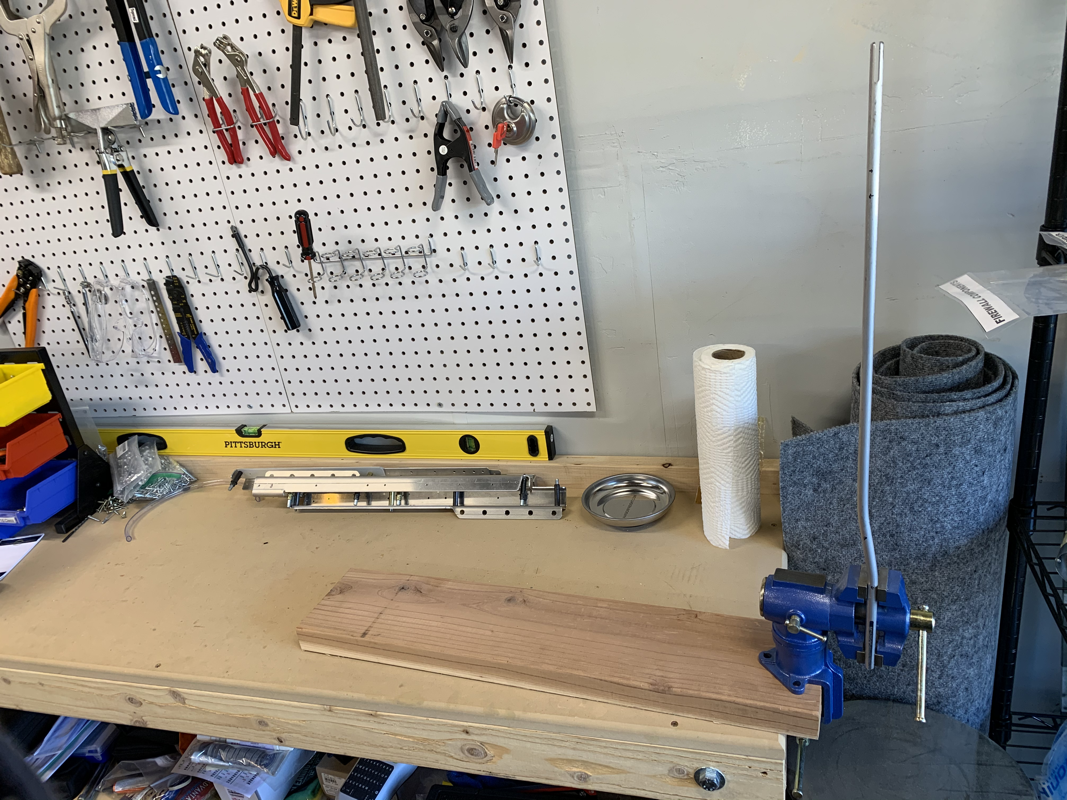
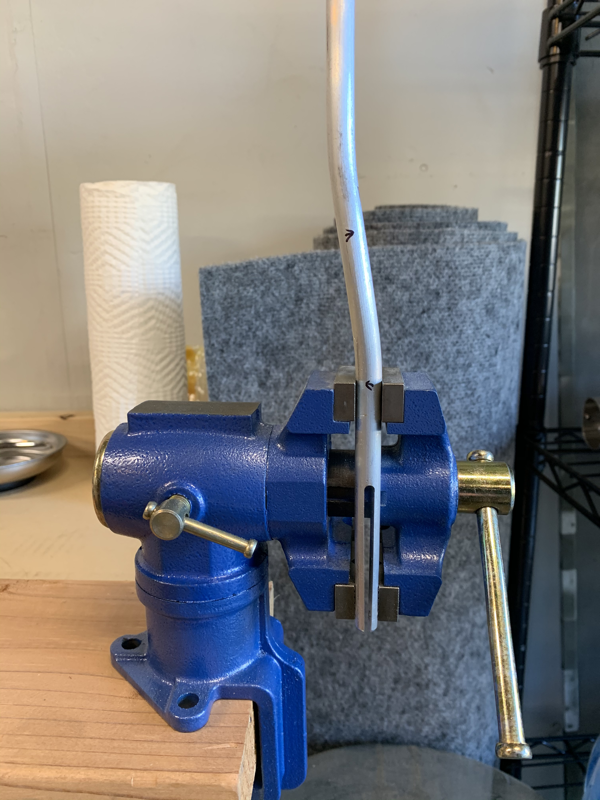
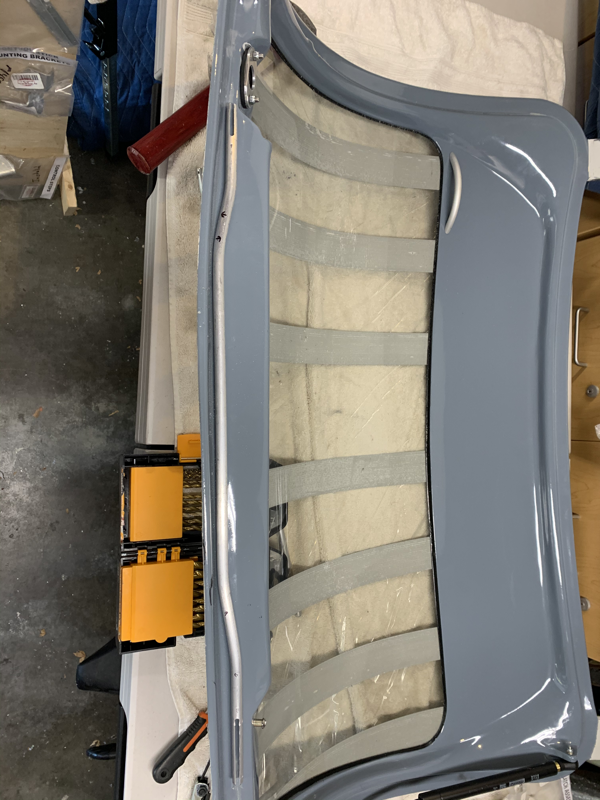
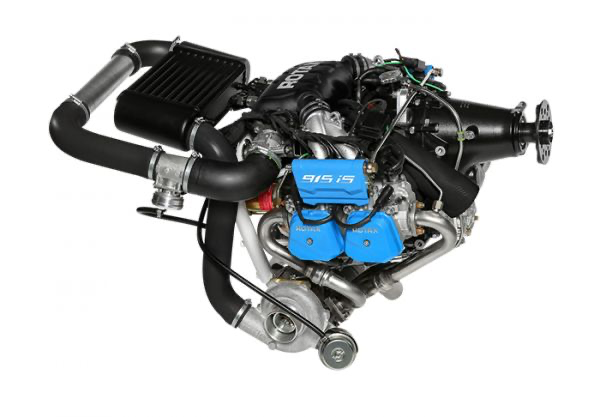
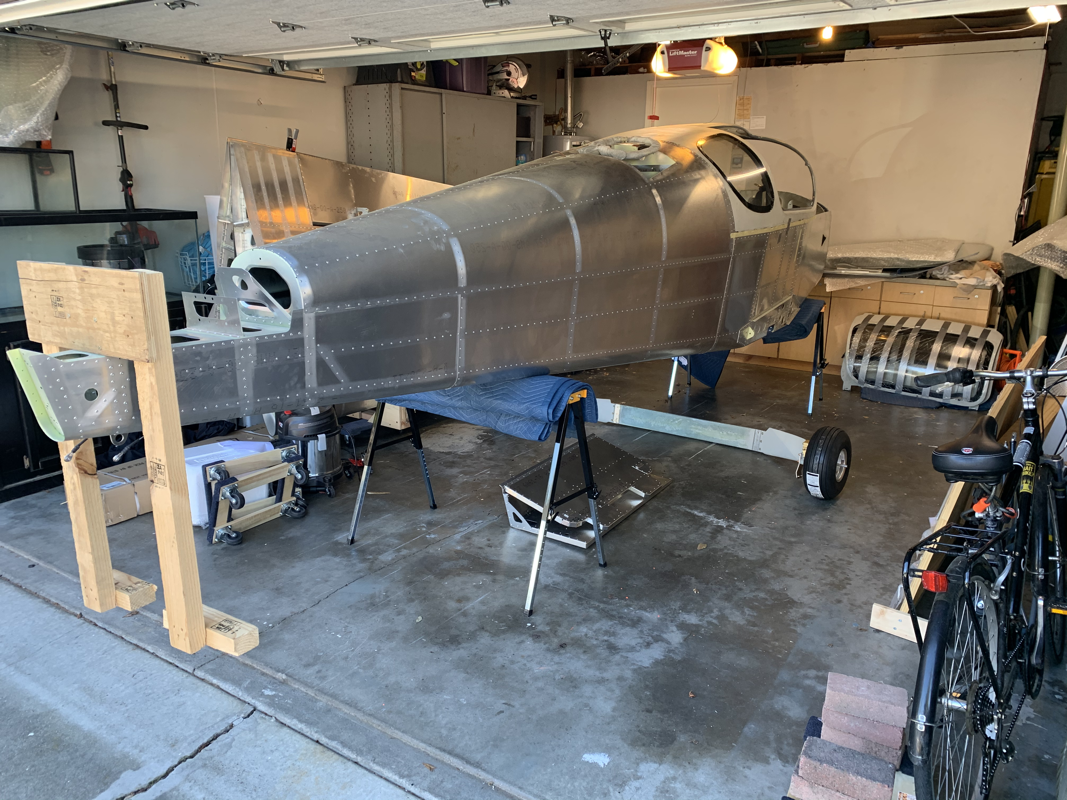
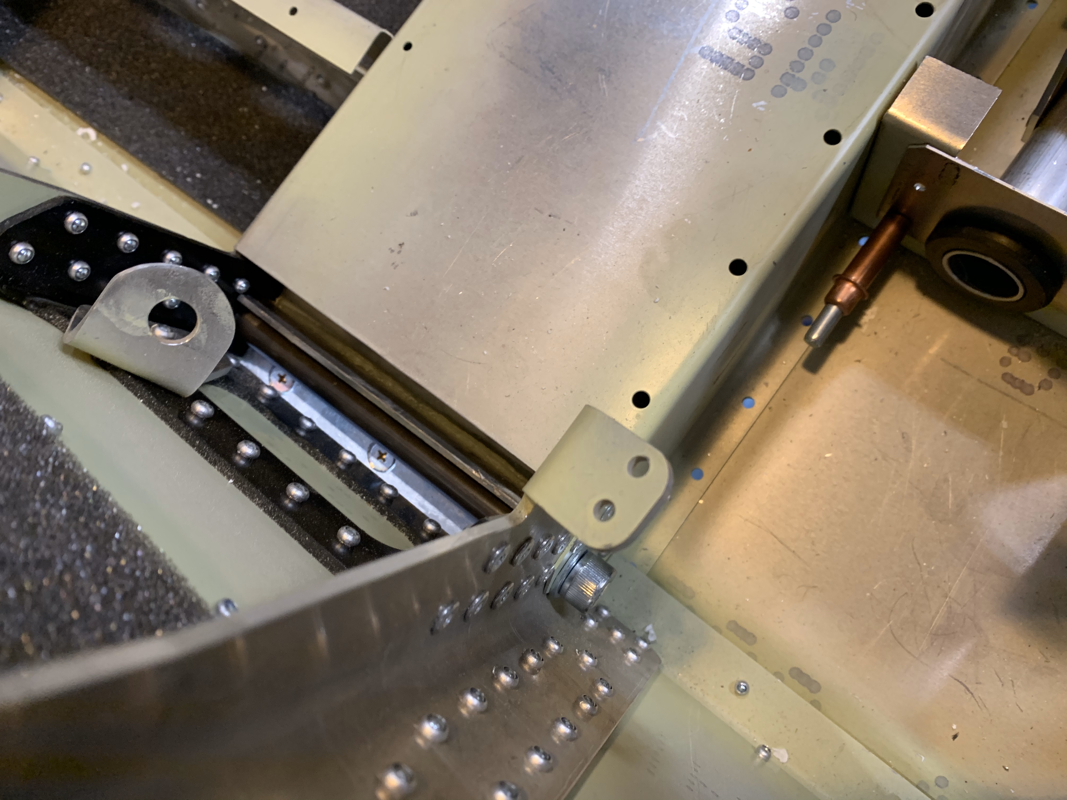
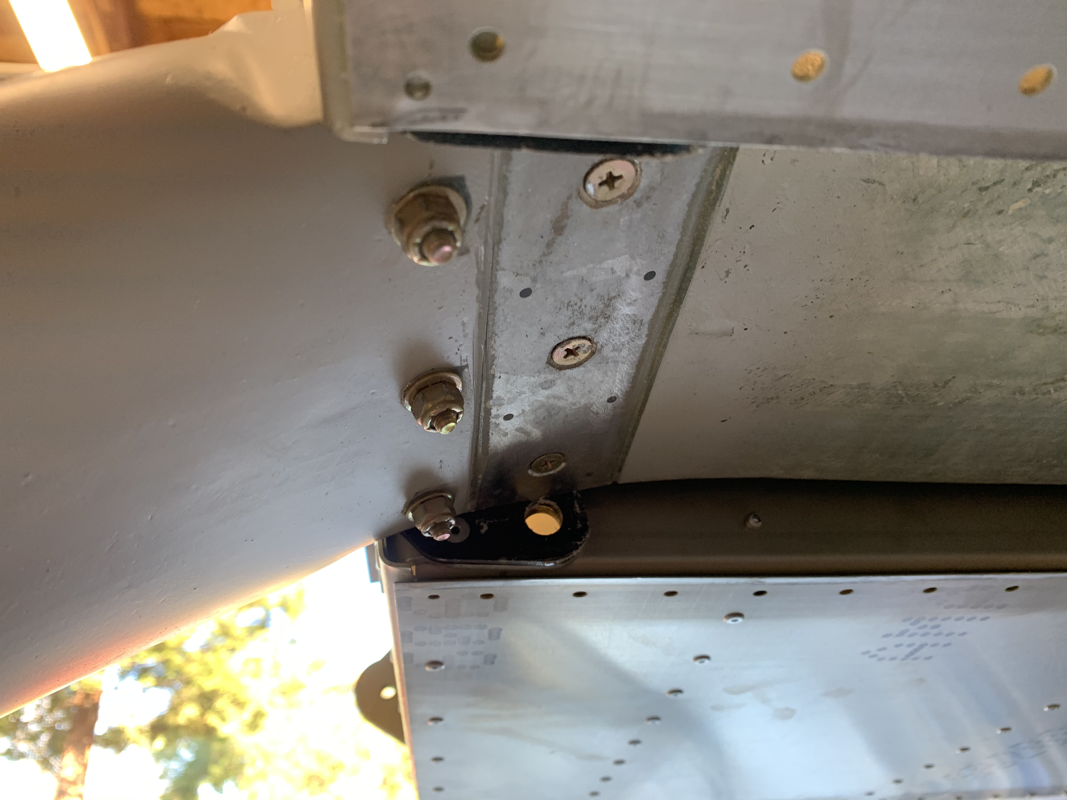
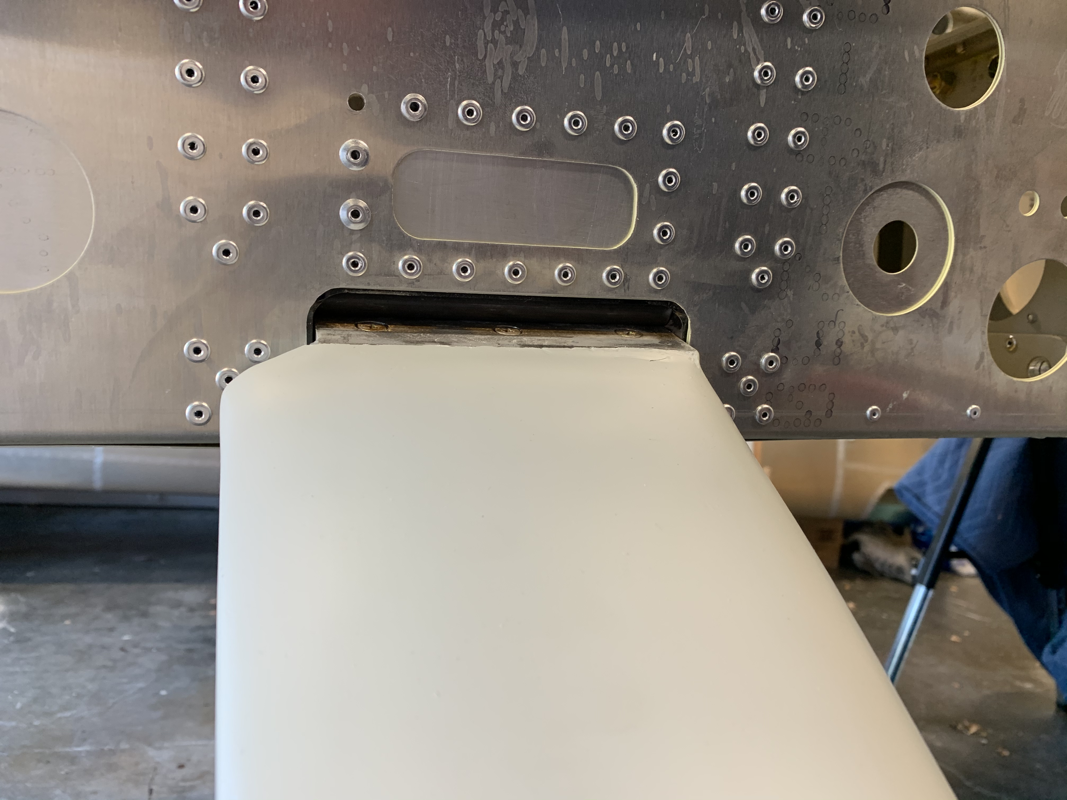
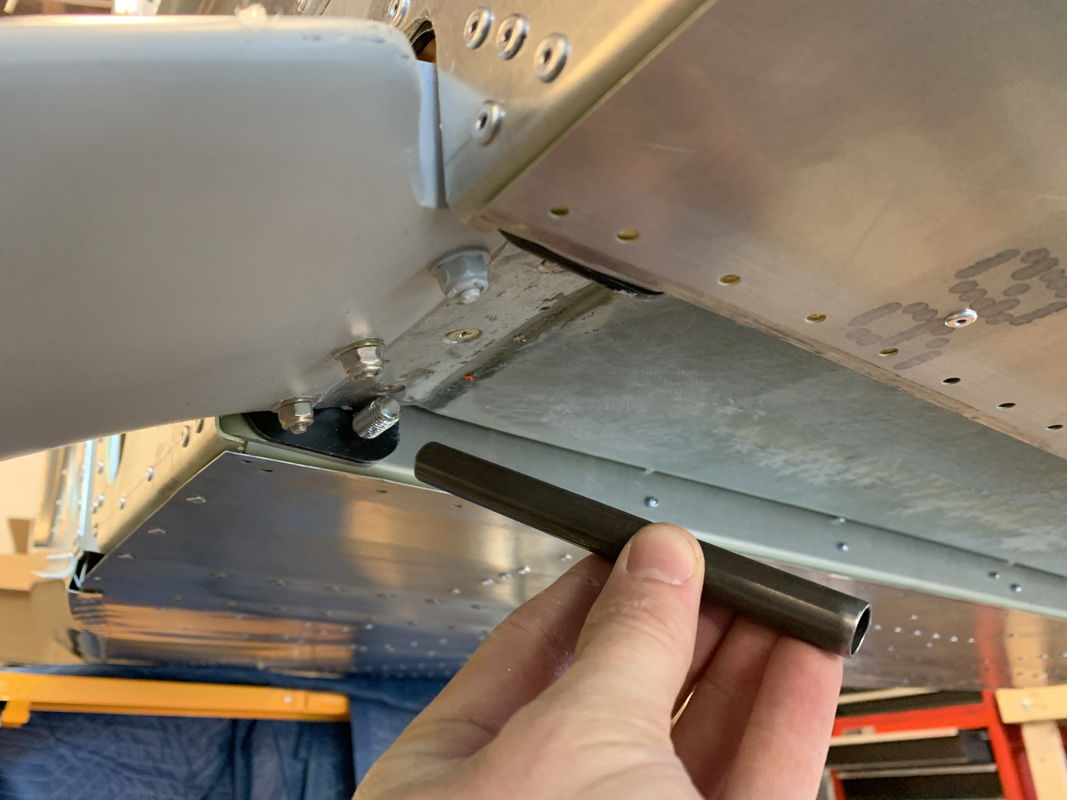
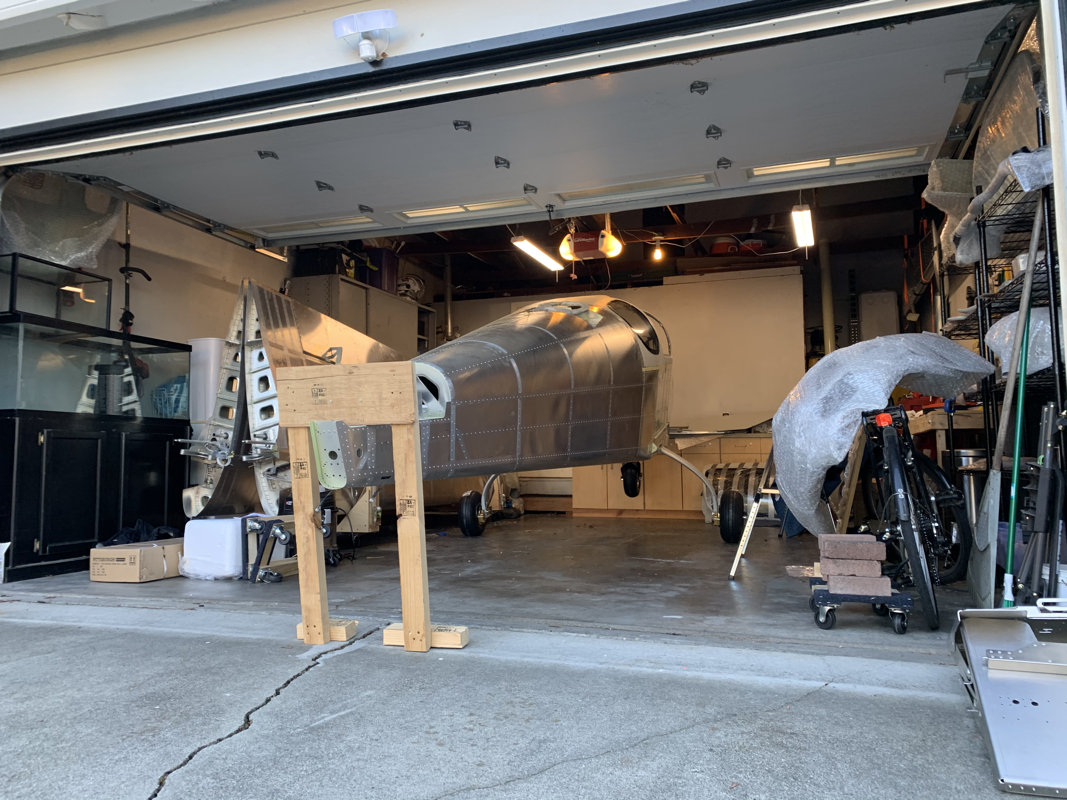
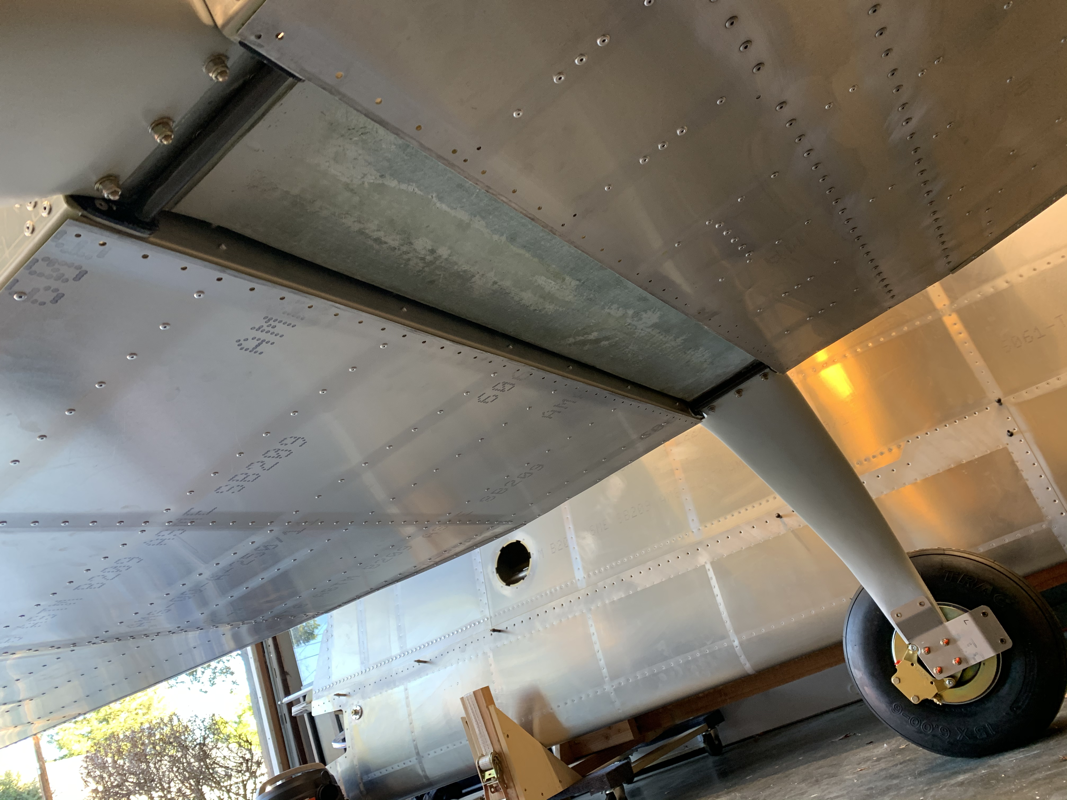
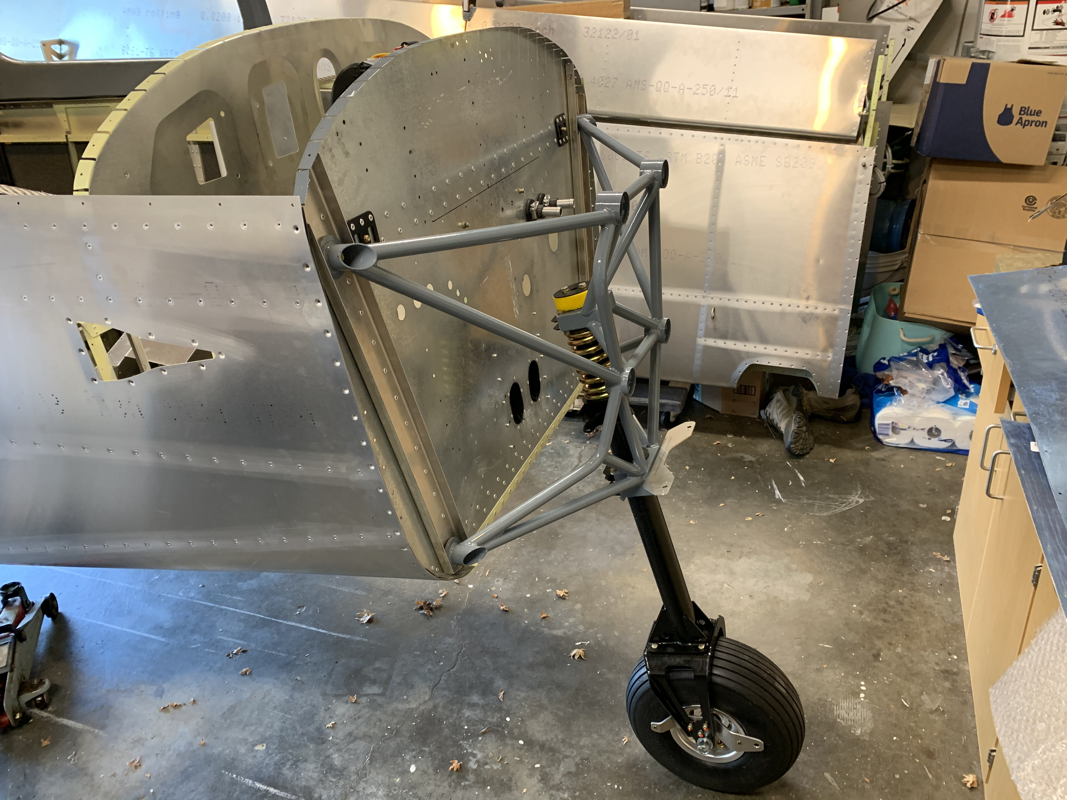
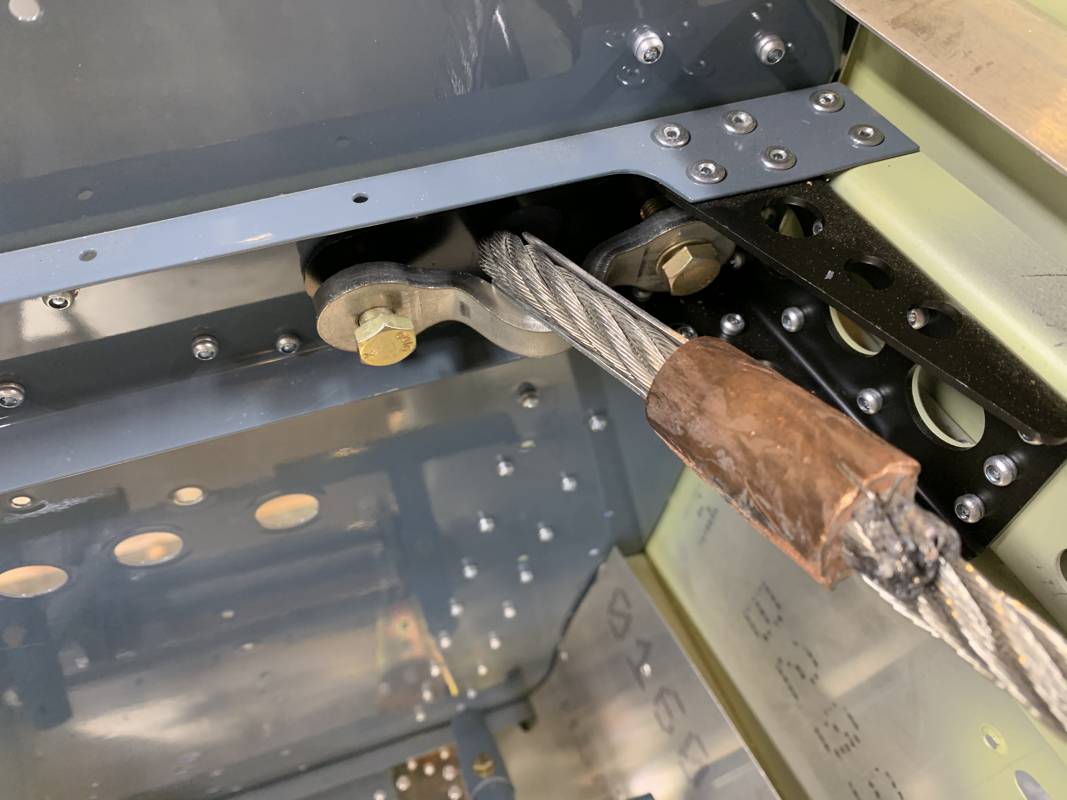
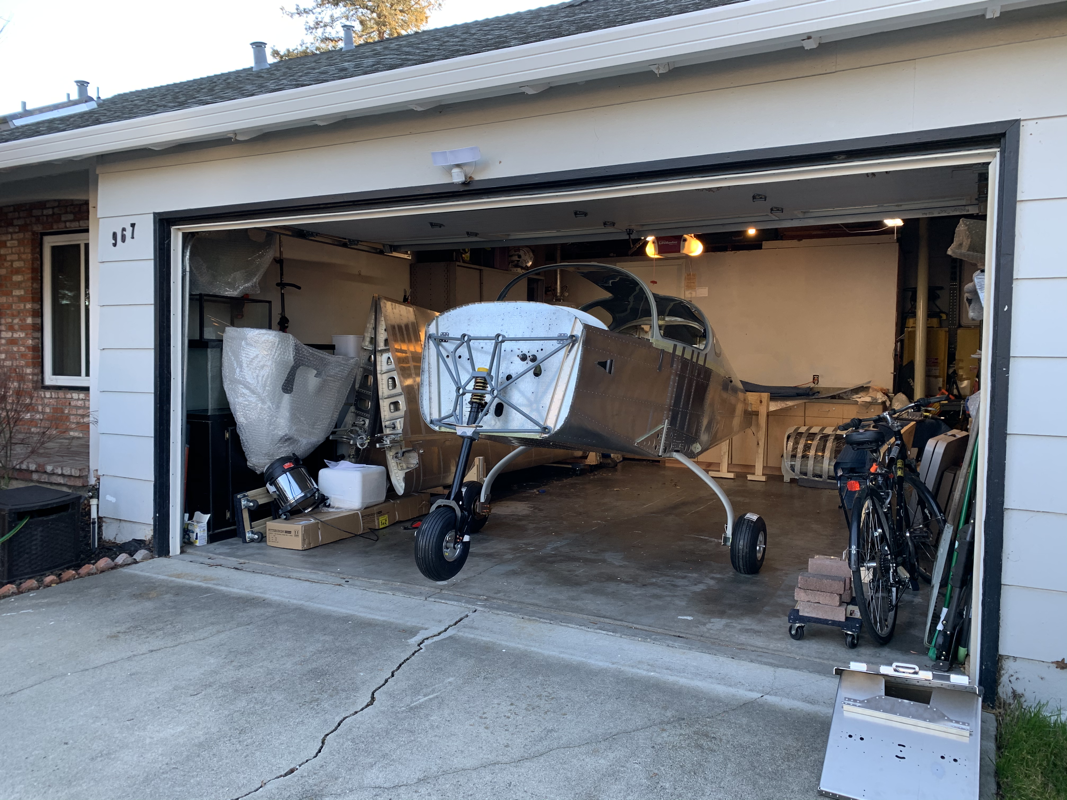
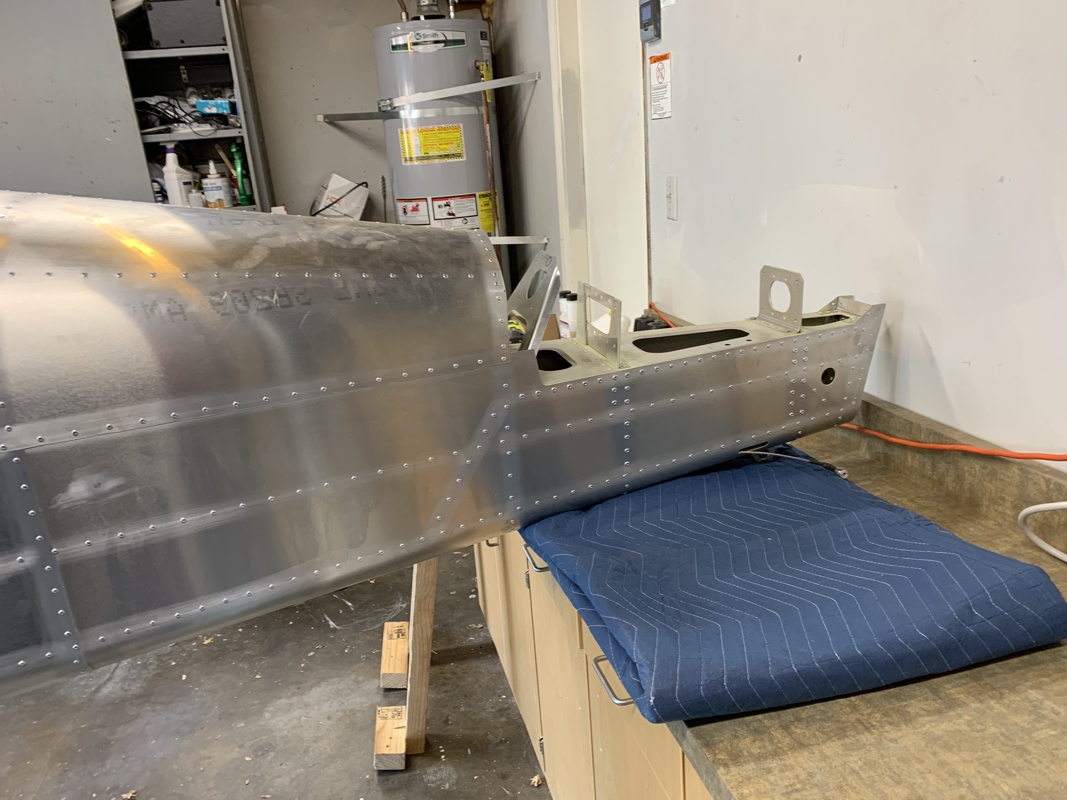
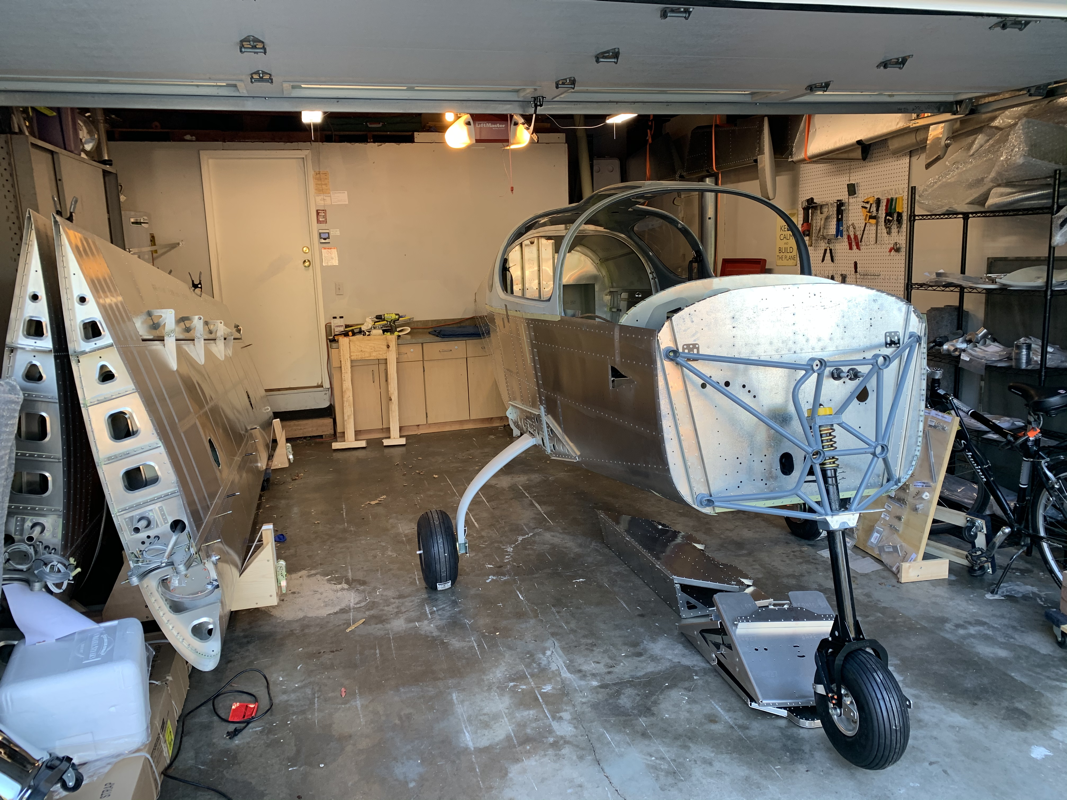
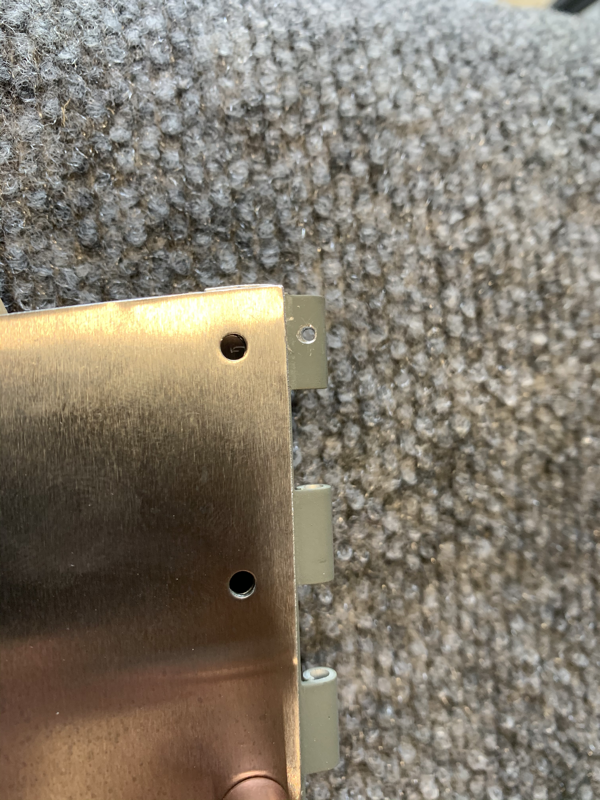
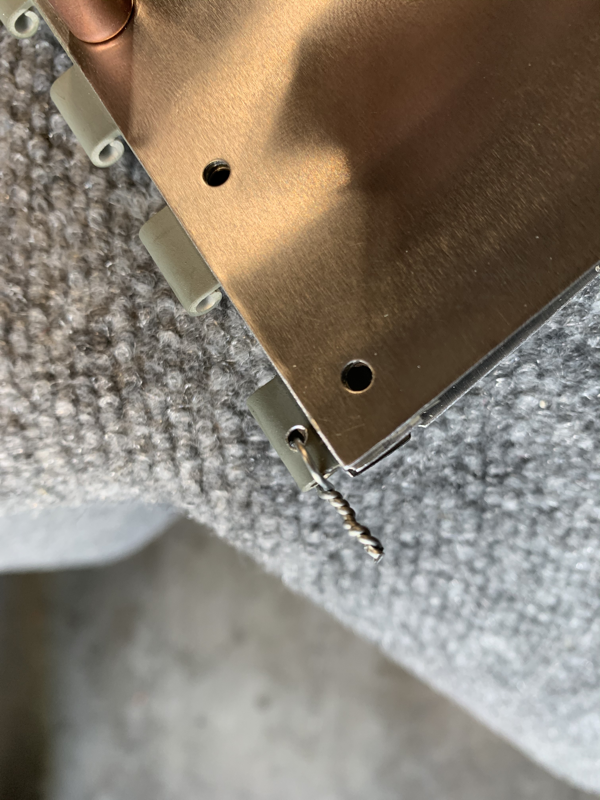
While I wait for additional shipments, I decided to try and place the center console skins to check fit. However, that means installing a good amount of rivnuts in the center console ribs and floor. Almost all of the rivnut holes had to be upsized to M4. I think at some point the factory switched from M3 to M4. Some places were a tight fit, so I used the angle drill bit to help reach some spots. The step drill doesn’t do the best job with creating a clean cut, so every hole also needed to be deburred pretty heavily. I began fitting the skins and built up the center console box that fits above the flap actuator. Things we’re going smoothly until I placed the bottle skin that fits along the main spar. It seems the space between the rib that holds the flap actuator and the main spar was too small for the skin. I emailed TAF about this and they said to check the alignment of the fuselage forward or the spar. This was a QuickBuild and the side skins were already on, so the alignment should be correct. I’ll be looking at what options I have to get it to fit. I might just have to move the rib a bit forward to get things to line up. One of the more taxing exercises I’ve had on the project so far is getting the control rods to move smoothly. The vesconite bushings are a perfect fit on the control torque tubes, but when placed in the aluminum ribs and there a slight misalignment or misshaped curve, the result is a binded bushing. Which can be hard to find. I spent quite a bit of time using a flap sanding wheel to trim down the ribs to get a nice fit on the bushings. Then when in place with the brackets I had to find the rib that was slightly misaligned and sanded down the bushing a bit to get it unbinded. Once that was done, riveted the brackets in place and tested everything out.. minimal friction! After that was done, I decided to put the luggage floor Rivnuts in place and test fit the covers. Perfect fit! Now that the landing gear strut is in place, I went ahead and torqued the bolts in place. It was a bit difficult since I didn’t have any metric wrench that fit an M12 bolt. Luckily, vice grip pliers were strong enough to hold and get the required torque value. I decided to give the canopy doors another shot. To get the lock mechanism to fit flush, I had to shave off a bit of the canopy resin with a dremel. The real challenge was trying to get the aluminum rod to fit inside the canopy. The curvature of the canopy is somewhat unique to each door. I was able to get one door done pretty easily with only a few slight bends. I used a table vice to grip the bar and get the bend where I wanted. However, the second door I bend the rod in different directions to try to fit the canopy curvature, it started to look a bit like spaghetti. I was able to finally get it to fit, but the angle of the cut that fits the door latch was off by about 30 degrees. Doh! I’ll have to straighten it out and give it another shot later.. I put in an order for everything else I need at the end of December. Items on their way: 1. Firewall Forward Kit- this has all the items to support the engine. Oil, brake fluid and coolant reservoirs, etc. 2. Rotax 915is Engine - 141hp of pure FADEC controlled fun! 3. Airmaster Constant Speed Propeller - designed specifically for the Sling TSi. 4. Upholstery - The leather interior and seat cushions. I went with the design below, Medium Grey / Charcoal with red piping. It’s looking like I won’t be getting most items until March and the engine in May. I might be getting my avionics somewhere in between. I still have to order the parachute, but that will be in a bit.. Now to start thinking about the exterior paint design and colors! It was a quick exercise, but probably one of the more satisfying tasks to date! I decided it was time to attach the landing gear. This bird has to learn to walk before she can fly! I supported the front and rear with adjustable sawhorses from Harbor Freight so it would allow me to adjust the height as needed. Once I was able to fit the gear under, I carefully moved the rear sawhorse backward so the fuselage would start to rest on the gear. It took a bit to get the right height and placement of the gear. I realized I couldn’t rest the fuselage on the gear right away, otherwise I couldn’t fit the bolt sleeves in. It’s not possible to insert them from inside the fuselage. Once the placement was good, the bolts went in quickly. Just took a light tapping with a hammer to drive them all the way through. I then removed the front sawhorse and rested the fuselage on the main gear! Now on to the nose gear! The bolts didn’t fit through the firewall very well, it took a bit of reaming to get them to pass through. I certainly didn’t want any ‘play’ with the bolts, so I took my time getting the fit just right. Now that everything was put together, the plane didn’t fit! I had to turn the plane around and rest the tail on the cabinets. No big deal moving the plane.. surprised by how light it is! I recently received another trim tab as the last one was a bit twisted. I took this opportunity to add the safety wire to the piano hinge as other builders have done. The piano hinge is convenient to use, but the wire that is inside can vibrate out of the hinge so the recommendation is to secure both ends with safety wire. |
Archives
September 2021
Categories
All
|


 RSS Feed
