|
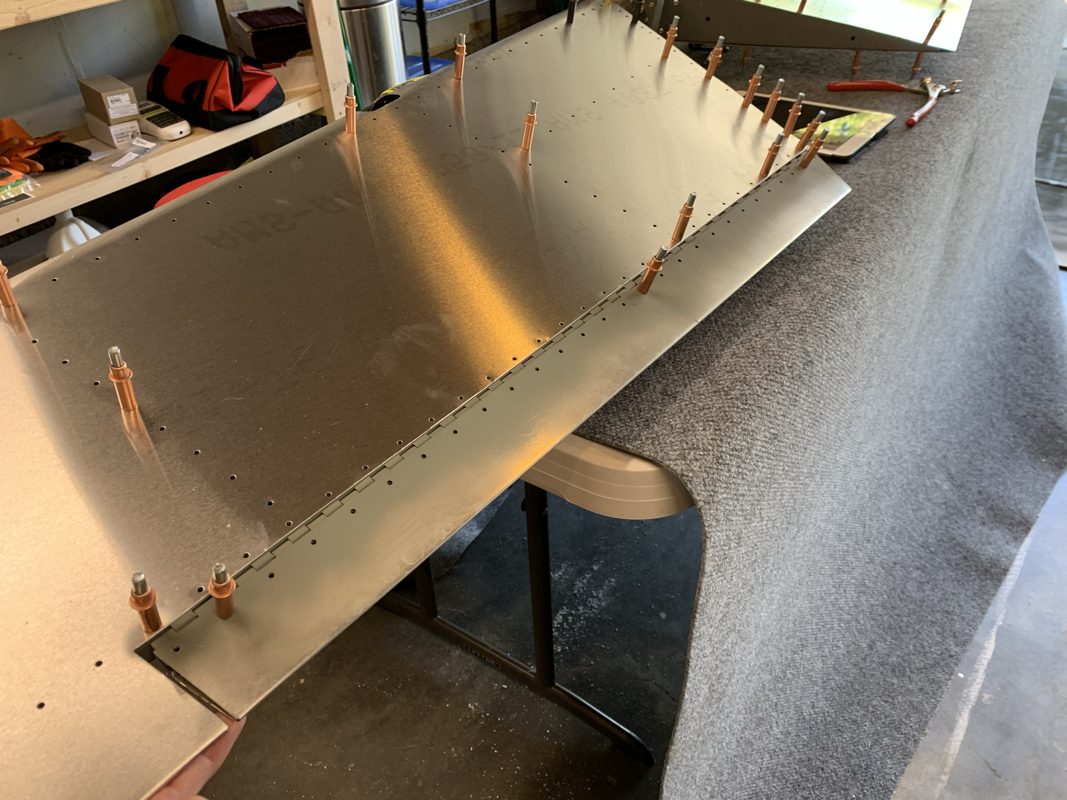
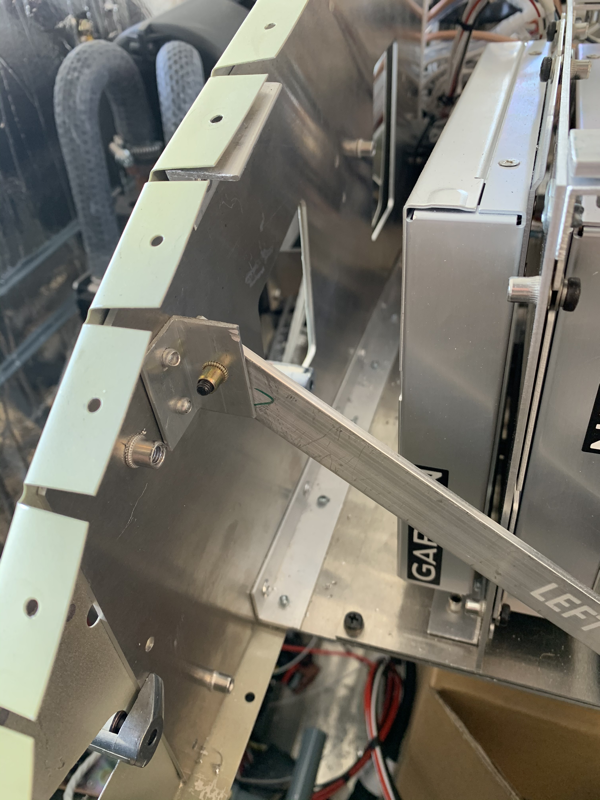
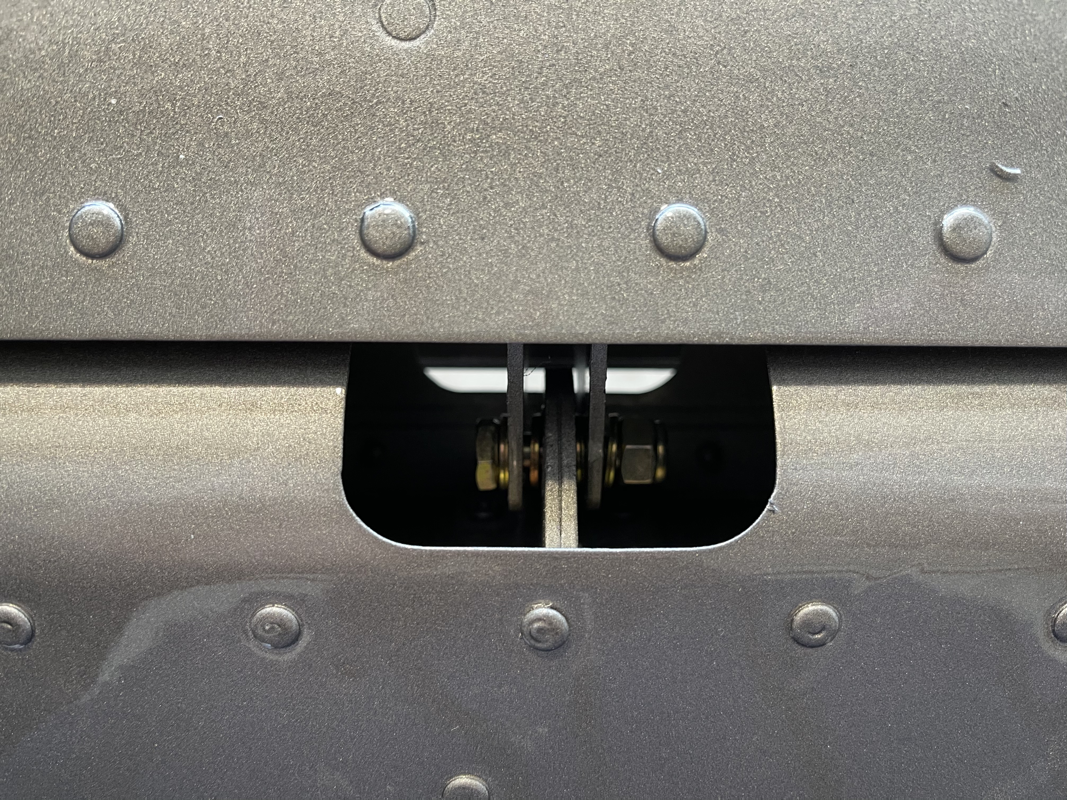
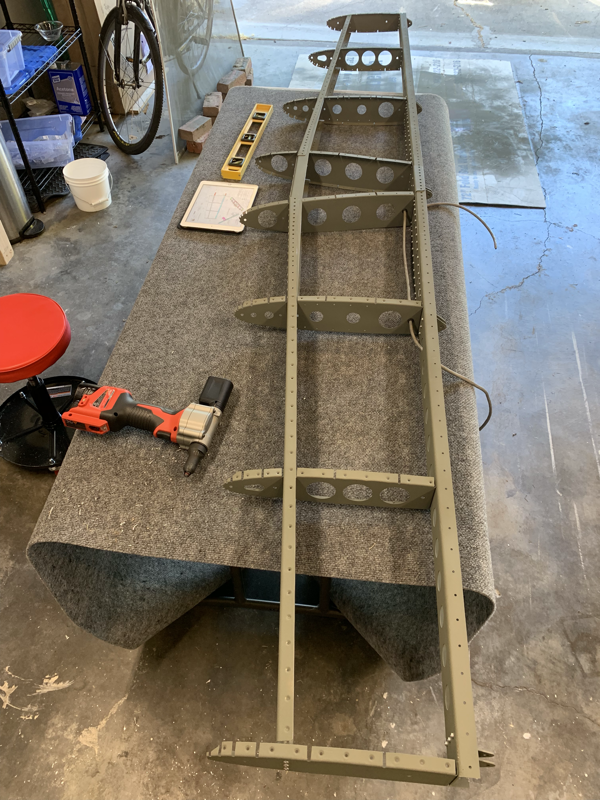
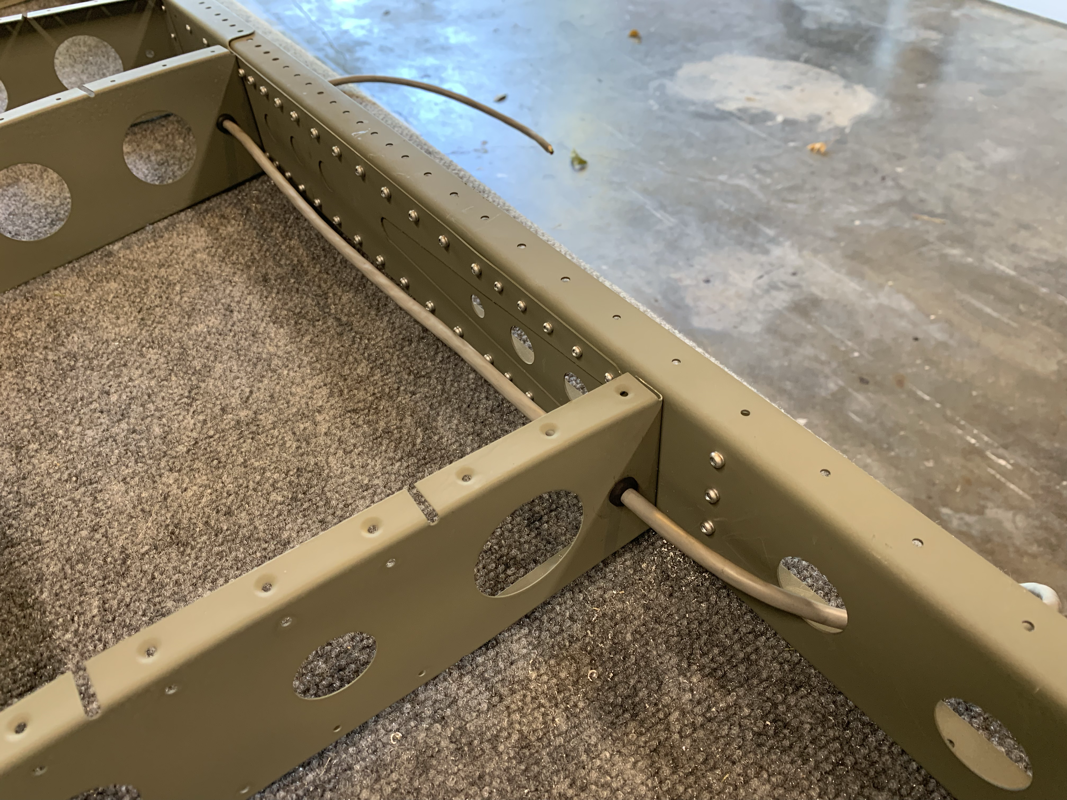
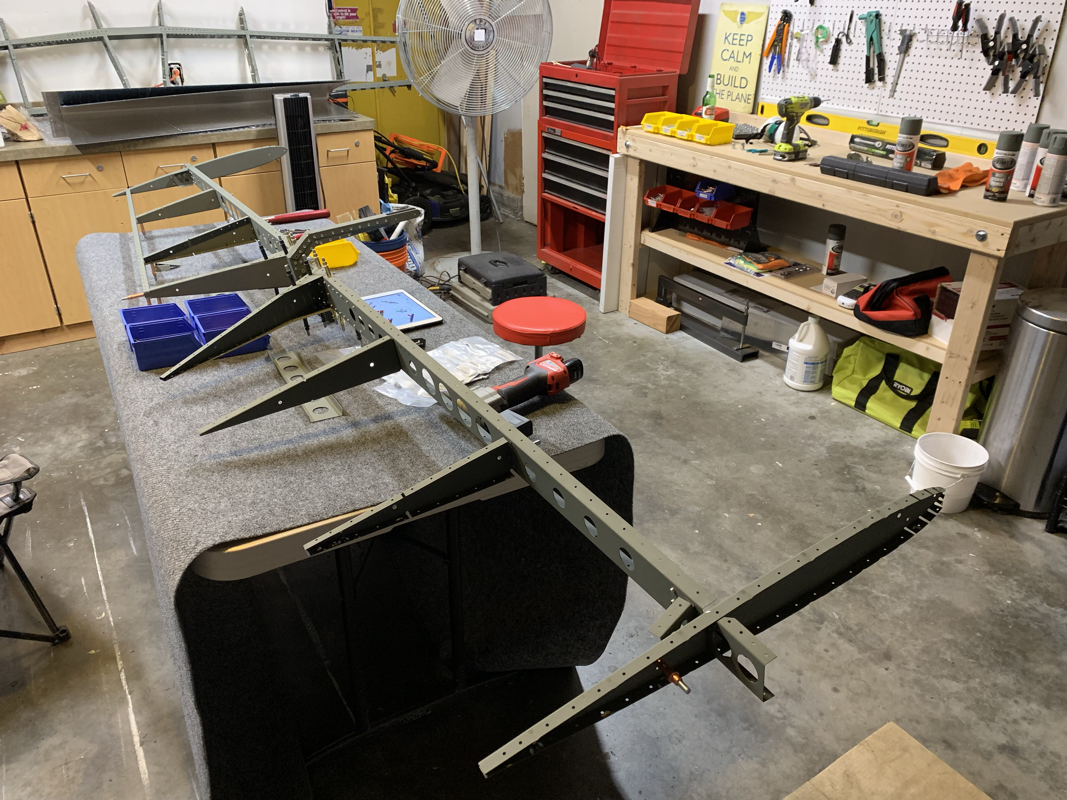
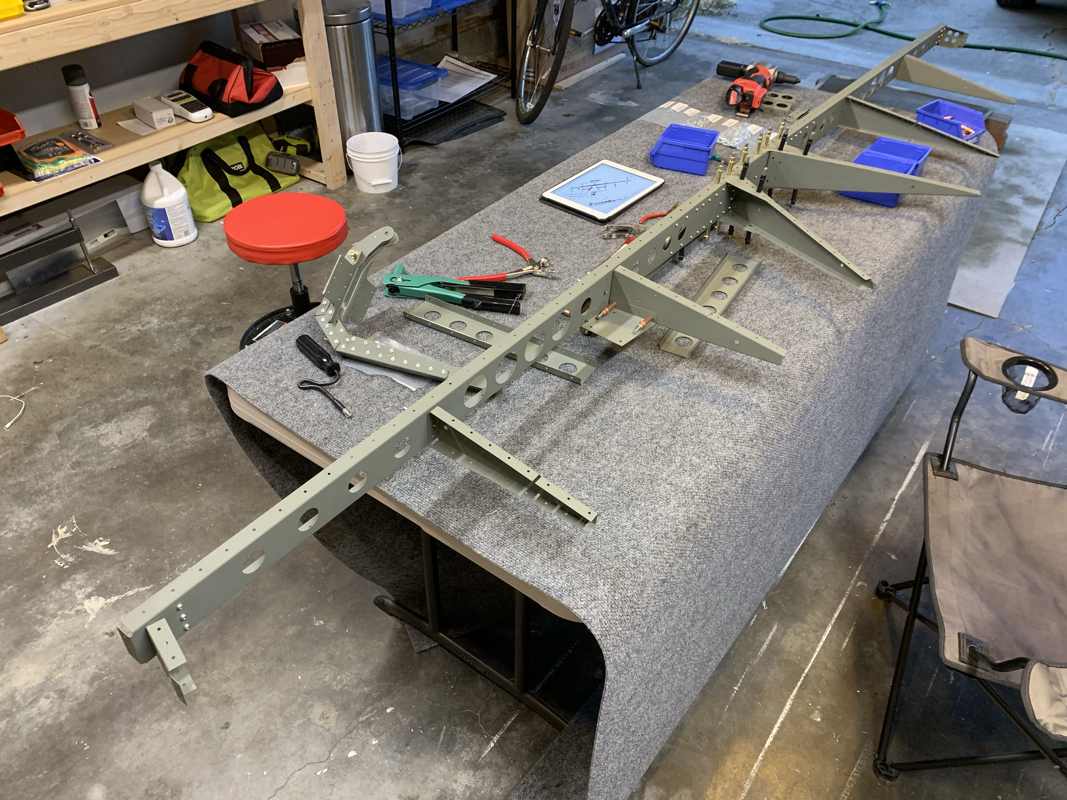
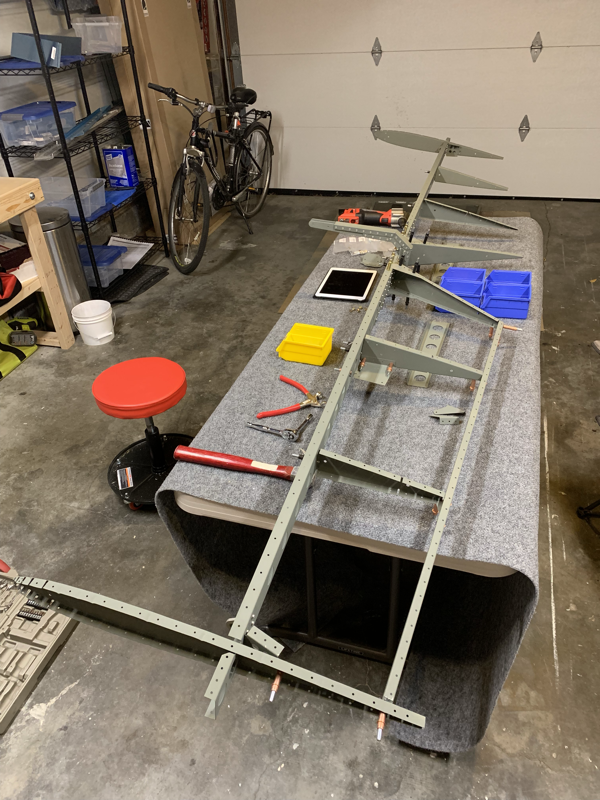
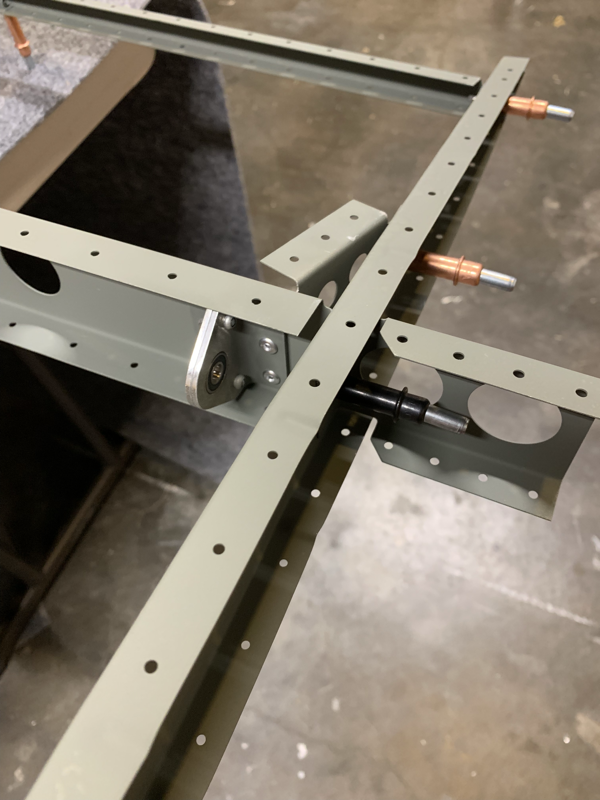
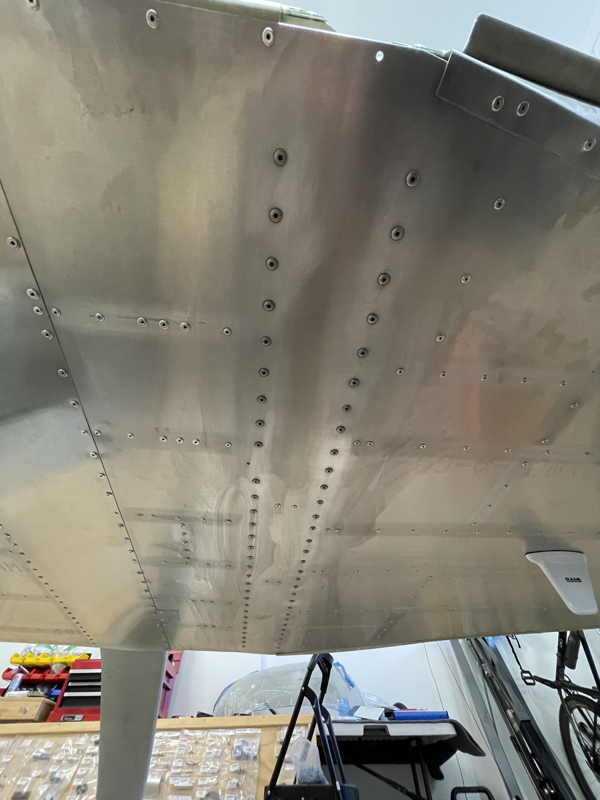
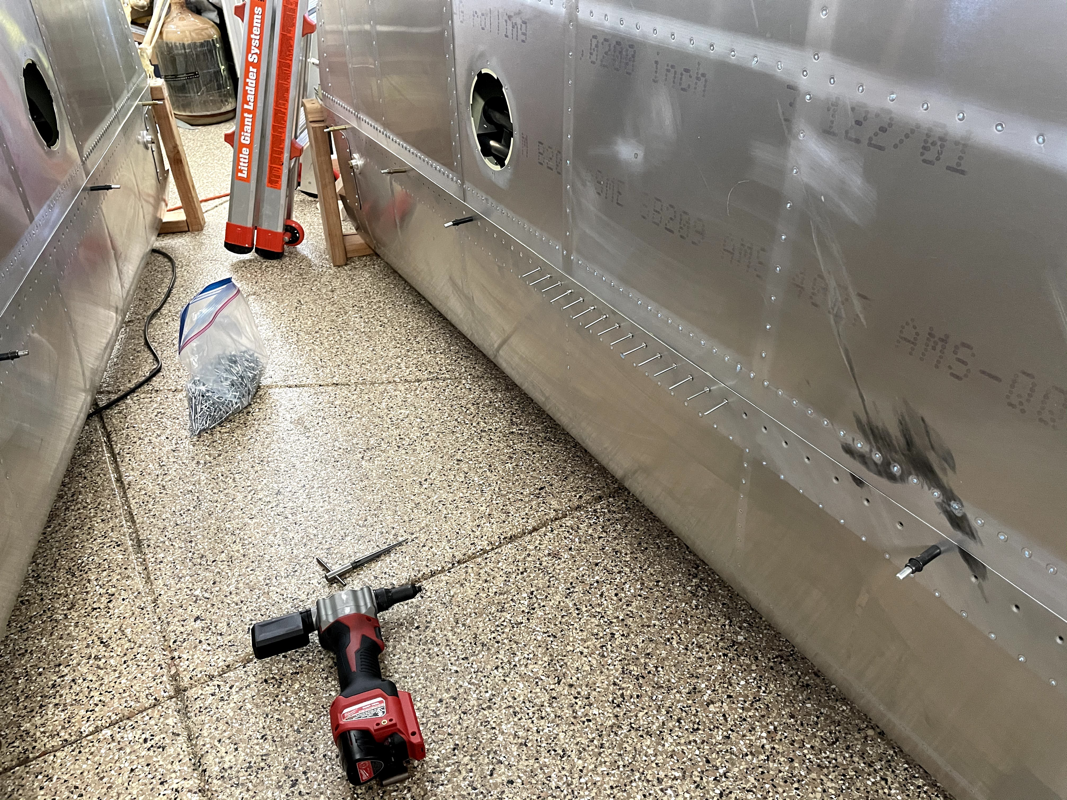
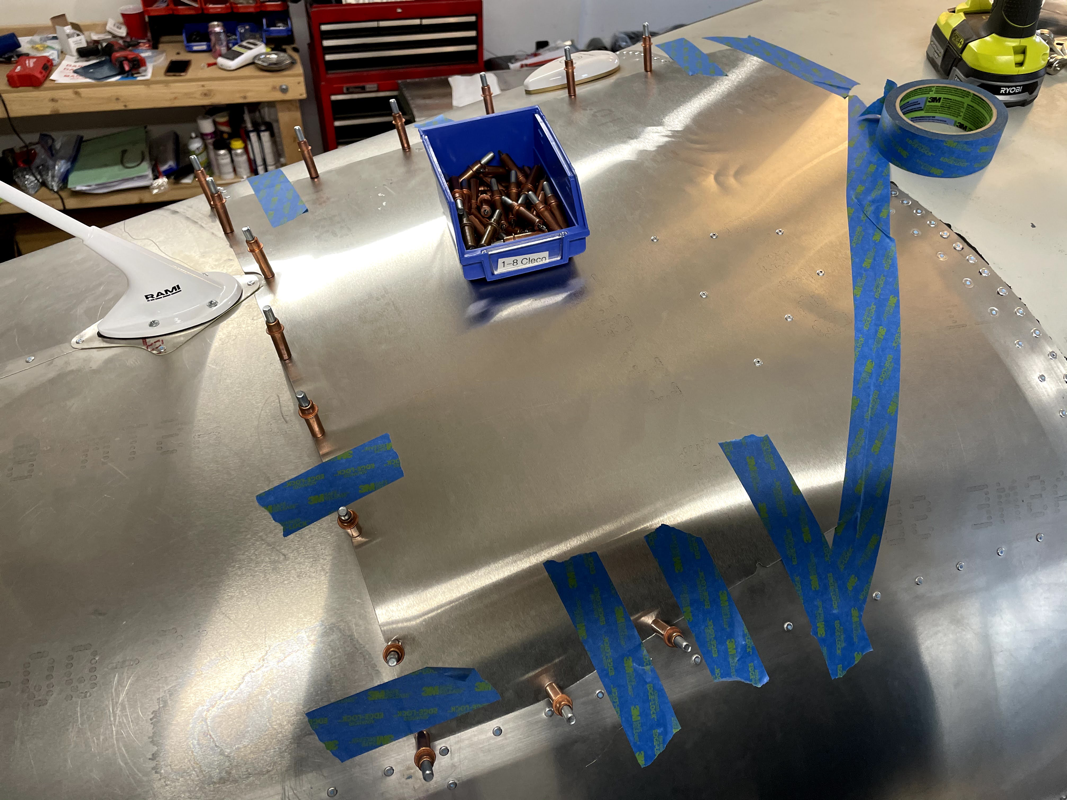
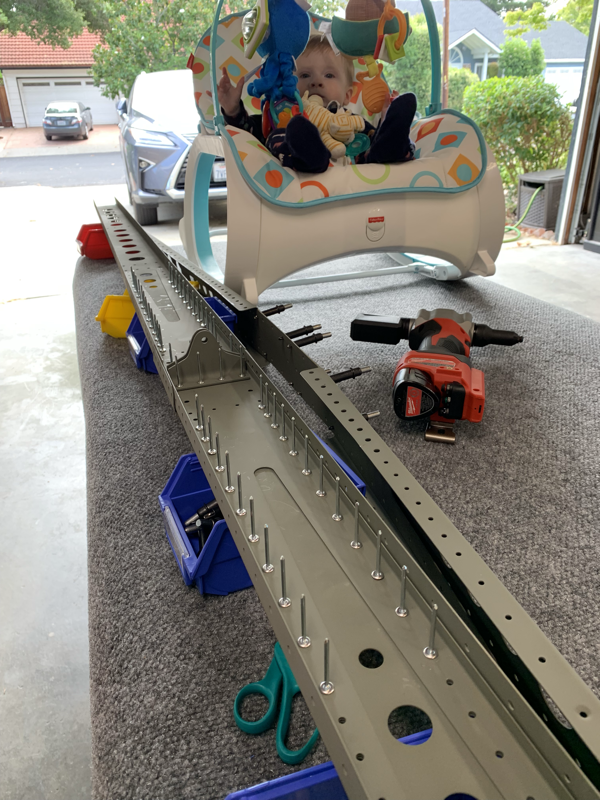
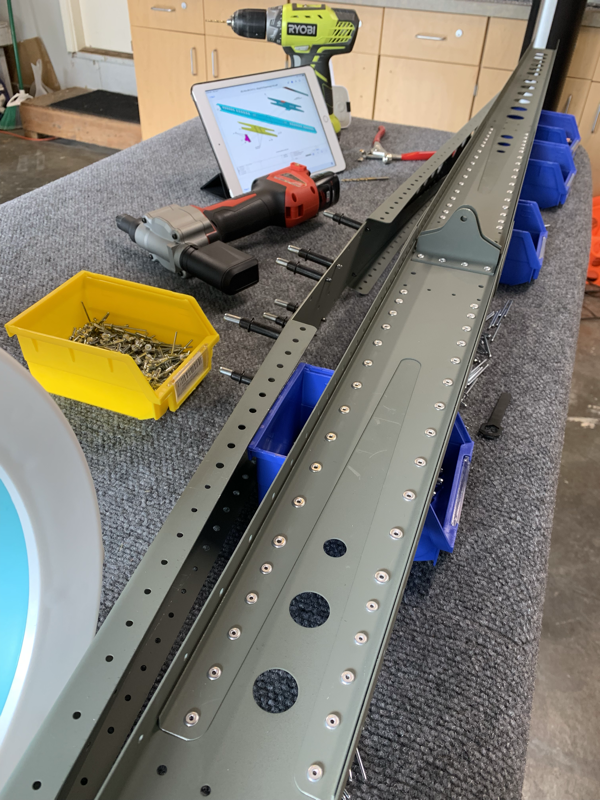
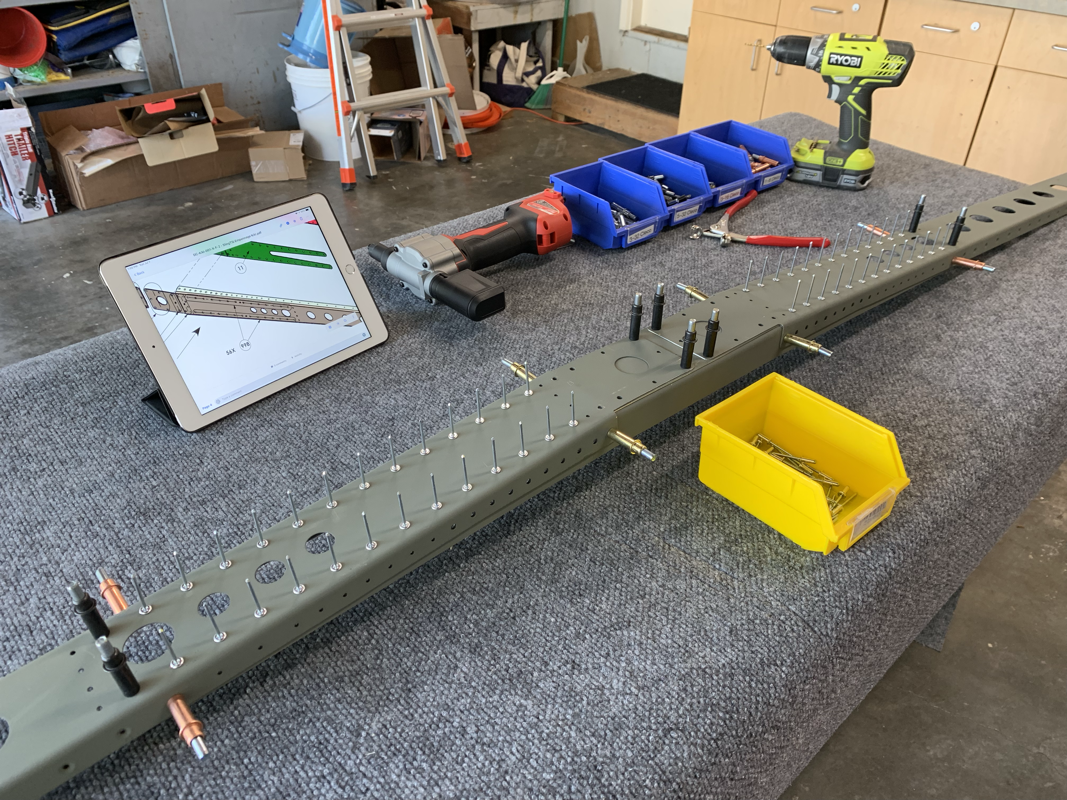
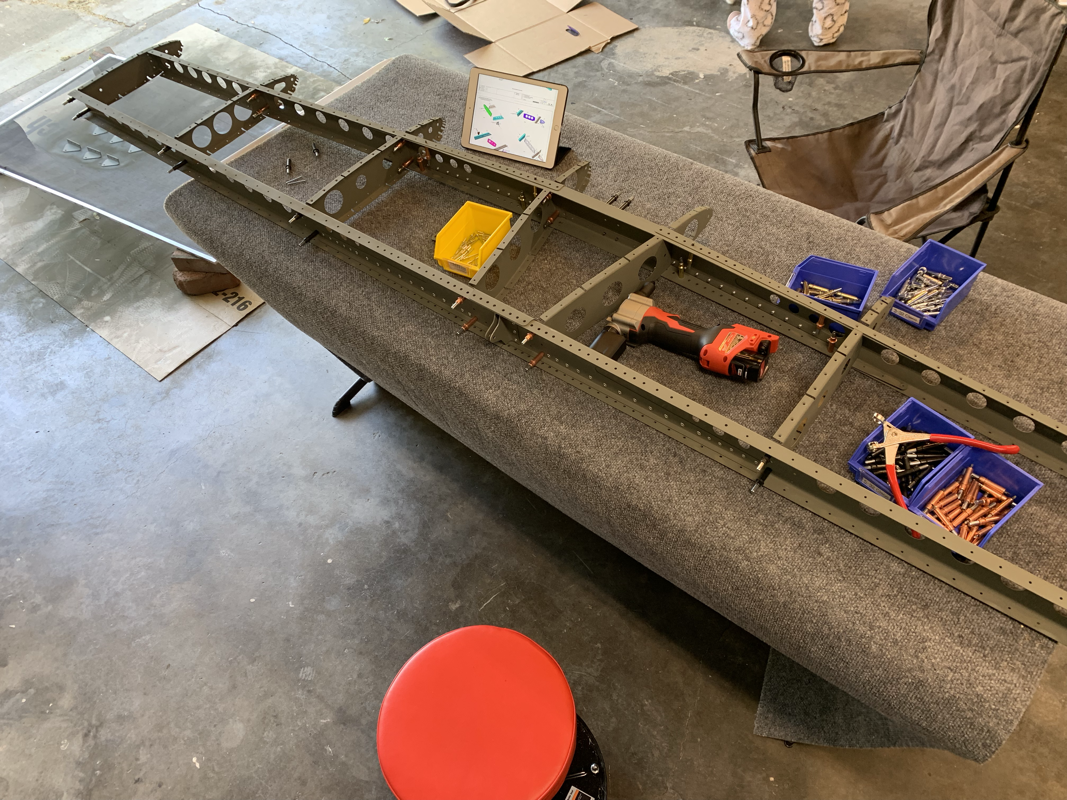
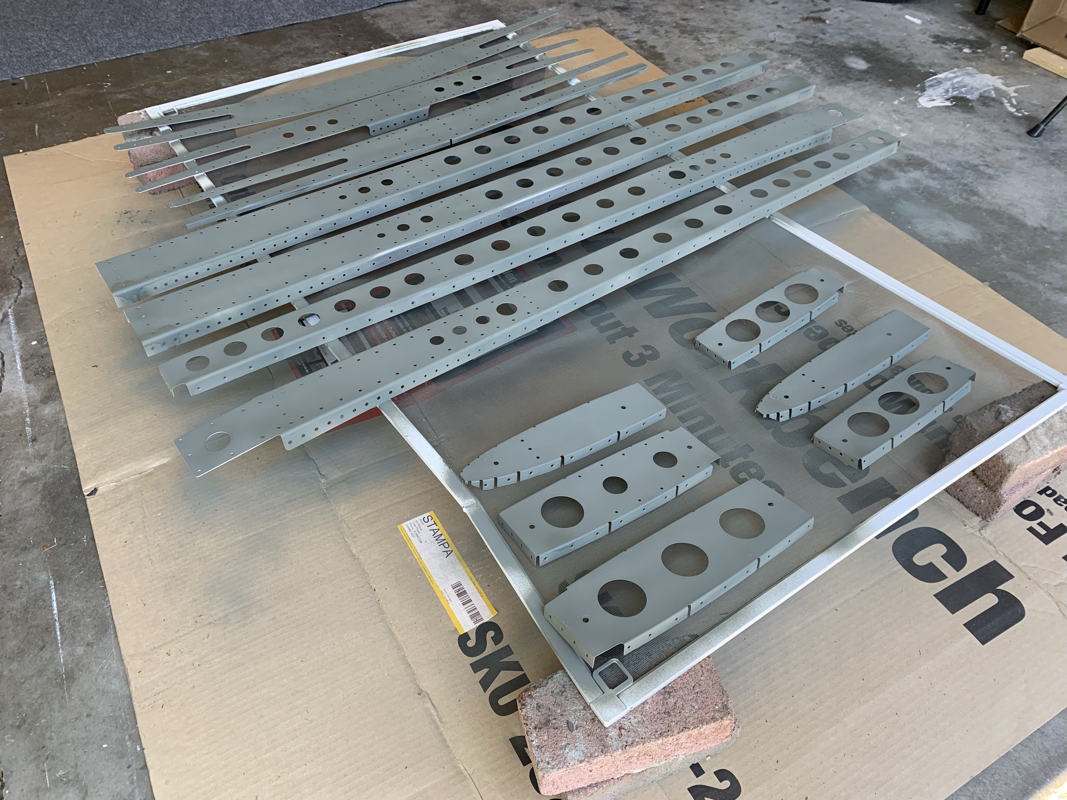
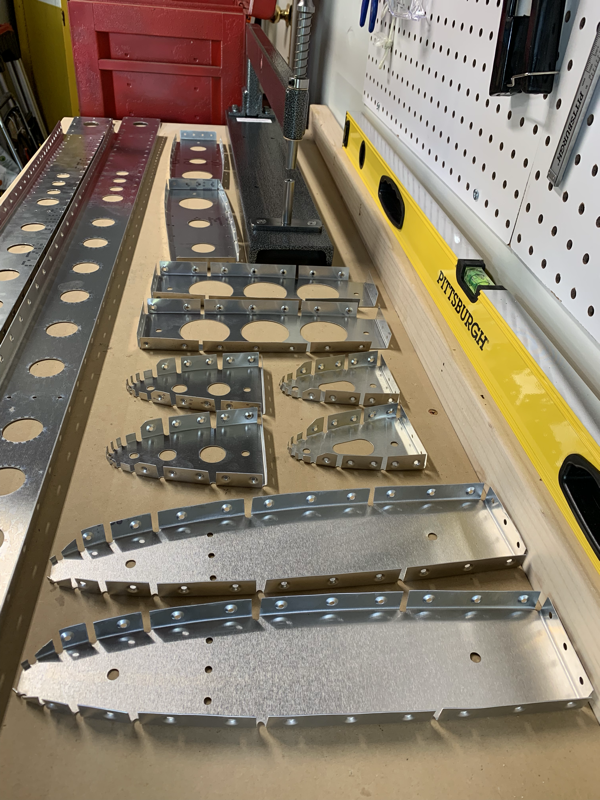
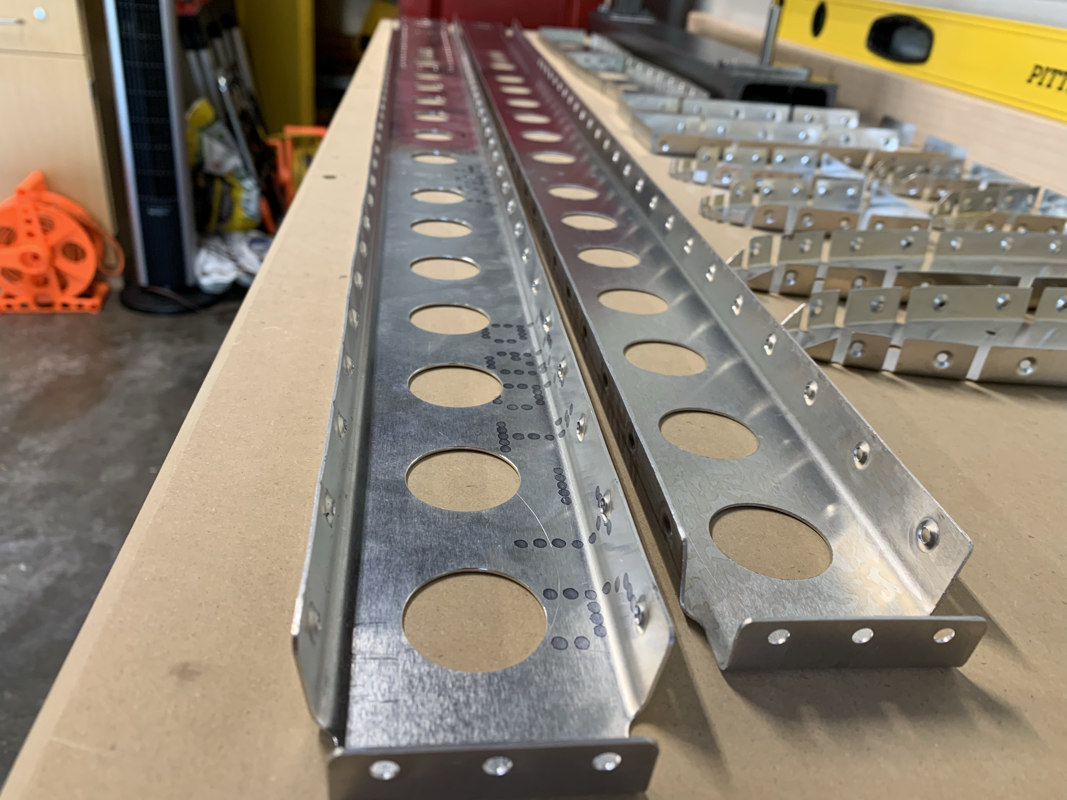
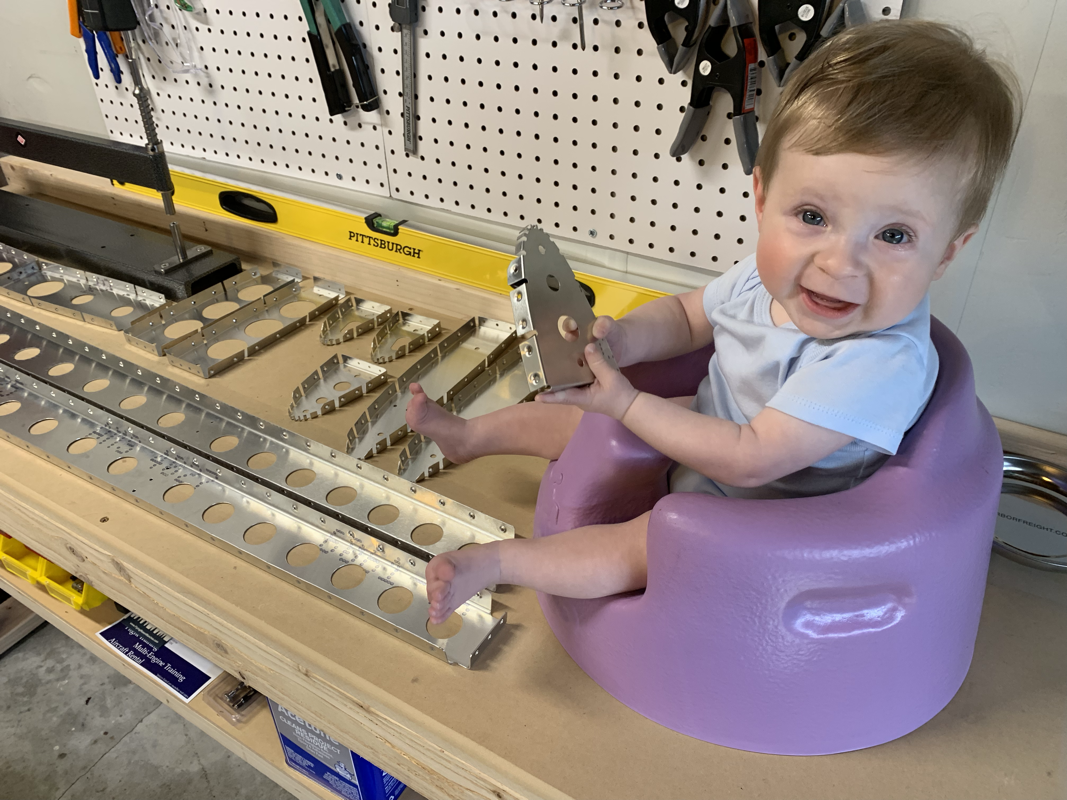
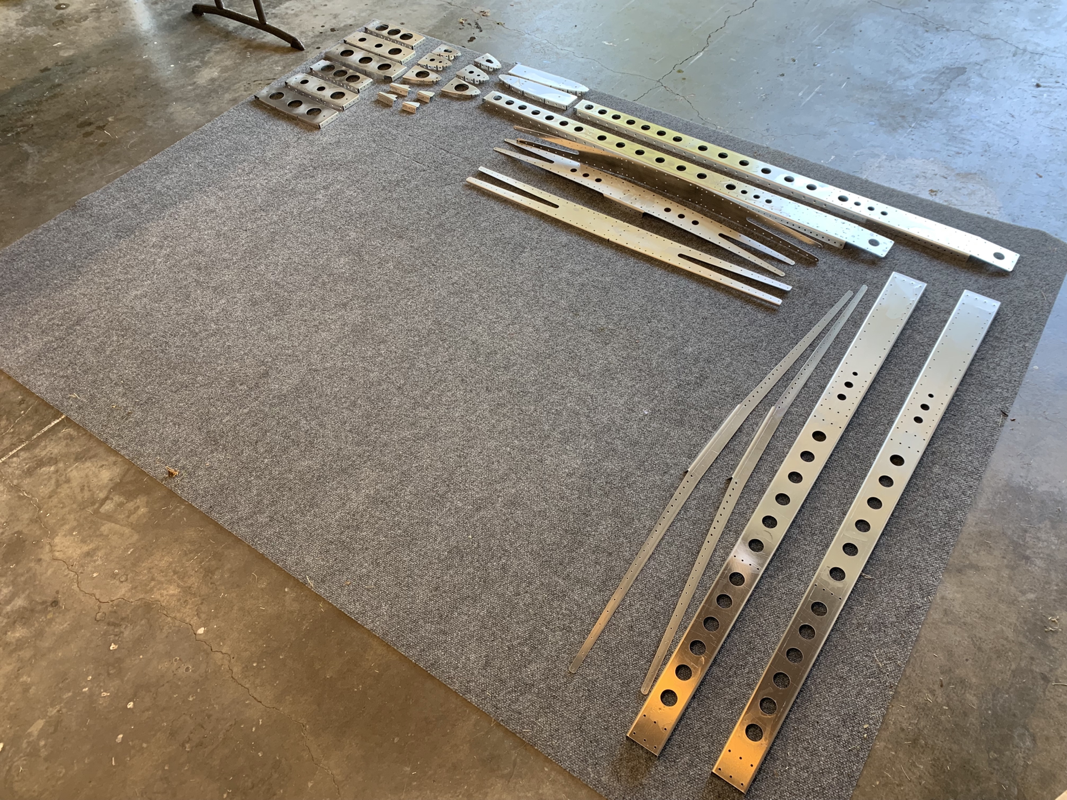
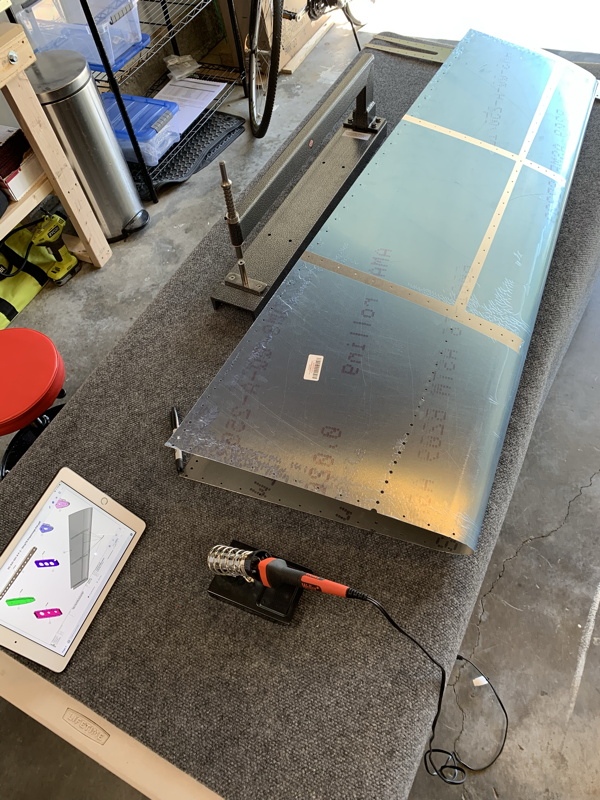
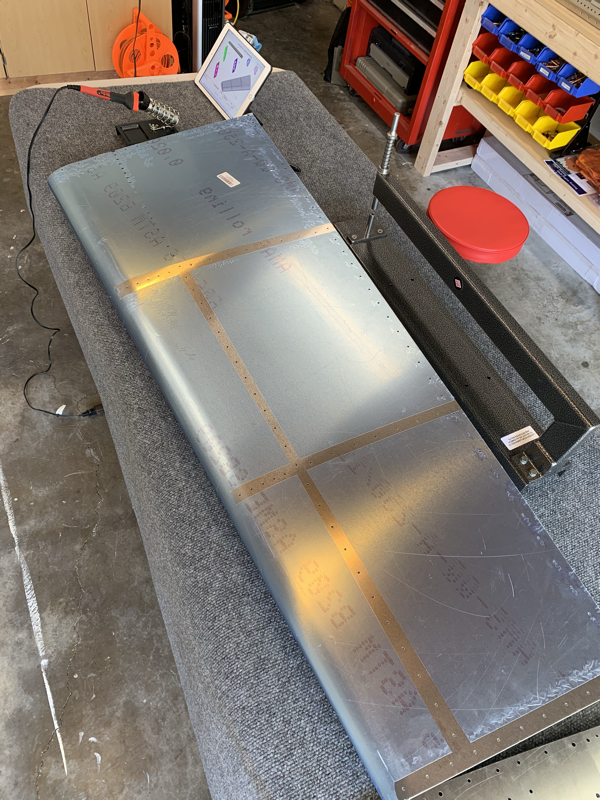
I spent some time countersinking the end caps and dimpling the skins. I read some other builders had some concerns over the material being too thin, but it seems they beefed up the thickness to allow for a good countersink. Once that was done, I temporarily connected the elevator to the horizontal stabilizer with some bolts I had laying around and used some wood placed on the skins secured with some clamps. This ensures the elevator and horizontal stabilizer are perfectly aligned. I made sure to only cleco one side at a time, per the instructions, and began riveting. The skin fit pretty well and didn't really have to ream out many holes. I flipped it over and repeated the process. The skin was a bit tighter on this side and took a few more clecos to ensure a good fit. Nothing more satisfying than a handful of pulled rivet mandrels to finish off another piece! I’ve been out of town this week for work, so haven’t made much progress this week. Last week I was on a roll, putting in 1-2 hours per night to finish up the Horizontal Stabilizer before I left. Today I scuffed, cleaned, and primed the elevator skins to apply to the ribs. After watching some paint dry, I was able to put on the inner inspection plate part after drilling up to 1/8th inch for the rivets to fit. From there it was a bit tricky to get my hand in there to line up and cleco the smaller components on the left hand side of the elevator. When you feel like you’re done and you see some spare parts laying around, you know you had an “Oops” moment. I almost forgot the 2 inner ribs since they aren’t connected to the main elevator. They are only connected to the skins for extra support. Now the skins are mostly cleco’d together, I just have to add the trim tab, inspection plate components, the leading edge skins and ends. In other news, it’s been quite fun watching Oshkosh and all the events online. Either the coverage seems to be really good this year or I’m just ‘tuned’ in since I’m building. Excited for TAF that they announced a High Wing version of the Sling TSi. I’m sure that might hit a sweet spot for the gravel / grass strip enthusiasts. Spent some time morning putting in the rivets on the top side of the horizontal stabilizer and was able to get the alignment pretty darn close. Perfect is the enemy of done, so I got it to a point where I felt it was good enough and pulled the remaining rivets. Feels really good to get a piece done! It was a good learning experience and think things might speed up (slightly) now that I’m getting into the groove. Now on to closing up the elevator and matching it to the horizontal stabilizer. I am to the point where the horizontal stabilizer and elevator ready to skin, but had to wait until I received a visit from the EAA Technical Counselor before I could proceed.. He stopped by Wednesday and had a look at the "bones" and was impressed with the quality of the work, so he gave me a good review. Now I can go ahead to close them up! I've been reading some other blogs (Peter V's and Jim's) that have provided some good tips on what to look out for while closing things up, particularly to look for any twists. So I cleco'd the skin on the horizontal stabilizer and drew the line down the center of each side. I then placed the frame pointing upwards and attached a string from the leading edge with a weight to see where the line differed from the string. It turns out I did have a slight twist, so I'm in the process of moving clecos around to 'pull' the twist back into alignment. Any additional advice on the best 'fool proof' method for doing this would be appreciated. I've seen some folks clamp the frame and measure with a digital angle to the table to just moving clecos around. Once I get things into alignment, I plan to use the clamping method mentioned on Peter C's blog to make sure the elevator matches the horizontal stabilizer. I was able to finish up the Horizontal Stabilizer ribs and dimple the rest of the skins. I pulled the wire through and now I just have to apply the skins and make sure everything fits again. It's feeling like déjà vu, cleaning, degreasing and priming the elevator parts.. one of my least favorite activities of the build process, but necessary. At least now I'm getting a streamlined process down. I primed the elevator parts and let them dry for a day. Came back to it and started riveting! This assembly is definitely a bit more complex and took a bit more time to study the instructions. On the swing arm assembly, there's a hard to reach rivet right next to the bracket. You'll see that one missing in the photo. I figured I just get some small M2.5 hex bolts and stack them about a quarter inch until it is flush with the nose of the rivet gun, then give it a pull. Worked like a charm! I did find some discrepancies in the instructions with rivet sizes, seems the descriptions of the rivet sizes are different and different parts provided in the kit than referenced in the instructions. The description in the instruction says it is a 3.2x13.6mm Alu Domed Rivet, but the actual rivet size received with the part number in the kit is 3.2x12mm. Additionally, the instructions say to use 4.8 x 12mm rivets HW-RIV-164-X-X-0, but the kit for elevator parts only includes 4.8 x 15mm rivets HW-RIV-165-X-X-0. I made sure that there weren't any other locations needing 4.8mm rivets and went ahead and used those. And of course, while feeling like I was on a role, fate seemed to occur. While torquing the bolt on the swing arm assembly, the bolt actually snapped off. Now I have to source another AN3-13A bolt and take another look at the torque required. It's ok, I'm sure it's not going to be the last 'oops' moment and I just look at the new shop sign from EAA - "Keep Calm and Build the Plane." ;-) I also ran into an issue with the bracket that connects the swing arm to the ribs not being aligned. I checked with TAF and they said to just drill up a size and use a 4.8mm rivet. Seemed to do the trick. On another note, I did add a tab with a chart for my hours by category. It finally felt like I made some good progress today! After spending hours dimpling, cleaning, degreasing, and priming.. it finally came to the point where the parts were ready to put permanently in place. It was a bit nerve wracking the pulling the first rivet, I must have checked the plans at least 5-6 times to make sure I knew exactly what to expect. Of course, after a dozen or so rivets, things got into a good rhythm and I started to trust myself. The Milwaukee Rivet Gun makes this process really easy, great suggestion from other builders! I was quite happy that there were only 5 or so holes on the rear channel that needed to be enlarged with a chucking reamer.. just off by a hair. Enough the rivet couldn’t easily drop in. It also helped that I had my project manager and quality control person keeping me on track. Thanks Son! Our flying adventures are still on track thanks to your motivation. ;-) I did find out that I forgot to order the right sizes countersink bit. As soon as that comes this week, I can finish up the ribs and work on applying the Horizontal Stabilizer skins. While the rack of ribs were on the grill for the 4th of July, I had some free time to get some more work done. I'm following the method that others have done. (Other blog links on Resources tab)
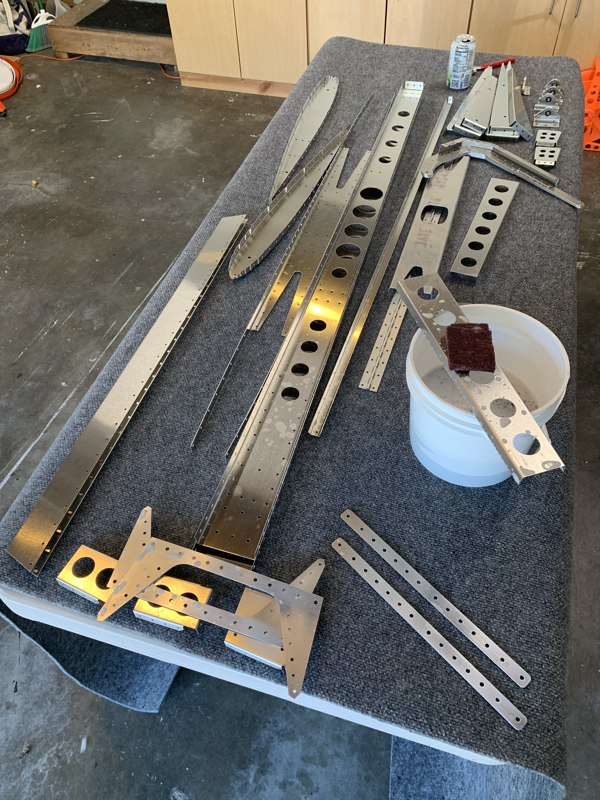
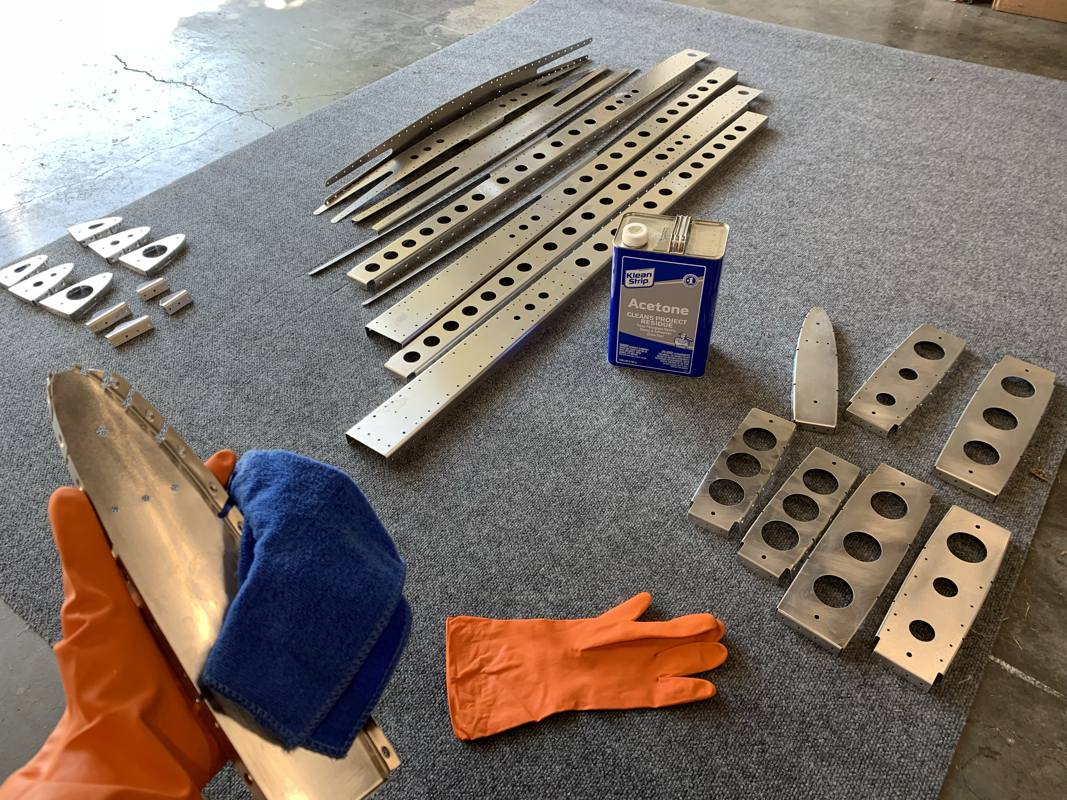
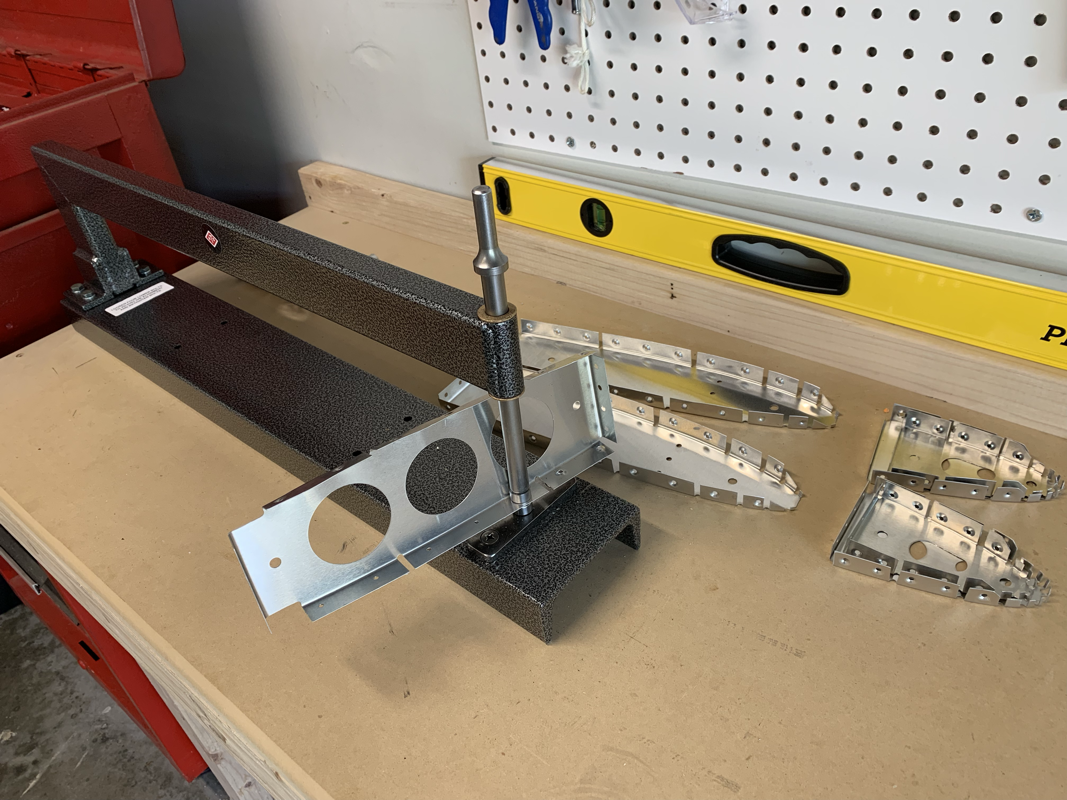
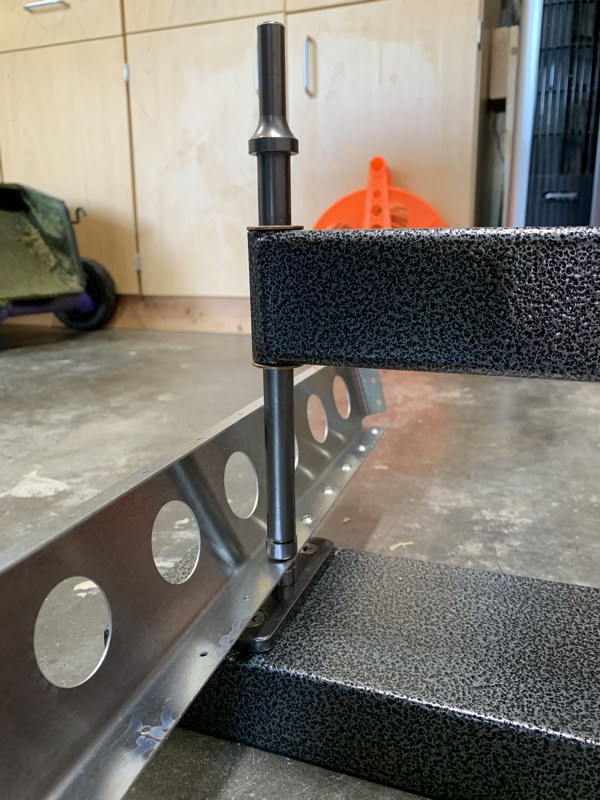
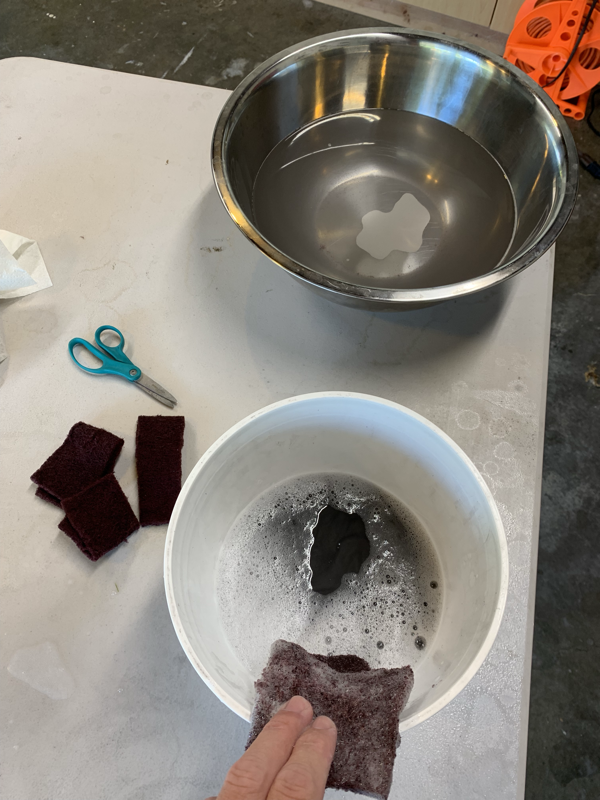
I was able to get as far as getting a single primer coat on before I had to do some more food prep and, well, my can of primer ran out. Definitely need to grab a few more tomorrow and looking to finish up the Horizontal Stabilizer this weekend. Also, I put an order in for the RAMI AV-12 VOR antenna, so that with the position light I already purchased, I should be good to go for the empennage electronics perspective. Now that I have the C-Frame, I started dimpling the horizontal stabilizer. Overall, it was a pretty quick exercise to dimple the ribs and spar, only a half hour. However, the spar is pretty thick, so it took a few extra wacks! I wasn’t sure about the quality, so I had my helper check my work and he gave me the thumbs up! Next up is dimpling the HS skin. Will get to that tomorrow! Well that was a task.. using some Simple Green 1:1 mix with water with a red Scotch-Brite scuffing pad took quite a while! I focused mainly on the areas that would be a ‘mating’ surface and that still took close to 1.5 hrs. The water sure did get dirty as you’ll see.. the aluminum ‘looked’ clean but I’m sure it goes through plenty of machining before it gets to the final product. As I saw on another blog, I removed the blue coating on the skins by using a heat iron. Simply run it across the coating and it will peel off! Now no need to worry about extra scratches on the skin until I’m ready to finish. Next up is making absolutely sure there’s no grease on the parts by using Acetone prior to priming. Maybe I can get the wife to help me next time for an extra set of hands? 🤔 I asked Barry for an update on the Quick Build progress and estimated ship date.
I put down my deposit in mid-March and was expecting shipment to be sometime in July. Unfortunately, I received word from production that the wing delays from earlier this year has still had a lasting effect on all of the builds after that. They mentioned that they could push delivery forward by about a week or two, so it's looking to be closer to the first week of August for an estimated ship date. Then it'll take a few weeks to travel by boat from South Africa to a US port. I'll be anxiously awaiting another update and hopefully I'll get some photos of progress in the mean time. |
Archives
September 2021
Categories
All
|


 RSS Feed
