|
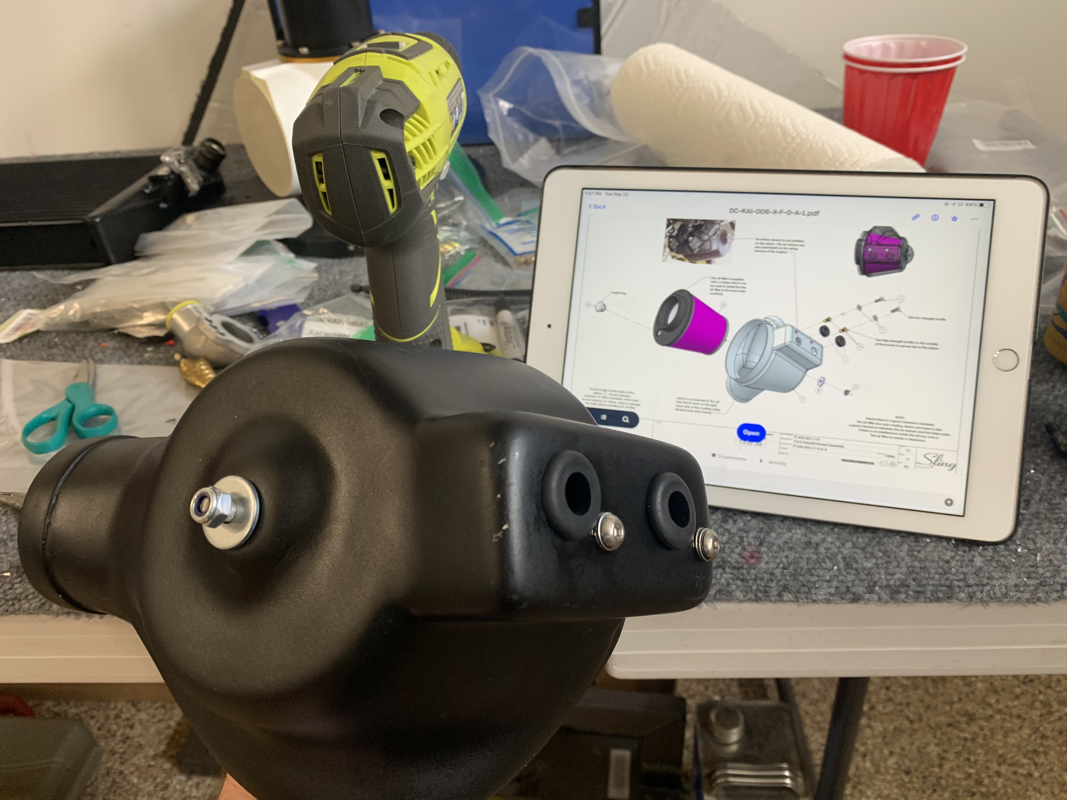
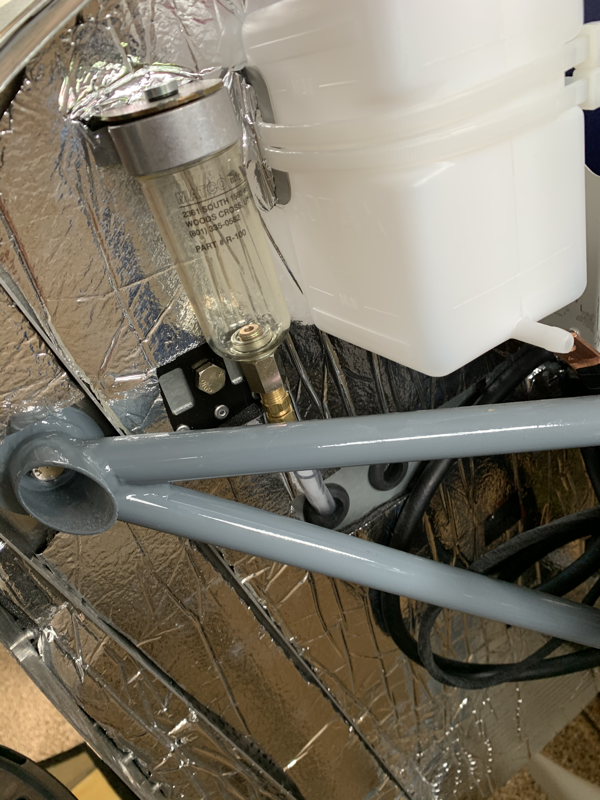
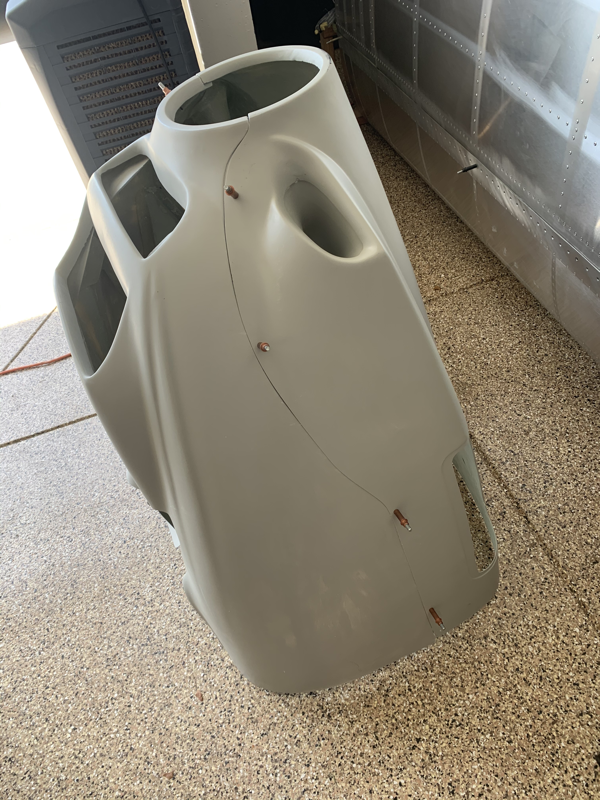
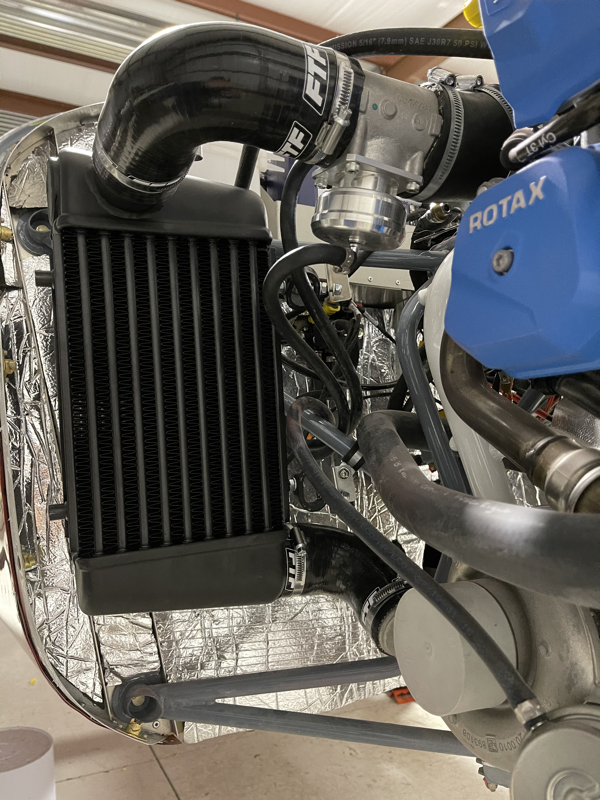
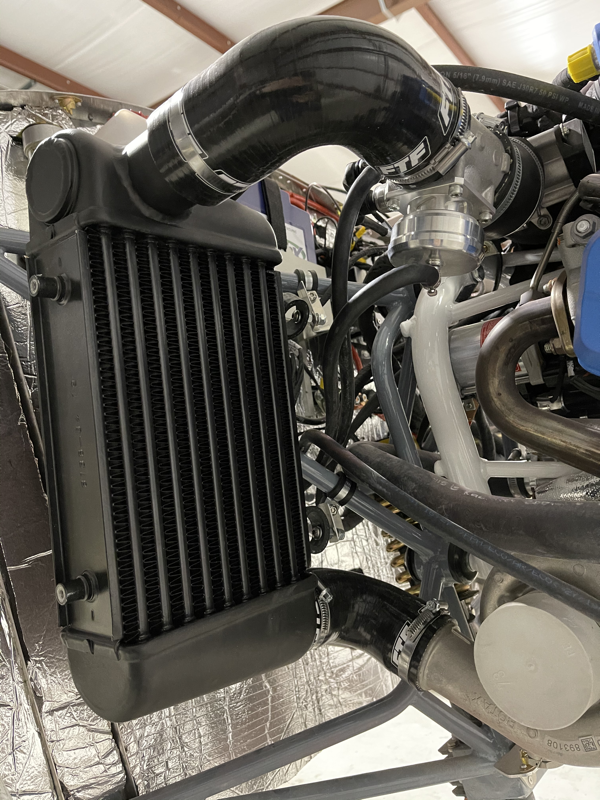
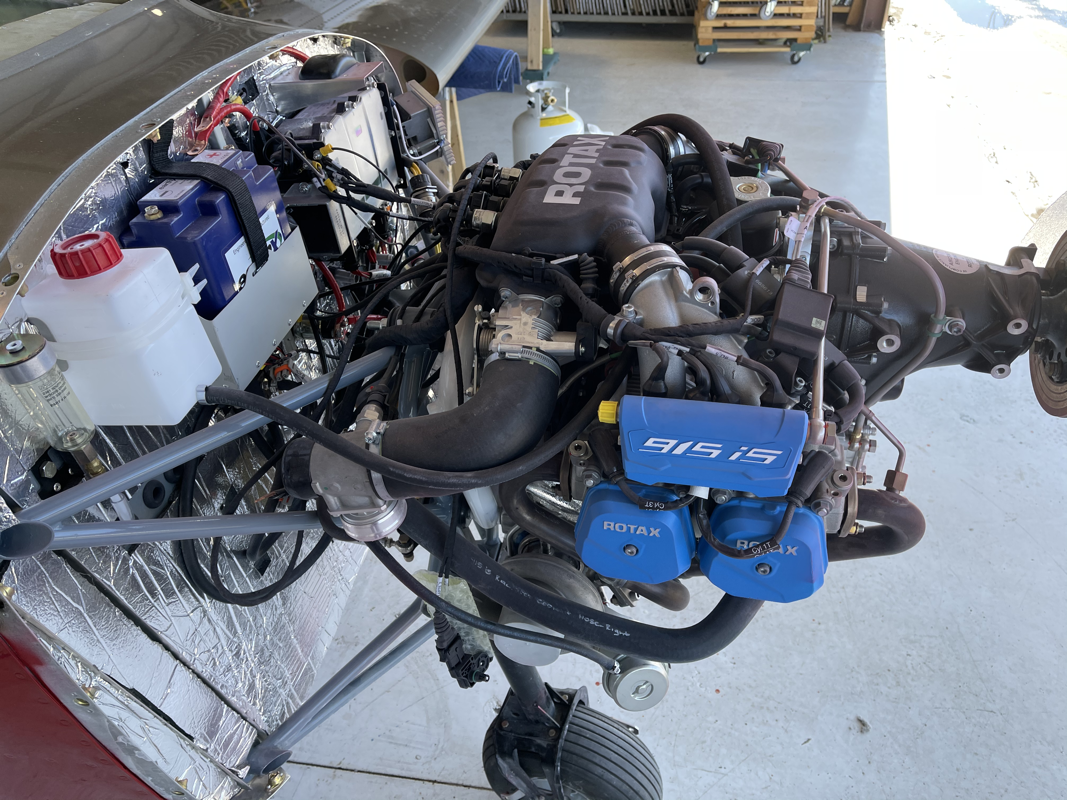
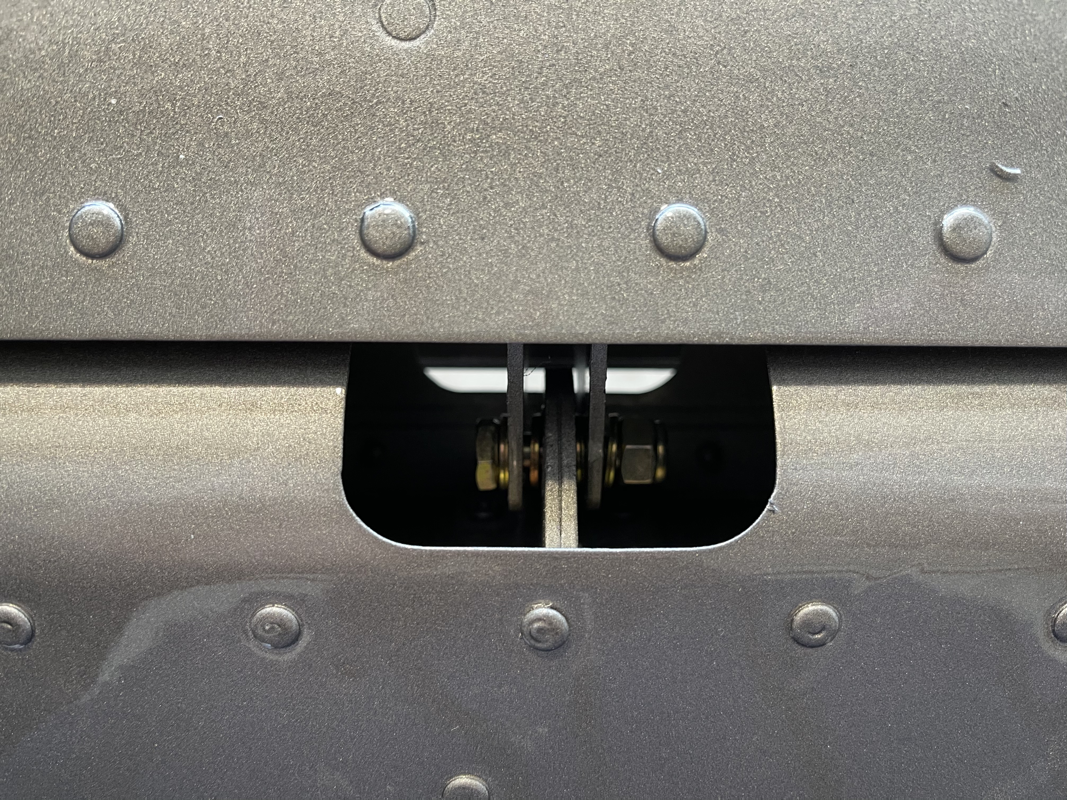
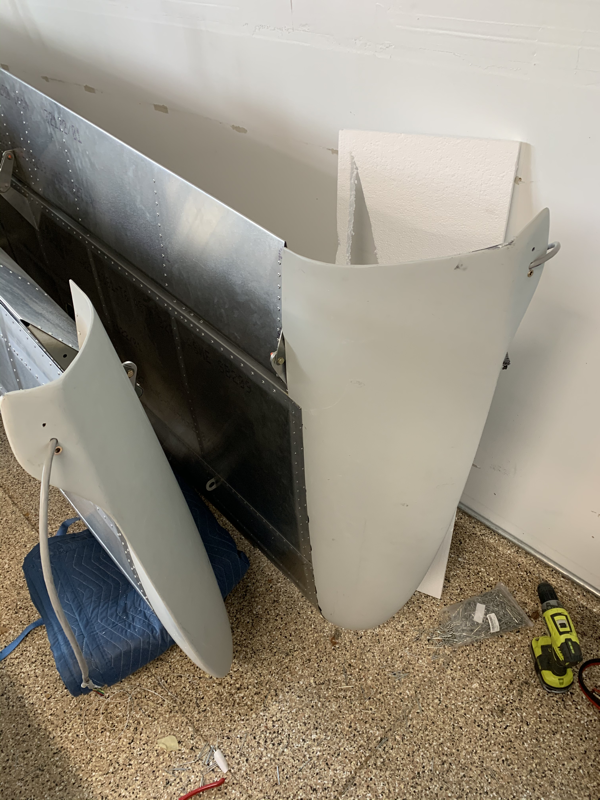
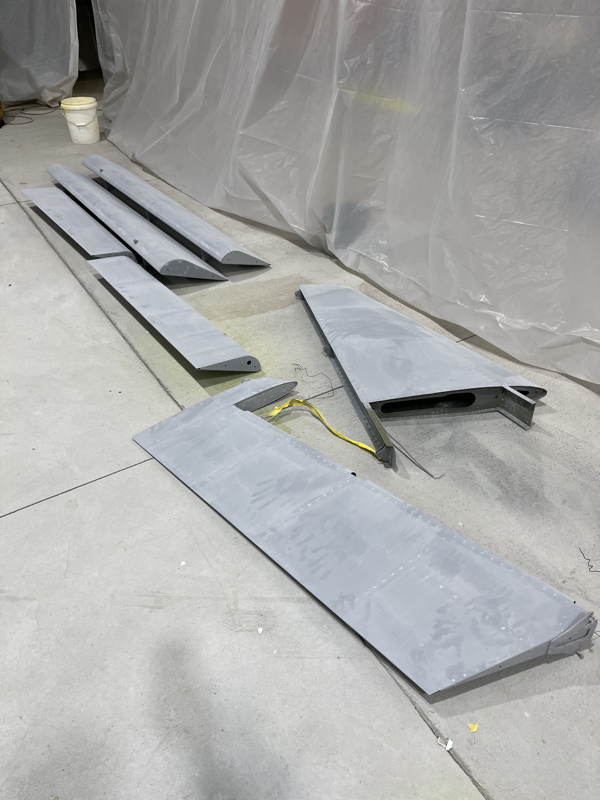
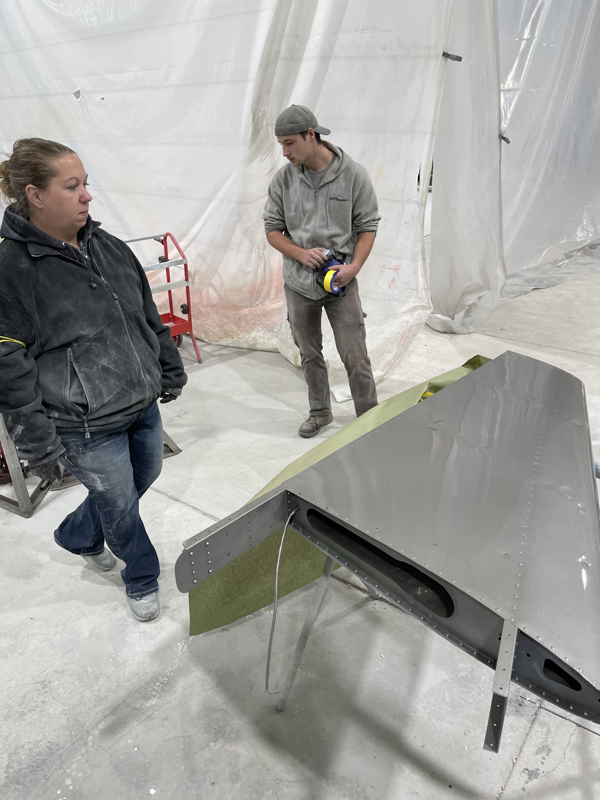
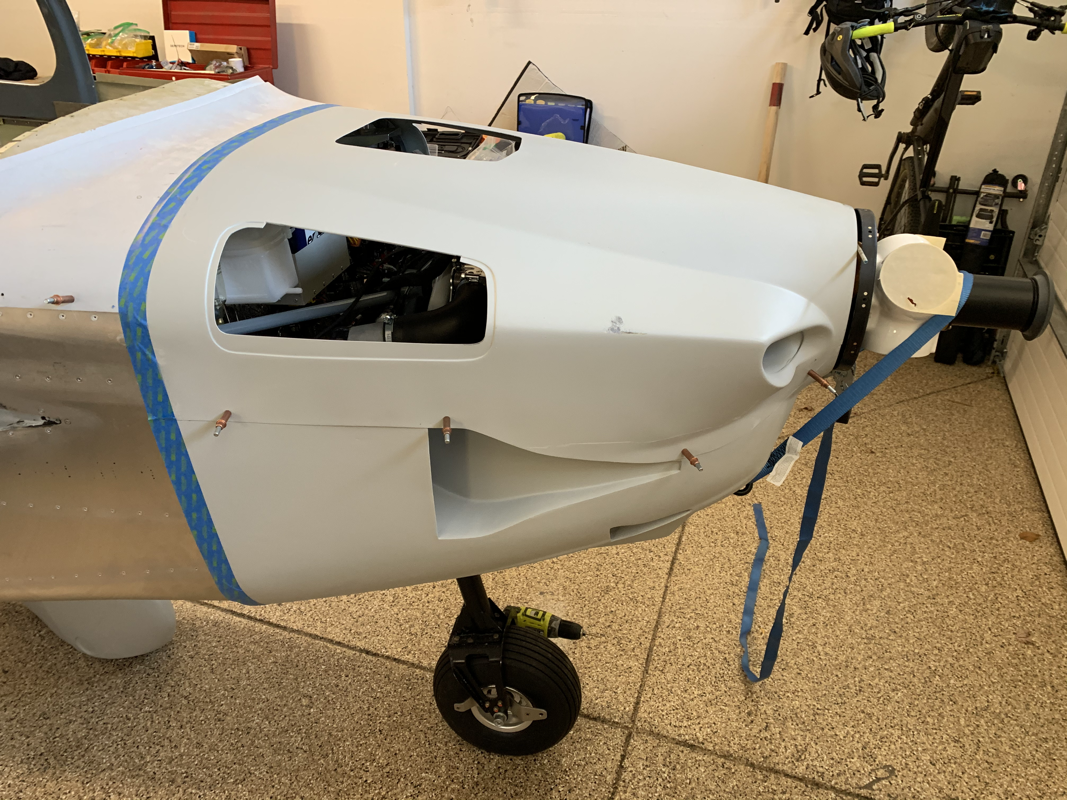
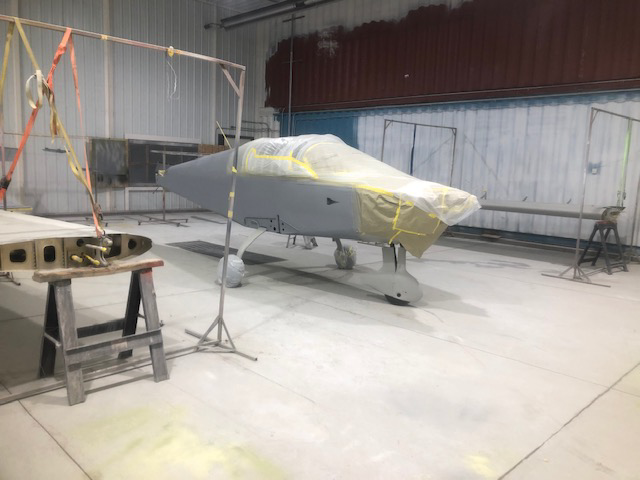
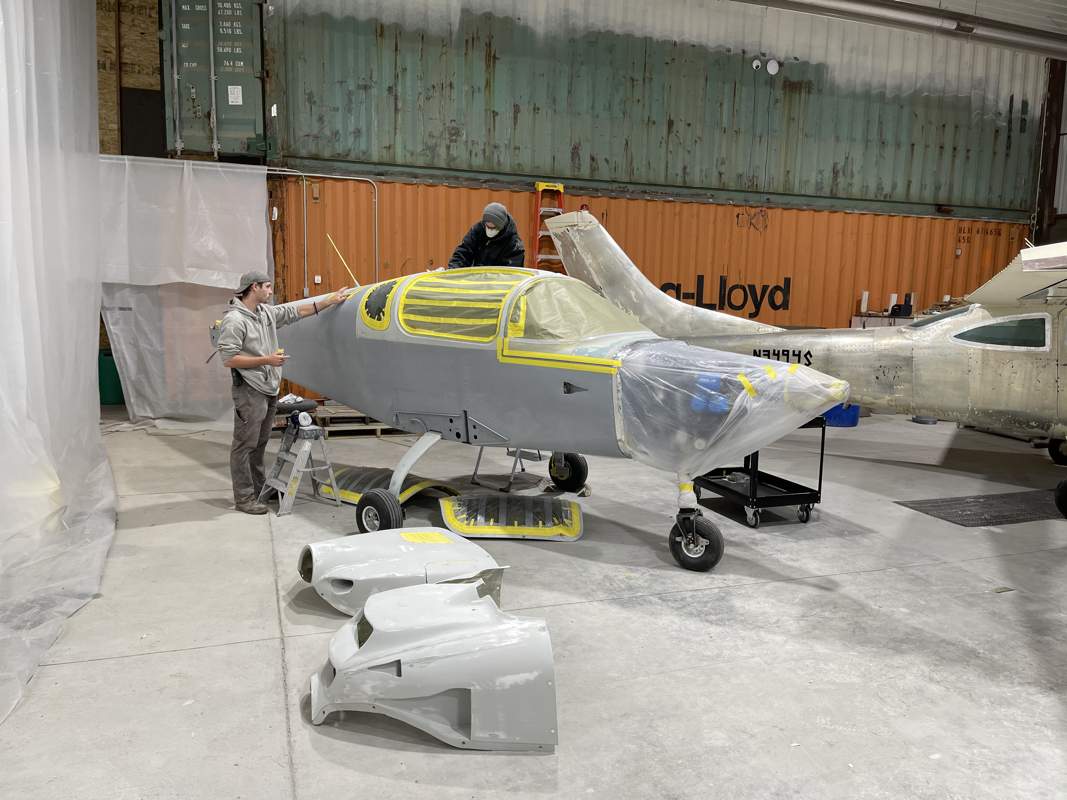
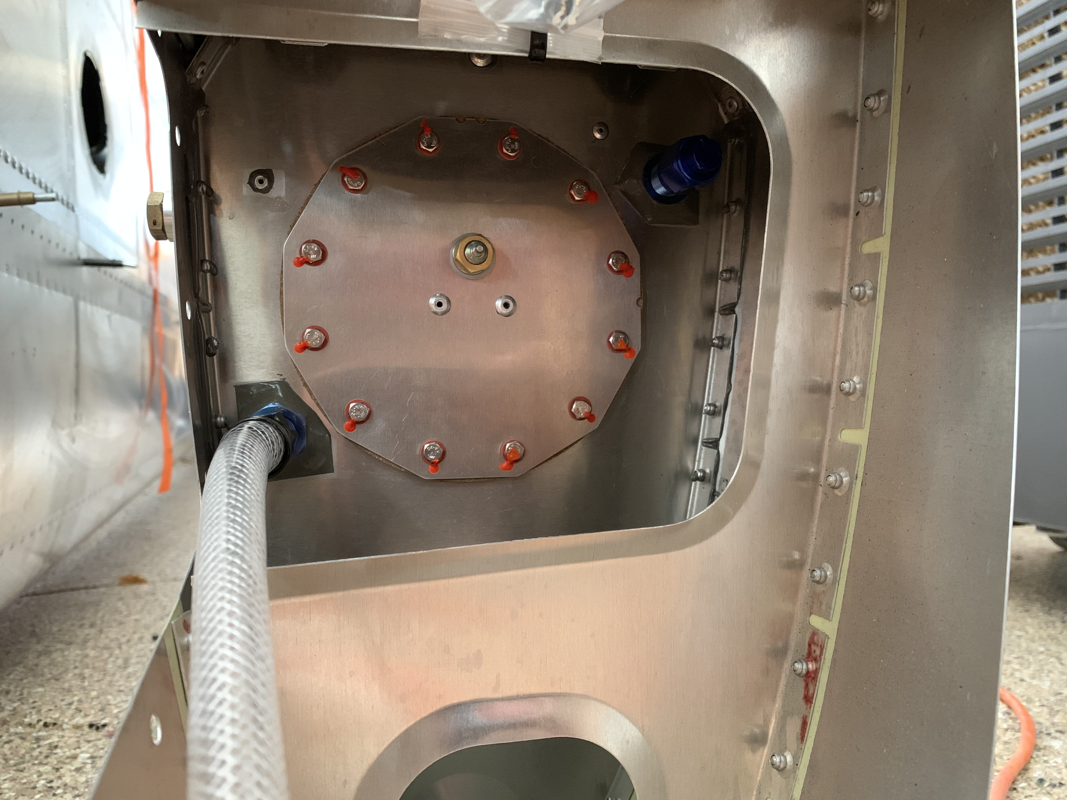
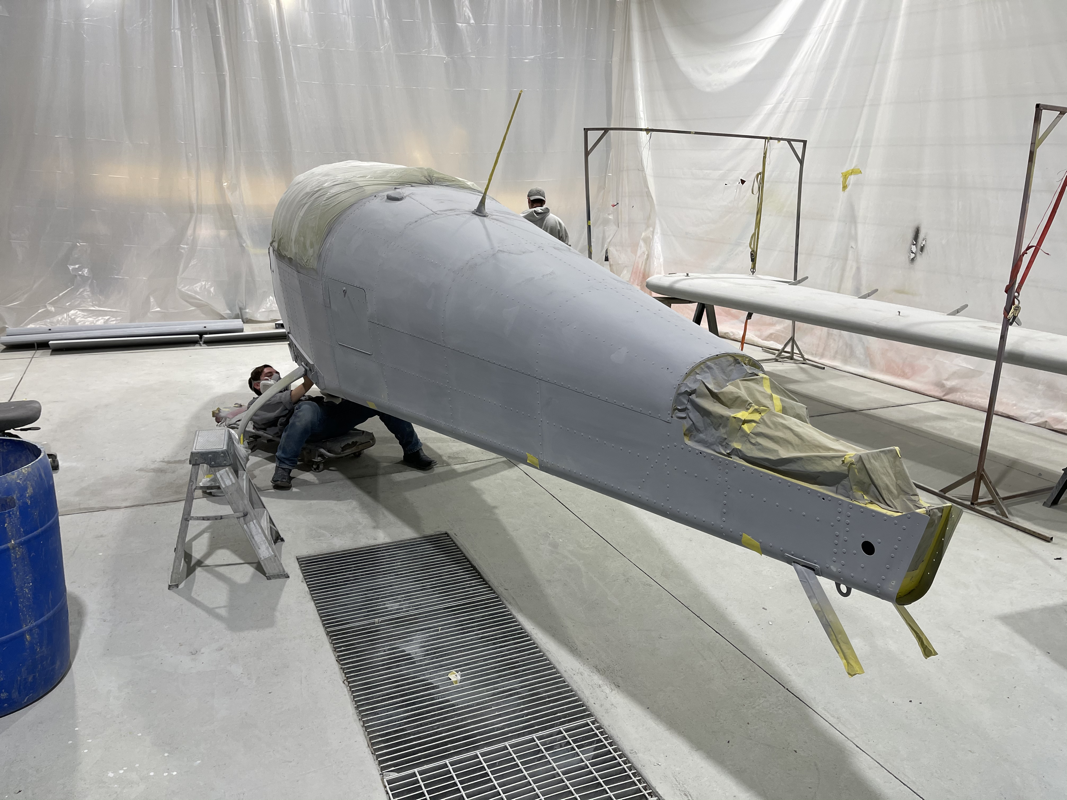
I decided I might as well get to doing Service Bulletin 17, which has me replace the aluminum rivets in the elevator control stops to stainless steel. To do so, I had to remove the ribs in the center console that hold down the elevator torque tube. After that, drilling the rivets out was easy with a flexible 90 degree drill bit. The service bulletin didn't specifically specify, but I decided to use some anti-corrosive on the stainless steel rivets since it will be in contact with a dissimilar metal. I was not fully satisfied with the stiffness of my elevator and wanted to make sure it was butter smooth this time. While I had the elevator ribs out, I decided to give them a good shaving around the area that holds the torque tube bushing with a dremel. I tried fitting a few times and sanded a bit more. I finally got it to where there's zero resistance! Definitely happy I got that resolved. Before you install the side panels, the factory suggests using some high density foam to block open areas in the rear passenger air channel. I couldn't find any decent foam blocks, so I decided to get some polyurethane based foam. It did the trick and shaving it to size was easy with a hand saw. Next I moved on to starting to wire up the canopy for the front and rear lights. There's a tube that routes from the back left of the cockpit through the canopy and exits in the center between all the light holes. Not too easy to see in there, so I used a wireless borescope to understand what I'm working with. I had to punch some holes through the styrofoam in the canopy to get the wires through to the front pilot light areas. The rear passenger lights were easy since the tubing routes by the hole. I'll put on a protective sleeve on the wires that exit the canopy and route them below the rear seat for connection to the harness. I was really excited to get the avionics mounted and wired up. It would also let me know the proper placement of the wiring harness so I can secure the harness to the fuselage’s channels with zip ties. I did have to get some angled aluminum from Home Depot to help secure the doubler plate on the back to the rib flange, but that was the only item that required a bit of work. It took me all of 20 minutes to wire up all the avionics on deck! Can’t thank the guys at MidWest Panel Builders enough for their work on the harness! It is a few steps ahead, but I wanted to see how it looked with the upholstered dash and the avionics panel. Looking good! I’ll be taking those off so I can do the firewall forward kit and engine.. expected to arrive in September. Until then, I’ll make sure all the wires and pitot static lines are secured in the channels. I already started with the passenger headphone jacks. The sticky square zip tie things come in handy! Just stick it on and run the zip tie through the channel. I’ll also be working on some of the Service Bulletins that came out for the wing spar rivets and the elevator stops and replace the aluminum rivets with some stronger stainless steel rivets. It's been a while since I was able to work on the plane with summer vacation, family visiting etc... So I was happy to get my hands dirty again. I drilled a hole for the outside air temperature sensor on the pilot side air scoop. It's good to get this done before you mess with trying to mount the avionics panel, as things get pretty tight. The modular panel rack system that MidWest Panel Builders provided requires that the top fiberglass skin be on to provide adequate support of the 'panel' rib. So I went ahead and used my nifty hole finder tool. Just plug it in the rivet hole and place the drill on the other end and viola! I couldn't imagine trying to get those holes aligned blindly. I'd highly recommend them! The only remaining metal pieces I have are the cowling strips that connect the fuselage and the cowling. It is a bit difficult to figure out exactly how they are placed based on the instructions, so hoping the close up pictures help others. It took me reaching out to a fellow builder to stop scratching my head! You take one skinny strip and one larger strip and line them up. The side with an angle will be at the bottom of the fuselage, the flat end on top. You then have to dimple the first 18 holes in each for the countersunk rivets on the fuselage. Make sure to fit the pieces to the frame before and label which side is which first - they only fit one way. You don't want to end up with a strip with dimples the wrong direction (almost made that mistake). From there, you'll fit the skinny strip between the outer fuselage skin and the firewall flanges. I used a rubber mallet to assist getting that in there. Then you can fit the larger strip on the inside of the firewall flanges. It helps to cleco from the bottom up as you go to make sure the holes align. Now that those items are done, I can finally start mounting my avionics panel! |
Archives
September 2021
Categories
All
|


 RSS Feed
