|
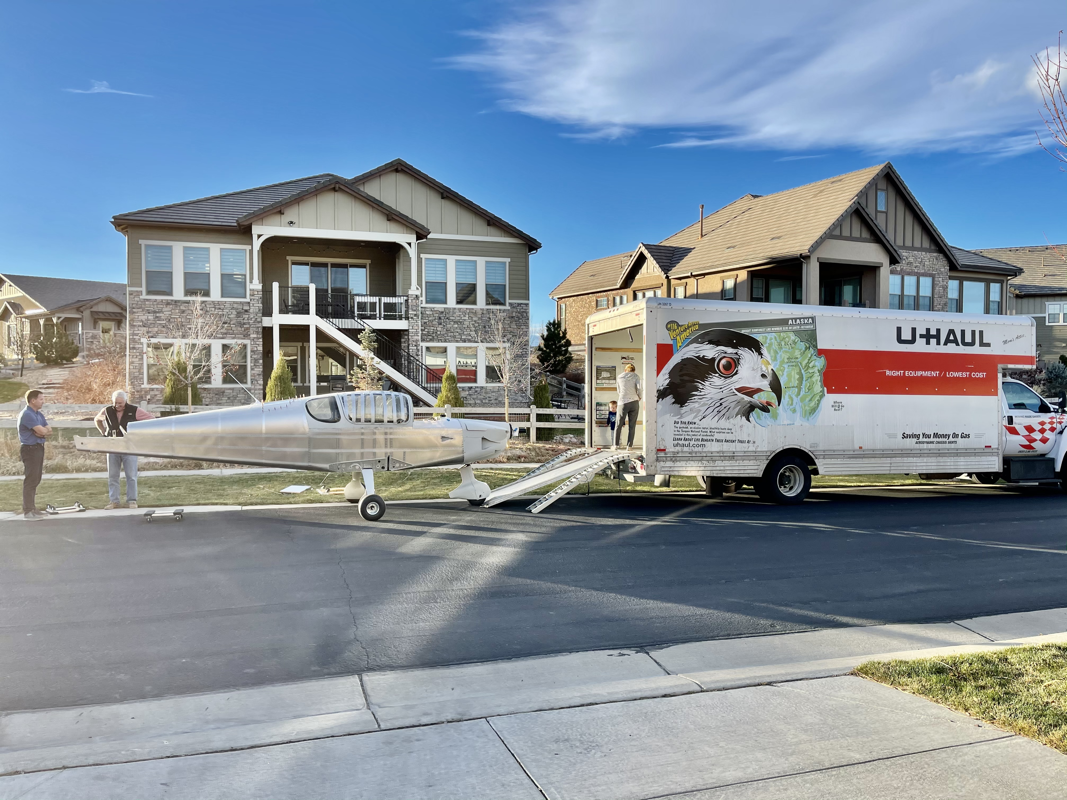
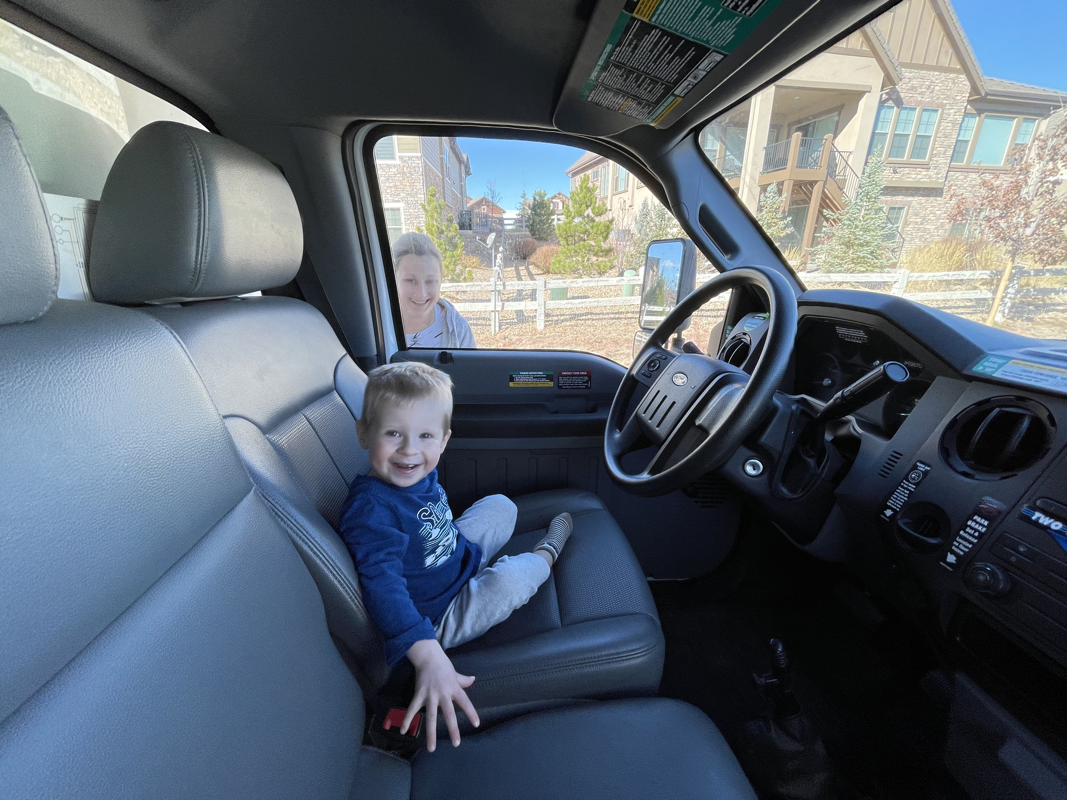
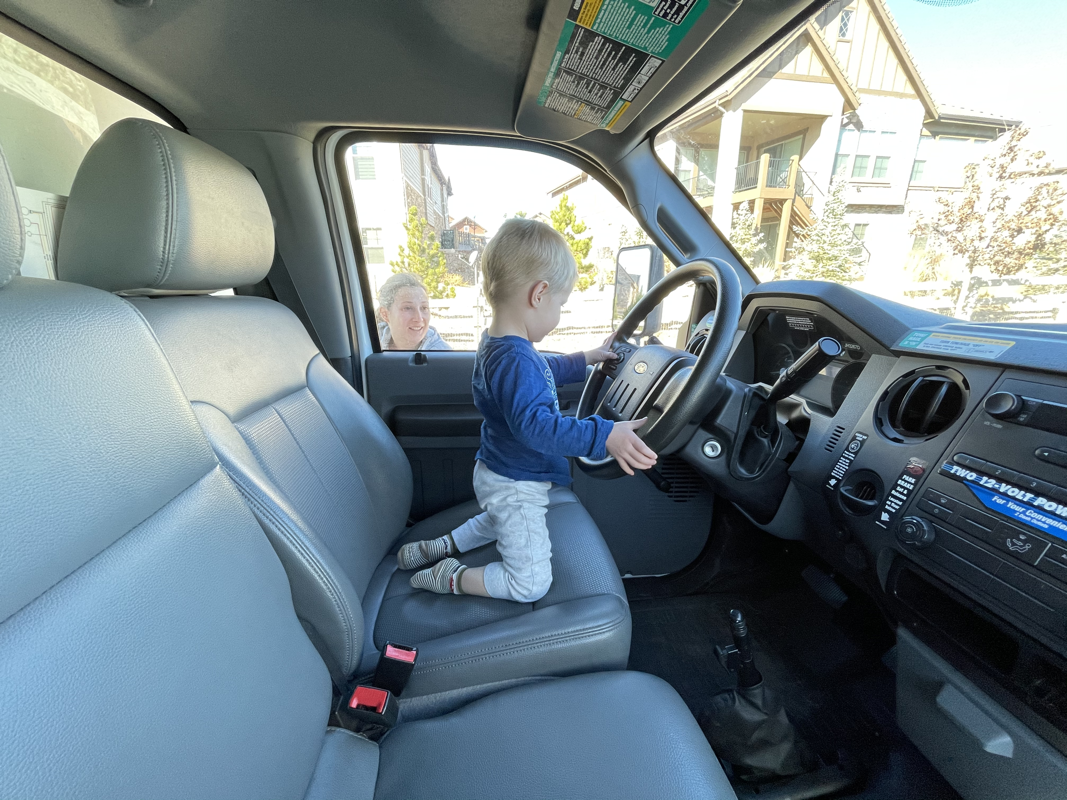
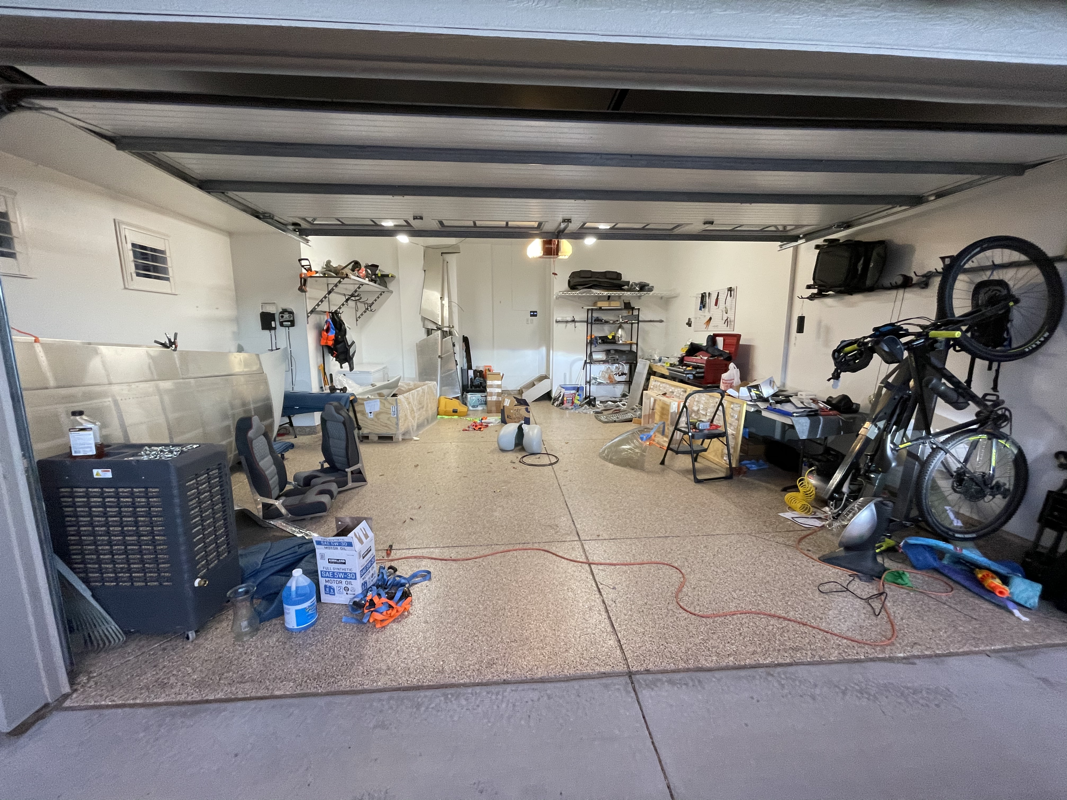
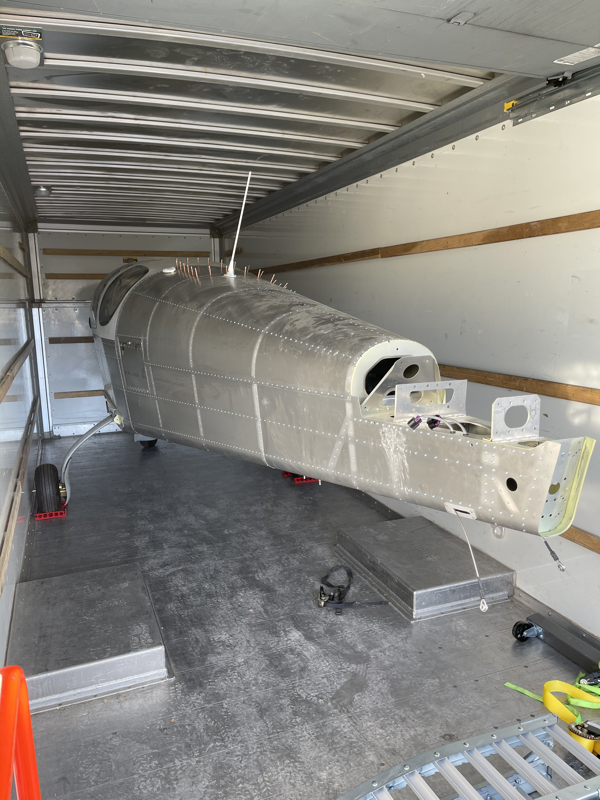
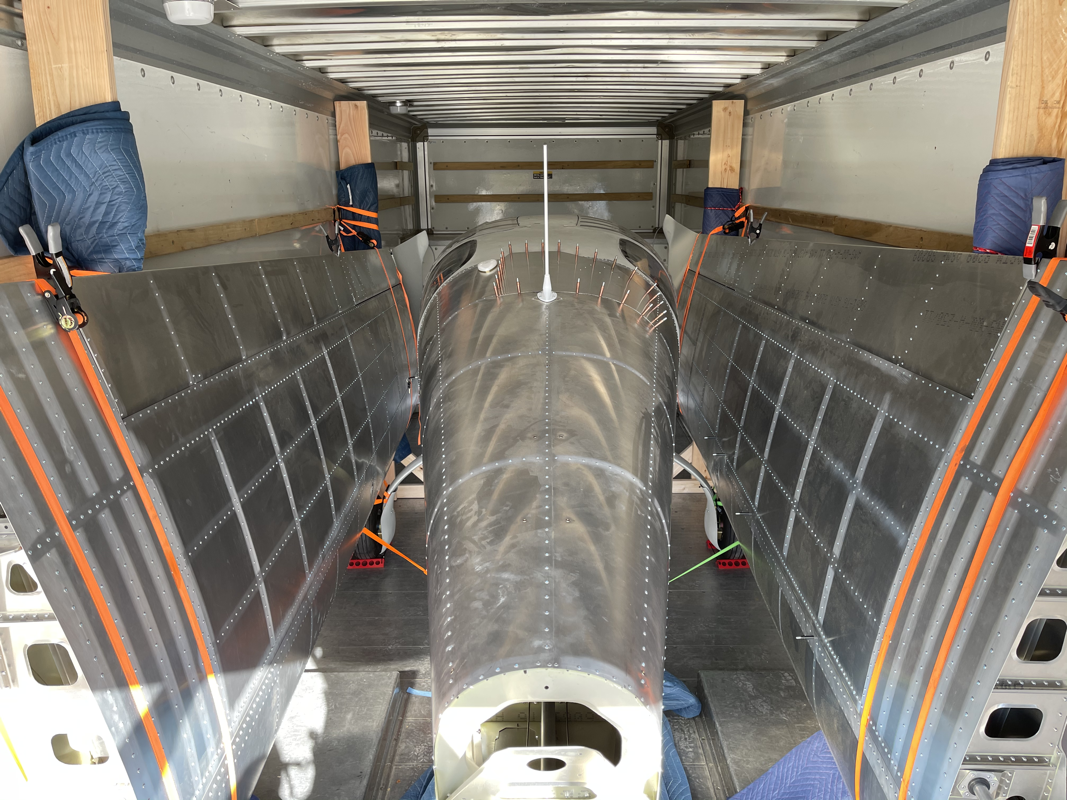
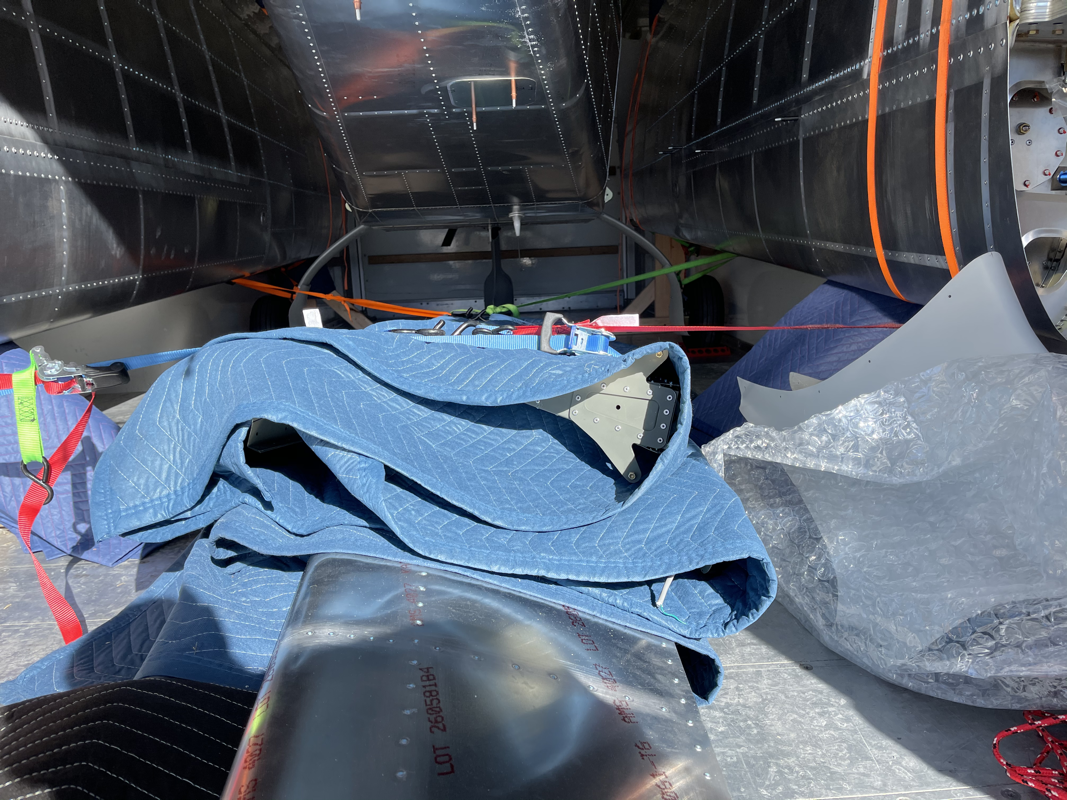
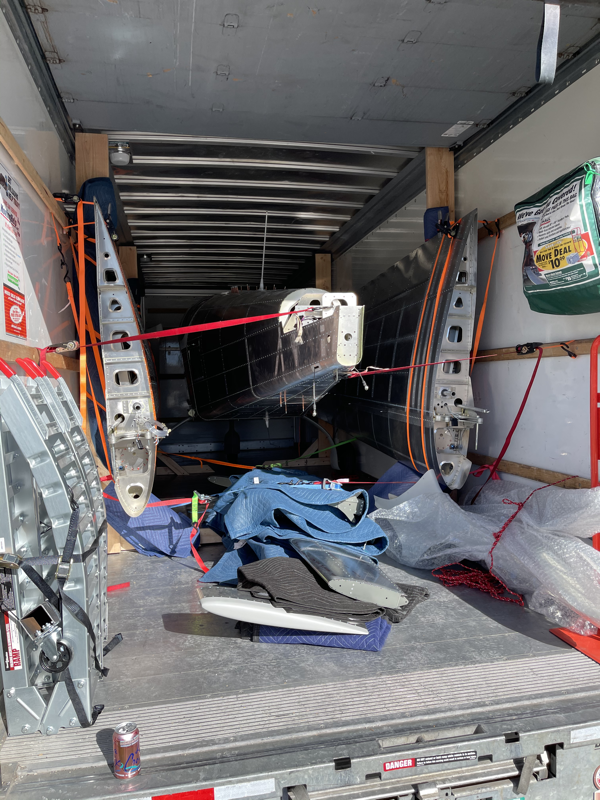
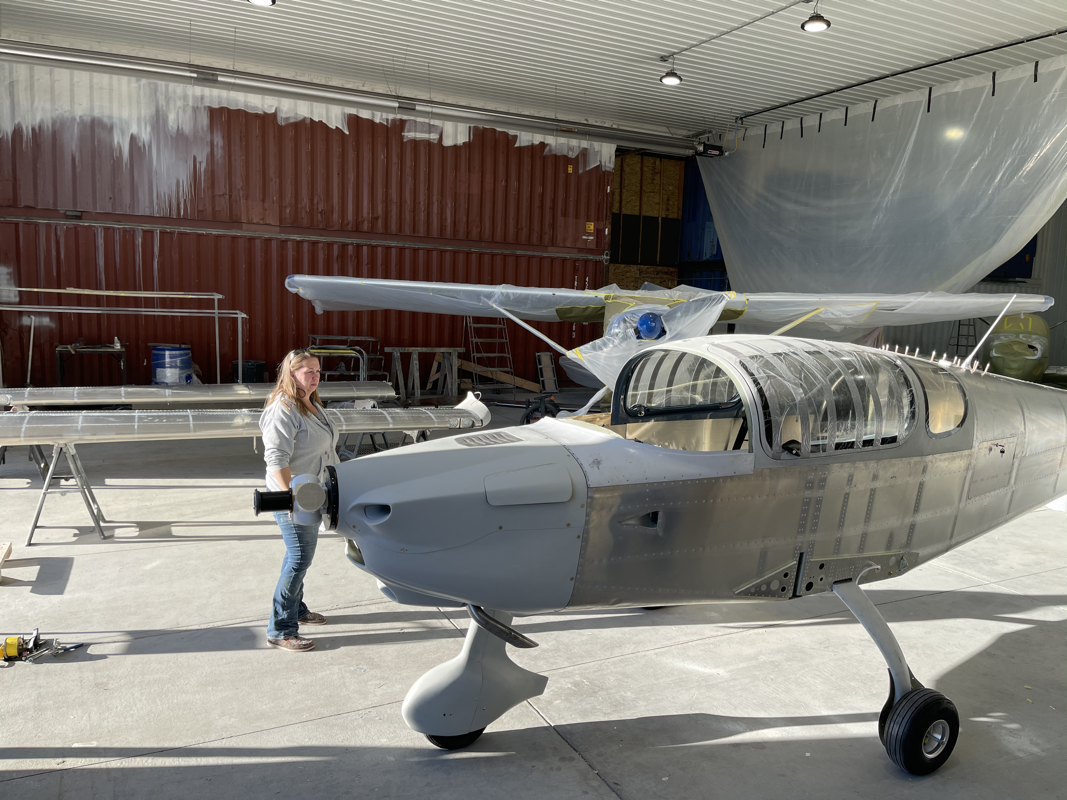
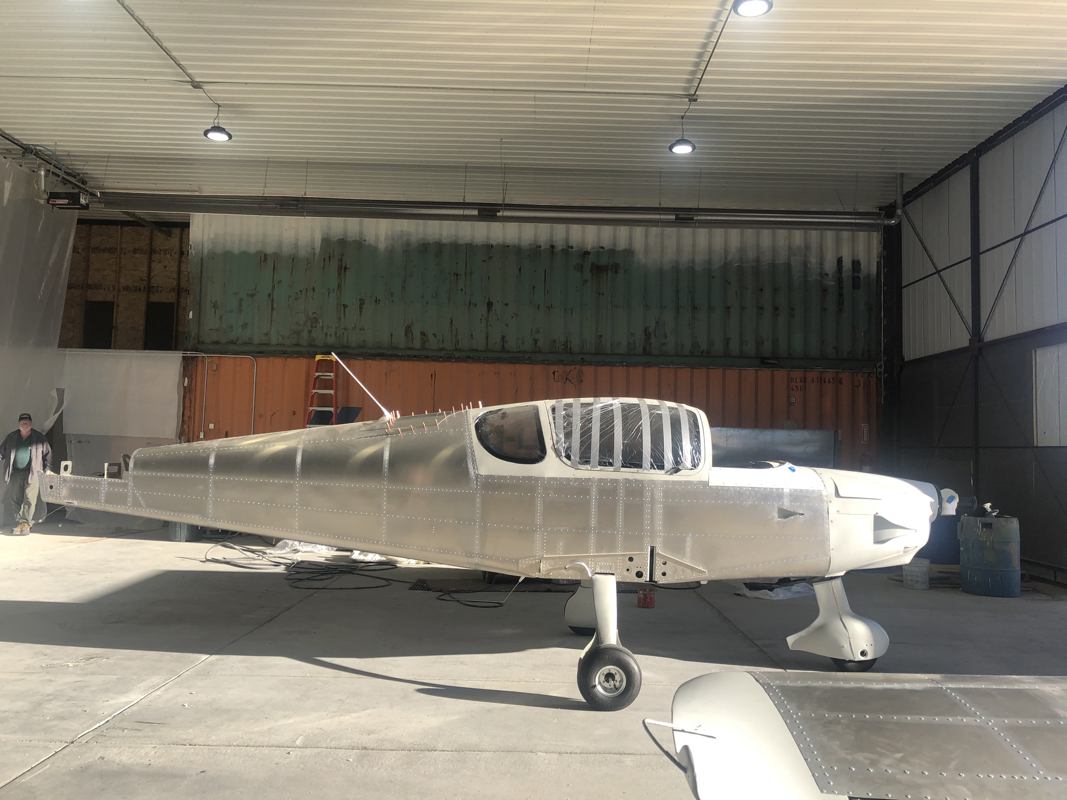
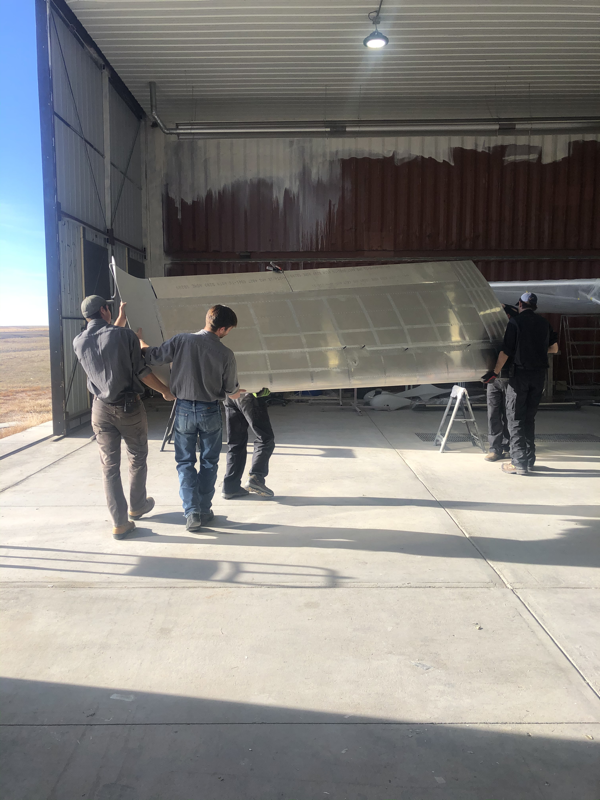
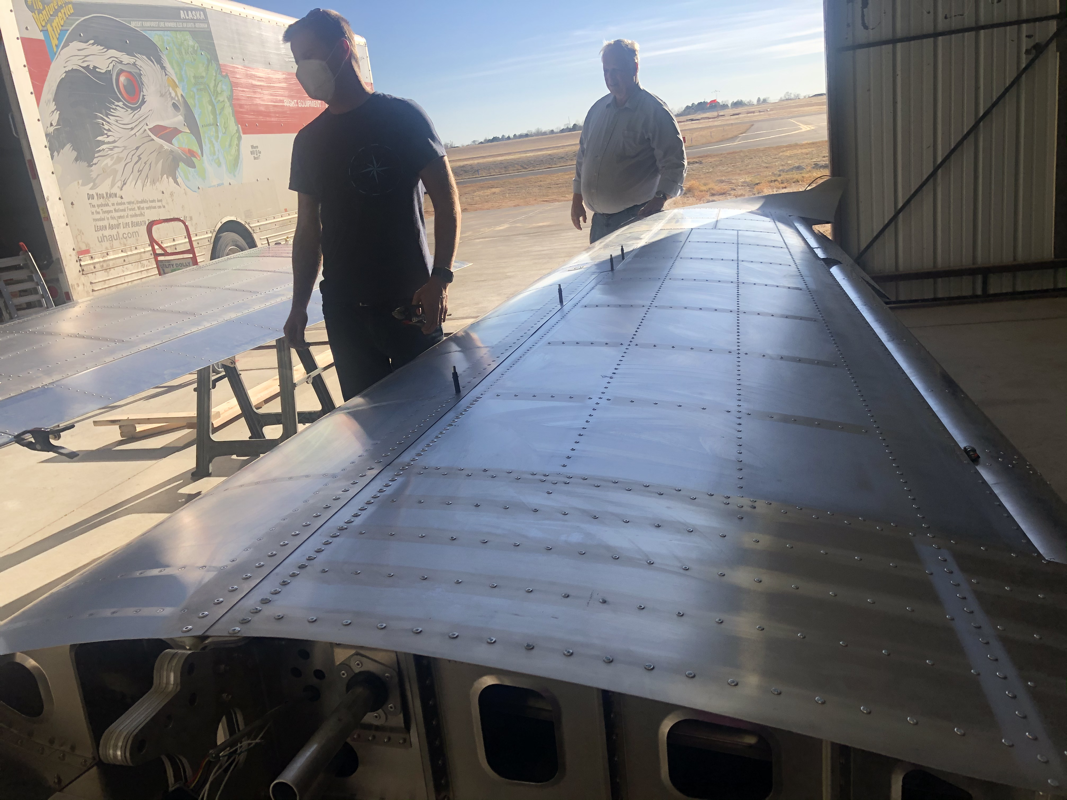
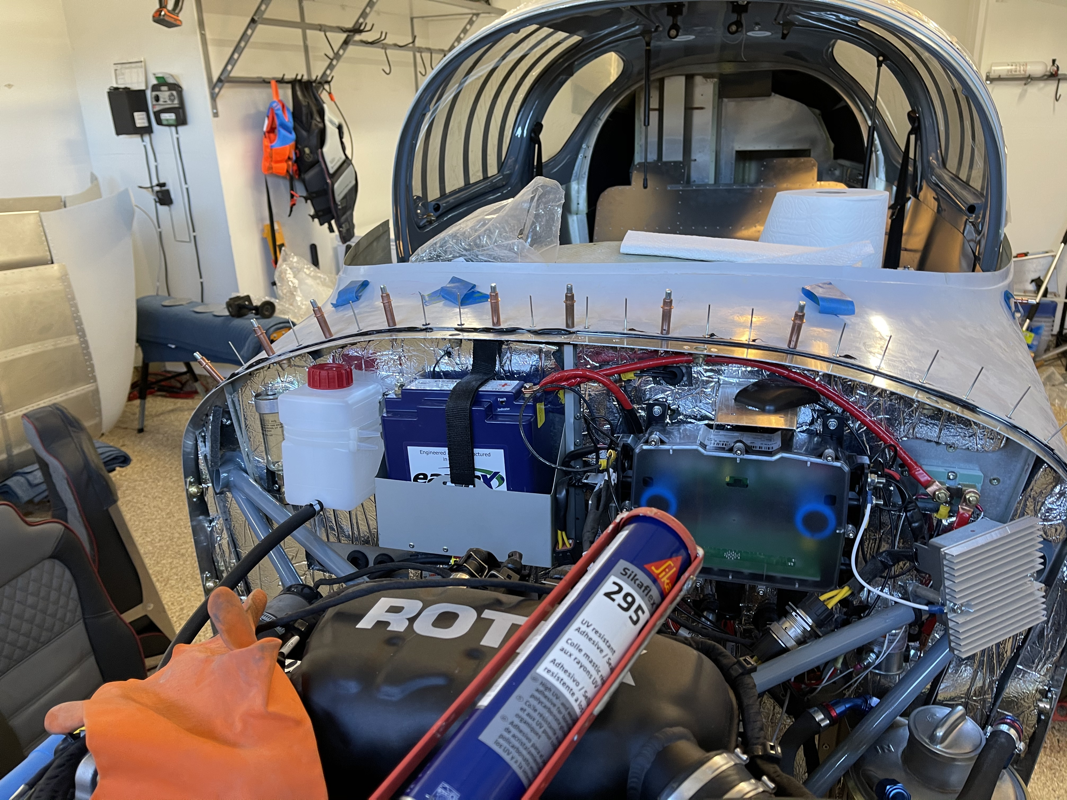
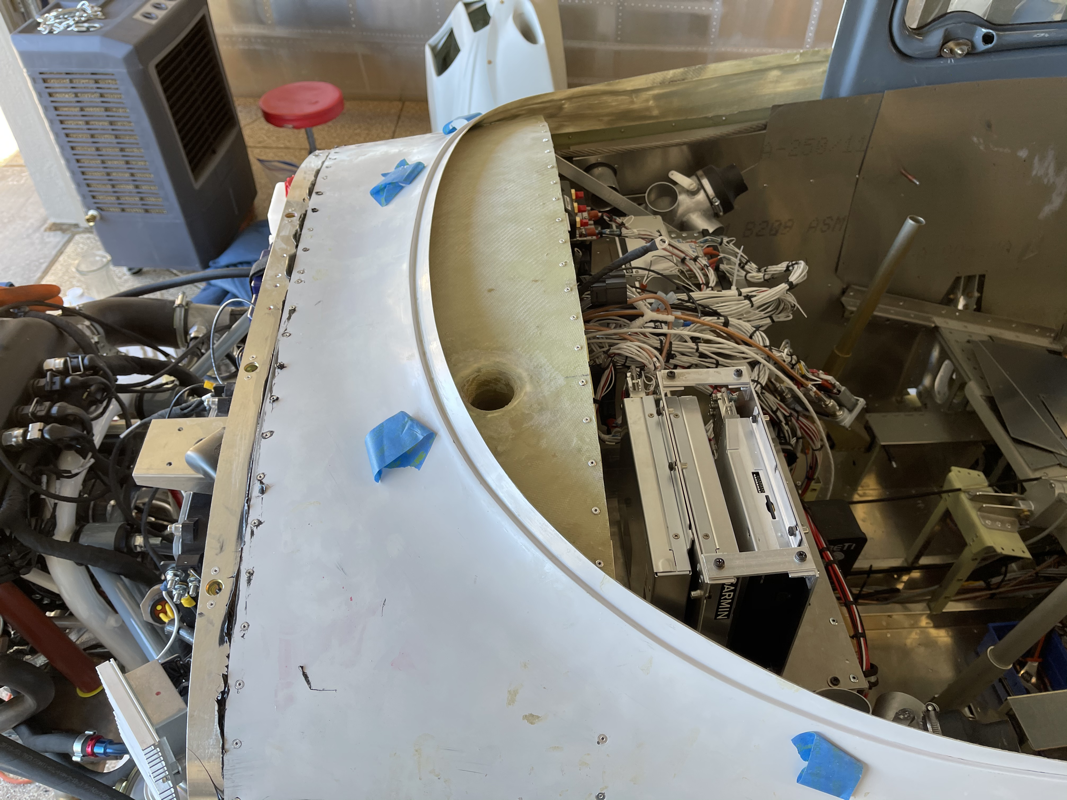
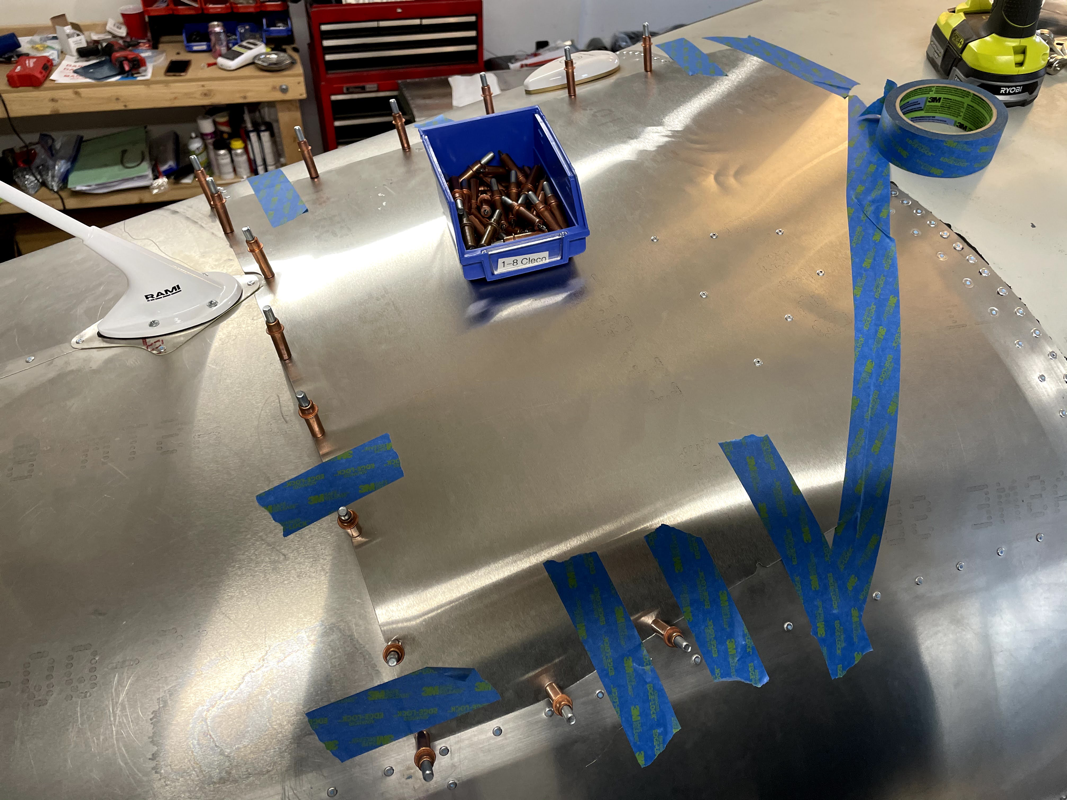
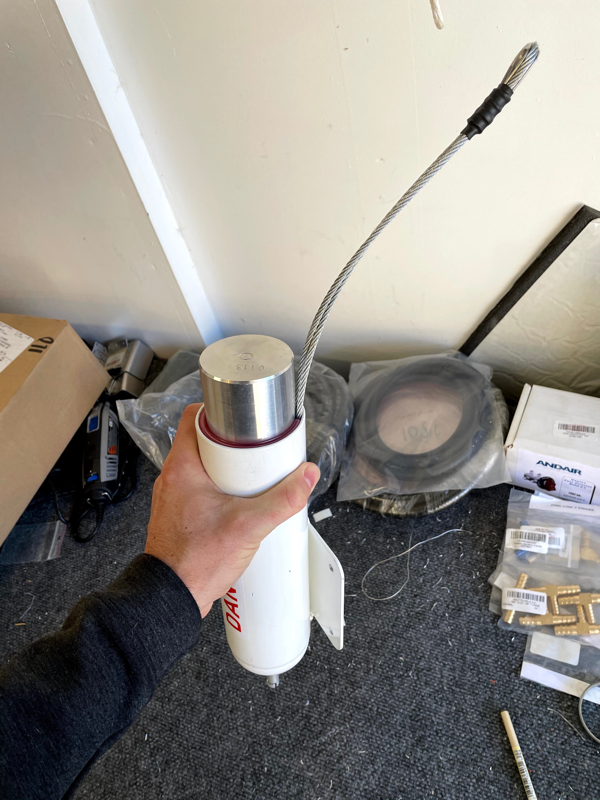
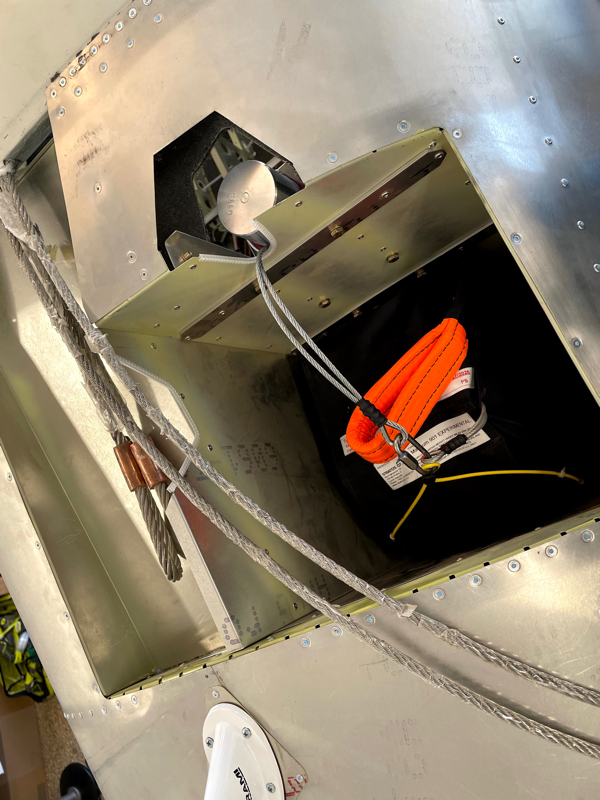
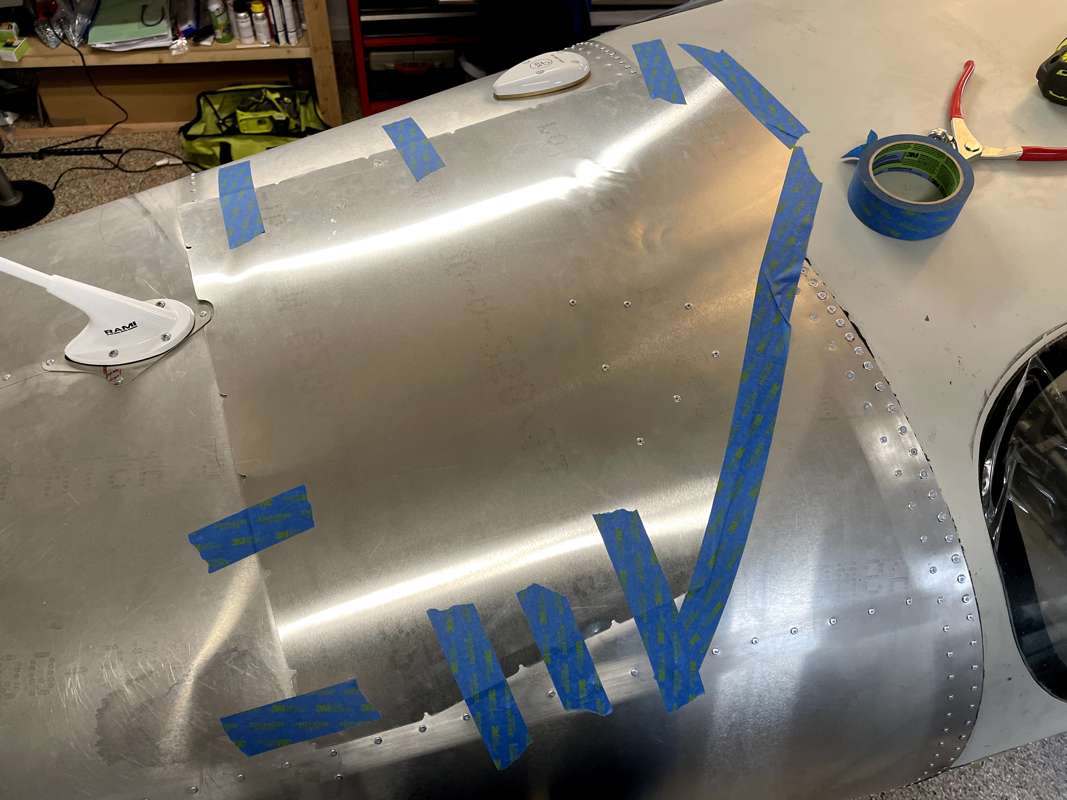
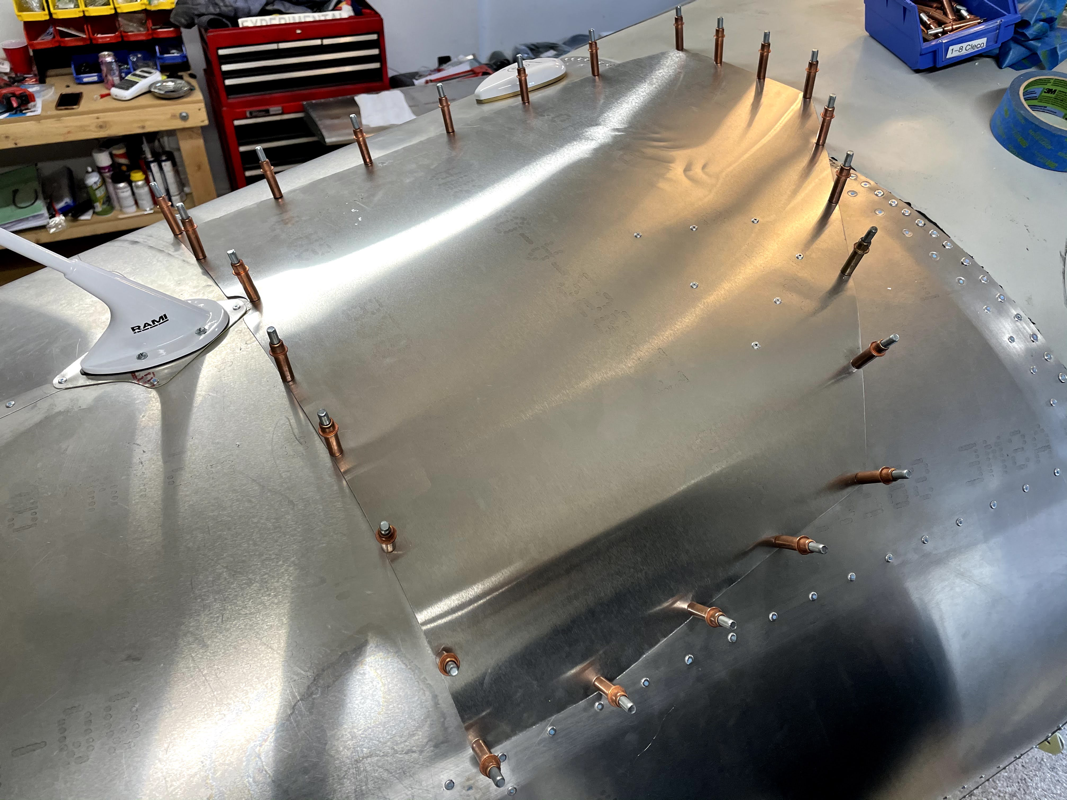
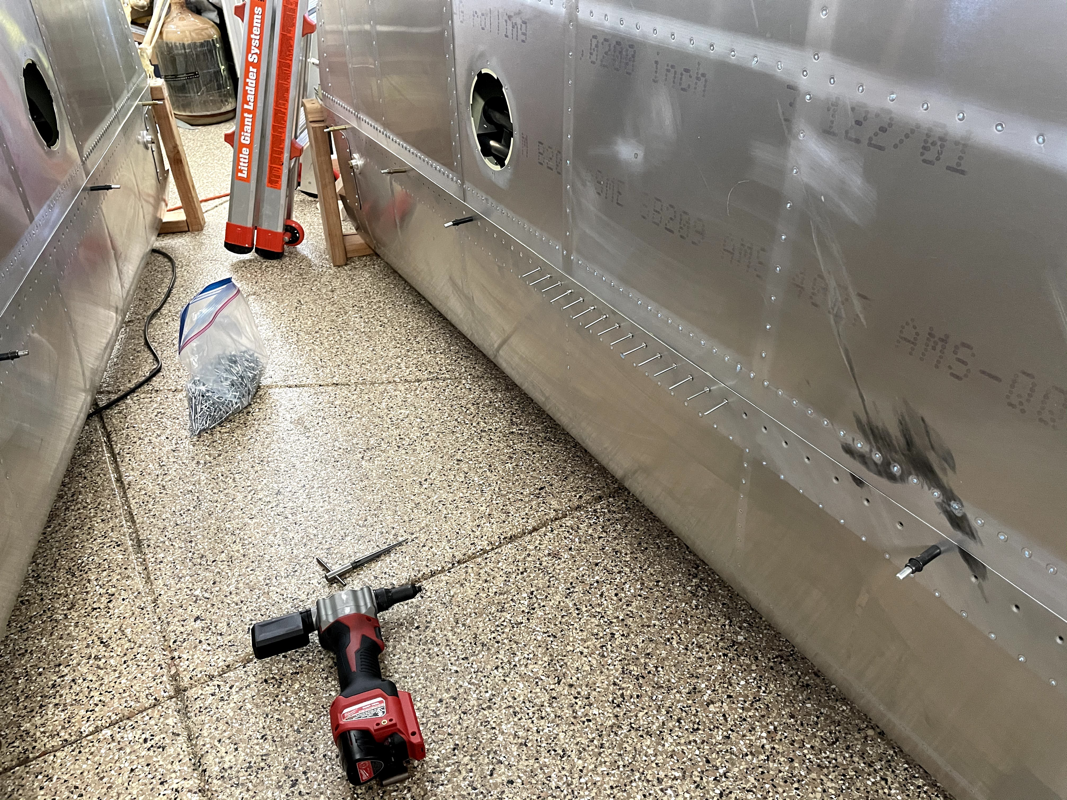
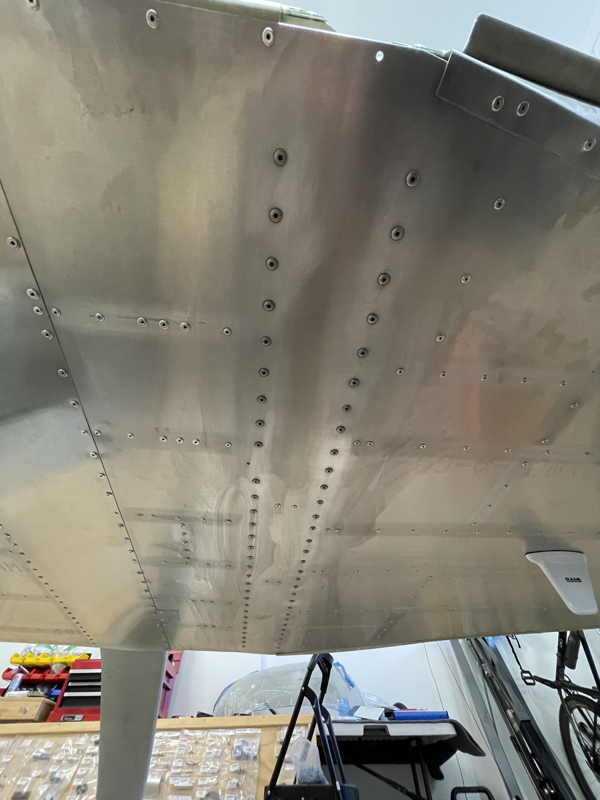
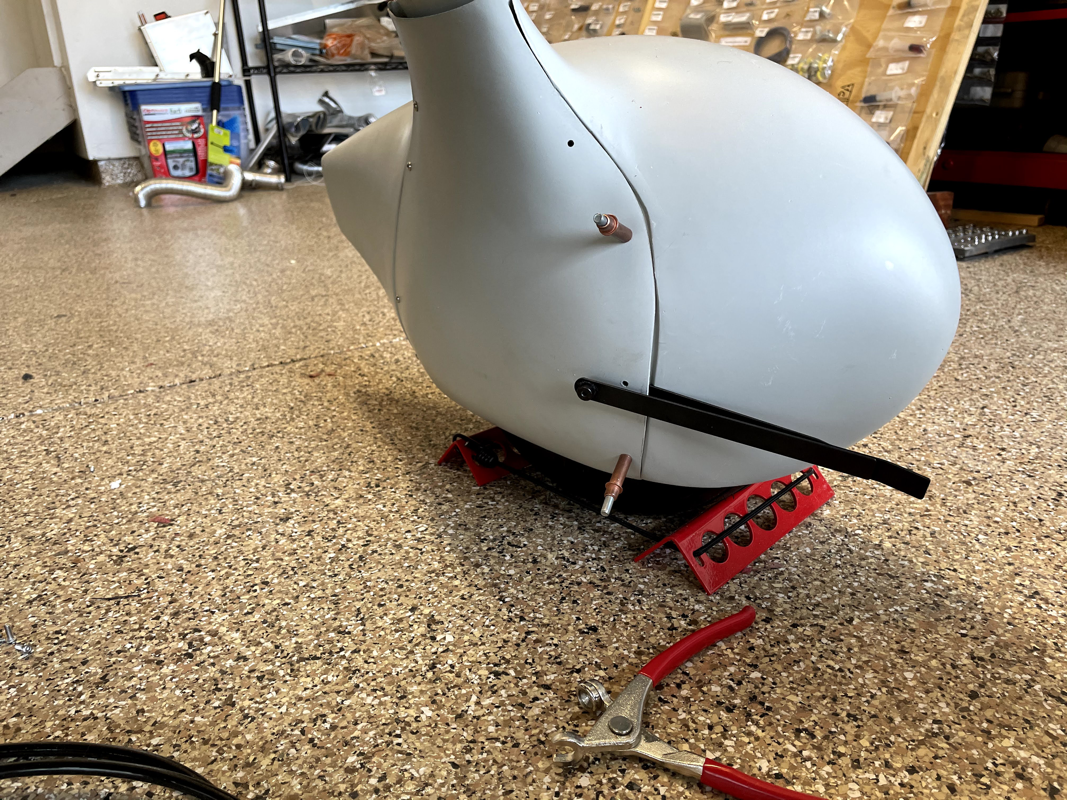
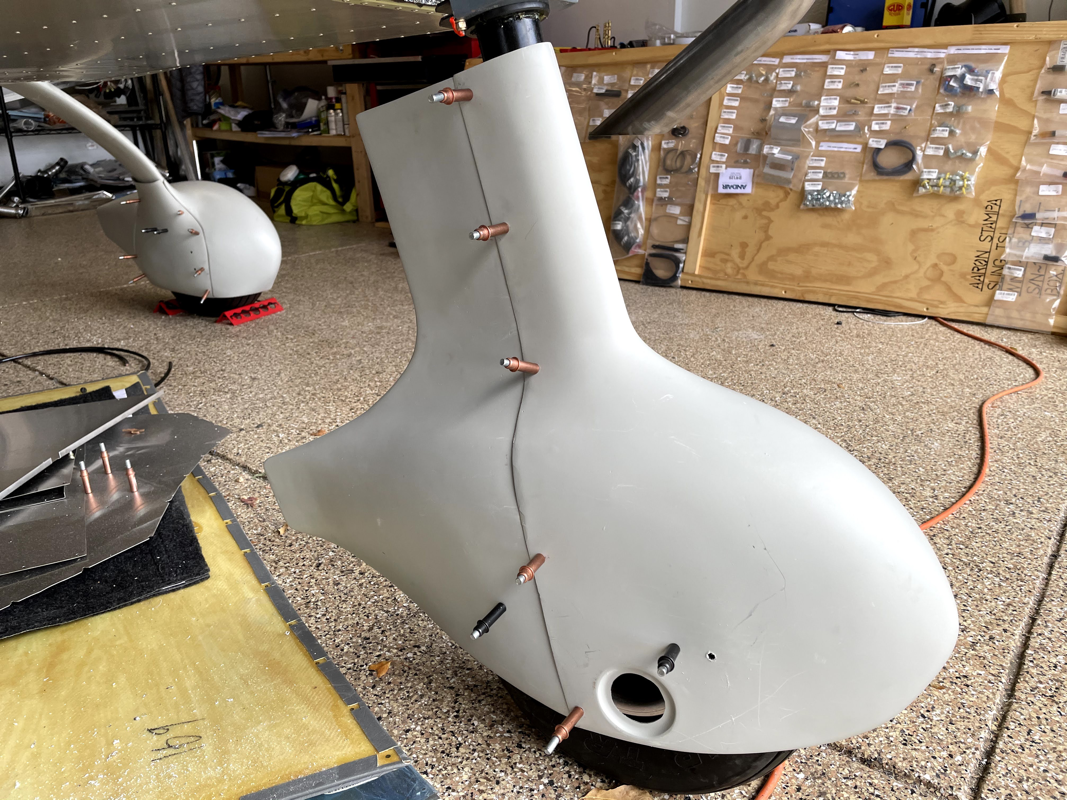
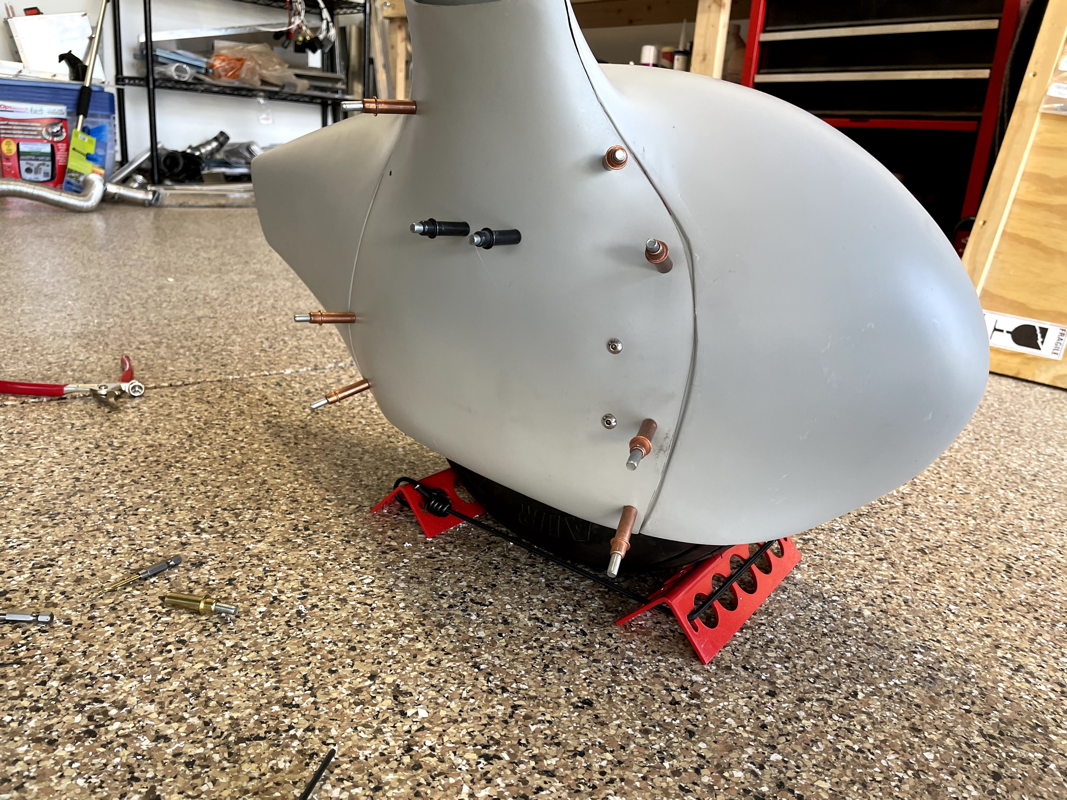
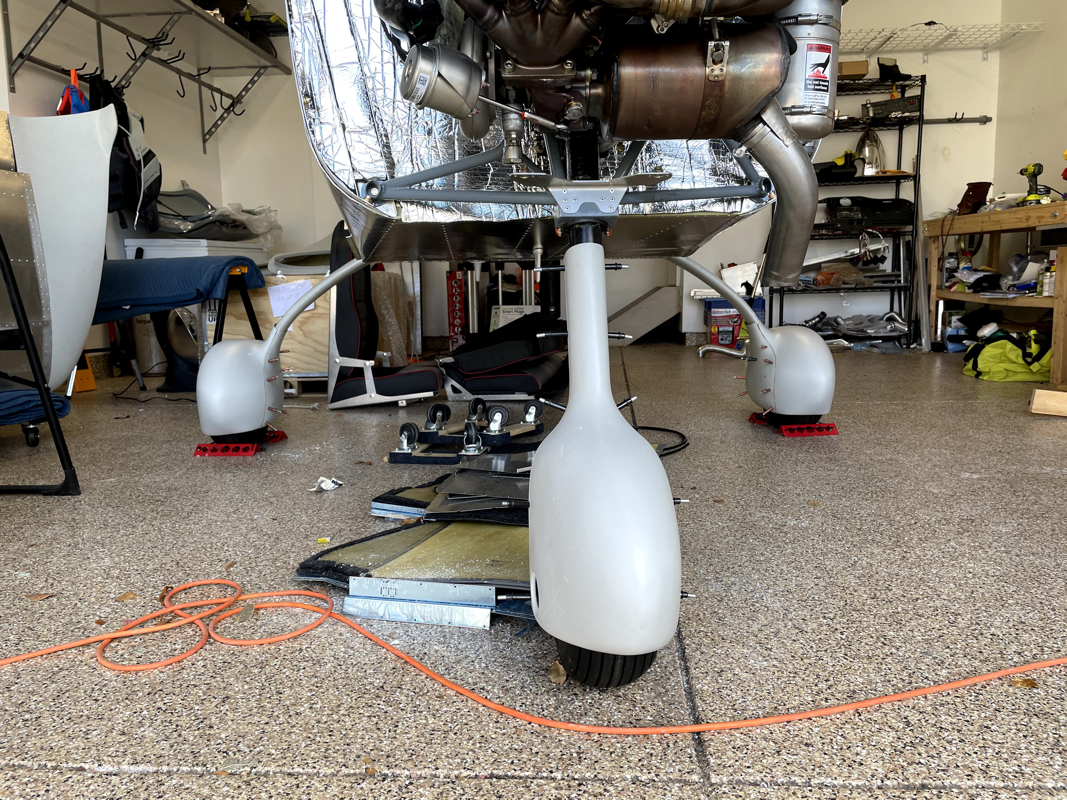
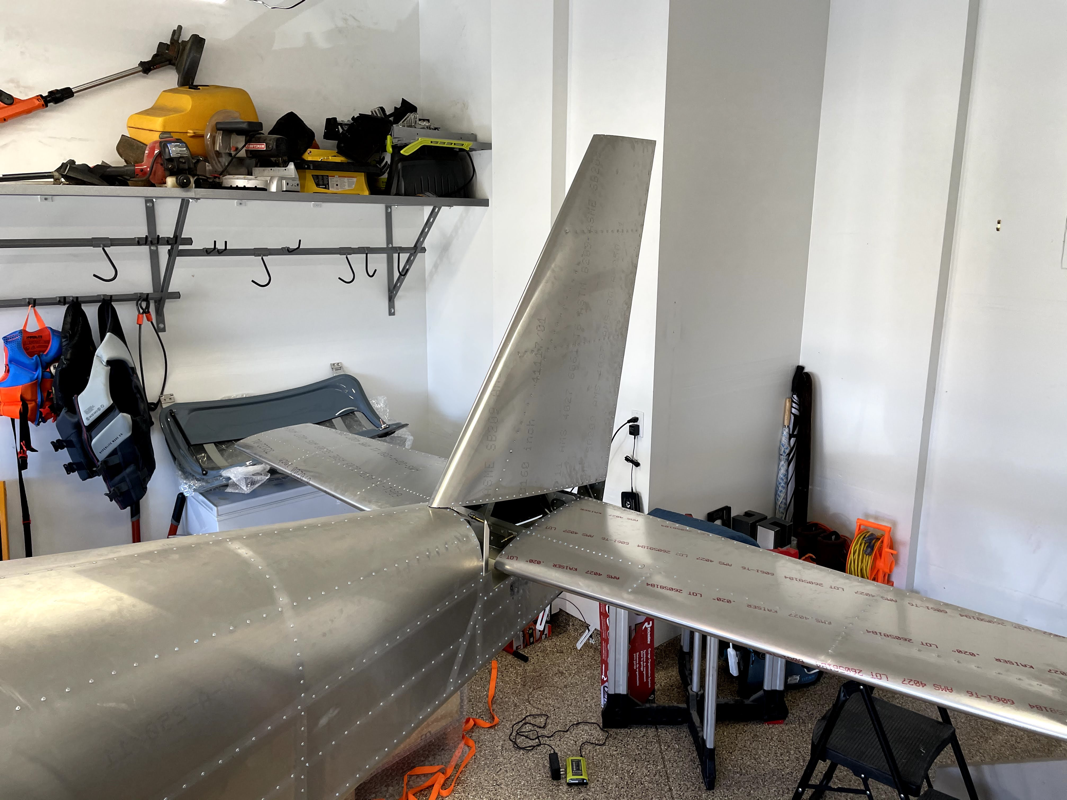
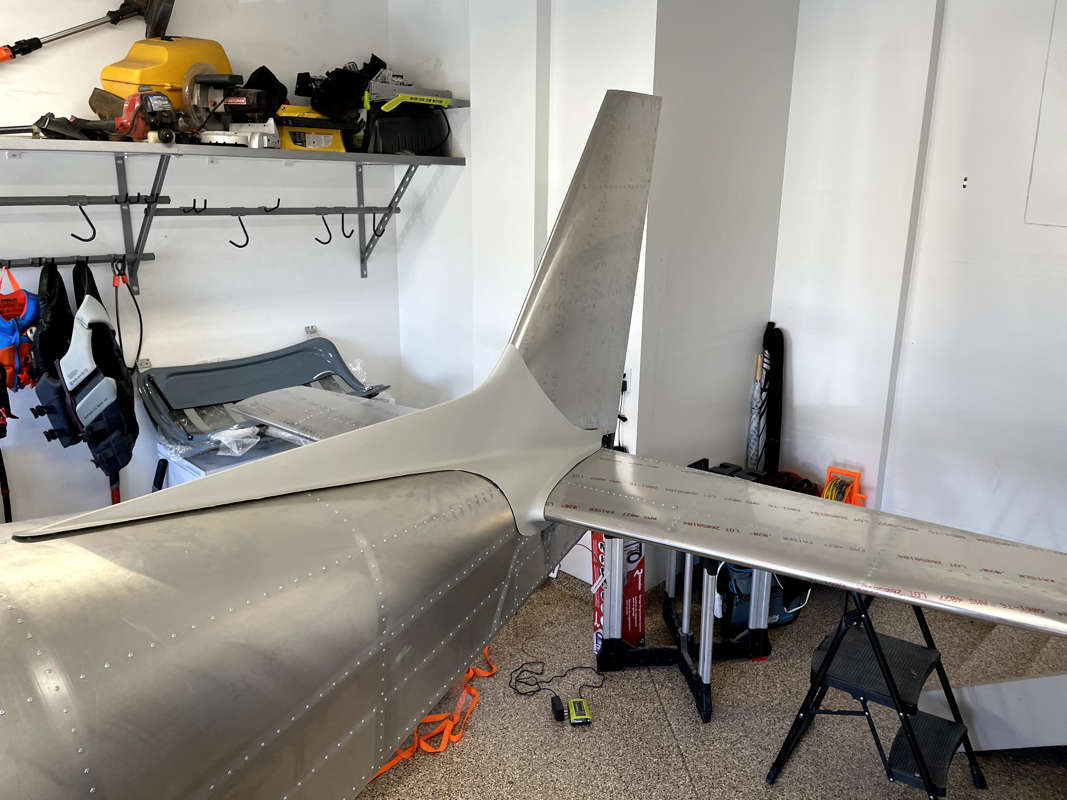
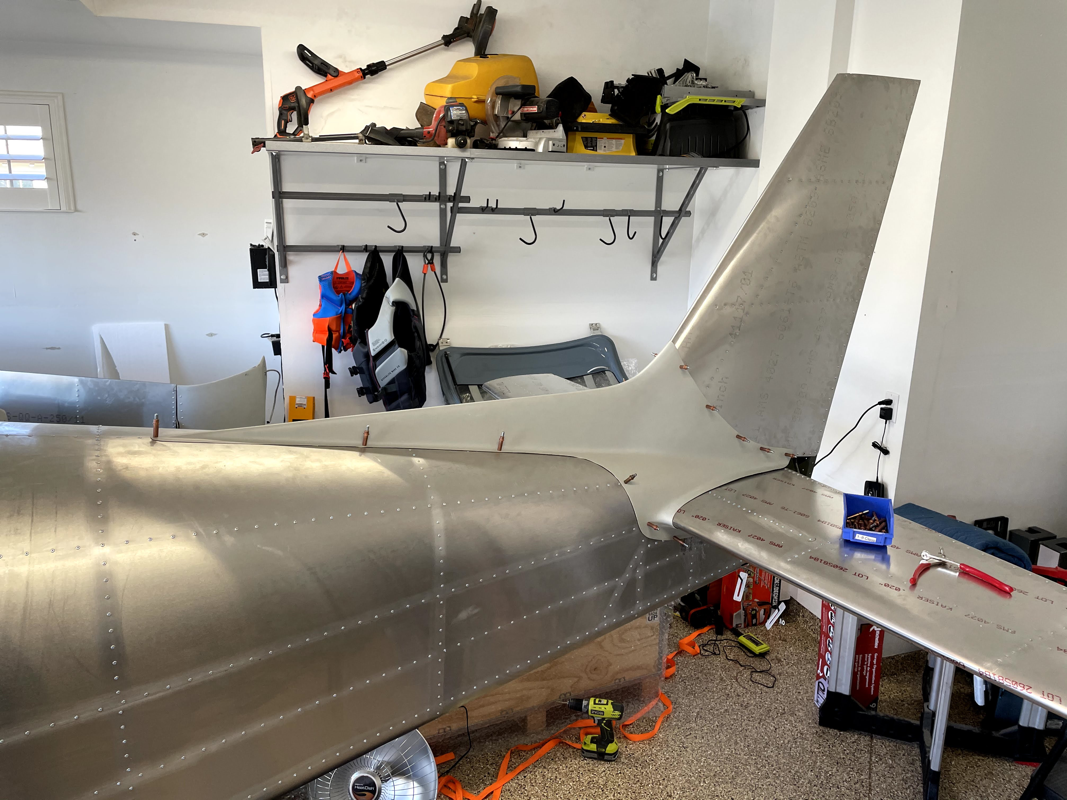
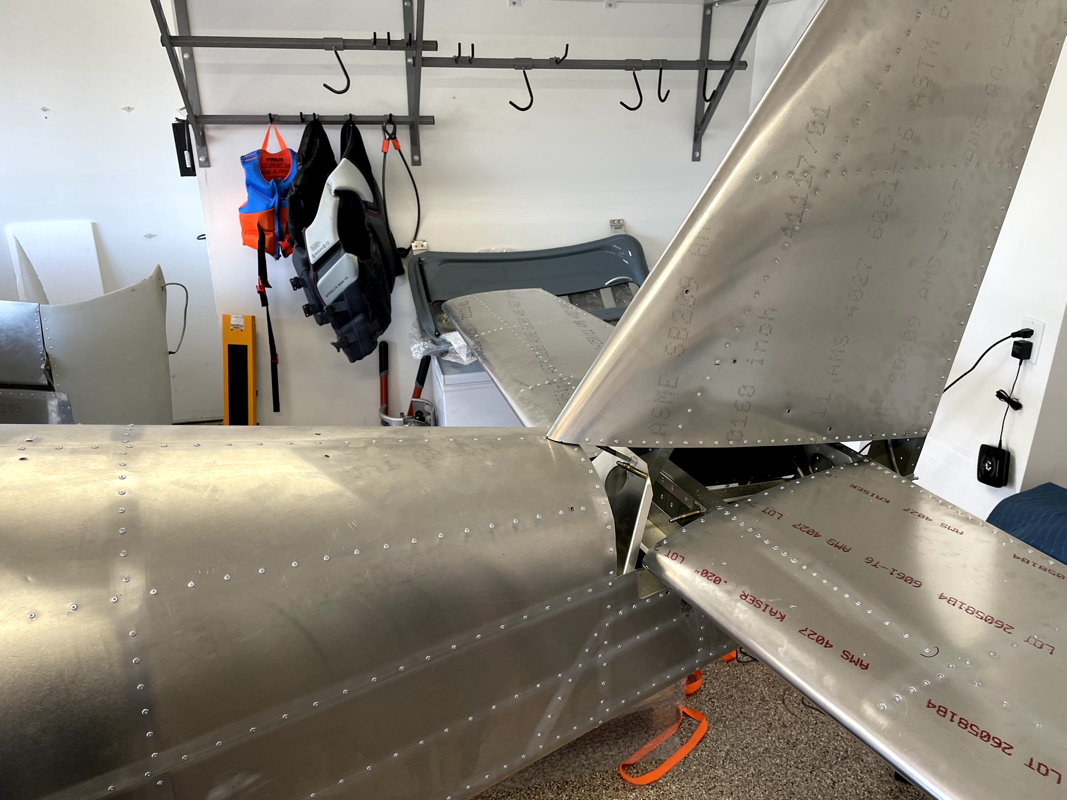
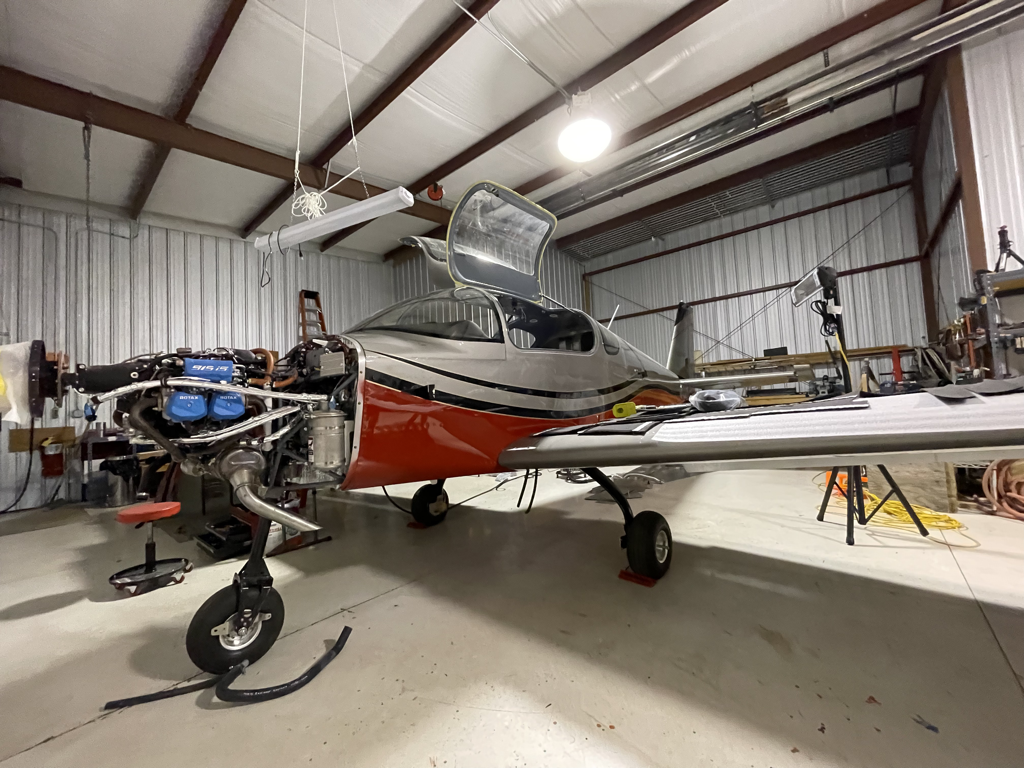
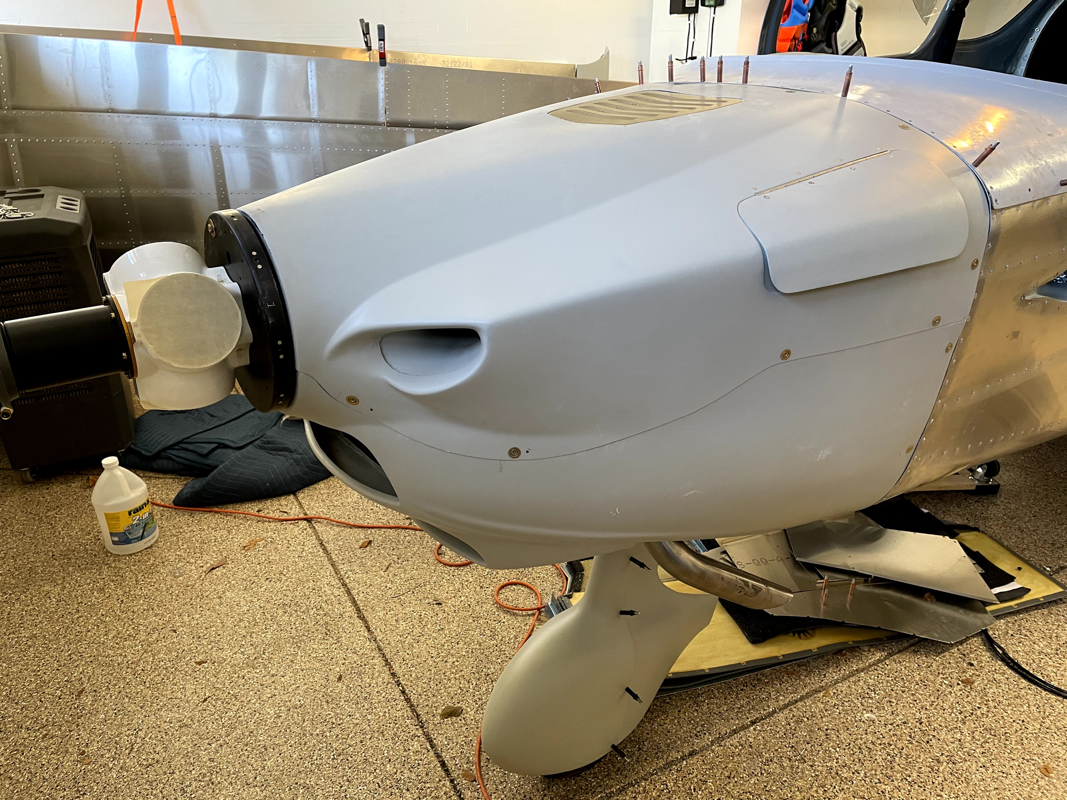
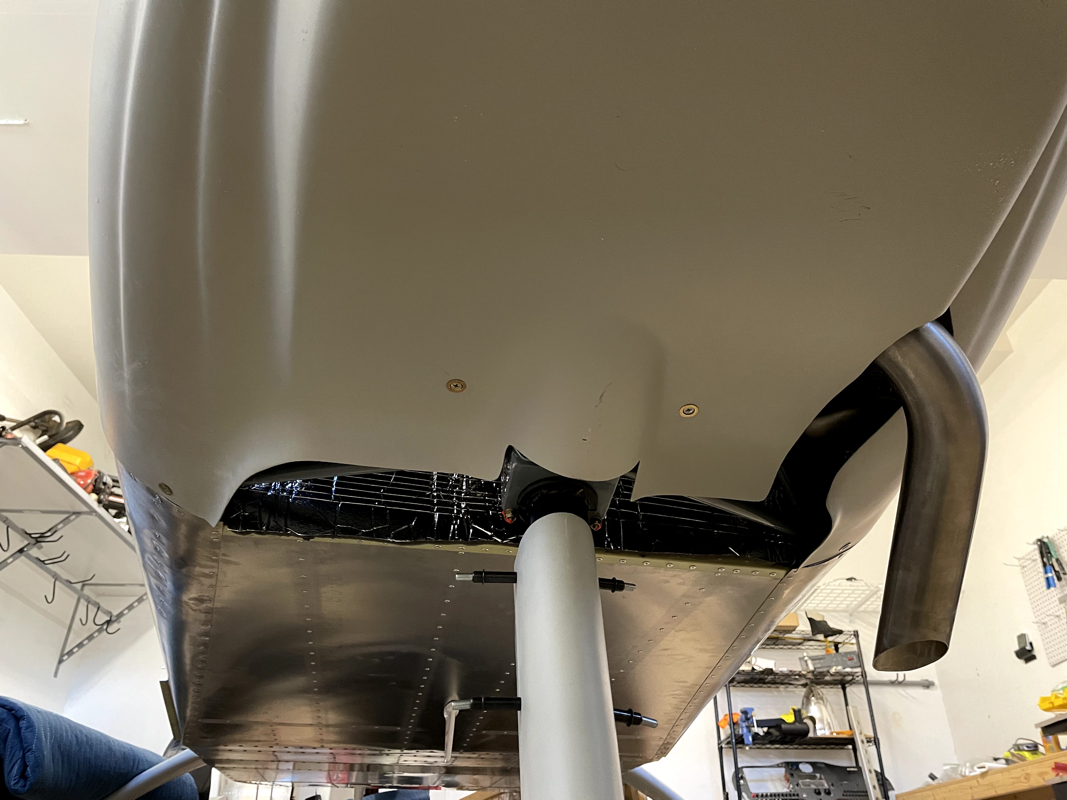
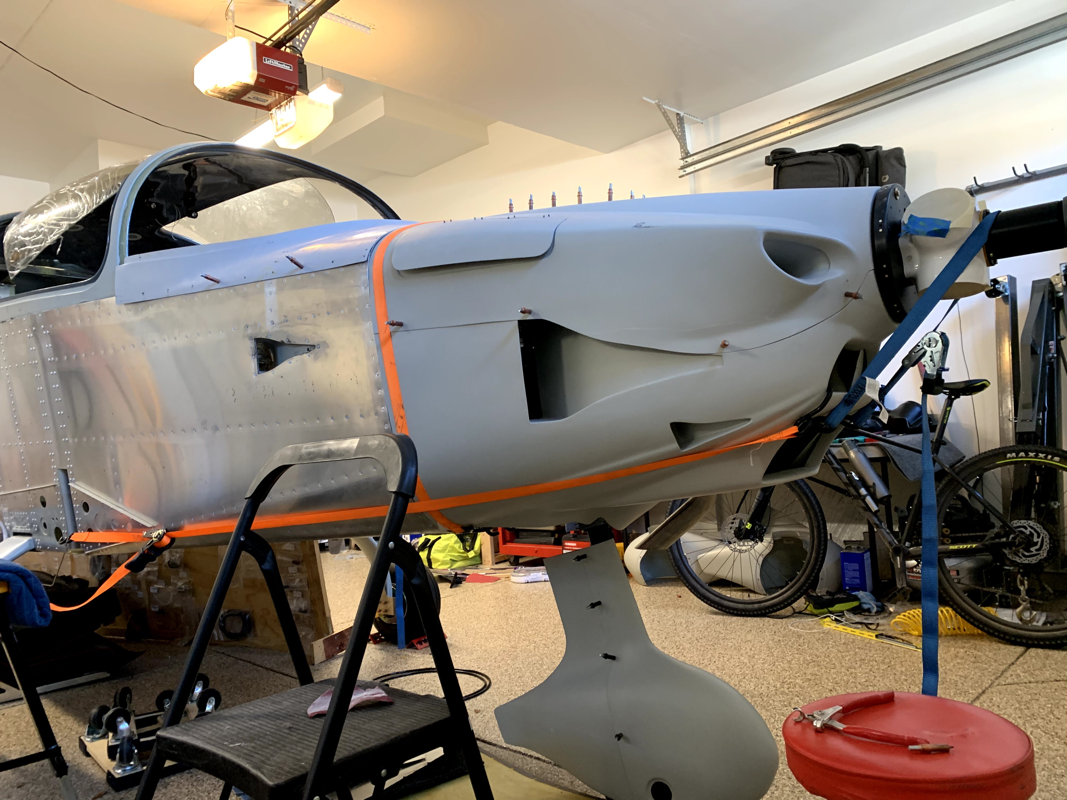
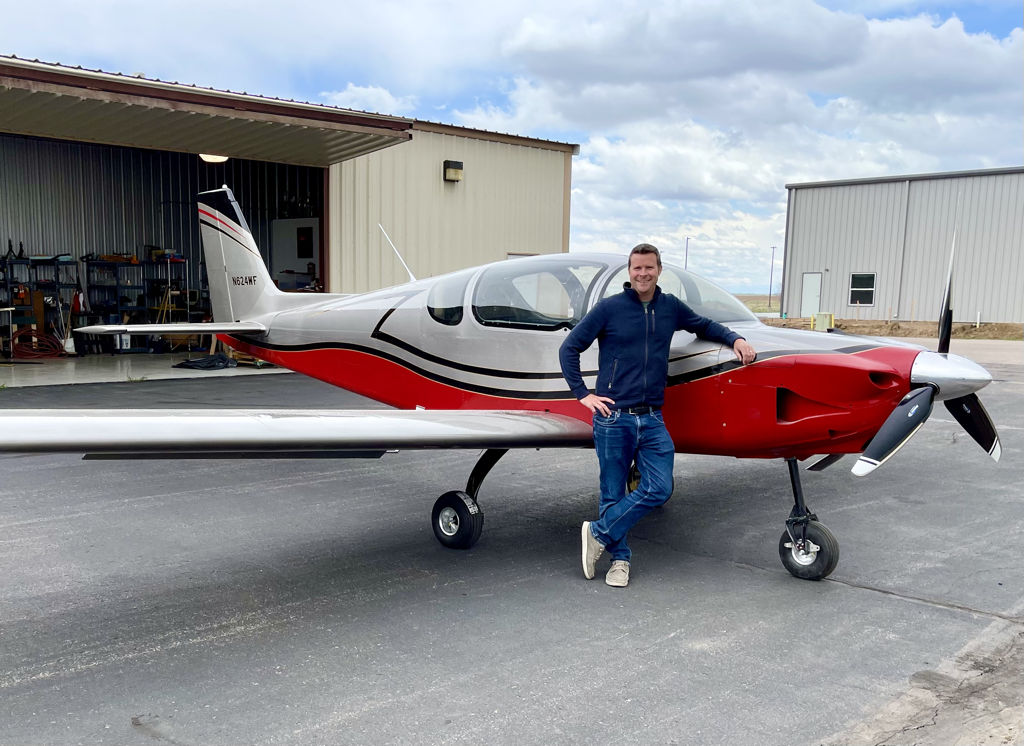
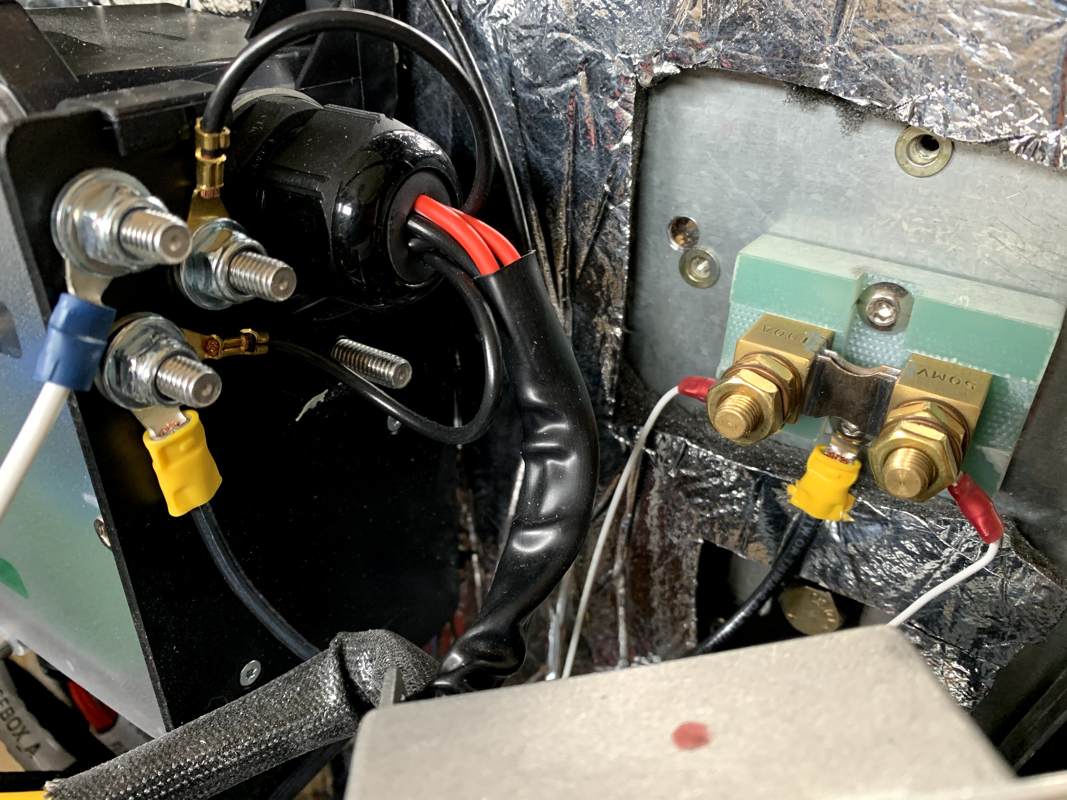
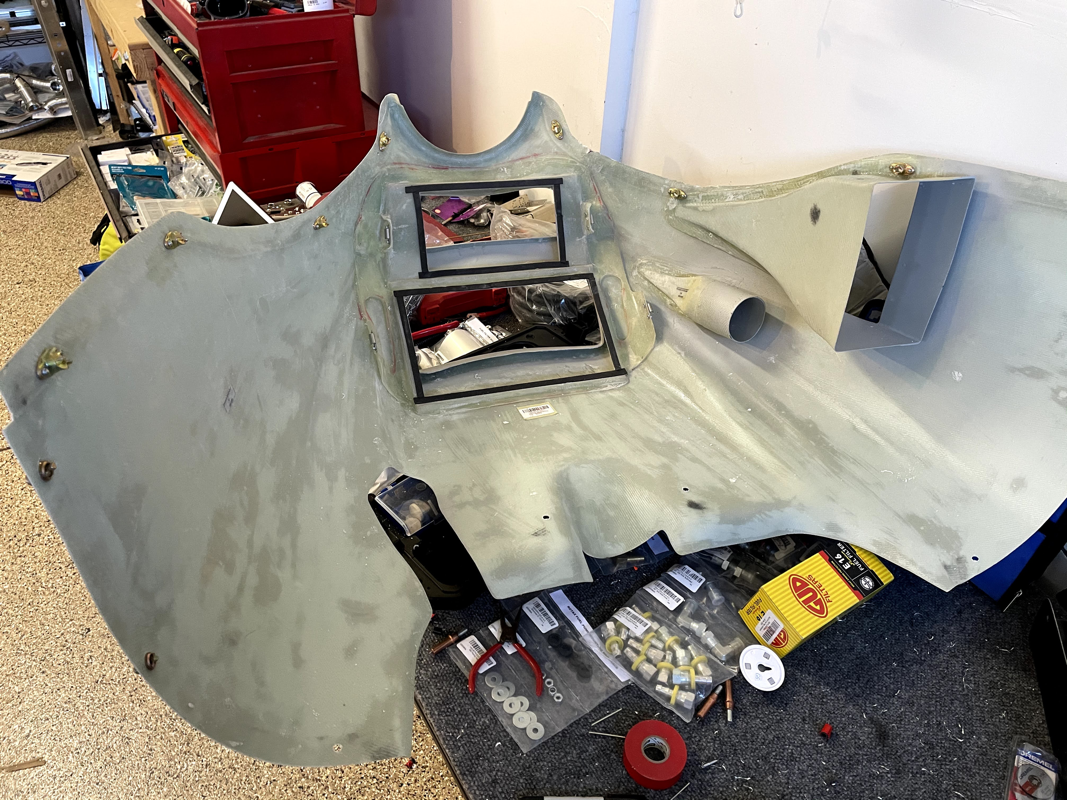
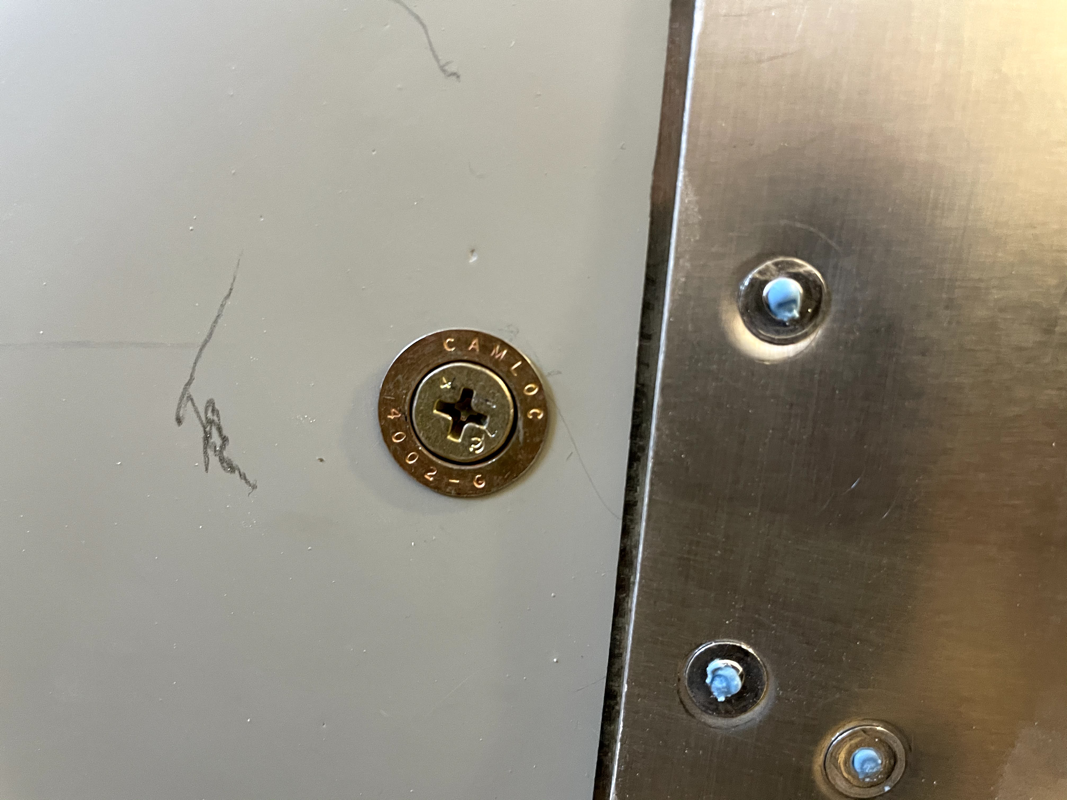
The day finally arrived! I was able to get all the exterior components ready for paint - except the windshield. The Sika primer never arrived on time, so the paint shop will just have to seal that up really good. My son, Ethan, had a blast sitting in the 'big truck' and honking the horn. Glad he did, because he got the neighbor's attention. It was just me out there and I was going to try to figure out how to get the plane in with a winch and pulley system of some sort... Not exactly a one man job. Luckily, I have curious and helpful neighbors that came out and offered assistance! My winch actually ended up breaking at the handle, so another neighbor went and got his. By the end of the event, I ended up with 5-6 people out there. ;-) Finally was able to get the fuselage in and secure it with straps using the side wall slats. The next morning I loaded the wings using the wooden stands I built and secured them against the wall. It's nice to have an empty garage - just in time for snow season. Don't have to clear off the car anymore! When I arrived at Hayes Aviation in Akron, CO, a few hours outside of Denver, he had a full team of people ready to unload the truck. It was bittersweet leaving the plane there, but I'm looking forward to the final result! In order to fit the windshield, I need to get the front fuselage cover on. Since it's just held on by rivets, I could imagine some water getting pushed through this section, so I decided to add sikaflex for a solid seal. It's messy, but worth it. I did have some trouble fitting the parachute rocket all the way in since the cables that connect to the bottom of the rocket push on the housing. The trigger doesn't line up through the hole on the bottom. I gave up trying to do it while attached to the plane, so I took off the rocket housing and was able to fit the rocket easier. Scary nonetheless handling a live rocket. Glad that's done! I lined up the parachute blast skin and drilled the holes into the fuselage and canopy. The factory recommends that you use some PVA release agent and apply some clear silicone underneath the skin to prevent water seepage. Just doing some final riveting on the wings, attaching the fuel tanks since they passed the pressure test. I was going to do the Service Bulletin 14 - replacing the aluminum rivets with stainless steel ones on the spar carry through, but it seems that the factory already did that for me in my quickbuild. Note the darker rivets with rounded edges compared to the same size rivets nearby. Continuing my exterior component adventure, I decided to focus on fitting the wheel paints and the tail cover. The hole finder came in handy for this exercise. I've seen quite a few different ways, but this seemed the most logical and I didn't have to 'redrill' any missed holes! The tail cover was straight forward, just line it up flush against the vertical and horizontal stabilizers and drill.. fill with rivnuts. In preparation of getting the airplane ready for paint, I'm focusing on the exterior components. I took the fitted cowling and put in the camlocs. It was a bit tricky since I'm not using any of the 'easy' tools. I basically used my fingernails and some needle nose pliers to get the retaining ring on and some locking pliers to squeeze the camloc screws and fit them in. Not easy, but it's possible! In addition, I secured the metal vent on the top. It's coming together! |
Archives
September 2021
Categories
All
|


 RSS Feed
