|
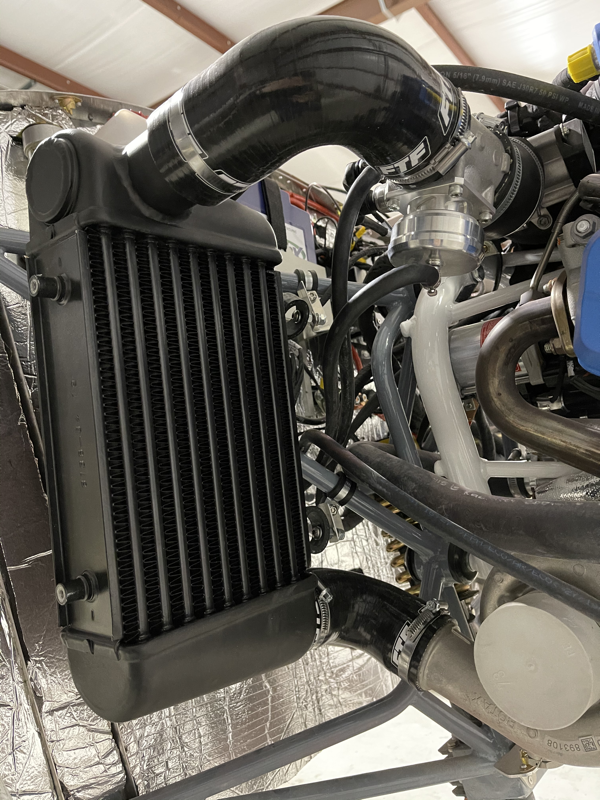
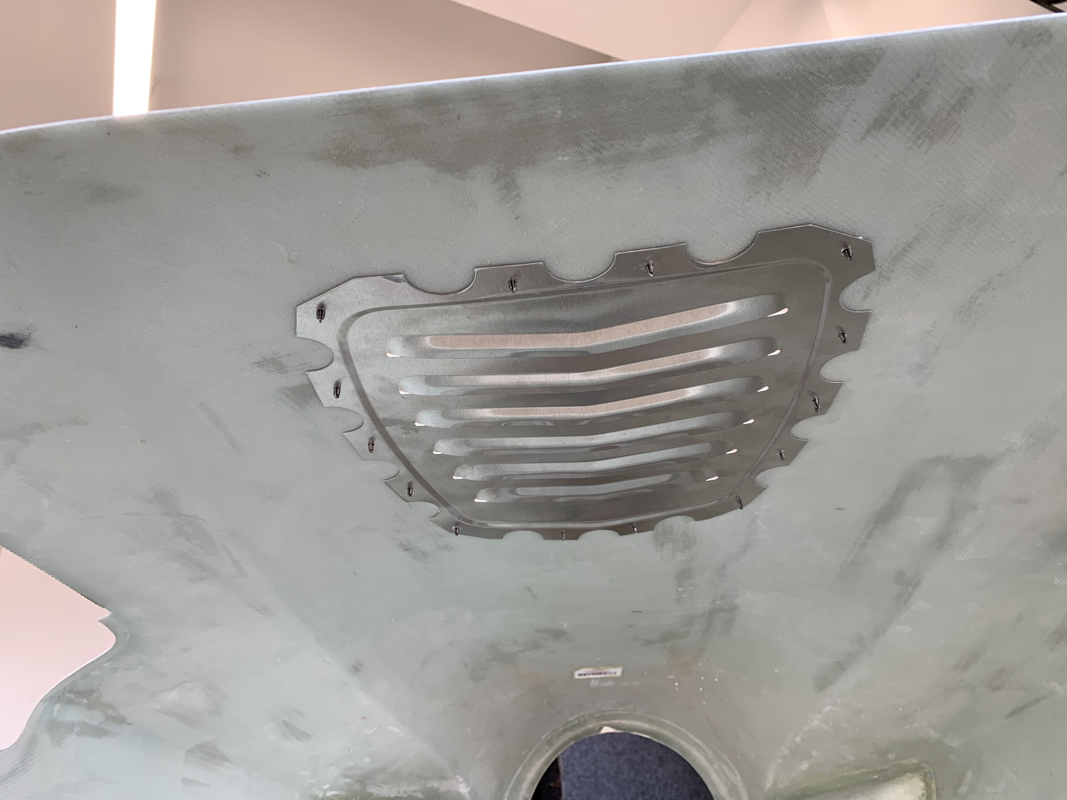
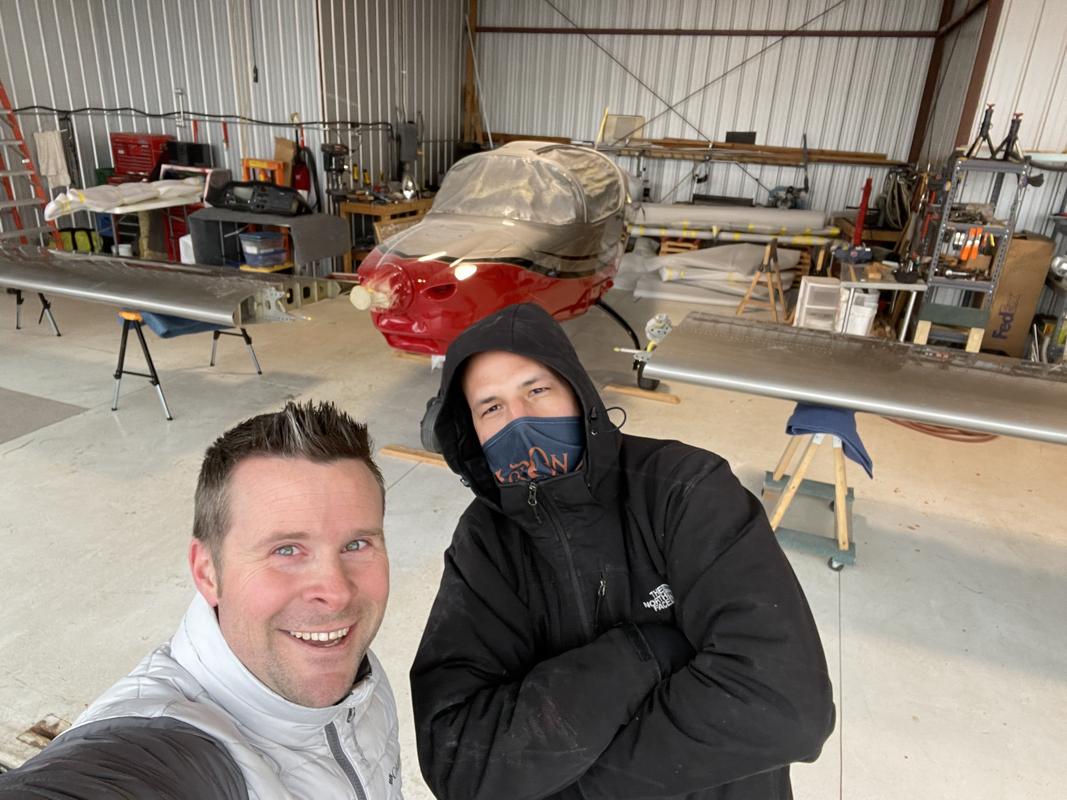
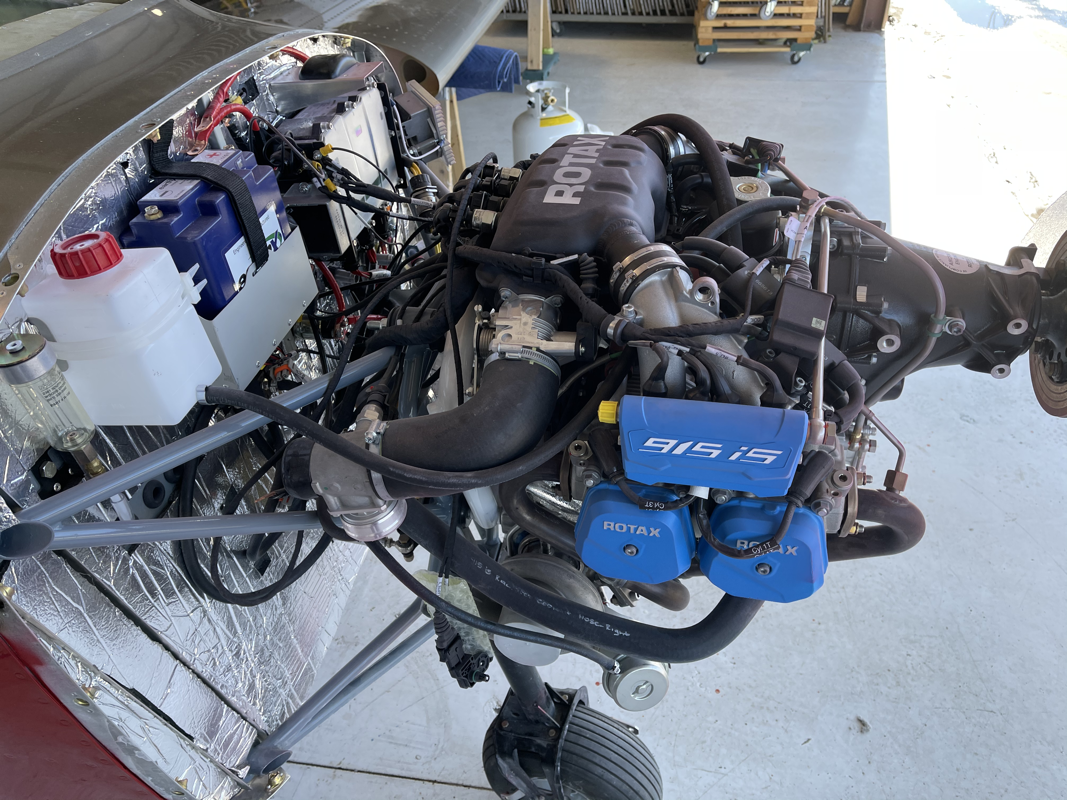
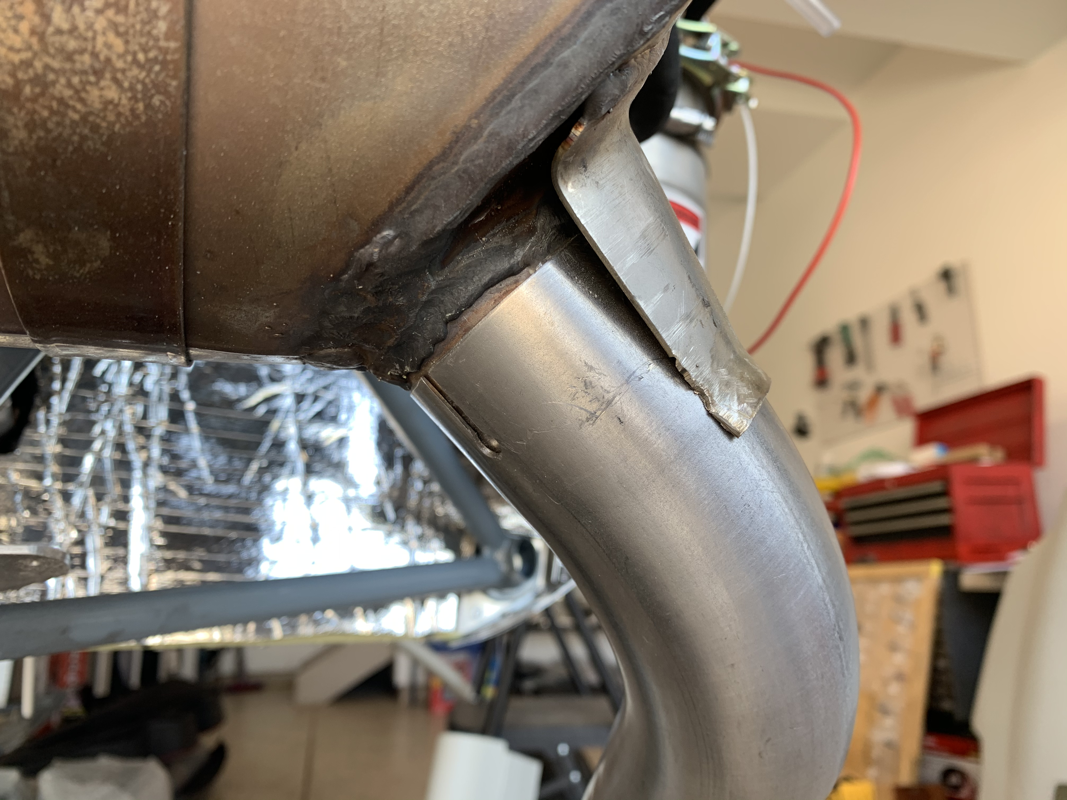
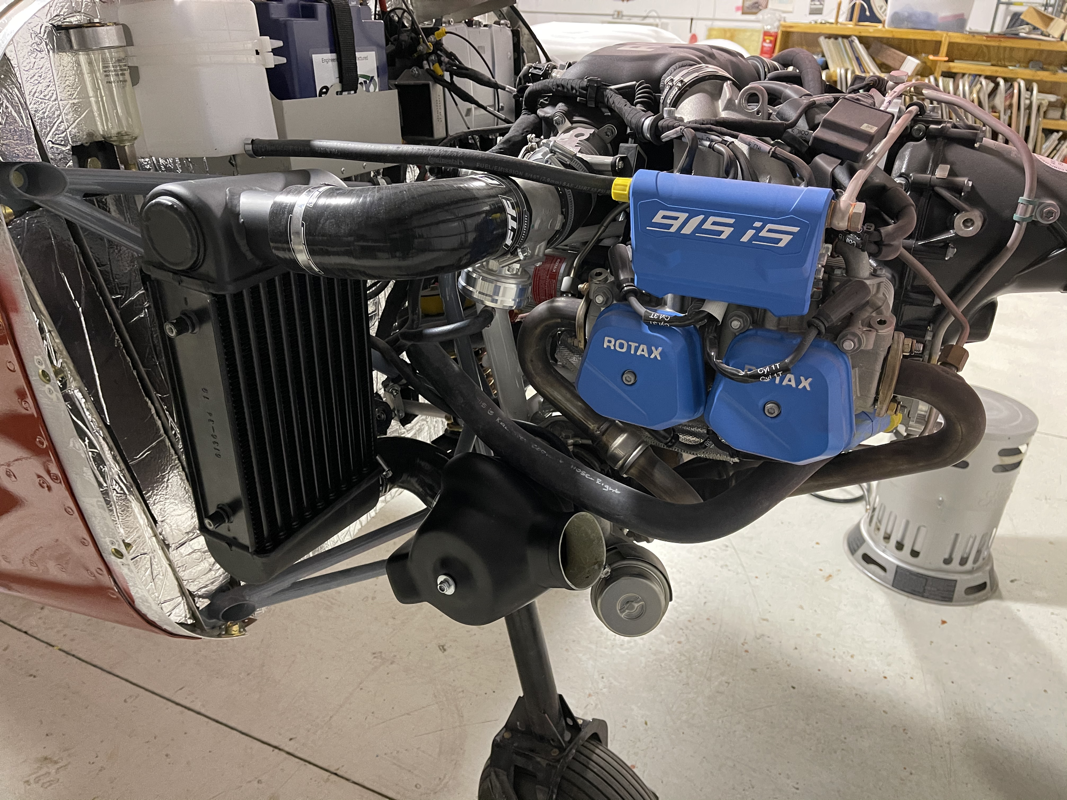
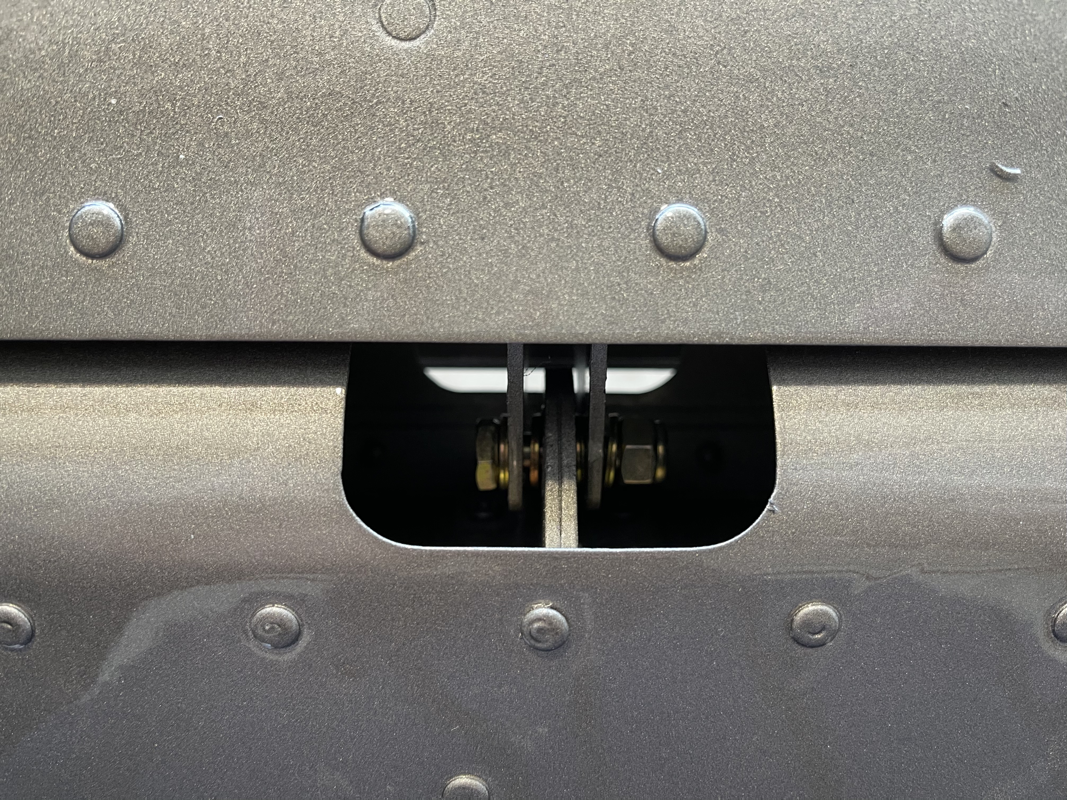
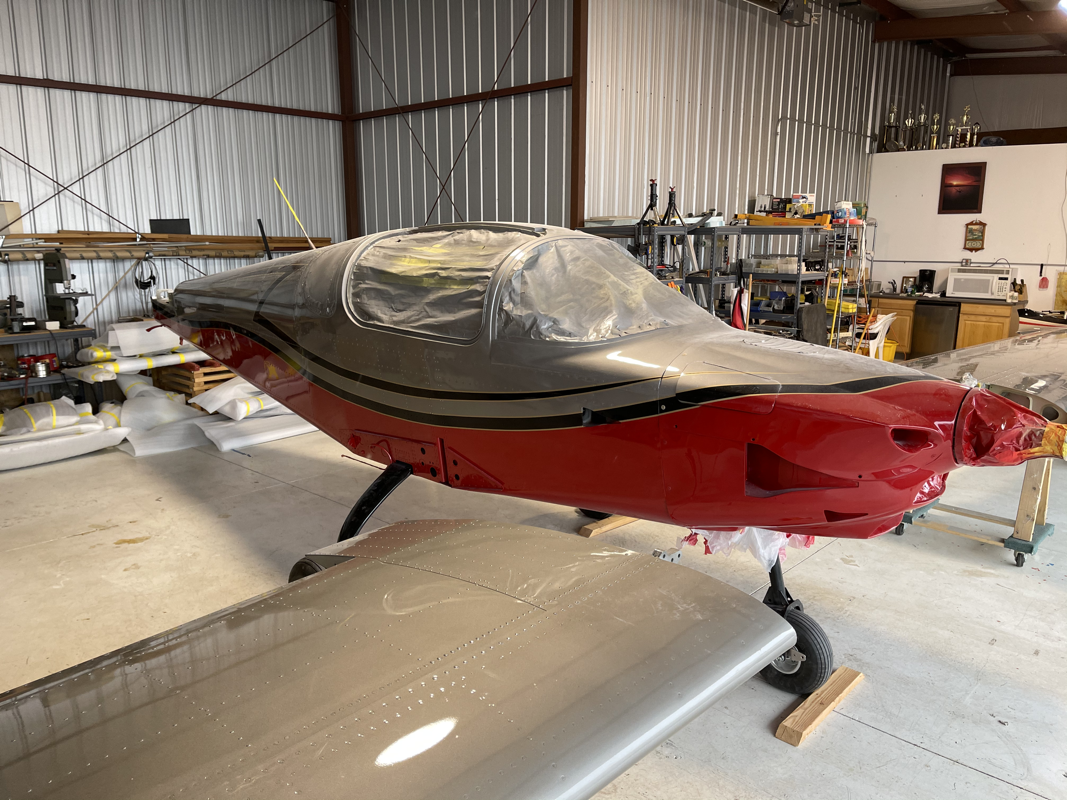
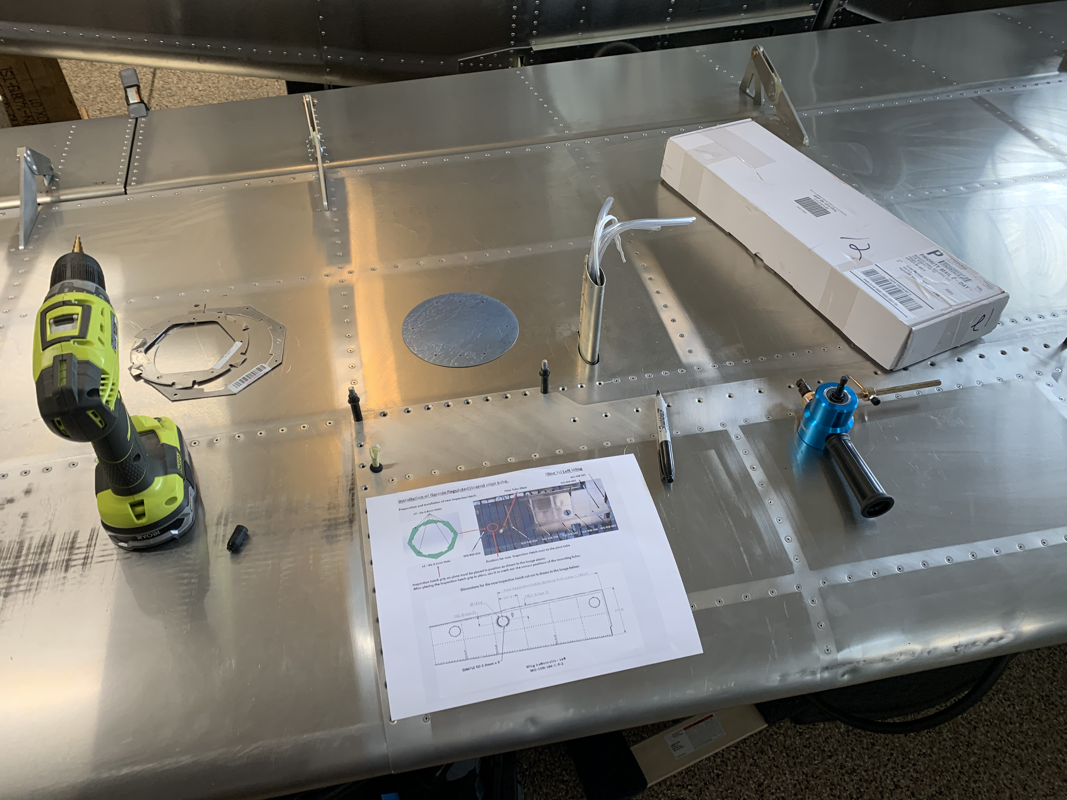
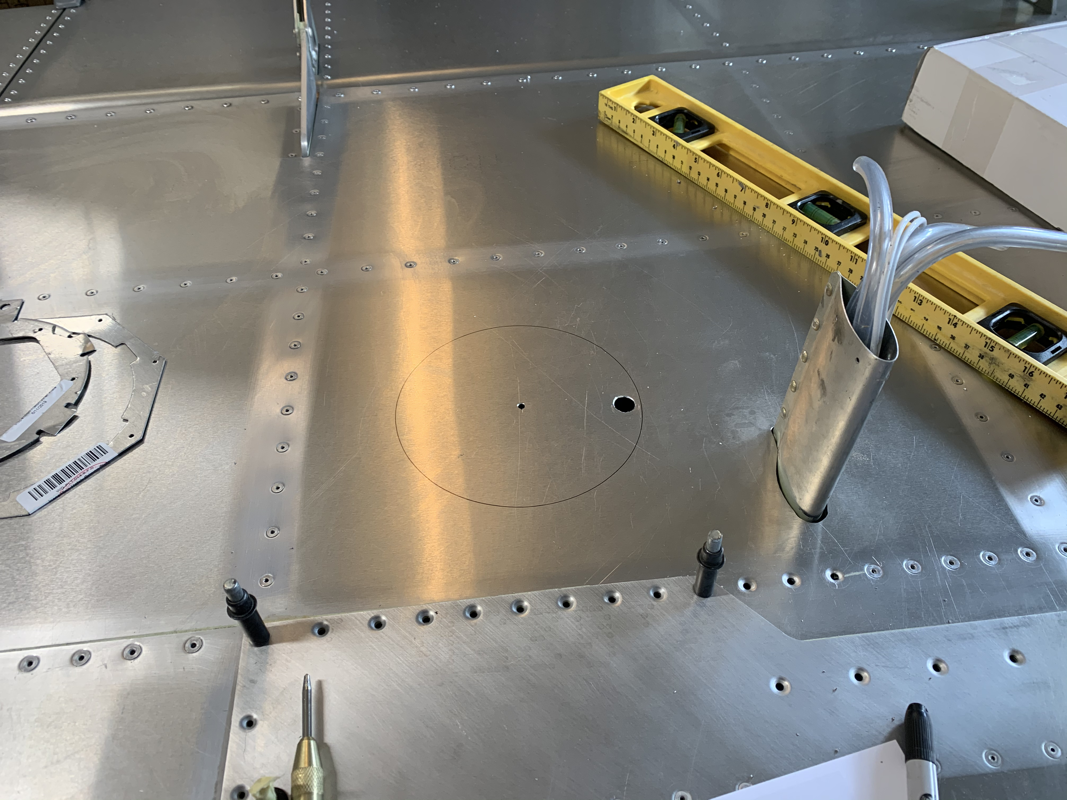
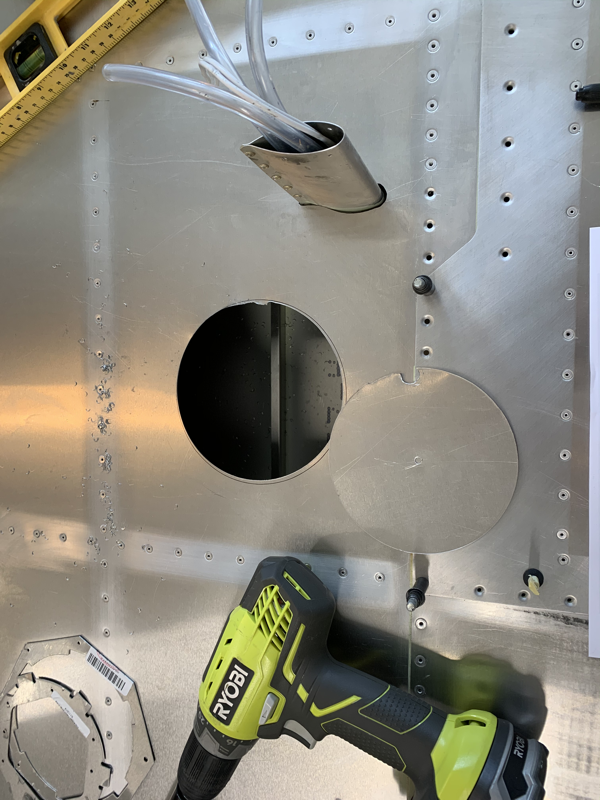
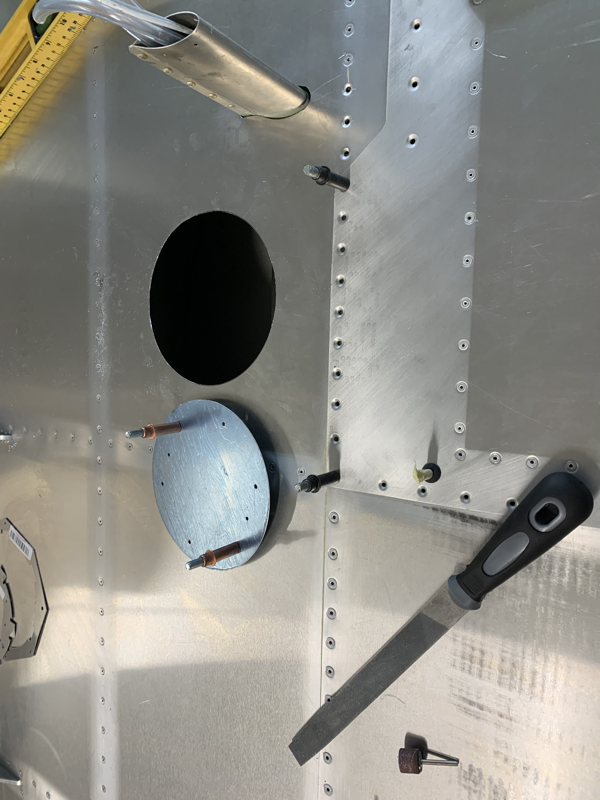
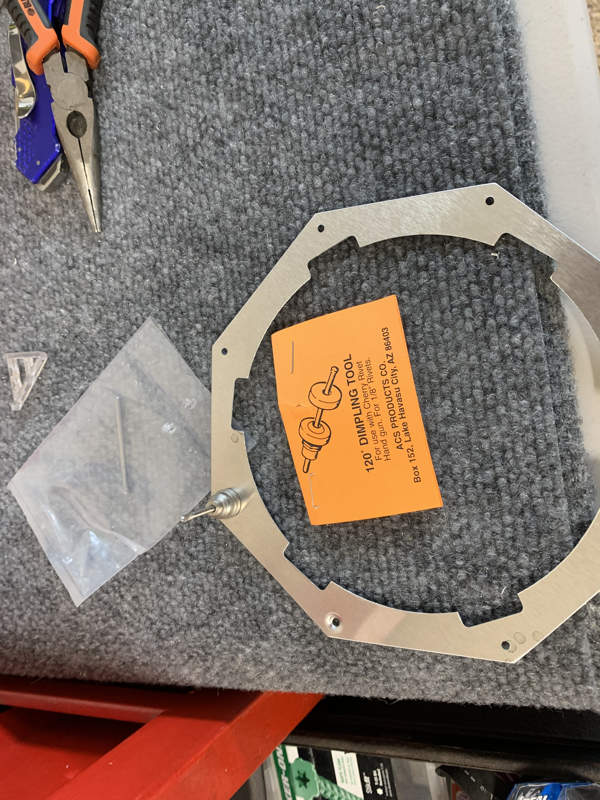
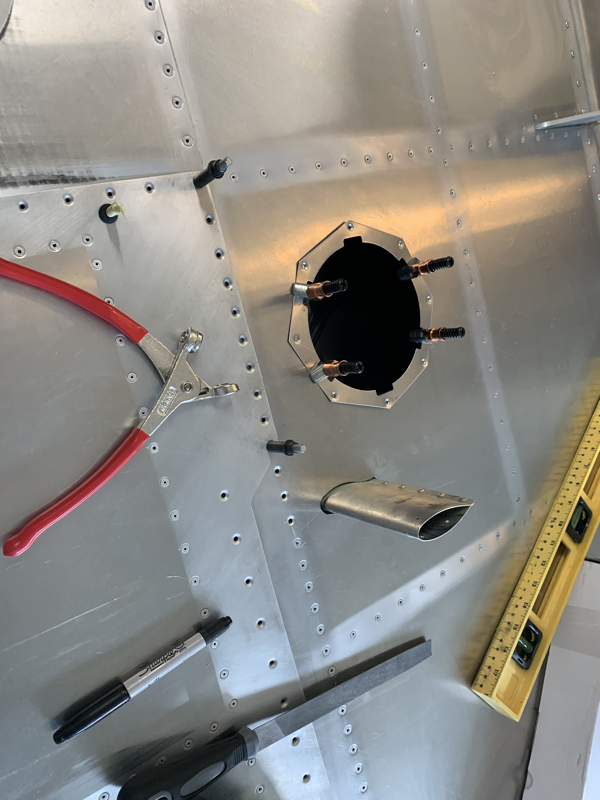
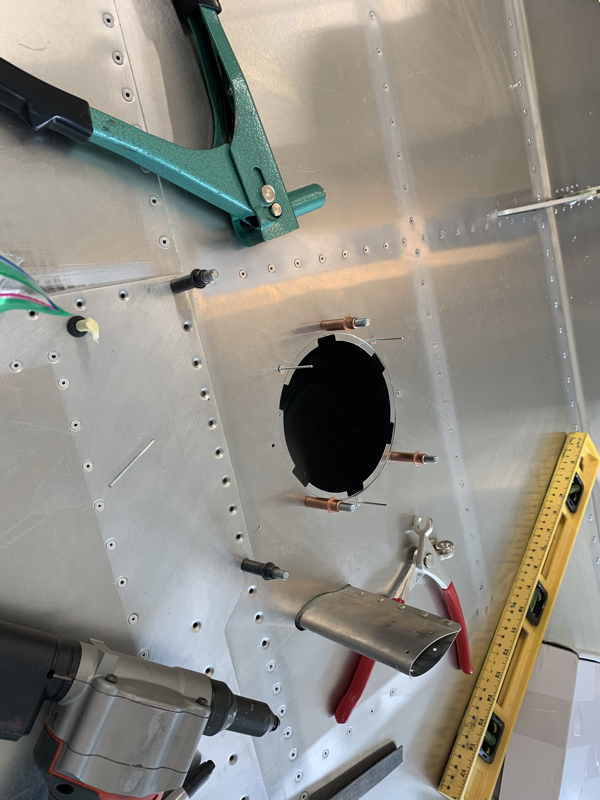
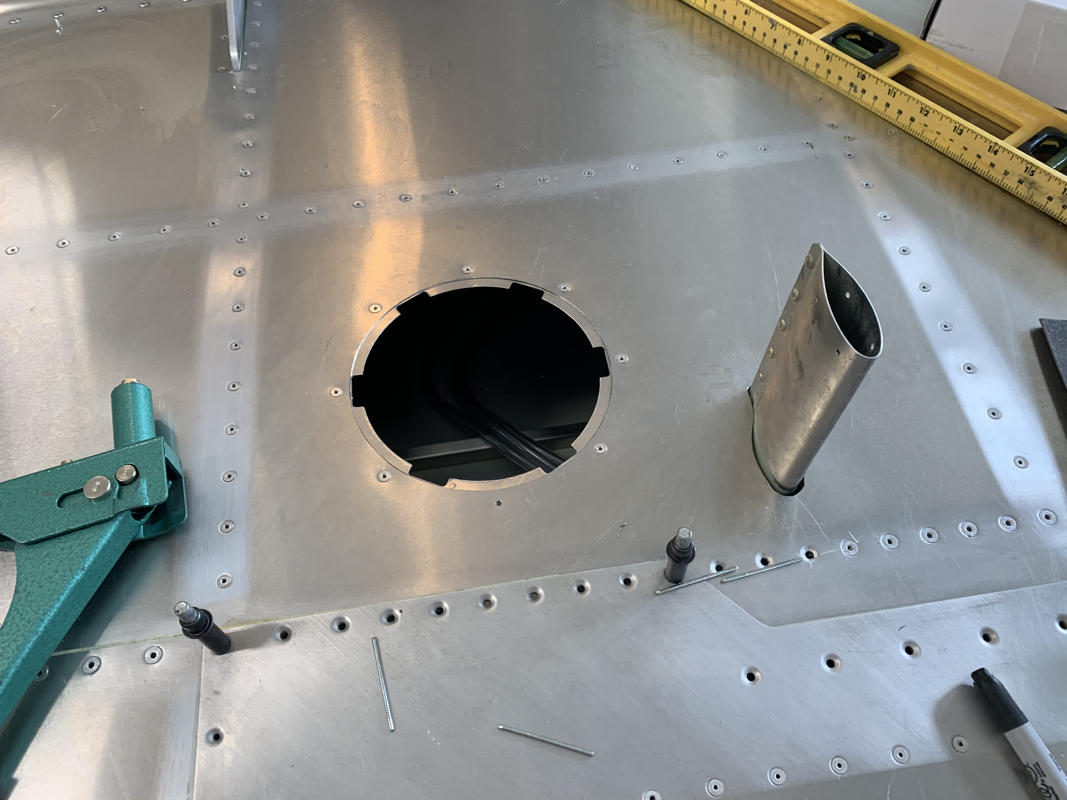
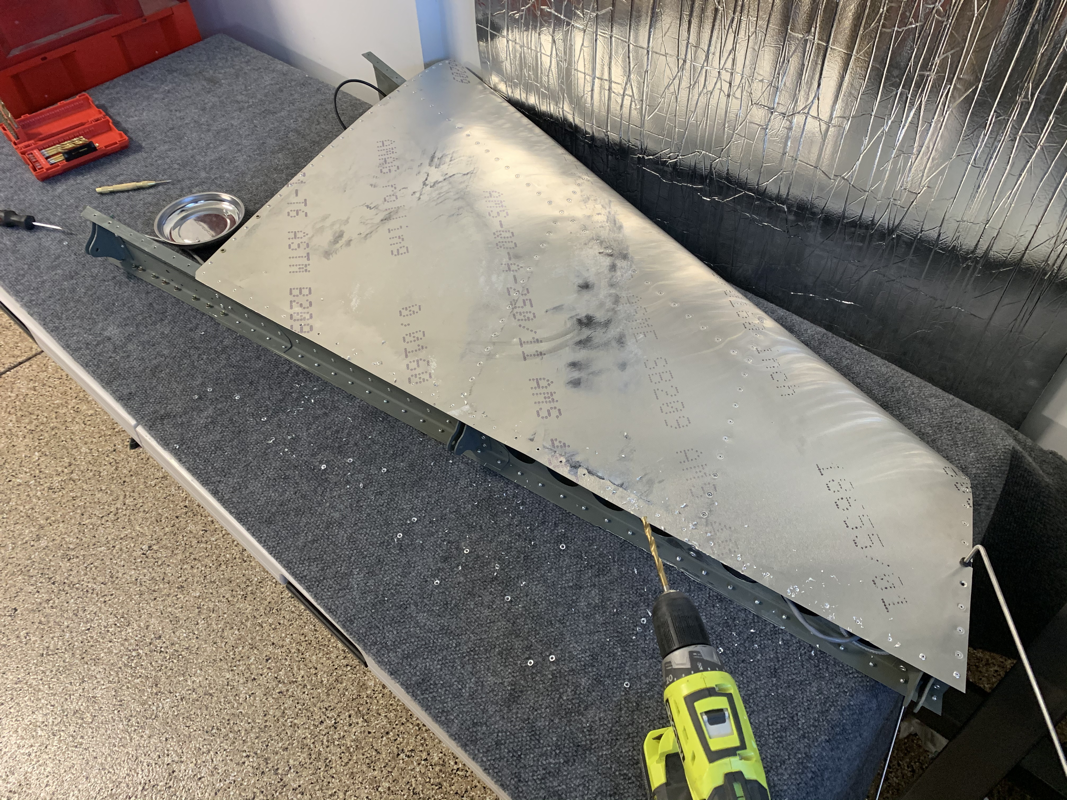
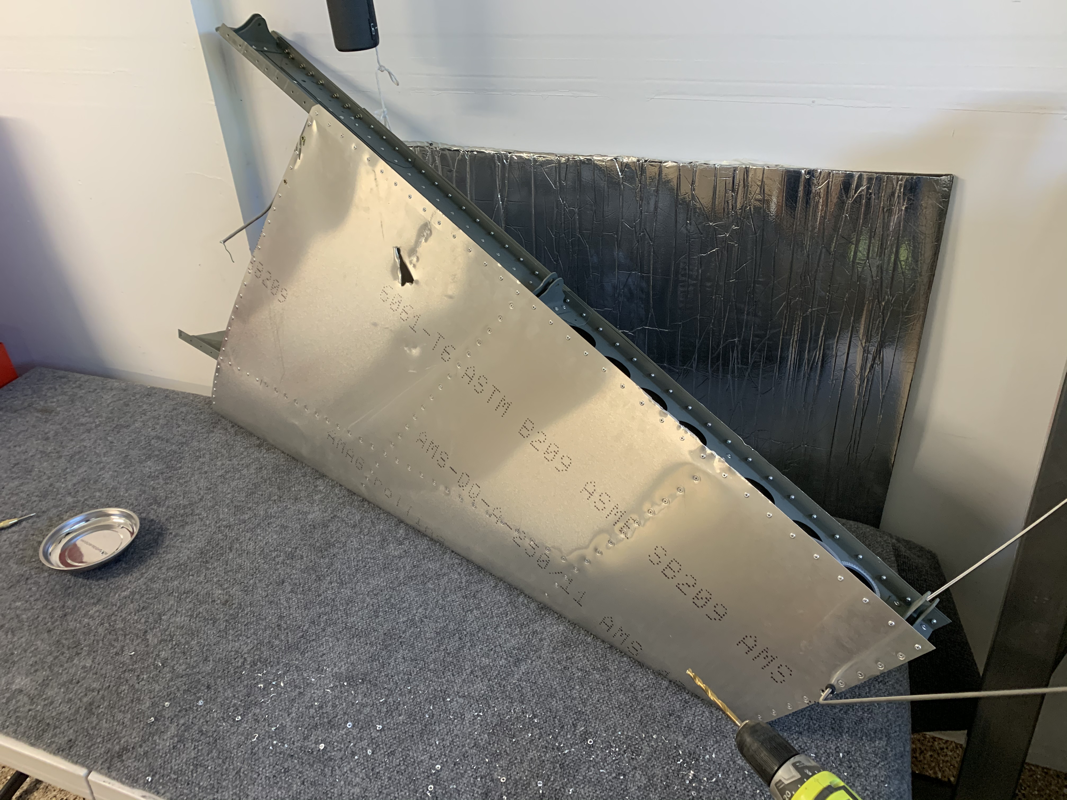
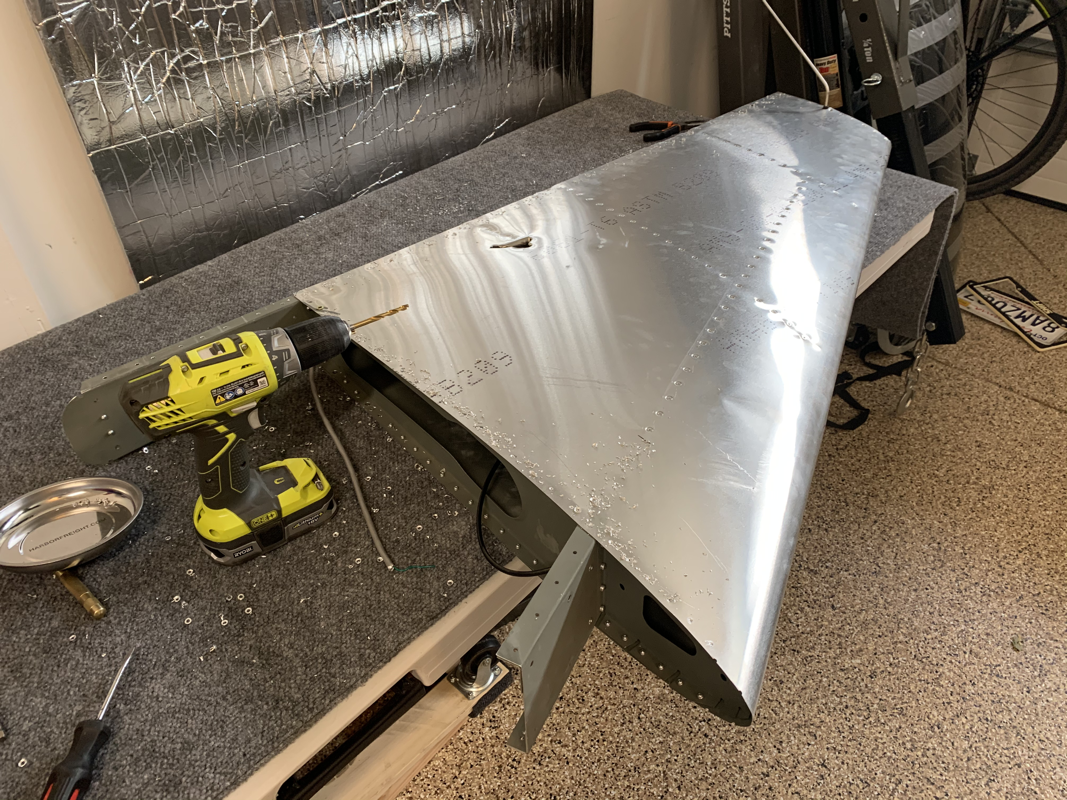
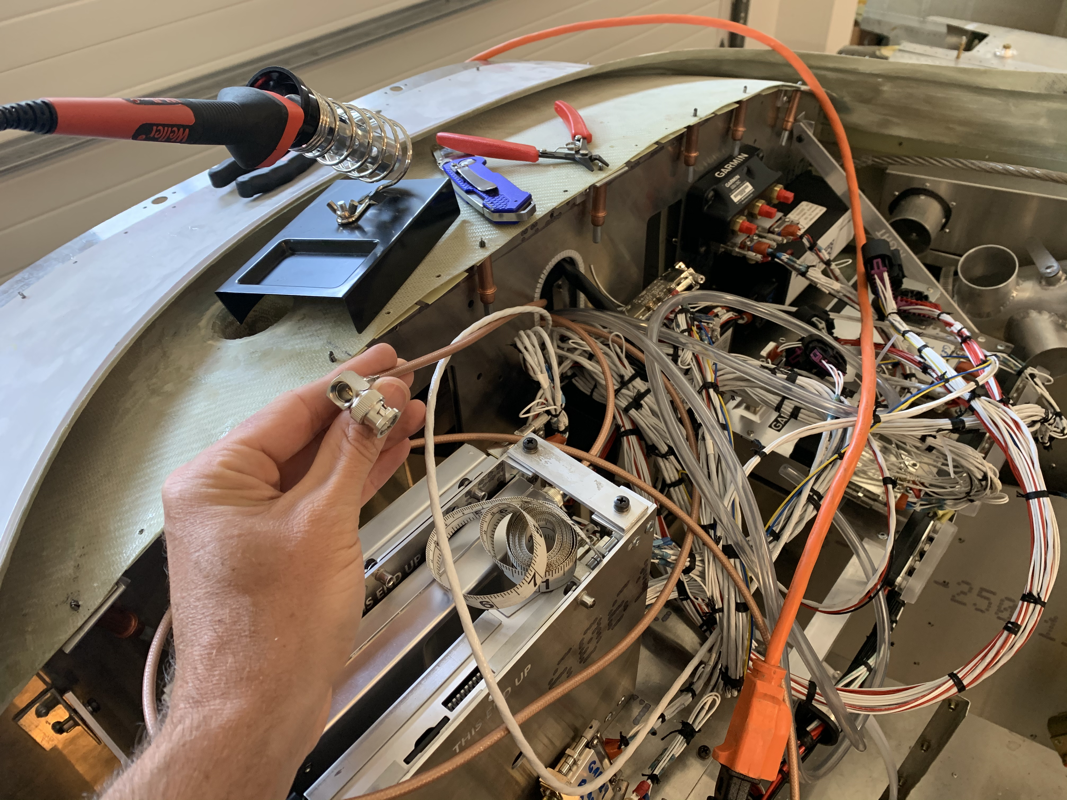
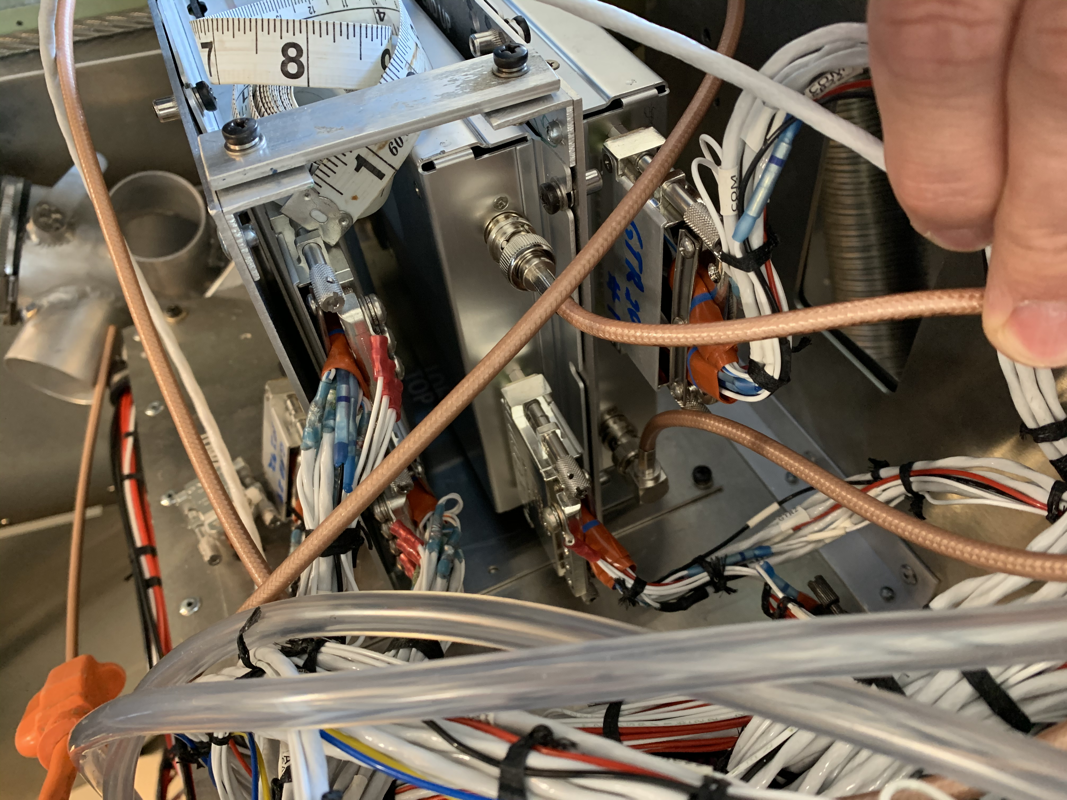
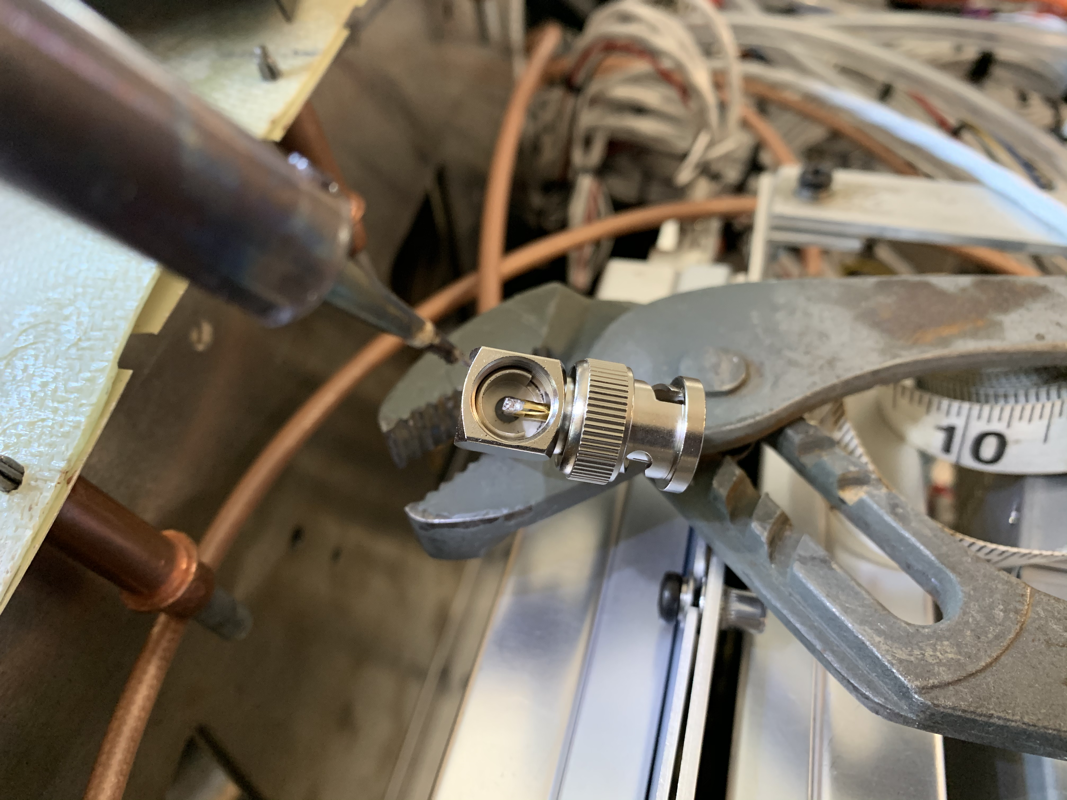
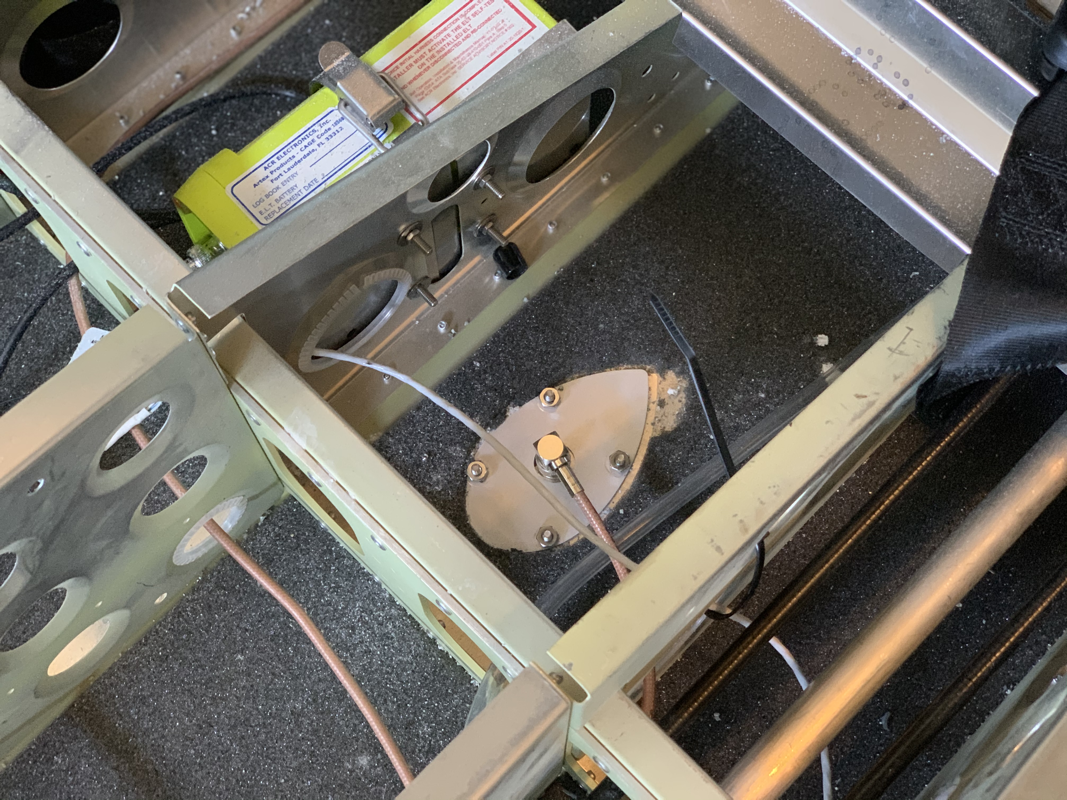
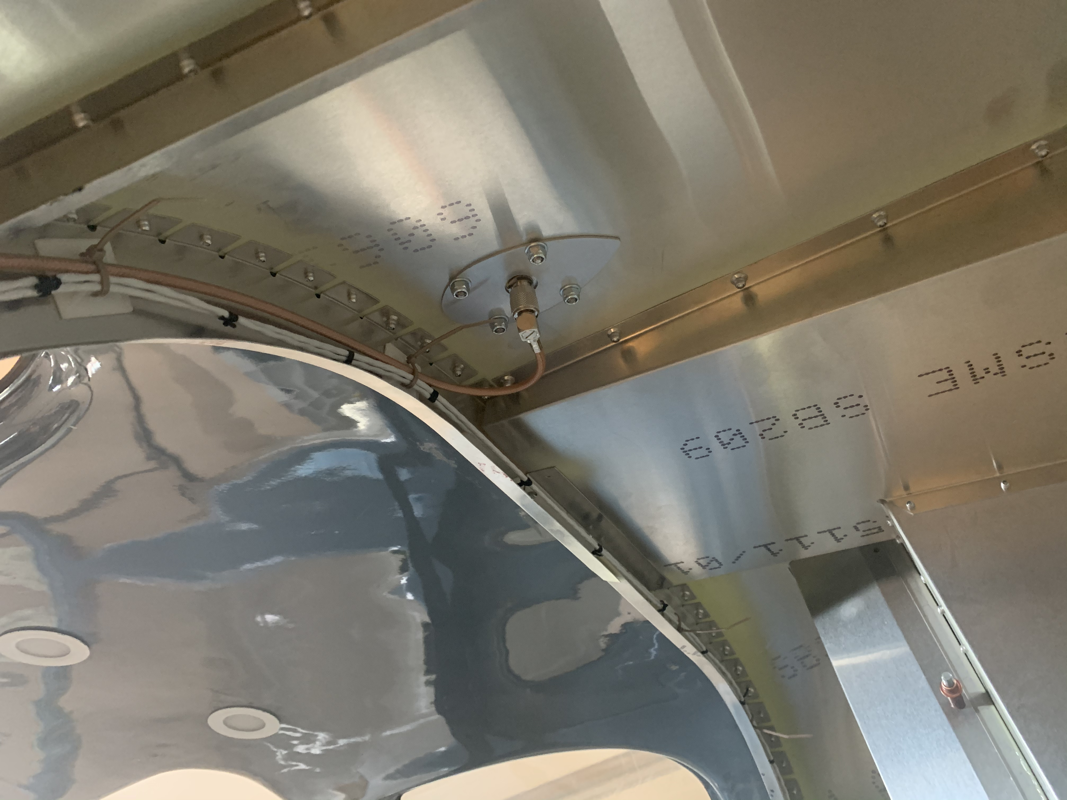
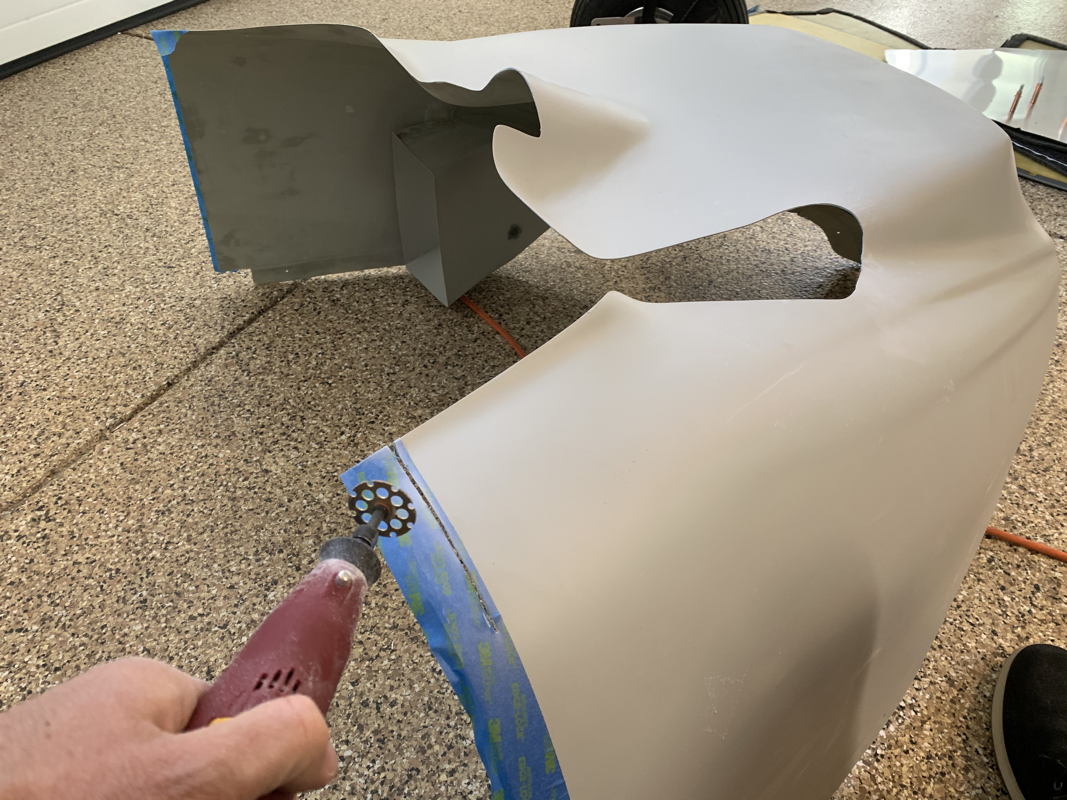
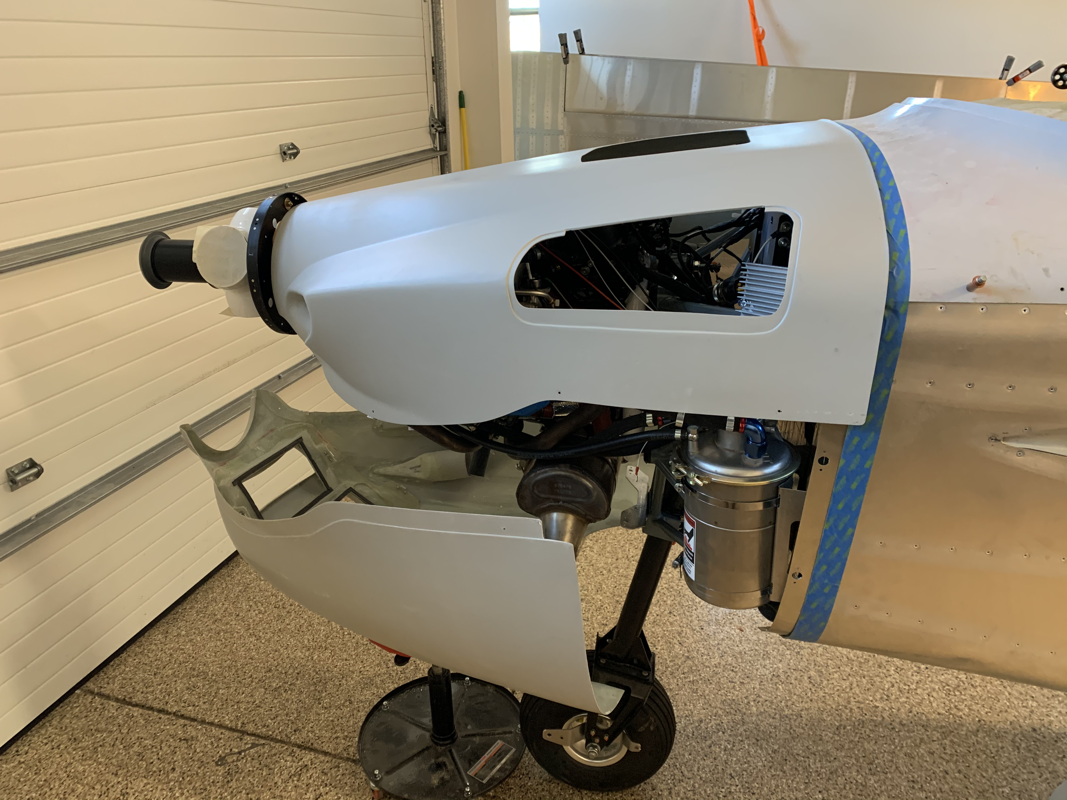
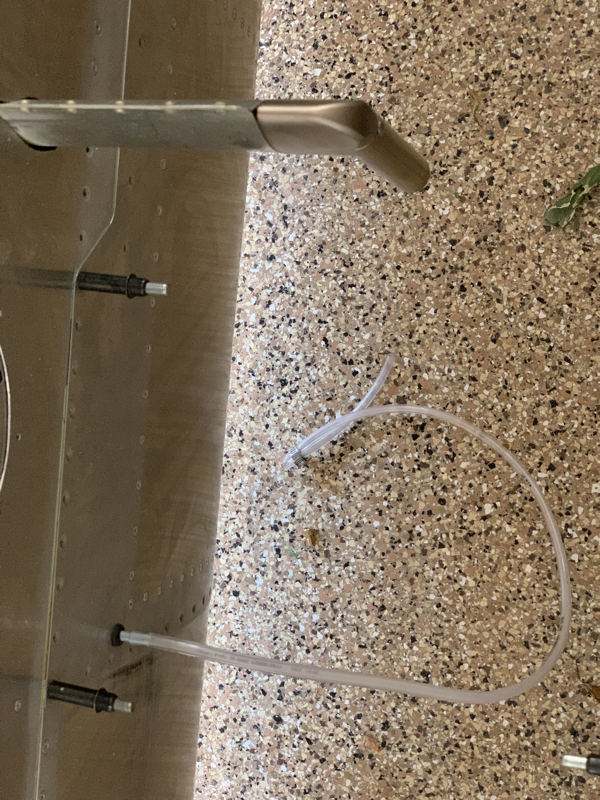
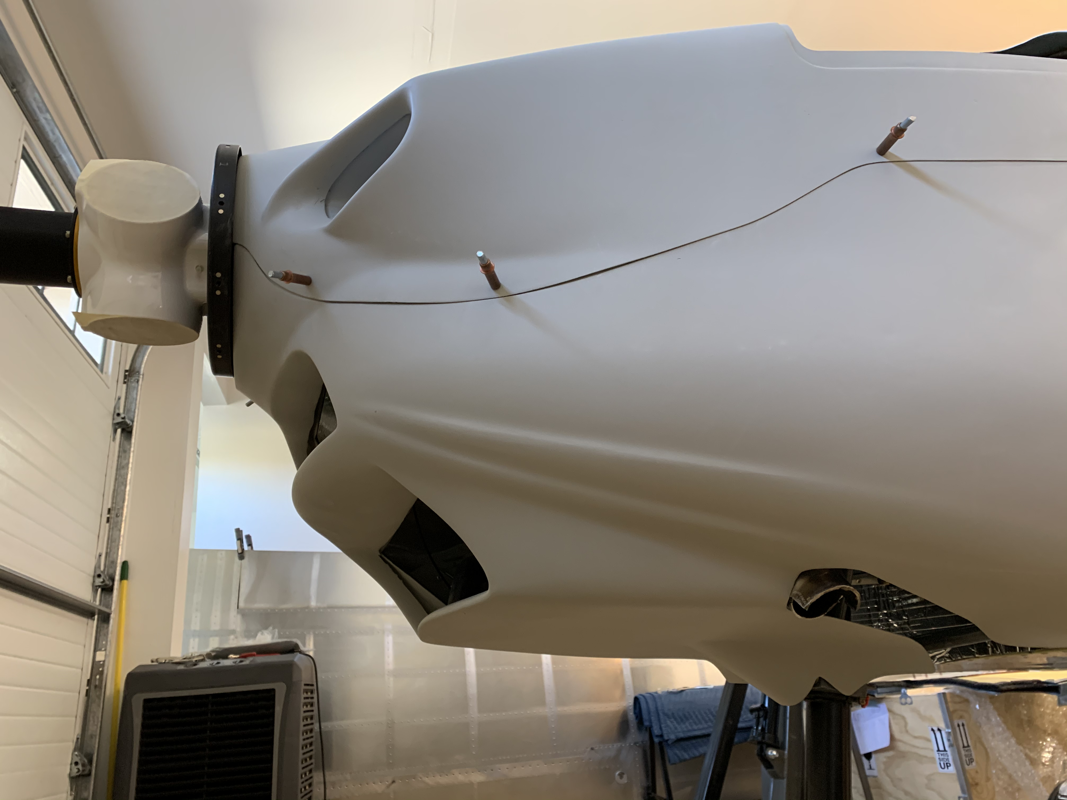
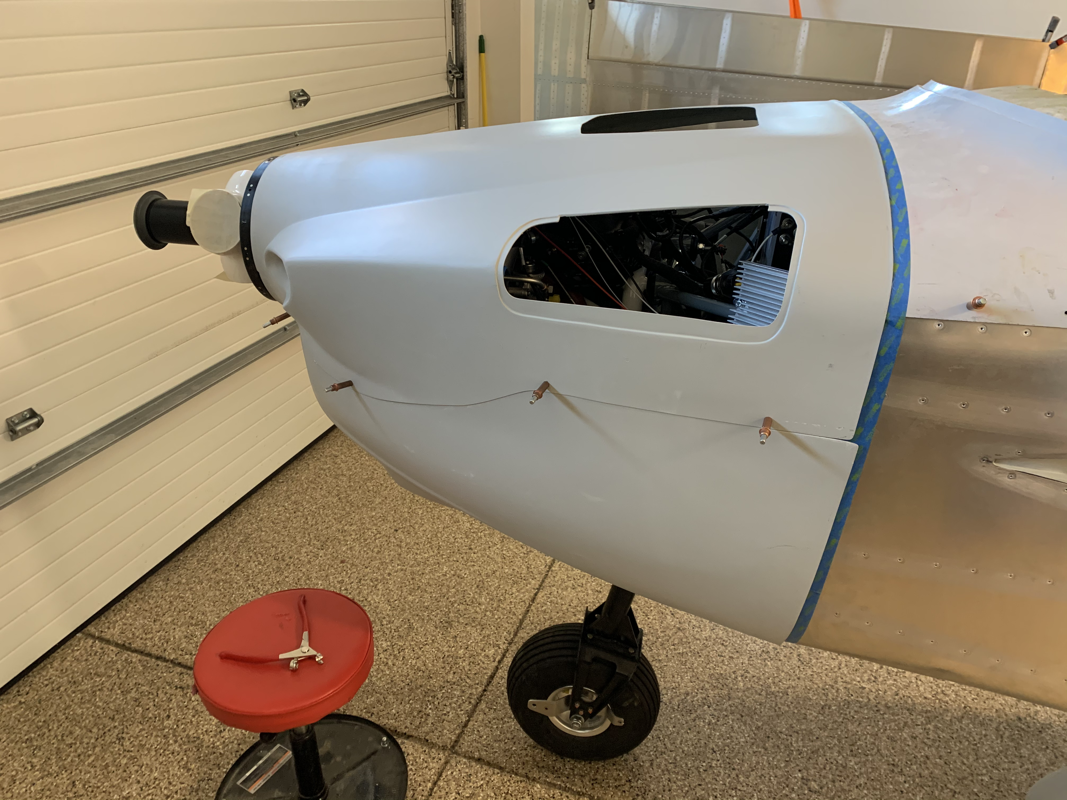
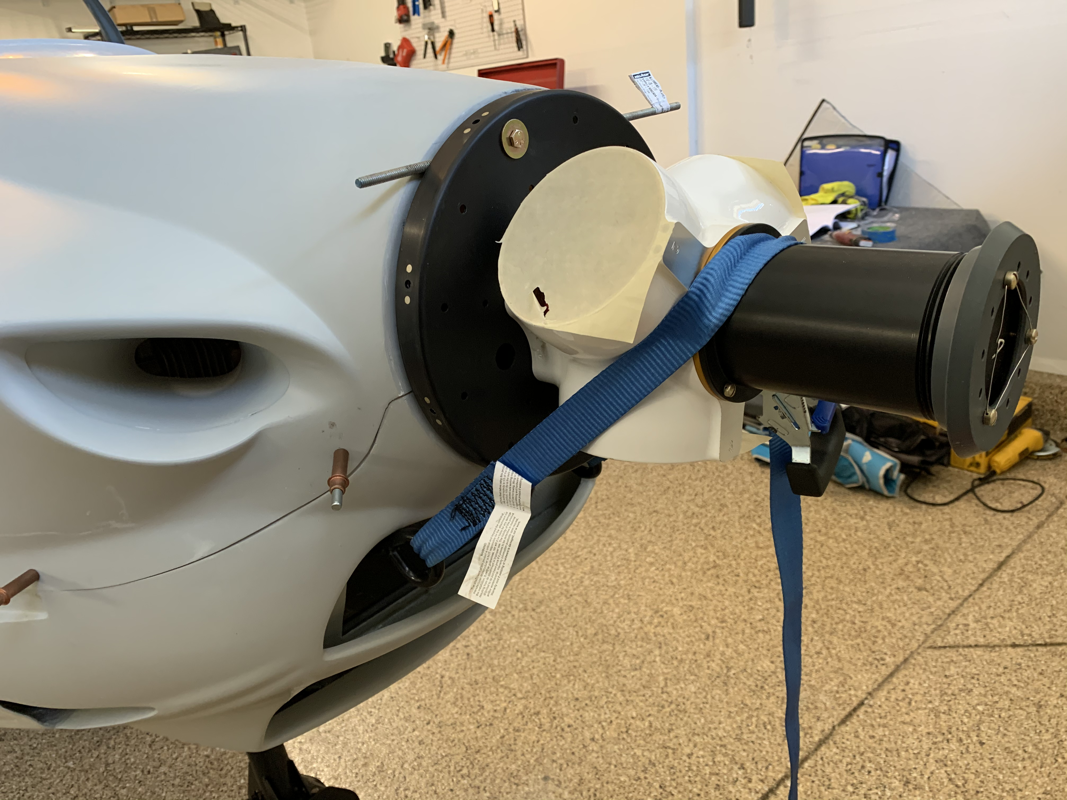
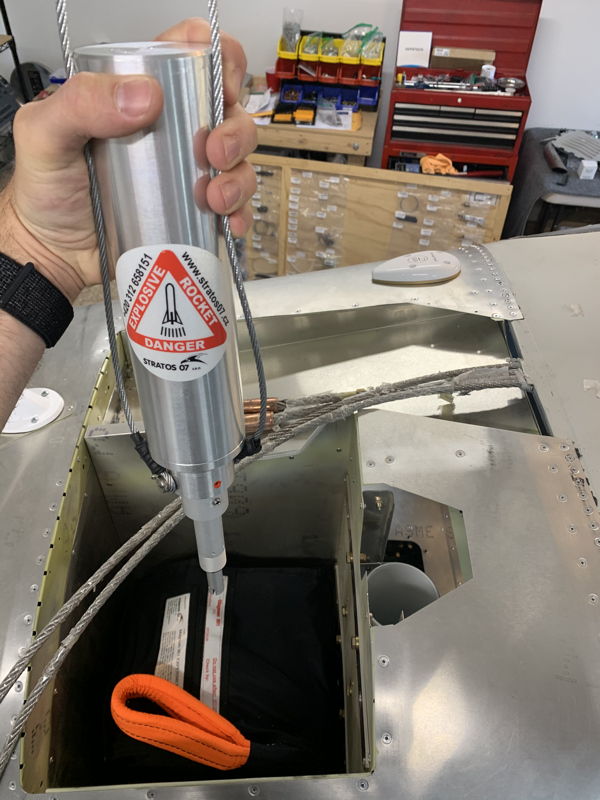
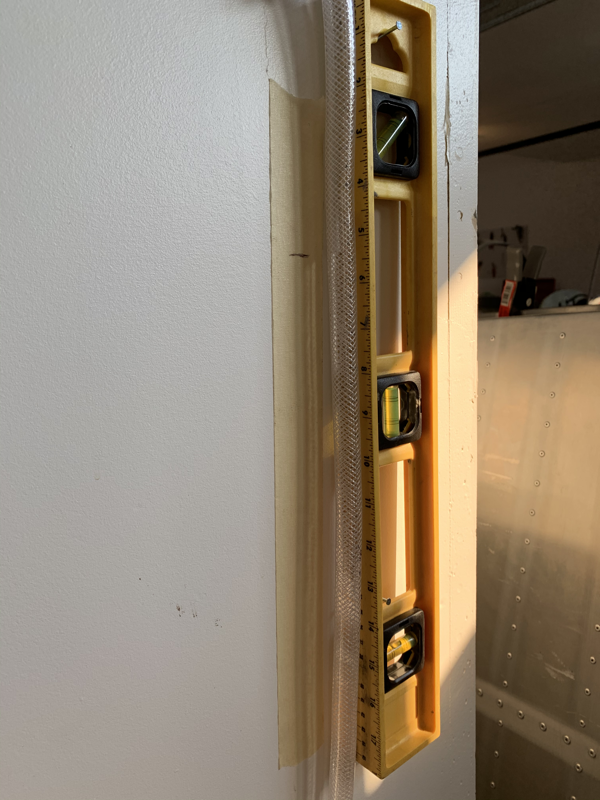
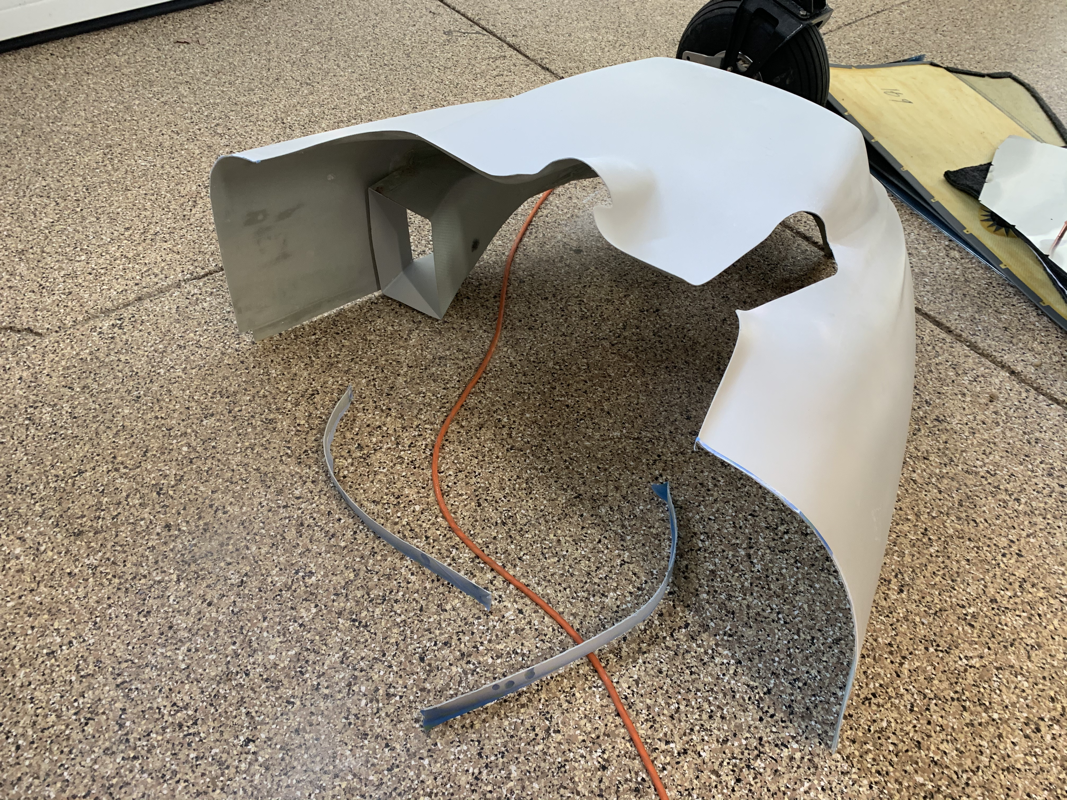
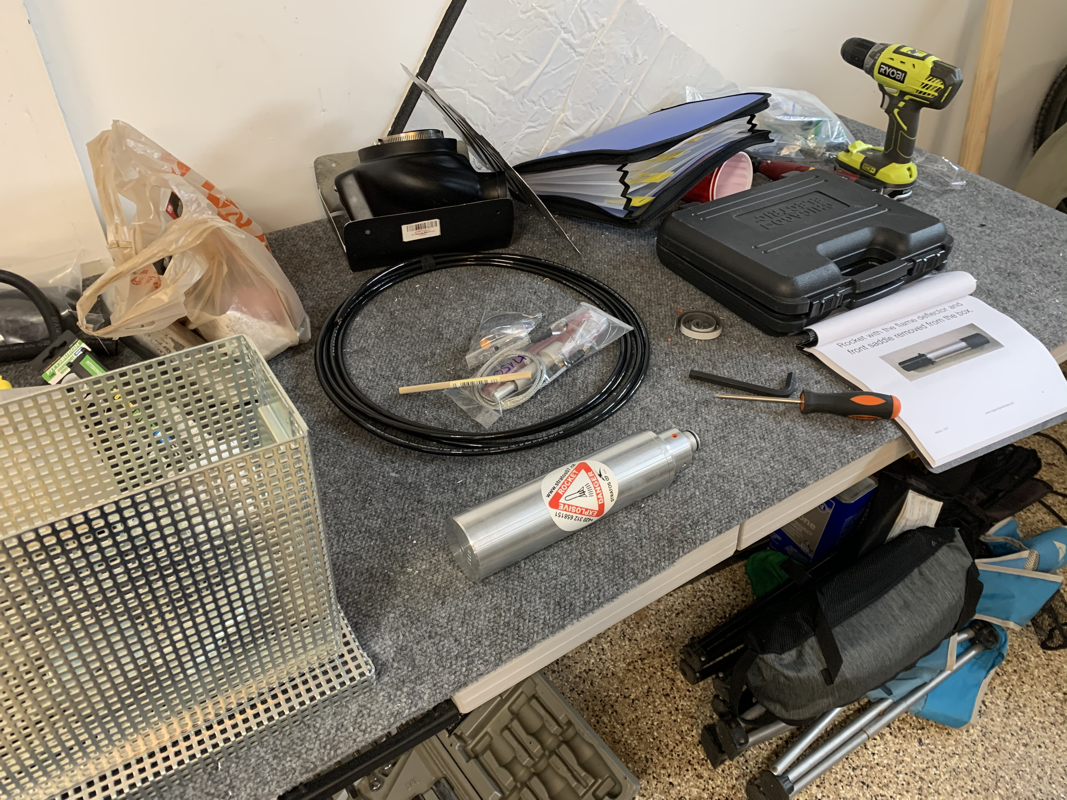
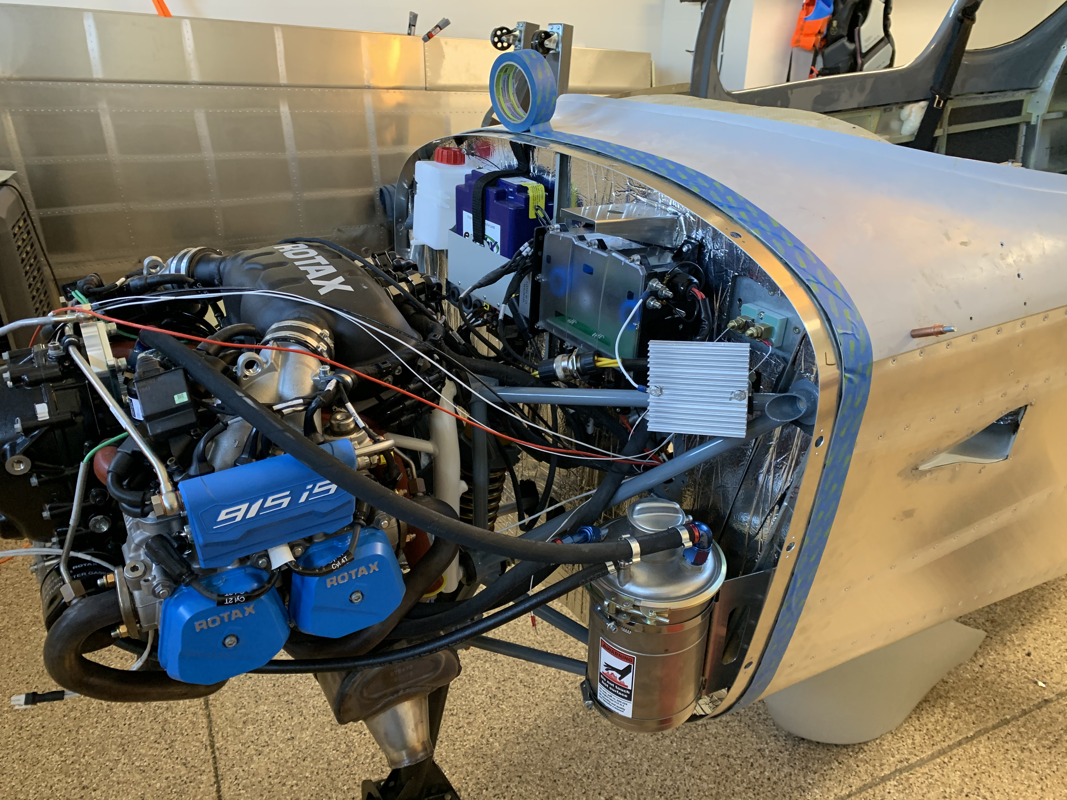
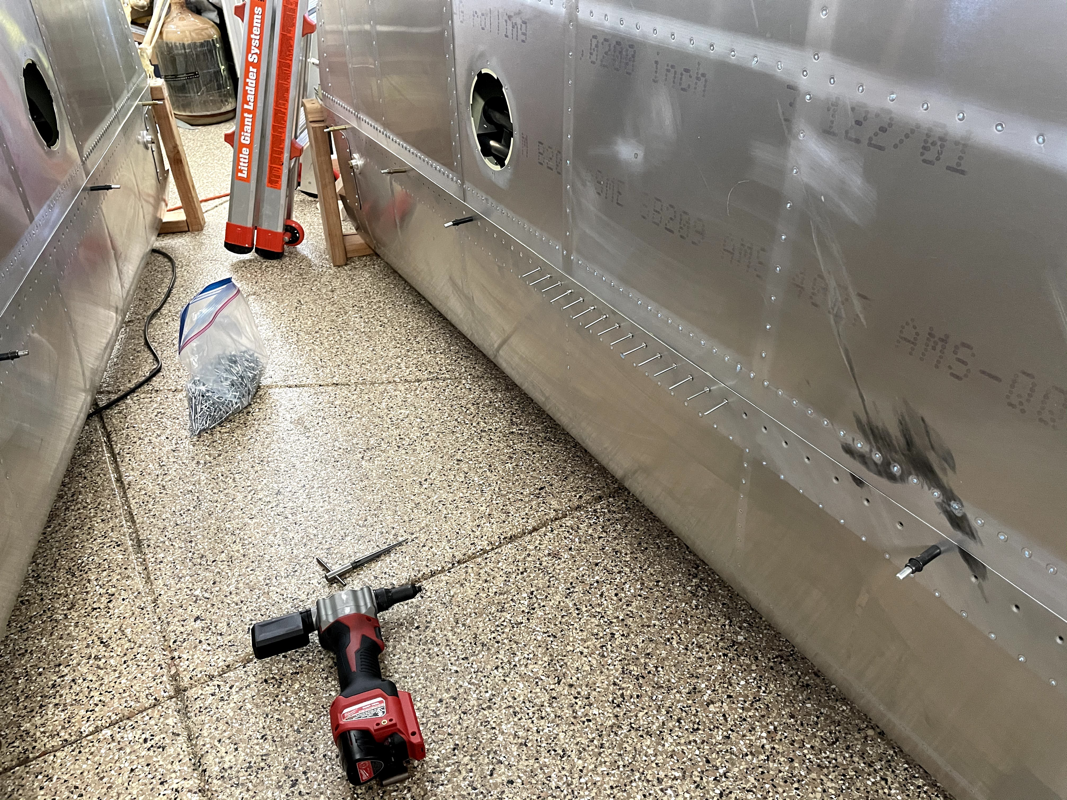
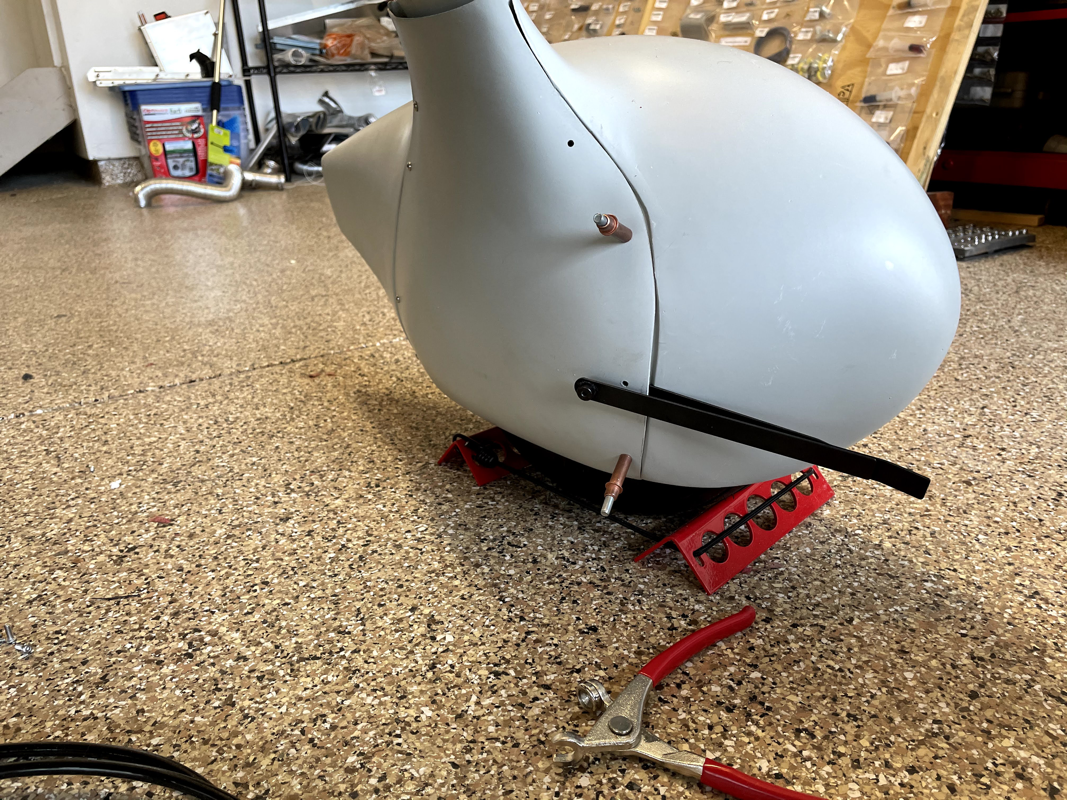
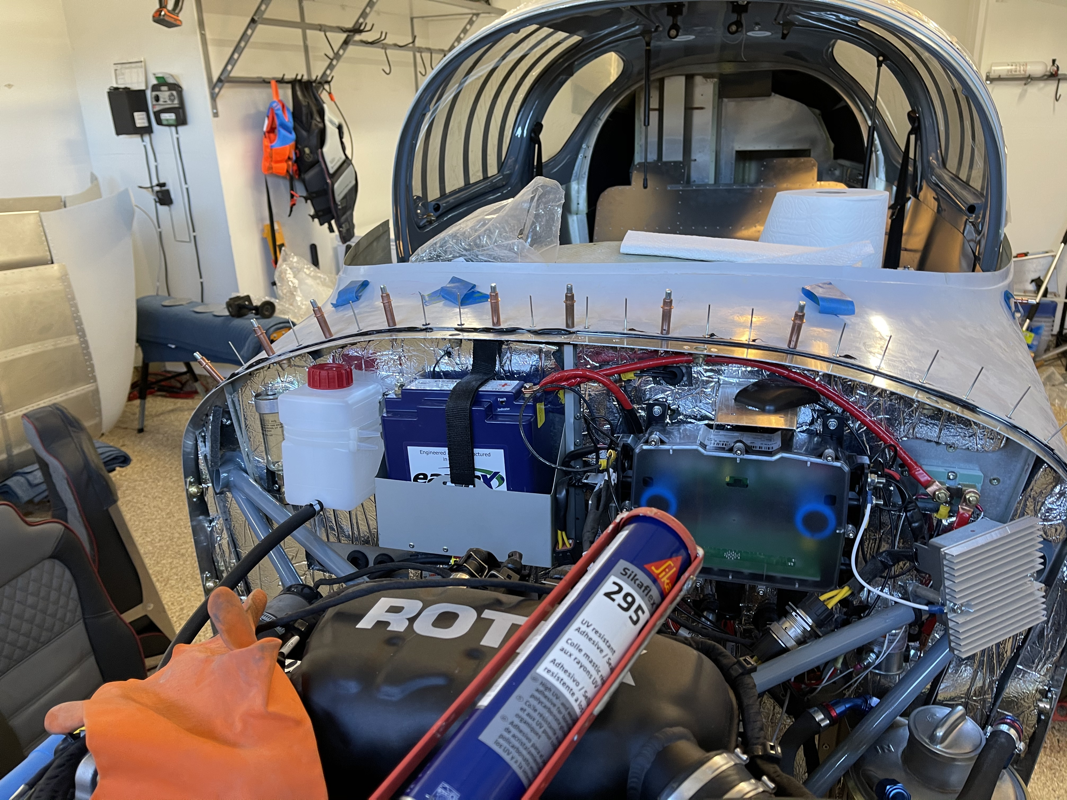
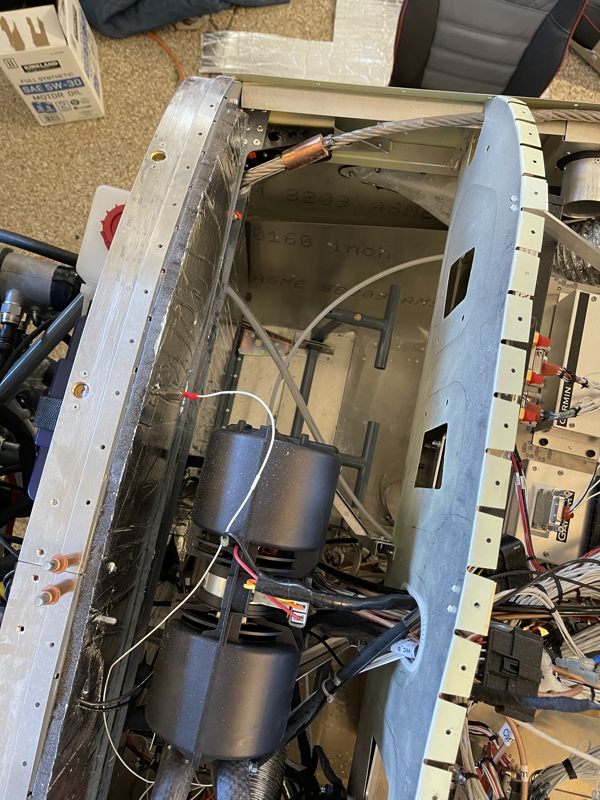
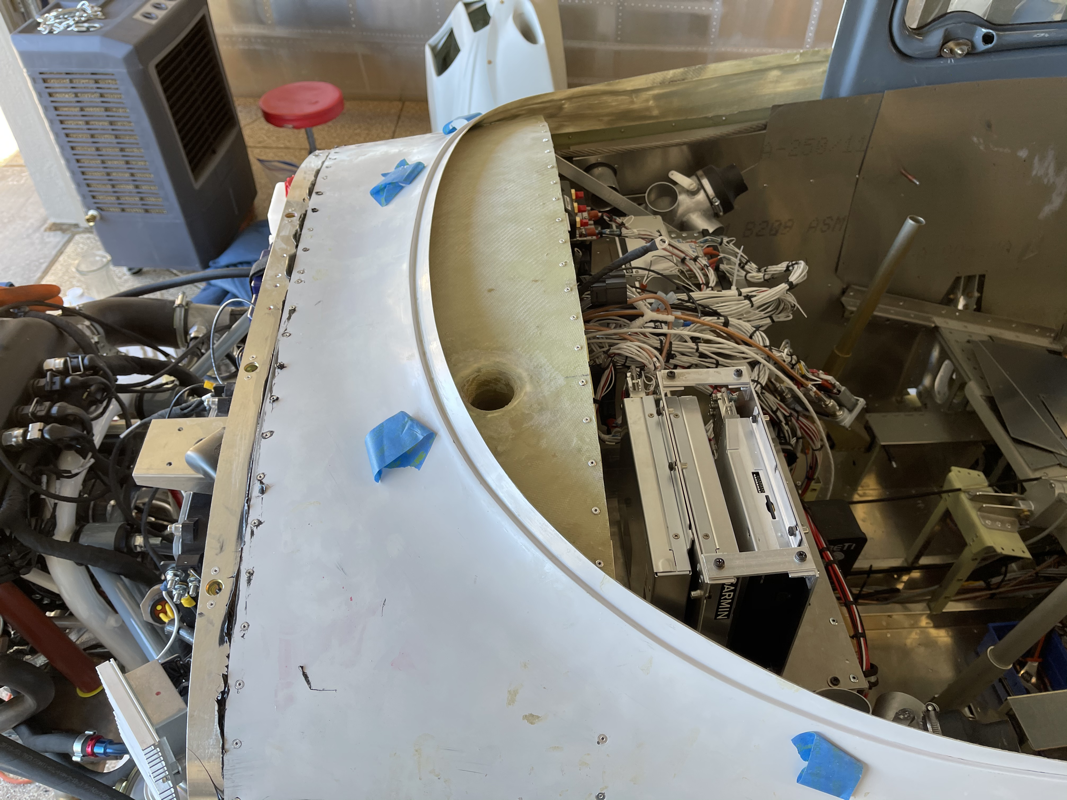
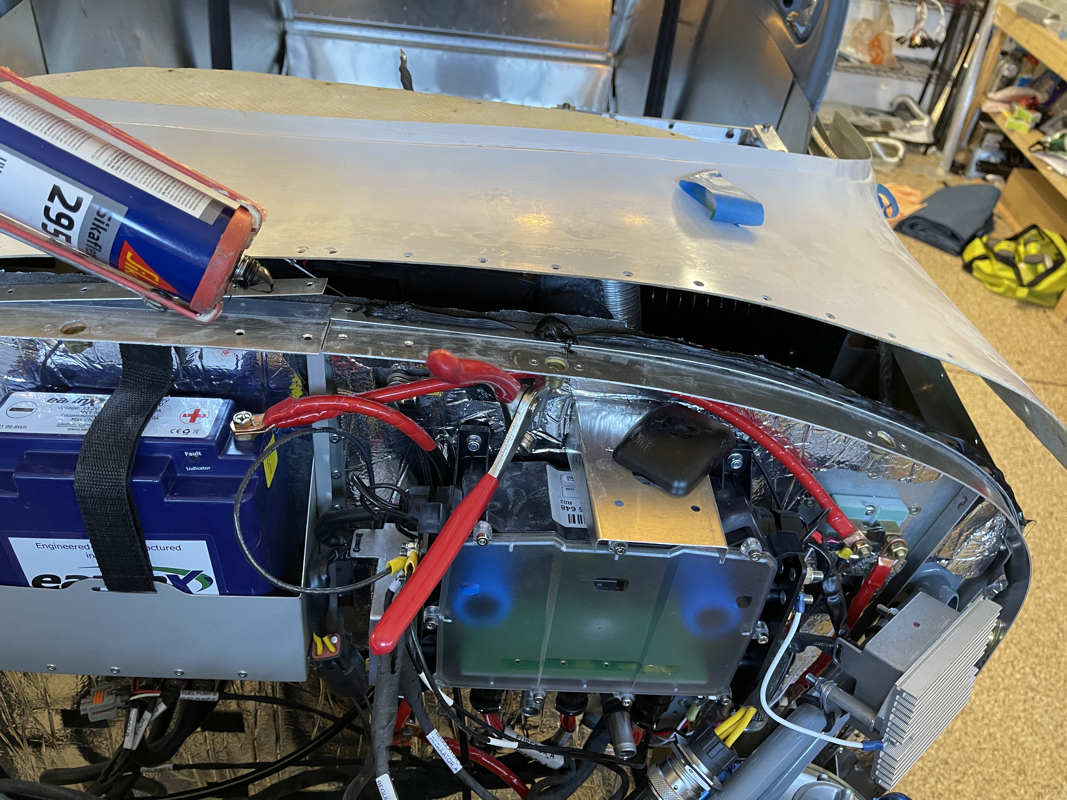
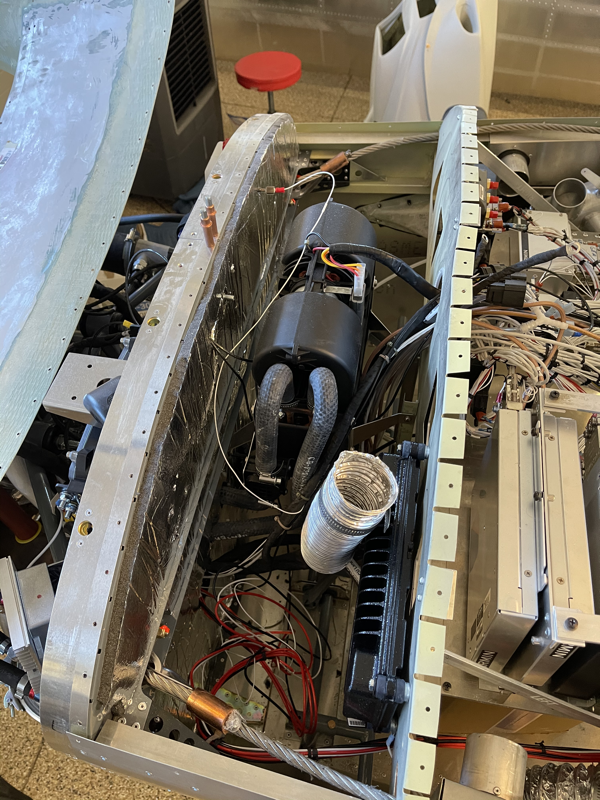
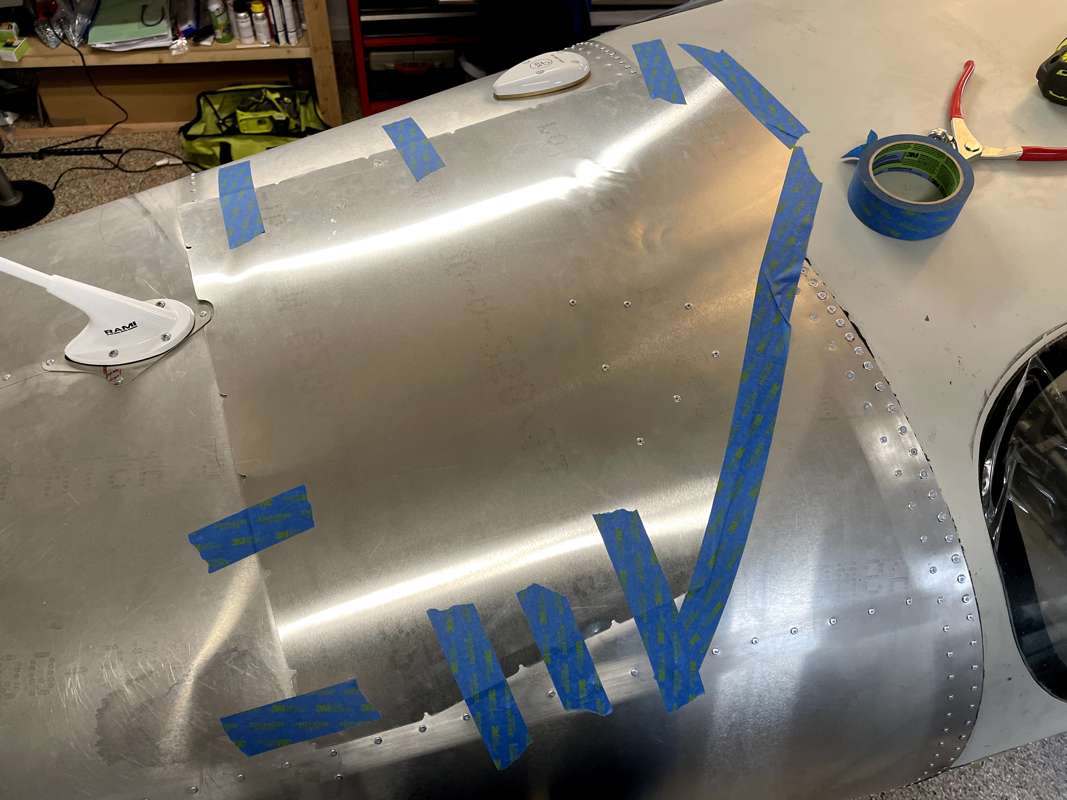
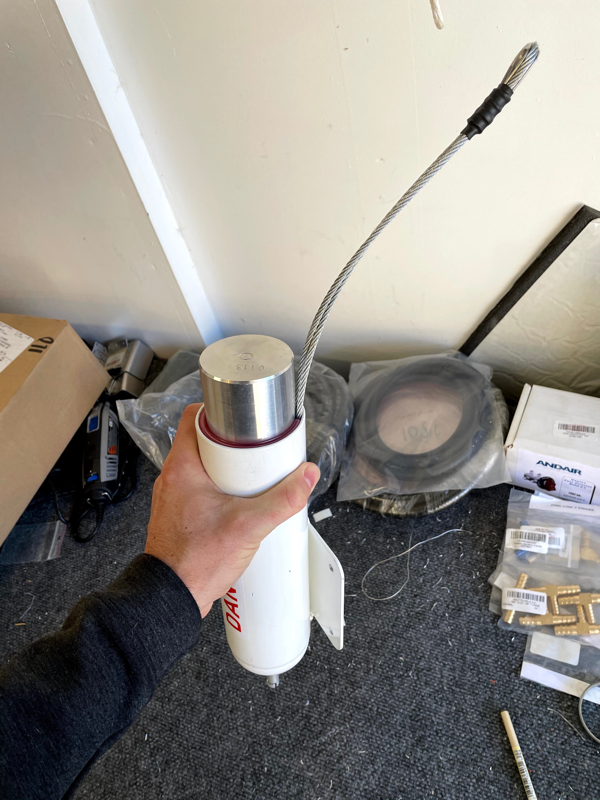
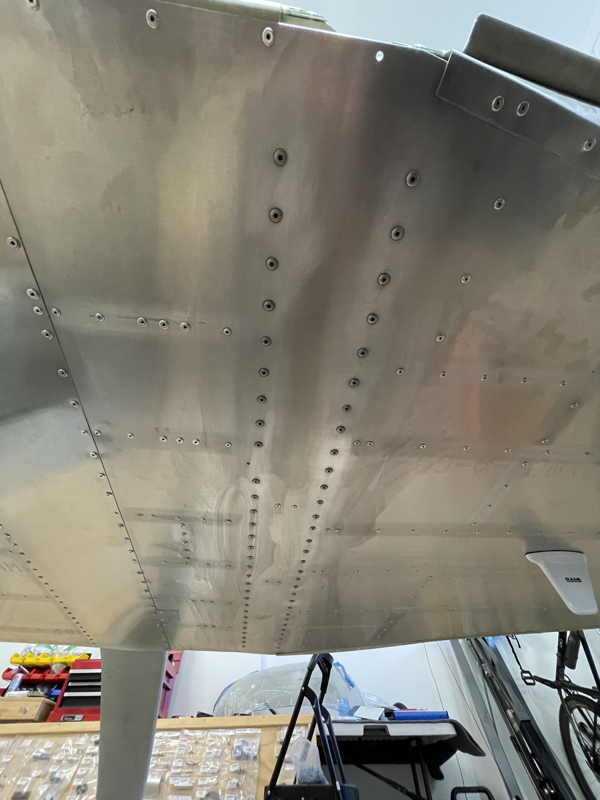
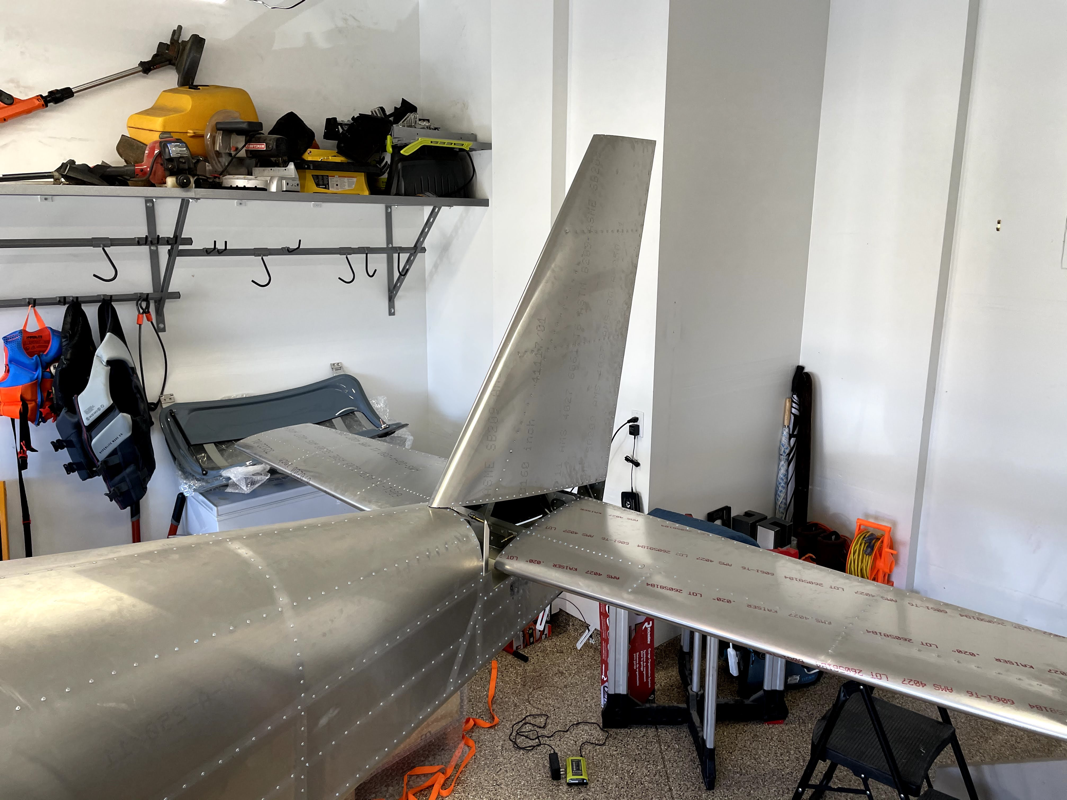
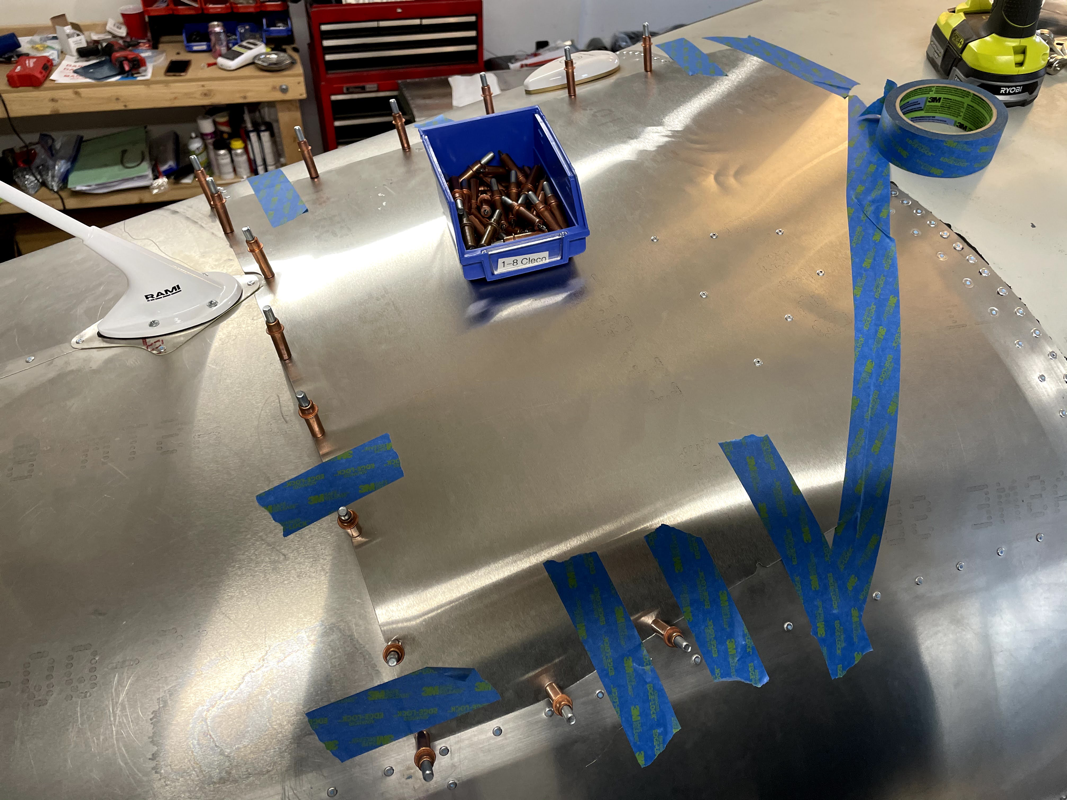
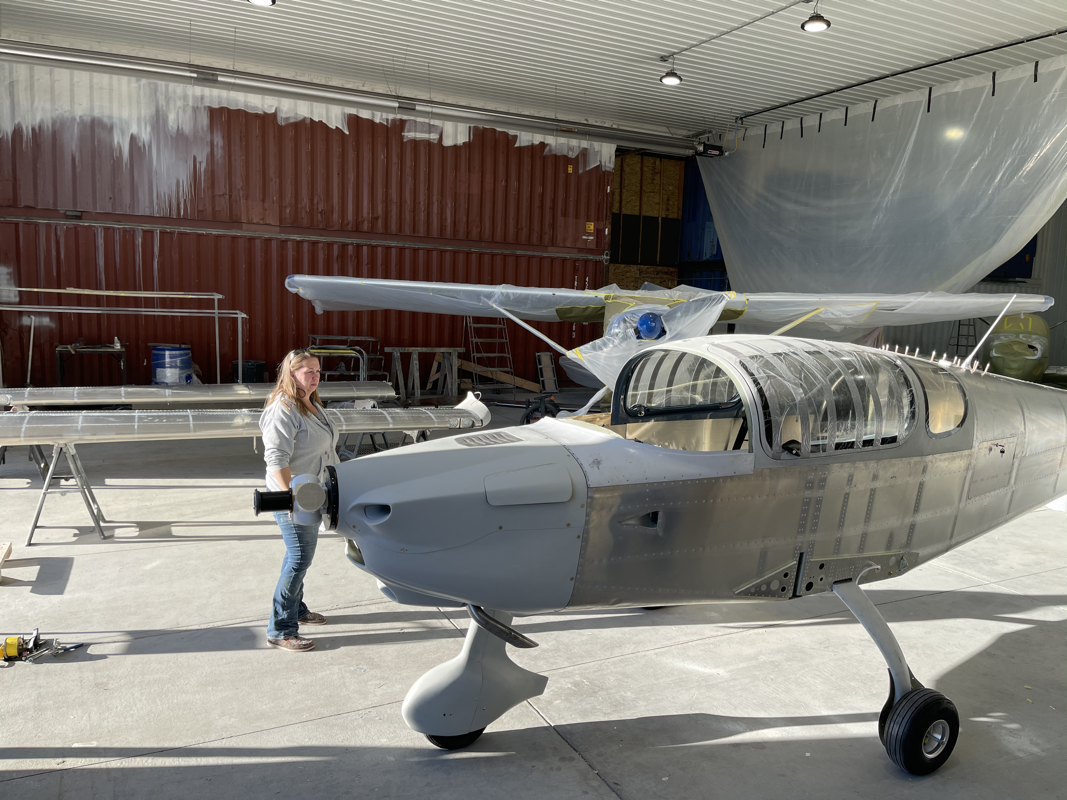
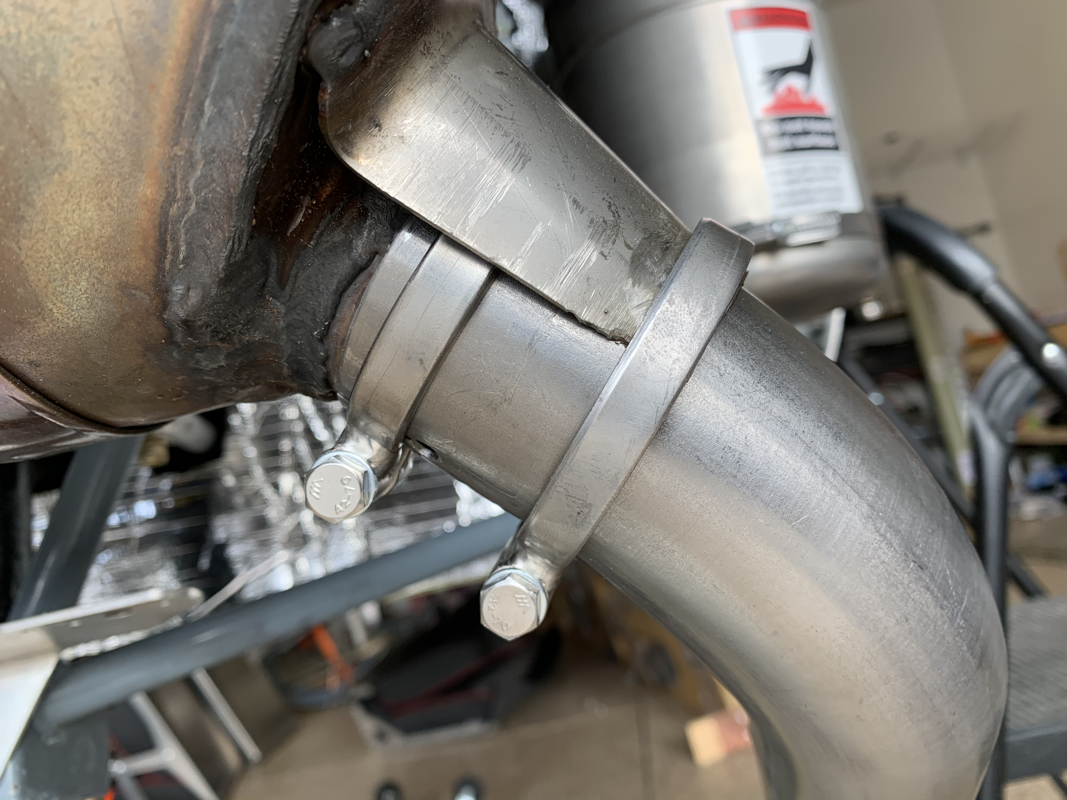
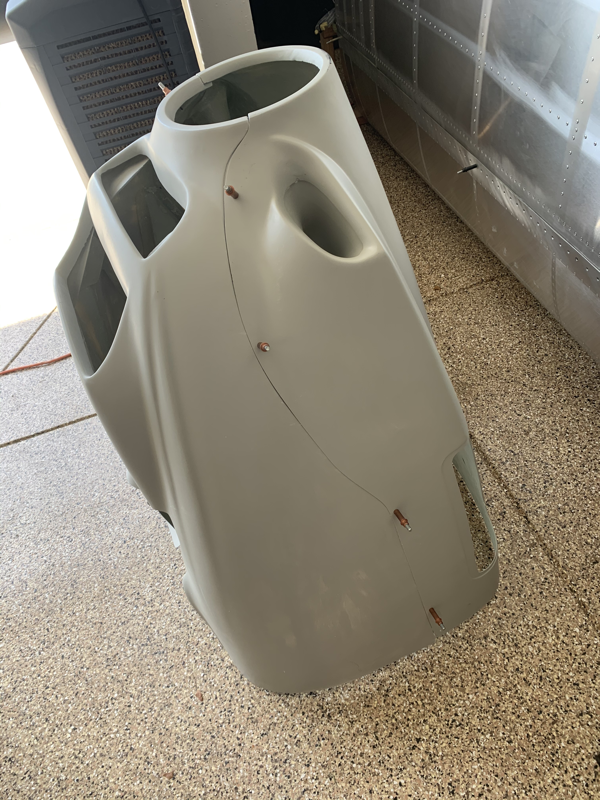
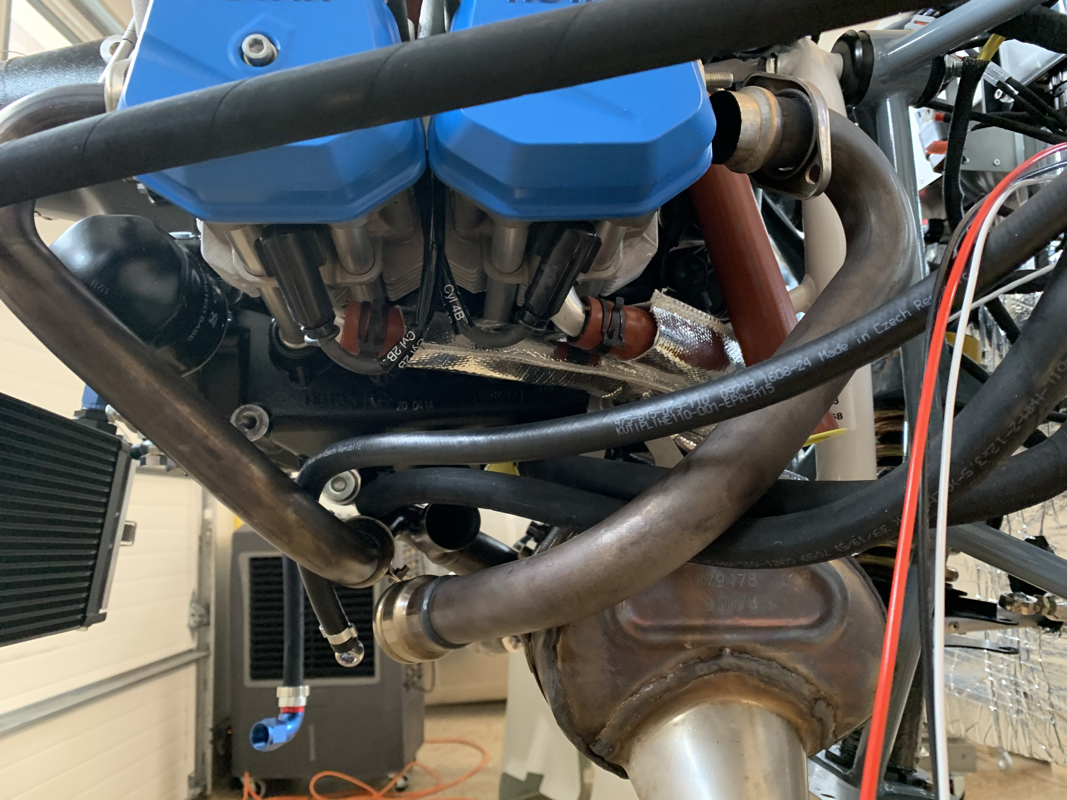
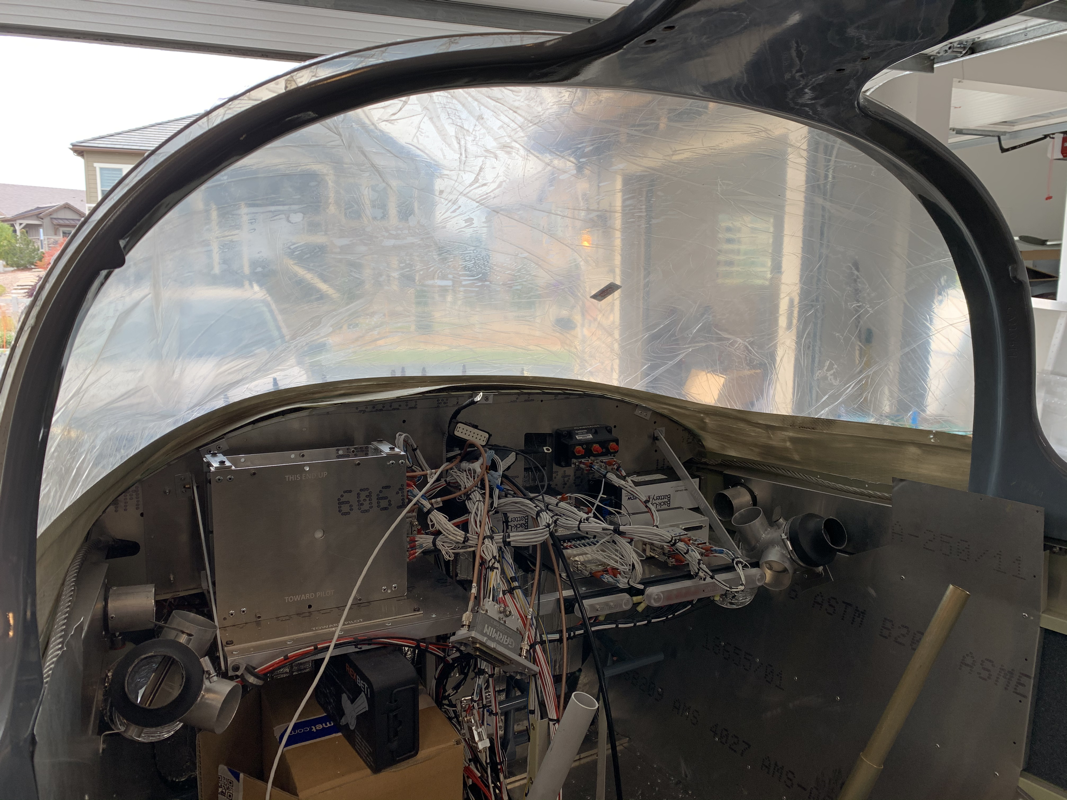
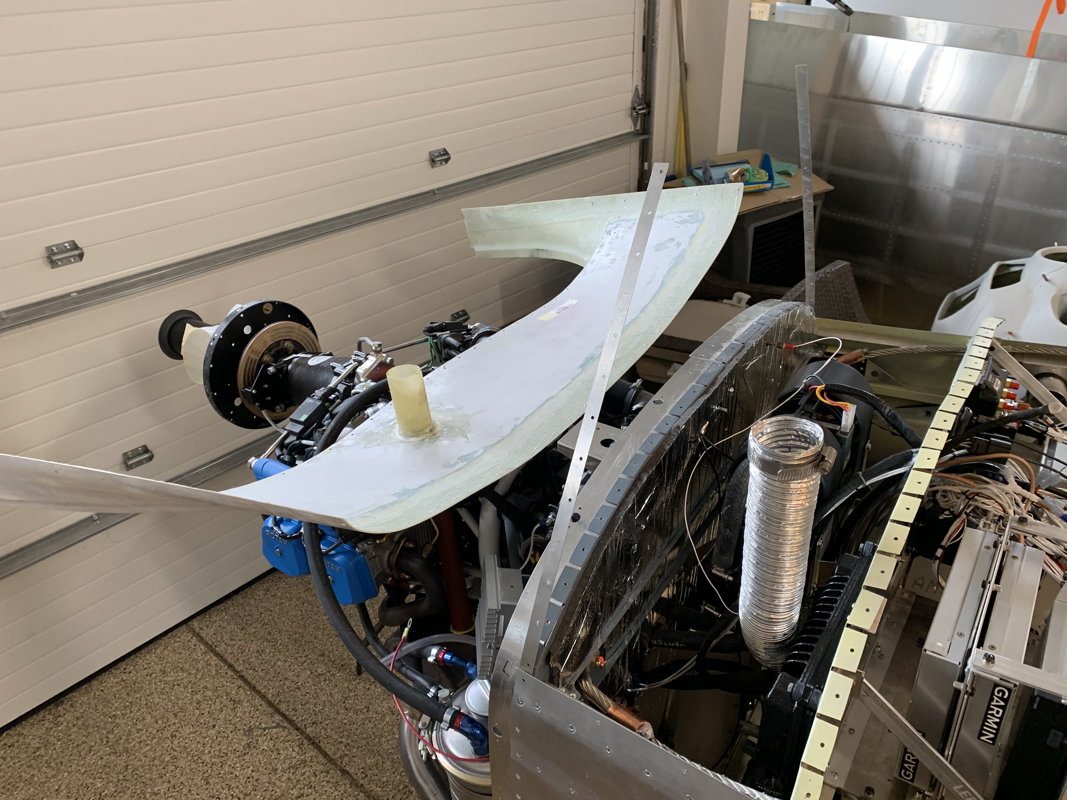
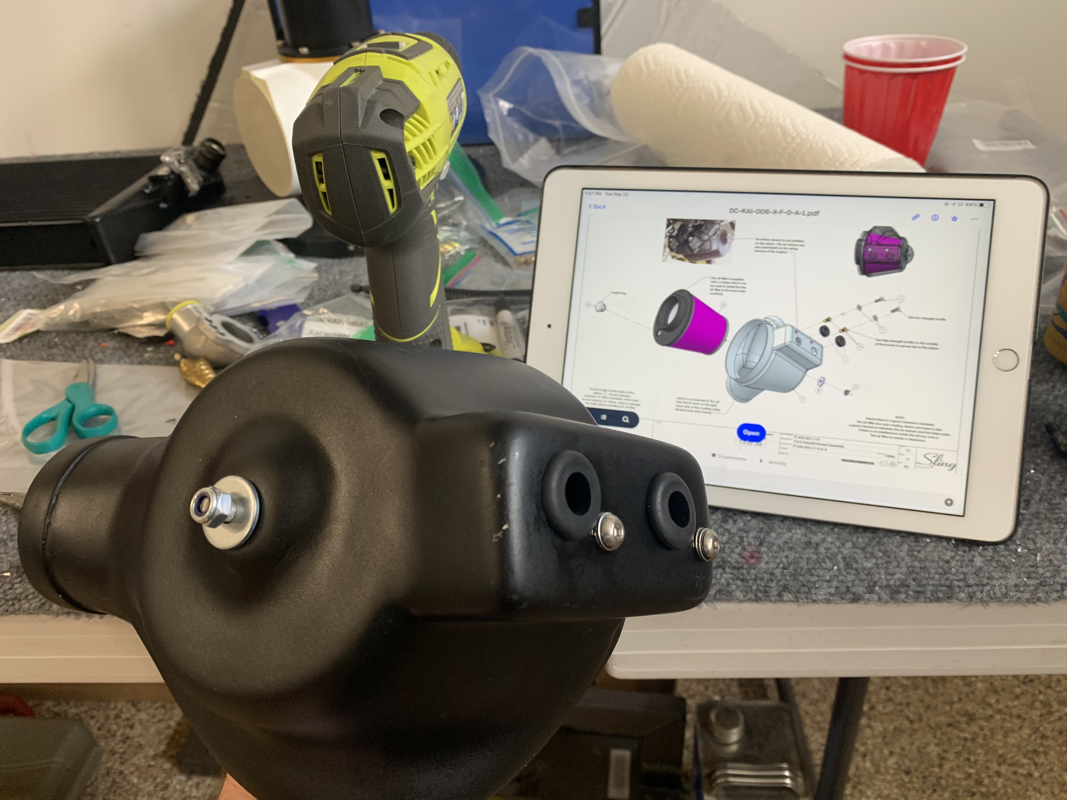
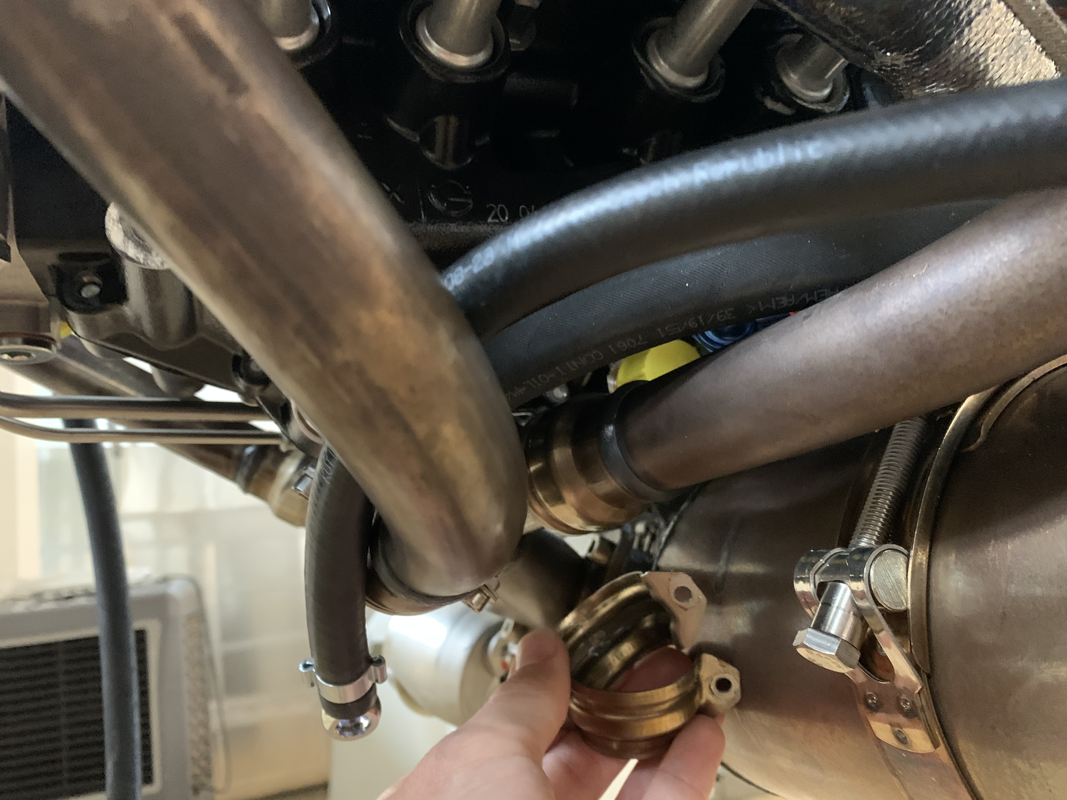
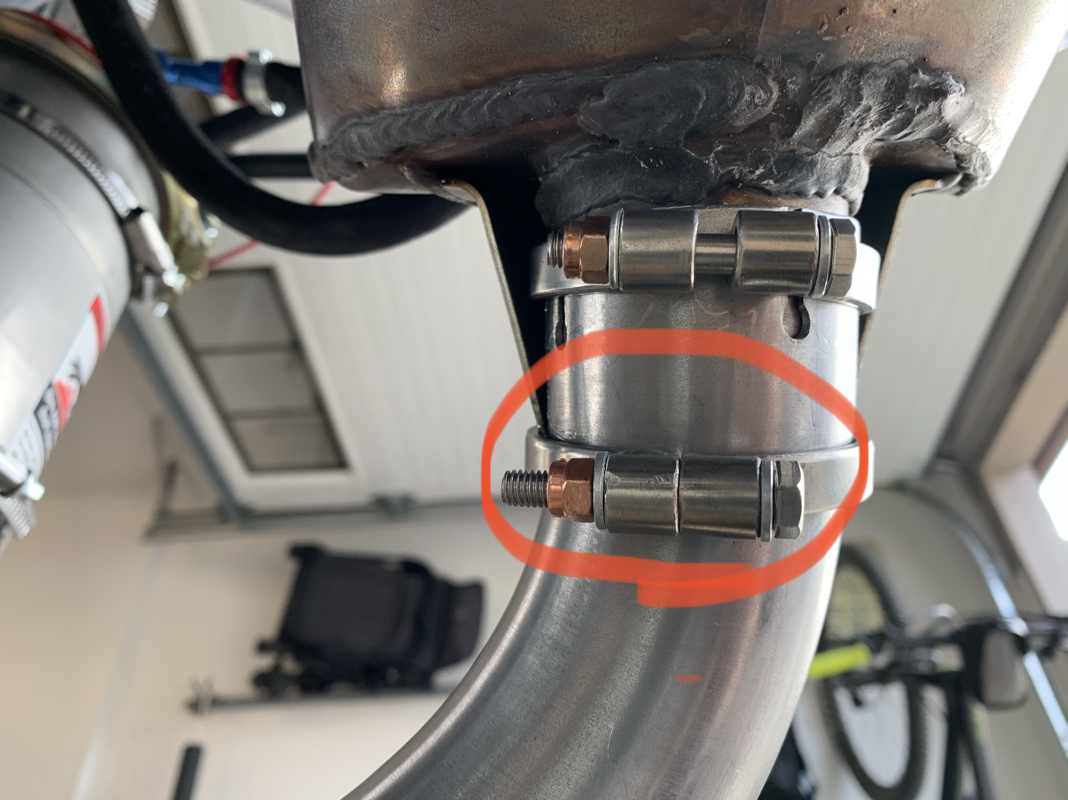
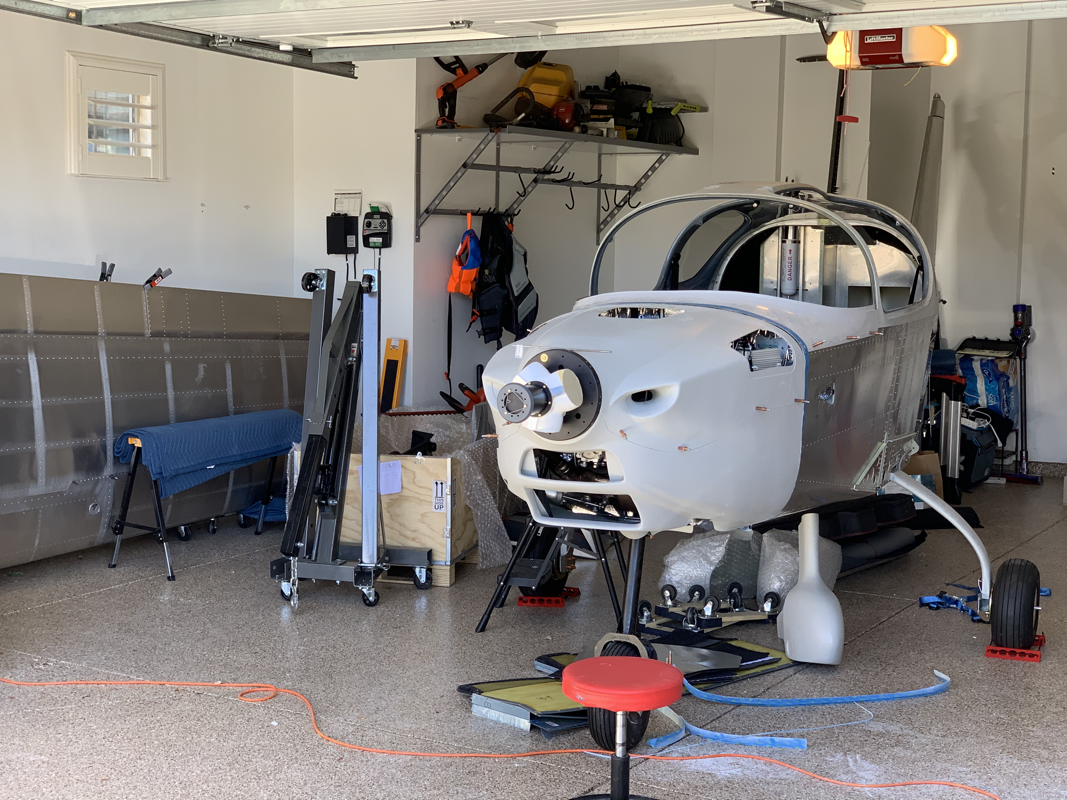
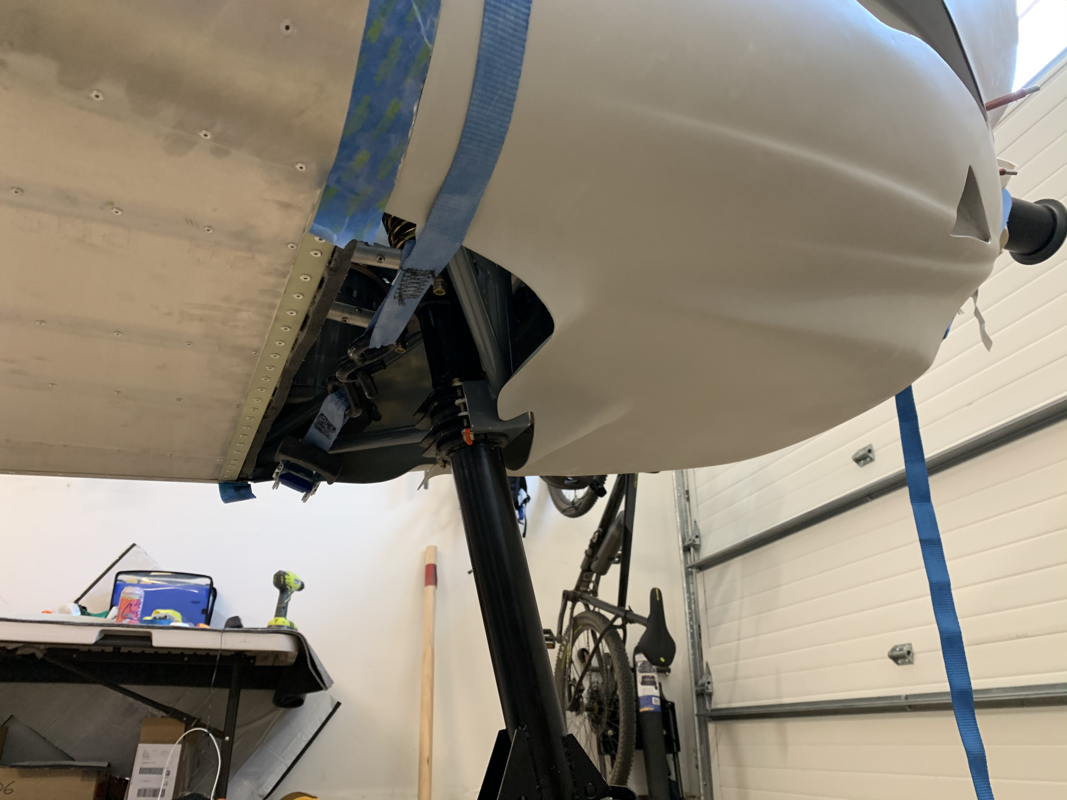
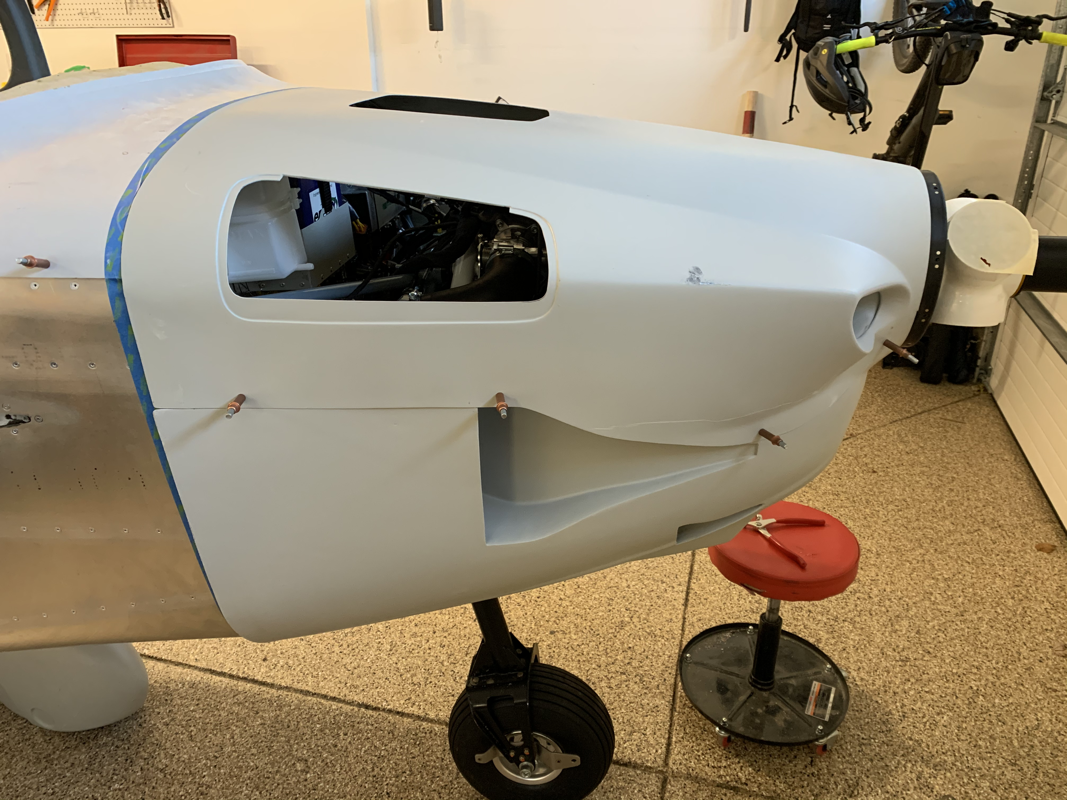
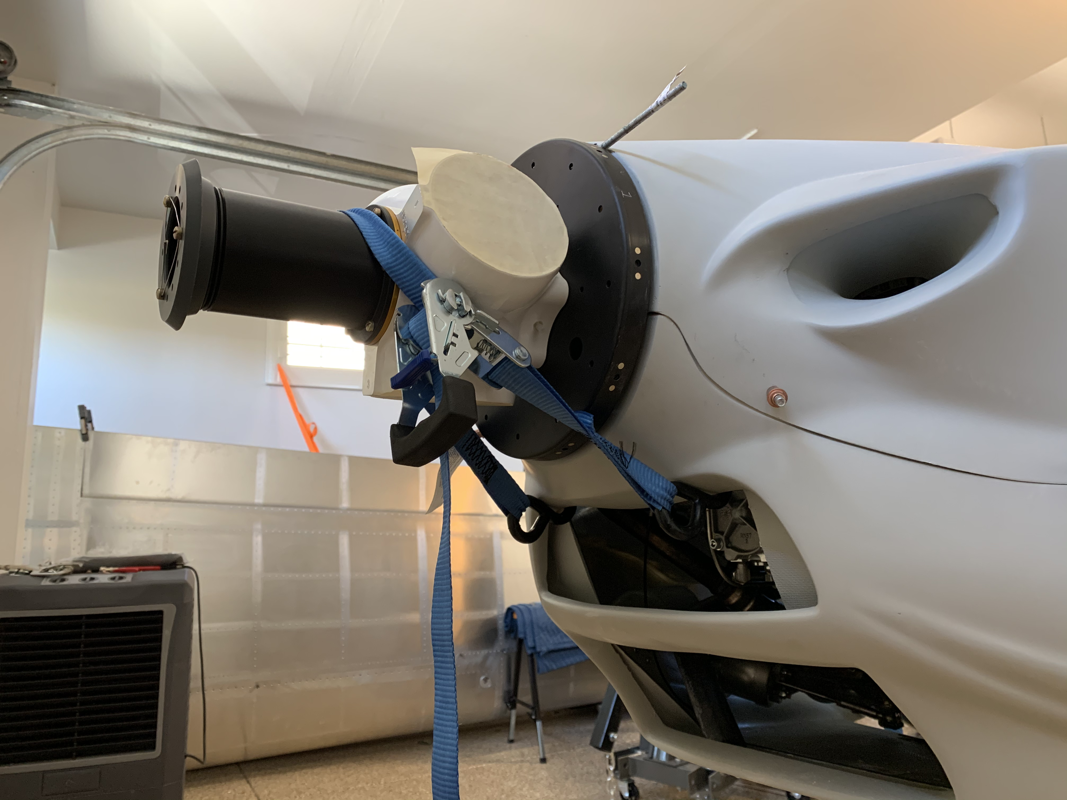
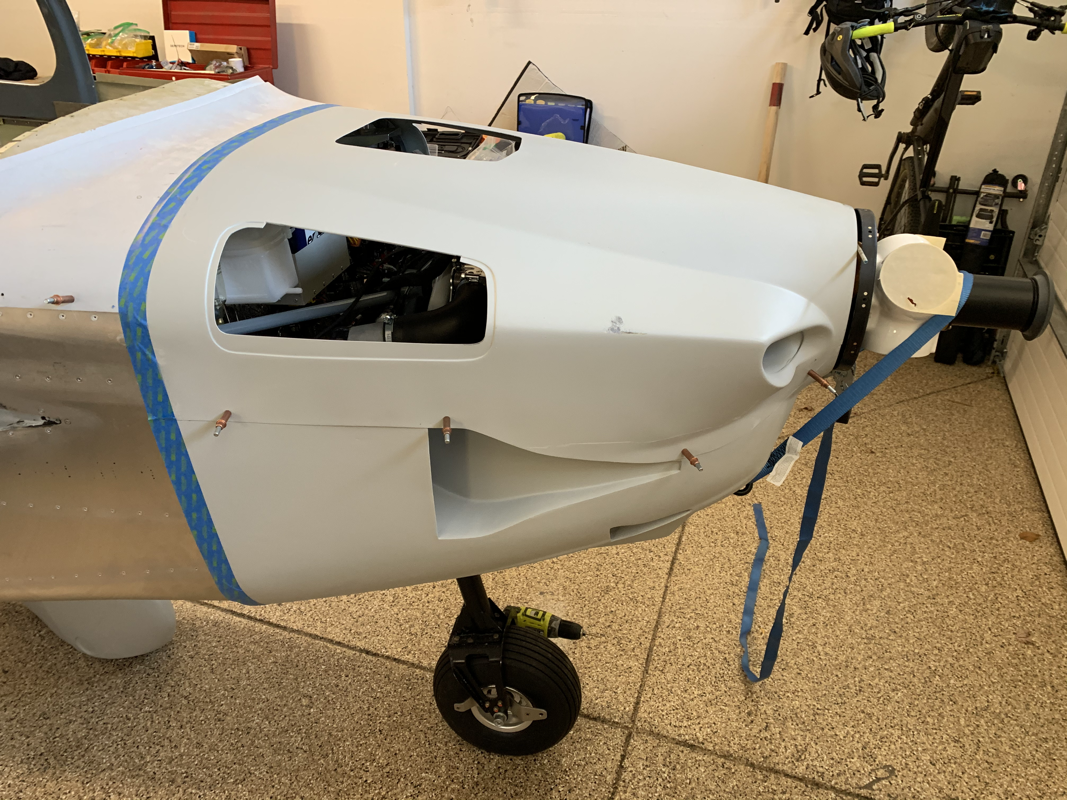
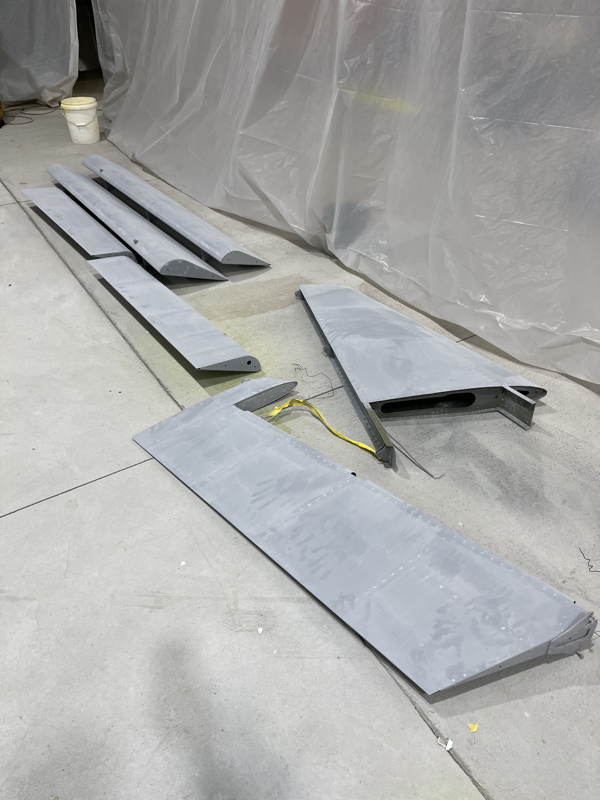
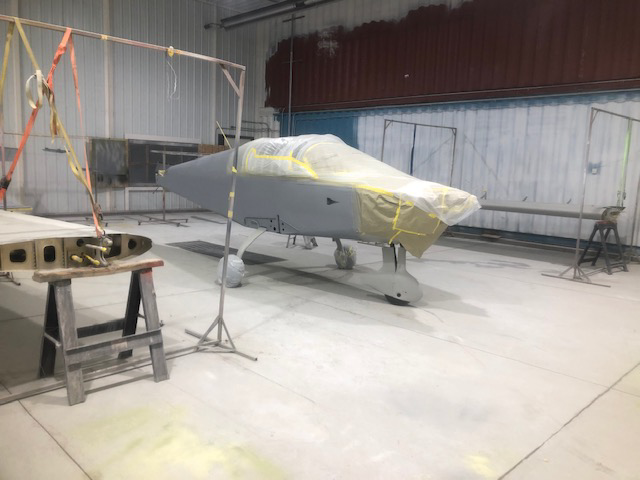
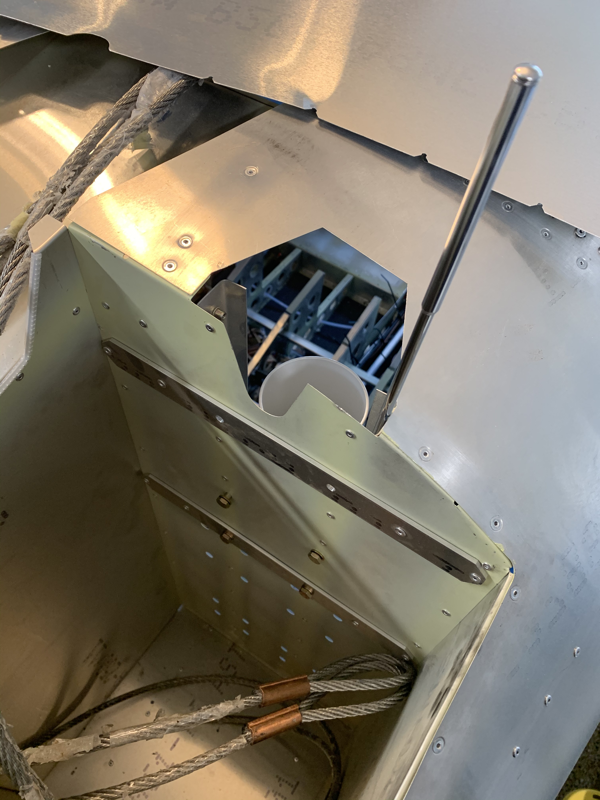
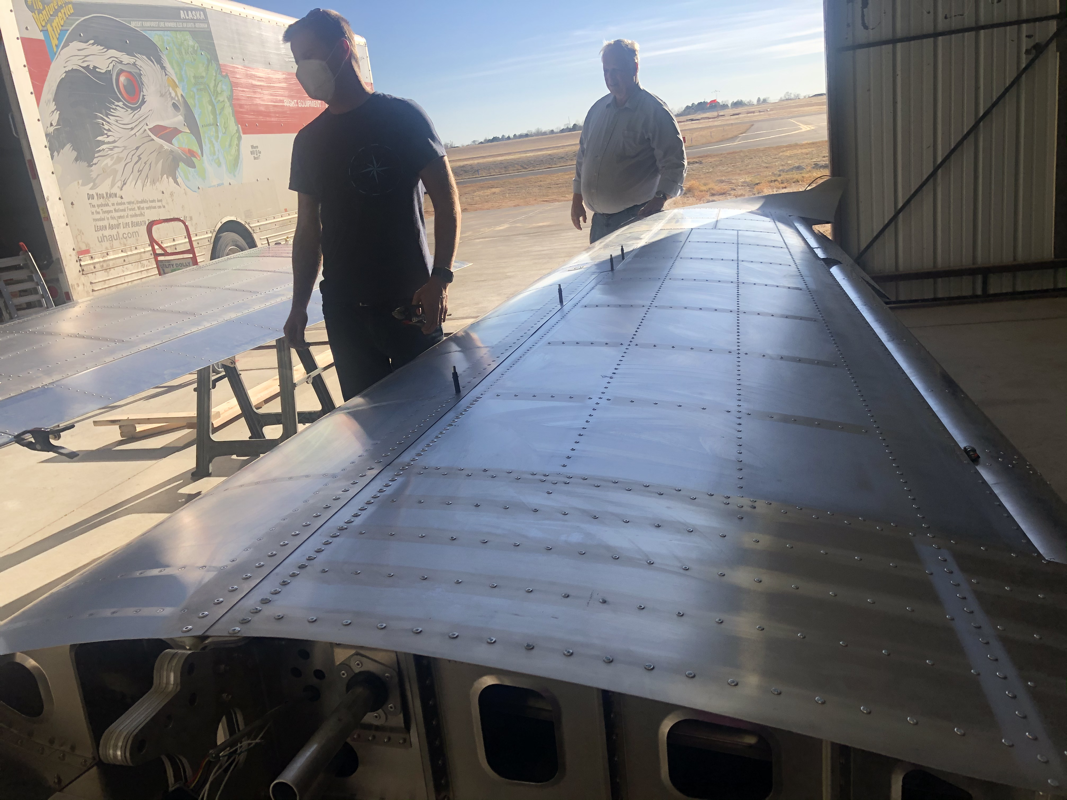
Today was quite the milestone! I spent a good amount of time priming the system with Oil, Coolant and Fuel in the morning. Once the engine was burped and all the indicators looked good, I went for engine start! The first time cranking it up, I had the throttle set a bit too low, but once I gave it a bit more it started purring. Once I did the initial run for a few minutes, I took off the cowling and inspected for leaks - none! What did I do wrong? Hehe I decided to go for a short taxi around the hangars with my Mother. The engine stats looked good and the warning light eventually went away at higher RPMs. It was mainly flashing because of the fuel pressure, but it worked itself out. Just a bit more to go on the interior. - Connect Joysticks - Connect and configure fuel tank sensors - Connect the pitot and AOA tubes - Tighten up a few bolts here and there - Clean up the wires under the dash - Finish gluing the upholstery - Install the wing light covers Not too much, but going on hiatus for a bit as I’m expecting my 2nd child any day now. 🐣😉 What a big day! So excited to get the wings attached. Thanks for the help today, Brian! 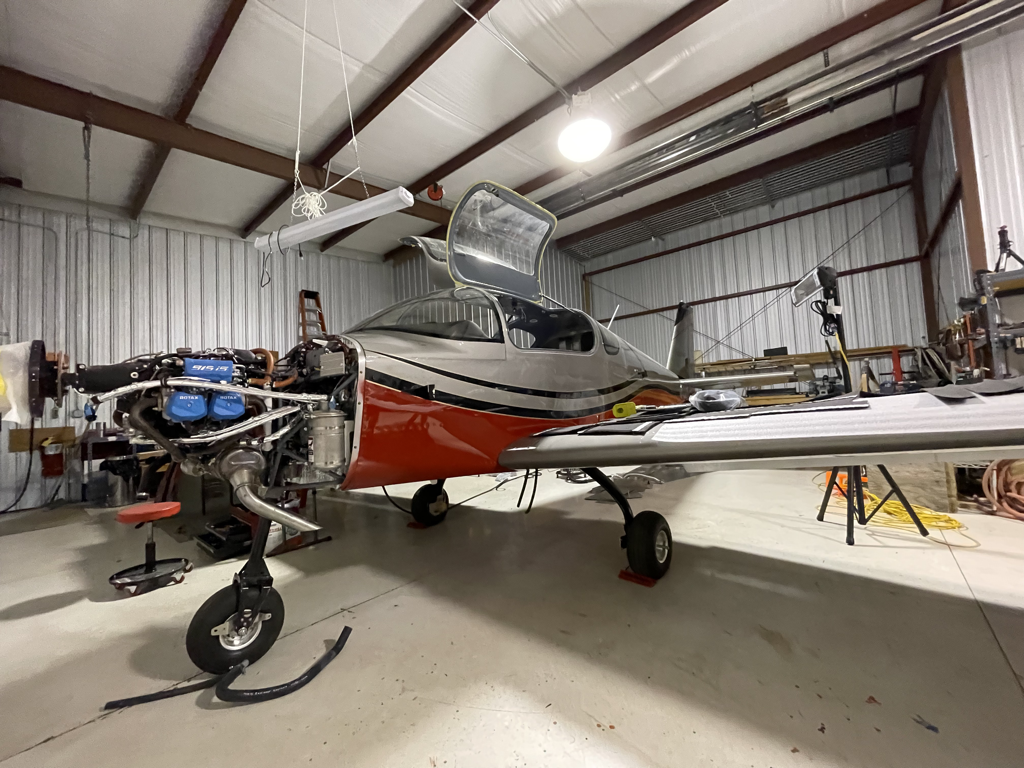 Today was a fun day! Now that the windshield is bonded, I was able to install the avionics panel and get everything connected to the harness. What an easy process thanks to Midwest Panel Builders. I think it only took us about a half hour to fit the panel and get everything connected with the plug and play harness with labeled connectors. Next up - Wings, Prop, Upholstery and then just sprinkle in some fuel and oil and we're ready for blast off! It's been a busy few weeks working on the fiberglass components of the airplane. The main goal is to get it 'Paint Ready' before November.. tick tock! That means riveting on the cowling components, putting in rivnuts on the wheel pants, installing the wing tips, etc.. The most time spent was on the wing tips. I used the straps to push them into the place against the leading edge of the wing in addition to widening the wing tip to match the shape of the wing. Once in place, I match drilled the holes and then countersunk the fiberglass. There were parts that weren't reinforced with the second layer of fiberglass underneath, so I figured I would add some additional strength by applying SikaFlex to the bonding of tip to the wing. Some other items I worked on were the ECU mounting and shaving off enough muffler to slip in the factory supplied muffler extension. Lastly, my Fuel System arrived! This is the last bit of components I'll need to finish up the plane. I inventoried the components and some fittings were on back order, but overall I can make a dent in the installation here soon. Next up, I'll be permanently mounting the cover over the heater section so I can trim the windshield and I'll also be adding the fasteners to the cowling to the fuselage. I finally decided to try my hand at some metal work again. It’s been a bit since I had to rivet or cut any aluminum, so I was a bit rusty. A huge thanks to Phillip’s blog showing the steps to install the missing inspection door for the pitot tube. I certainly wasn’t as precise as he was, but mainly I measured the placement recommendations from the factory and traces the outline of the cover. From there I tried my best to find center. I knew it wouldn’t be perfect so I intentionally set the nibbler to be a smaller diameter than the cover. Once done cutting, I just used the file to get the hole to match the drawn outline. I did use a handy pull rivet style dimpler, which made things really easy to get flush rivets in there. Once everything was dimpled, I just drilled the holes for the rings and viola! So during my move to Colorado, I did have some damage to the vertical stabilizer skin - a nice hole on the side and some major scuffing on the skin. I ordered the new skin back in April and it finally came last week. I made sure I had some sharp drill bits and started de-riveting the skin.. ugh. While I have the skin off, I’m going to remove the VOR/ILS antenna since I decided to use the GNX375 (GPS only for approaches) instead of going for the more expensive option of the GTN650. That’ll save me about 3lbs of drag! ;-) Not much of an update this week. The main item I accomplished was to run the remainder of the RG400 to their respective locations and add the BNC and TNC connectors. I installed the GPS antenna in the rear instead of the proposed location in the manual due to several factors and mainly a strong recommendation from MidWest Panel Builders below from Adam. Words of wisdom: We very strongly recommend against having the antenna under the cowling. We have seen time and time again issues caused in this area. It’s not the fiberglass that’s the problem, actually. The main problems are:
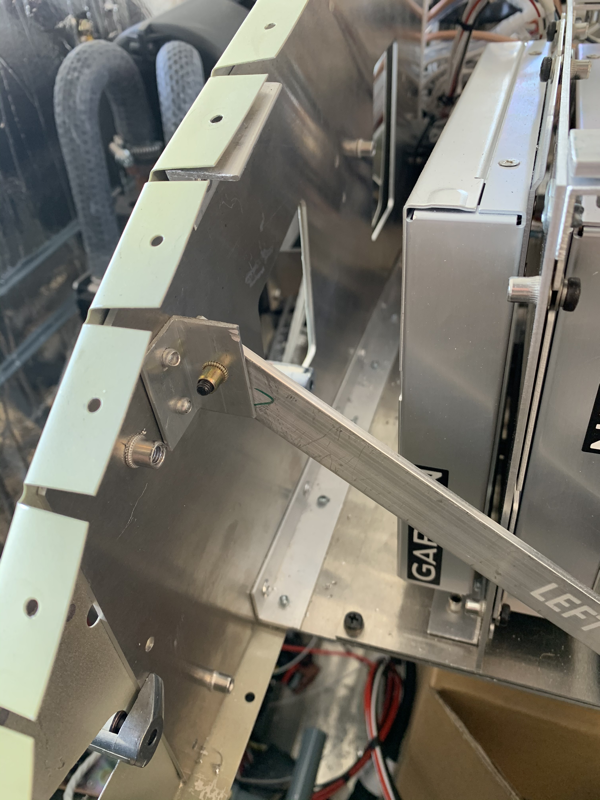
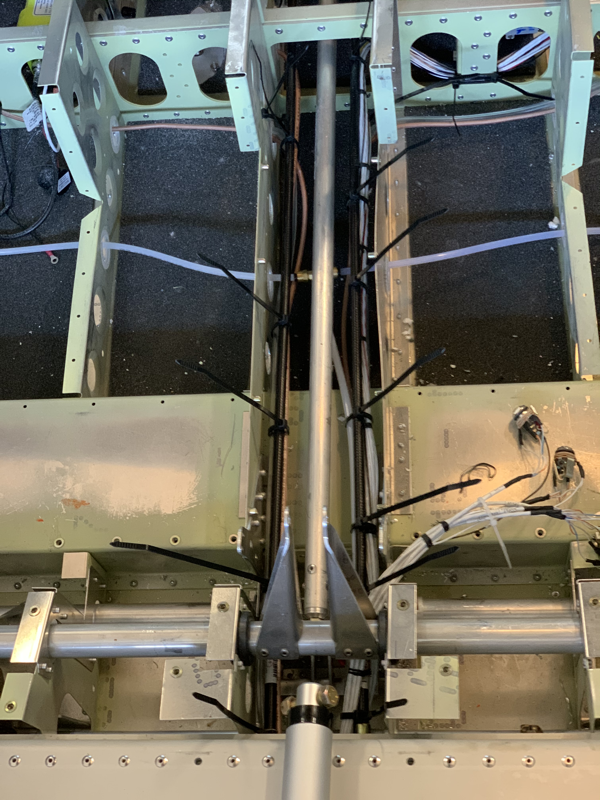
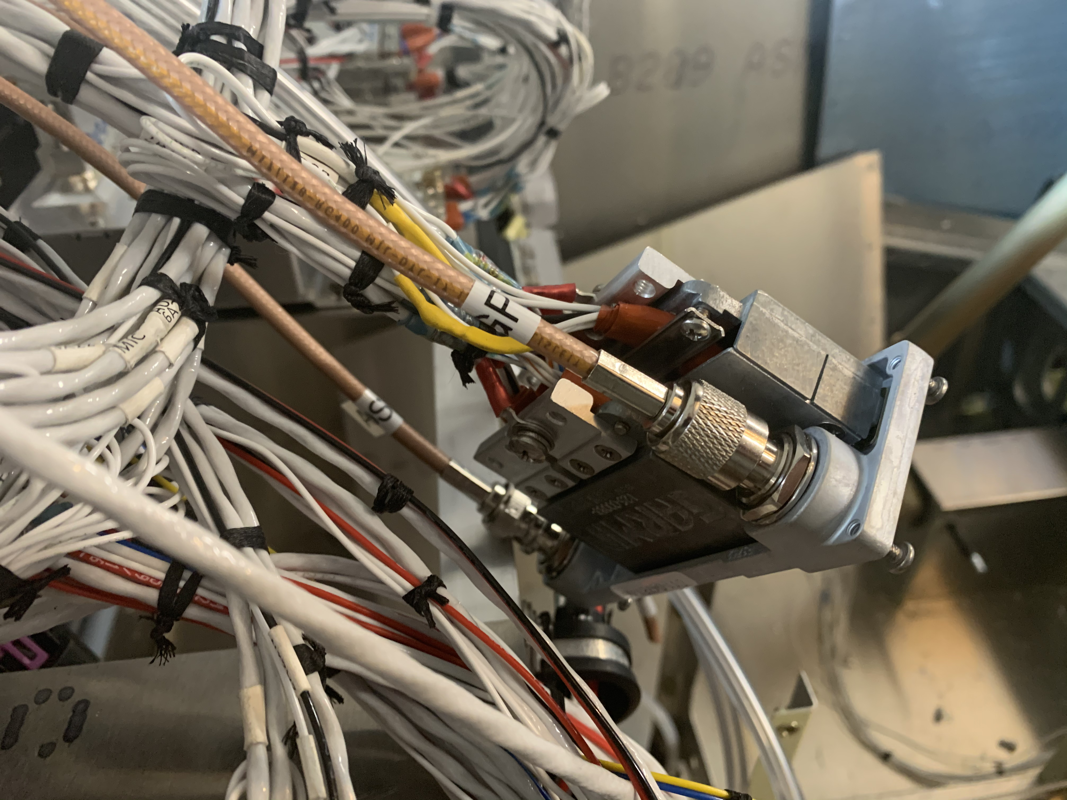
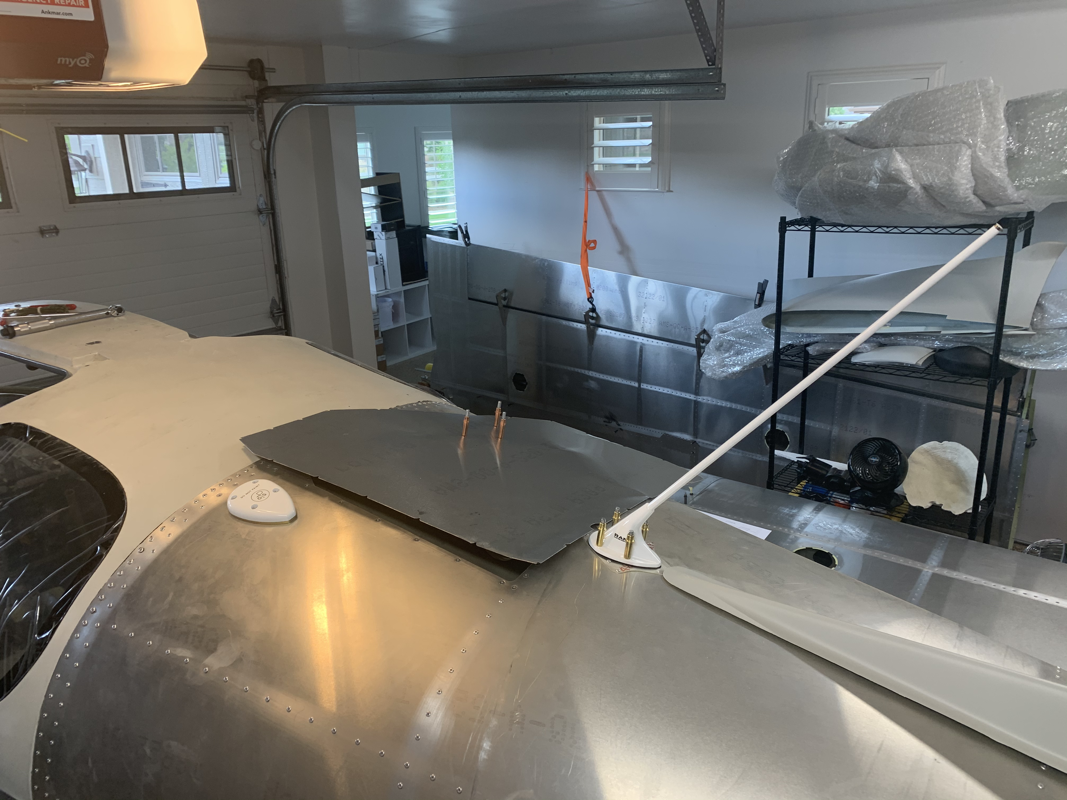
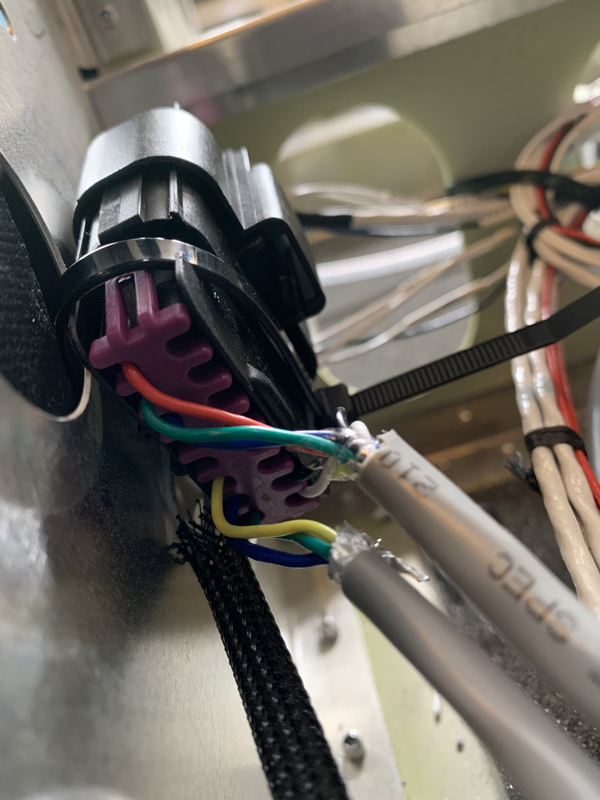
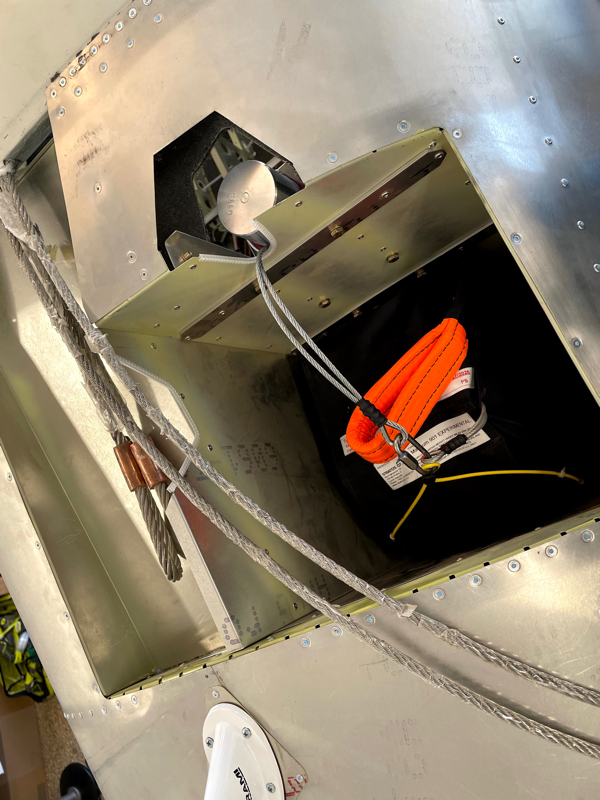
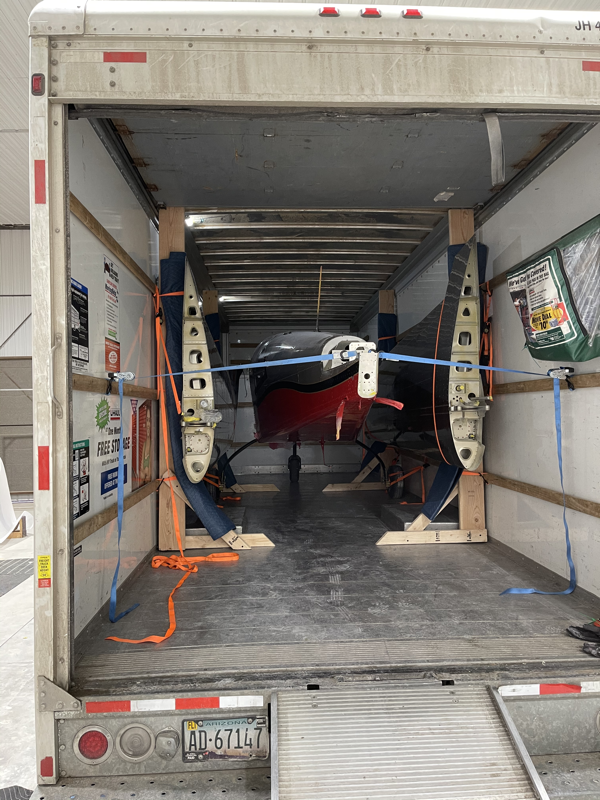
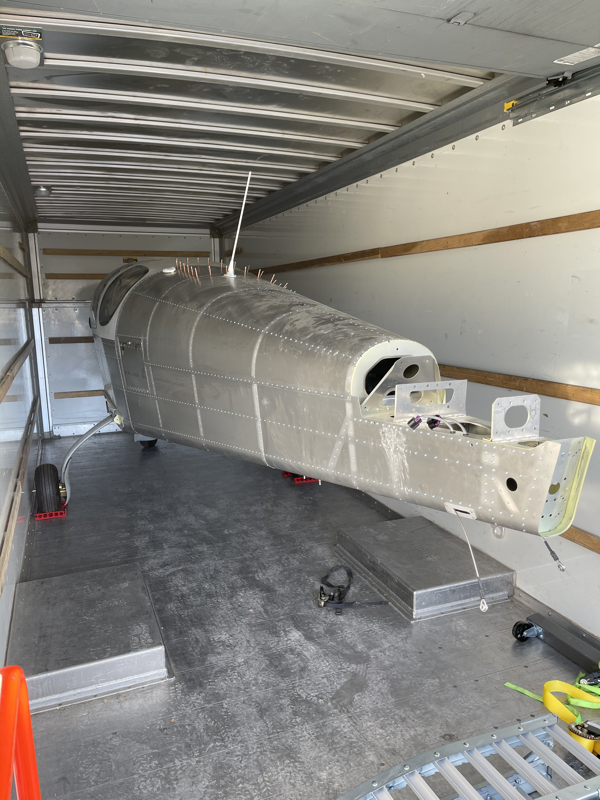
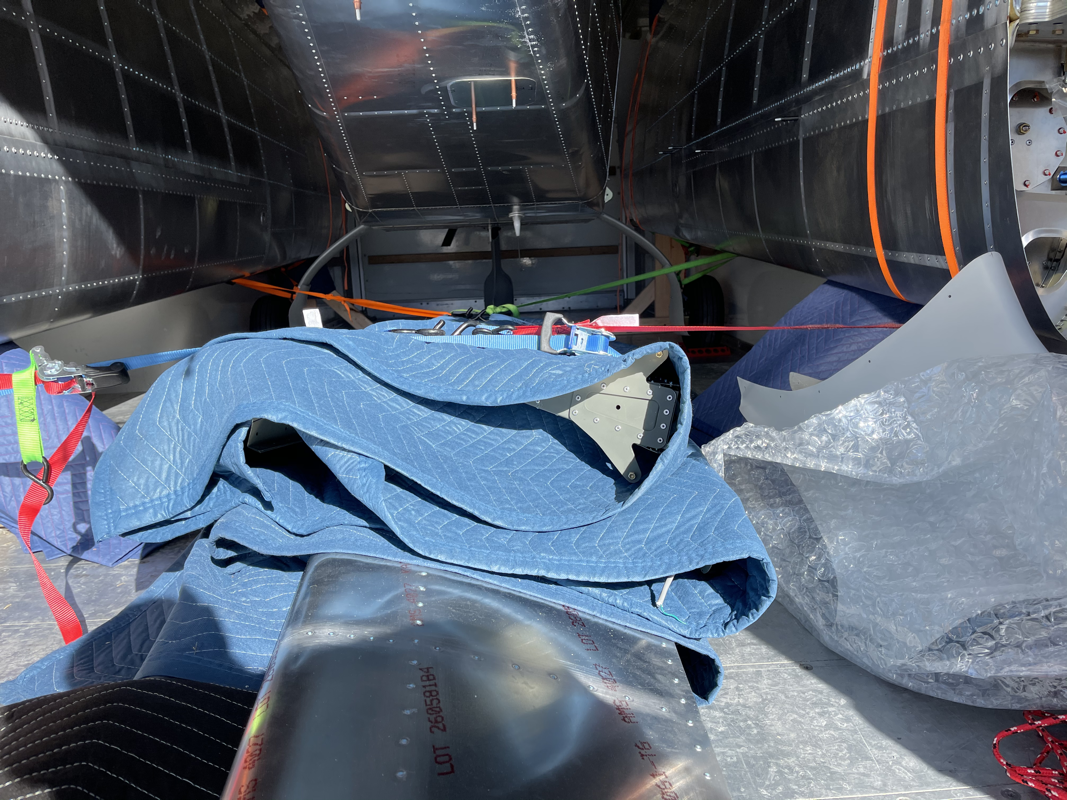
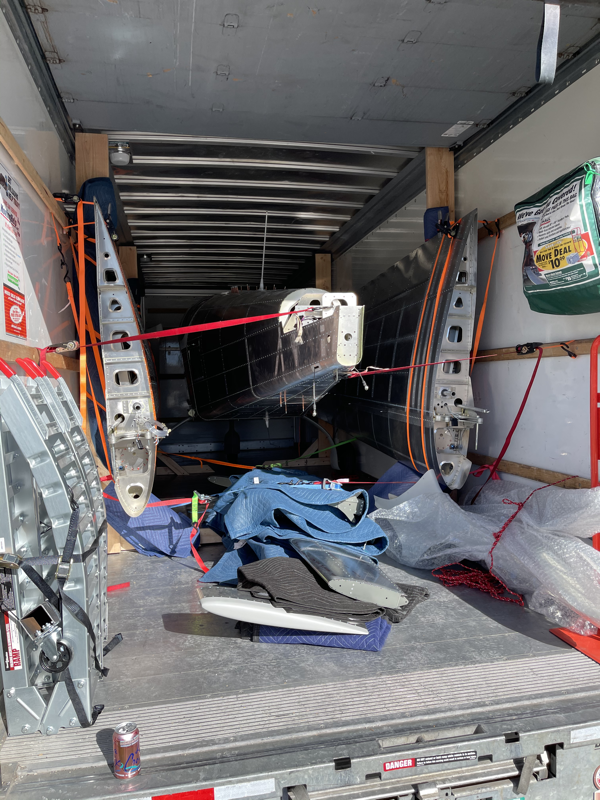
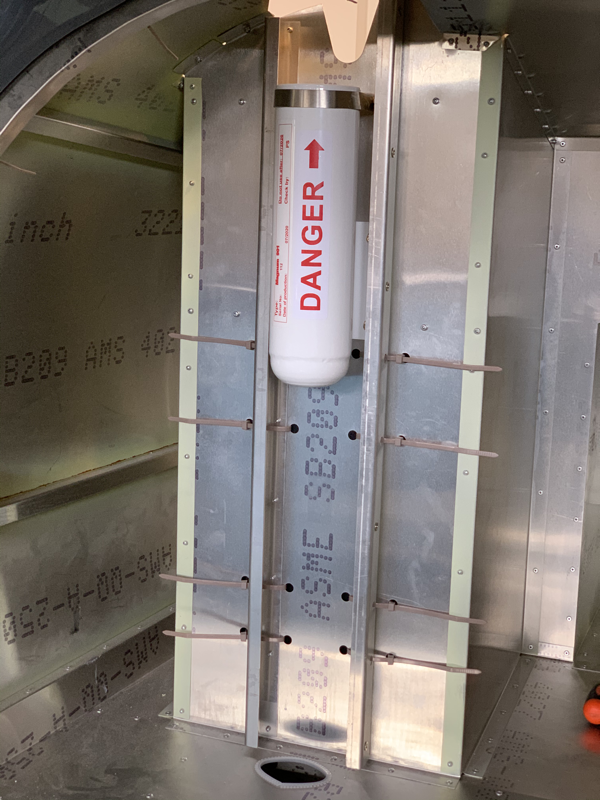
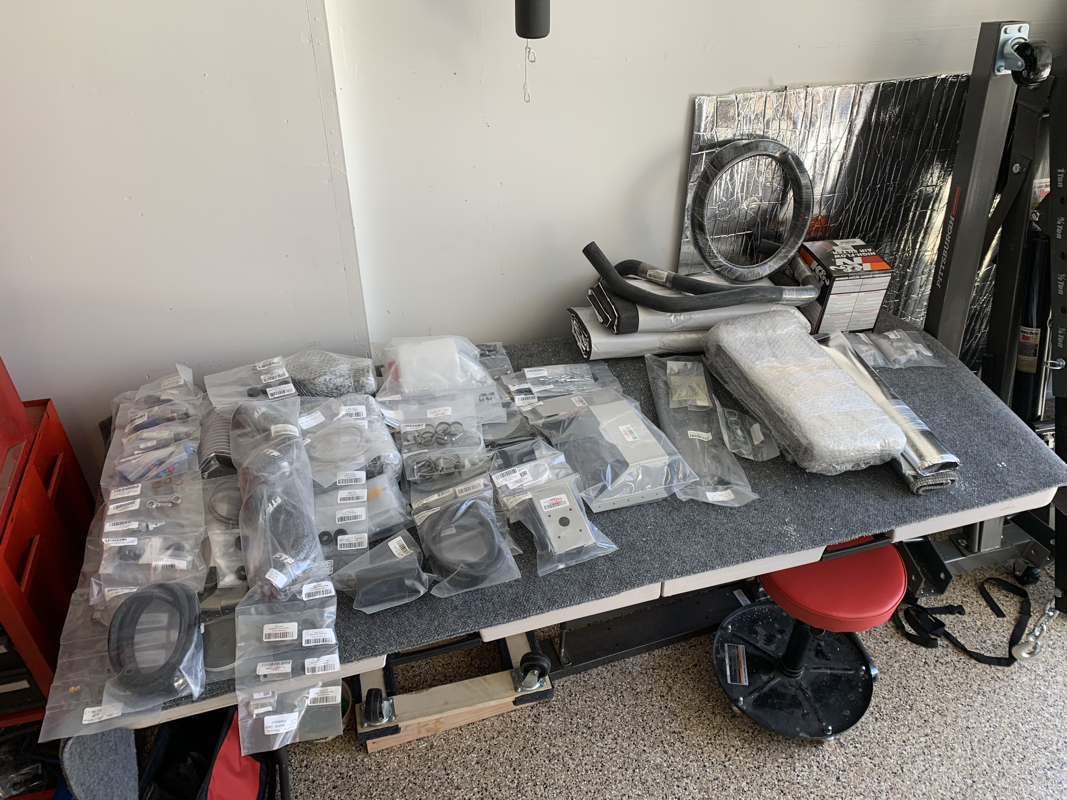
When considering Garmin’s installation recommendations, they give you the order of importance of items. Being that avoiding shadowing is higher on the order than distance from COM antenna, it is acceptable to put it in that location. Plus, we have had plenty of installations by now with it behind the canopy with good success. The second GPS antenna, being how different it operates can go under the cowl. Its small size lets it sit far enough forward on that bracket to work well. This week I focused on getting most the antennas installed and wiring up all the connections. I installed the Comm1 Antenna on top and made the RG-400 BNC connection. I then test fit the parachute skin and it looks like that may be a tight fit. Will have to make sure I figure out where that goes before I fully secure the antenna. Additionally, I’ll need to put in some rivnuts there since there’s no access to the bottom of the antenna. I then installed Comm2 on the belly between the ELT and center channel. The antennas come with hole templates for mounting, so it was pretty simple to drill through to size. The Transponder / ADS-B antenna was a bit more difficult to mount. They have a hole pre-drilled on the center bottom of the fuselage, but with the inside skin, it took a bit of work to create holes for access to the mounting screws. I used a 1/2 inch drill bit on the inside skin to get it big enough for a socket wrench to fit and secure the bolts. I then turned my attention to figuring out the wiring diagrams and crimping the pins for the Delphi connectors. Took a bit to get into the rhythm, but eventually figured out how to crimp without the right crimper - I had a molex crimper and apparently these type of pins require a bit more expensive tool. The Molex crimper worked, but it took about 4x the time. I finished up the canopy wiring and installed the lights. The front ones were easy since I just had to mount them with 3 screws each. The back lights took a bit more work since I had to enlarge the hole and clear some styrofoam to give it a flush fit. Since my pilot light dimmer is on the panel, I now have an extra hole in the canopy I get to work with. I figure I install some sort of power source for a GoPro camera, so I spliced the power from the rear lights and ran some wires there. I was able to order my battery! I decided to go Lithuim since the weight savings is pretty drastic. The Rotax 915 requires a battery with at least 350 cold cranking amps. The ETX900 battery fit the bill with 400 CCA’s and only 4.9 lbs! Bonus, I was able to get the 10% AirVenture discount. Good timing! I was really excited to get the avionics mounted and wired up. It would also let me know the proper placement of the wiring harness so I can secure the harness to the fuselage’s channels with zip ties. I did have to get some angled aluminum from Home Depot to help secure the doubler plate on the back to the rib flange, but that was the only item that required a bit of work. It took me all of 20 minutes to wire up all the avionics on deck! Can’t thank the guys at MidWest Panel Builders enough for their work on the harness! It is a few steps ahead, but I wanted to see how it looked with the upholstered dash and the avionics panel. Looking good! I’ll be taking those off so I can do the firewall forward kit and engine.. expected to arrive in September. Until then, I’ll make sure all the wires and pitot static lines are secured in the channels. I already started with the passenger headphone jacks. The sticky square zip tie things come in handy! Just stick it on and run the zip tie through the channel. I’ll also be working on some of the Service Bulletins that came out for the wing spar rivets and the elevator stops and replace the aluminum rivets with some stronger stainless steel rivets. I decided to route the awesome wiring harness that MidWest Panel builders made. Needless to say it took quite a bit of effort to push the harness through the channels and holes.. like pushing fragile rope, making sure not to pull too hard or nick any wires. Sure enough, the harness fit the plane perfectly with all the attachment points where they were supposed to be. I did find that I can remove some wires from the crowded center channel, the tail nav light and trim servo wires are pre-wires in the harness with an attachment point underneath the rear seat. Routing the rear seat passenger headphone jacks proved to take a bit more effort. I had to drill a decent sized hole (1 inch maybe) in the baggage compartment to route the wires correctly. I also unraveled the firewall insulation. It’s not pre-cut, so I’ll have to make some measurements and plan it carefully.. I probably will just wait until I get the firewall forward kit to make sure everything is right. And finally, I mounted the GMU 11 Magnetometer and ran the harness endpoint to it. Securing the wire is going to be a bit of a struggle with the limited access back there. I heard from the factory that my Engine, Firewall Forward Kit, and Upholstery is on it's way. It's a pretty big and heavy mix of items, so they had to put them in a container and on a boat - 6-8 weeks delivery time... ugh. Looks like a September timeframe for delivery with an order that I put in January. So I'm doing a mix of odds and ends, torquing bolts, kicking tires, etc..
This week I focused on fixing things I made mistakes on or that were quick and easy.
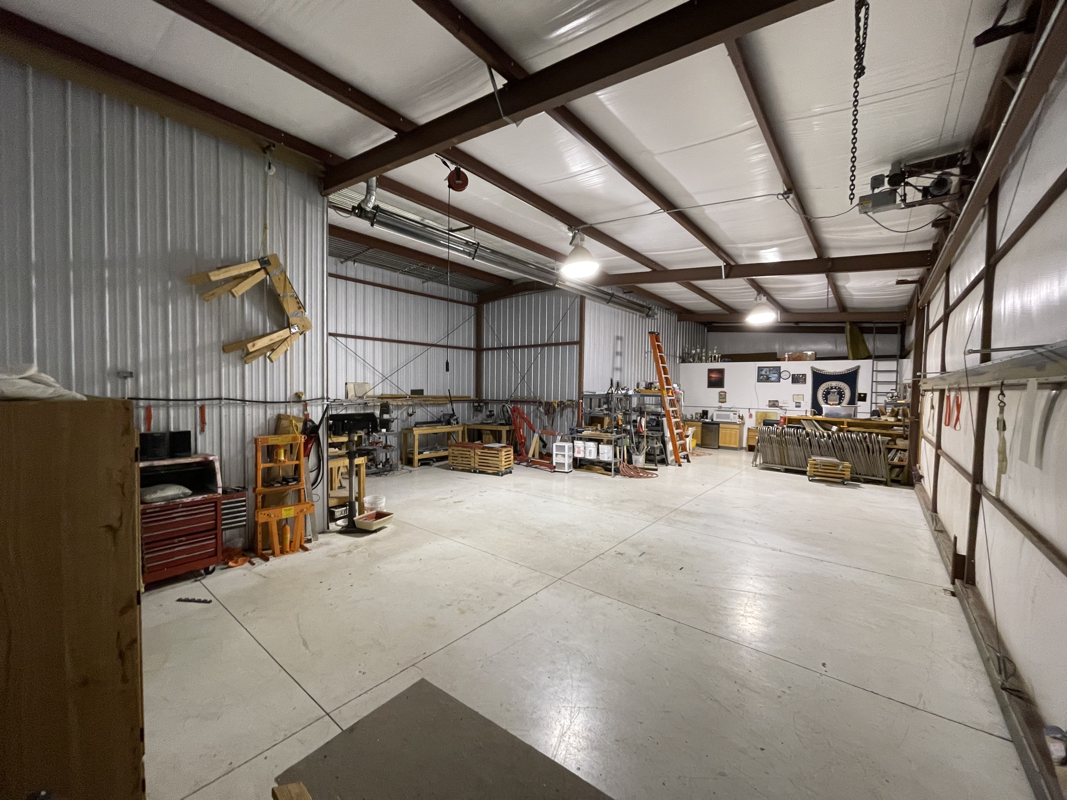
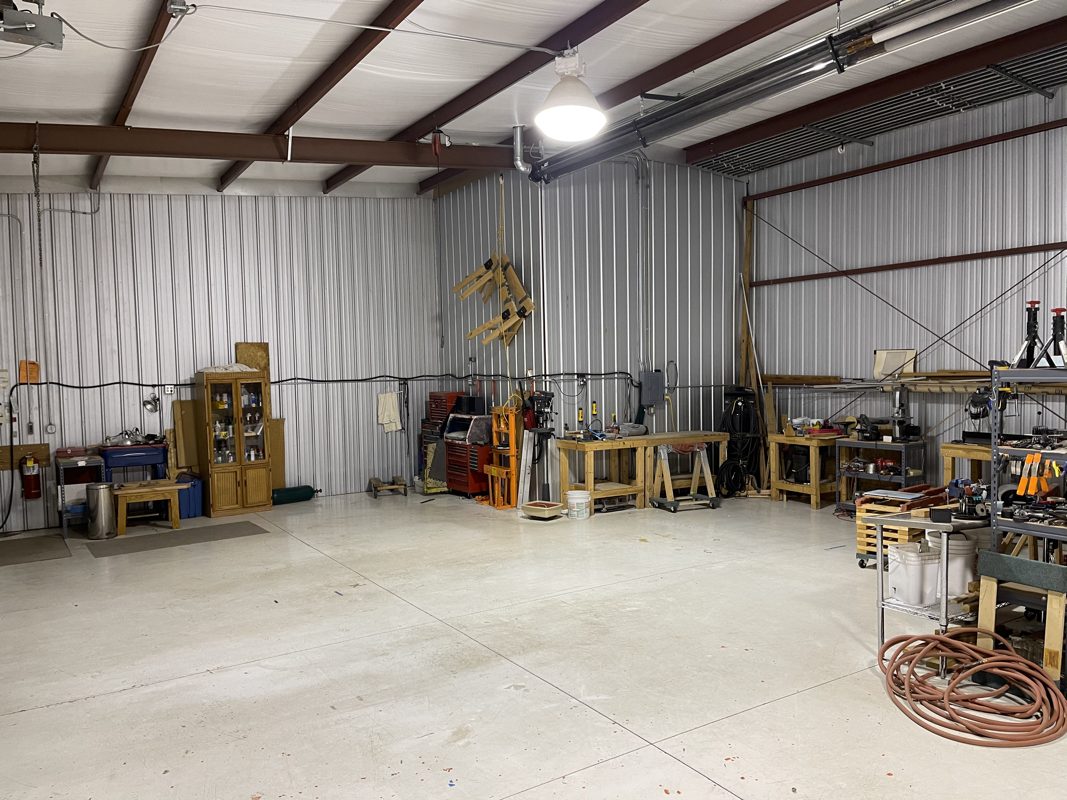
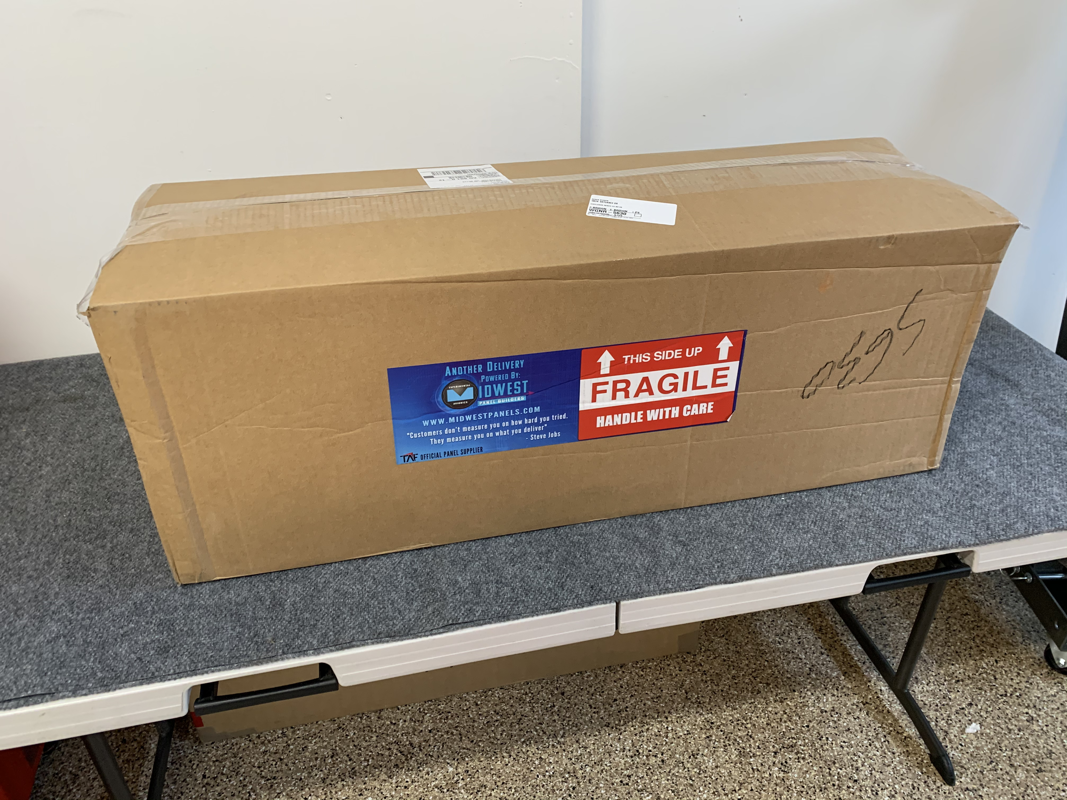
Phew! That was a lot.. looking forward to moving on to digging into the avionics a bit more next week! It’s been a whirlwind of a month moving into the new house, unpacking boxes, hanging pictures, buying furniture online... Well, now that it has settled down a bit, I turned my focus to getting the garage workshop set up again and organized. It’s getting there, but still have to figure out where I was again in the build process. I was hoping to start putting the firewall forward kit and engine on by this month, but Covid-19 has really slowed down international shipments. Not sure where my stuff is and it seems that the factory doesn’t either.. so it’s a waiting game. However, the guys at MidWest Panel Builders we’re still cranking along with my panel and I was ecstatic to receive a shipping notification of my panel & avionics! Everything came in 2 we’ll insulated boxes. The panel turned out beautiful! I pulled out the wiring harnesses and that really made me confident in my decision to go with these guys.. I couldn’t see myself wiring up all that! I figure I can switch gears and start running the wires, fuel and brake lines so I can start closing up the center console area. It will certainly keep me busy while I wait for the final components! I received a note from Midwest Panel Builders that my panel is nearing completion! The harness is off the board and they are now undergoing testing. Quite exciting! Hoping to receive the panel in mid-April at the new house in Colorado. Stay tuned! Things are about to get exciting with the build! 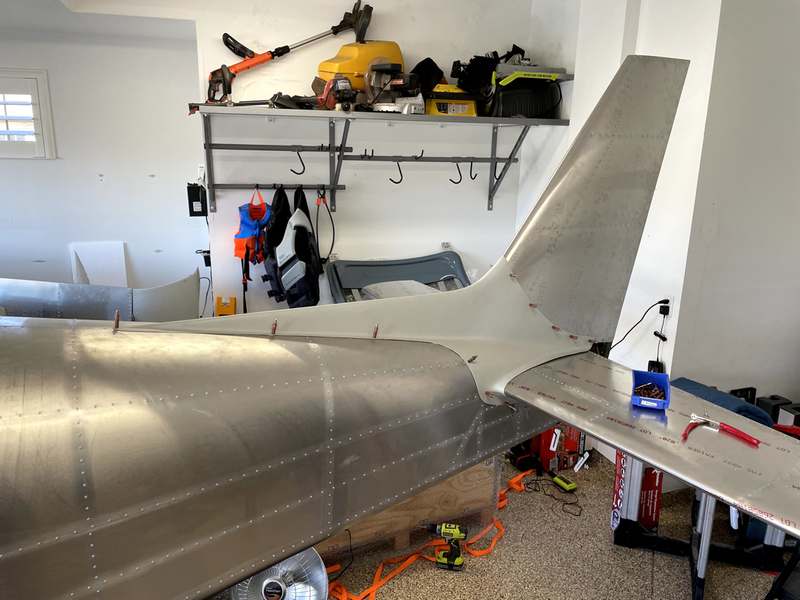 I've been chatting with MidWest Panel Builders about the avionics package and have made my decision. At first, I was going to go with the full Advanced IFR Package, but after a bit of sticker shock and reevaluation of what my needs truly are.. I'll be going with the Basic IFR Package with only one G3X Screen. The GNX375 doesn't have a NAV radio included, like the GTN650, but the cost difference just doesn't seem worth it for something I will probably seldom use. I do have the VOR antenna already mounted in the tail, but I figure I can run the wires and have them handy if there's a future owner that has different needs. I checked all the airports that I plan on flying into and there's more GPS approaches than there are ILS, with the same minimums. If I do have an avionics or GPS failure, I could just use the Sporty's SP-400 handheld radio or similar to get a Localizer / VOR fix. I don't foresee too many other pilots in the right seat needing to fly the plane and I have been wondering where in the world I'd be placing my iPad since I use ForeFlight quite often. With a glovebox option, I can store important items, such as snacks, backup handheld radio, flashlight, etc.. For mounting, I can place a ball joint mount on that side and have the iPad floating in front of the glovebox. It also serves as an in flight entertainment screen for the kid. ;-) Initial deposit is submitted and it's looking like up to a 4 month lead time, which gives me time to finish up the fuselage and run some electrical wires. Now that that's done, the hard part is deciding on an N number! Avionics GARMIN G3X 10" SCREEN GNX 375 NAVIGATOR GAD 29 ARINC 429 INTERFACE GTR 20 COM RADIO GMC 507 AND 2 GSA 28 AUTOPILOT SERVOS GAD 27 FLAP AND TRIM CONTROLLER GEA 24 ENGINE MONITOR GMA 245R BLUETOOTH AUDIO PANEL DESCRIPTION OF WORK G5 BACKUP WITH BATTERY 2 - IBBS BACKUP BATTERIES LRU KIT INSTALL AND CONNECTOR KITS COM/TRANSPONDER/GPS ANTENNAS LASER ETCHED TOSTEN GRIPS GAP 26 HEATED REGULATED PITOT Harness, Rack and Panel CUSTOM MADE PANEL,CUT, COAT, ETCH WITH GLOVEBOX PANEL DESIGN AND BUILD AVIONICS AND ELECTRICAL WIRE HARNESS 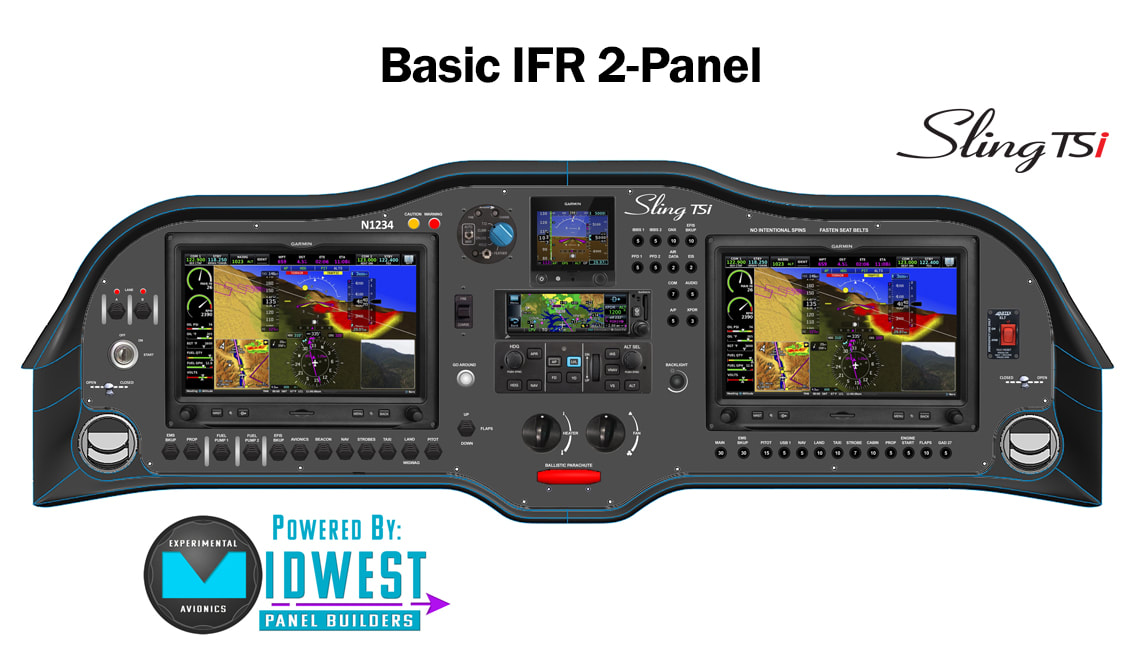 |
Archives
September 2021
Categories
All
|


 RSS Feed
