|
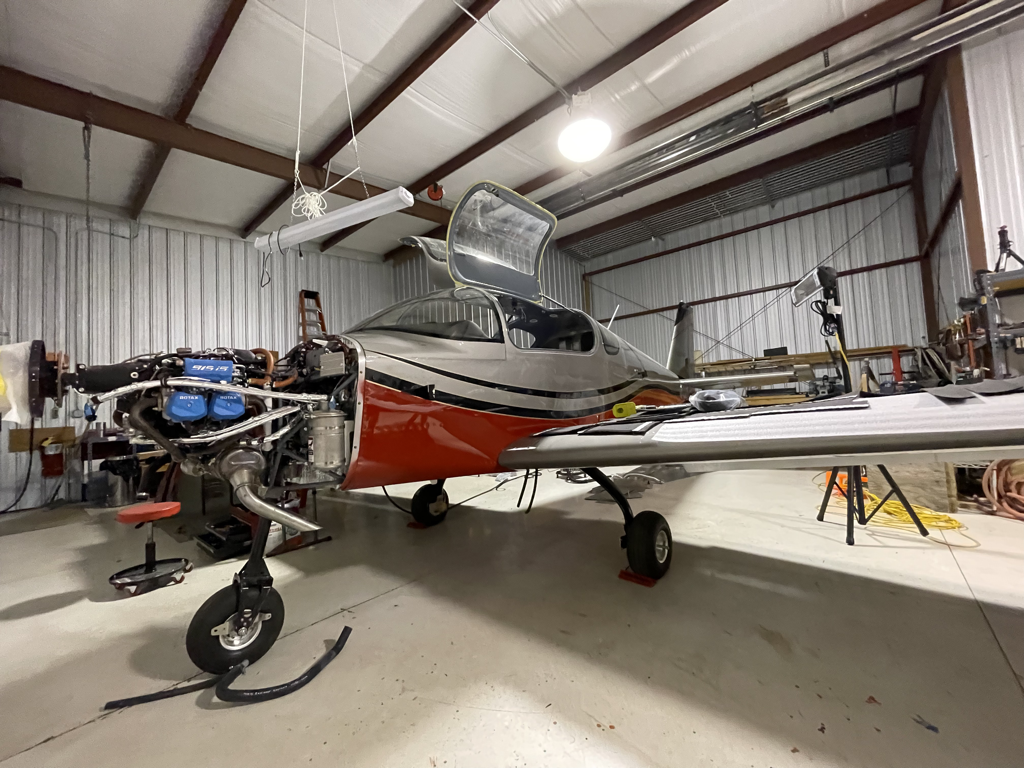
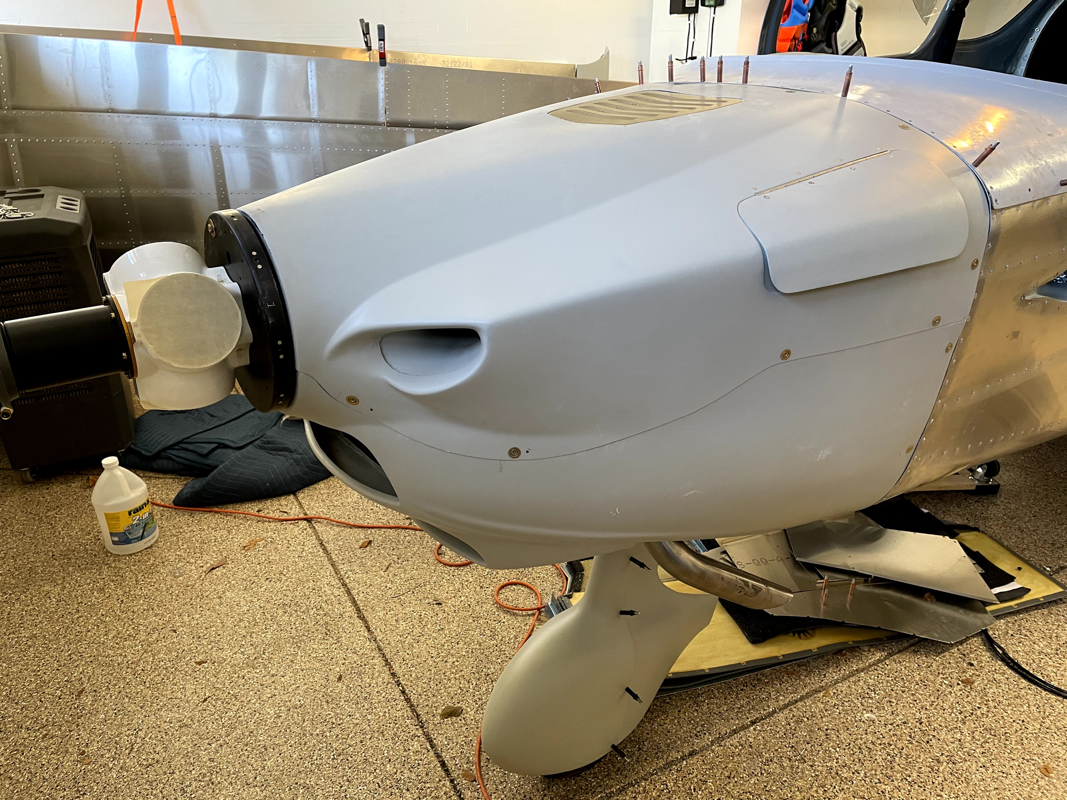
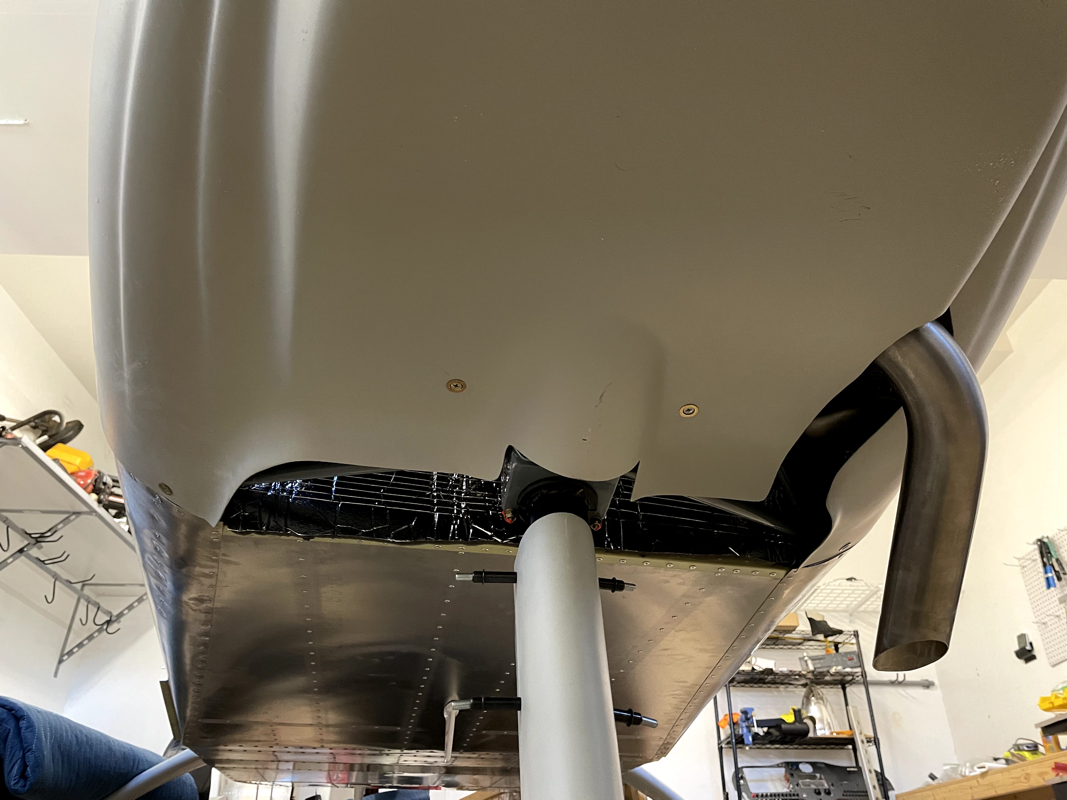
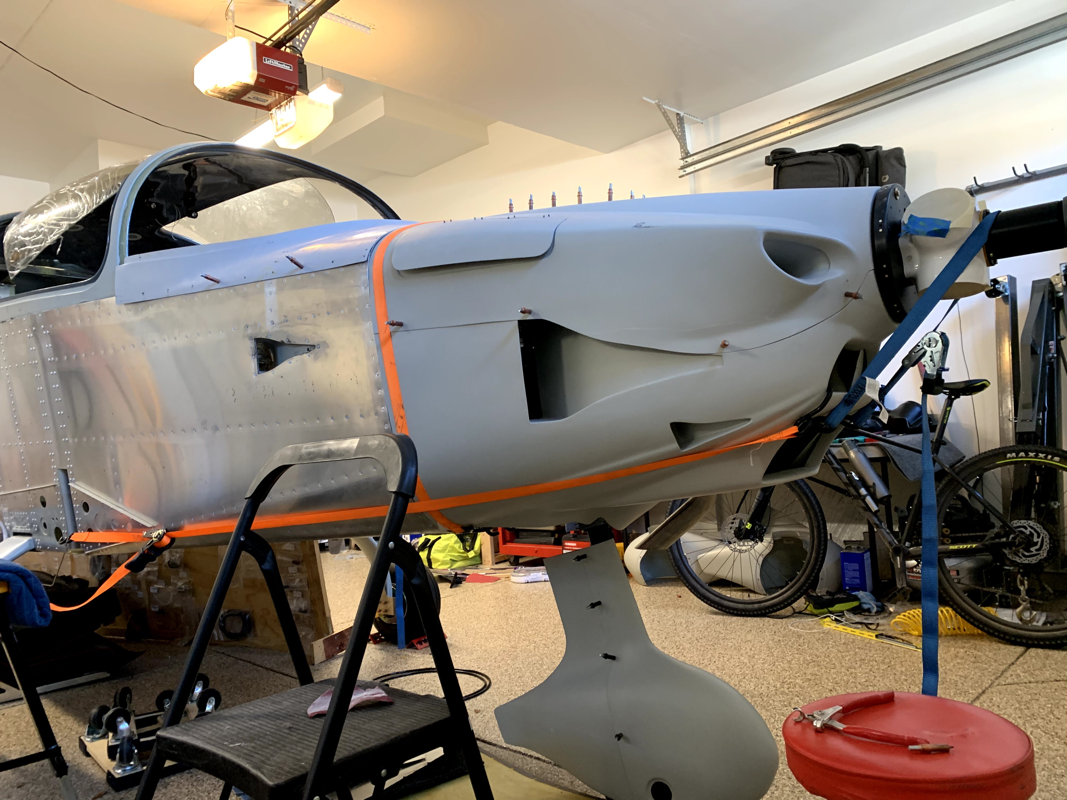
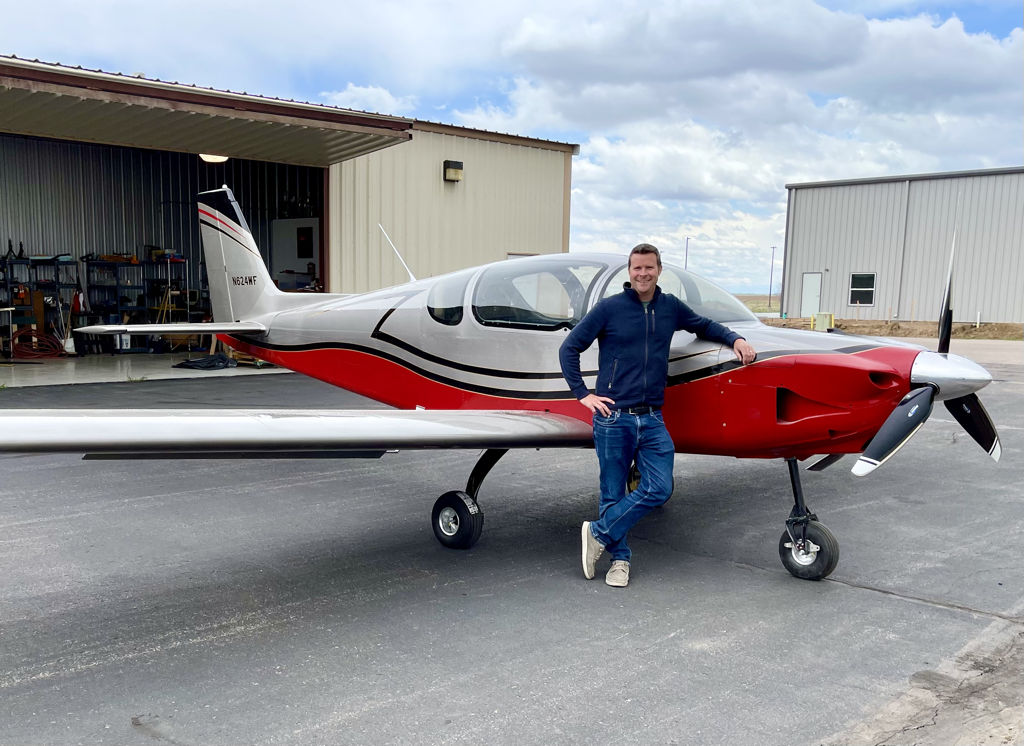
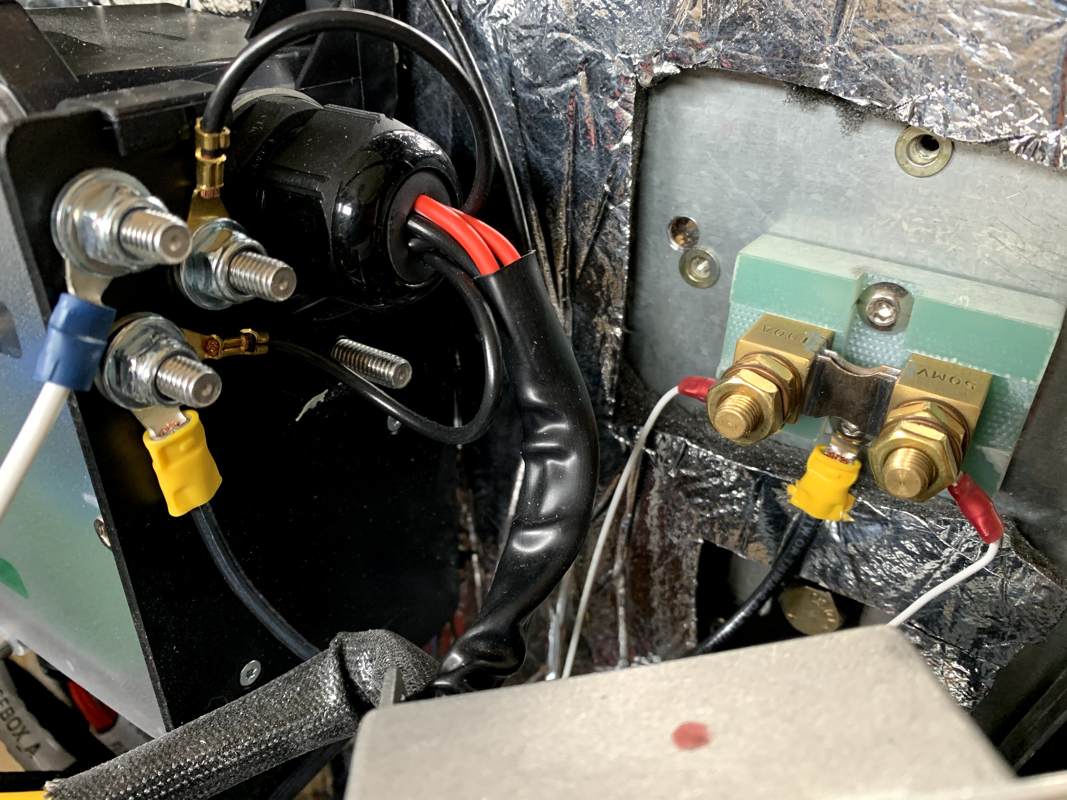
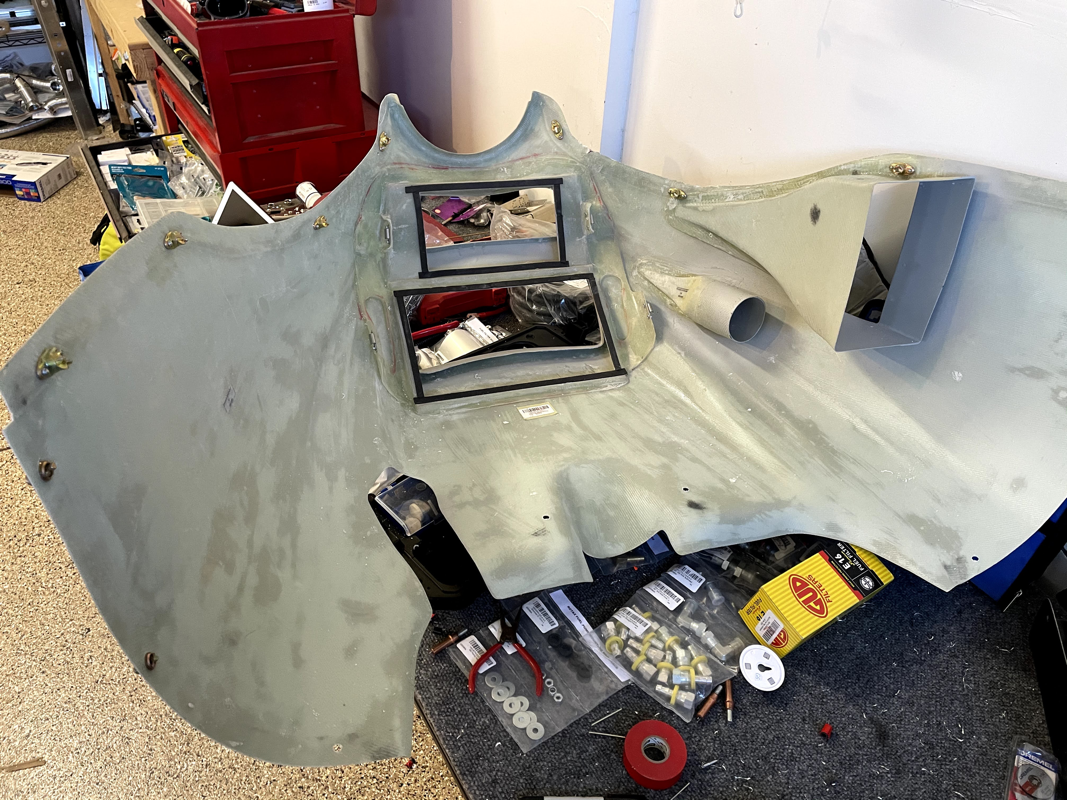
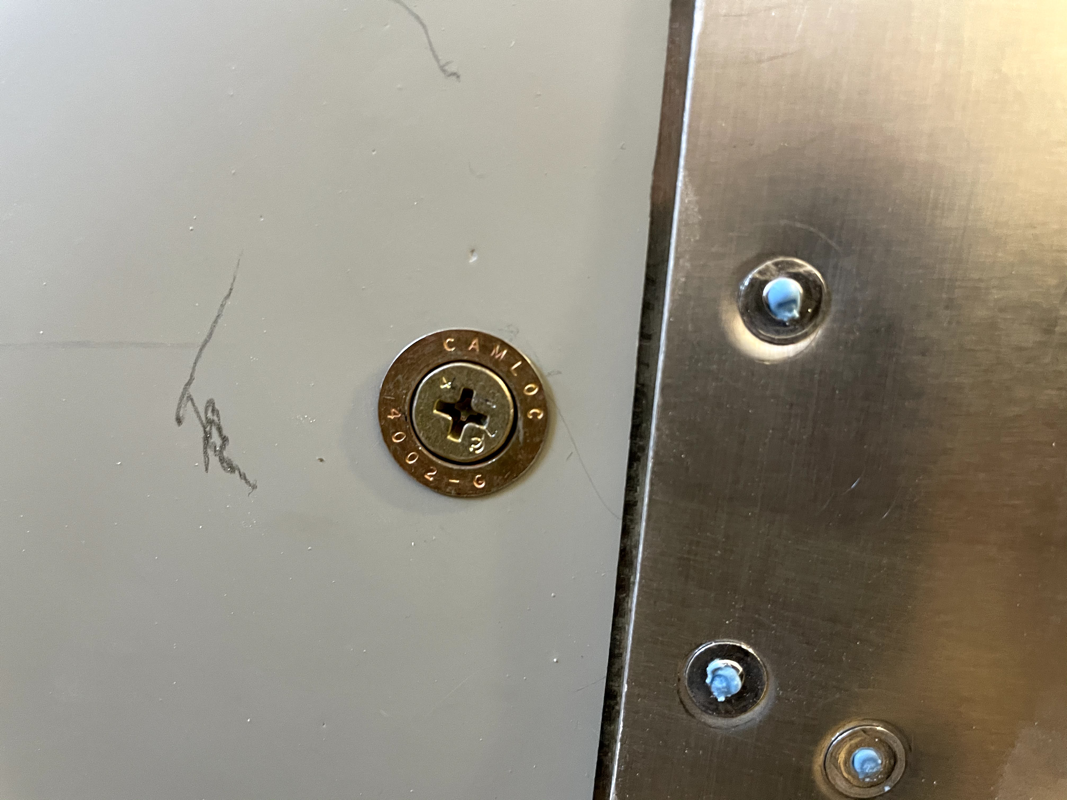
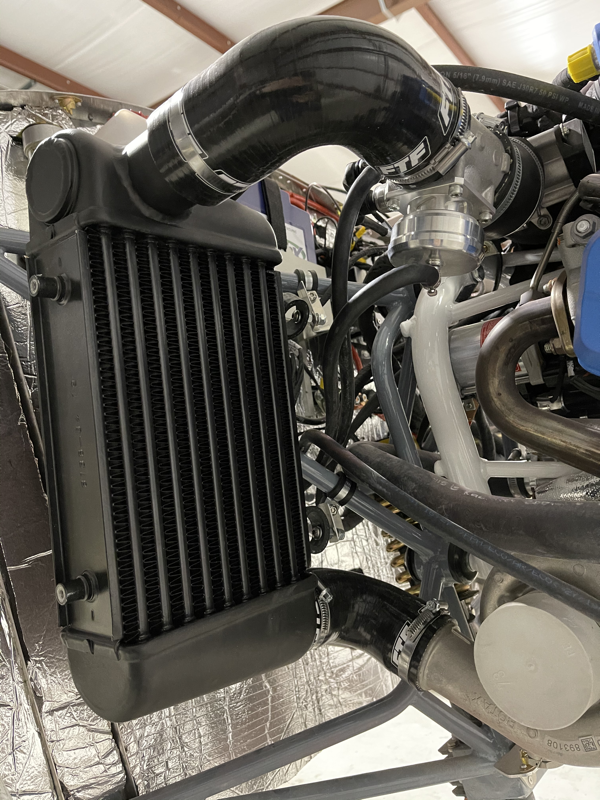
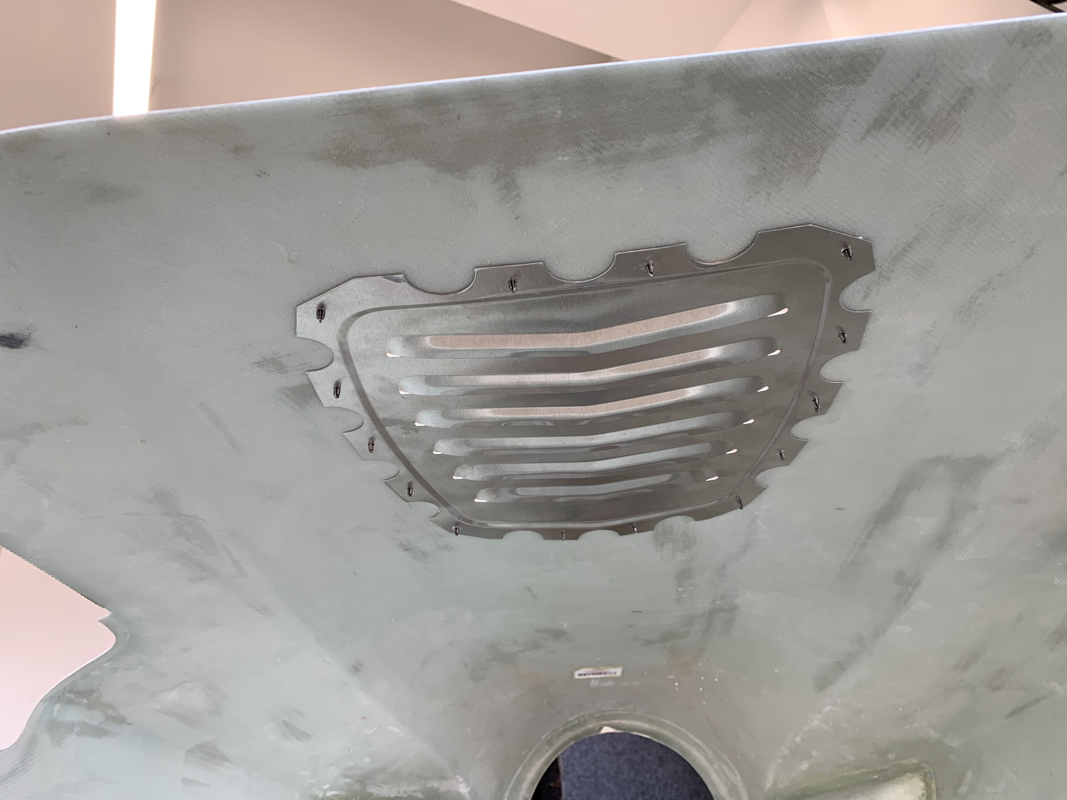
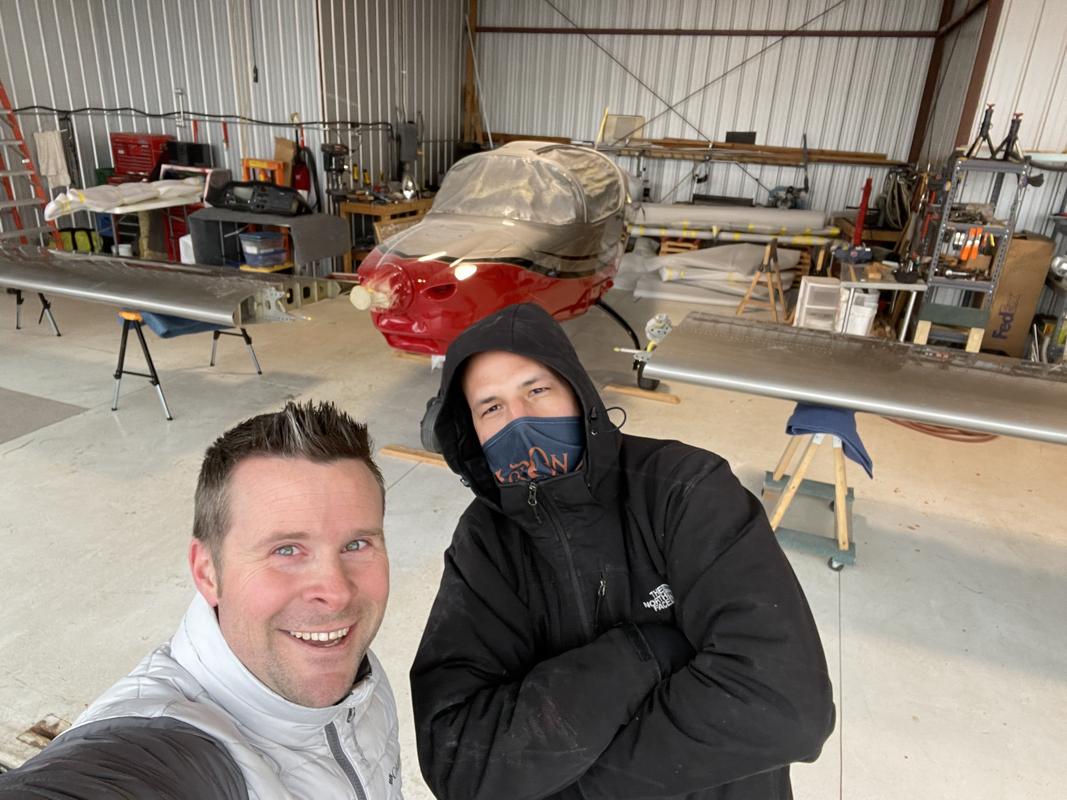
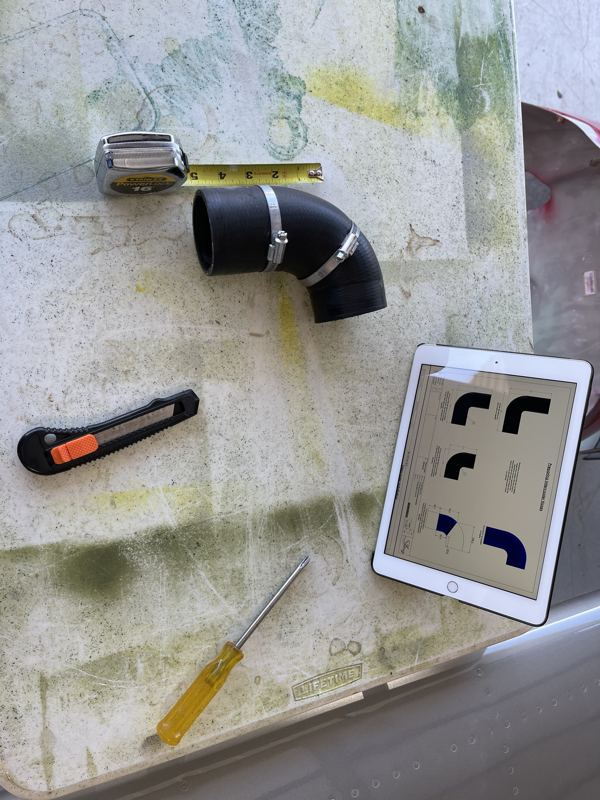
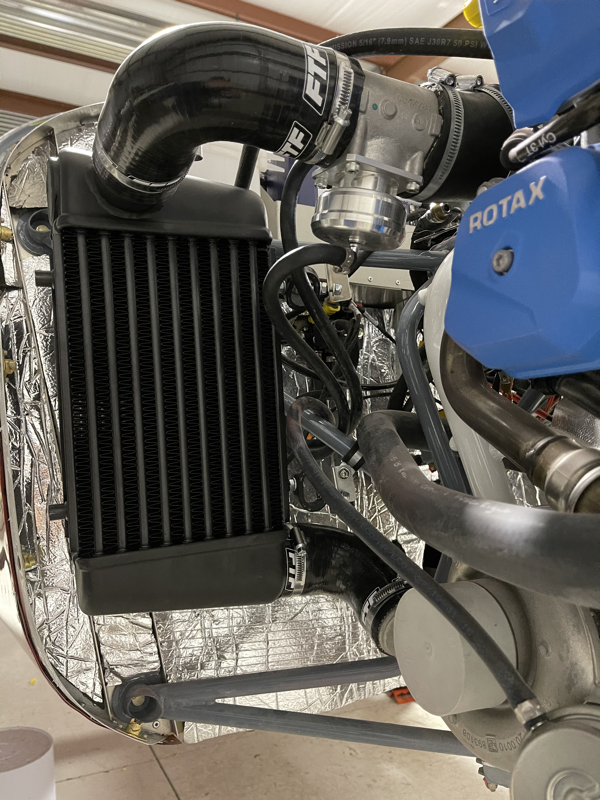
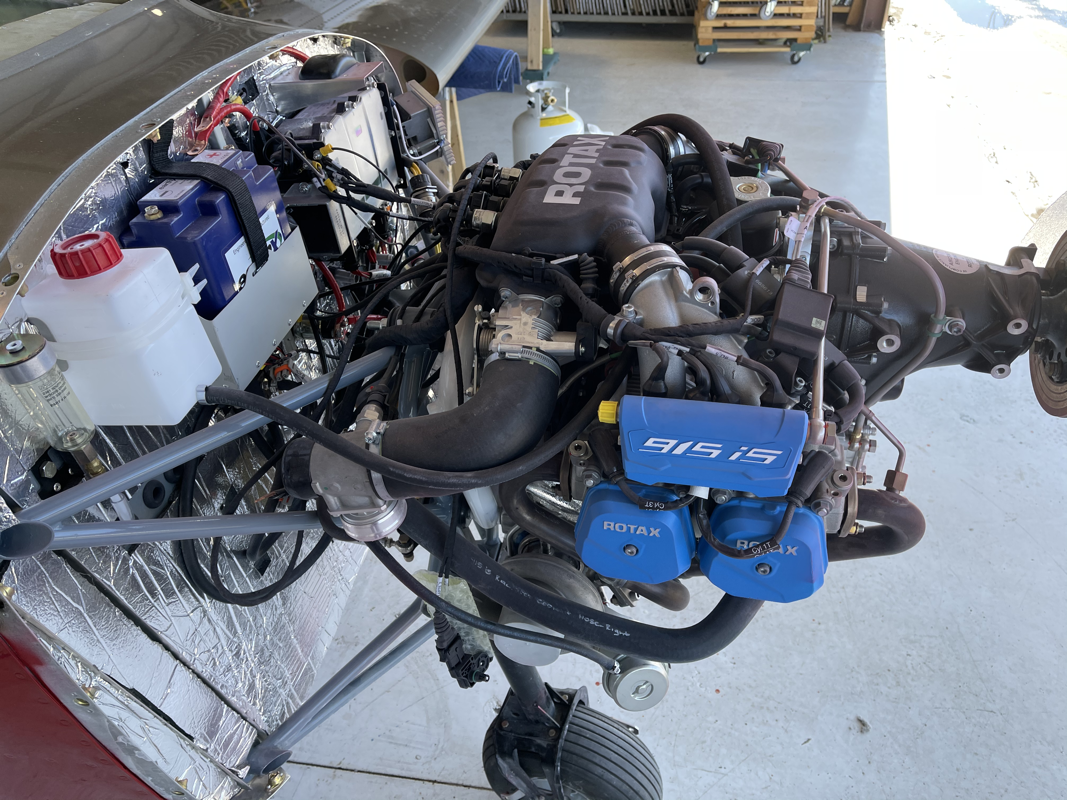
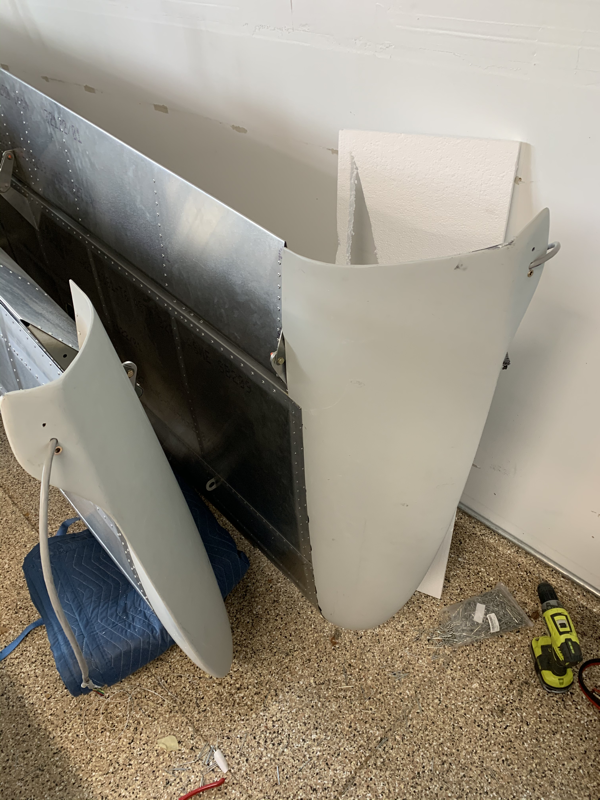
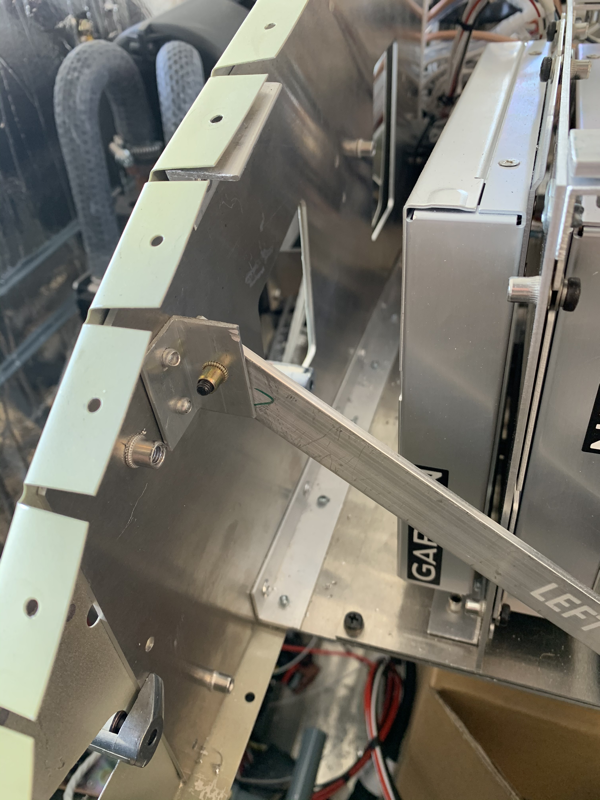
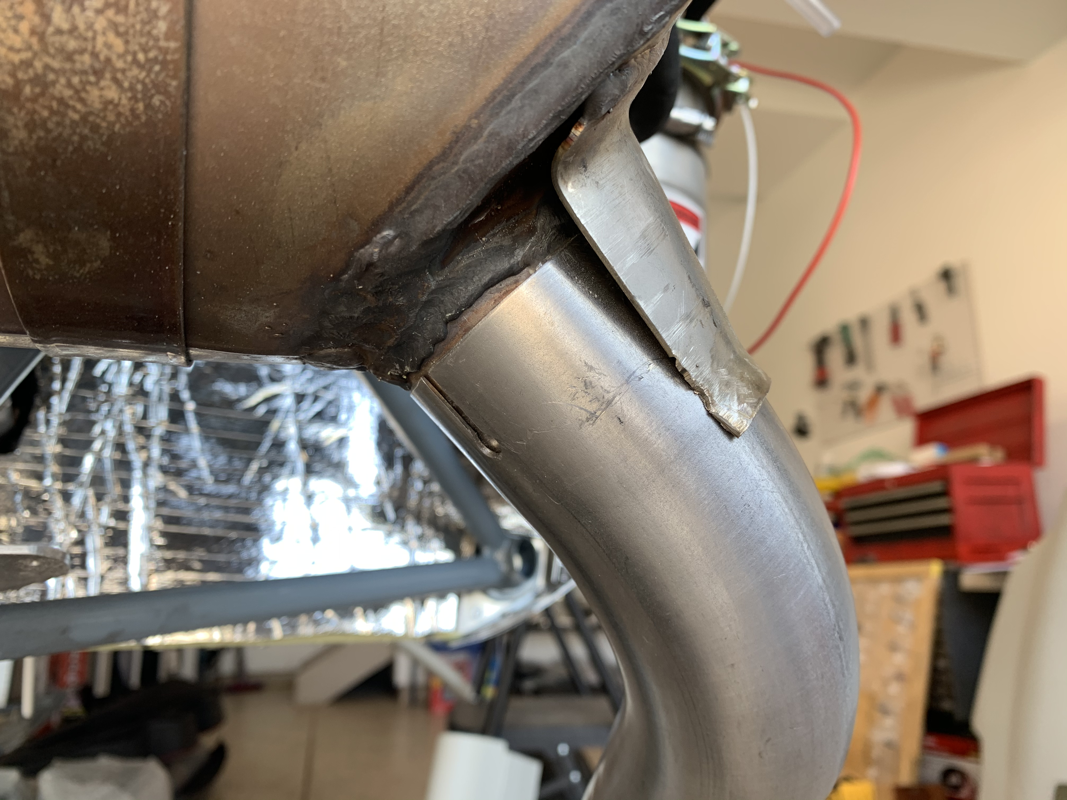
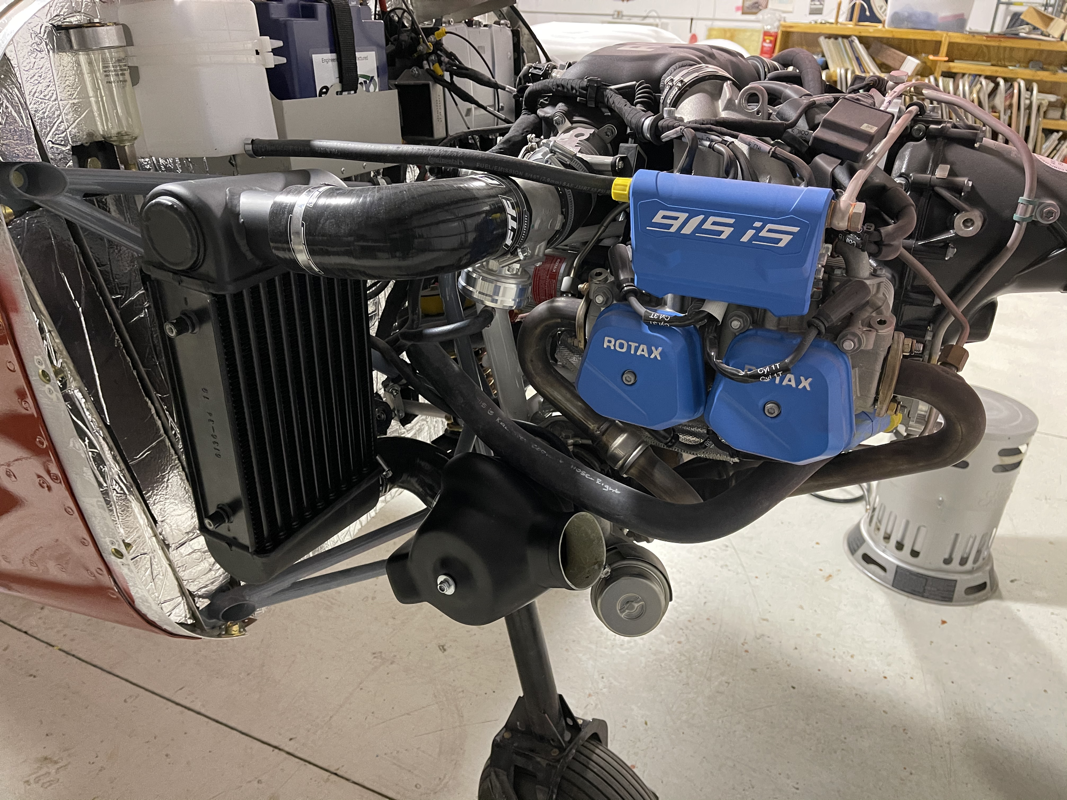
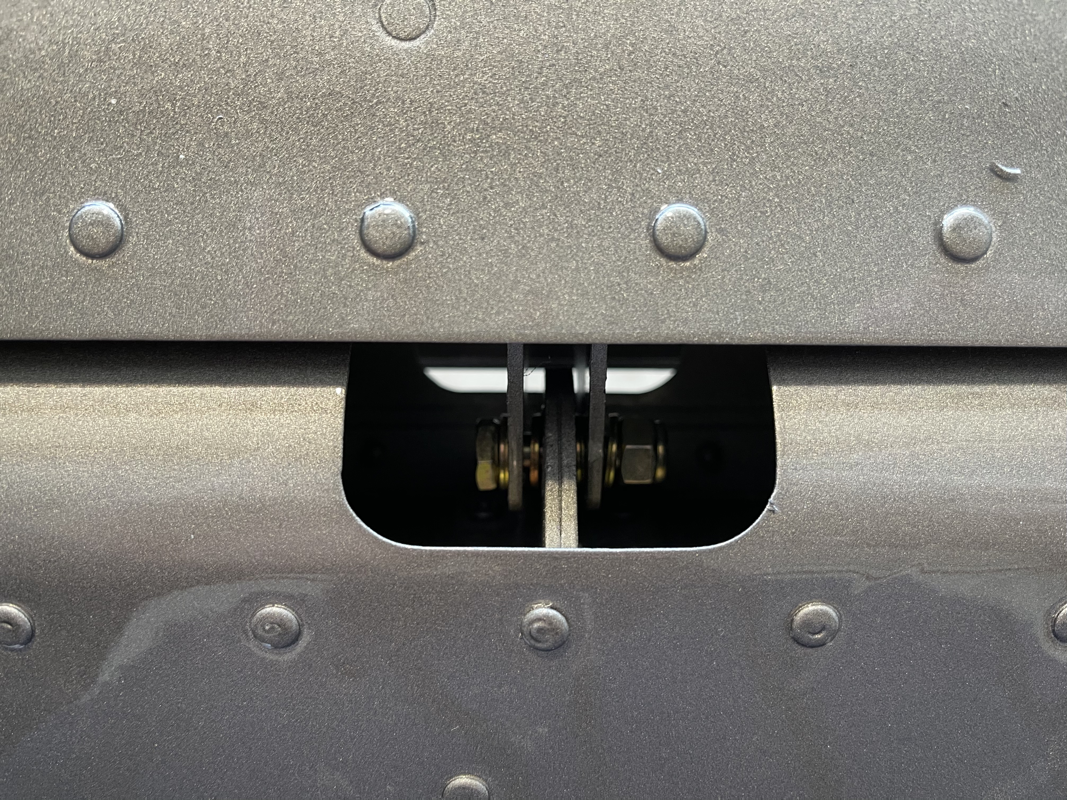
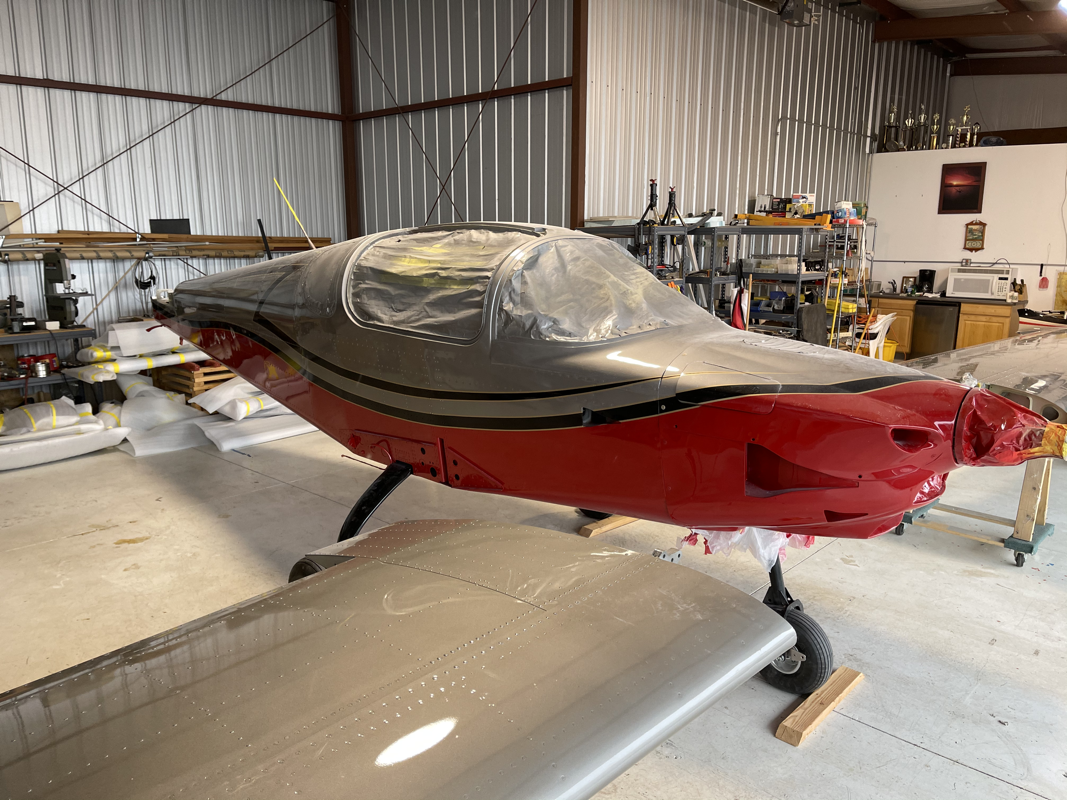
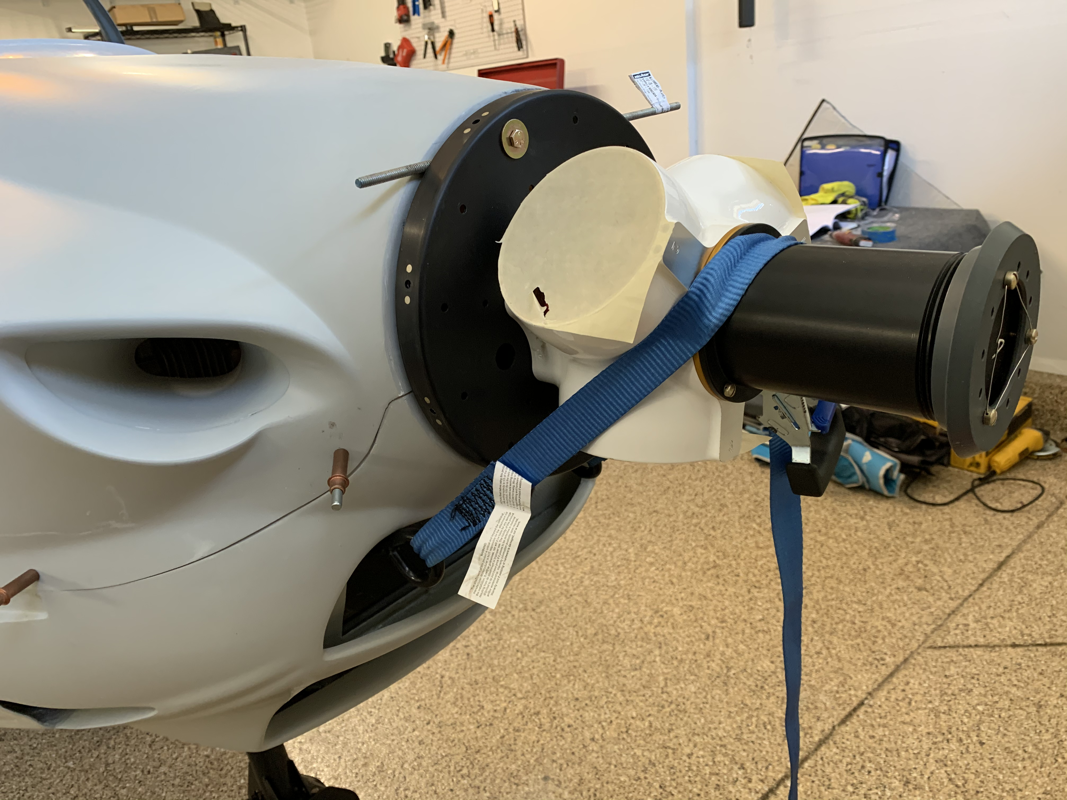
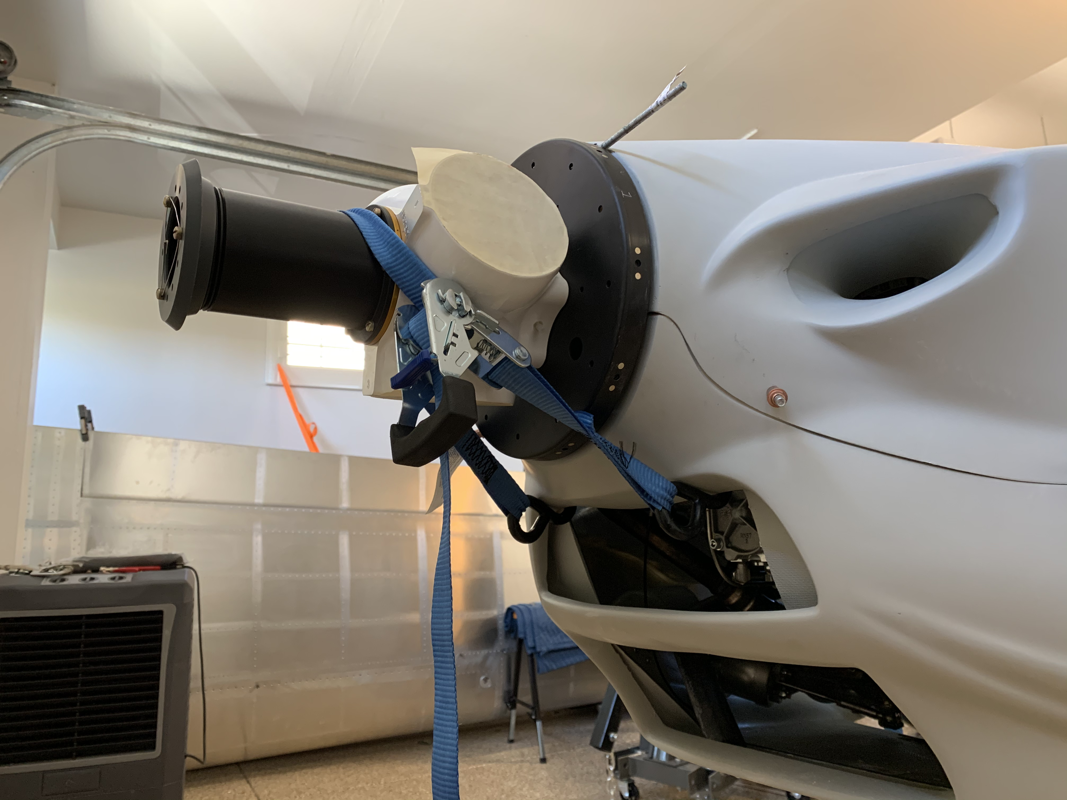
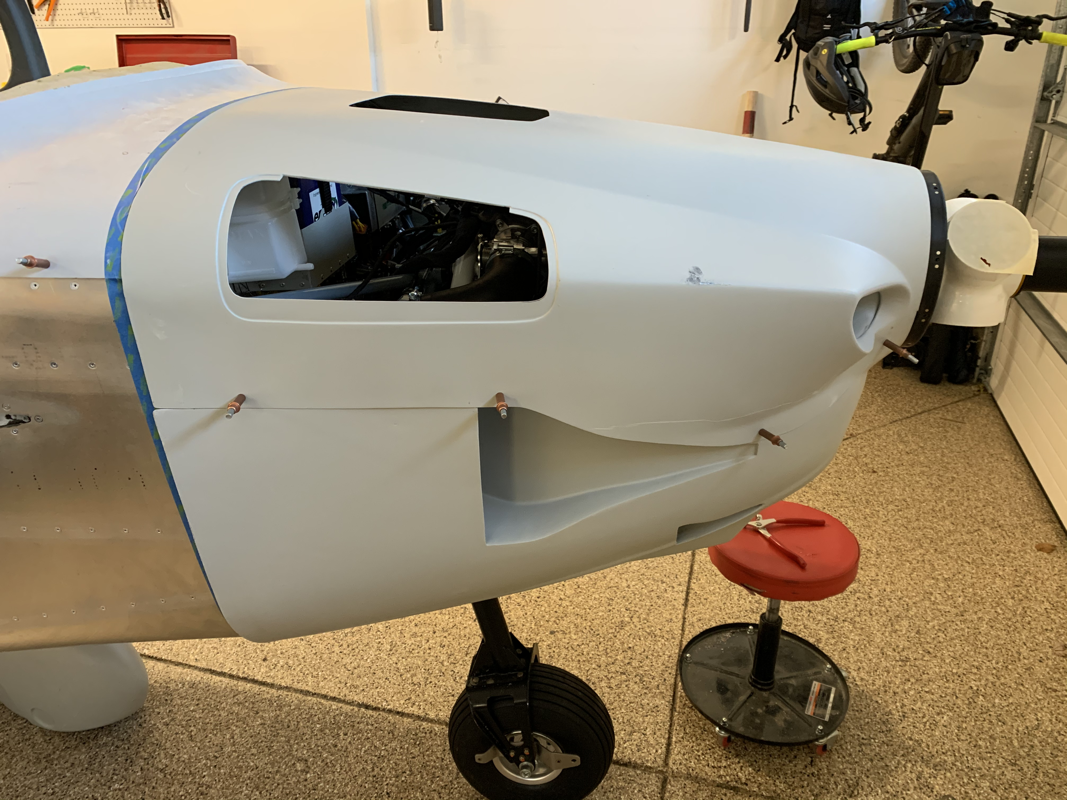
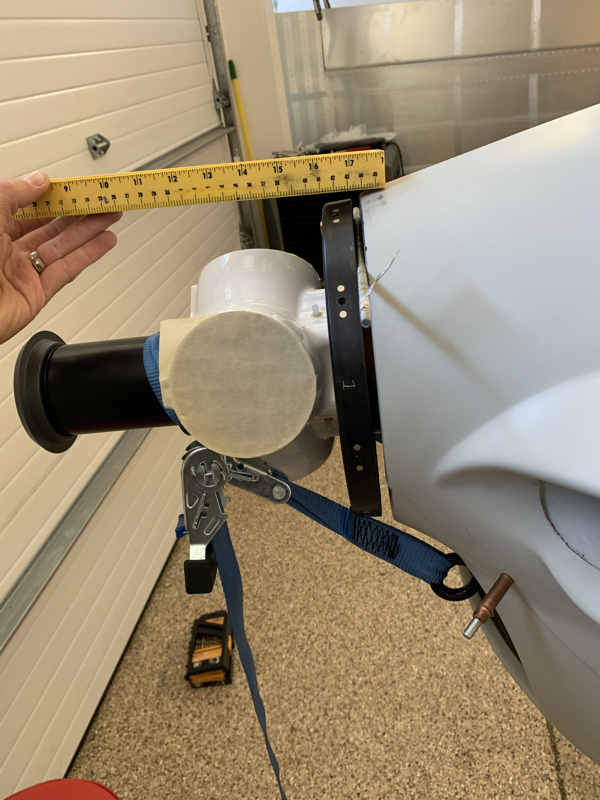
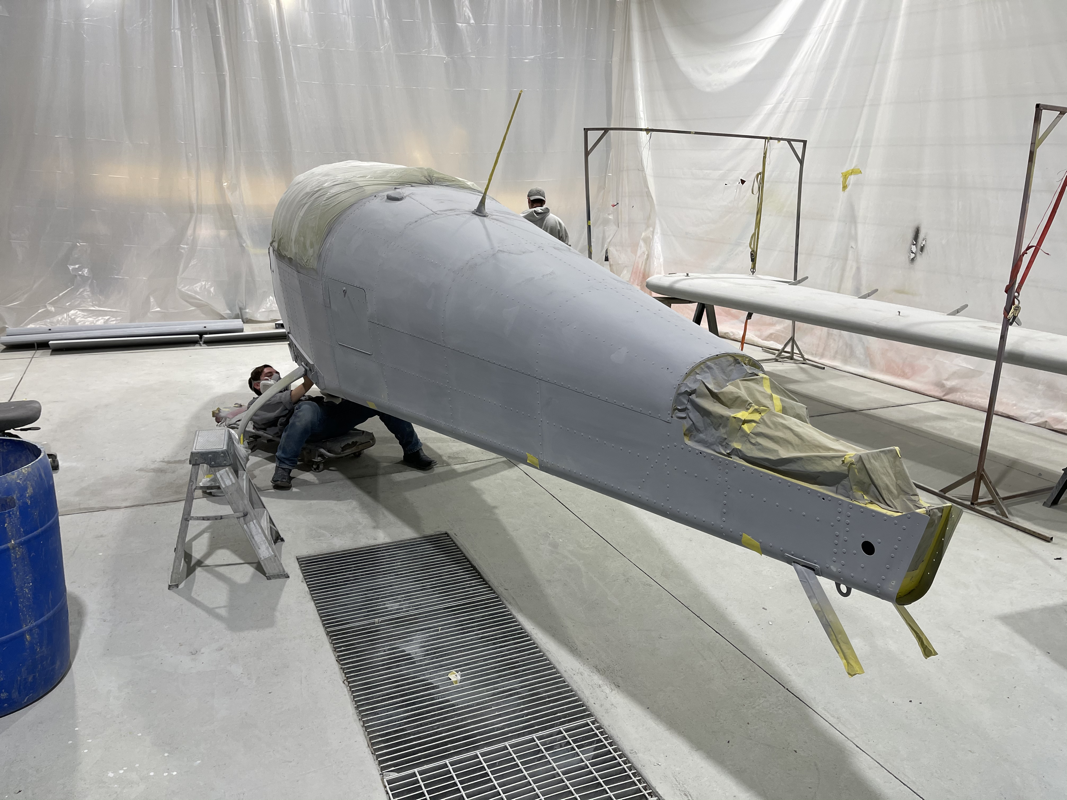
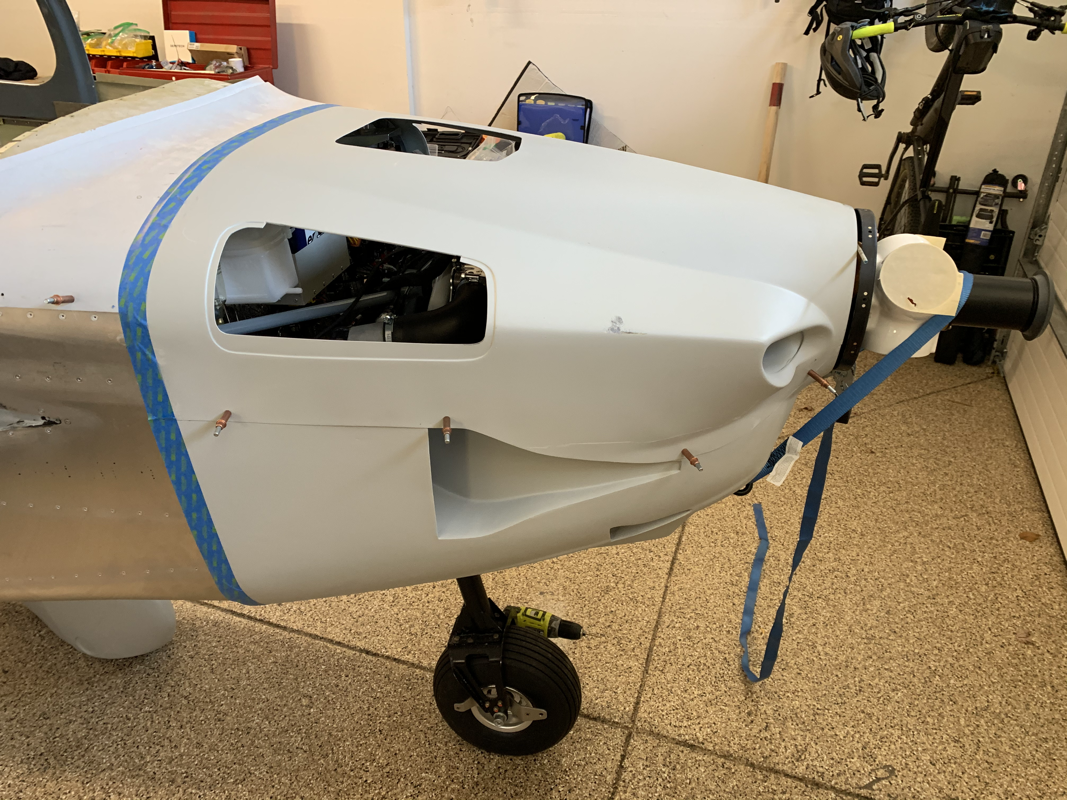
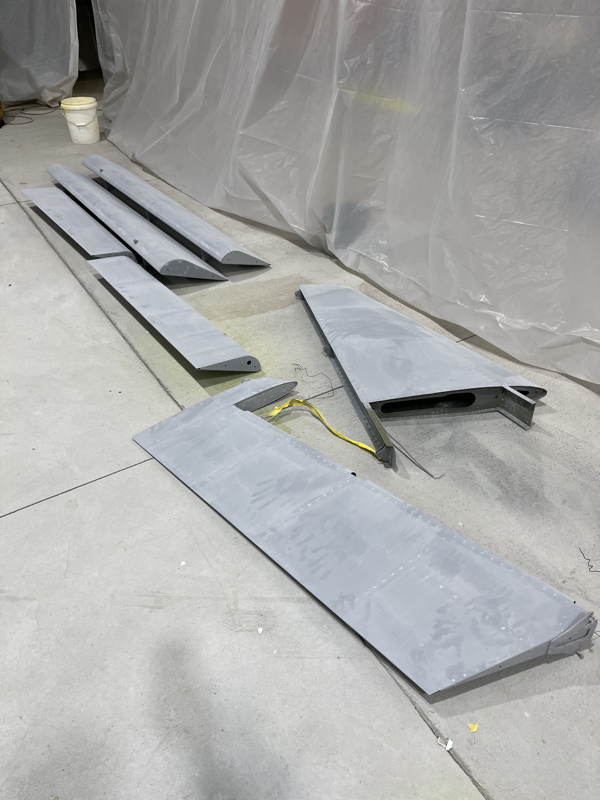
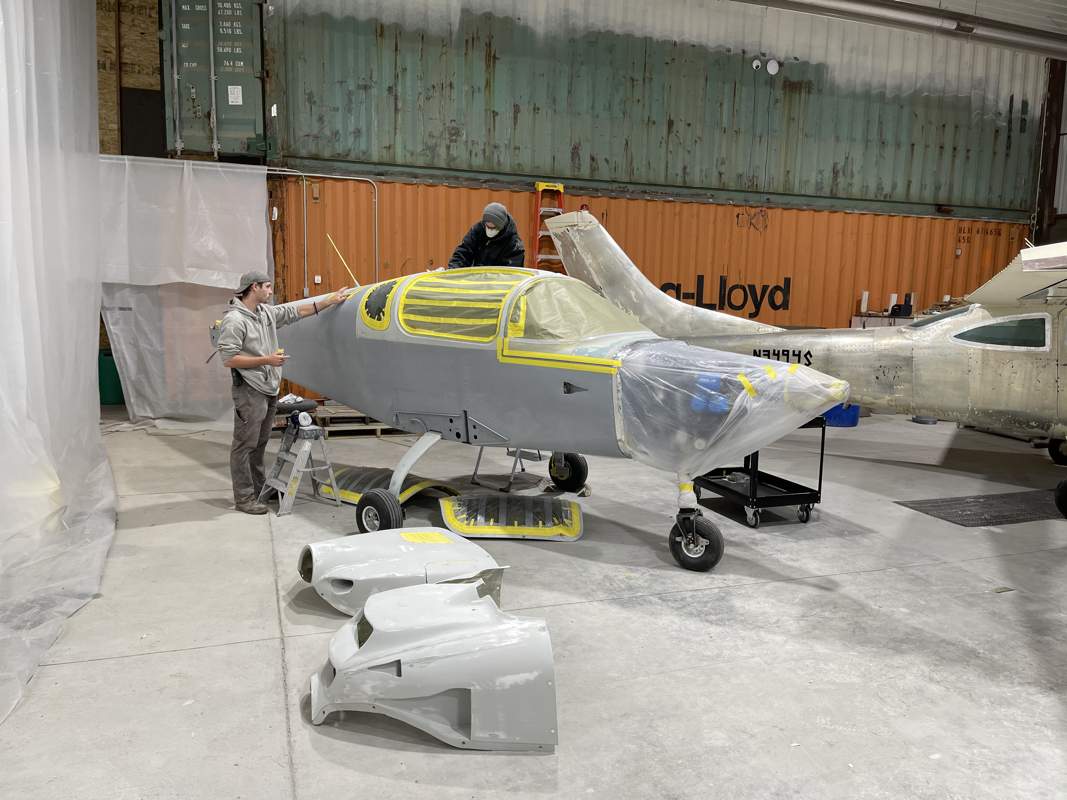
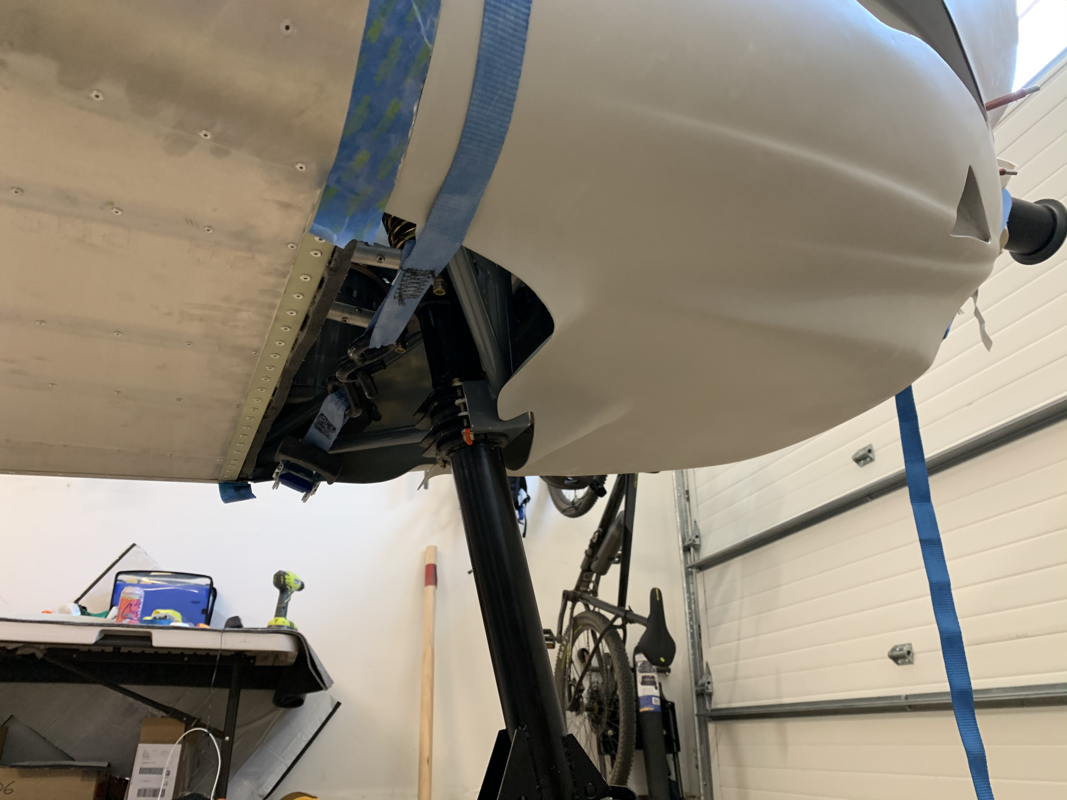
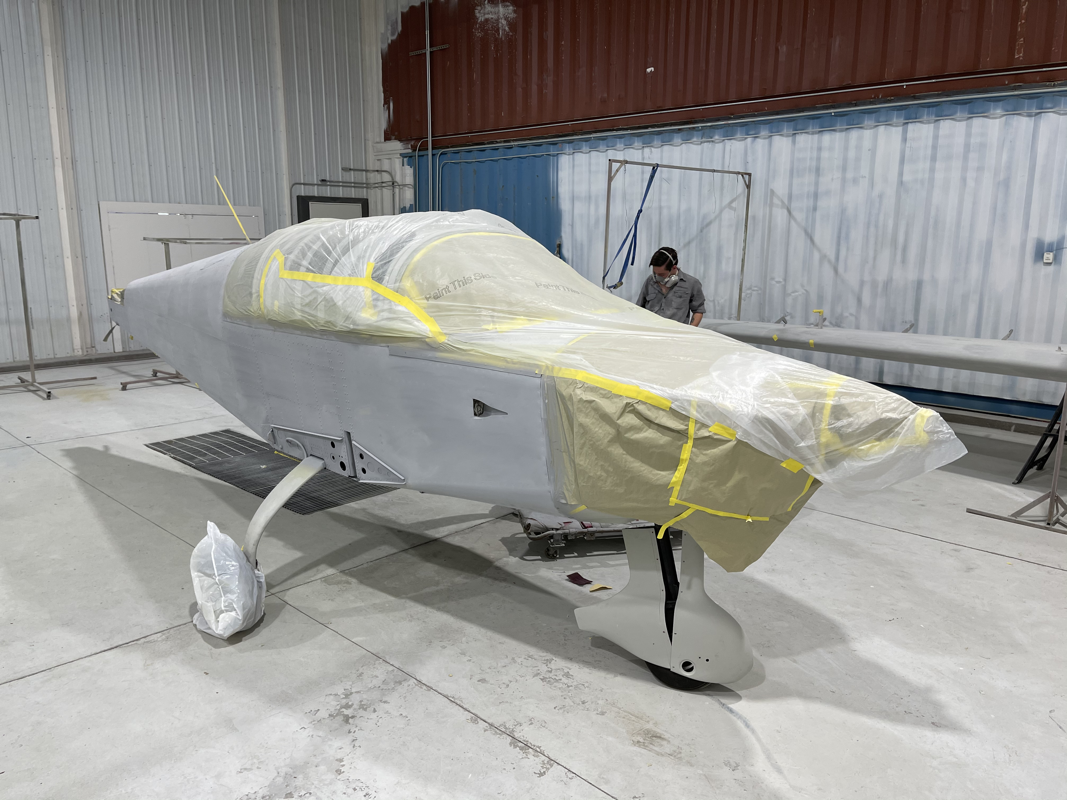
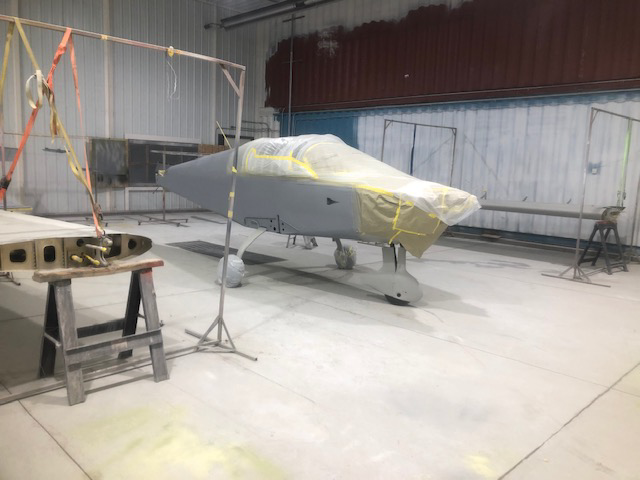
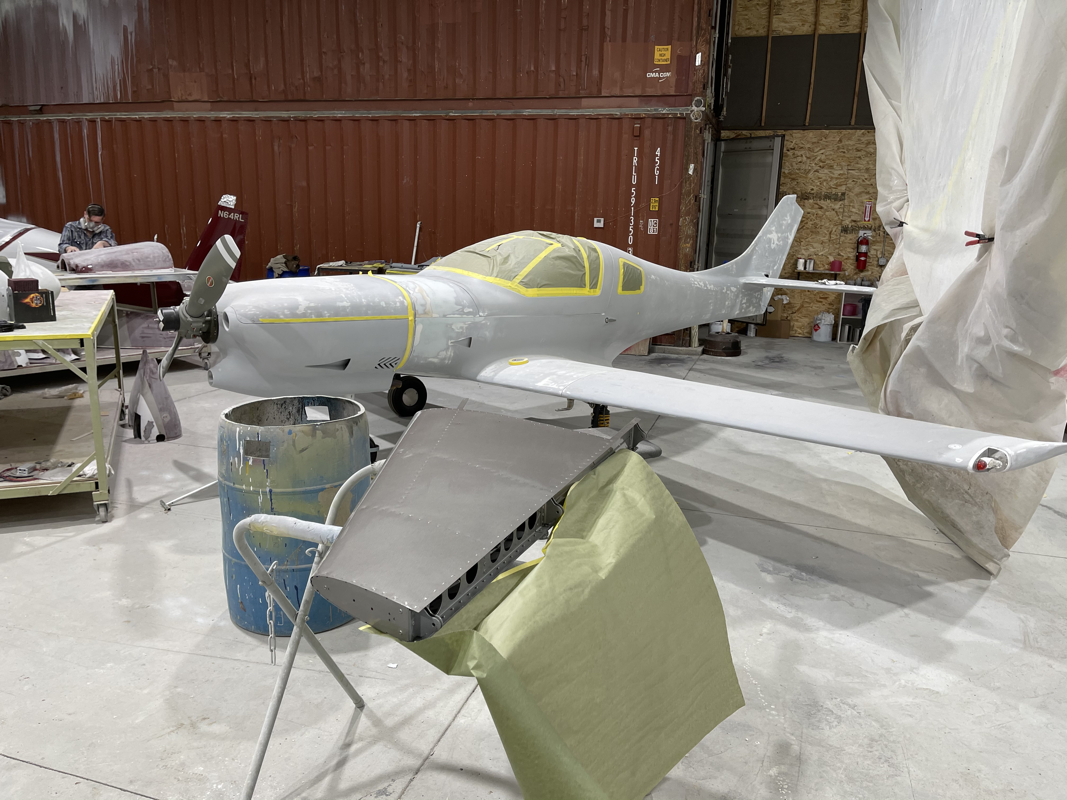
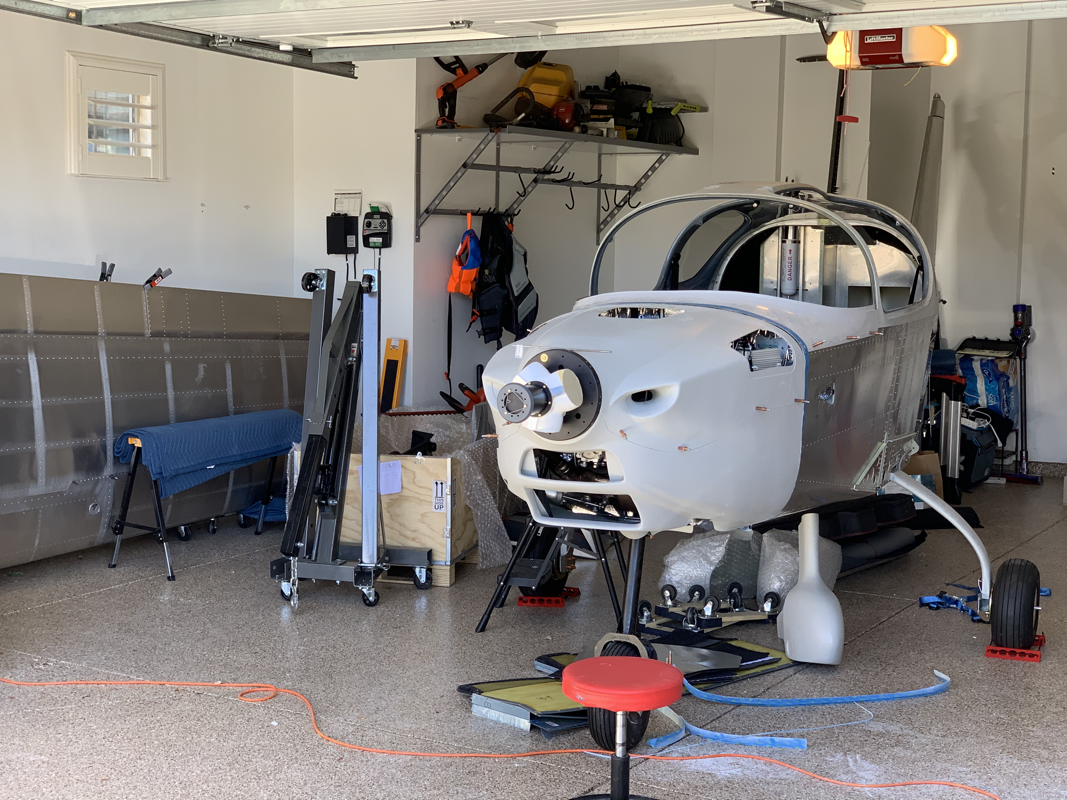
Today I tightened up everything firewall forward and put the cowling on (for show) and then put the propeller blades on. Pulled it outside to get a good look and I’m so happy with how it’s turning out! Now I just need to focus on the cabin area, putting in the final bolts and start working on upholstery. From there, engine start and inspection!  In preparation of getting the airplane ready for paint, I'm focusing on the exterior components. I took the fitted cowling and put in the camlocs. It was a bit tricky since I'm not using any of the 'easy' tools. I basically used my fingernails and some needle nose pliers to get the retaining ring on and some locking pliers to squeeze the camloc screws and fit them in. Not easy, but it's possible! In addition, I secured the metal vent on the top. It's coming together! It's been a busy few weeks working on the fiberglass components of the airplane. The main goal is to get it 'Paint Ready' before November.. tick tock! That means riveting on the cowling components, putting in rivnuts on the wheel pants, installing the wing tips, etc.. The most time spent was on the wing tips. I used the straps to push them into the place against the leading edge of the wing in addition to widening the wing tip to match the shape of the wing. Once in place, I match drilled the holes and then countersunk the fiberglass. There were parts that weren't reinforced with the second layer of fiberglass underneath, so I figured I would add some additional strength by applying SikaFlex to the bonding of tip to the wing. Some other items I worked on were the ECU mounting and shaving off enough muffler to slip in the factory supplied muffler extension. Lastly, my Fuel System arrived! This is the last bit of components I'll need to finish up the plane. I inventoried the components and some fittings were on back order, but overall I can make a dent in the installation here soon. Next up, I'll be permanently mounting the cover over the heater section so I can trim the windshield and I'll also be adding the fasteners to the cowling to the fuselage. It's time to make the plane look sexy! Love this cowling's aggressive looking design. First thing to do is drill some holes to mate the top and bottom pieces, just lay it on the ground and make sure the leading edge of the cowling is aligned, then work your way down to the rear and drill some holes. Measurements for the holes are provided in the manual. The cowling comes a bit too big and will slip over the fuselage a bit, so you'll need to mark it for trimming. First thing to do is fit your fiberglass piece that connects to the windshield and covers the front part of the fuselage. From there, use some painter's tape to mark the leading edge of the fuselage. Now you can fit the cowling to the aircraft and secure with clecos. I didn't have a second person to assist, so I found a metal rod that was about 5mm in diameter and fit that in between the prop and the cowling. I also needed to support the cowling, so used some ratcheting straps over the prop. Worked out pretty well and stayed relatively still while working the back. Next, you'll want to squeeze the cowling to match the form of the fuselage, so use another ratcheting strap around the rear of the cowling. Then, you can finally lay another layer of painters tape on the cowling, making sure the line up the rear edge of the fuselage layer of painter's tape. The idea is that the painter's tape is the same width, so you'll know where to trim the cowling. After that, I used the dremel bit 543 to shave off the painter's tape. It did take some fine sanding to get the cowling to line up evenly on all sides. Next up, I'll need to mark off where the Camlocks and Dzus connectors will attach. |
Archives
September 2021
Categories
All
|


 RSS Feed
