|
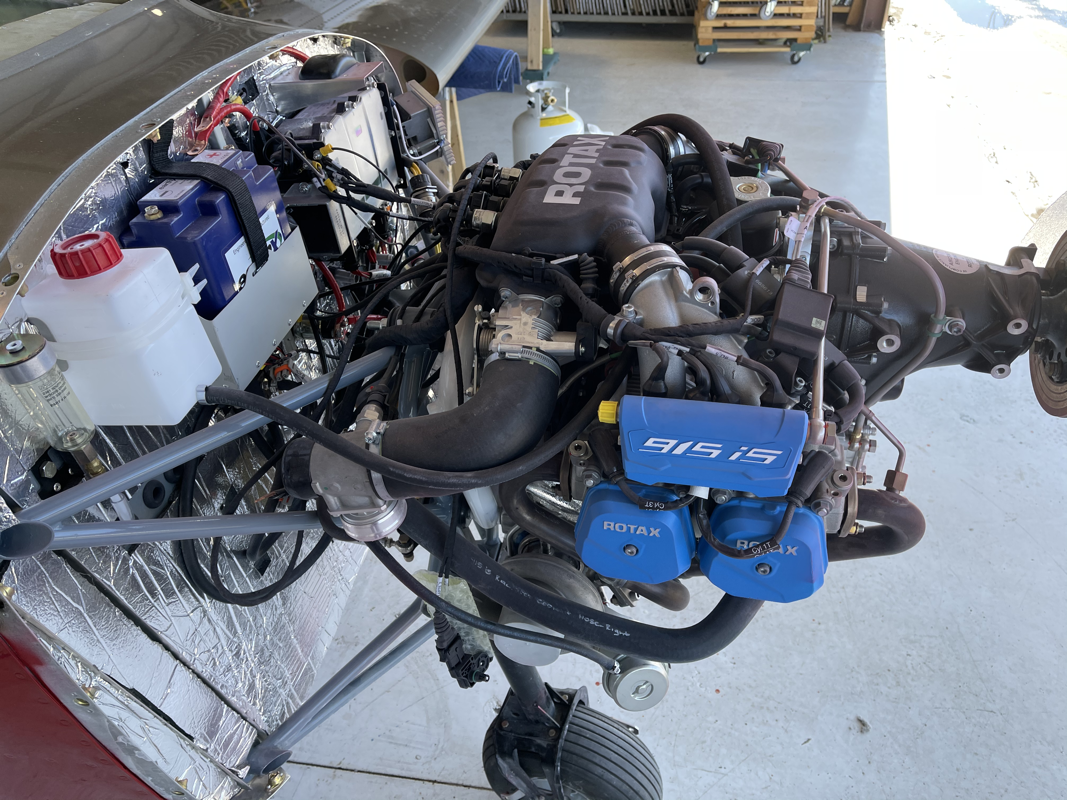
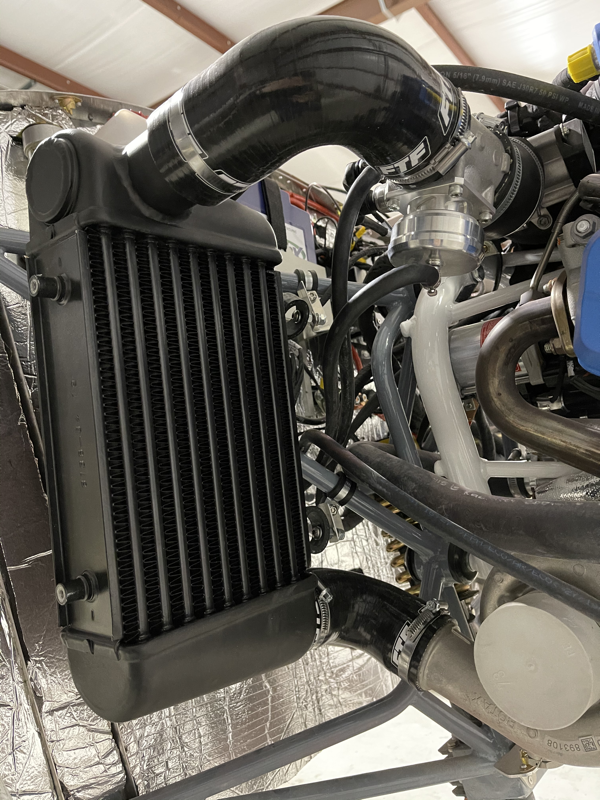
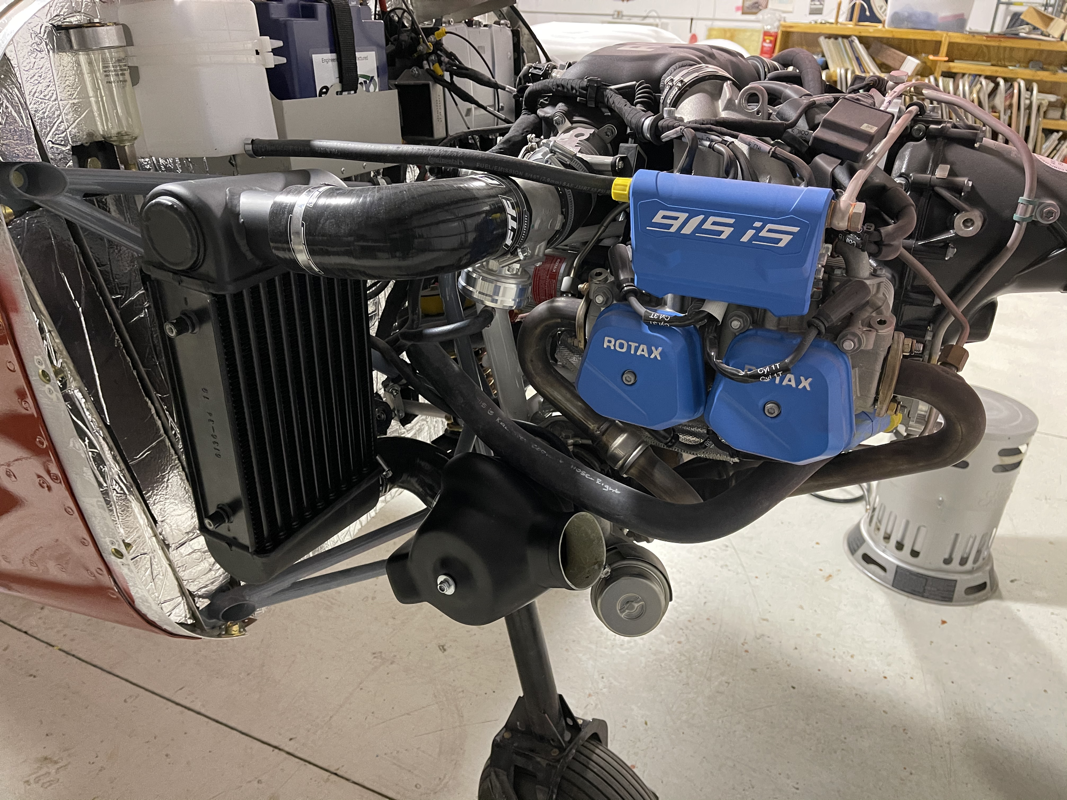
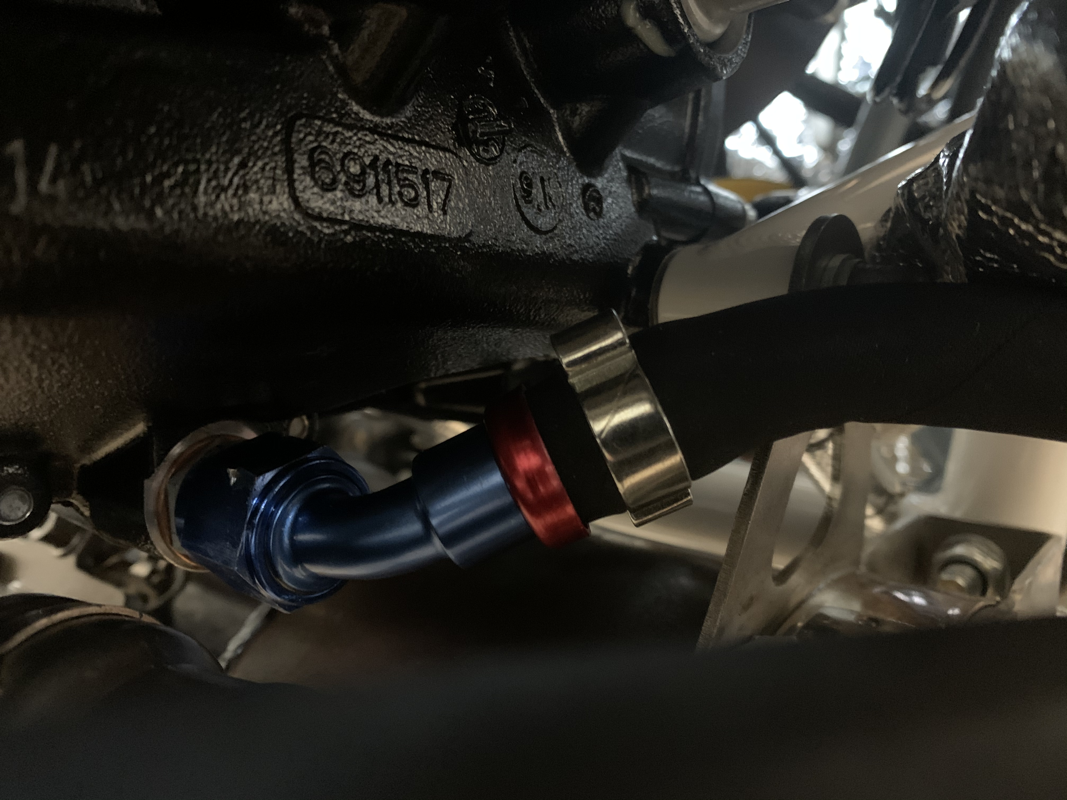
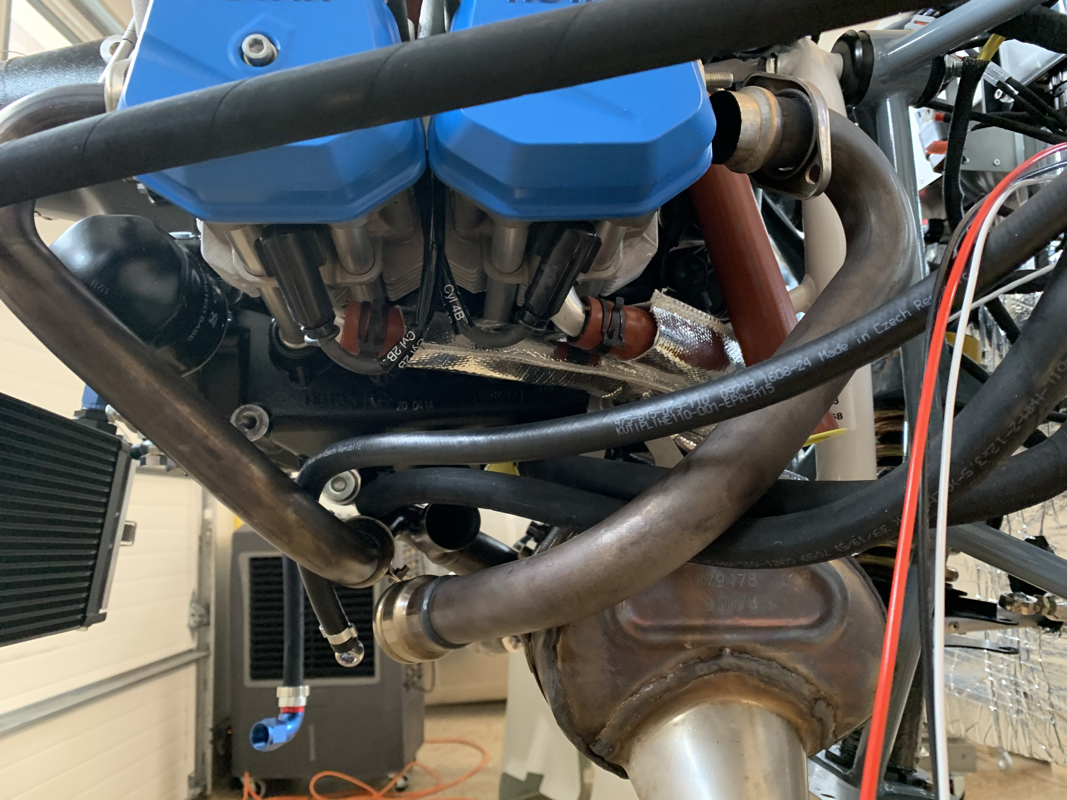
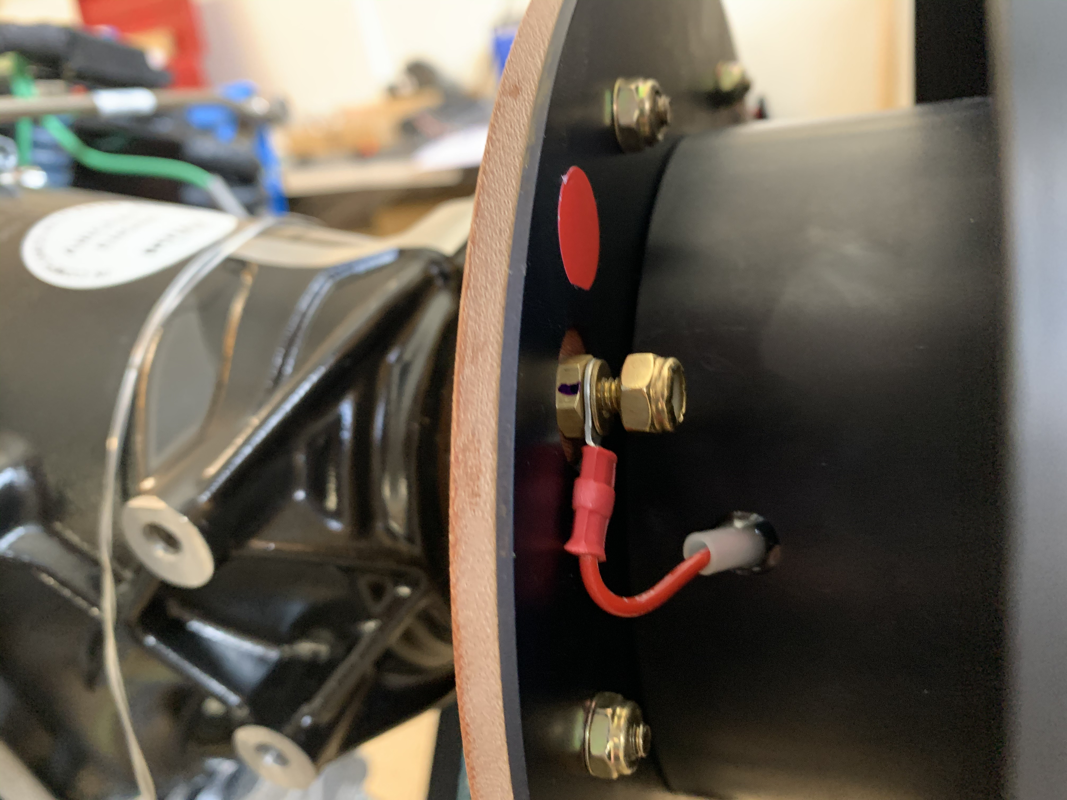
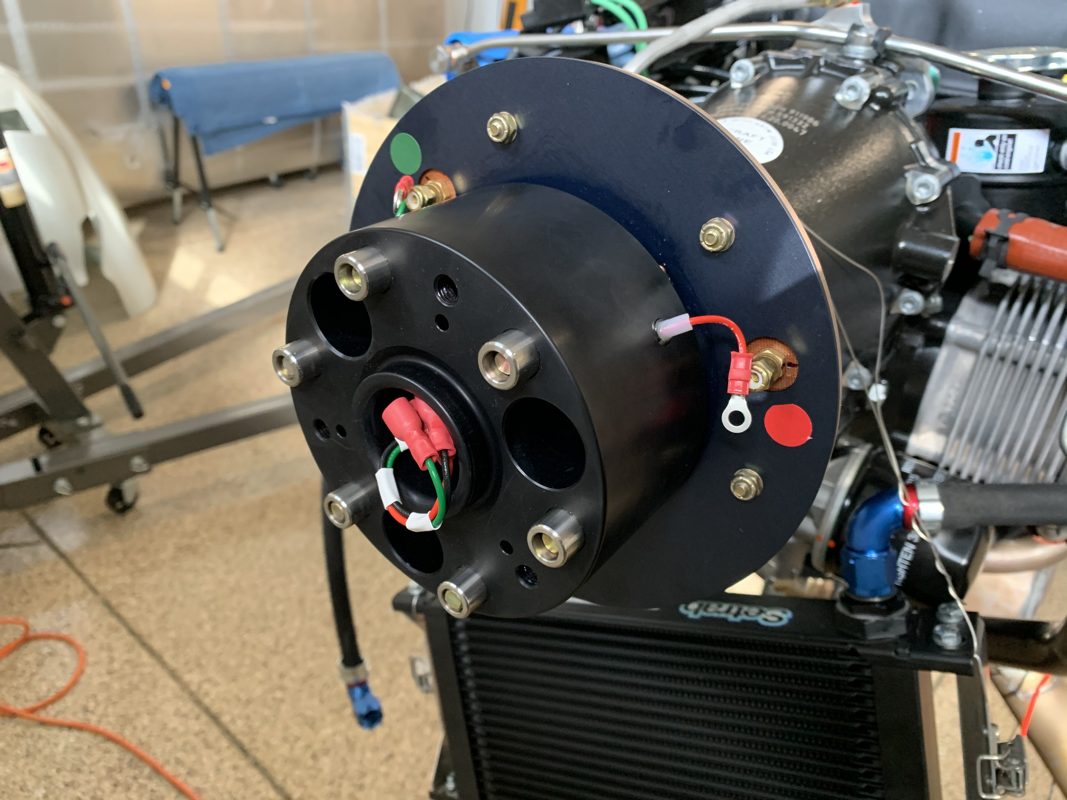
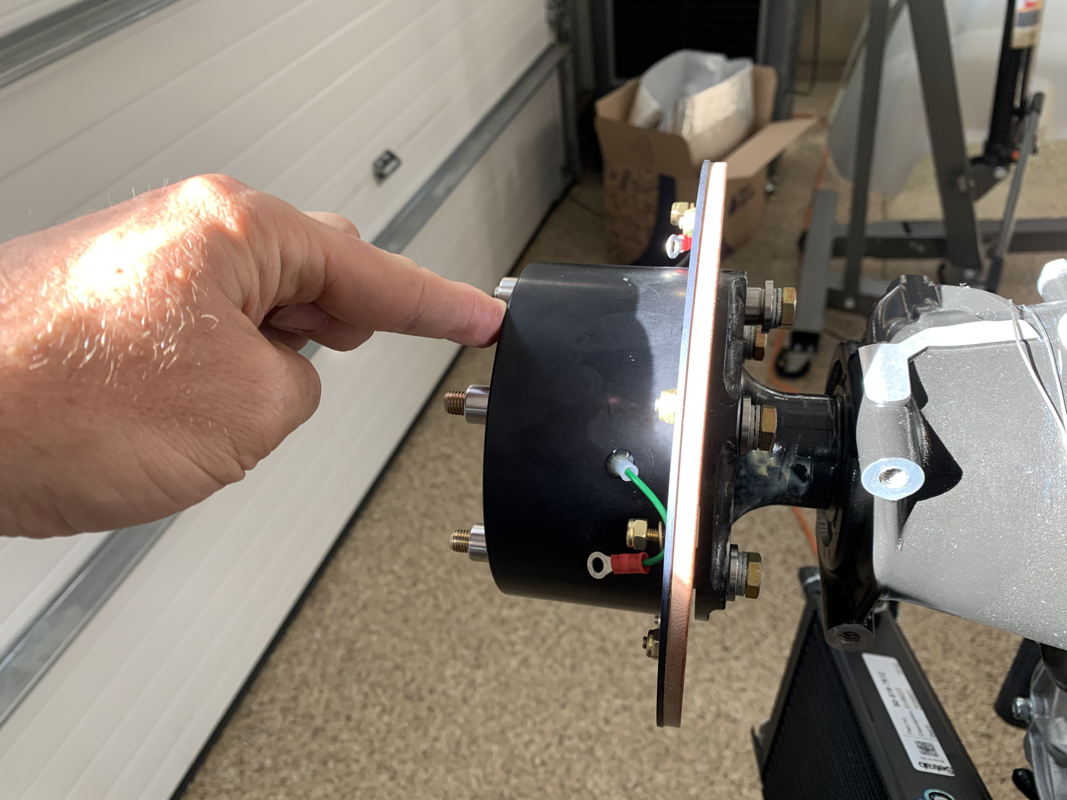
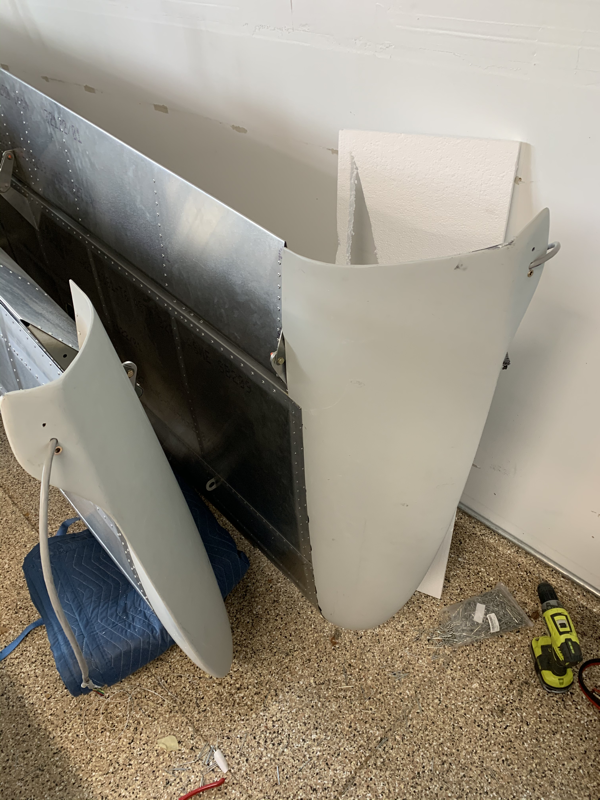
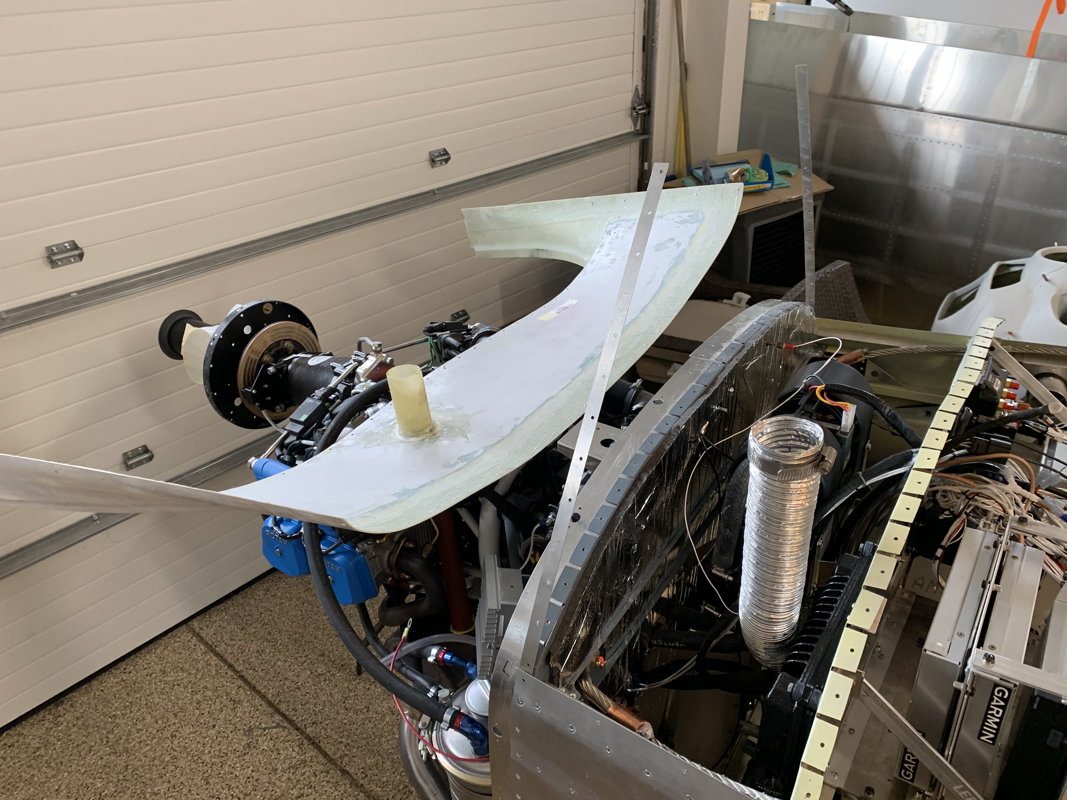
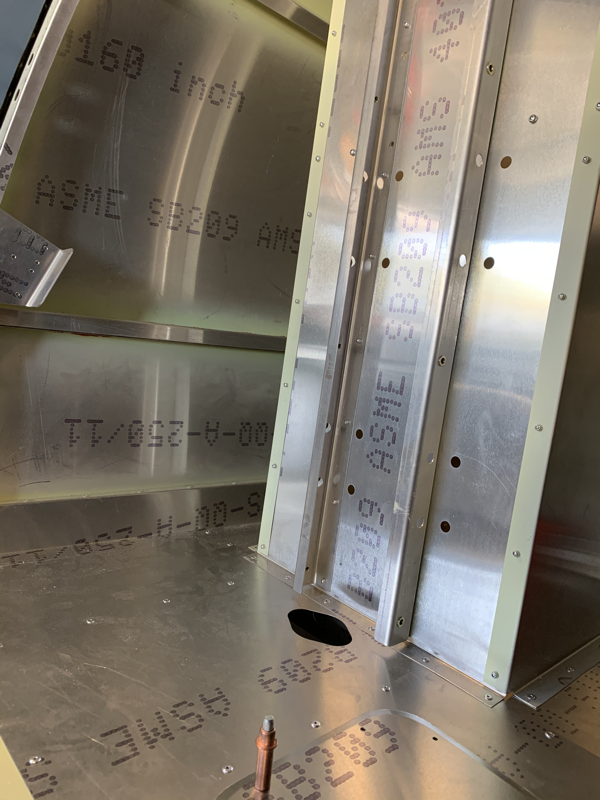
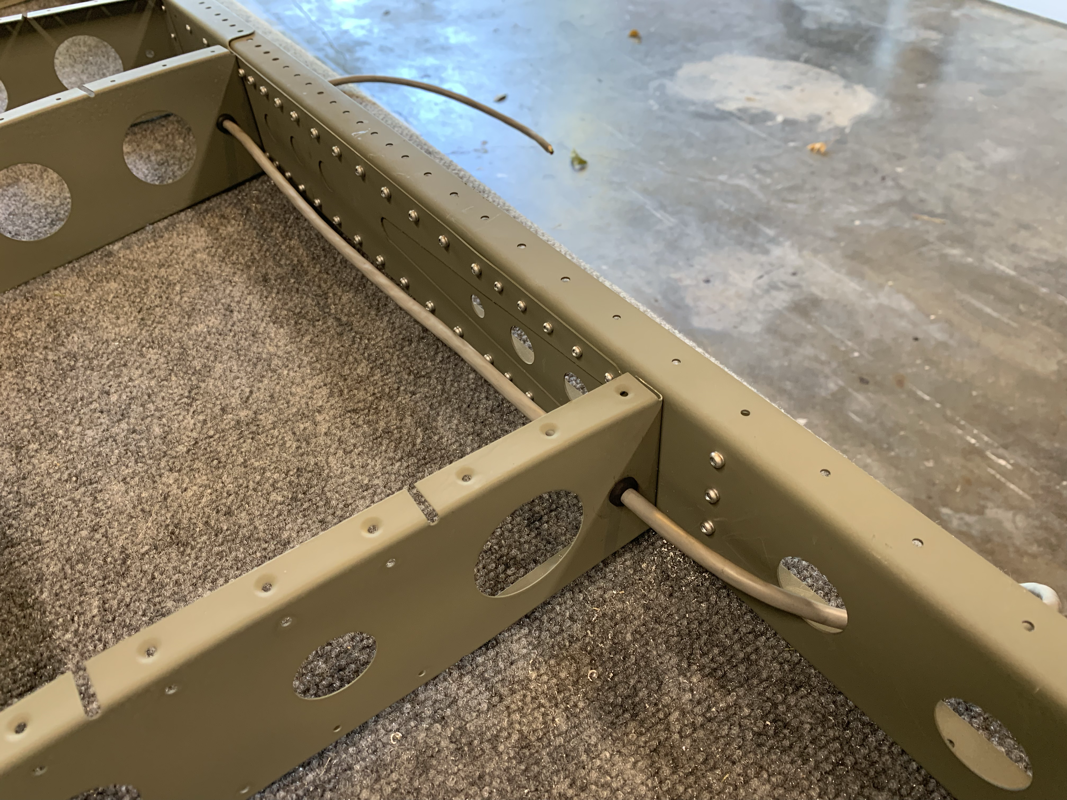
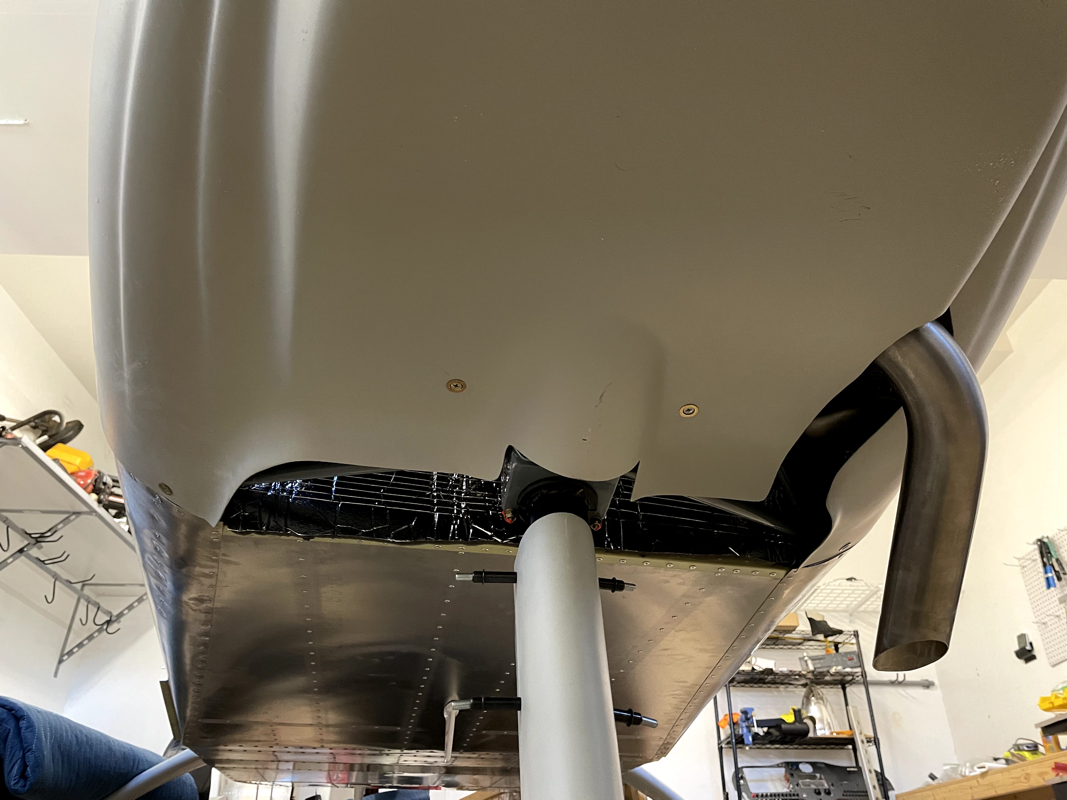
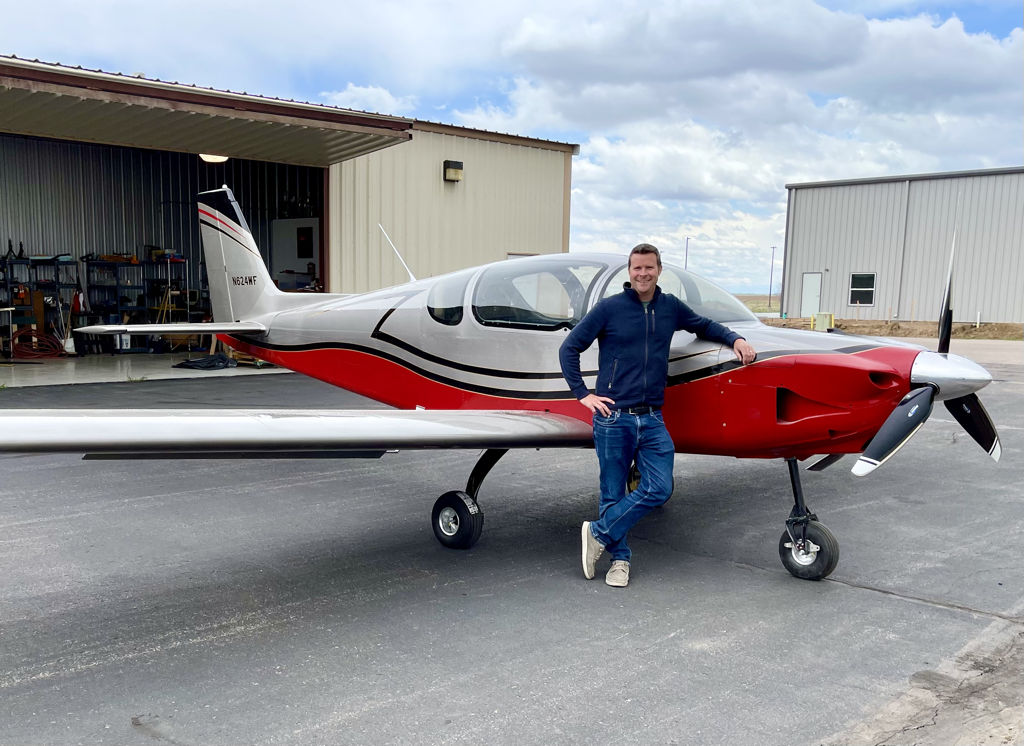
I’ve been traveling a lot in March and the weather has been quite cold here in the Denver area. We’ve been getting record amounts of snow here! Anyway, a short video of the latest items I’ve been working on. Thinking video updates are better to do than writing updates with pictures. Plus, seems it’s a bit easier to provide context. I decided I might as well get to doing Service Bulletin 17, which has me replace the aluminum rivets in the elevator control stops to stainless steel. To do so, I had to remove the ribs in the center console that hold down the elevator torque tube. After that, drilling the rivets out was easy with a flexible 90 degree drill bit. The service bulletin didn't specifically specify, but I decided to use some anti-corrosive on the stainless steel rivets since it will be in contact with a dissimilar metal. I was not fully satisfied with the stiffness of my elevator and wanted to make sure it was butter smooth this time. While I had the elevator ribs out, I decided to give them a good shaving around the area that holds the torque tube bushing with a dremel. I tried fitting a few times and sanded a bit more. I finally got it to where there's zero resistance! Definitely happy I got that resolved. Before you install the side panels, the factory suggests using some high density foam to block open areas in the rear passenger air channel. I couldn't find any decent foam blocks, so I decided to get some polyurethane based foam. It did the trick and shaving it to size was easy with a hand saw. Next I moved on to starting to wire up the canopy for the front and rear lights. There's a tube that routes from the back left of the cockpit through the canopy and exits in the center between all the light holes. Not too easy to see in there, so I used a wireless borescope to understand what I'm working with. I had to punch some holes through the styrofoam in the canopy to get the wires through to the front pilot light areas. The rear passenger lights were easy since the tubing routes by the hole. I'll put on a protective sleeve on the wires that exit the canopy and route them below the rear seat for connection to the harness. I heard from the factory that my Engine, Firewall Forward Kit, and Upholstery is on it's way. It's a pretty big and heavy mix of items, so they had to put them in a container and on a boat - 6-8 weeks delivery time... ugh. Looks like a September timeframe for delivery with an order that I put in January. So I'm doing a mix of odds and ends, torquing bolts, kicking tires, etc..
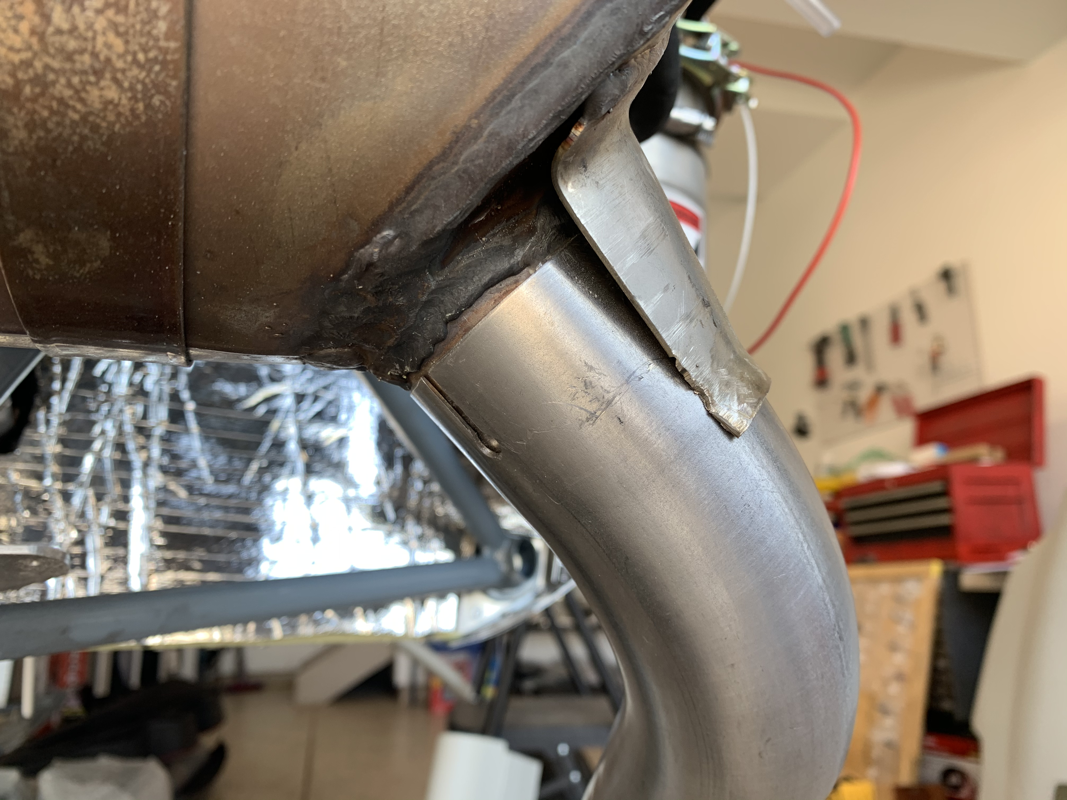
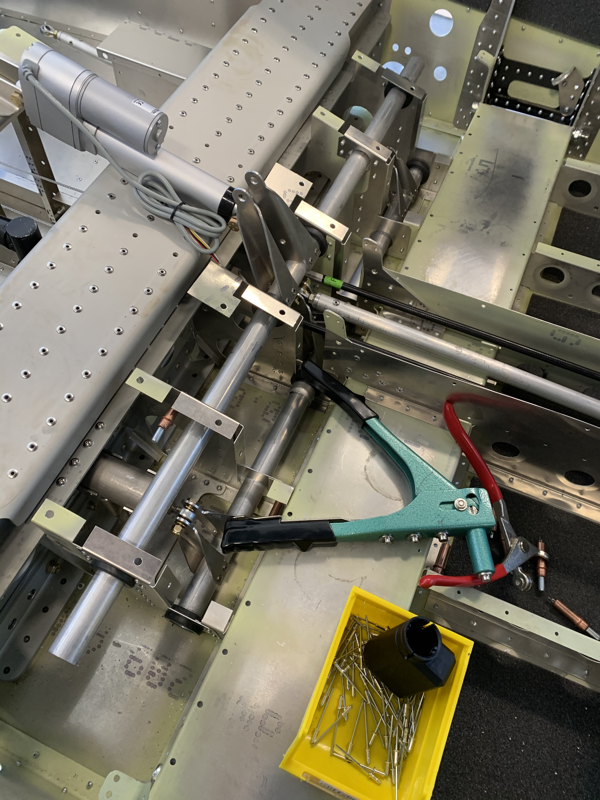
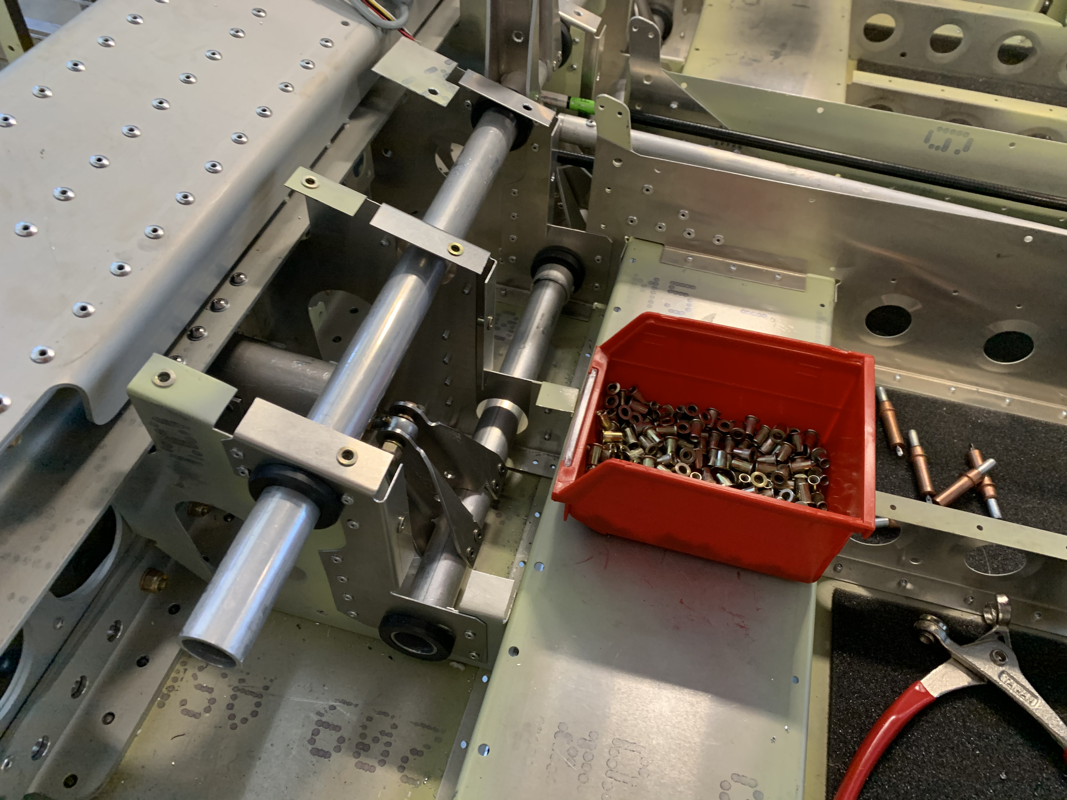
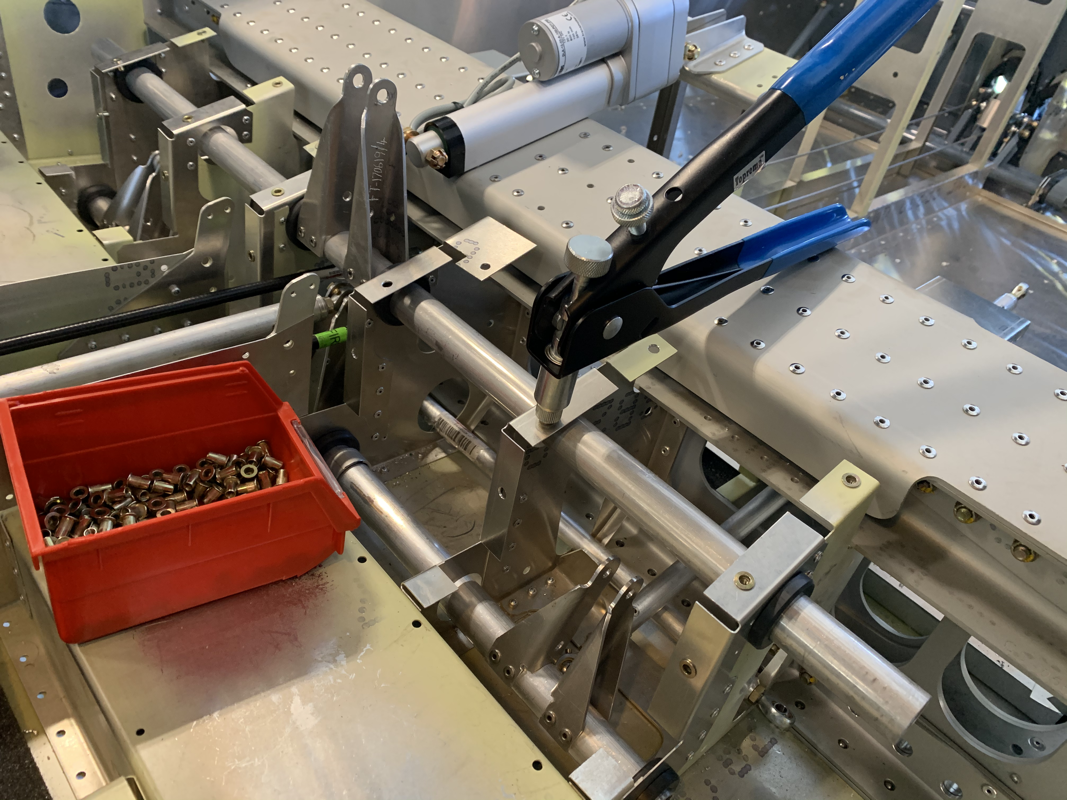
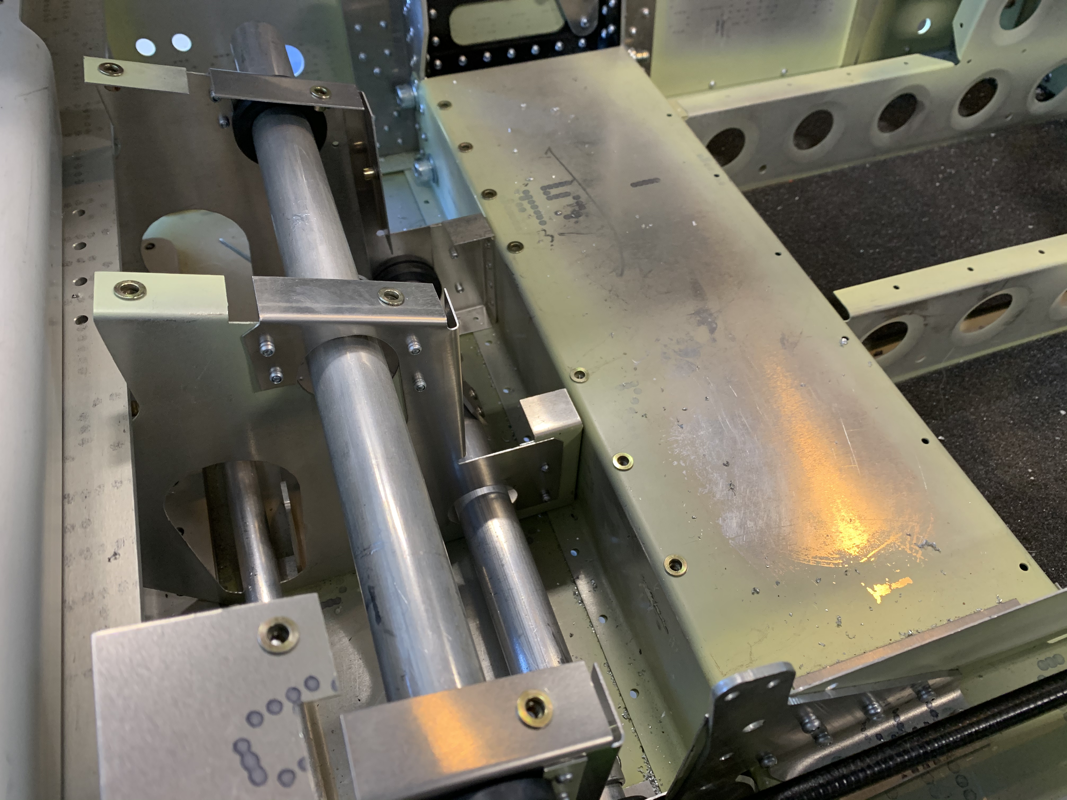
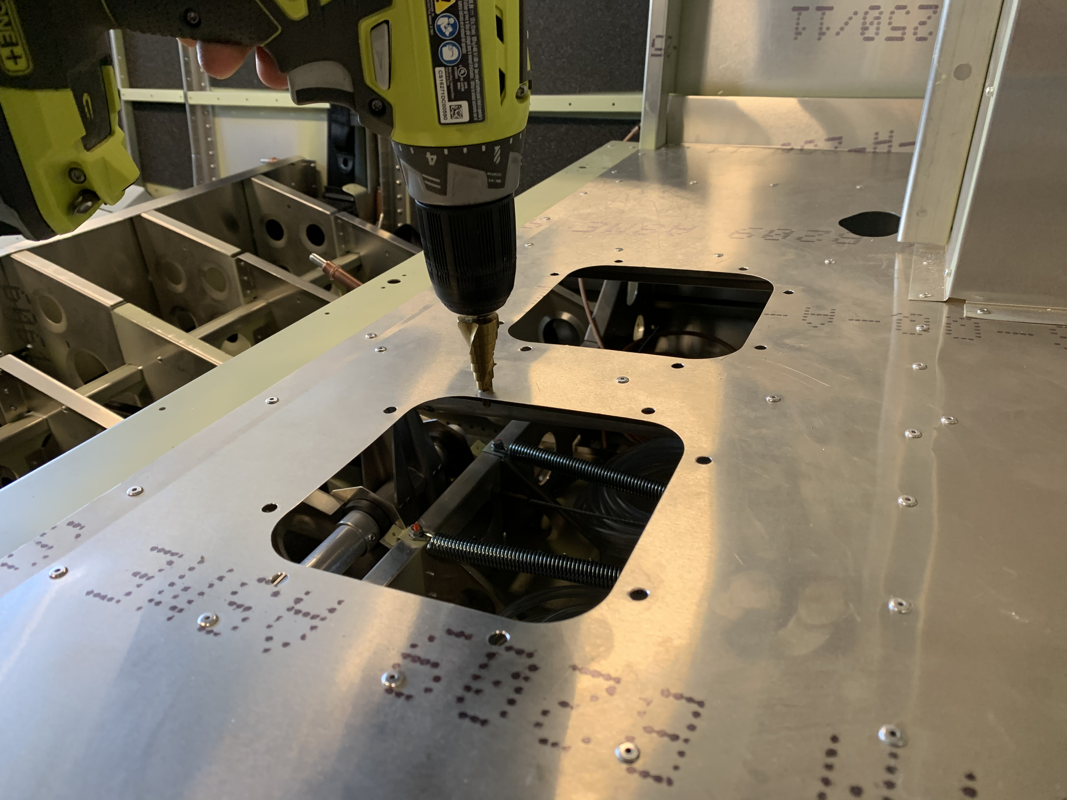
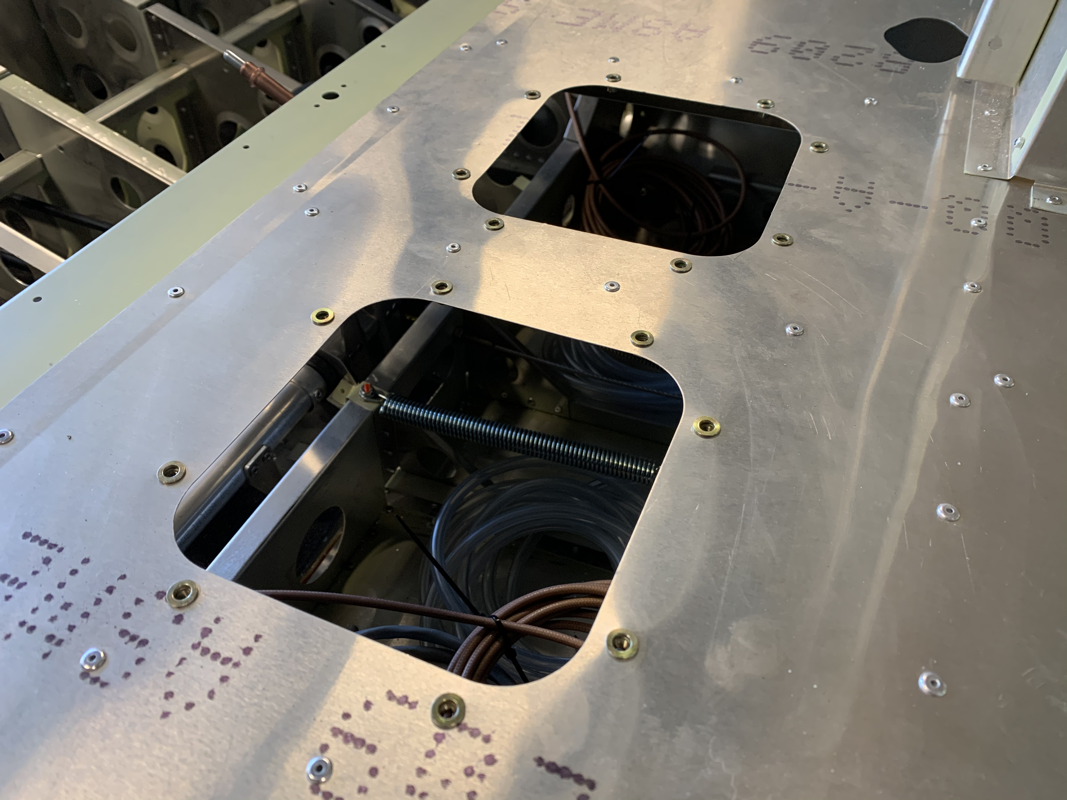
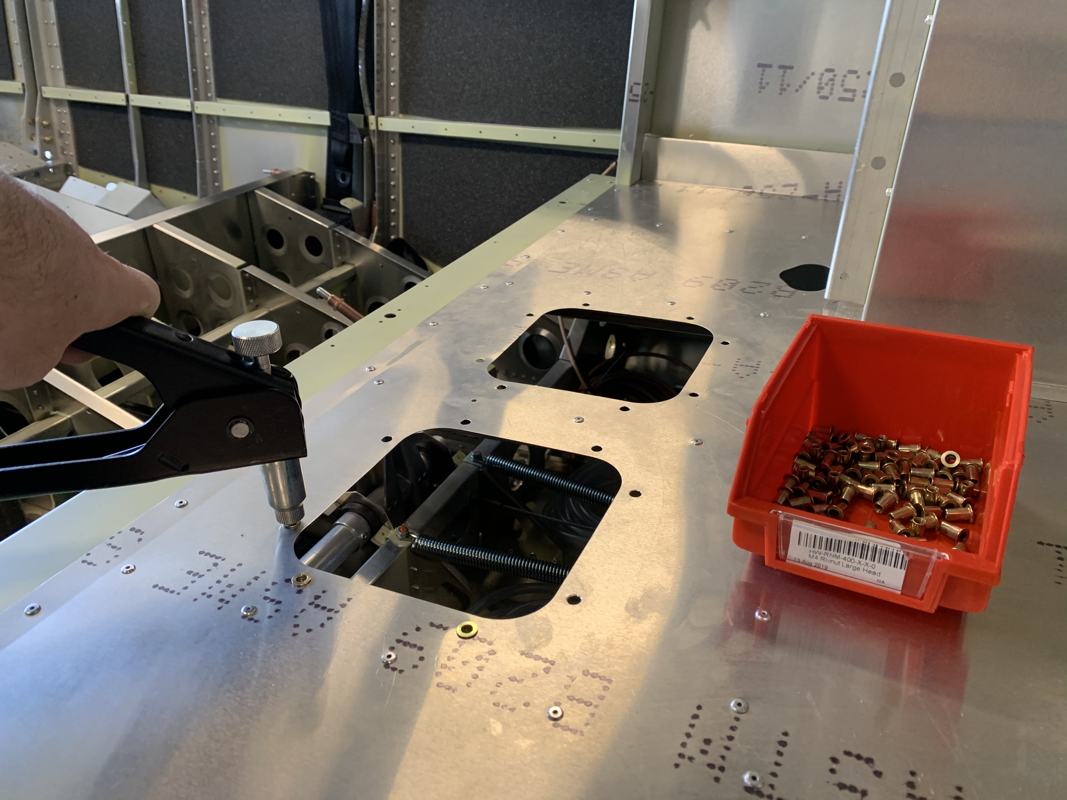
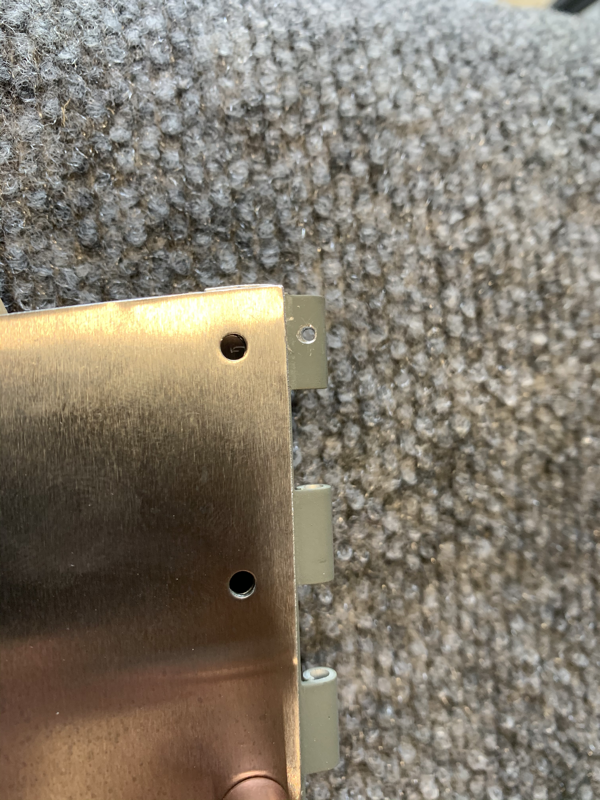
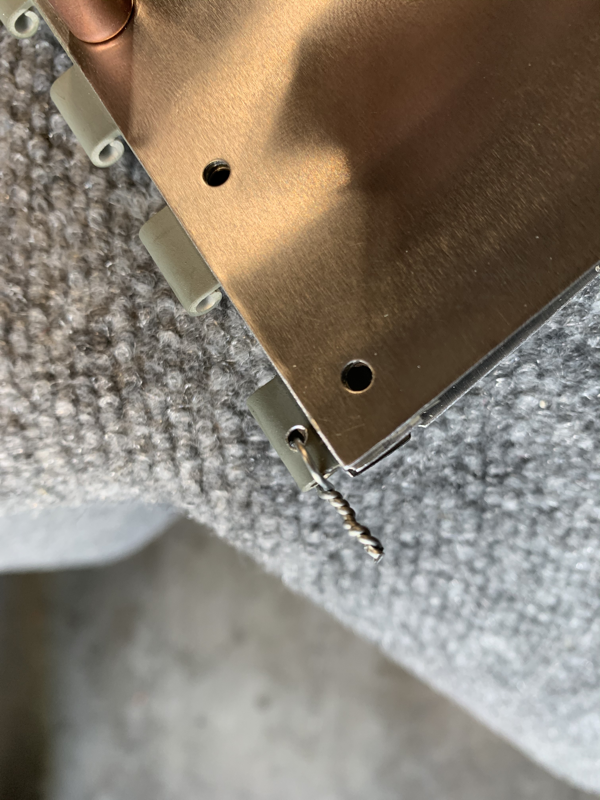
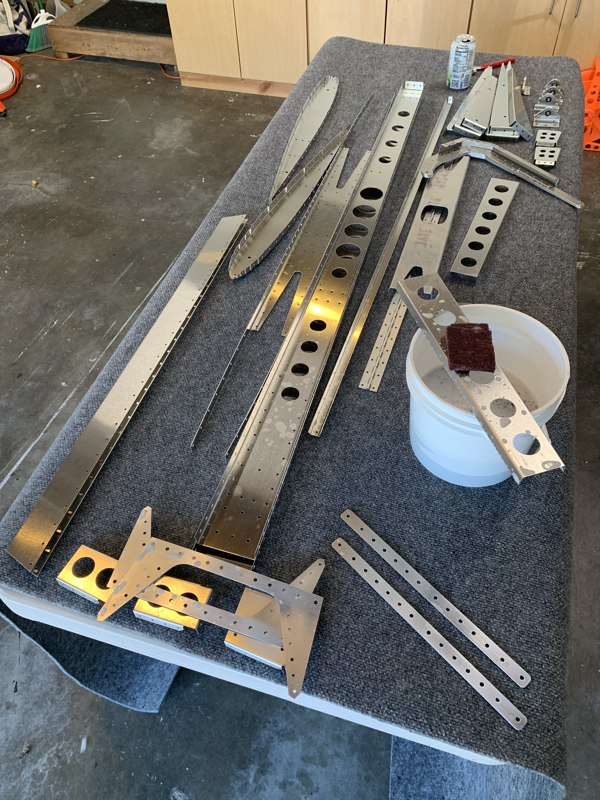
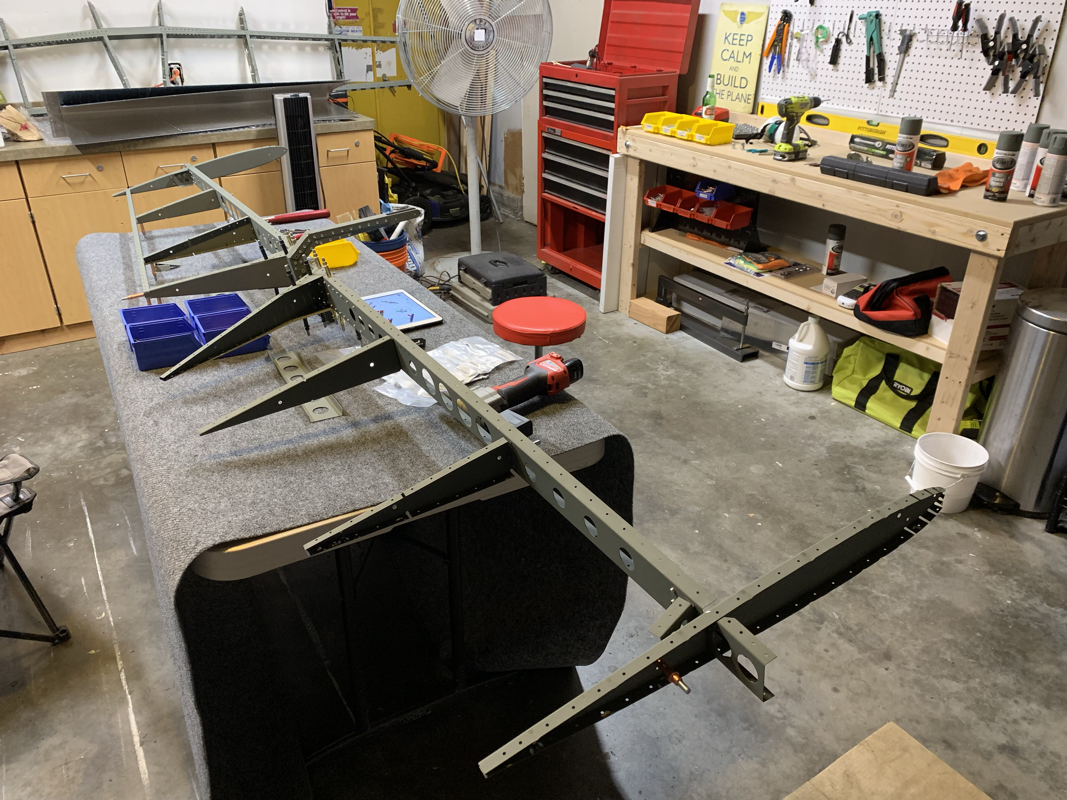
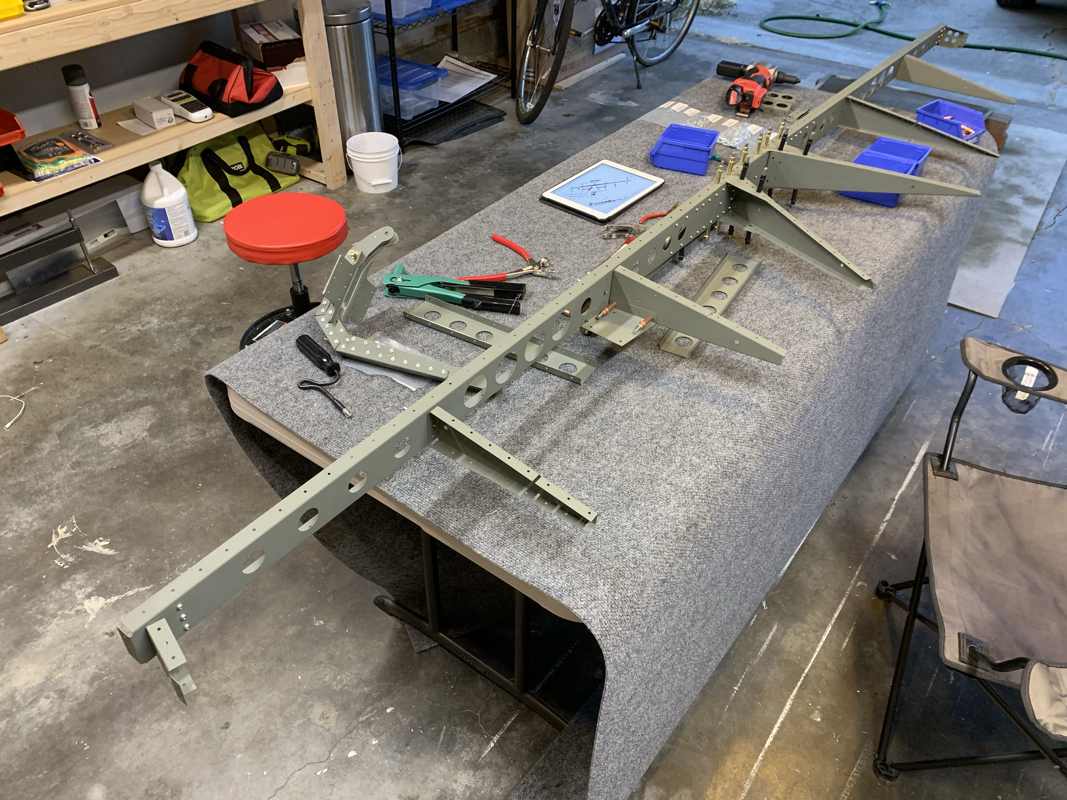
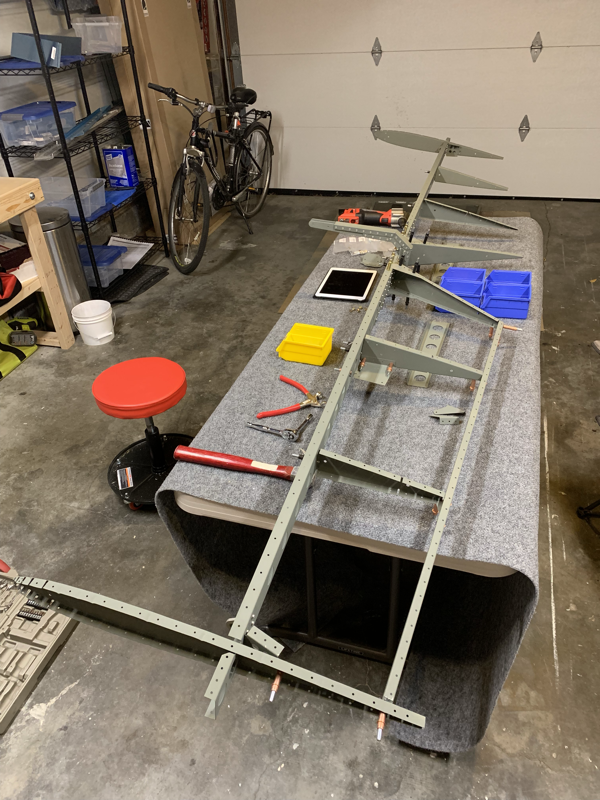
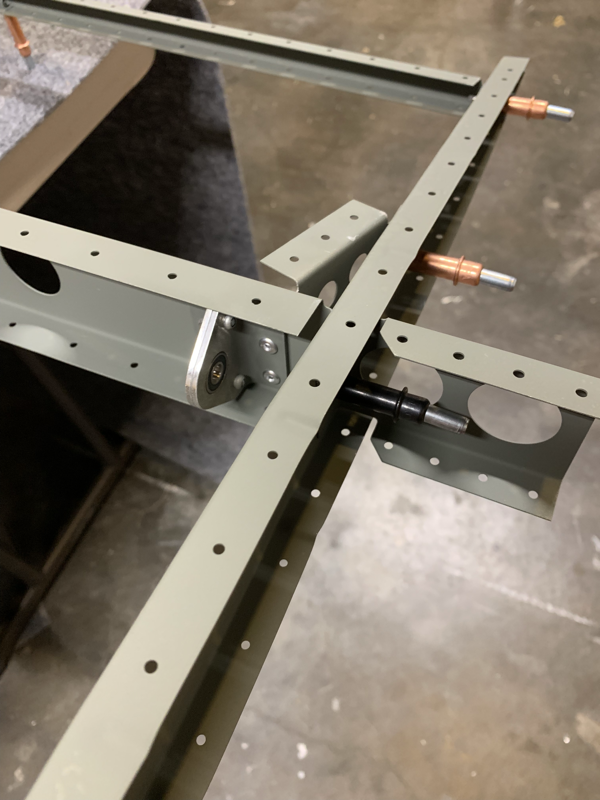
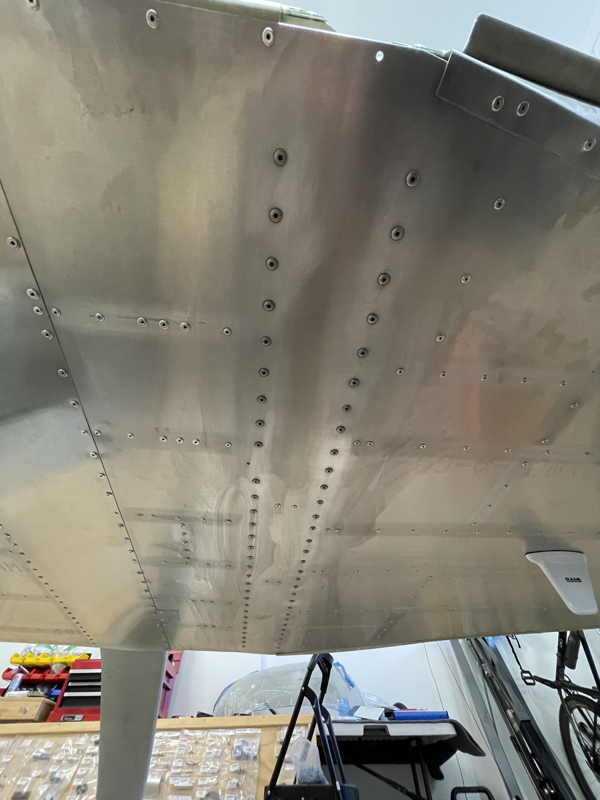
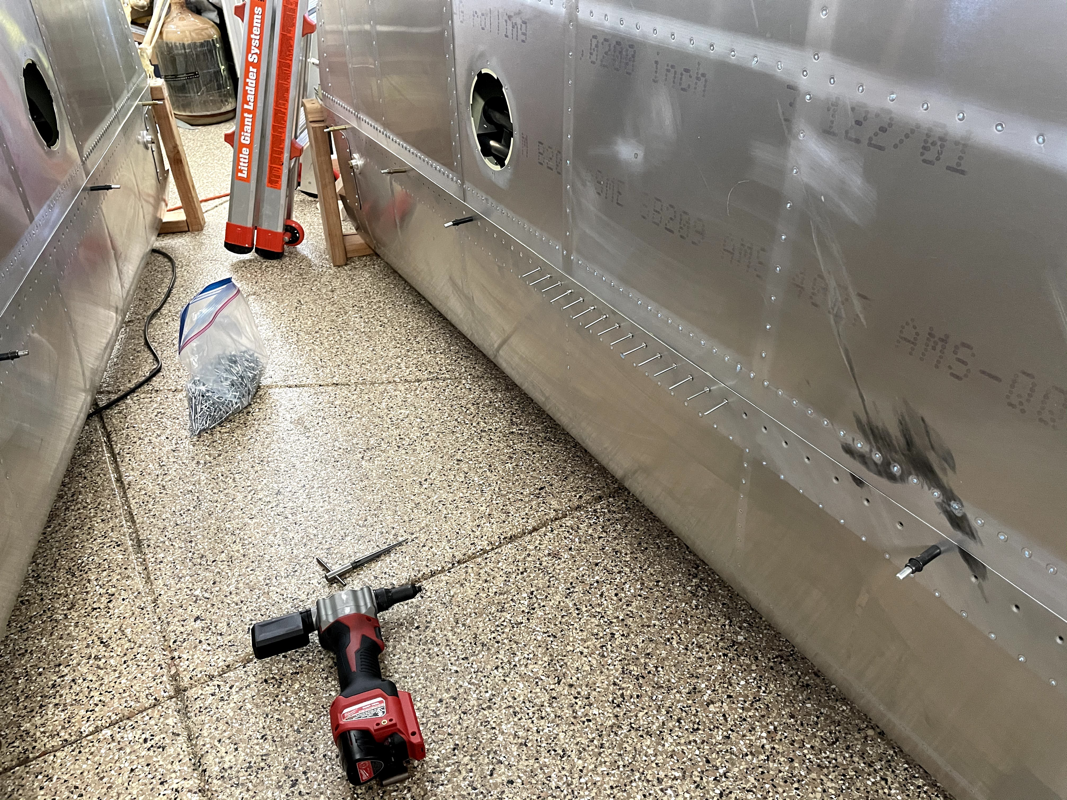
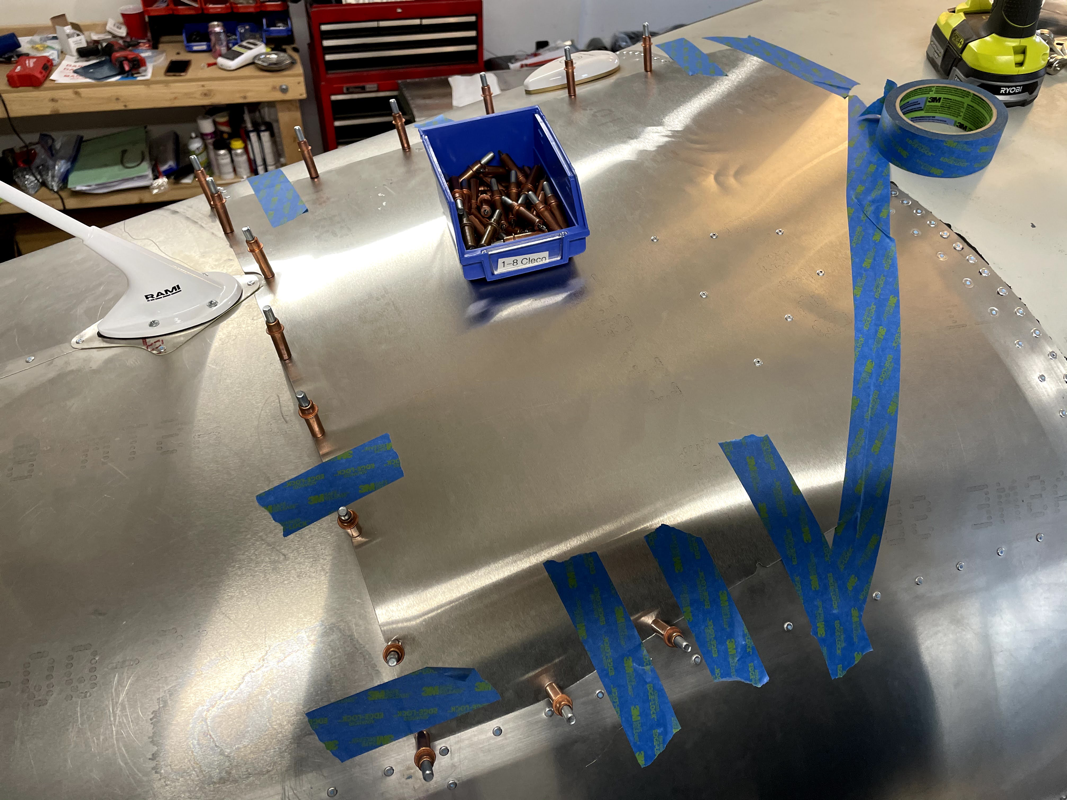
One of the more taxing exercises I’ve had on the project so far is getting the control rods to move smoothly. The vesconite bushings are a perfect fit on the control torque tubes, but when placed in the aluminum ribs and there a slight misalignment or misshaped curve, the result is a binded bushing. Which can be hard to find. I spent quite a bit of time using a flap sanding wheel to trim down the ribs to get a nice fit on the bushings. Then when in place with the brackets I had to find the rib that was slightly misaligned and sanded down the bushing a bit to get it unbinded. Once that was done, riveted the brackets in place and tested everything out.. minimal friction! After that was done, I decided to put the luggage floor Rivnuts in place and test fit the covers. Perfect fit! I recently received another trim tab as the last one was a bit twisted. I took this opportunity to add the safety wire to the piano hinge as other builders have done. The piano hinge is convenient to use, but the wire that is inside can vibrate out of the hinge so the recommendation is to secure both ends with safety wire. I was missing some parts, namely the rear seat strengthening channel and one of the elevator torque tube brackets. I put an order in for those parts, but it was holding up further progress on the fuselage. So I decided I might as well go ‘Old School’ and make the parts to save some time! I had the forward position rear seat channel handy, so I looked at the plans and it seems it’s the same part, just a bit longer in the back. So I trimmed off the end and it fit perfectly. I took a spare piece of aluminum and drew the outline of the elevator torque tube bracket, cut it out, shaved it down and drilled the holes. An hour of effort saved me at least 6 weeks of delivery time from TAF! I spent some time countersinking the end caps and dimpling the skins. I read some other builders had some concerns over the material being too thin, but it seems they beefed up the thickness to allow for a good countersink. Once that was done, I temporarily connected the elevator to the horizontal stabilizer with some bolts I had laying around and used some wood placed on the skins secured with some clamps. This ensures the elevator and horizontal stabilizer are perfectly aligned. I made sure to only cleco one side at a time, per the instructions, and began riveting. The skin fit pretty well and didn't really have to ream out many holes. I flipped it over and repeated the process. The skin was a bit tighter on this side and took a few more clecos to ensure a good fit. Nothing more satisfying than a handful of pulled rivet mandrels to finish off another piece! I was able to finish up the Horizontal Stabilizer ribs and dimple the rest of the skins. I pulled the wire through and now I just have to apply the skins and make sure everything fits again. It's feeling like déjà vu, cleaning, degreasing and priming the elevator parts.. one of my least favorite activities of the build process, but necessary. At least now I'm getting a streamlined process down. I primed the elevator parts and let them dry for a day. Came back to it and started riveting! This assembly is definitely a bit more complex and took a bit more time to study the instructions. On the swing arm assembly, there's a hard to reach rivet right next to the bracket. You'll see that one missing in the photo. I figured I just get some small M2.5 hex bolts and stack them about a quarter inch until it is flush with the nose of the rivet gun, then give it a pull. Worked like a charm! I did find some discrepancies in the instructions with rivet sizes, seems the descriptions of the rivet sizes are different and different parts provided in the kit than referenced in the instructions. The description in the instruction says it is a 3.2x13.6mm Alu Domed Rivet, but the actual rivet size received with the part number in the kit is 3.2x12mm. Additionally, the instructions say to use 4.8 x 12mm rivets HW-RIV-164-X-X-0, but the kit for elevator parts only includes 4.8 x 15mm rivets HW-RIV-165-X-X-0. I made sure that there weren't any other locations needing 4.8mm rivets and went ahead and used those. And of course, while feeling like I was on a role, fate seemed to occur. While torquing the bolt on the swing arm assembly, the bolt actually snapped off. Now I have to source another AN3-13A bolt and take another look at the torque required. It's ok, I'm sure it's not going to be the last 'oops' moment and I just look at the new shop sign from EAA - "Keep Calm and Build the Plane." ;-) I also ran into an issue with the bracket that connects the swing arm to the ribs not being aligned. I checked with TAF and they said to just drill up a size and use a 4.8mm rivet. Seemed to do the trick. On another note, I did add a tab with a chart for my hours by category. |
Archives
September 2021
Categories
All
|


 RSS Feed
