|
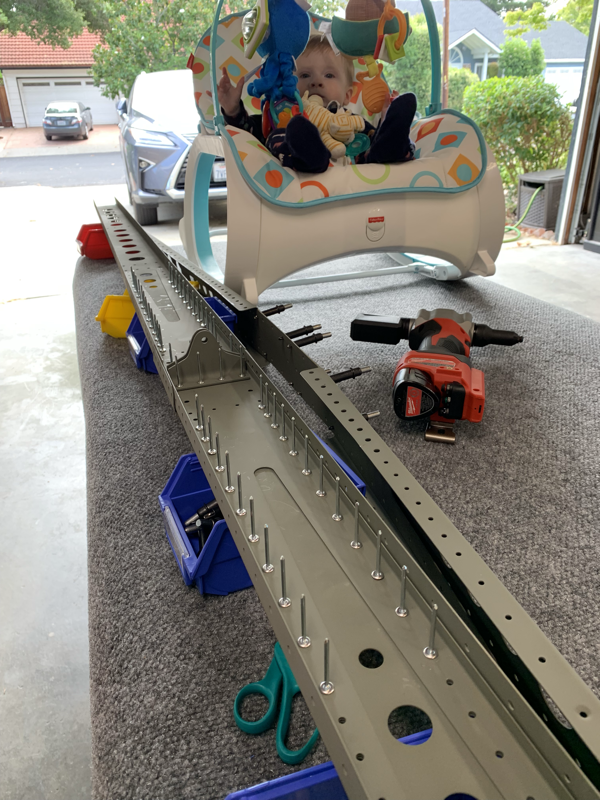
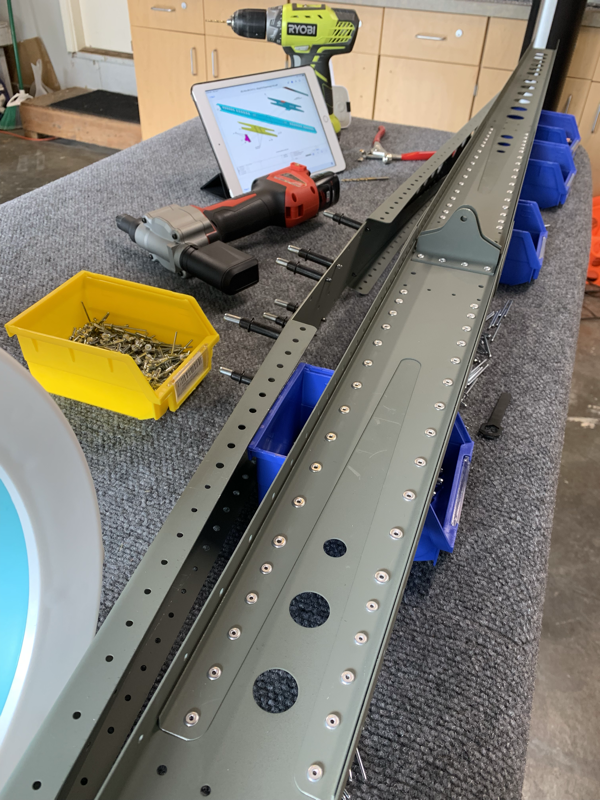
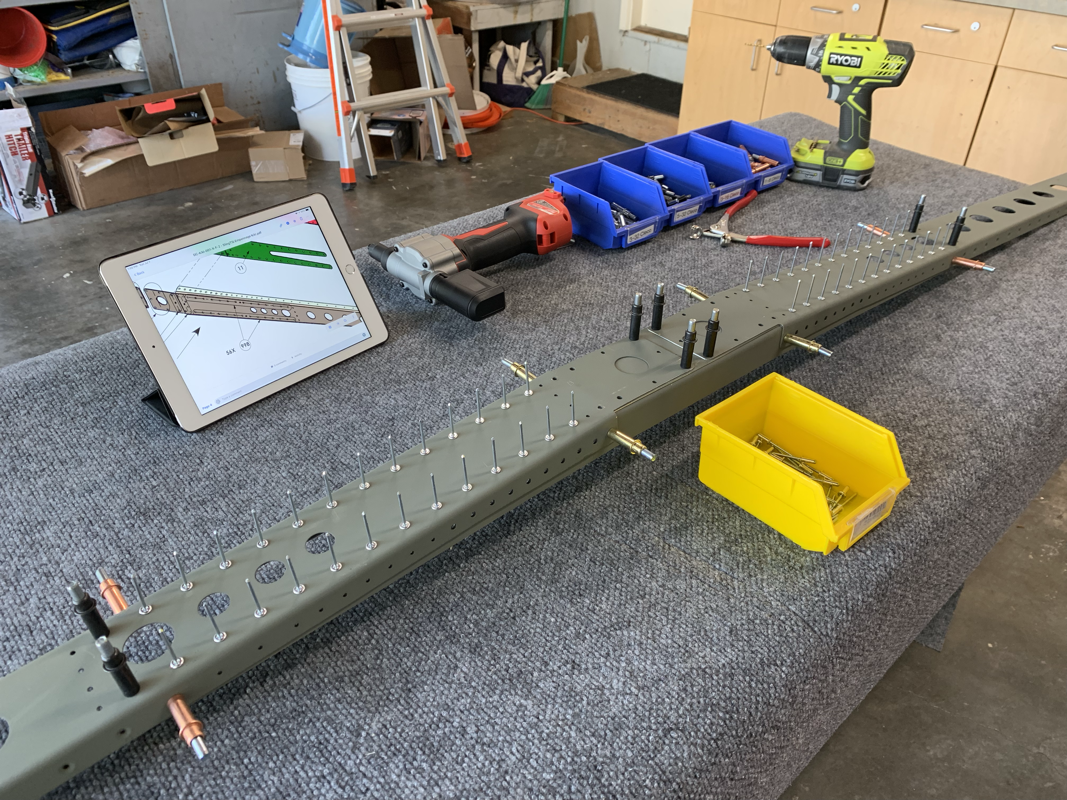
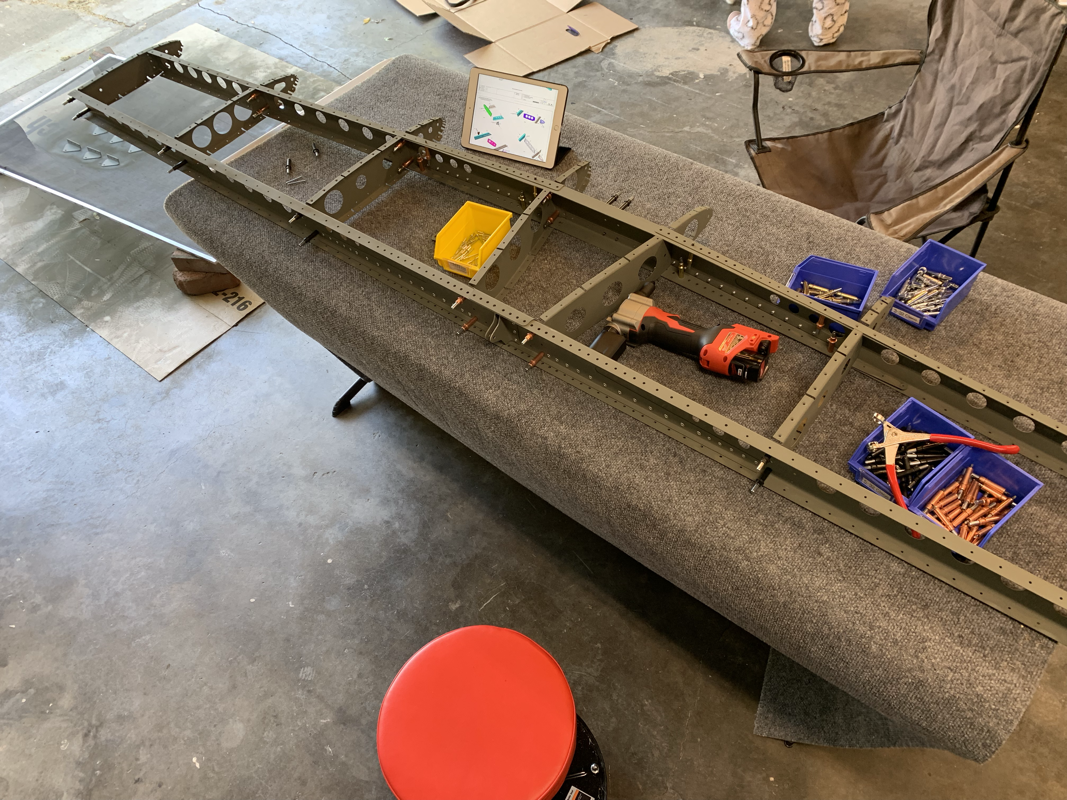
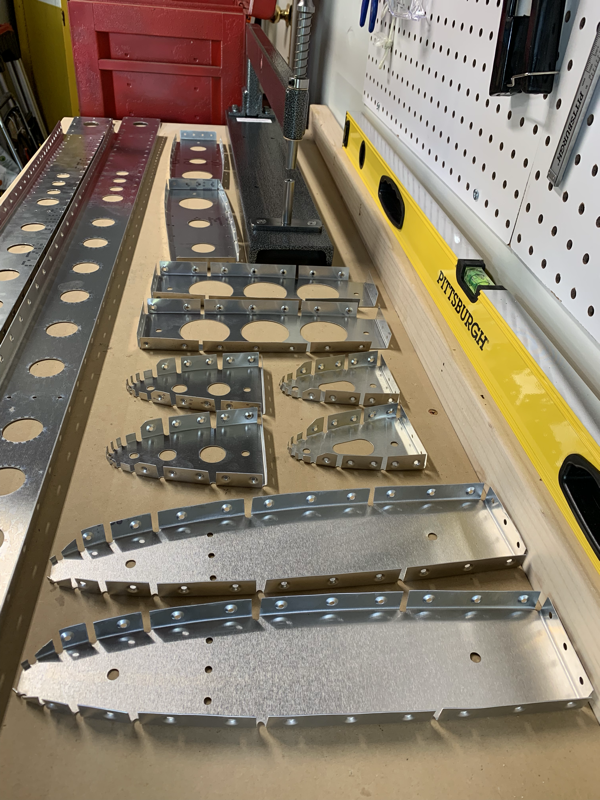
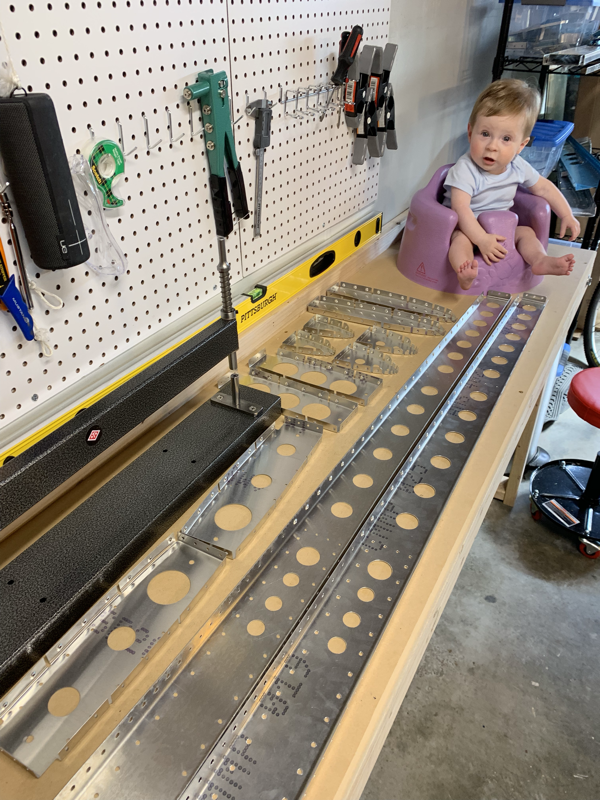
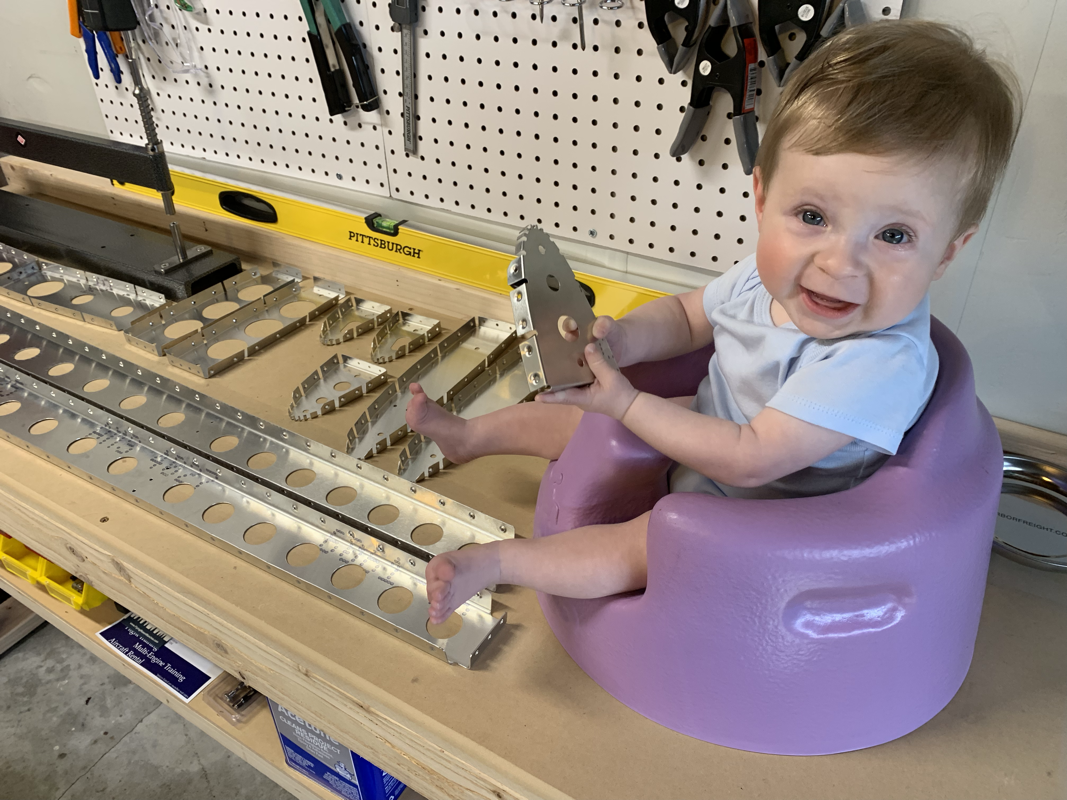
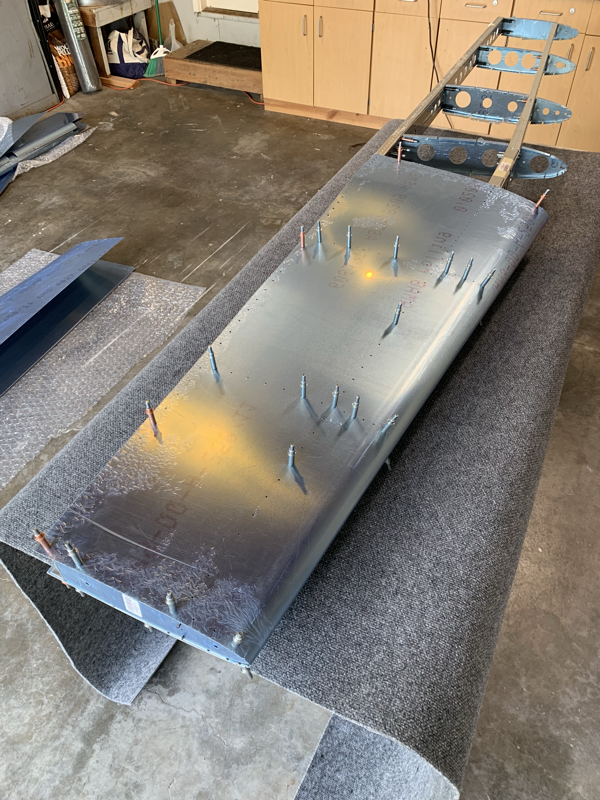
Thinking video updates are better to do than writing updates with pictures. Plus, seems it’s a bit easier to provide context. It finally felt like I made some good progress today! After spending hours dimpling, cleaning, degreasing, and priming.. it finally came to the point where the parts were ready to put permanently in place. It was a bit nerve wracking the pulling the first rivet, I must have checked the plans at least 5-6 times to make sure I knew exactly what to expect. Of course, after a dozen or so rivets, things got into a good rhythm and I started to trust myself. The Milwaukee Rivet Gun makes this process really easy, great suggestion from other builders! I was quite happy that there were only 5 or so holes on the rear channel that needed to be enlarged with a chucking reamer.. just off by a hair. Enough the rivet couldn’t easily drop in. It also helped that I had my project manager and quality control person keeping me on track. Thanks Son! Our flying adventures are still on track thanks to your motivation. ;-) I did find out that I forgot to order the right sizes countersink bit. As soon as that comes this week, I can finish up the ribs and work on applying the Horizontal Stabilizer skins. While the rack of ribs were on the grill for the 4th of July, I had some free time to get some more work done. I'm following the method that others have done. (Other blog links on Resources tab)
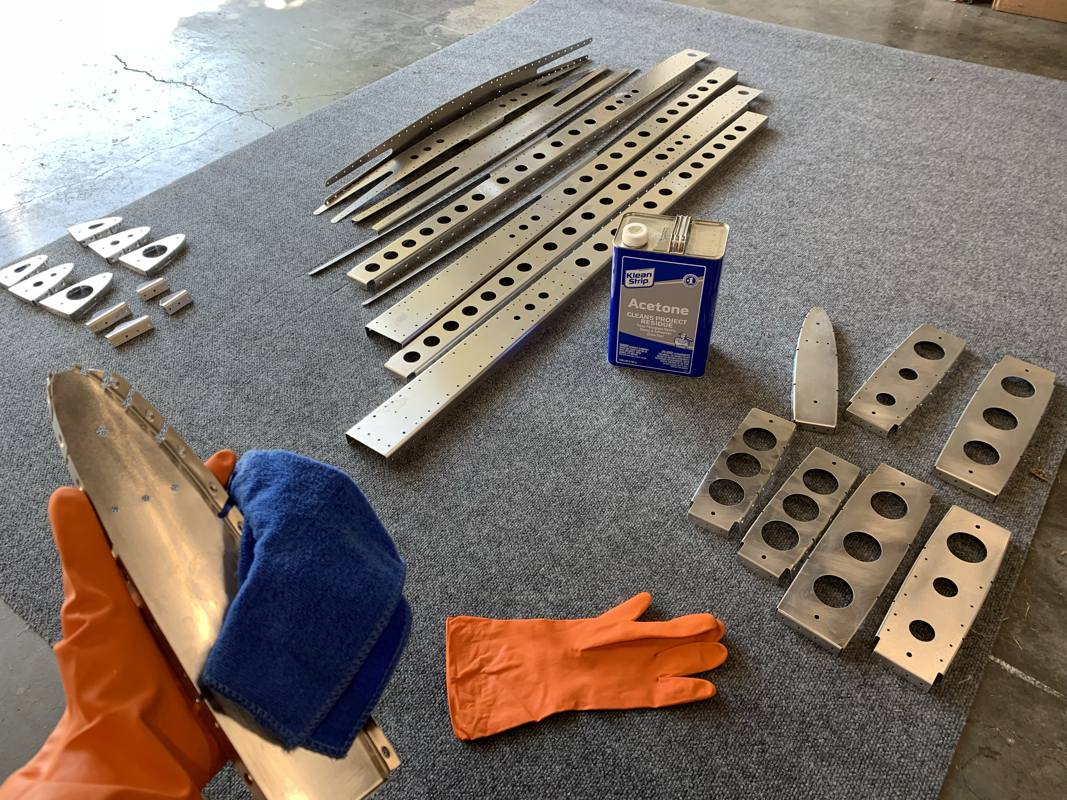
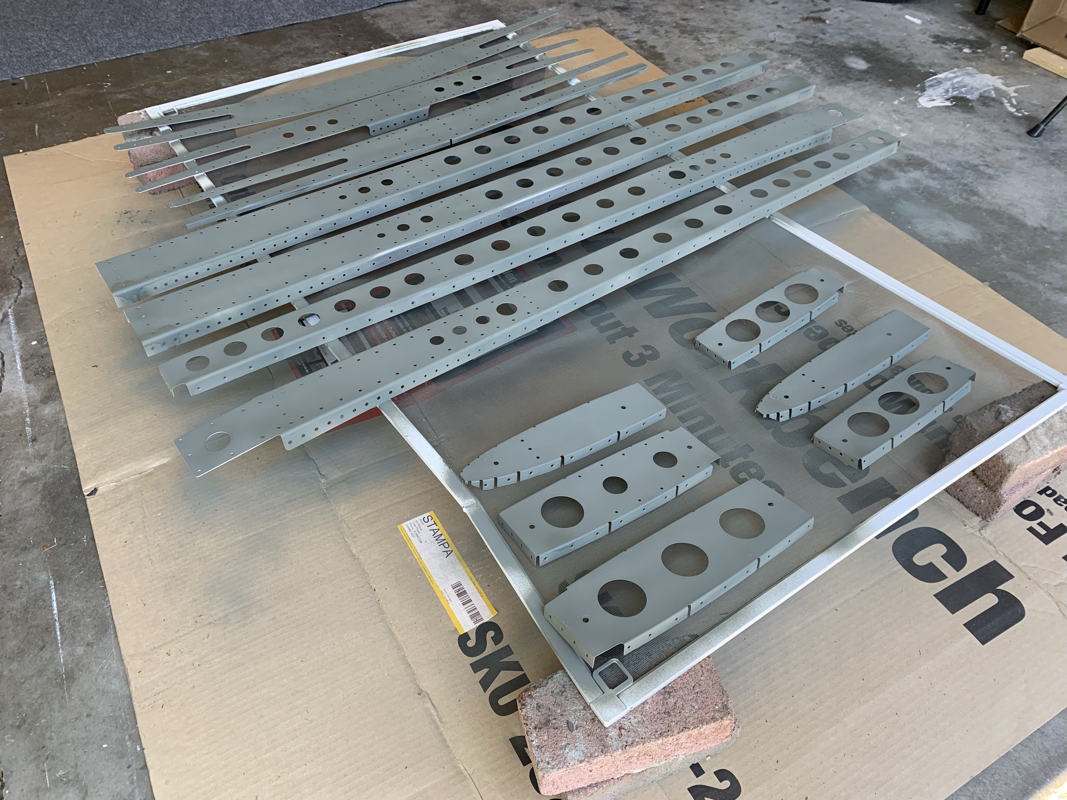
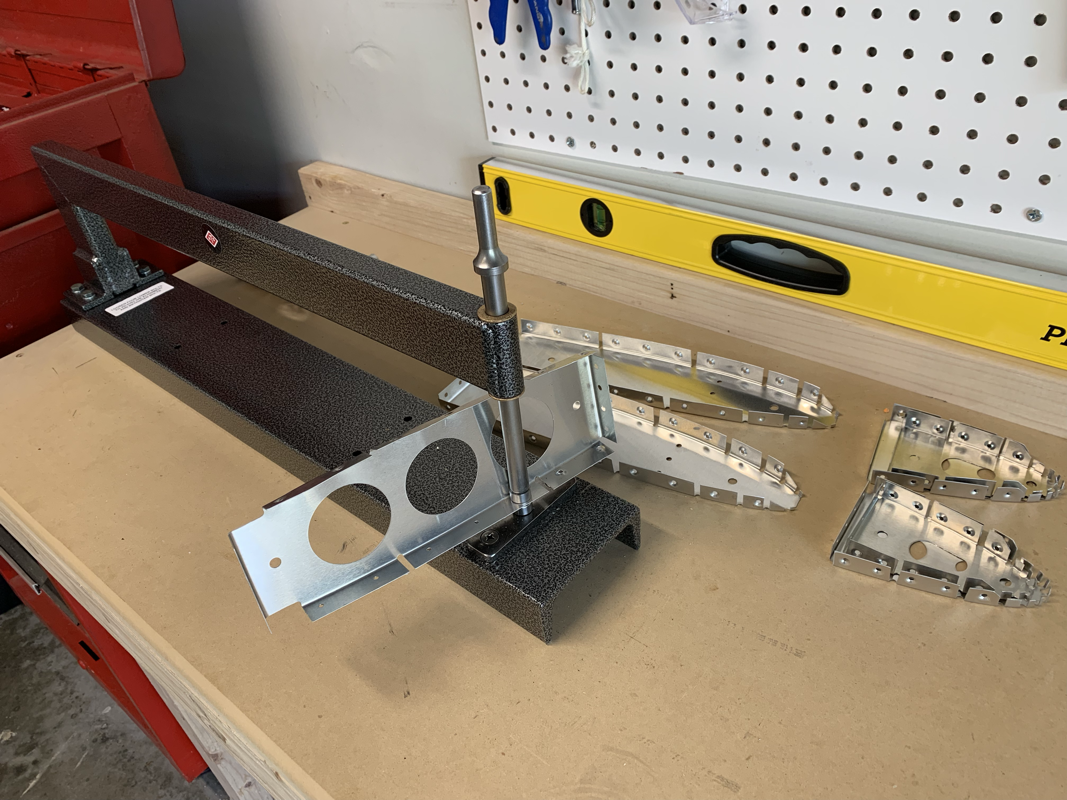
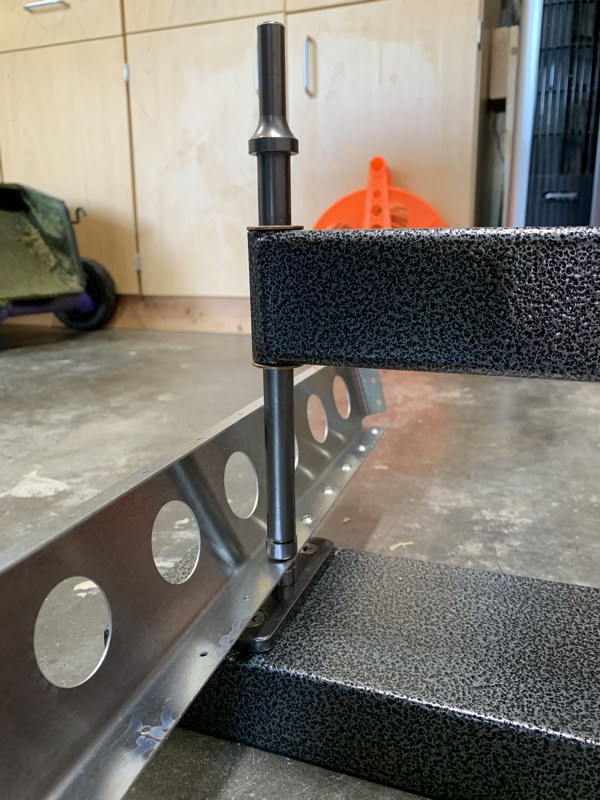
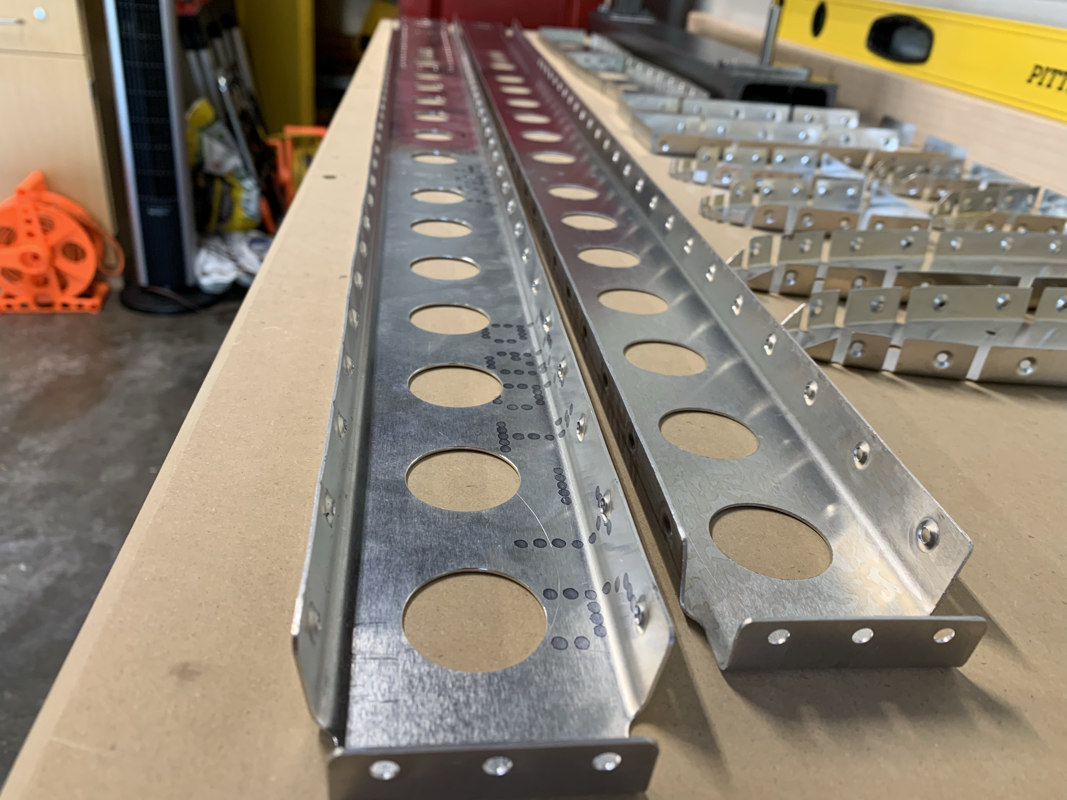
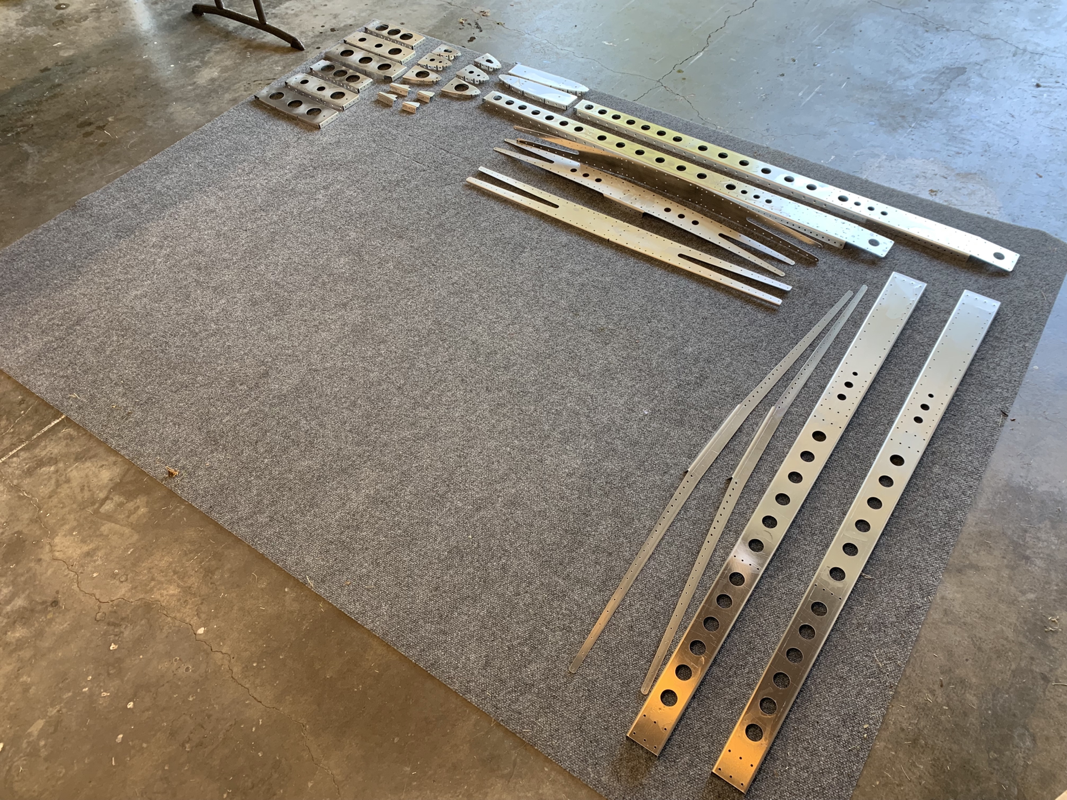
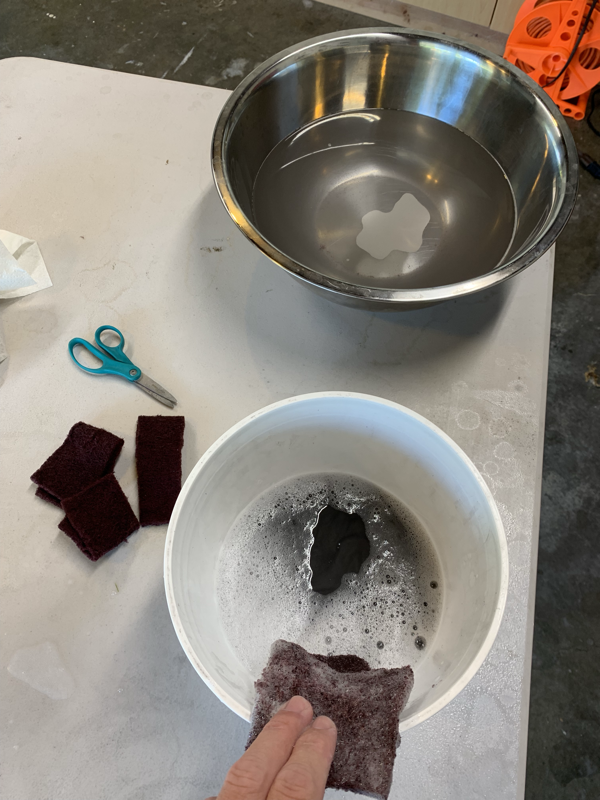
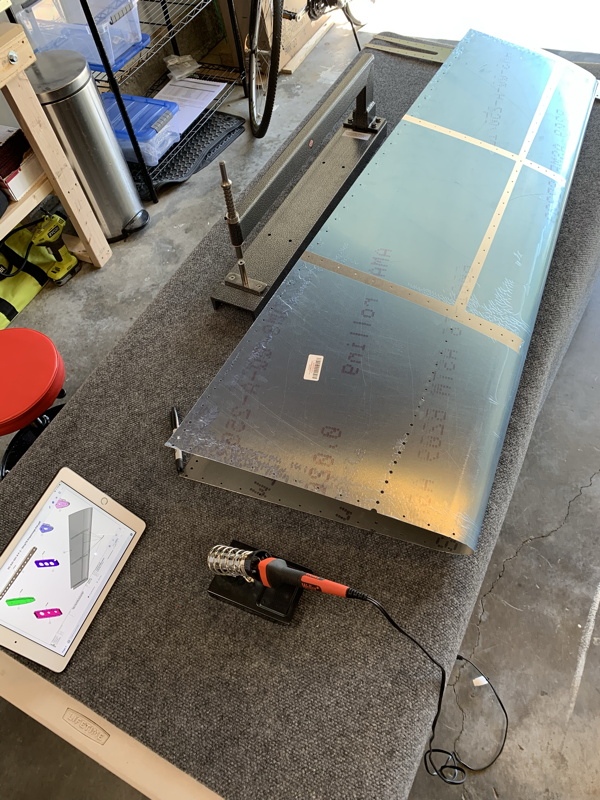
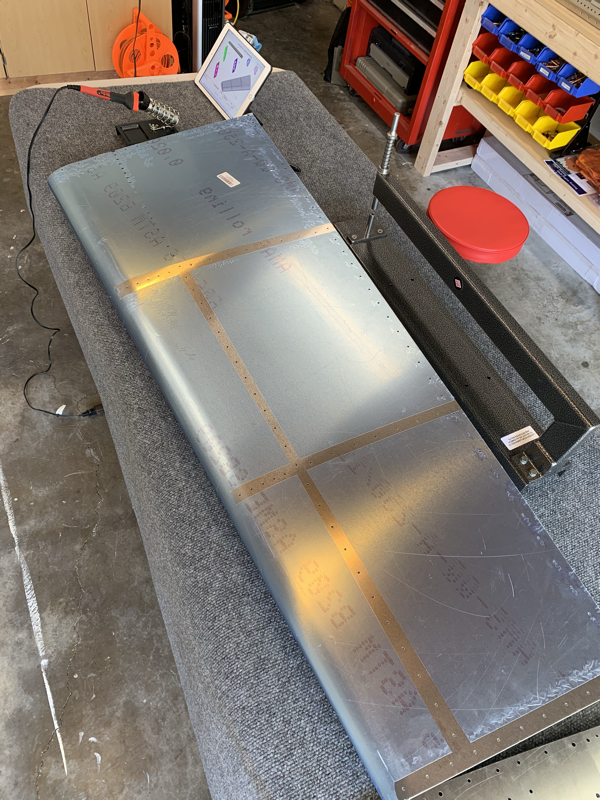
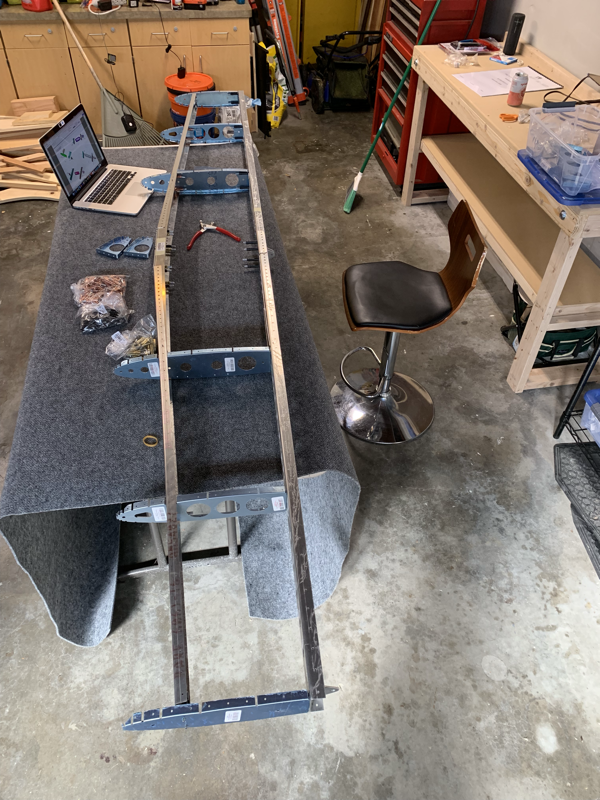
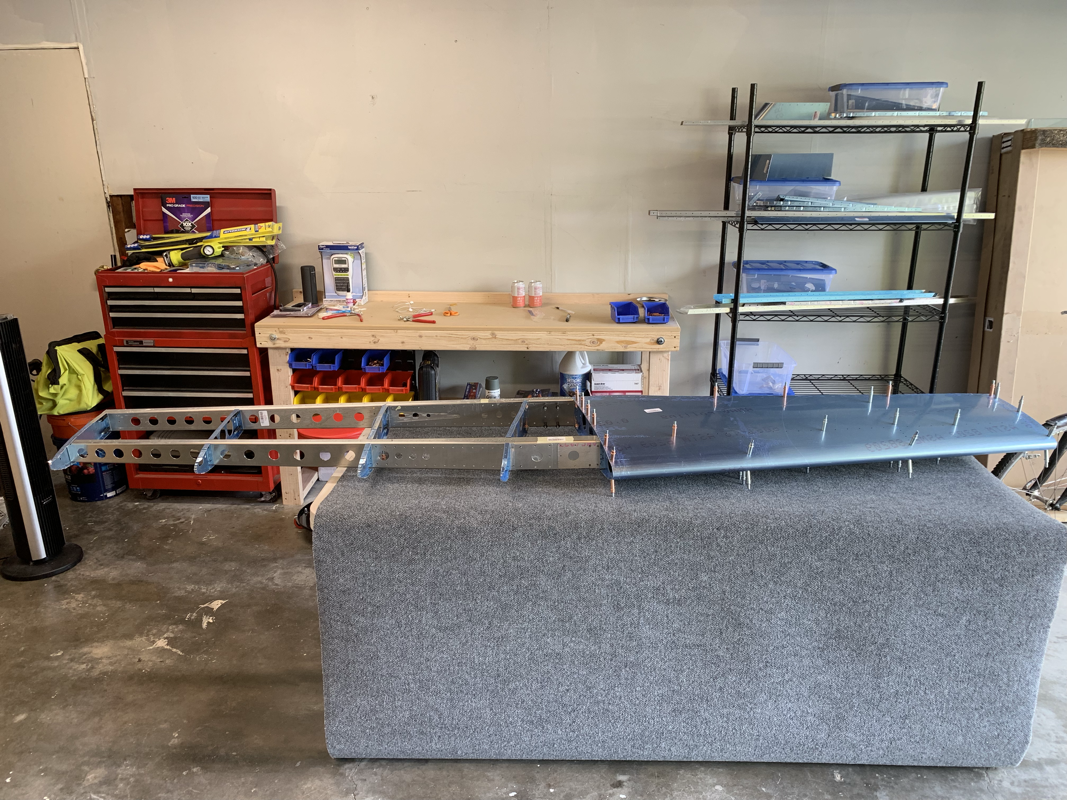
I was able to get as far as getting a single primer coat on before I had to do some more food prep and, well, my can of primer ran out. Definitely need to grab a few more tomorrow and looking to finish up the Horizontal Stabilizer this weekend. Also, I put an order in for the RAMI AV-12 VOR antenna, so that with the position light I already purchased, I should be good to go for the empennage electronics perspective. Now that I have the C-Frame, I started dimpling the horizontal stabilizer. Overall, it was a pretty quick exercise to dimple the ribs and spar, only a half hour. However, the spar is pretty thick, so it took a few extra wacks! I wasn’t sure about the quality, so I had my helper check my work and he gave me the thumbs up! Next up is dimpling the HS skin. Will get to that tomorrow! Well that was a task.. using some Simple Green 1:1 mix with water with a red Scotch-Brite scuffing pad took quite a while! I focused mainly on the areas that would be a ‘mating’ surface and that still took close to 1.5 hrs. The water sure did get dirty as you’ll see.. the aluminum ‘looked’ clean but I’m sure it goes through plenty of machining before it gets to the final product. As I saw on another blog, I removed the blue coating on the skins by using a heat iron. Simply run it across the coating and it will peel off! Now no need to worry about extra scratches on the skin until I’m ready to finish. Next up is making absolutely sure there’s no grease on the parts by using Acetone prior to priming. Maybe I can get the wife to help me next time for an extra set of hands? 🤔 I spent some time this weekend thoroughly reading through the manual and decided to give the horizontal stabilizer a shot. I wanted to make sure all the parts fit and see where I might need to do any match drilling. To my surprise, it came together rather quickly! For someone who hasn't done this before, reading the instructions the first time, I put together the HS in about 2 hours from start to finish. Putting on the skins, I identified only a few areas where it might get tricky, but I don't think I'll need to do any match drilling. Most of the holes lined up perfectly! Now that I have a good idea of what needs to be done, I'll be disassembling and getting the parts ready for dimpling and priming. I ordered a C-frame dimpler and should arrive next week. I also set up an appointment with a local EAA Technical Counselor to get acquainted and start the process. |
Archives
September 2021
Categories
All
|


 RSS Feed
