|
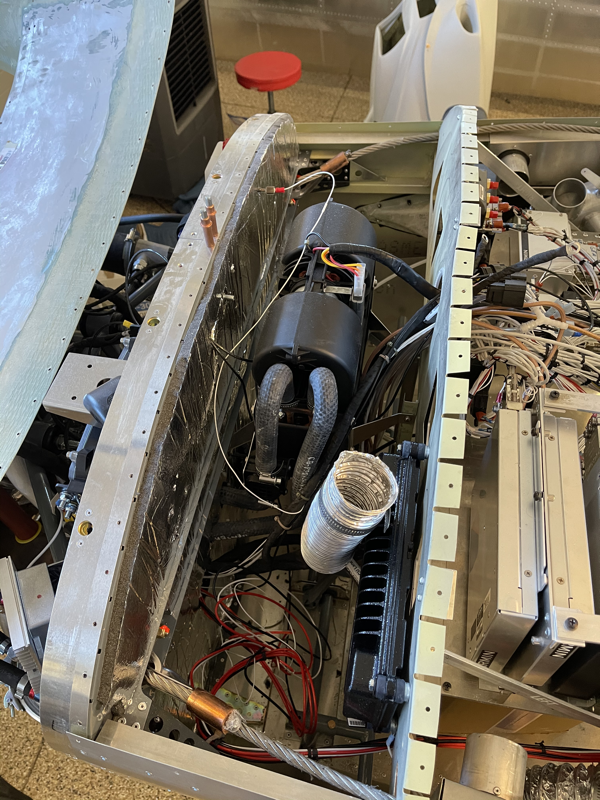
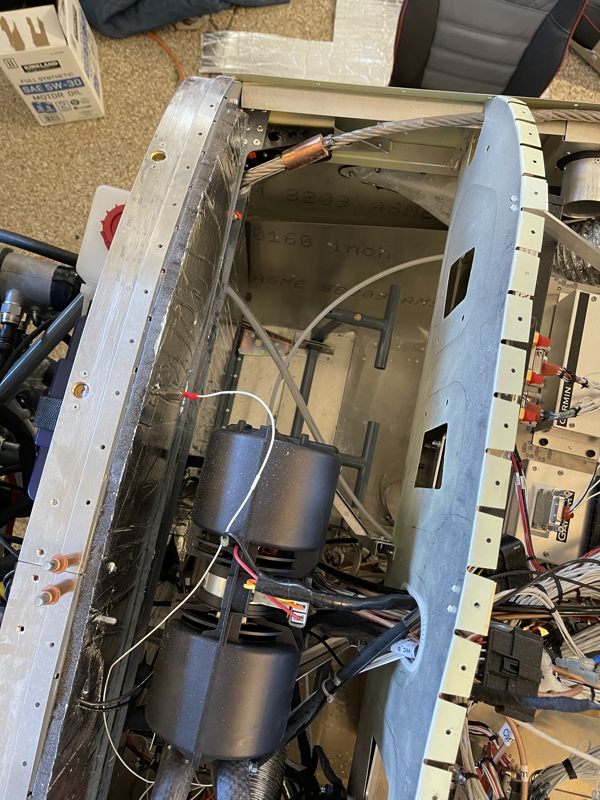
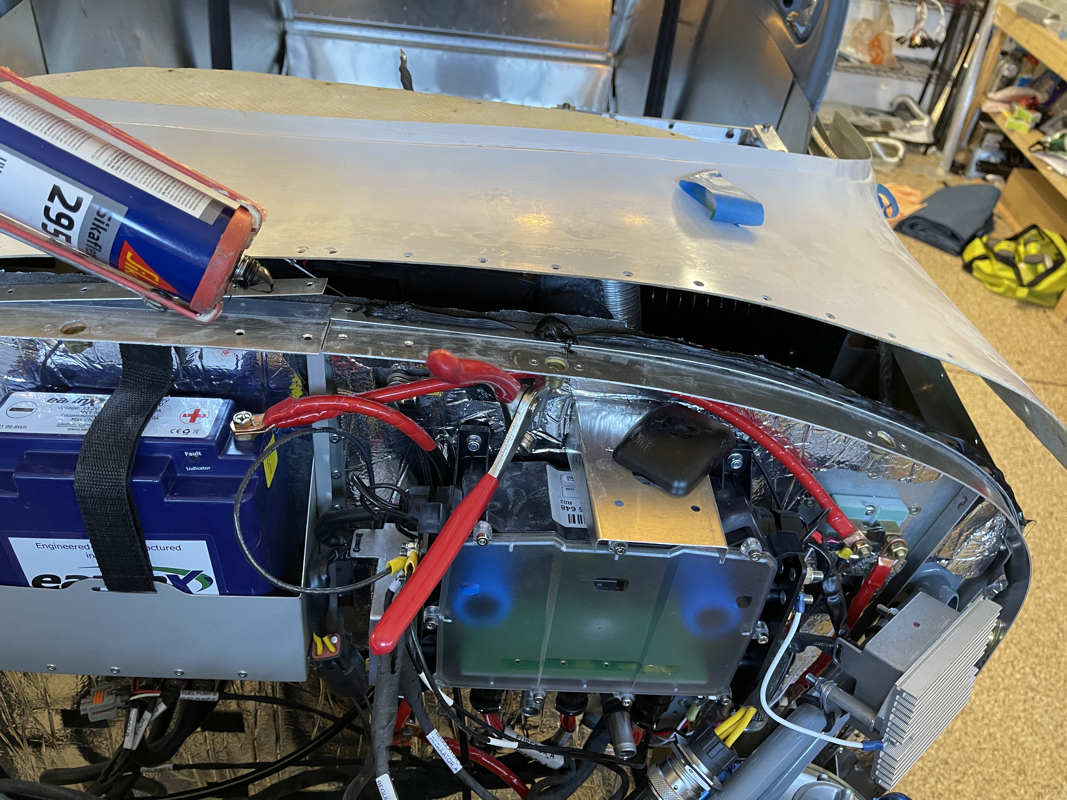
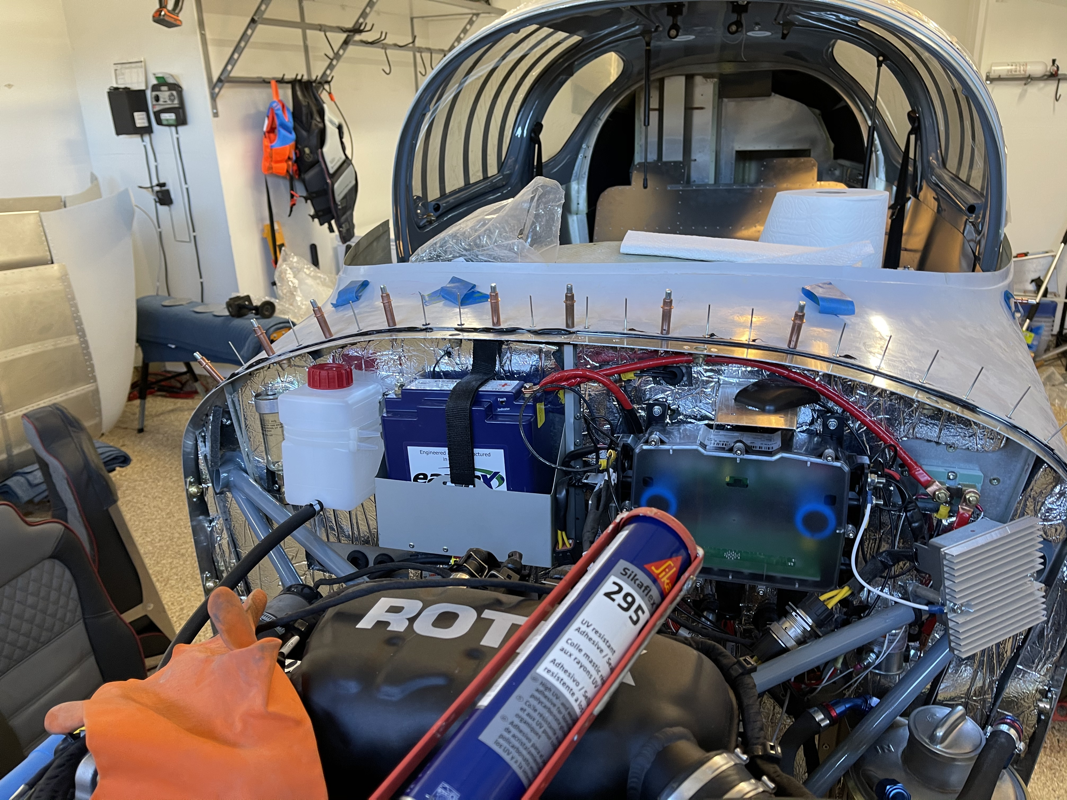
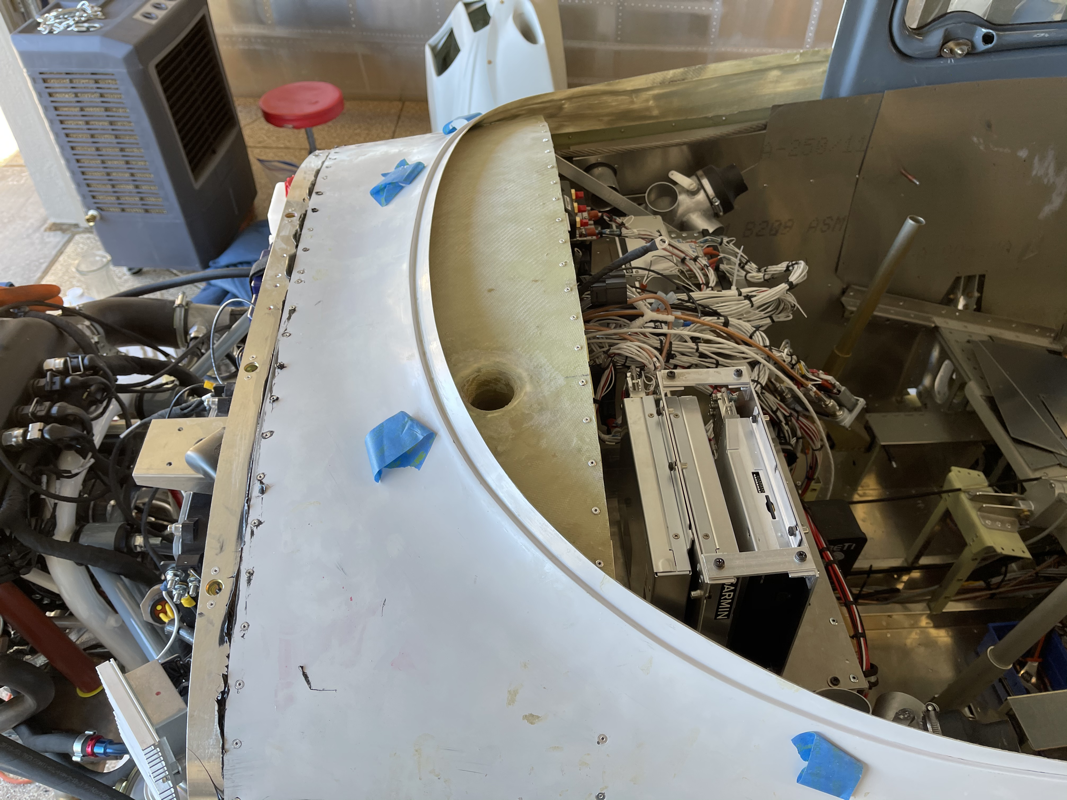
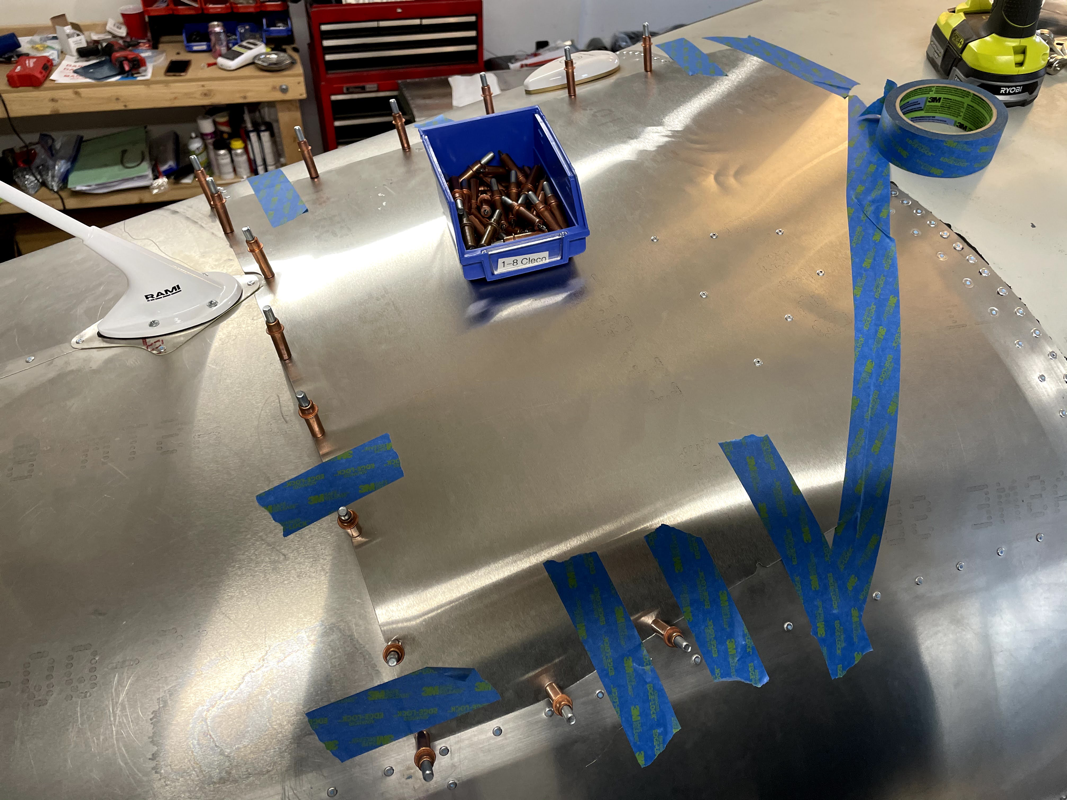
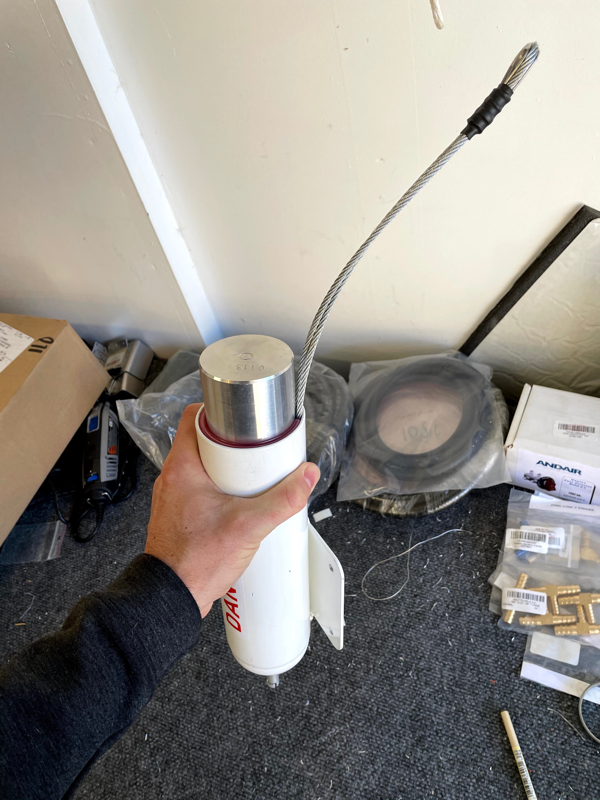
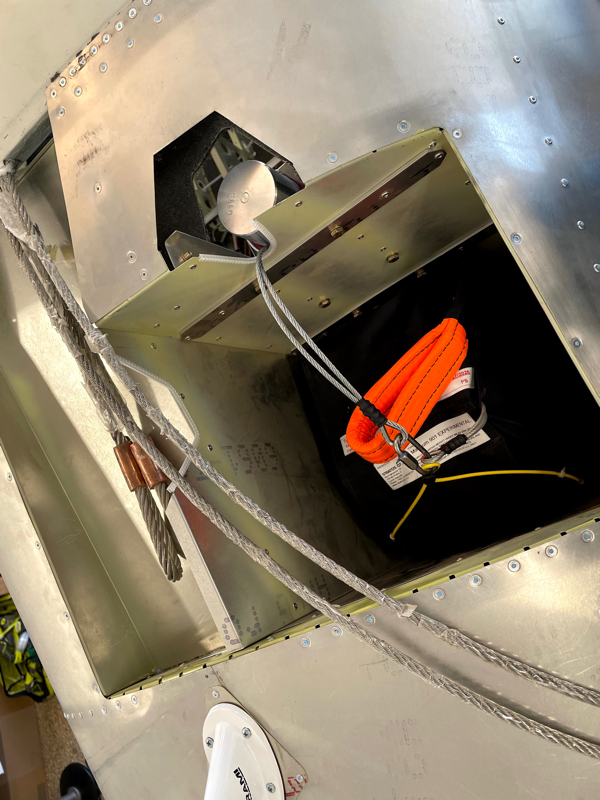
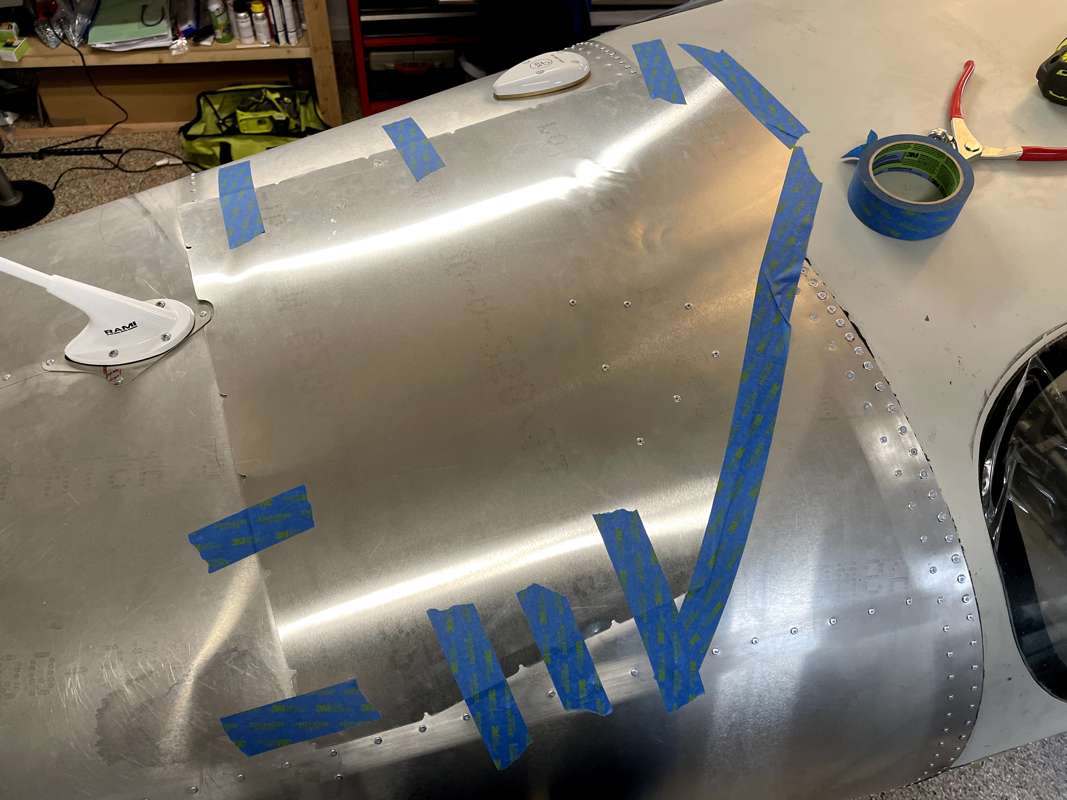
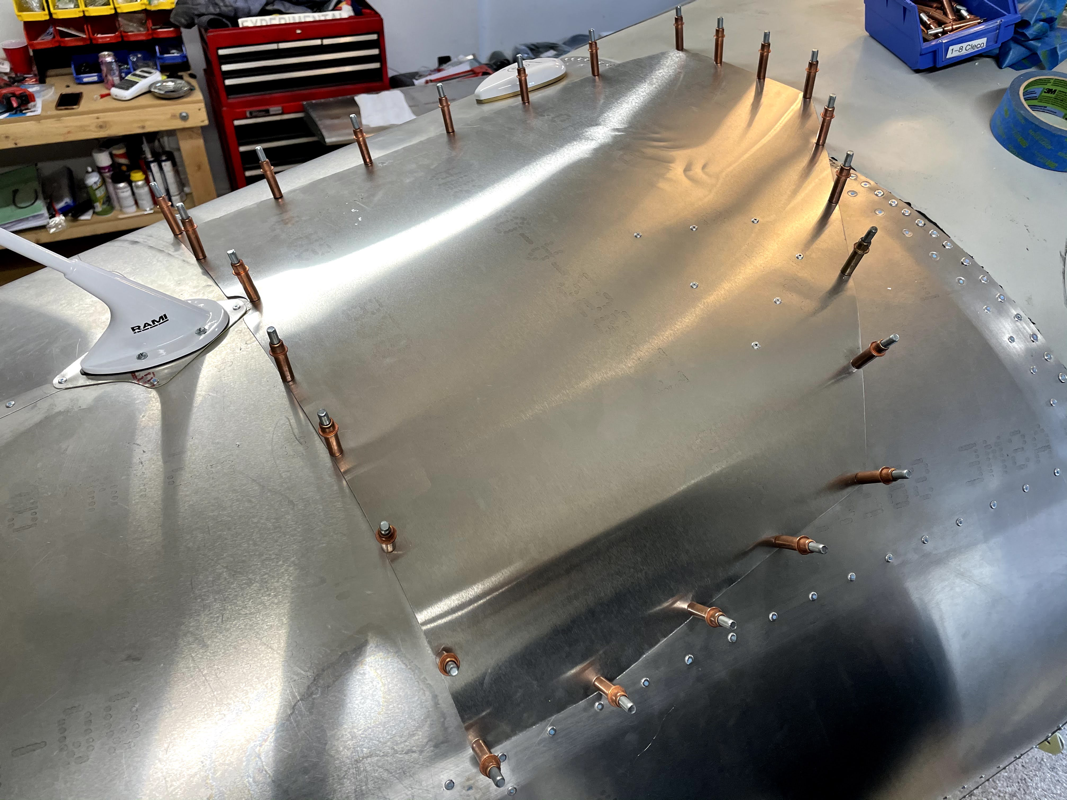
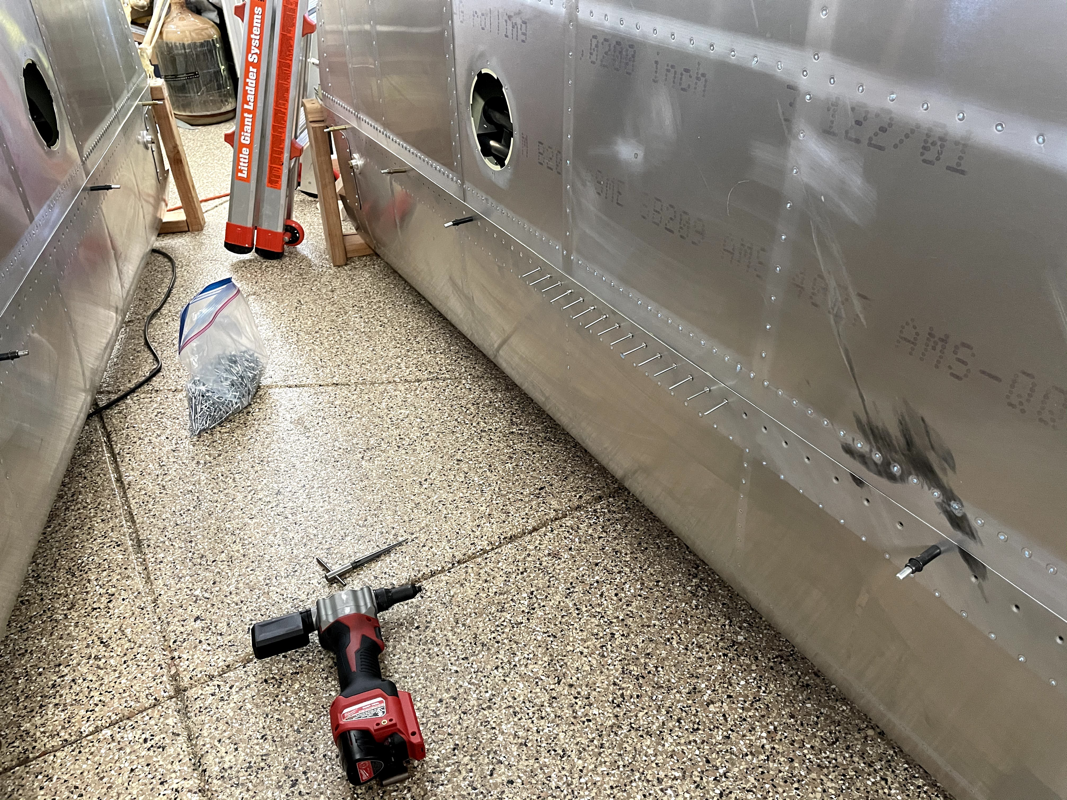
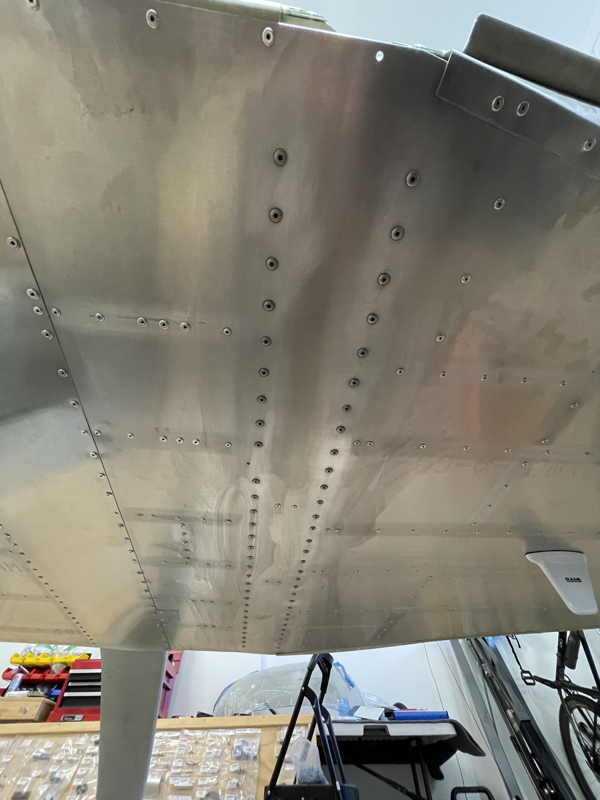
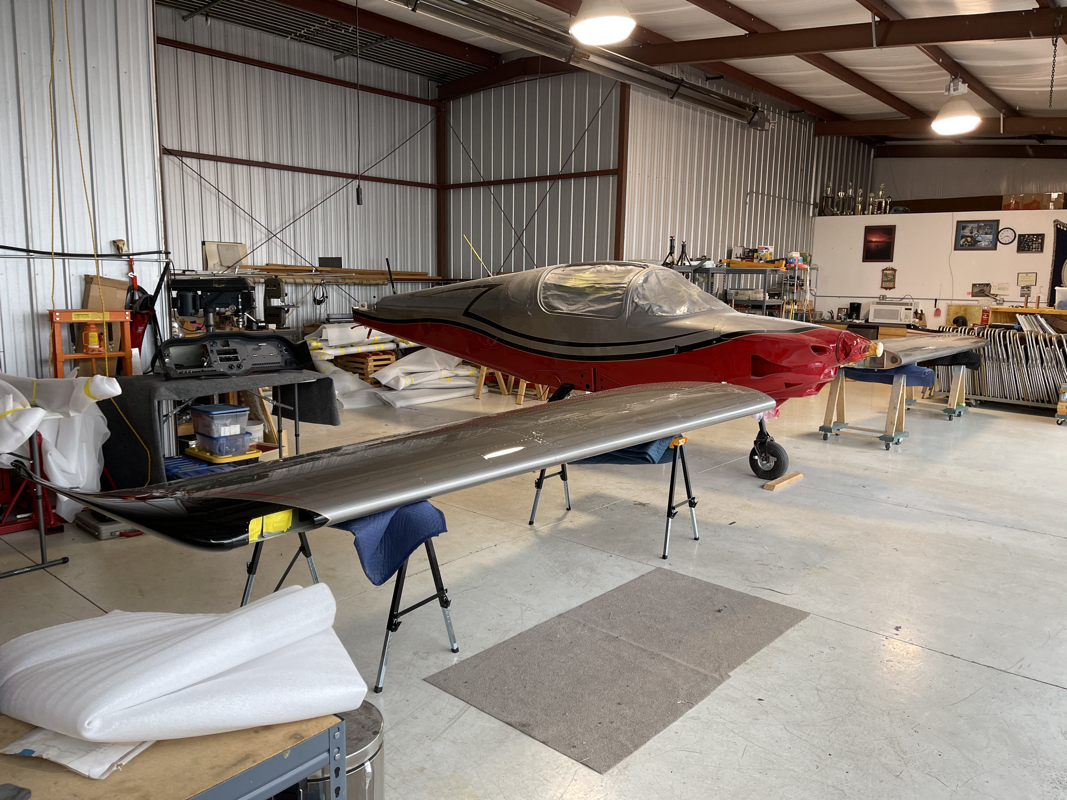
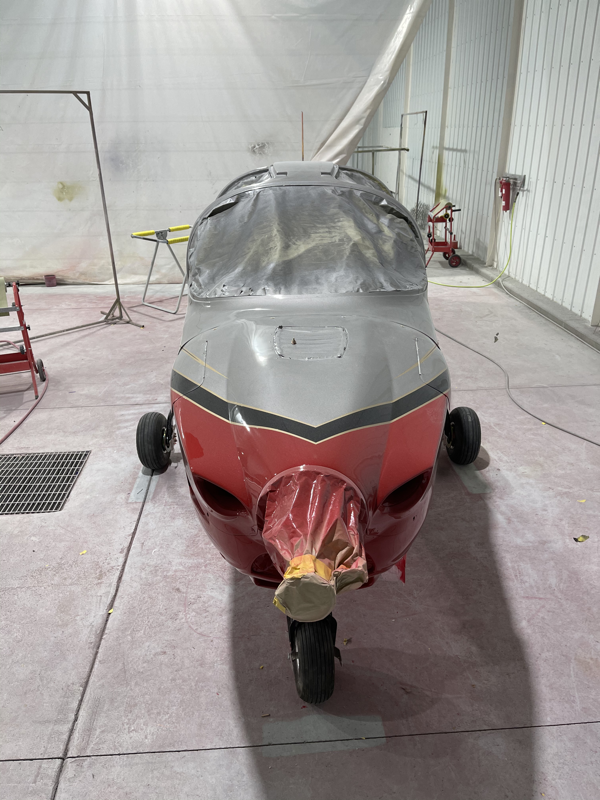
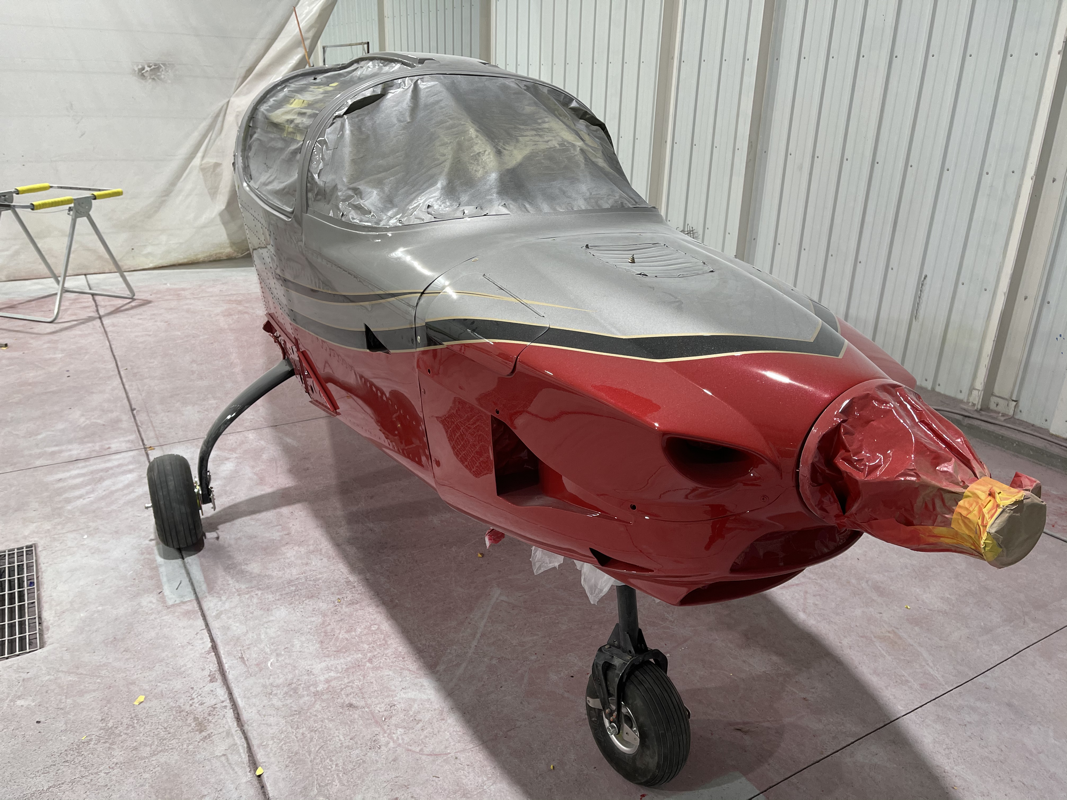
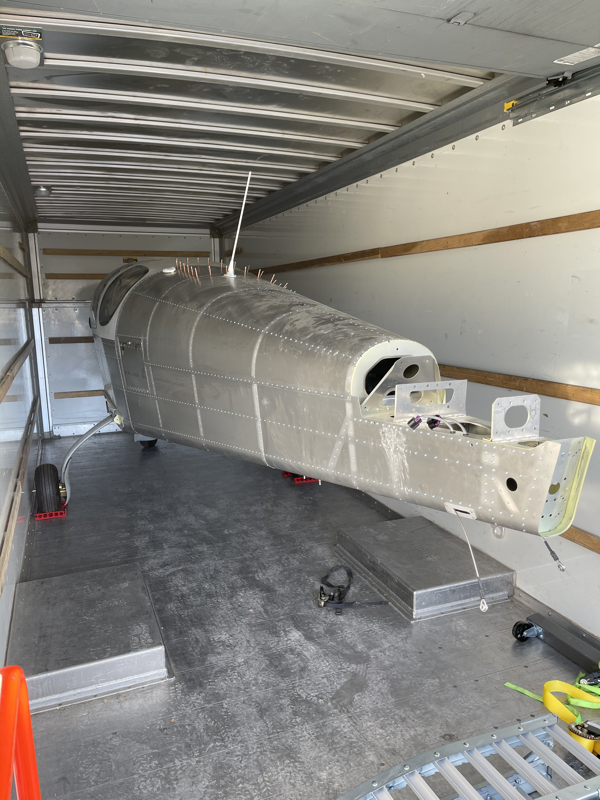
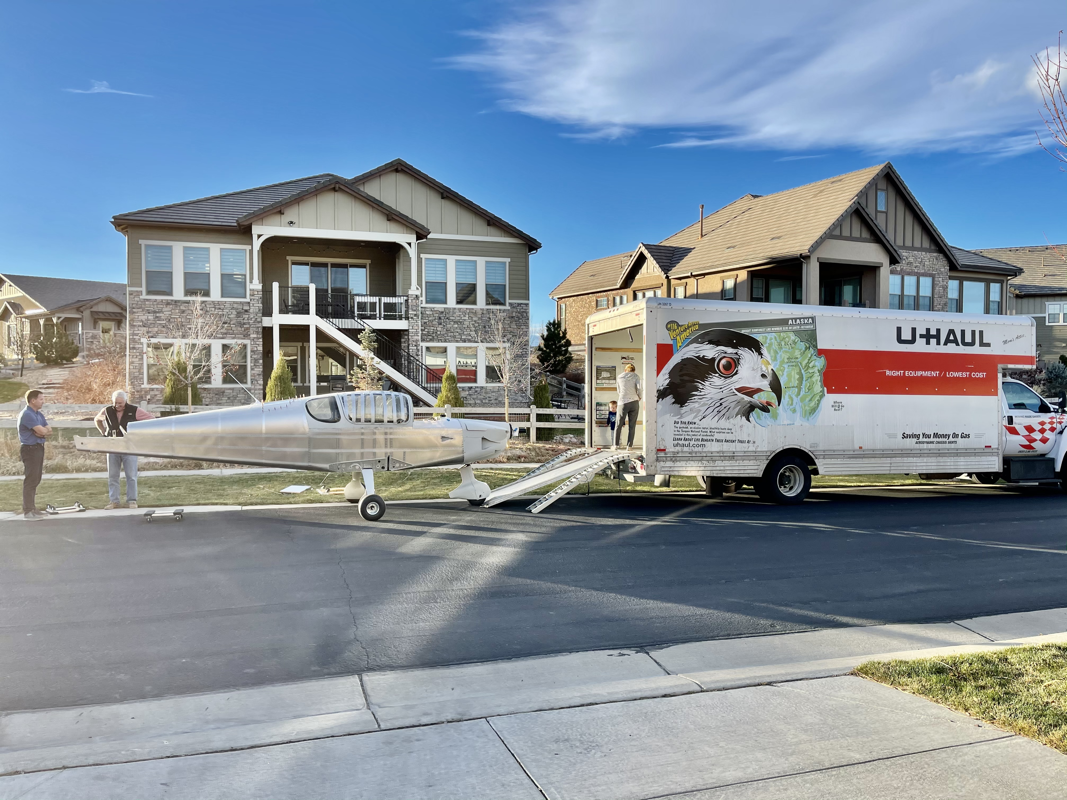
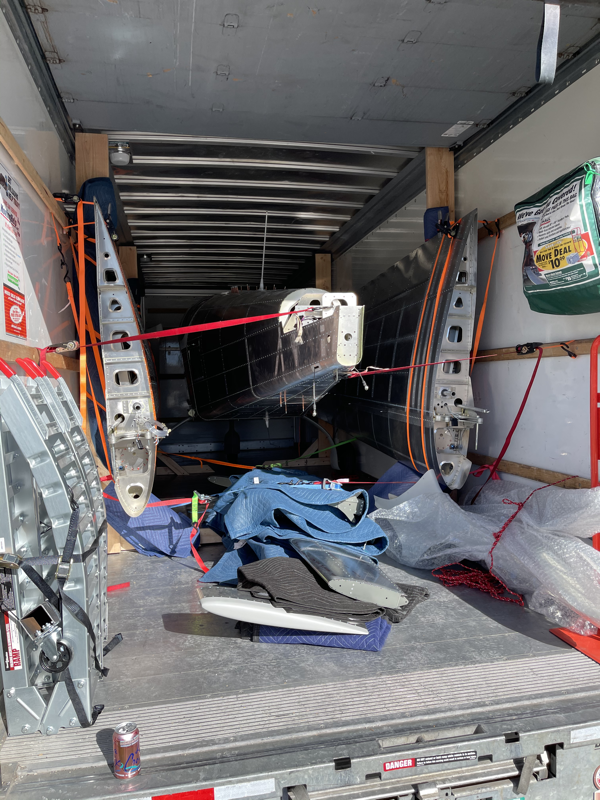
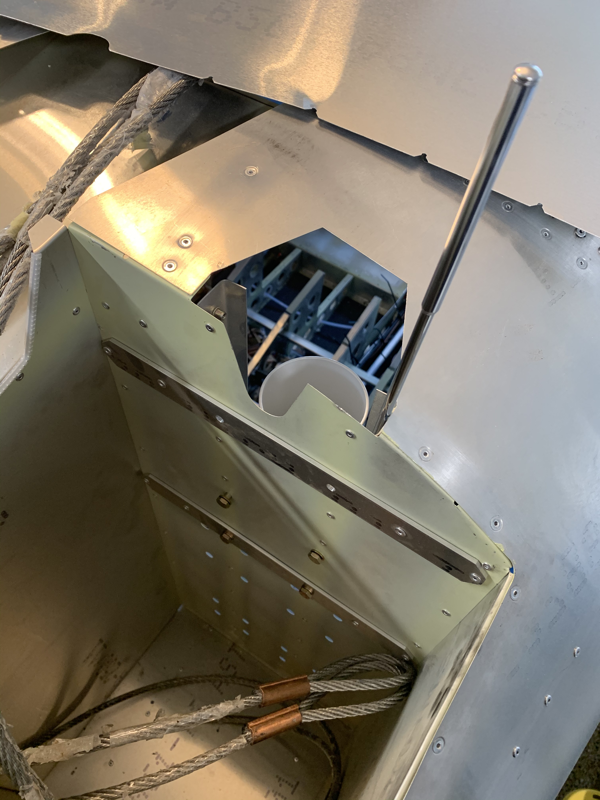
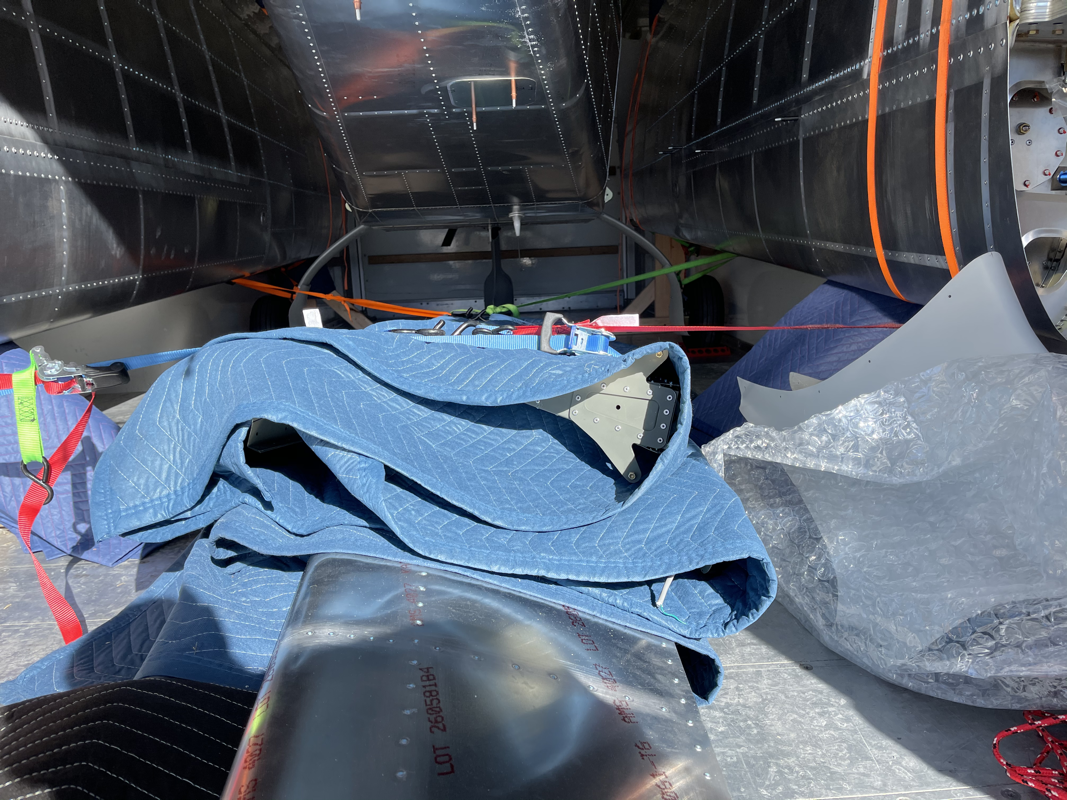
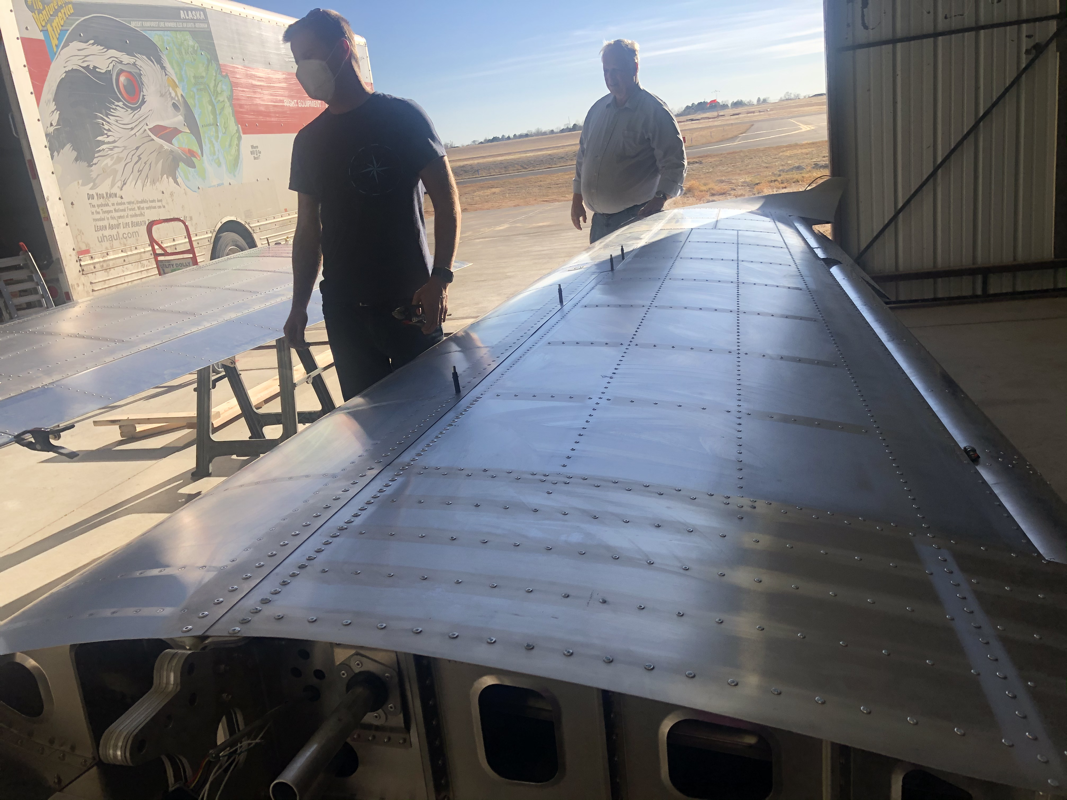
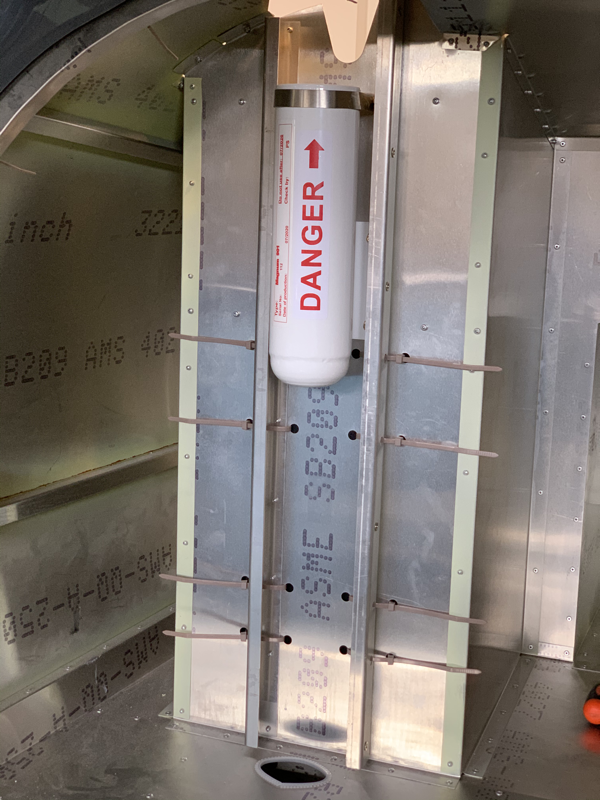
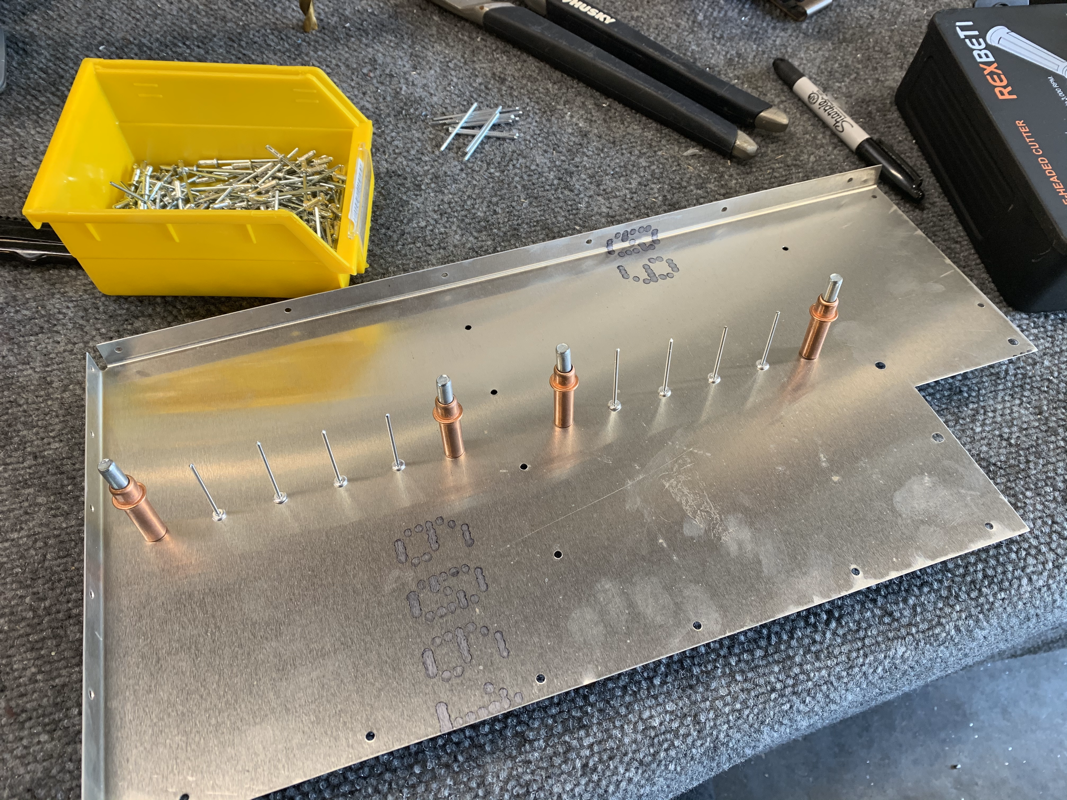
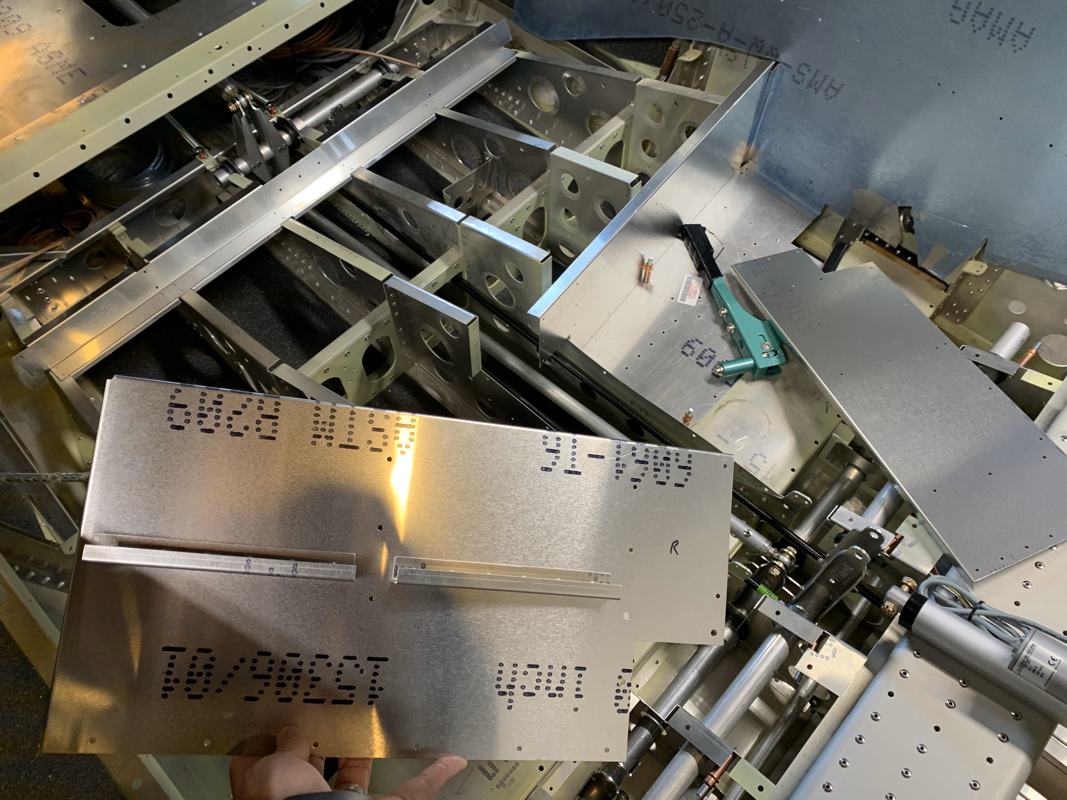
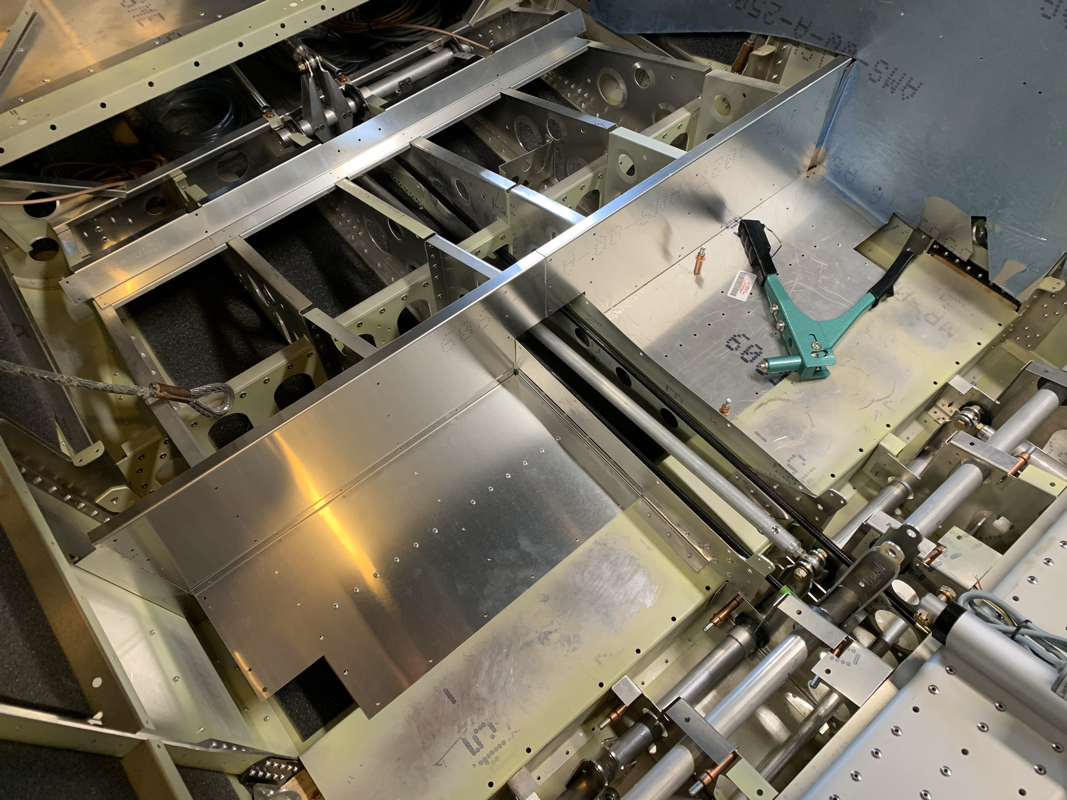
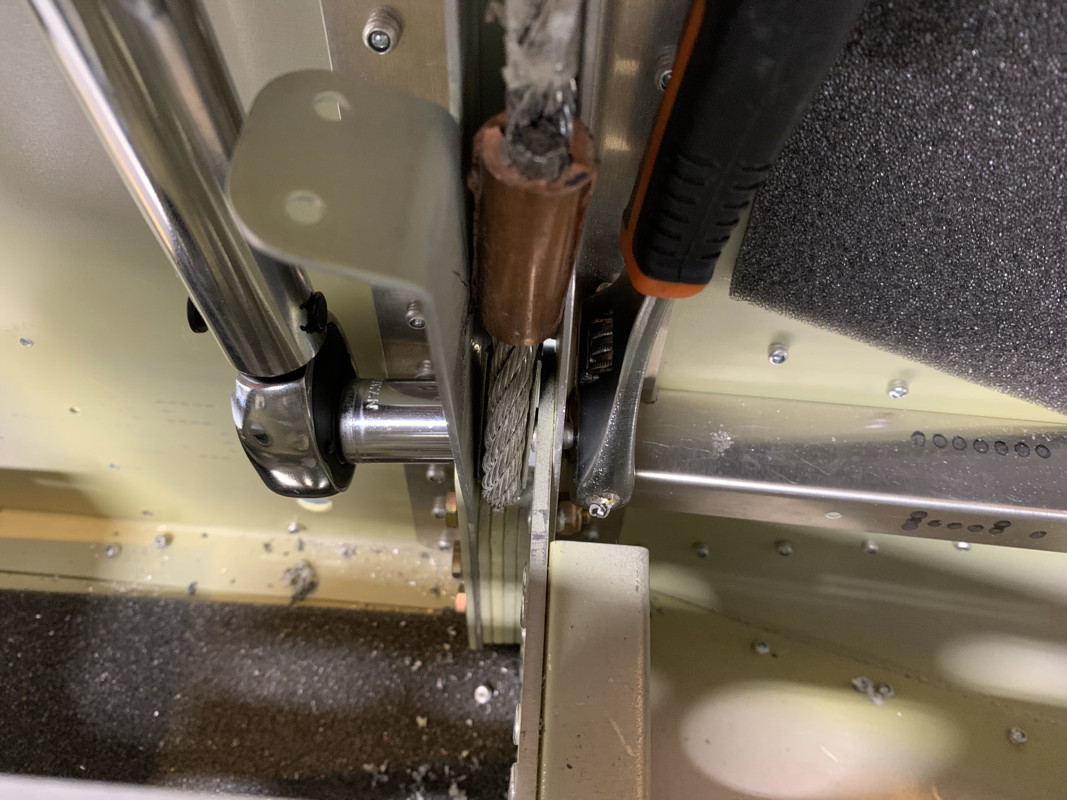
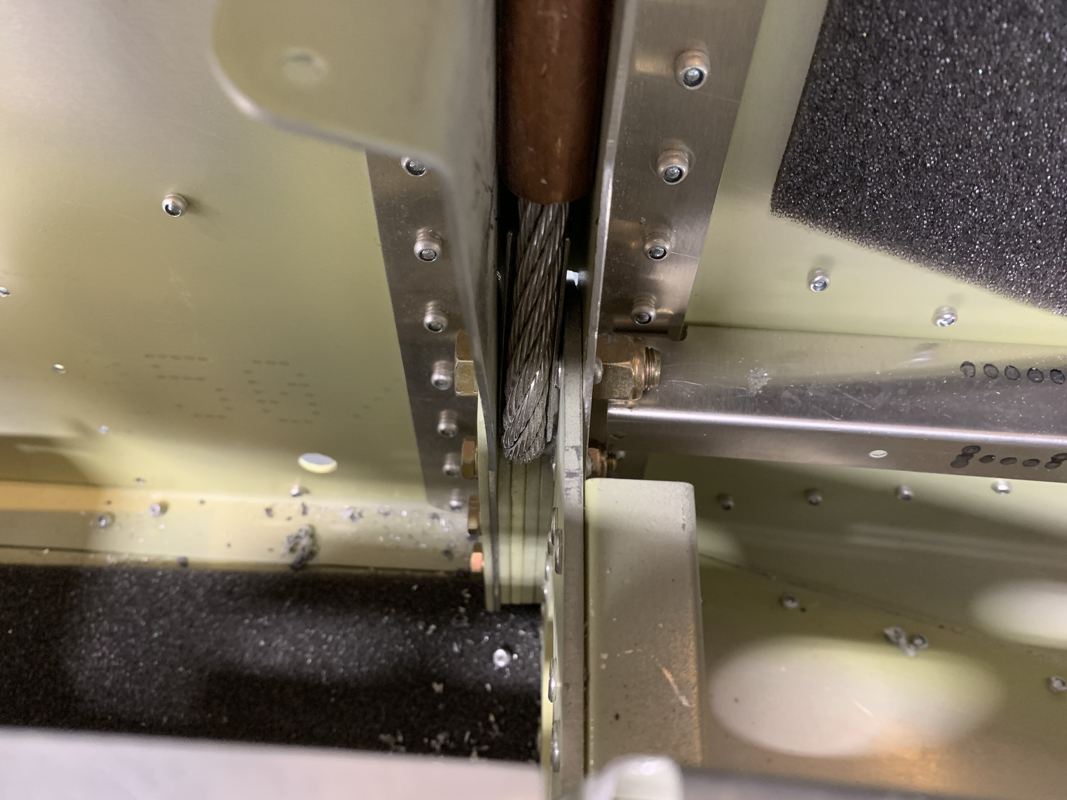
In order to fit the windshield, I need to get the front fuselage cover on. Since it's just held on by rivets, I could imagine some water getting pushed through this section, so I decided to add sikaflex for a solid seal. It's messy, but worth it. I did have some trouble fitting the parachute rocket all the way in since the cables that connect to the bottom of the rocket push on the housing. The trigger doesn't line up through the hole on the bottom. I gave up trying to do it while attached to the plane, so I took off the rocket housing and was able to fit the rocket easier. Scary nonetheless handling a live rocket. Glad that's done! I lined up the parachute blast skin and drilled the holes into the fuselage and canopy. The factory recommends that you use some PVA release agent and apply some clear silicone underneath the skin to prevent water seepage. Just doing some final riveting on the wings, attaching the fuel tanks since they passed the pressure test. I was going to do the Service Bulletin 14 - replacing the aluminum rivets with stainless steel ones on the spar carry through, but it seems that the factory already did that for me in my quickbuild. Note the darker rivets with rounded edges compared to the same size rivets nearby. I decided it was time to risk my life and mess with a live rocket... I read the instructions provided several times before I took the rocket out of the protective cage and inventoried what I needed. It was pretty simple to put together actually, you just need to install the firing pins and the trigger, and attach the cable that pulls the chute. However, installing the rocket into the canister proved to be quite difficult. The cable rings at the bottom protrude enough that it's hard to fit it in the white canister, so had to squeeze them a bit. However, when the trigger reached the bottom, the hole didn't align with it since the cables were 'pushing' the rocket to one side of the canister. I'm not going to try to force it in it's current state since it's a bit awkward to get to. I thought I was saving myself time by mounting the canister to the aircraft, but really it's just not enough clearance to work with. I'll be unmounting the canister and reattempting assembly on the table. It was exciting to get the rocket & parachute! Installation was pretty straight forward. The key for dropping the parachute in the box is to put a strap around it (temporarily) to be able to place it in there and lift it out later if needed. You definitely DO NOT want to pull on any straps from the parachute itself, otherwise it's an expensive repack. I installed the rocket holder with the correct AN bolts, this is a bit of a pain since your fingers cant reach in between the rocket and where you put the bolt through, so I used a magnet pen to hold the washer and nut in place. After that was done, I used zip ties to secure the parachute bag to the frame. The holes lined up perfectly and I used a flathead screw driver to help pull the other end of the zip tie out. I visually inspected to make sure the zip ties went through the bag straps. I did route the cable through the airframe and secure it, but will hold off on installing the rocket until I read up a bit more on what triggers it. I definitely do not want me to try to install it and that thing go off and put a hole in my house. ;-) I am also waiting on the carabiner to connect the rocket cables to the parachute. Seems that they missed that item when packing my components. Until then.. Just a quick update. Installed the rear floor support channels. The skins bend in place if you press on them, so they definitely need them. I also secured the rear parachute cable to the airframe with the AN6 bolt and torqued to spec. |
Archives
September 2021
Categories
All
|


 RSS Feed
