|
This week I focused on fixing things I made mistakes on or that were quick and easy.
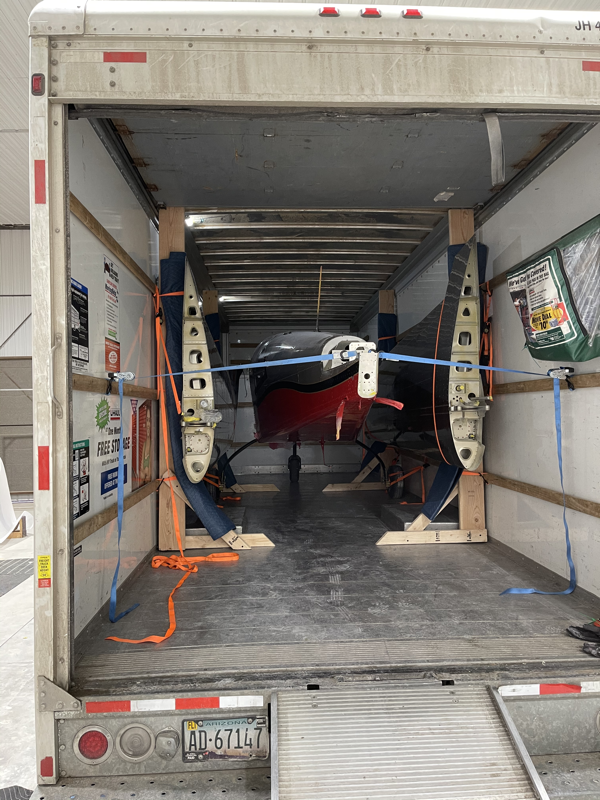
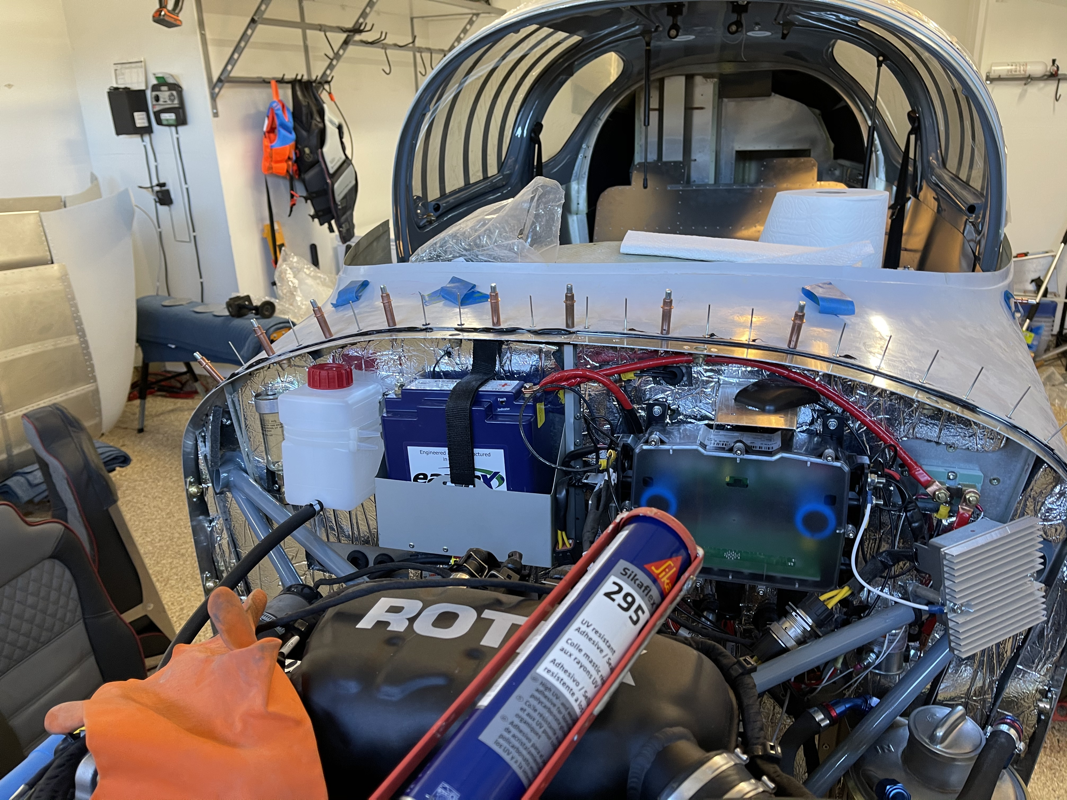
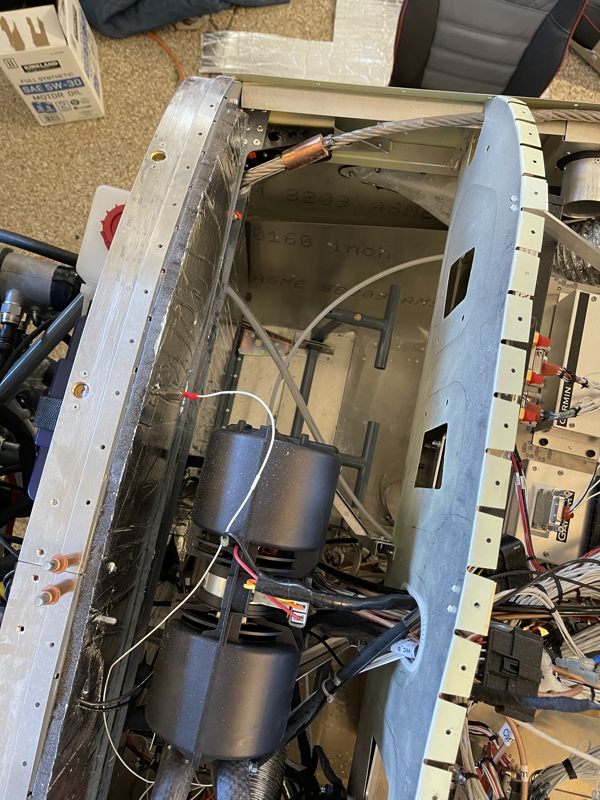
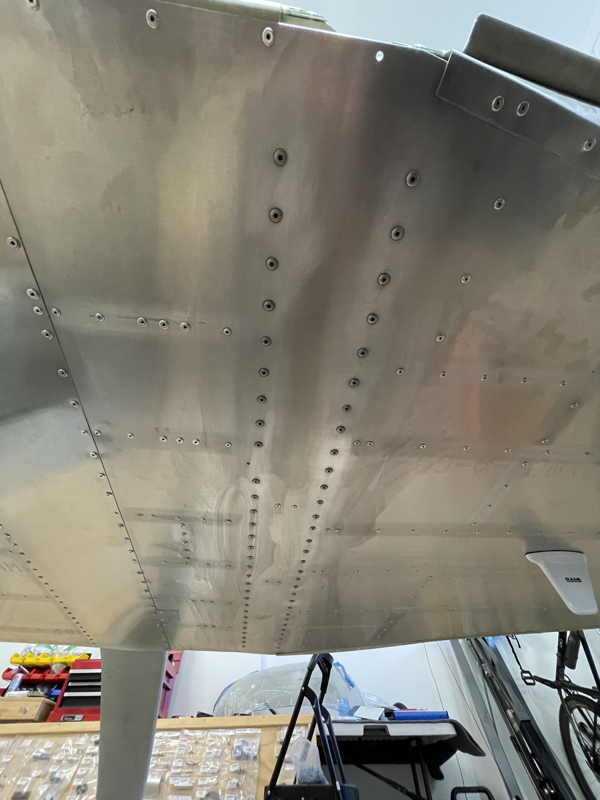
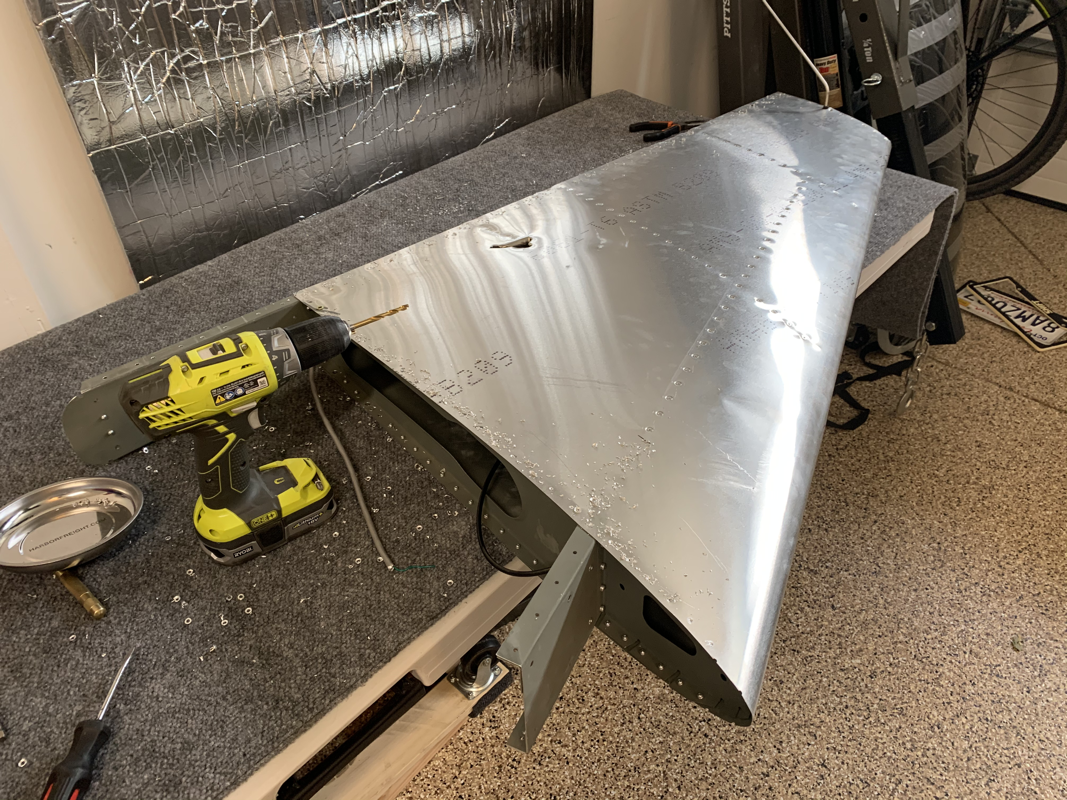
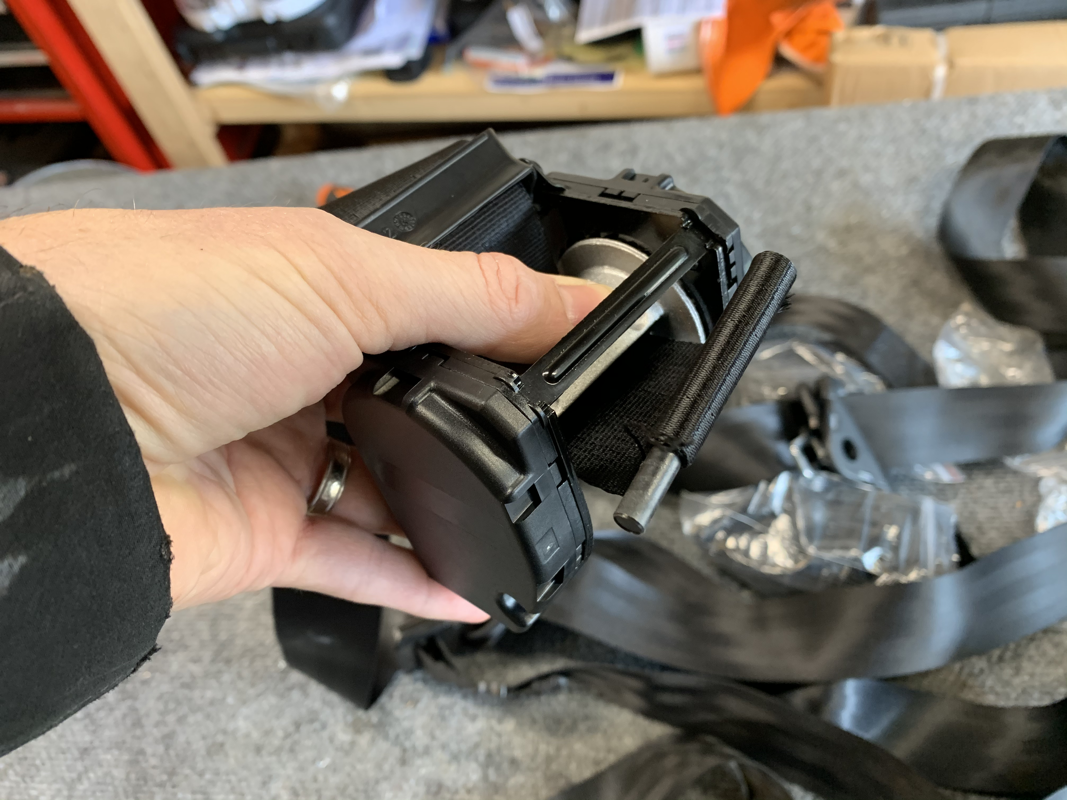
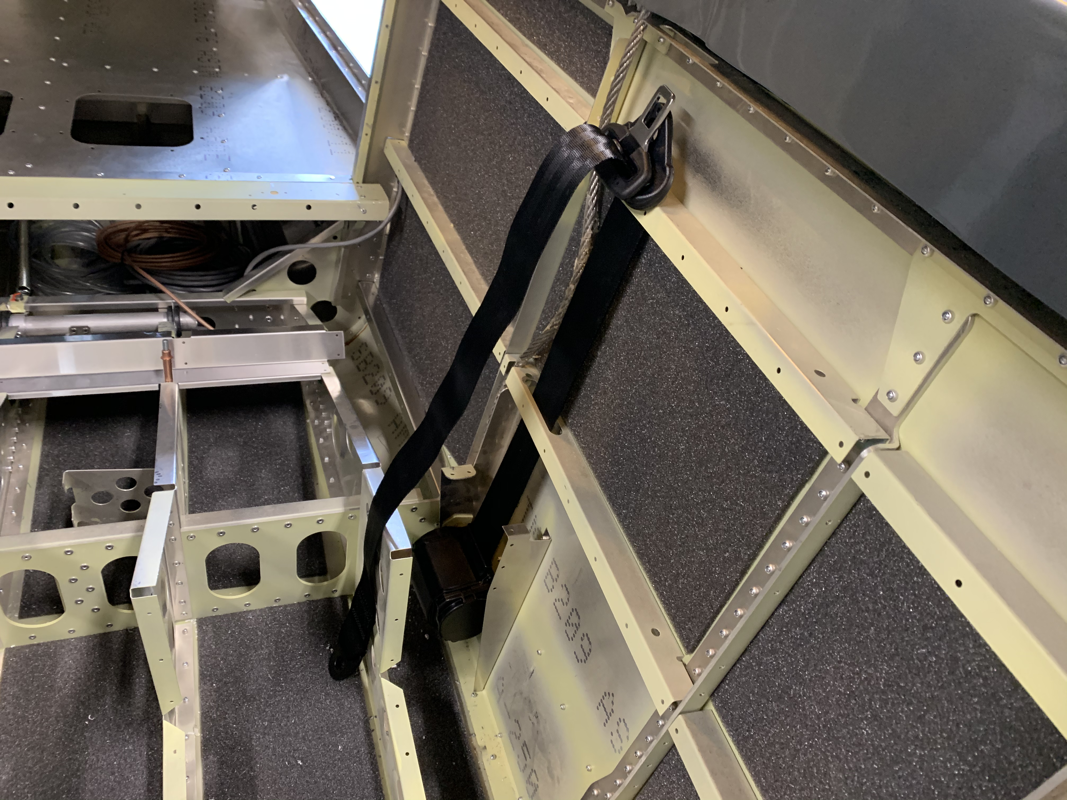
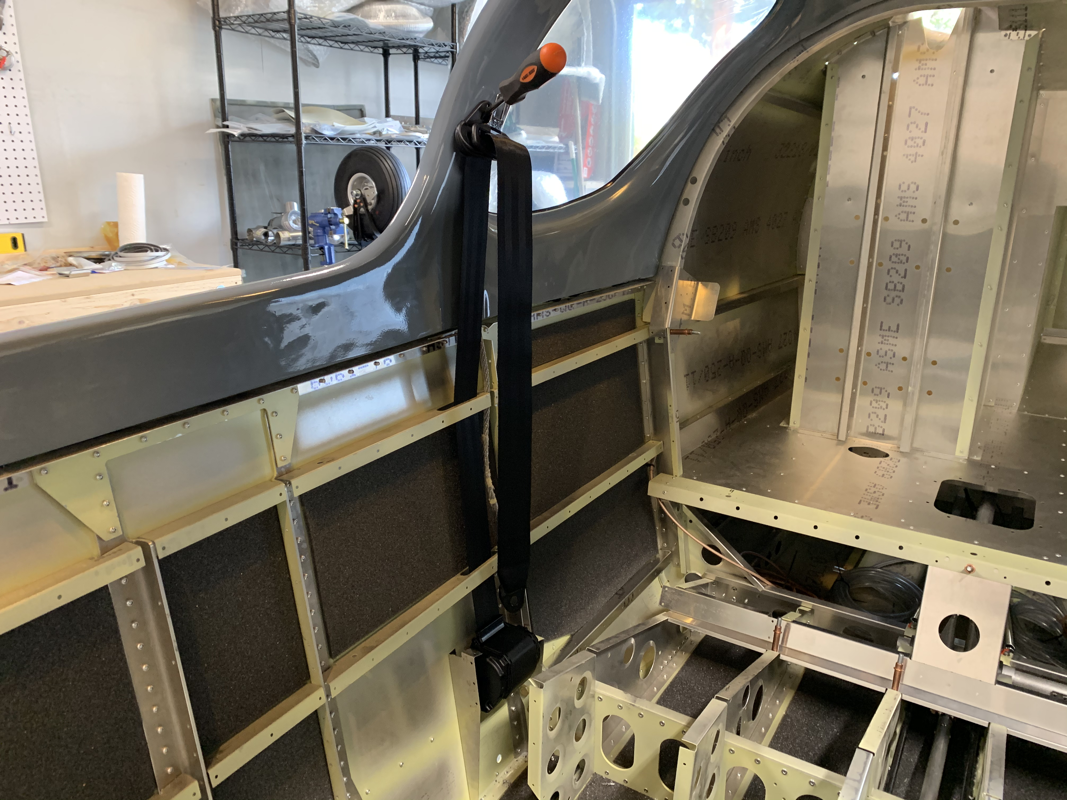
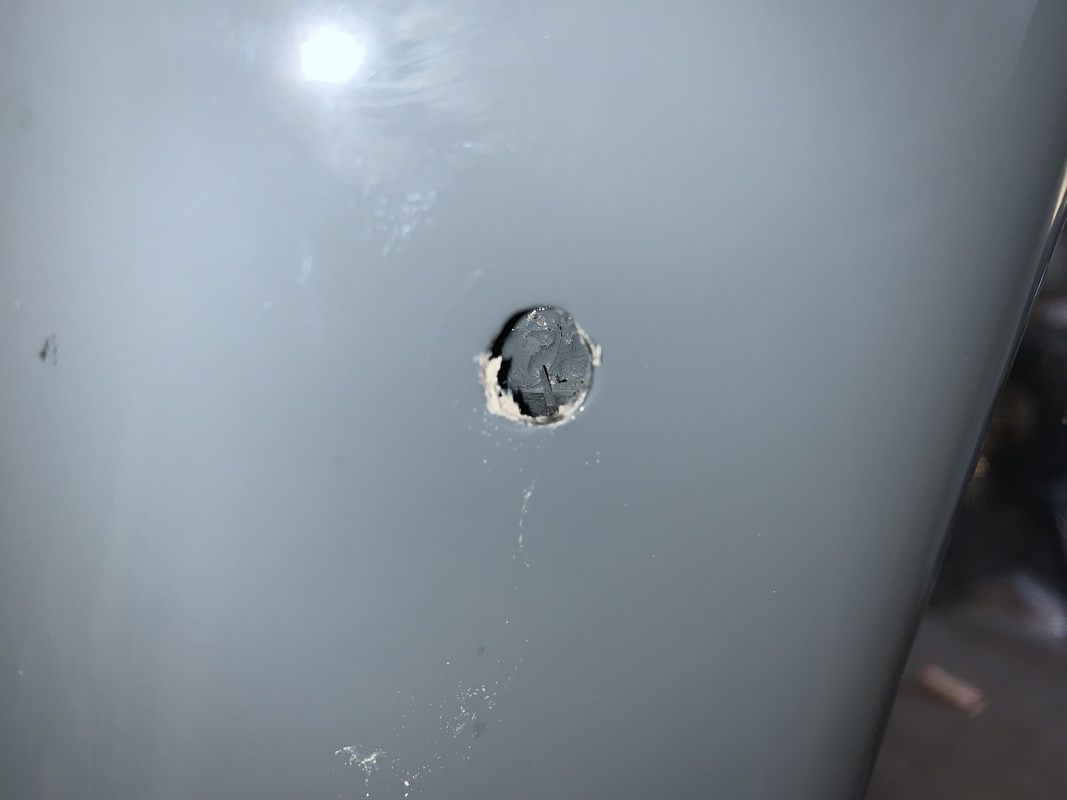
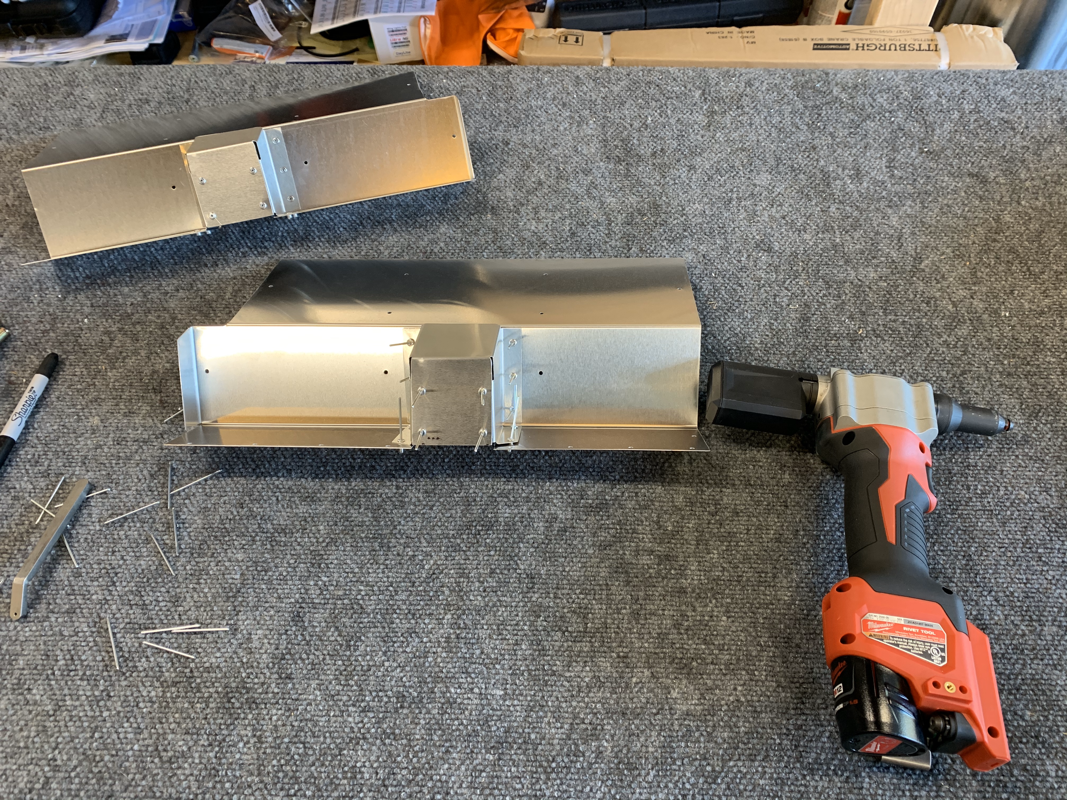
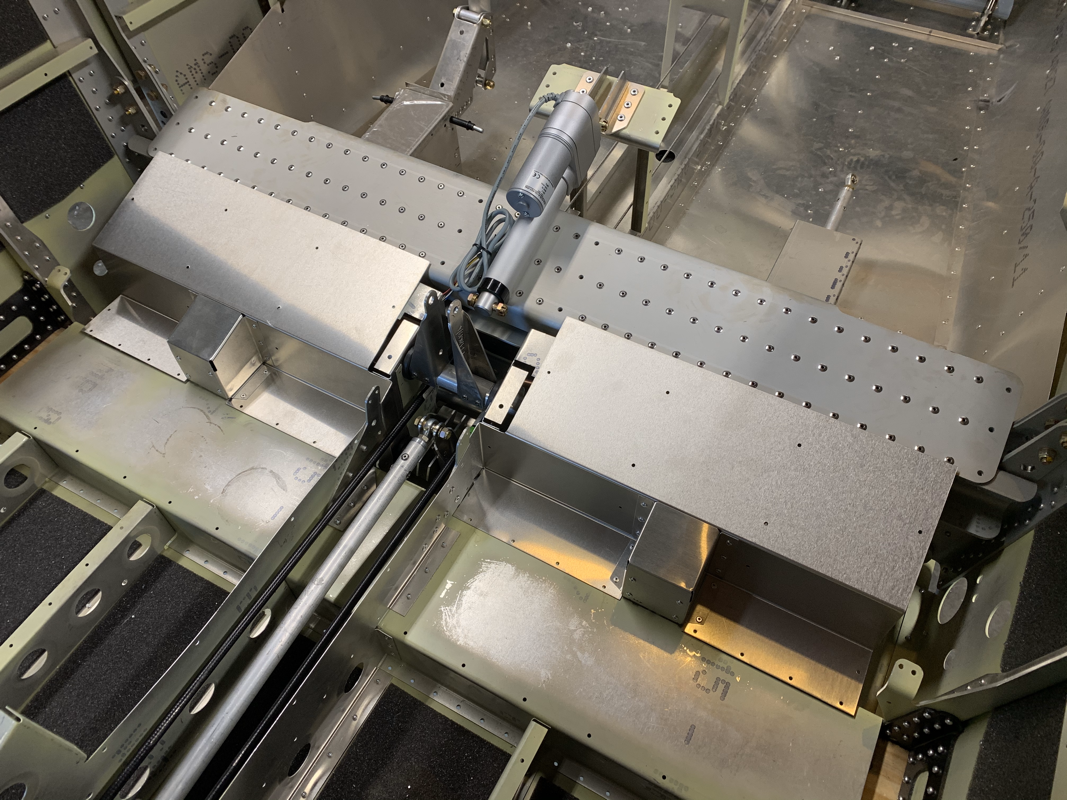
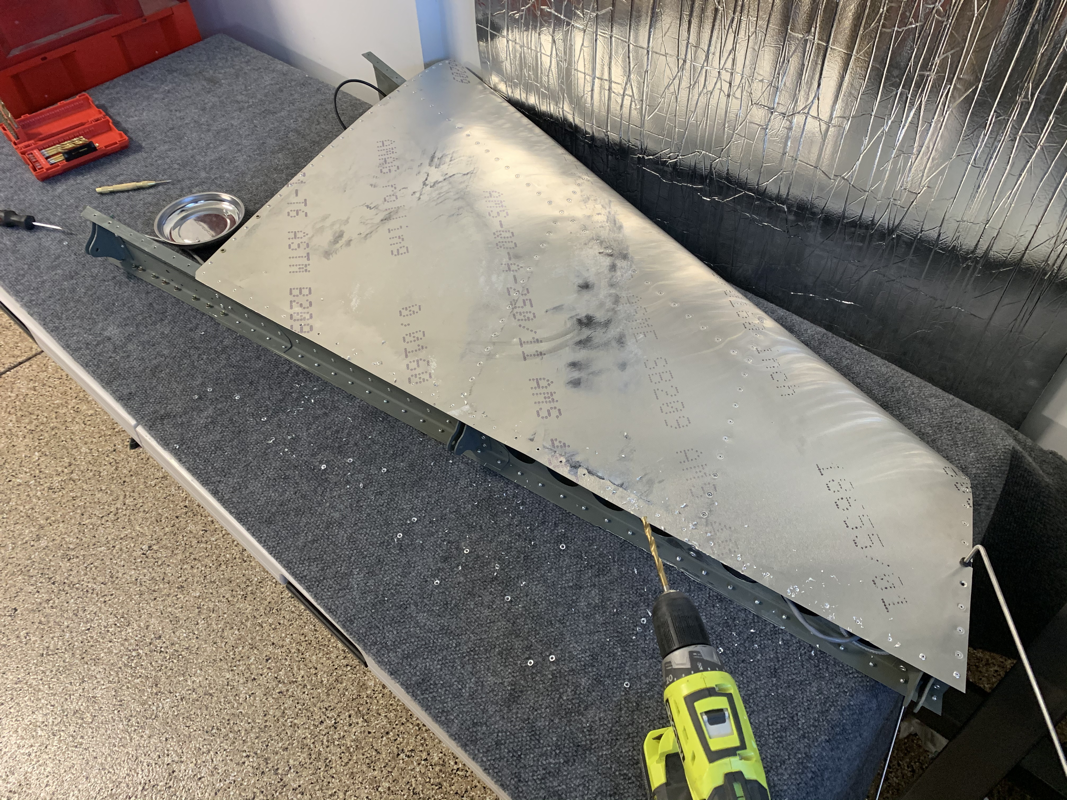
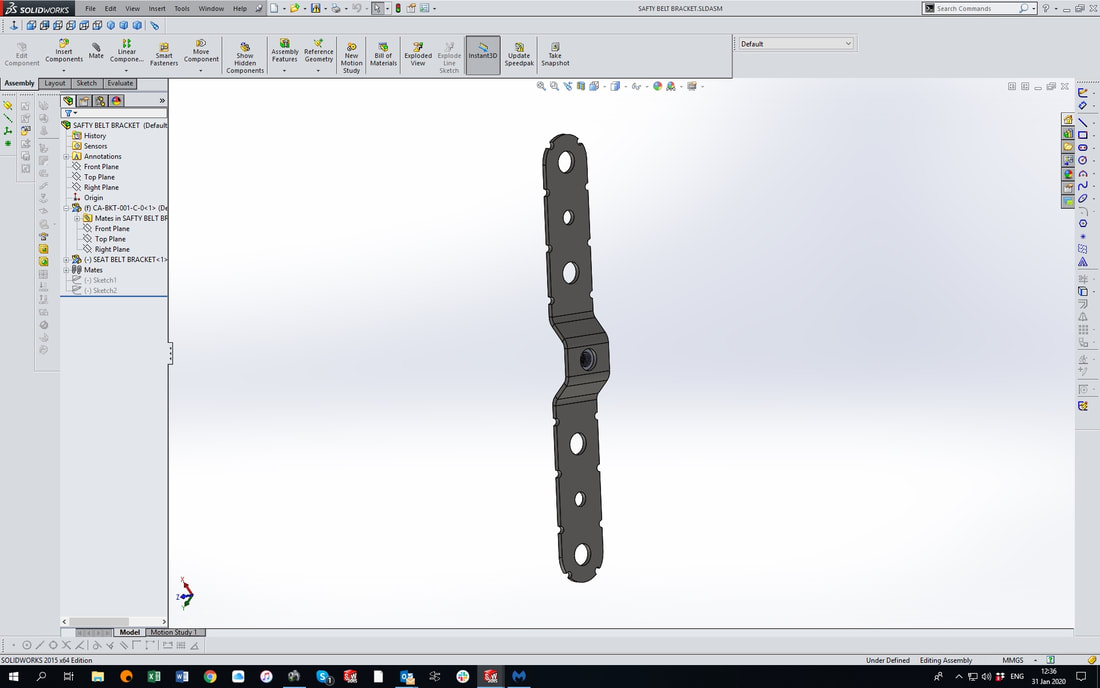
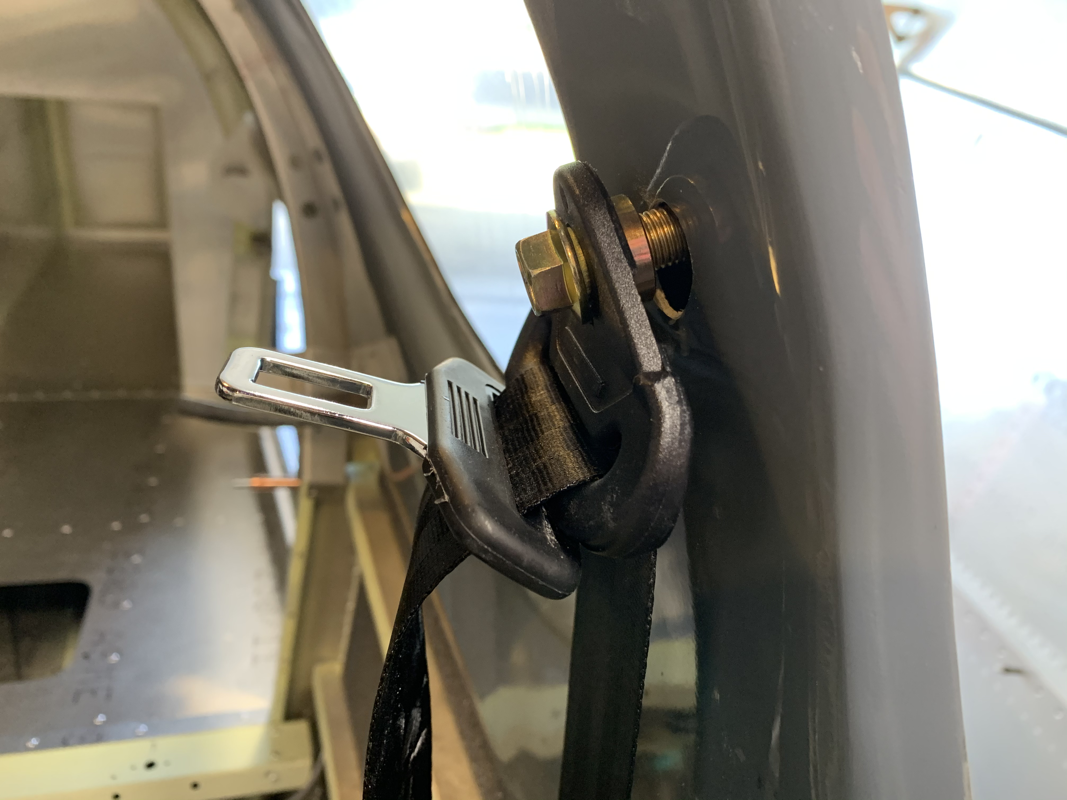
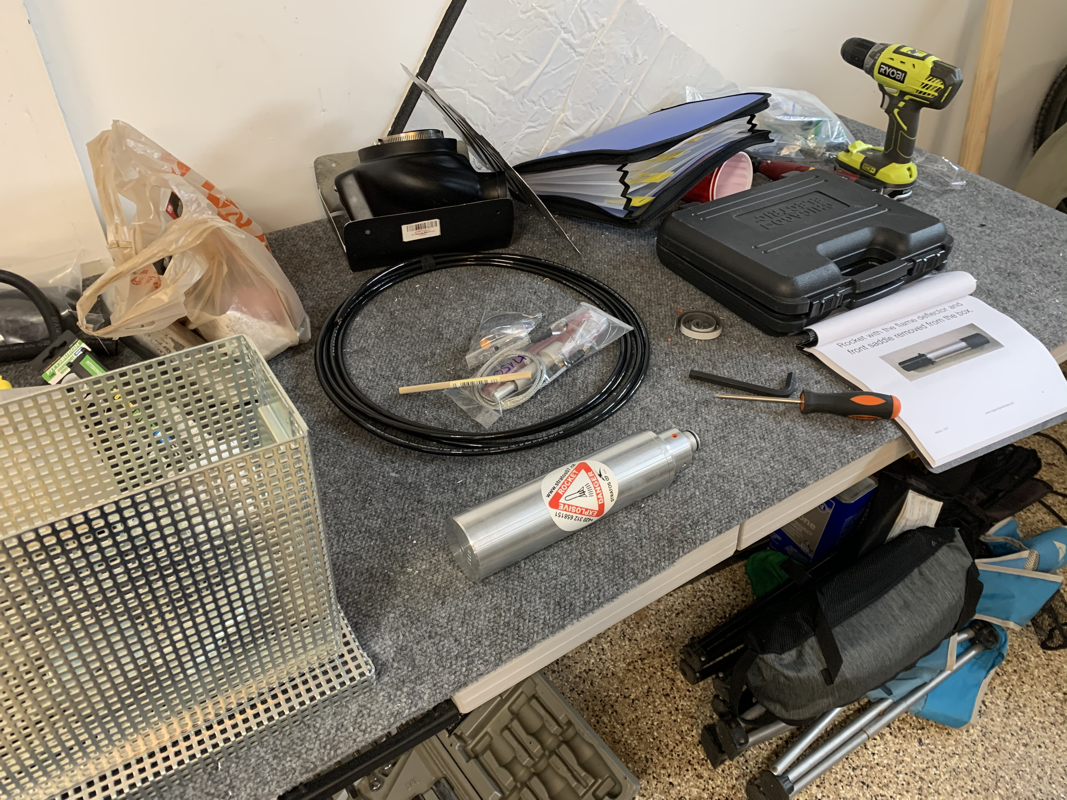
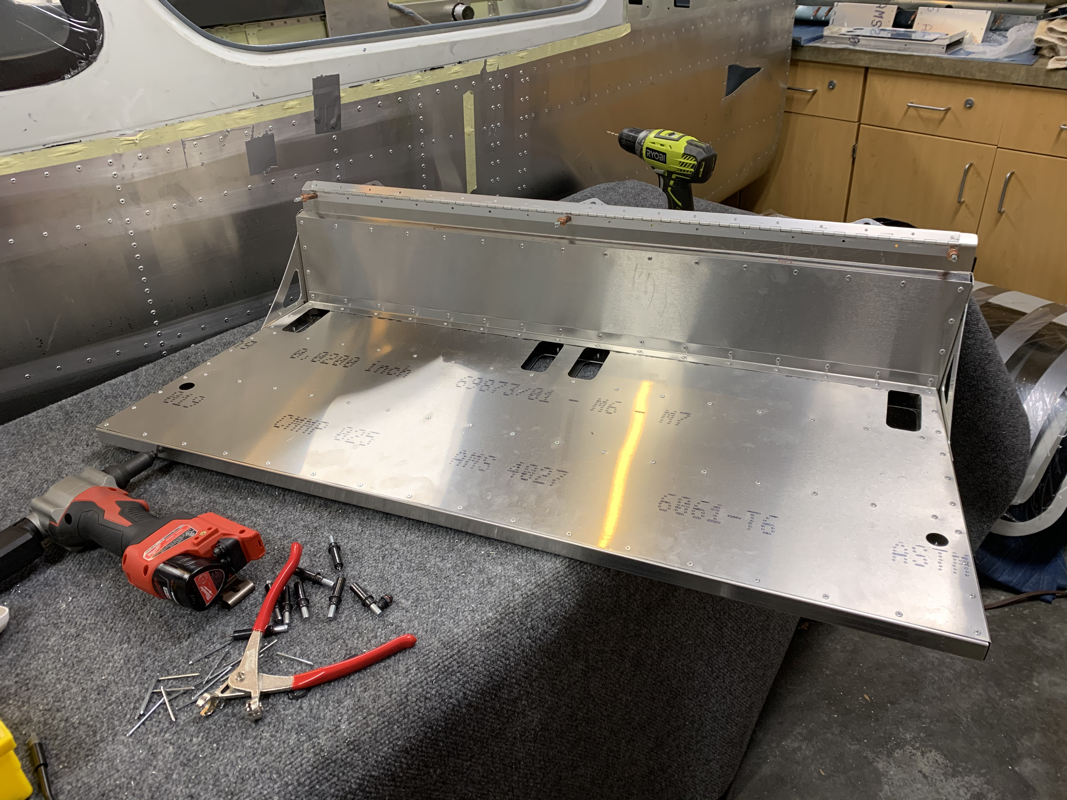
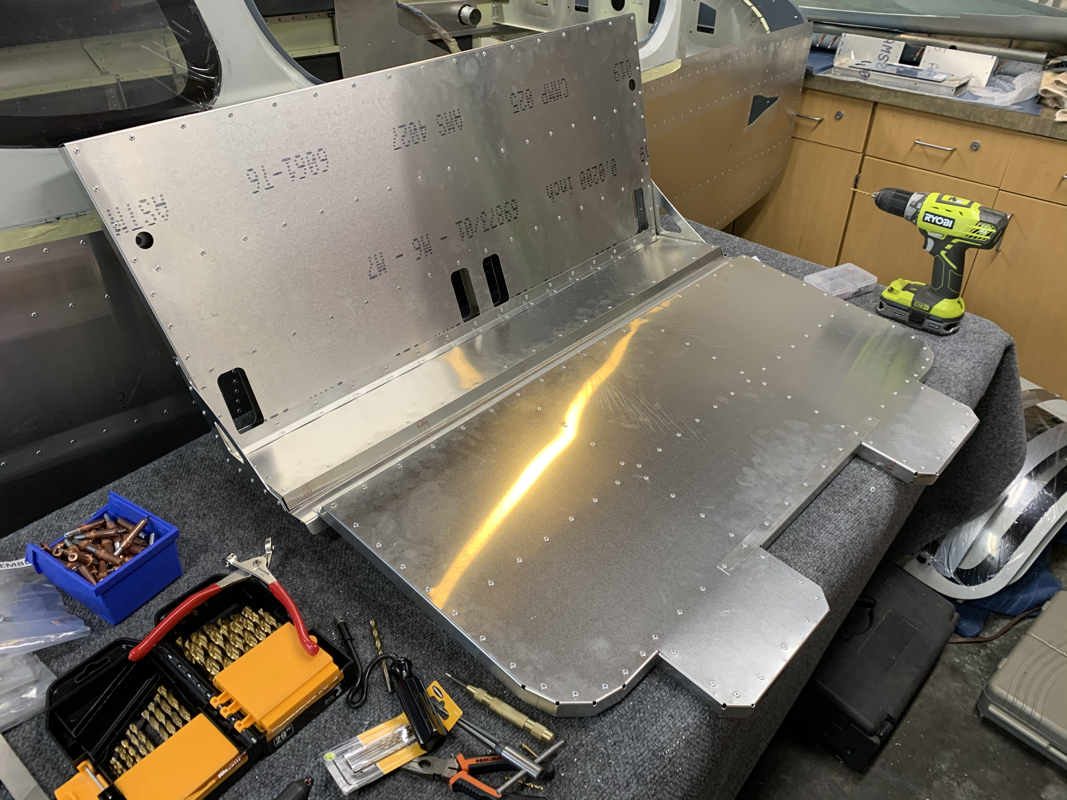
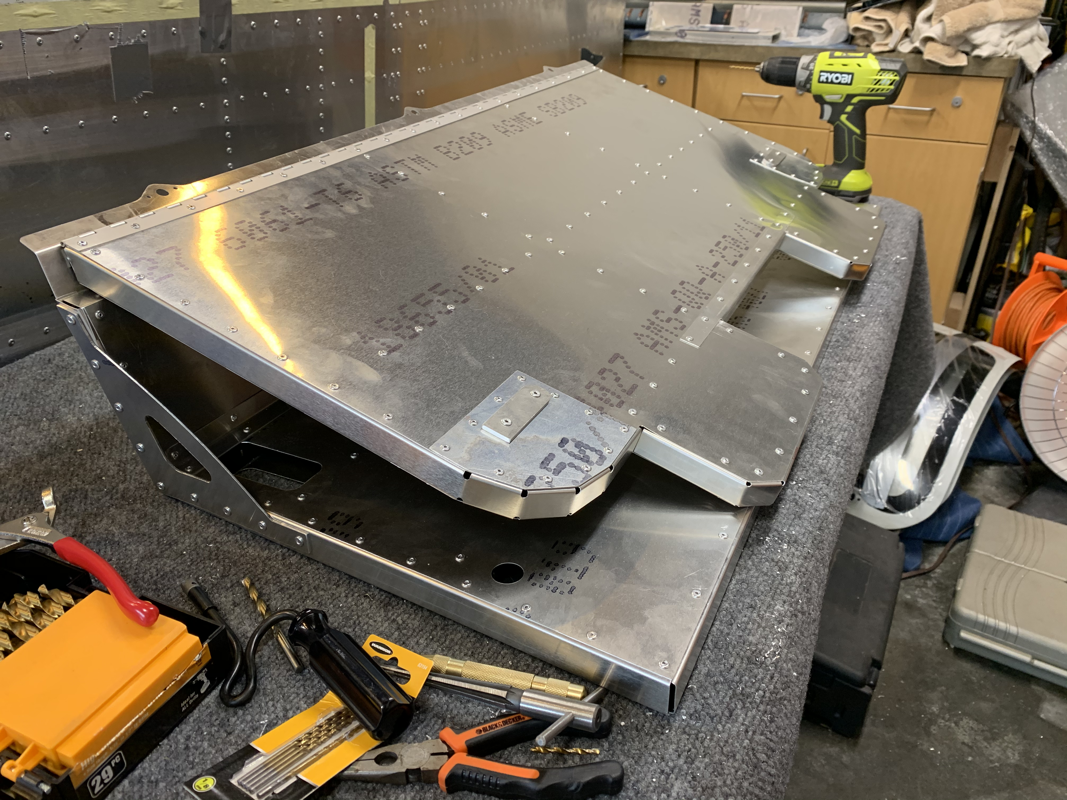
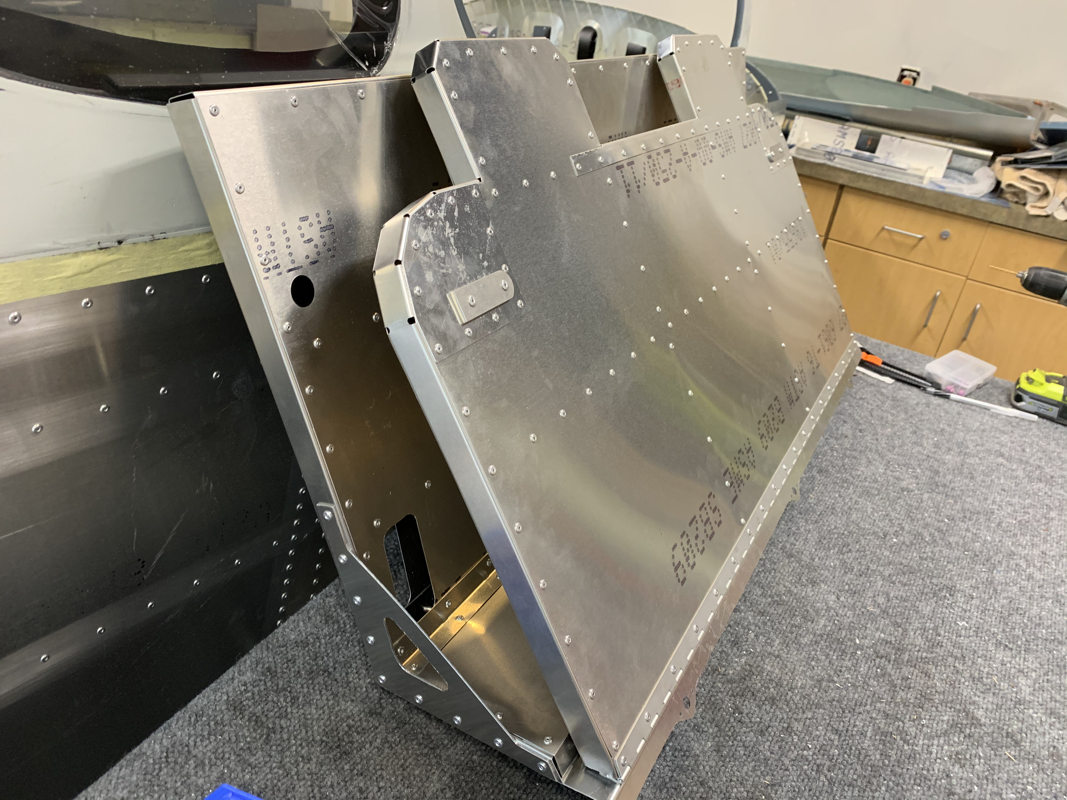
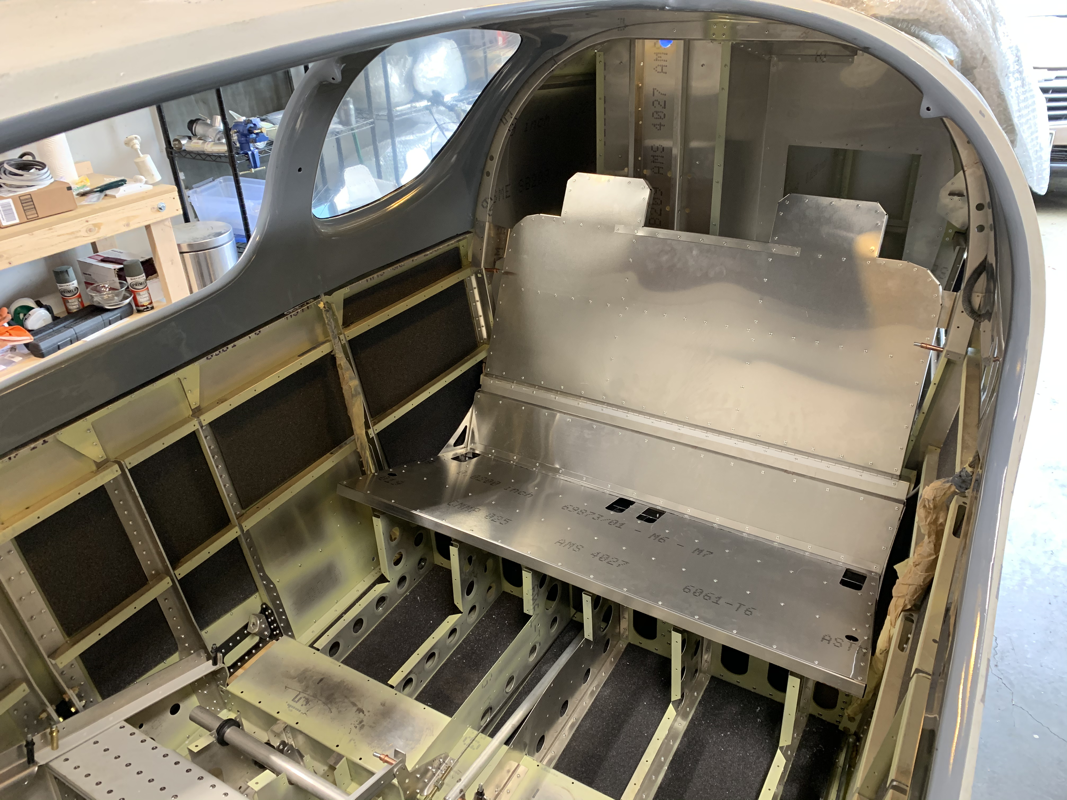
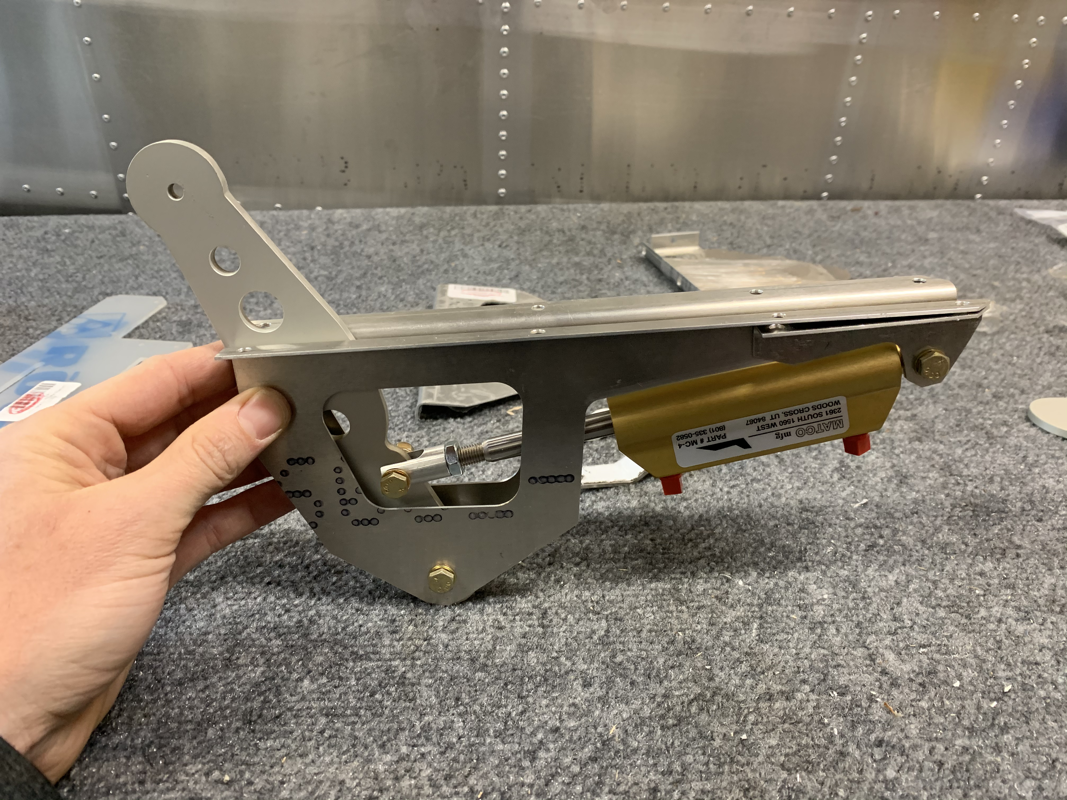
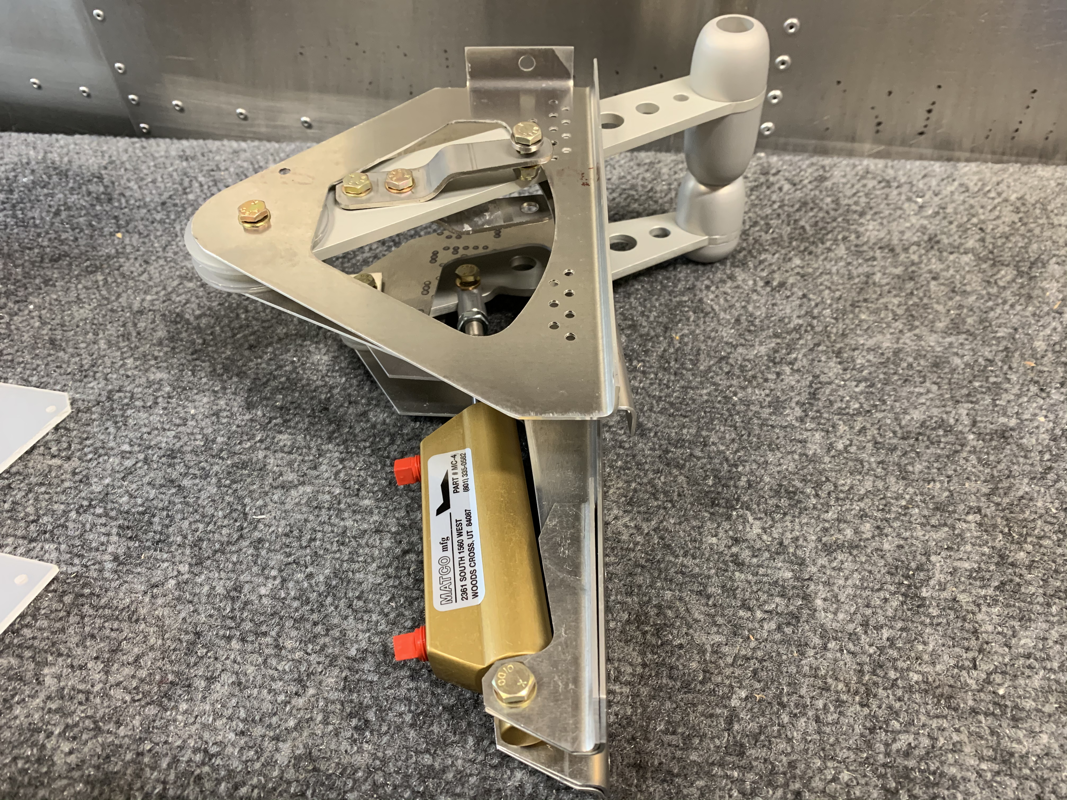
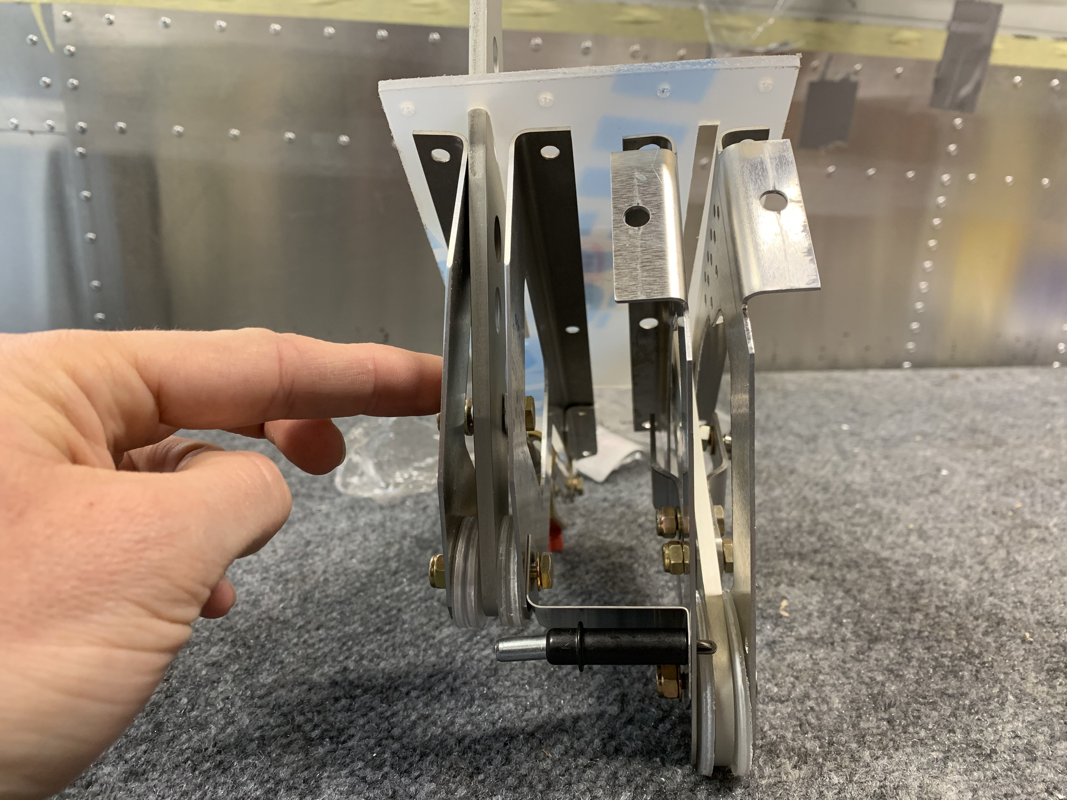
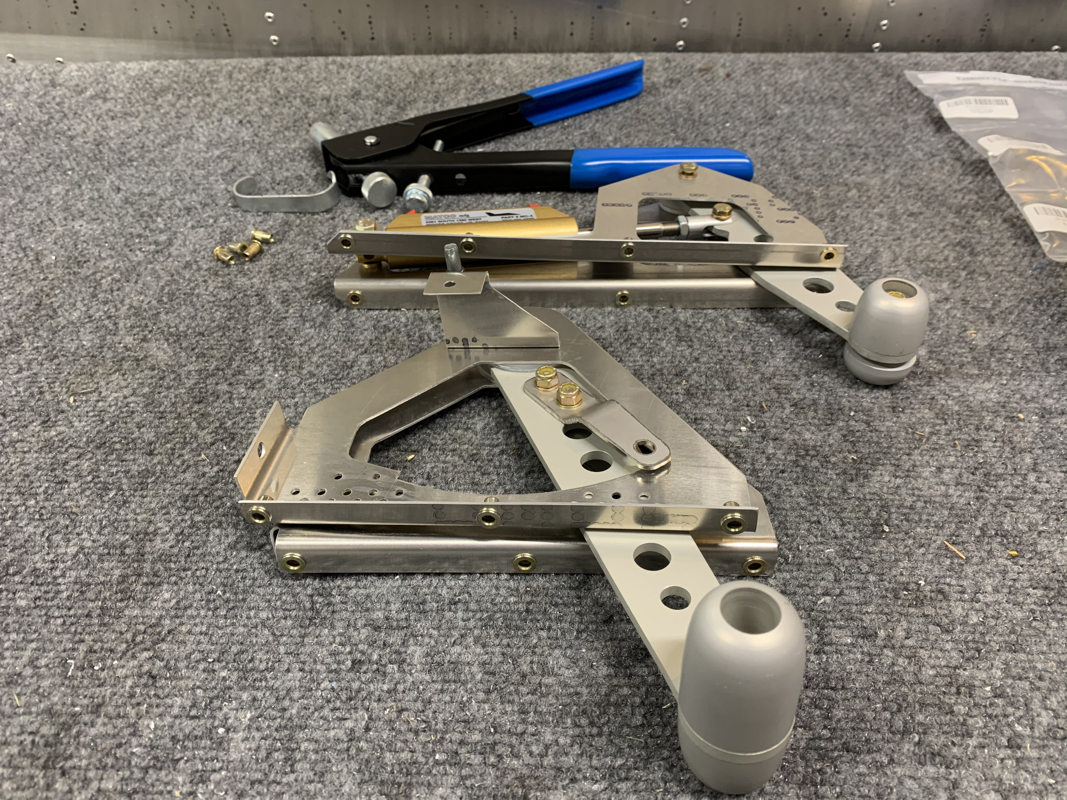
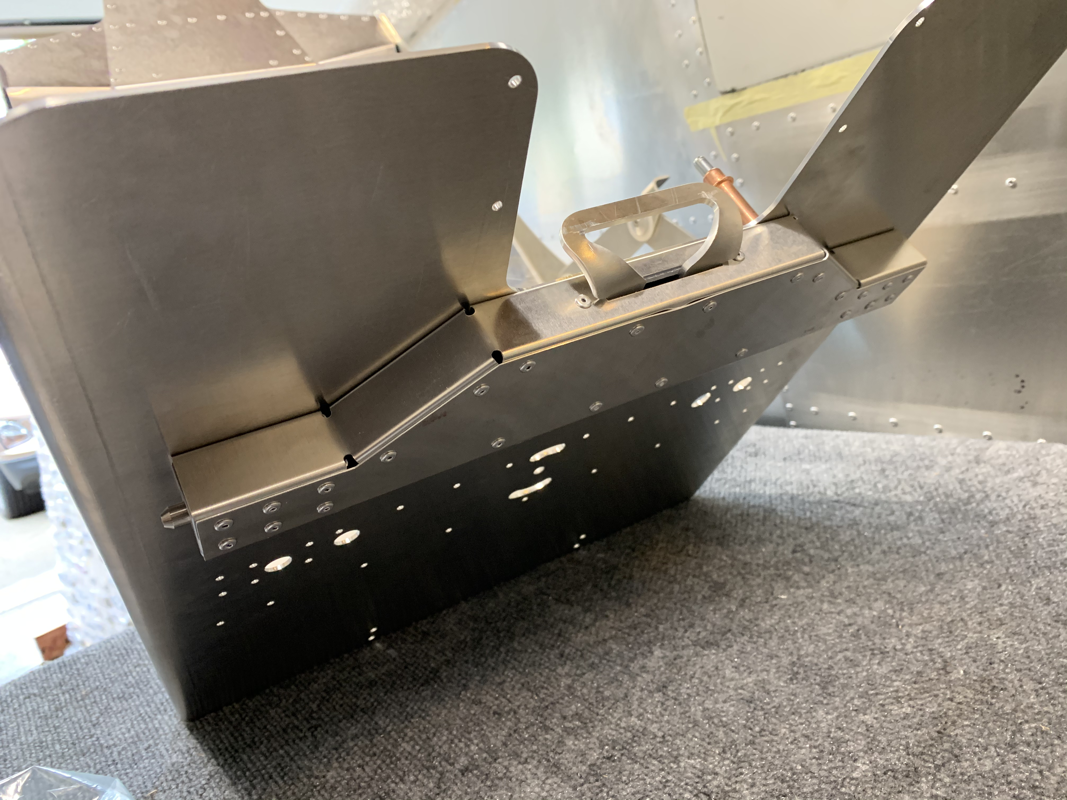
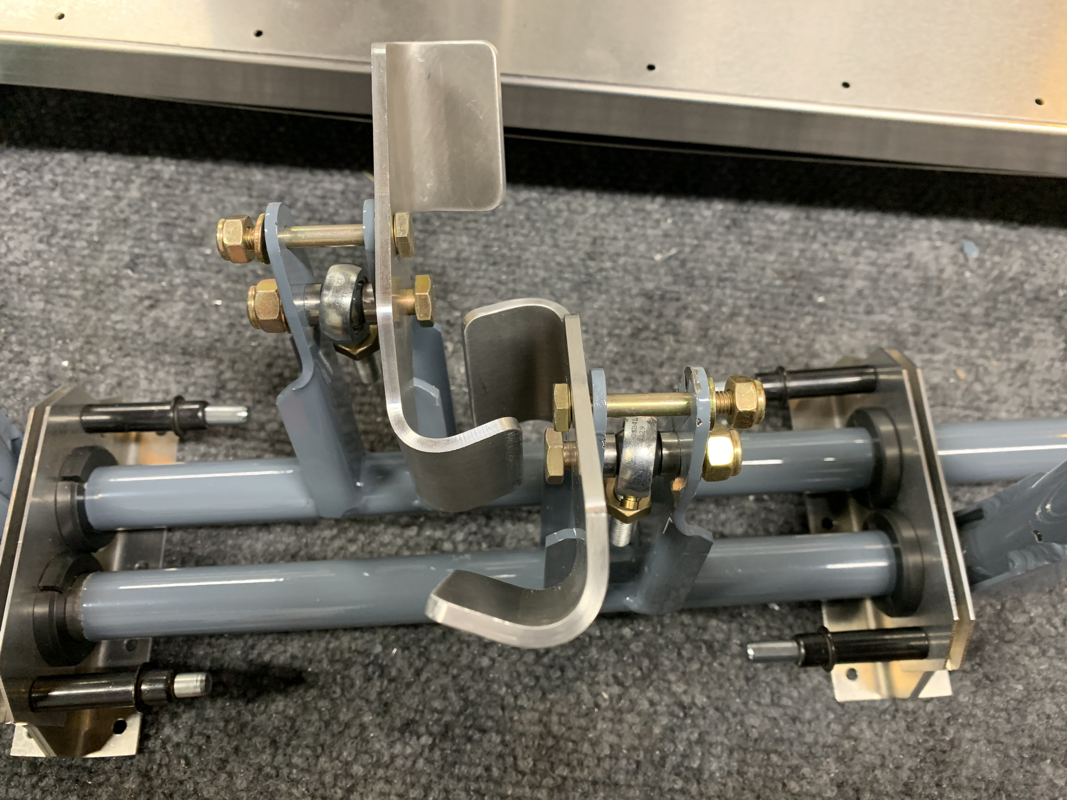
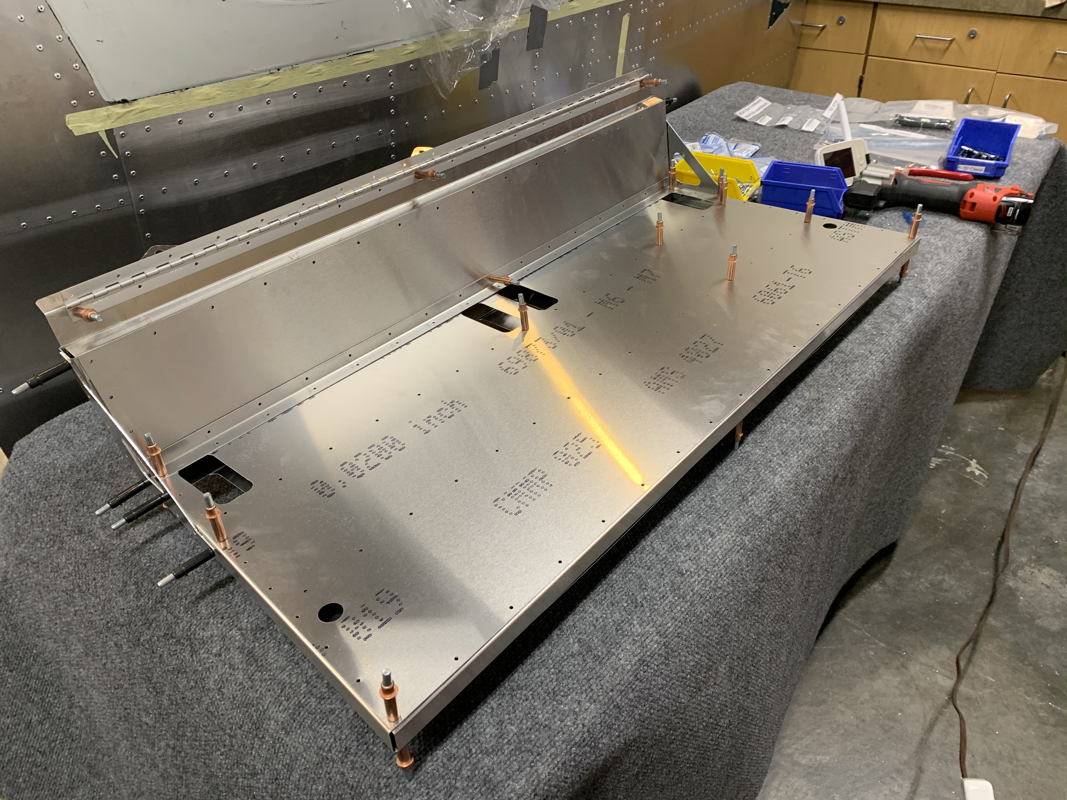
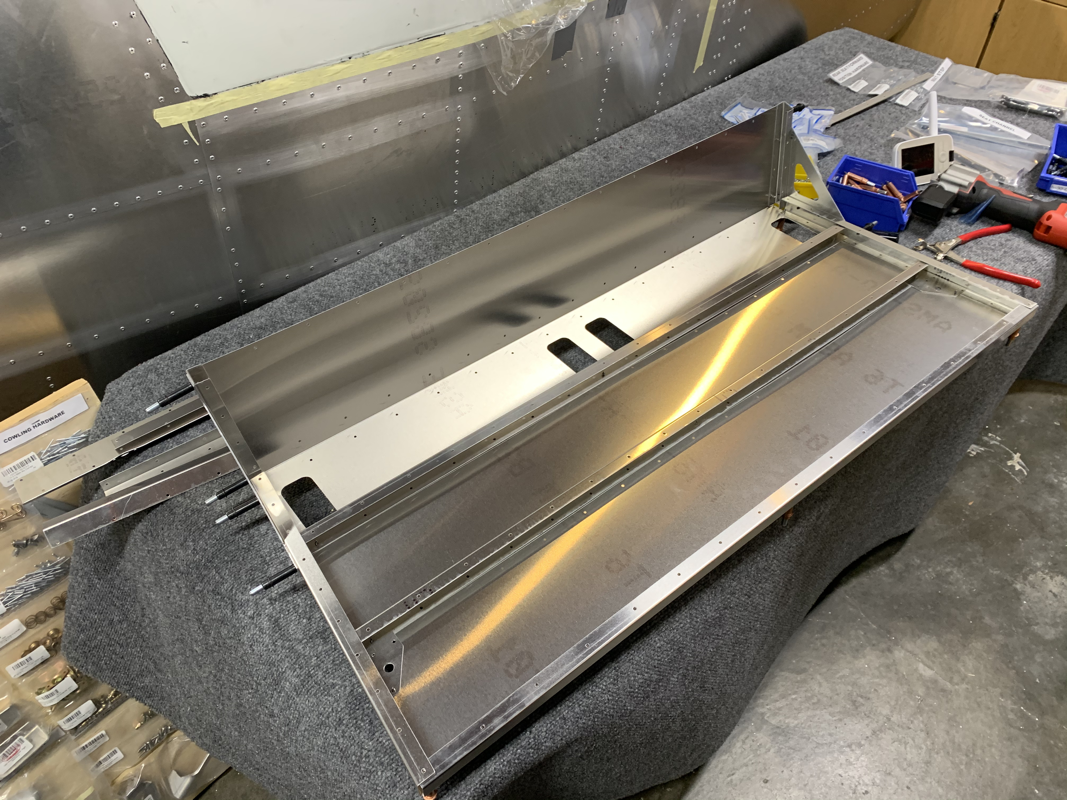
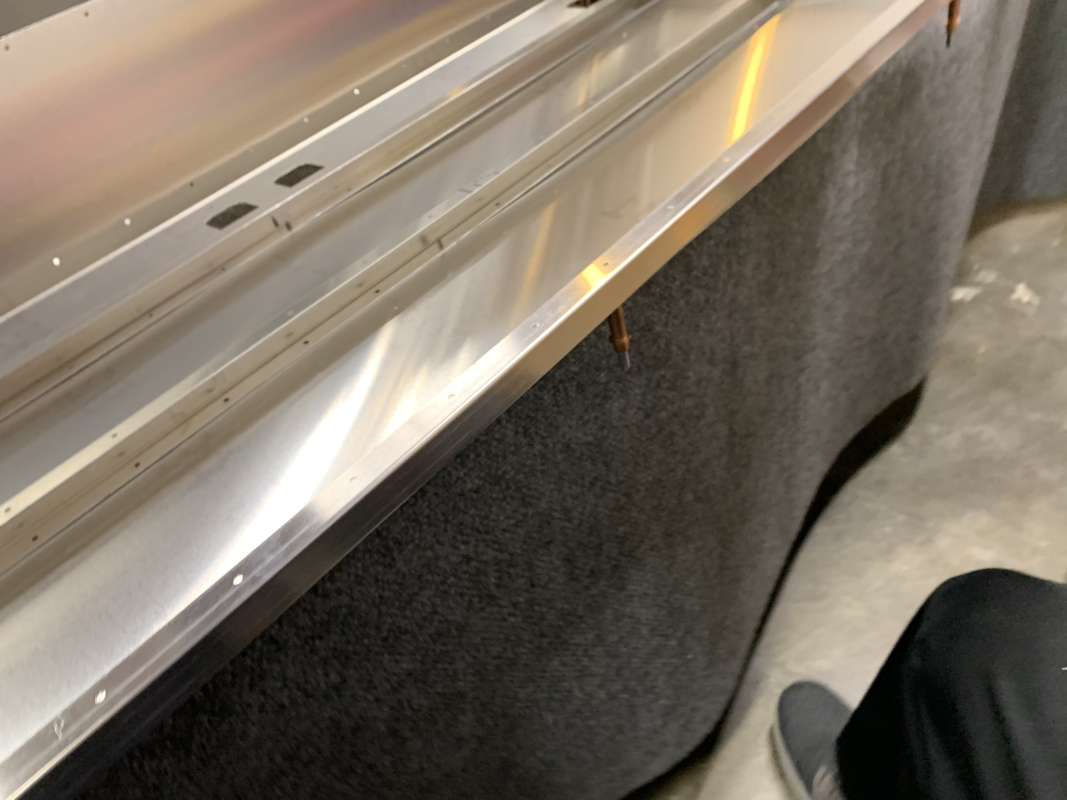
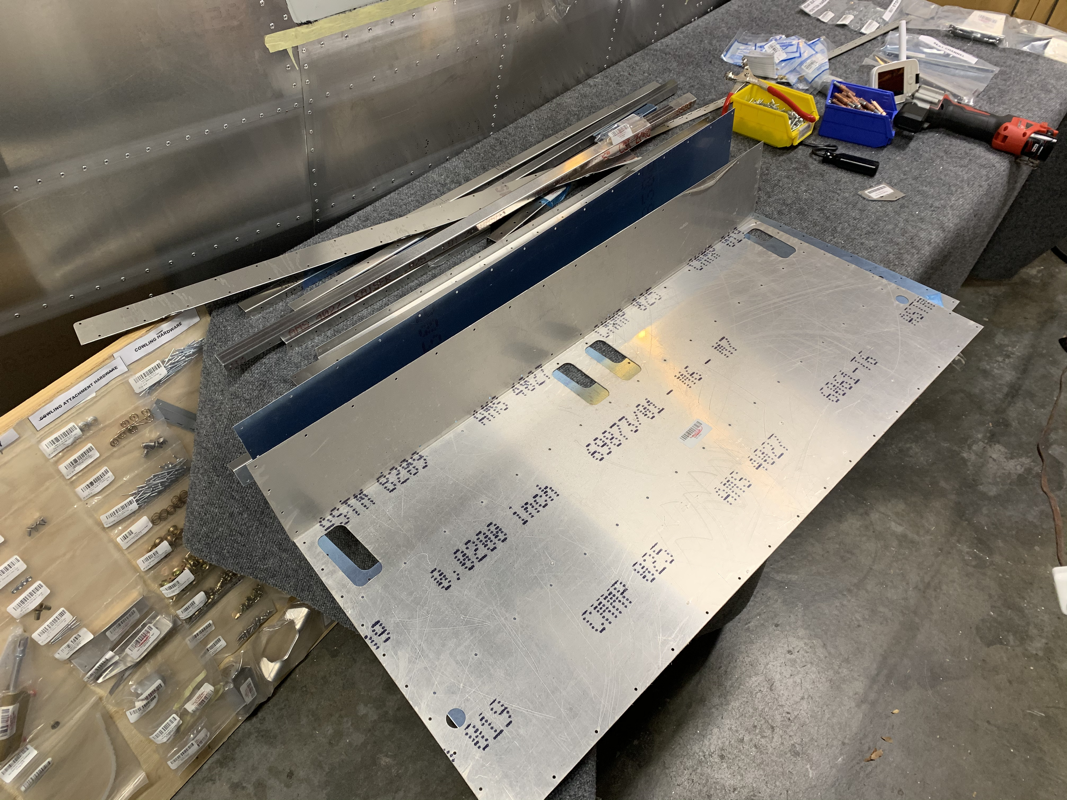
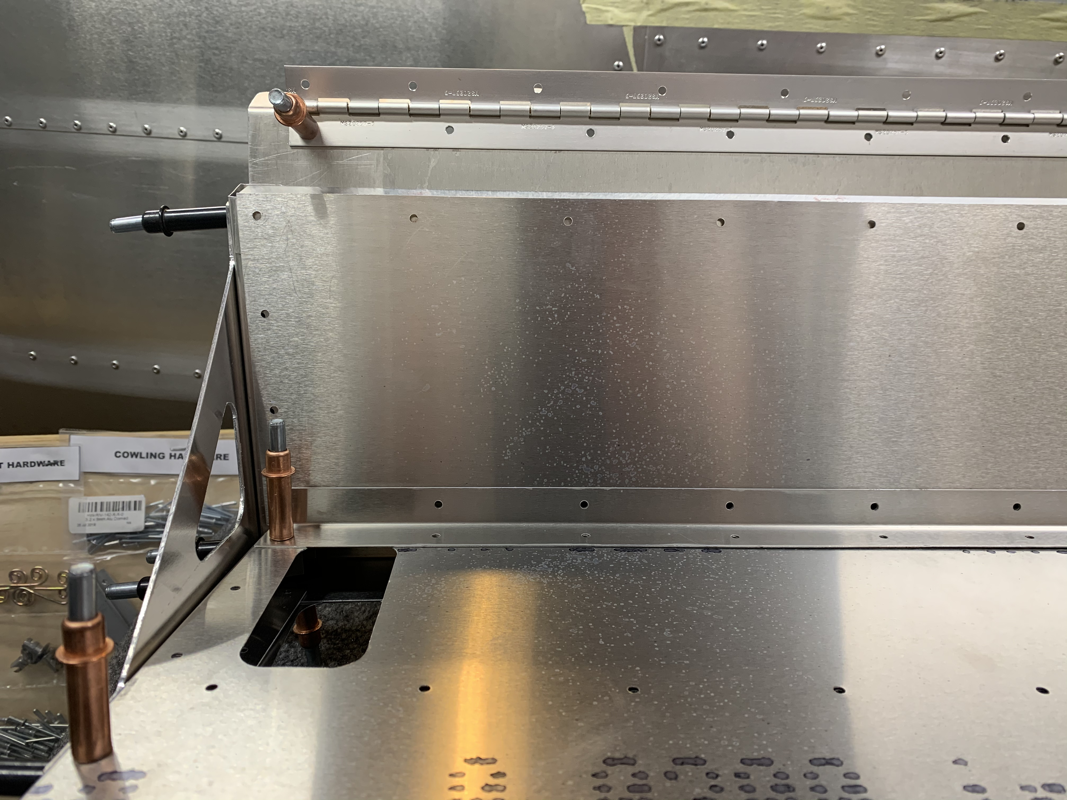
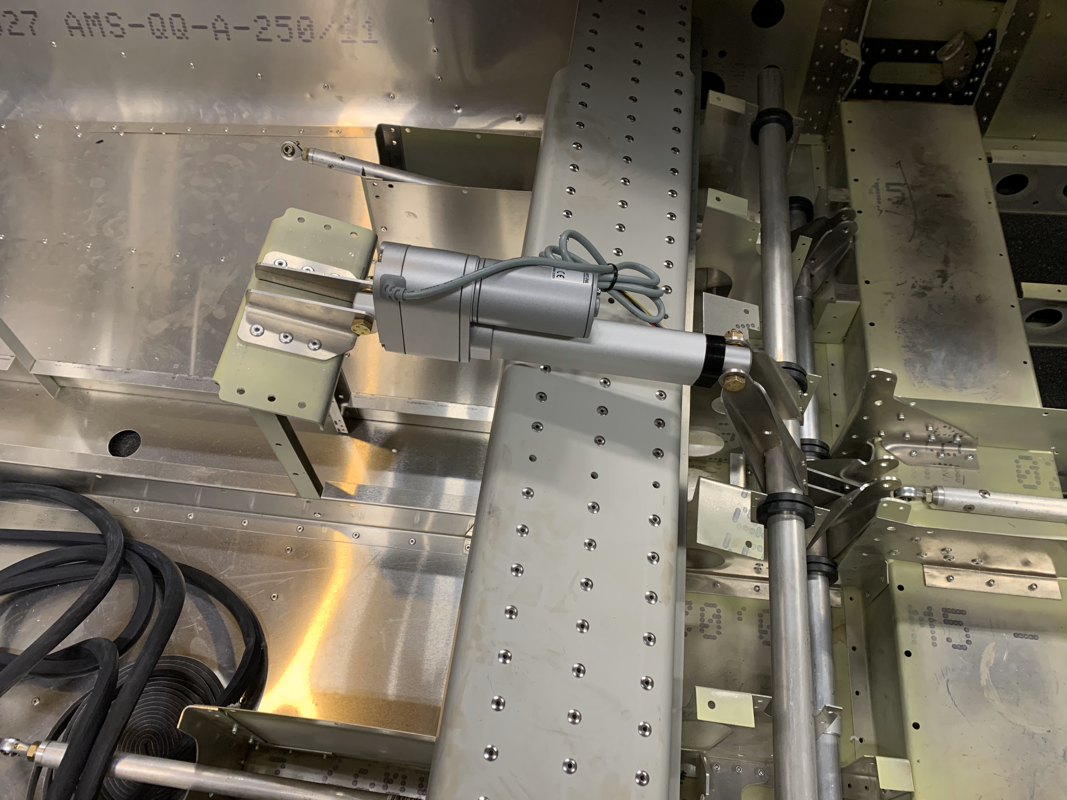
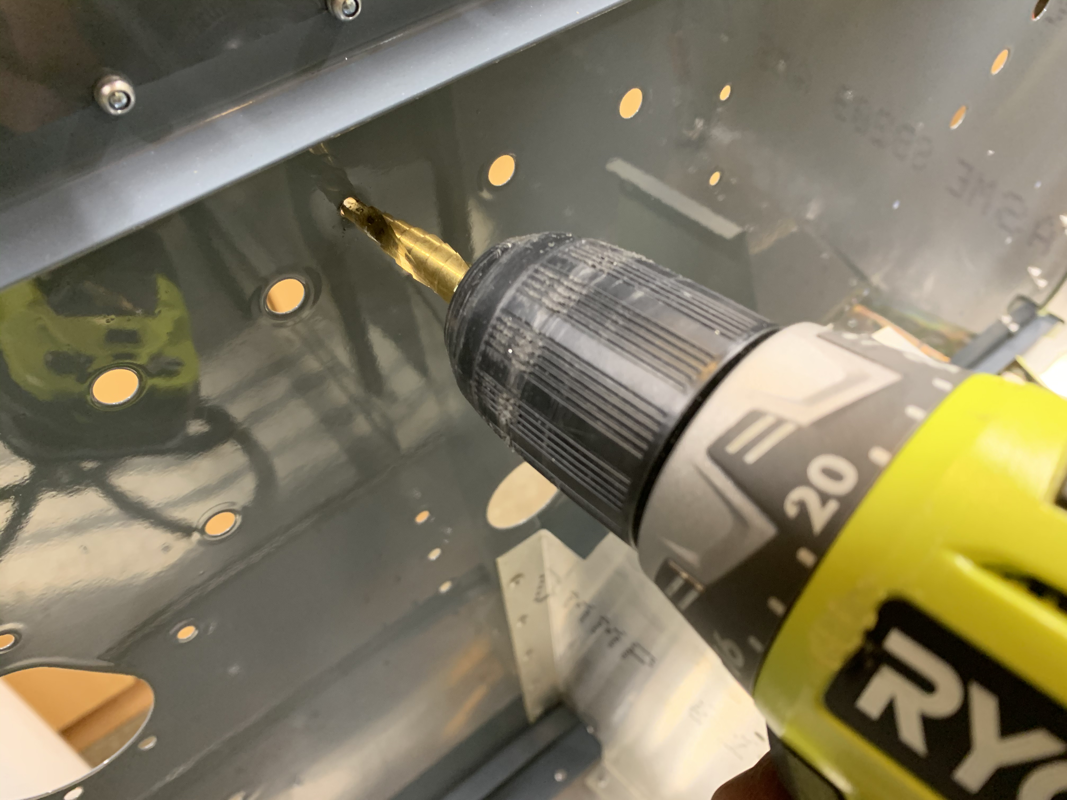
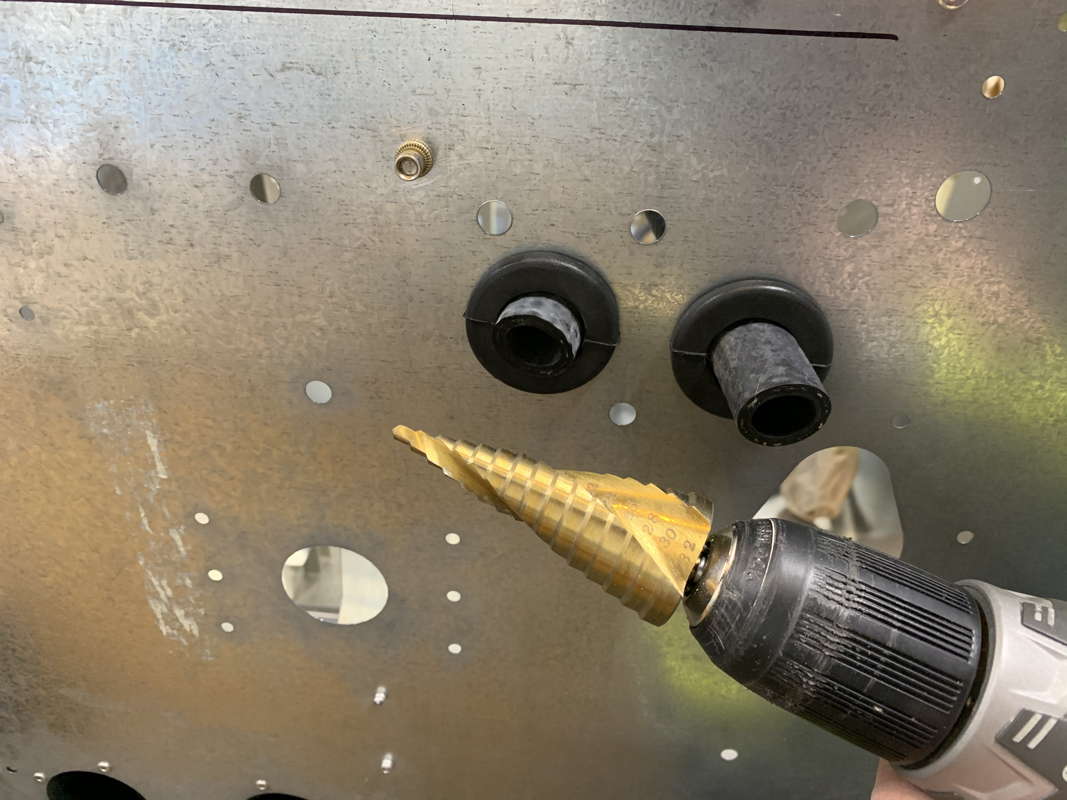
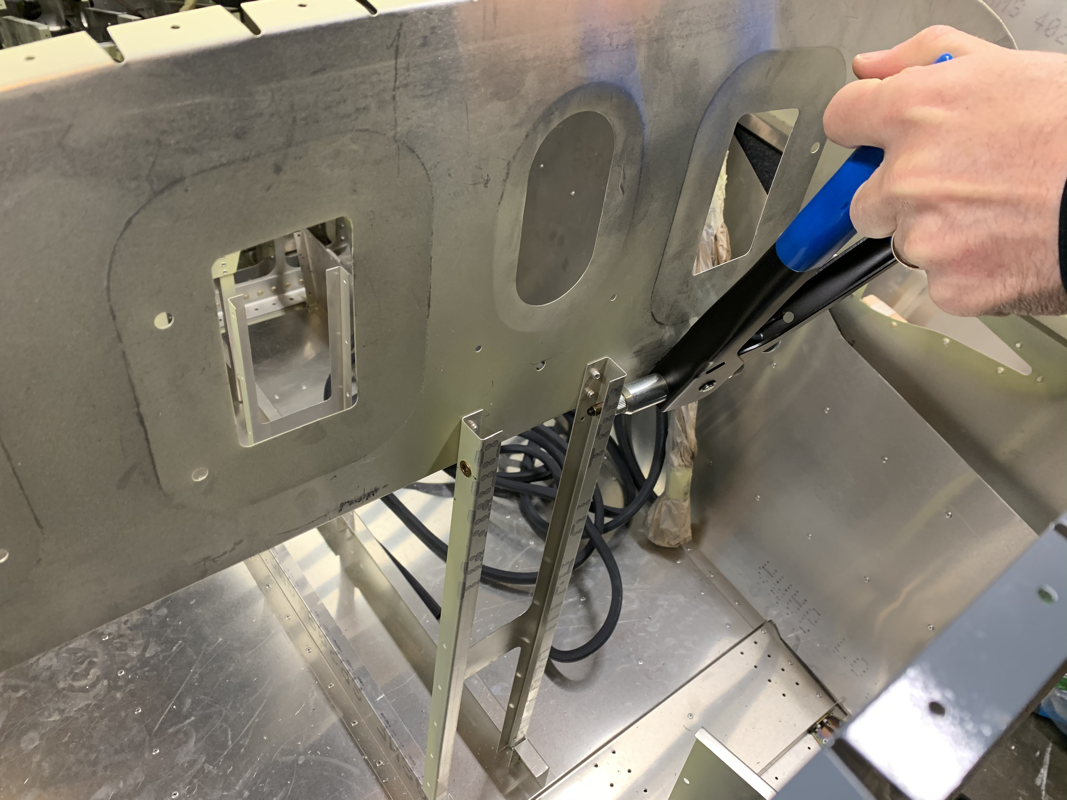
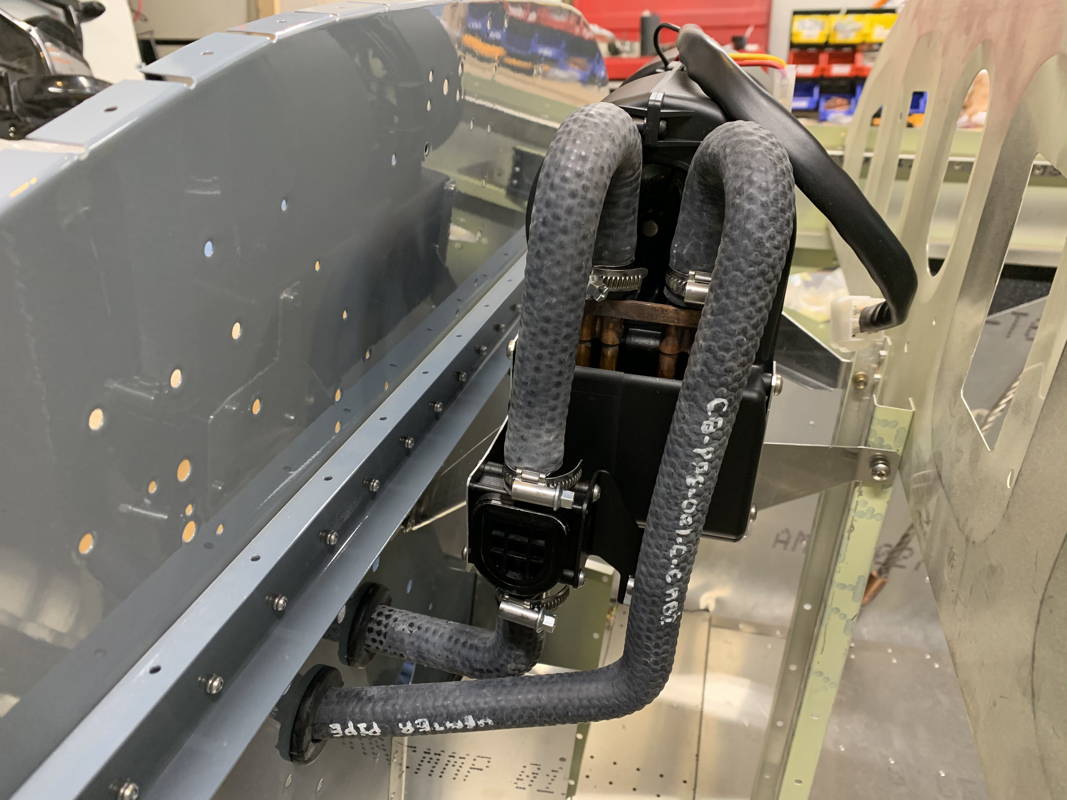
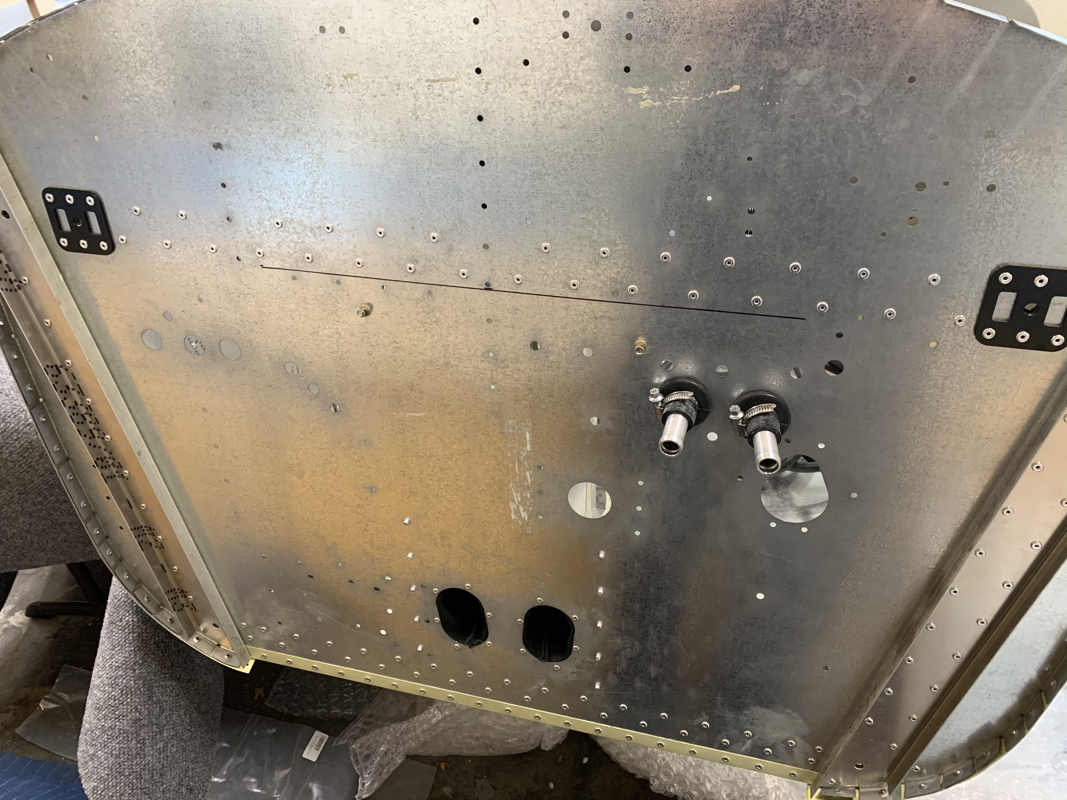
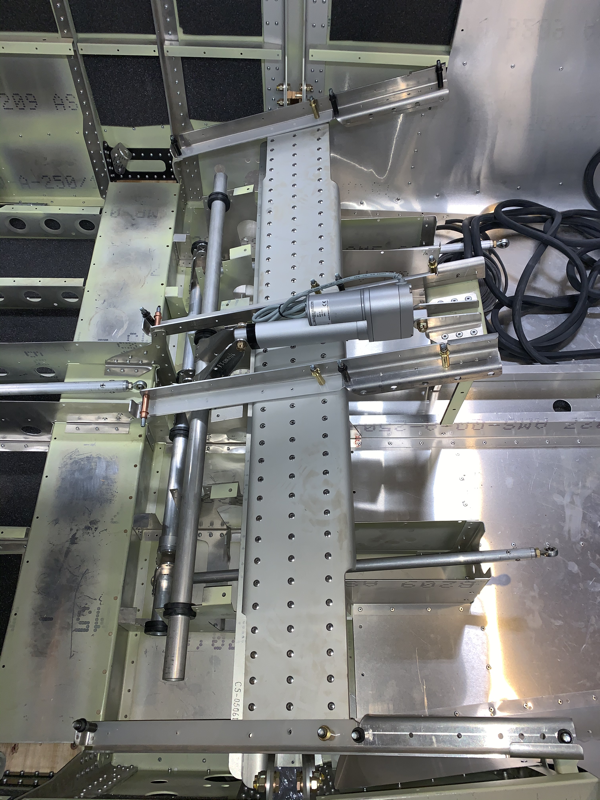
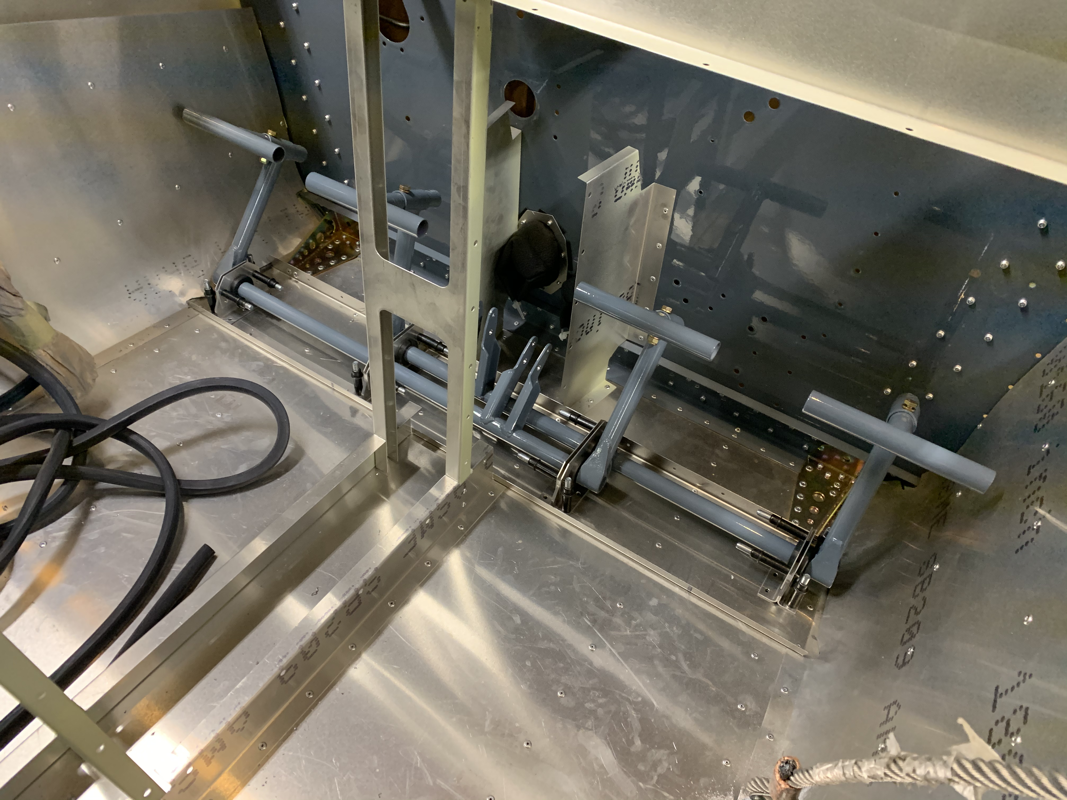
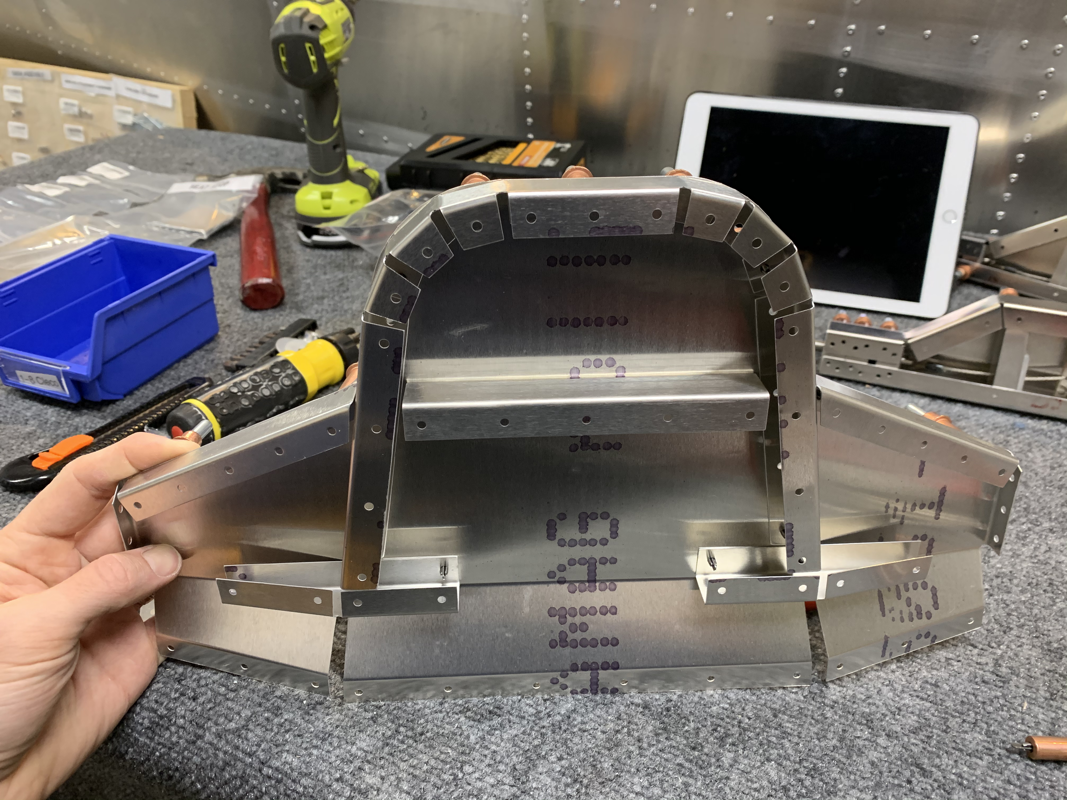
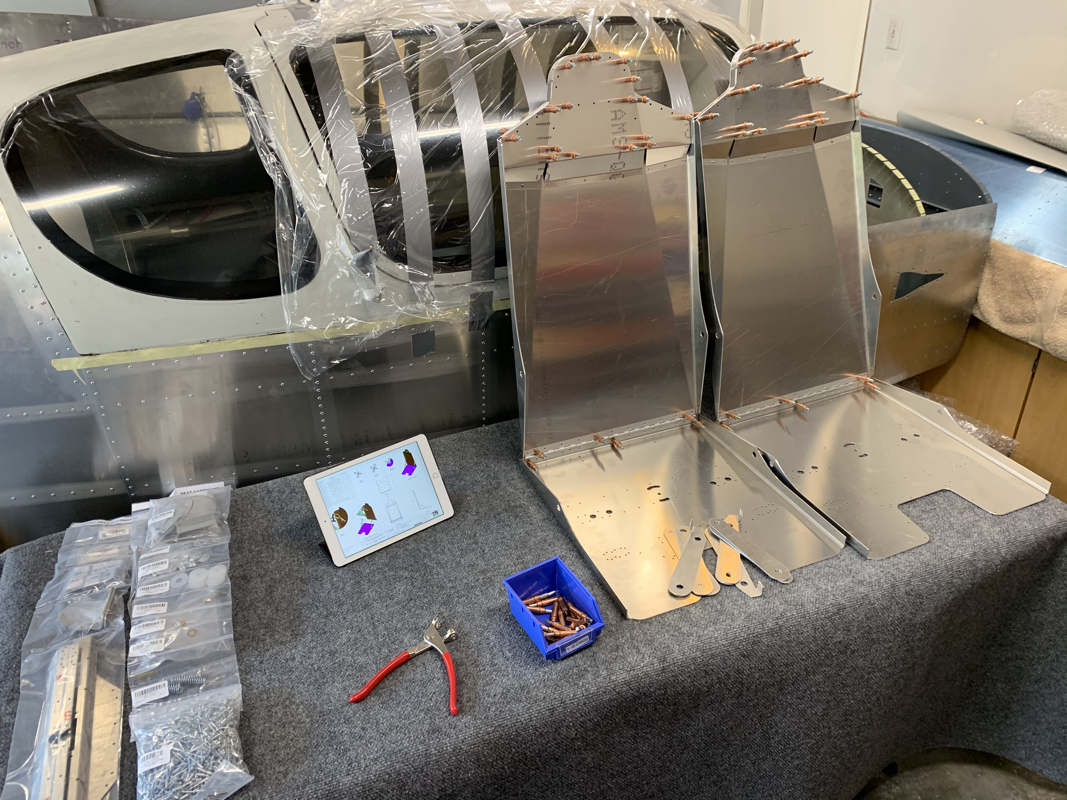
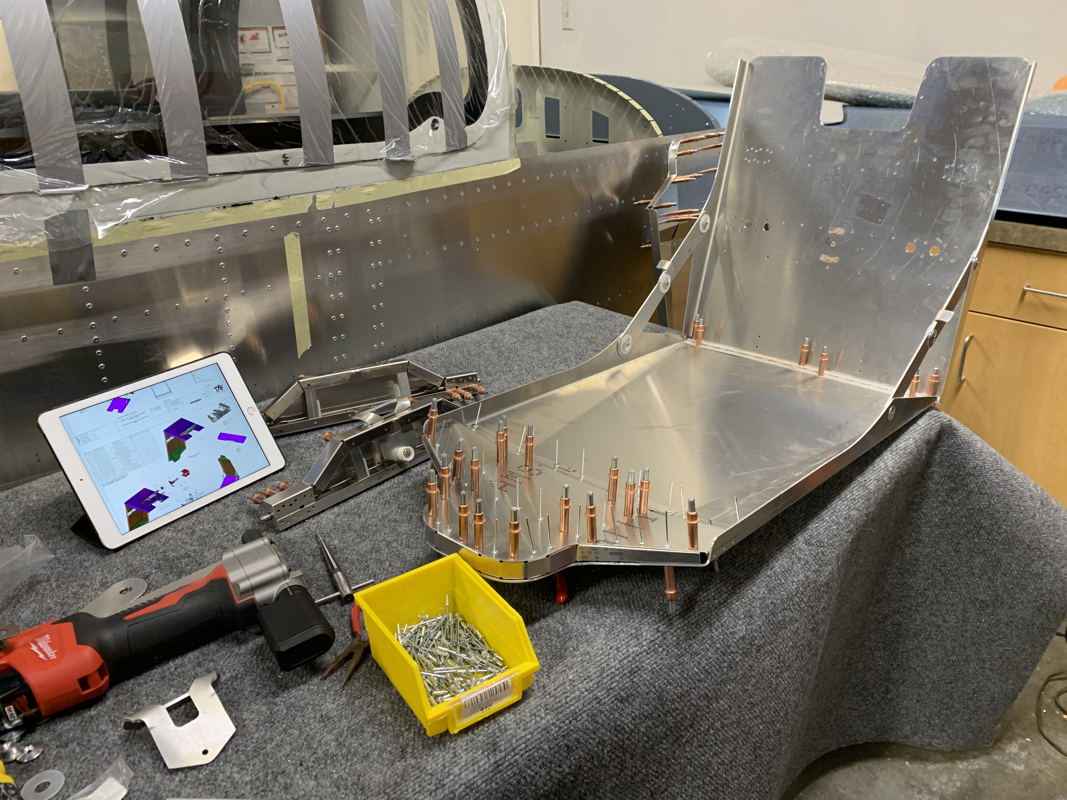
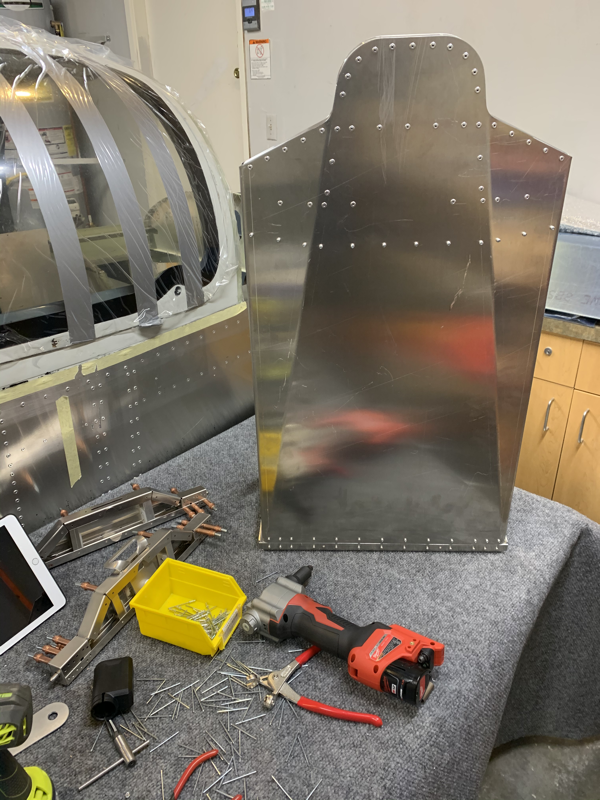
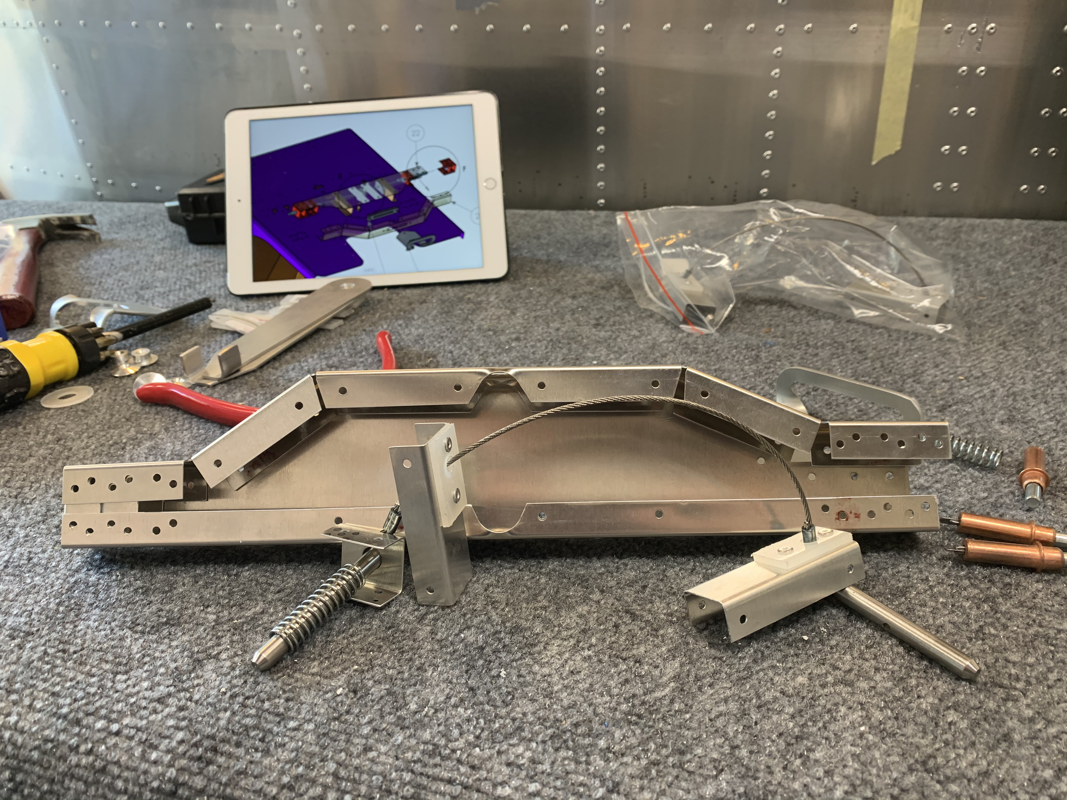
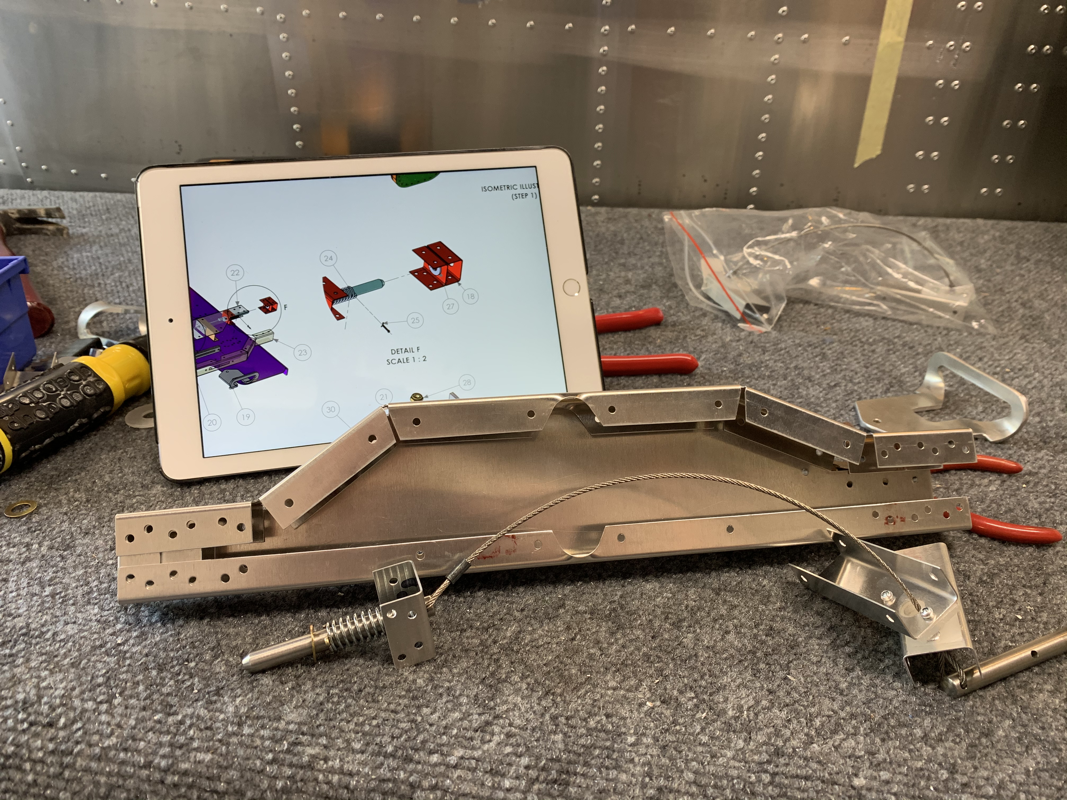
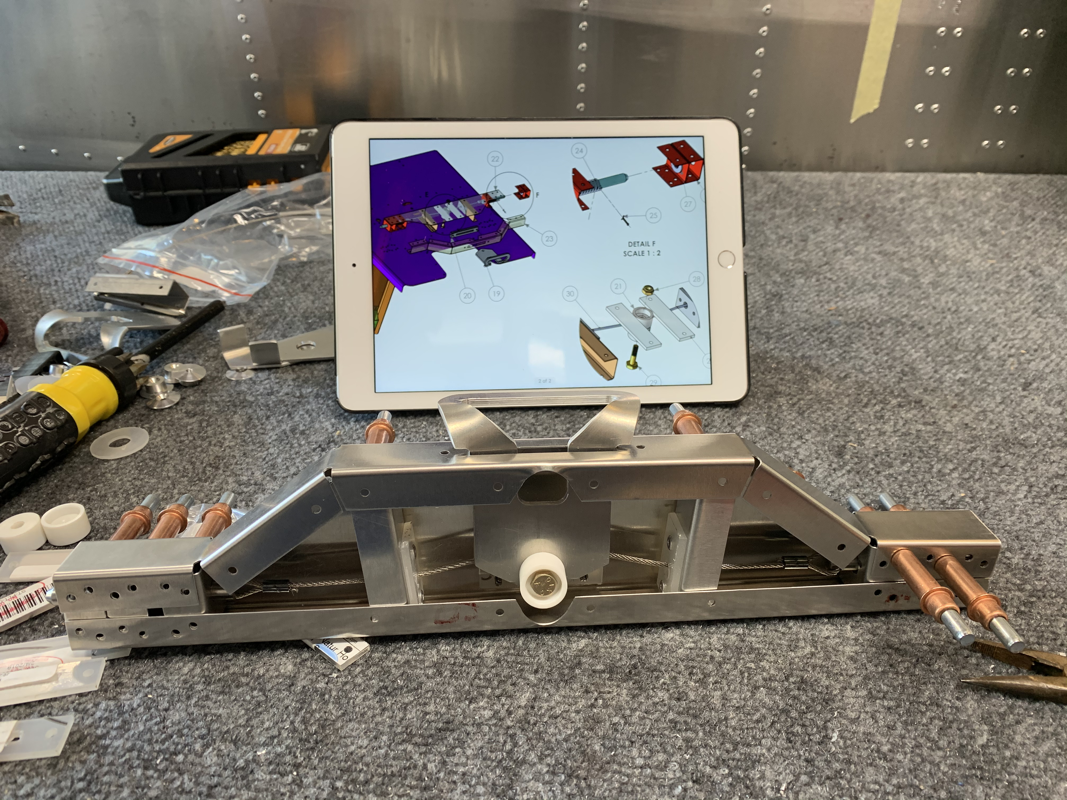
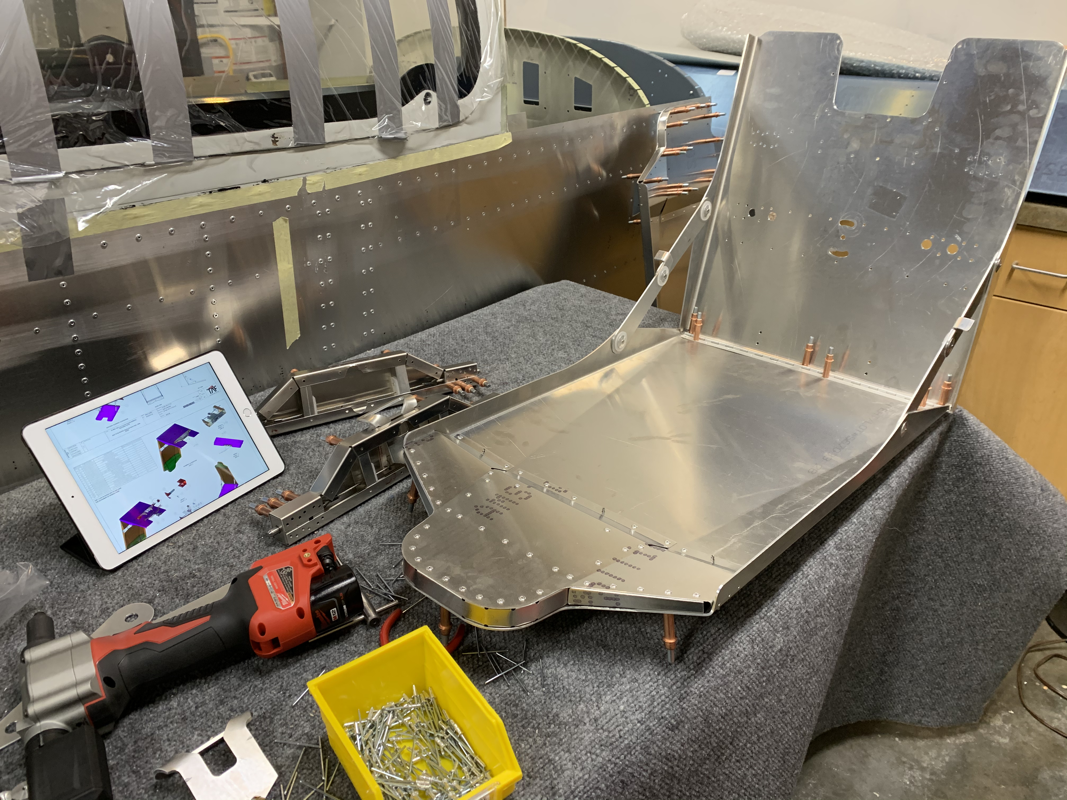
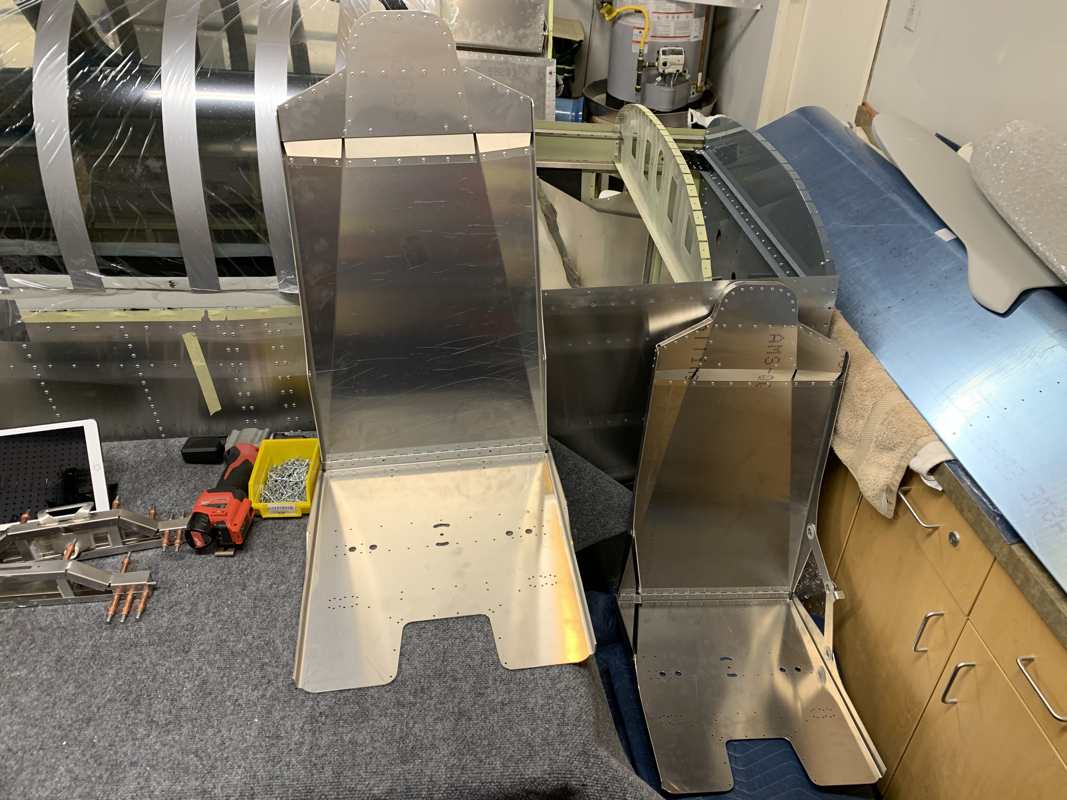
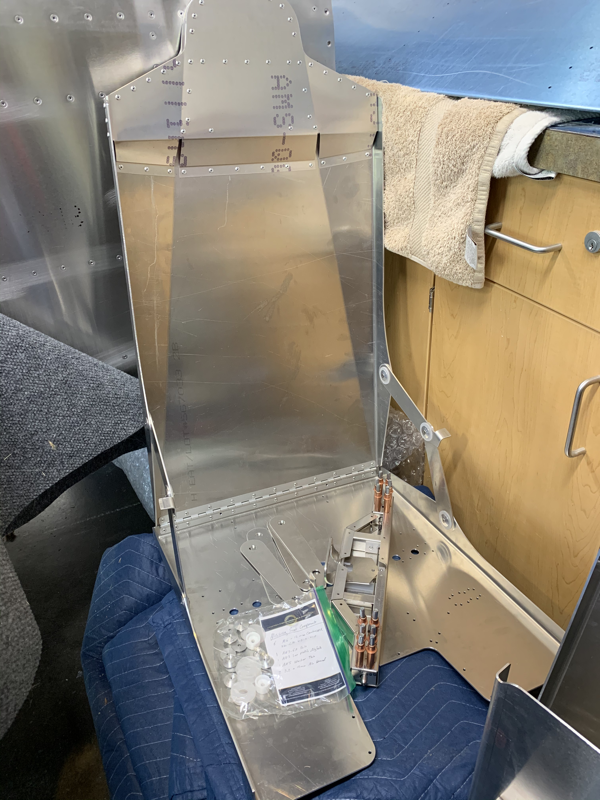
Phew! That was a lot.. looking forward to moving on to digging into the avionics a bit more next week! Before I begin my move to Colorado, I figure I get as many large components in the airplane as possible to help with the journey. I installed the seat rails and test fit all the seats and made sure they slid without catching any rivet heads. Happy with a bit of progress, I brought my wife out to the garage to snap a photo of me in the pilot’s seat. ;-) Today I worked on installing the seatbelts. Unspooling the belts was a challenge since the locking mechanism is gravity sensitive. Meaning, there’s a ball in the spool that has to be oriented a specific way for the spool to release. Once I figured that out, unspooling the belt was pretty easy. The kit didn’t come with the penny washers that are in the instructions, but did come with some M8 penny washers that seemed to be close enough. I also see there’s some seat belt centering bushings, but I’m not sure where those go. I have a question out to the factory. I also put together another floor panel that covers the flap and elevator controls torque tube assembly under the front seats. Now I just need to start installing the numerous M4 Rivnuts in the center fuselage, an item I’ve been putting off due to it just being a laborious task... Update 1/31/20: I received word from the factory that there is a steel bracket that is already embedded into the canopy. The CAD drawing of the bracket is below. I enlarged the hole a bit and finally was able to see the bracket. I was missing some parts, namely the rear seat strengthening channel and one of the elevator torque tube brackets. I put an order in for those parts, but it was holding up further progress on the fuselage. So I decided I might as well go ‘Old School’ and make the parts to save some time! I had the forward position rear seat channel handy, so I looked at the plans and it seems it’s the same part, just a bit longer in the back. So I trimmed off the end and it fit perfectly. I took a spare piece of aluminum and drew the outline of the elevator torque tube bracket, cut it out, shaved it down and drilled the holes. An hour of effort saved me at least 6 weeks of delivery time from TAF! I was going through the inventory shelves again to take stock of what I have left to do. I came across a bag of parts that didn’t have any reference in the manual, so I sent an email to the TAF technical team. The parts were labeled: CF-CHL-031-X-C-0 Rear Floor Skin Support CF-CHL-042-R-C-1 Side Channel Right and Left I was fortunate enough to get a quick response from the man himself, Mike Bleyth! He sent me a screenshot of the manual and pointing to where these parts go. I figure I might as well post this if anyone else had the same question. Also, in my search I went ahead and downloaded the Sling Aircraft app from the Apple store. I downloaded the manuals to do a search and I actually found a nice treat - Work In Progress Sling TSi Manuals for the Fuselage! They seems to be filling in some nice detail with colored images for construction. These are not available on the Dropbox account yet, so if you want a sneak peak, I suggest downloading the app! I had my back seats cleco'd and ready to rivet, so I set aside the canopy door puzzle and decided for a quick win. I riveted the back seat base and attached it to the seat back. The fun part was placing it in the fuselage and seeing it all fit! I did have to figure out where to install the back seat stops, as they are not mentioned in the instructions. After a bit of a game of tetris, lining up rivet holes and figuring out the positioning of the stop, I cleco'd it in place. I confirmed on another builder's blog of the positioning. However, the position isn't so easy to get to since I have the QuickBuild and it looks like I'll have to drill some holes in the fuselage ribs. I figure it's about time I climb in the plane and getting to work in there! I'm quickly running out of inventory on my shelves! I'm kinda glad I pulled the trigger on the avionics, I just hope it doesn't take the whole 3-4 months of lead time to get everything in. That would mean some down time, unfortunately. I started working on the Throttle and Brake Controls to get them mostly assembled. I am keeping the center console channel undone for a while so I can run wires, but I figure I might as well get parts pre-assembled and out of bags. The brake and throttle went together easily, but it looks like I'm missing some parts. Of course they are small things, like one Castle Nut and one Bolt Bushing used for the throttle cable. Speaking of missing parts, I did get a shipment in from Aircraft Spruce with some bolts I needed to finish up the front seat and the rudder pedals! Nice to finally check those off my list. Started working on the back seat base. The instructions were pretty clear and things were cleco'd together in relative short order. I did run into some alignment issues of the pre-drilled holes. Some I had to drill fresh, others I just had to ream out to get a rivet in. With the goal of clearing some inventory from the shelves, I picked up some components that were relatively quick to install. The flap actuator is held on by two bolts, so I placed it in there and temporarily secured it. I am having some friction issues on the control tubes while secured in the frame.. will need to trim the brackets that hold the bushings a bit to make them move without much effort. Saving that exercise for another day. For the heater, I measured and drilled the mounting rivnut locations. Since I was drilling through the firewall, I measured and checked at least 5 times! Didn’t want an errant hole to plug up.. Drilling the 32mm hole for the bushings was made easy with a metric step drill bit I found on Amazon. Once done I just pulled the hoses through and secured the hose connector with some hose clamps. From there, I moved on to the front seat rails. Only a few components there, so I secured in place with clecos. I’ll be getting the missing rudder pedal bolts from Aircraft Spruce tomorrow, so I figure I cleco them in place. I’ll connect the pushrods and rudder cables as soon as the bolts arrive. I am working on reducing the inventory of parts on my shelf before I really dive into the fuselage. I decided to start on the seats and it was nice since there are the newer style color instructions available. Putting the parts together for the seat was pretty straightforward, the only issue was that I only had enough parts for one seat. Missing some countersunk metric screws and a particular sized bolt for the seat mechanism. I got as far as I could and will just order the missing parts online. For now, I just put a list of missing items in a bag with other loose items and will be able to quickly finish it up when the parts arrive. |
Archives
September 2021
Categories
All
|


 RSS Feed
