|
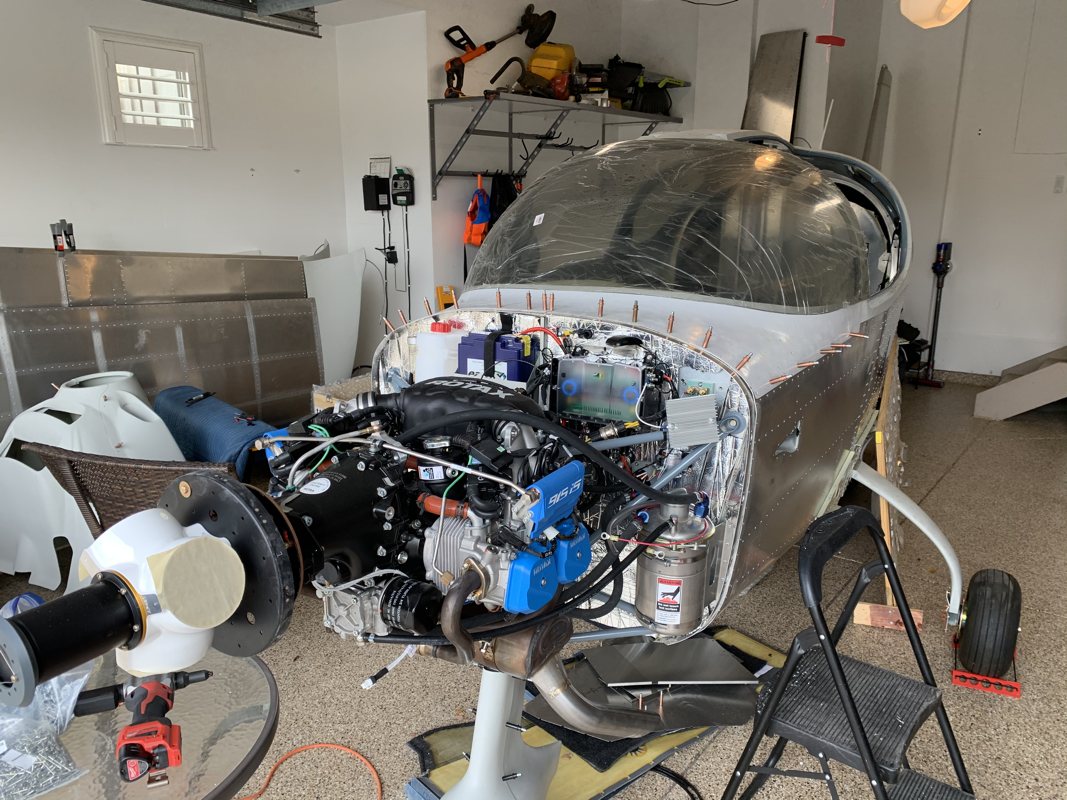
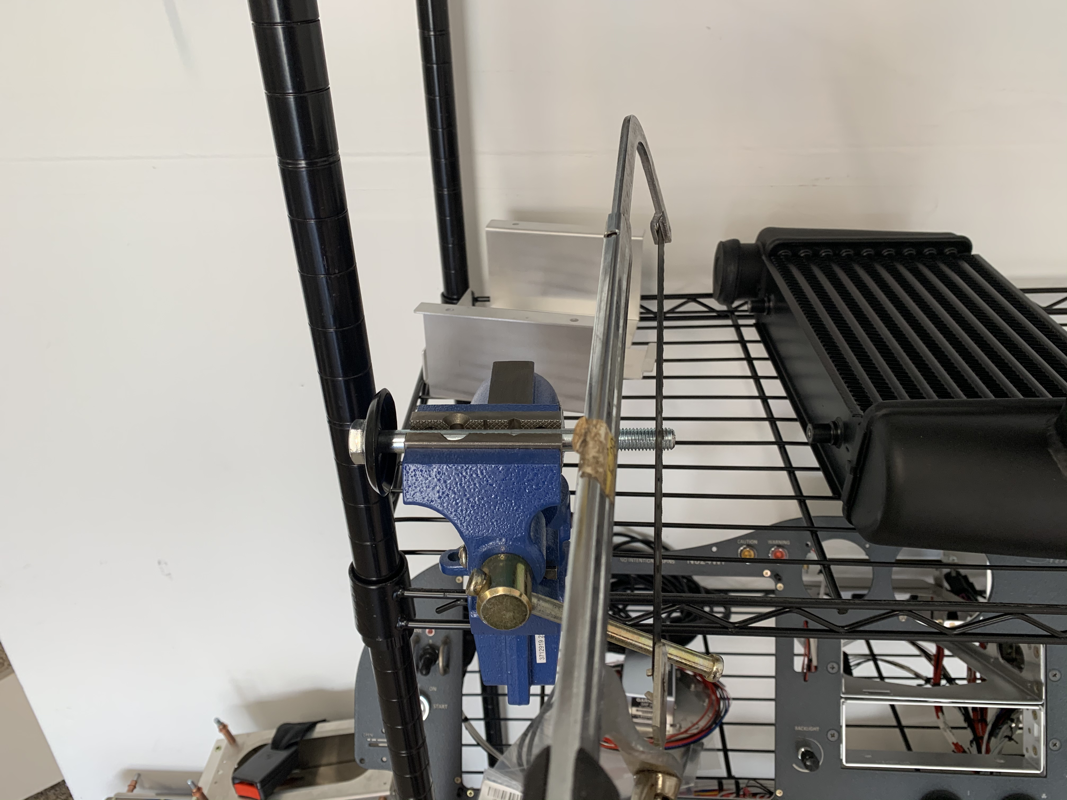
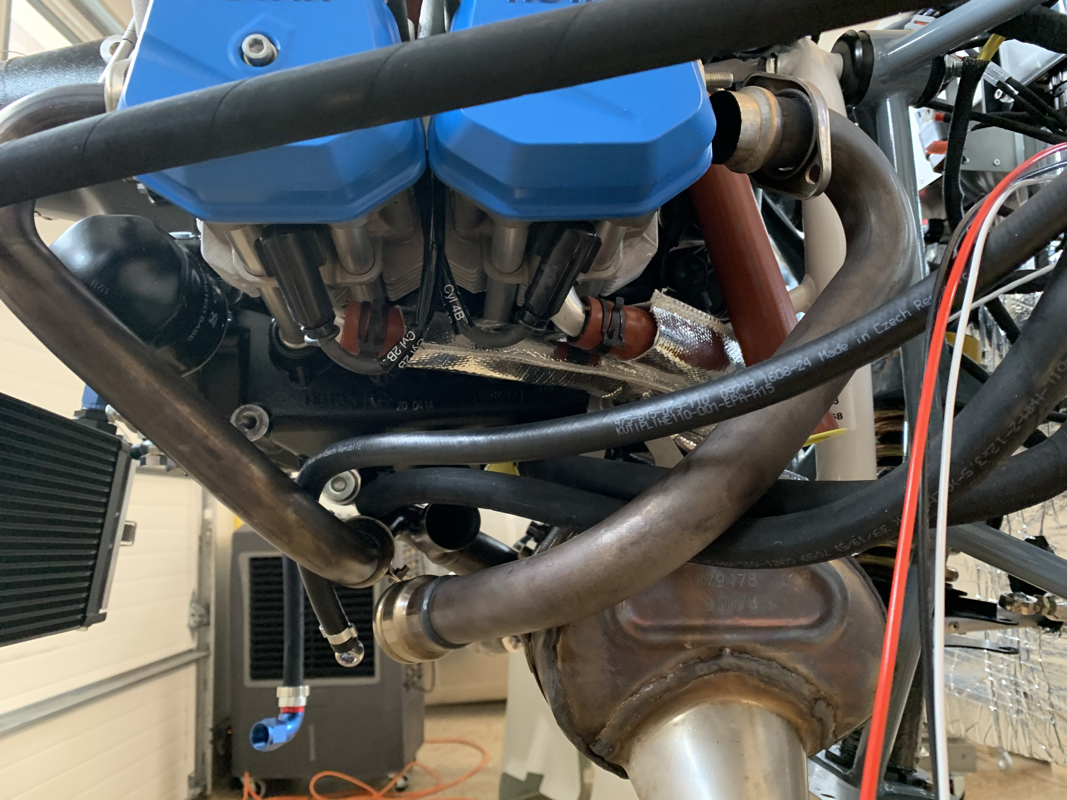
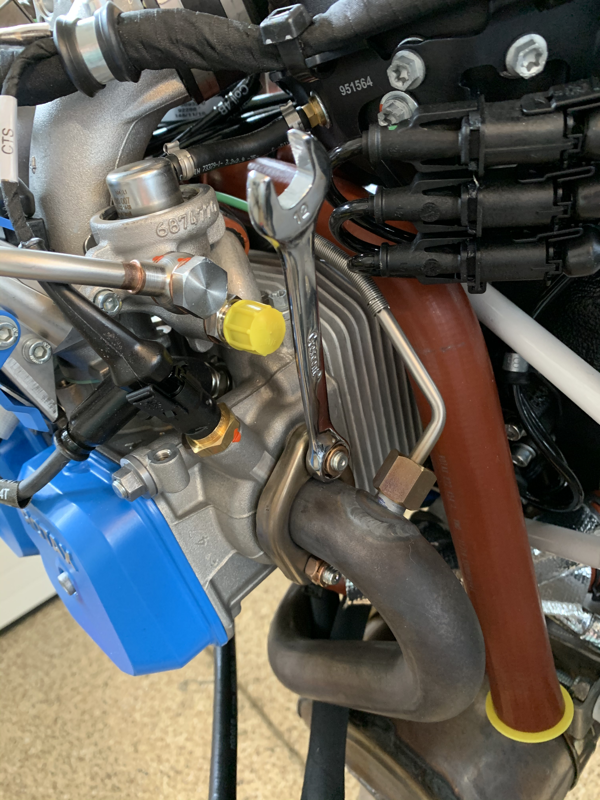
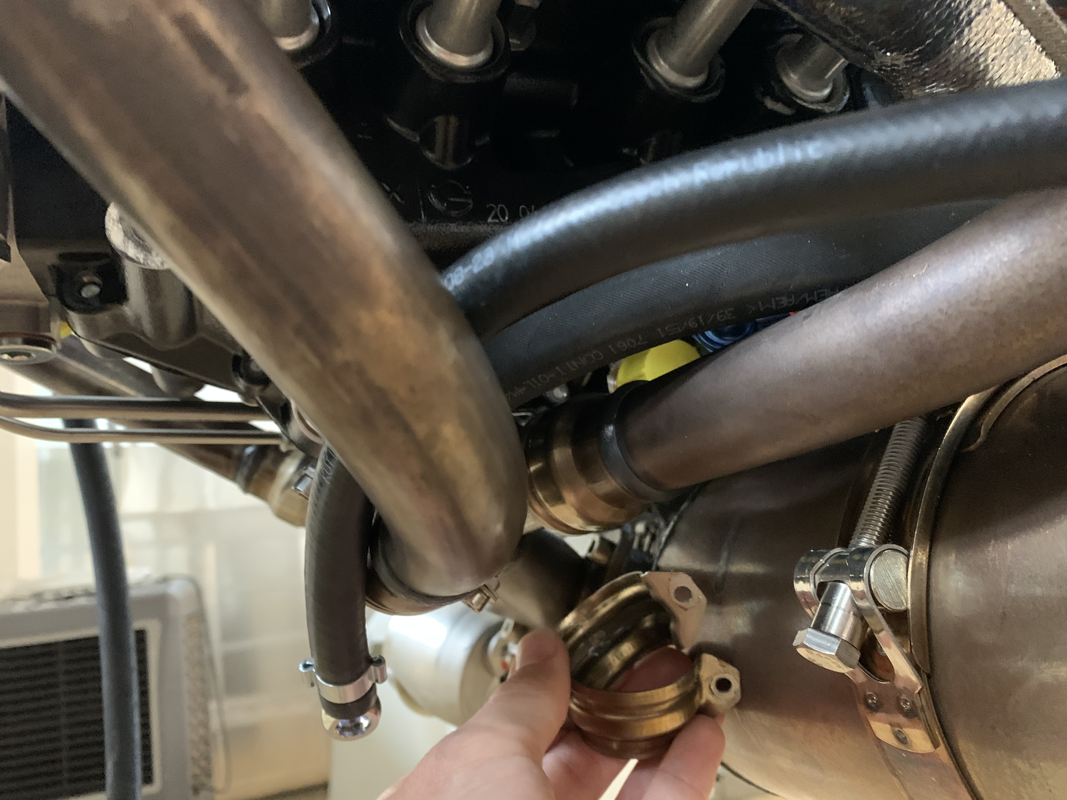
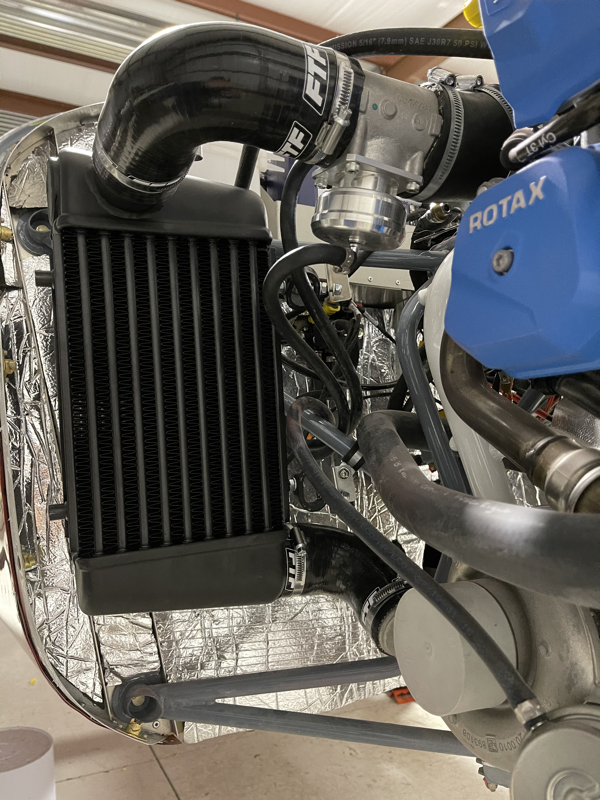
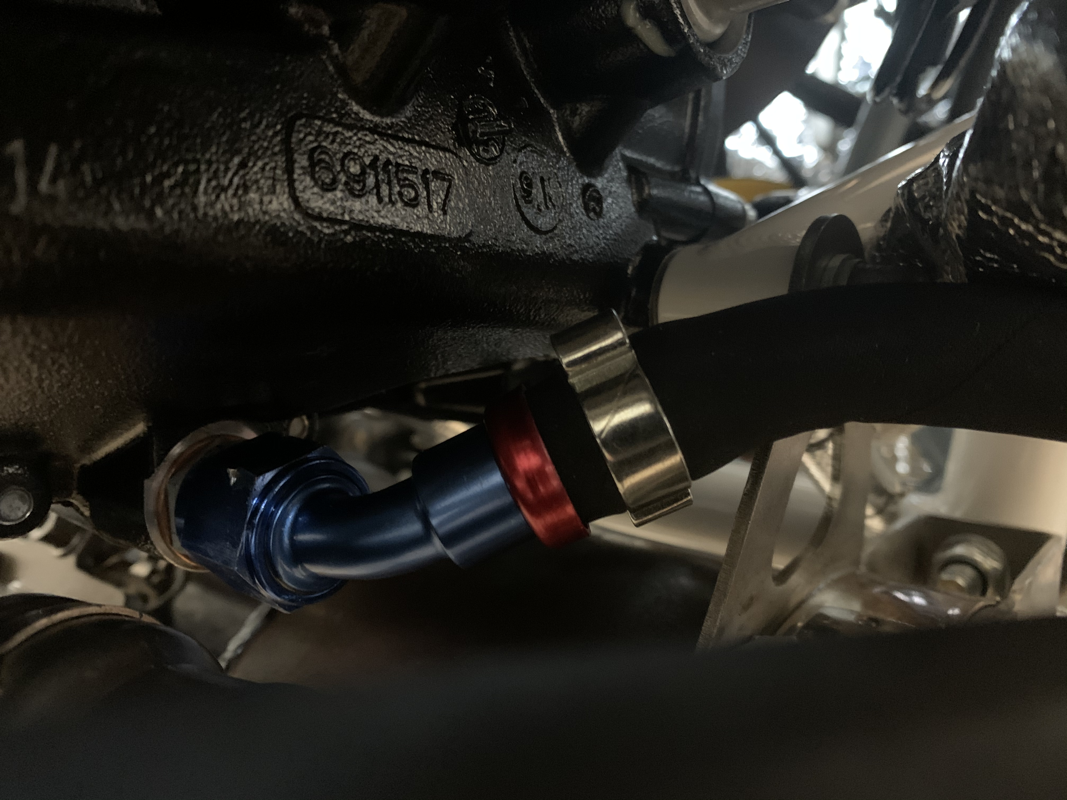
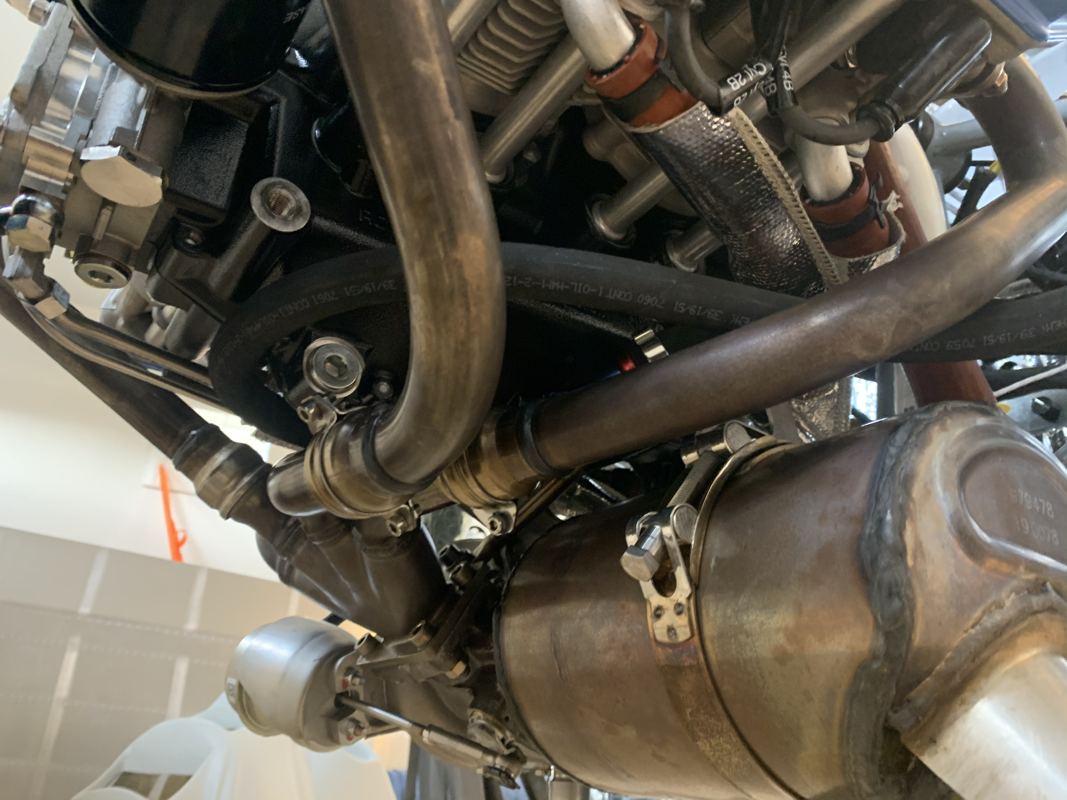
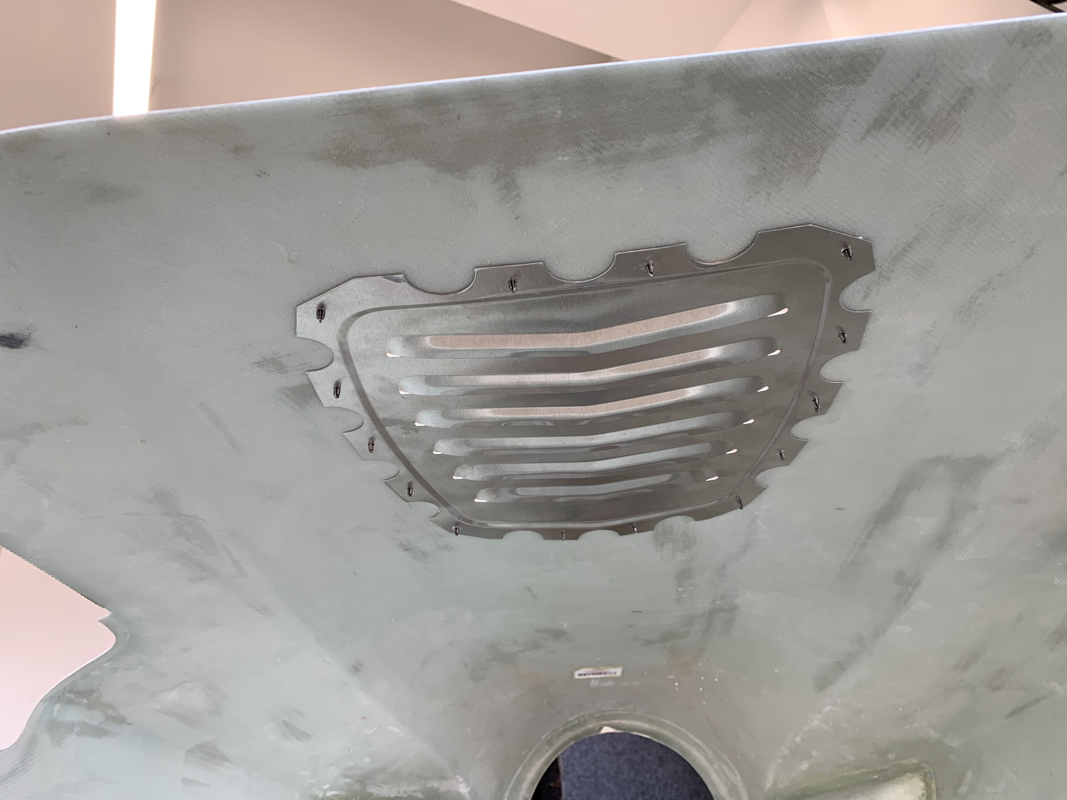
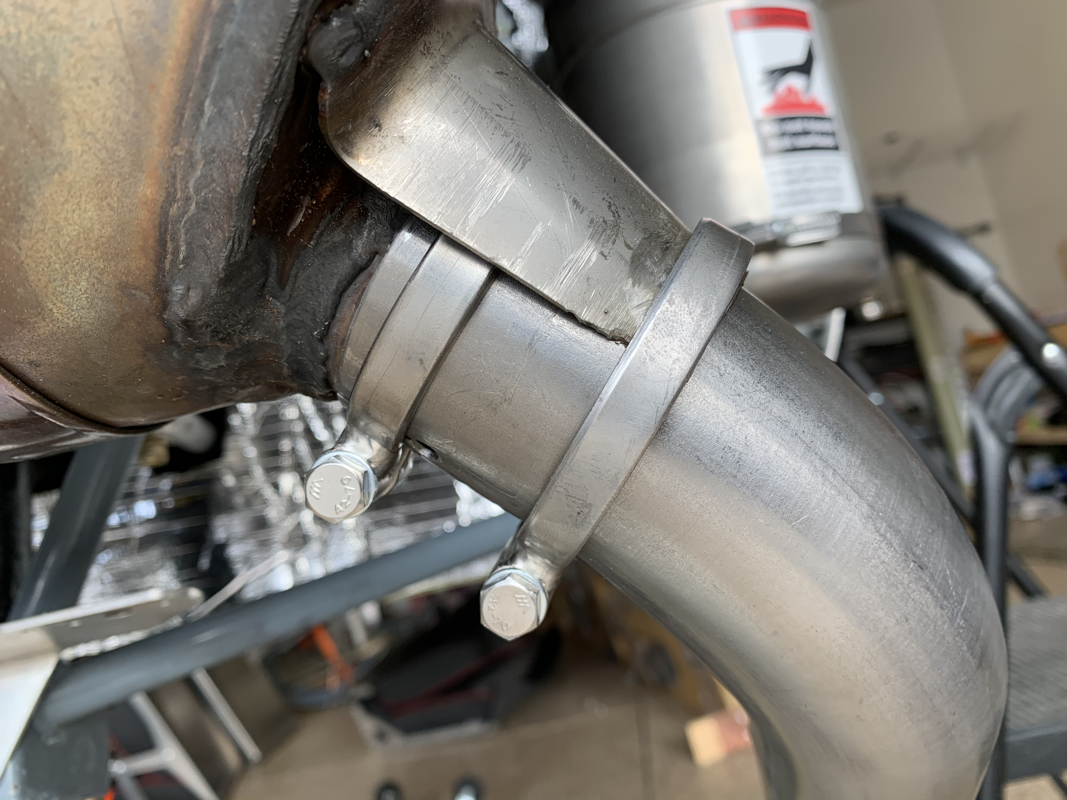
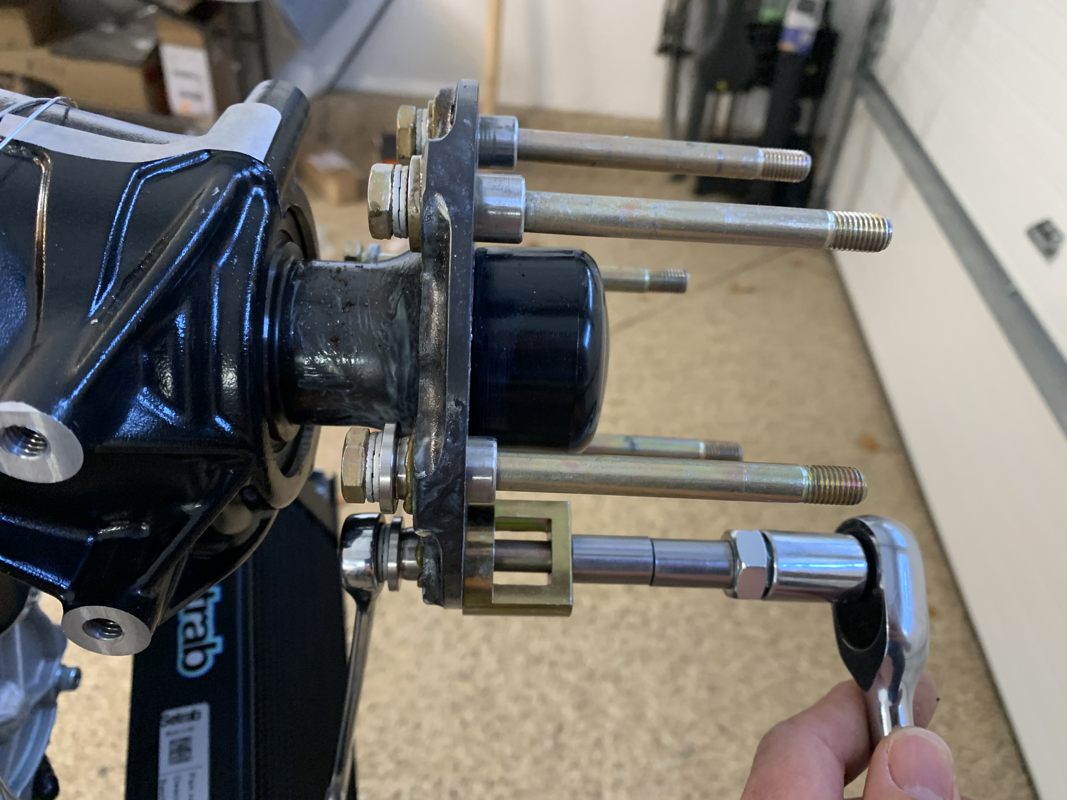
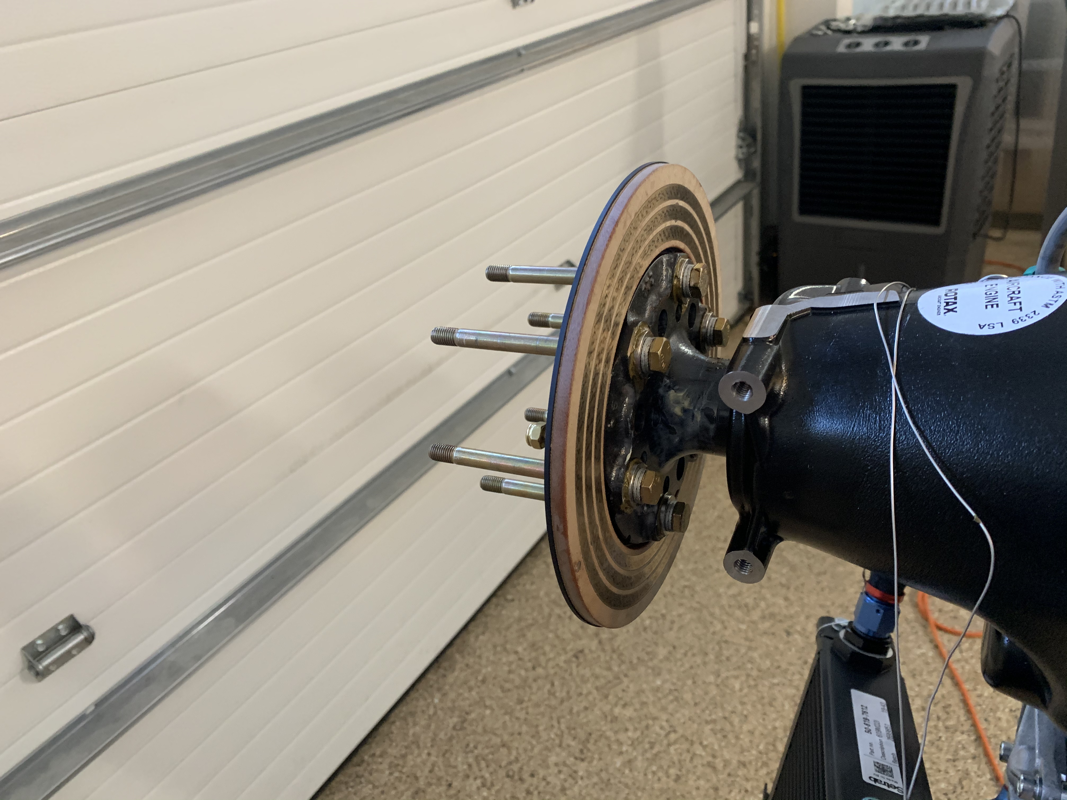
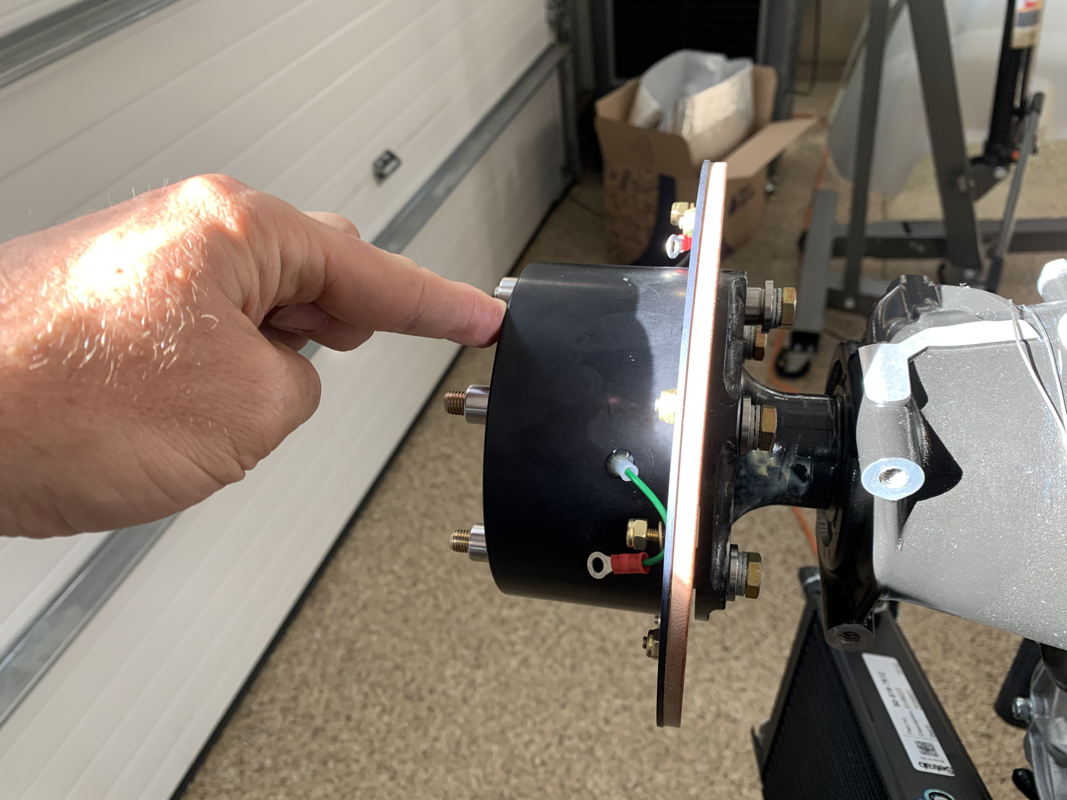
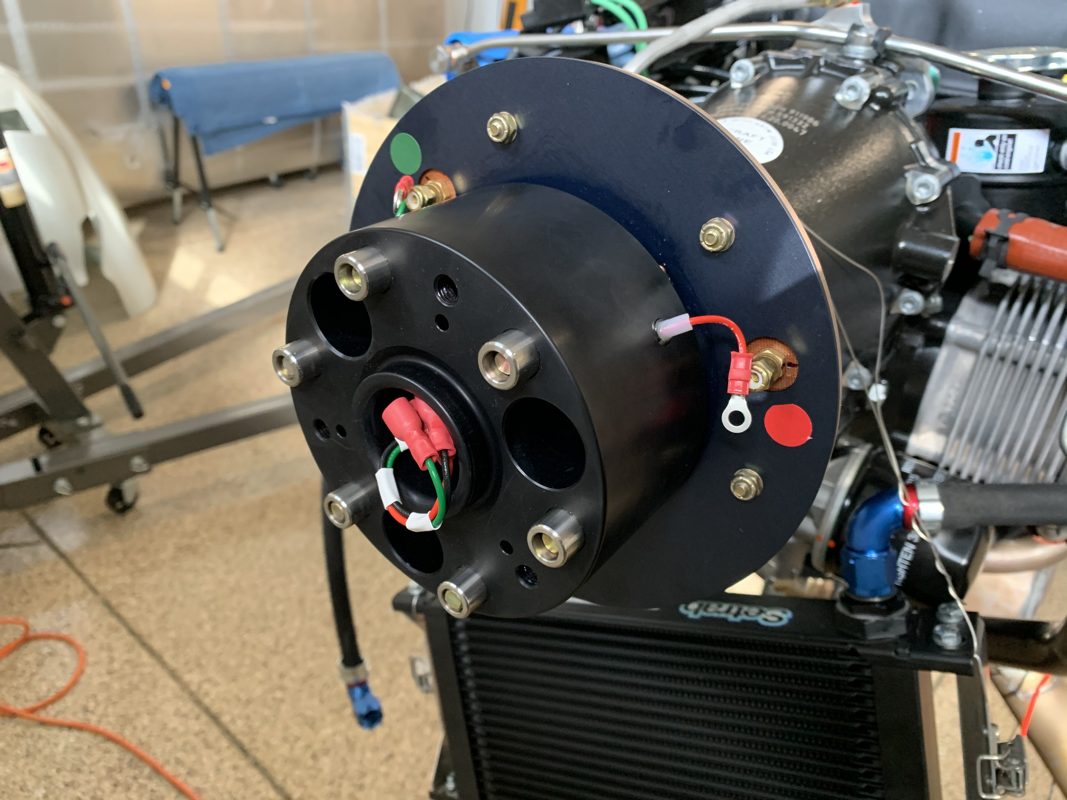
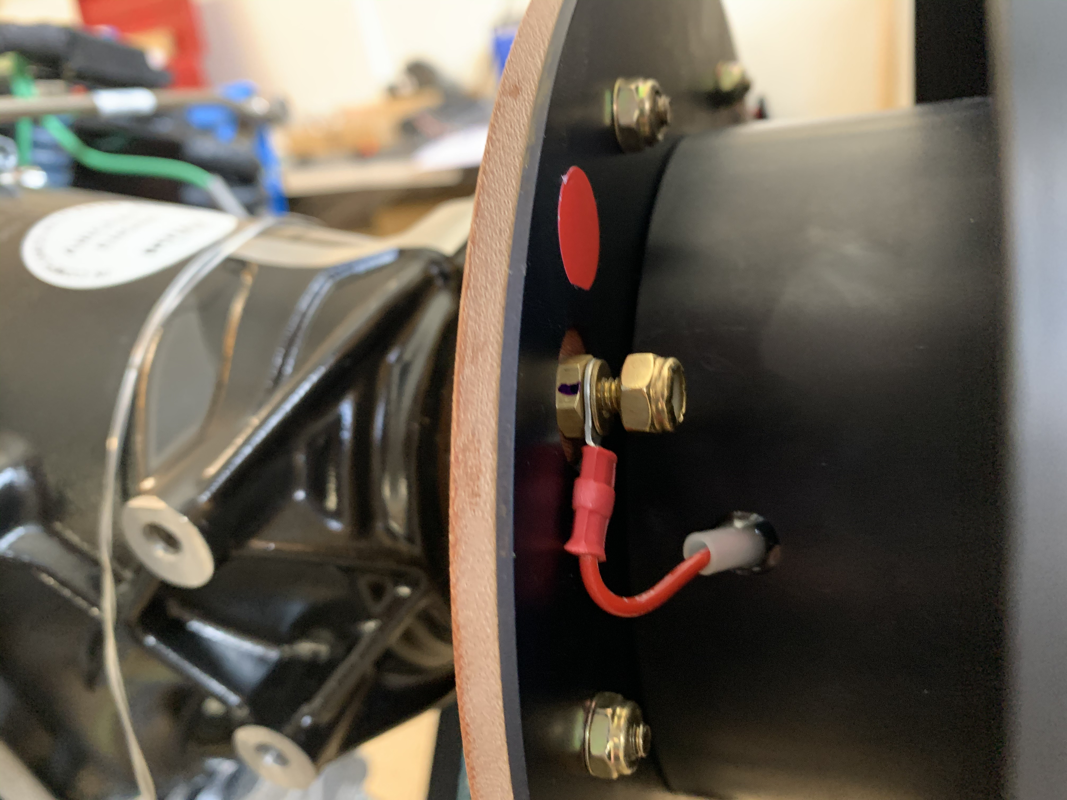
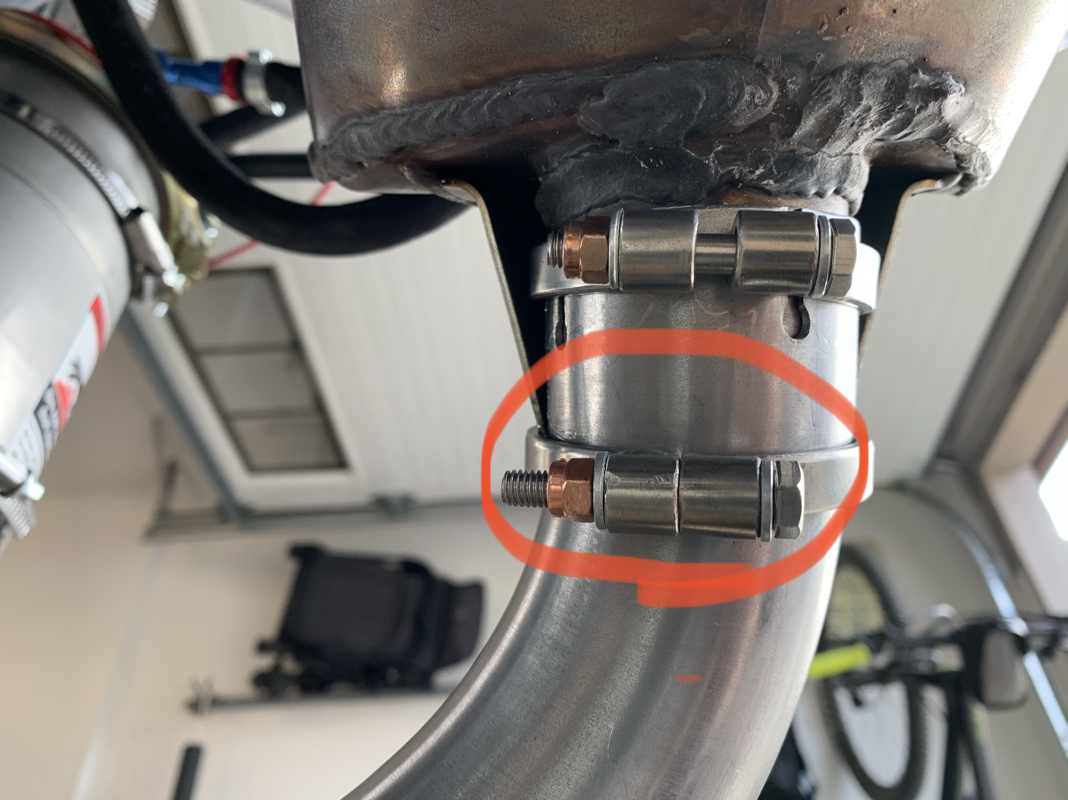
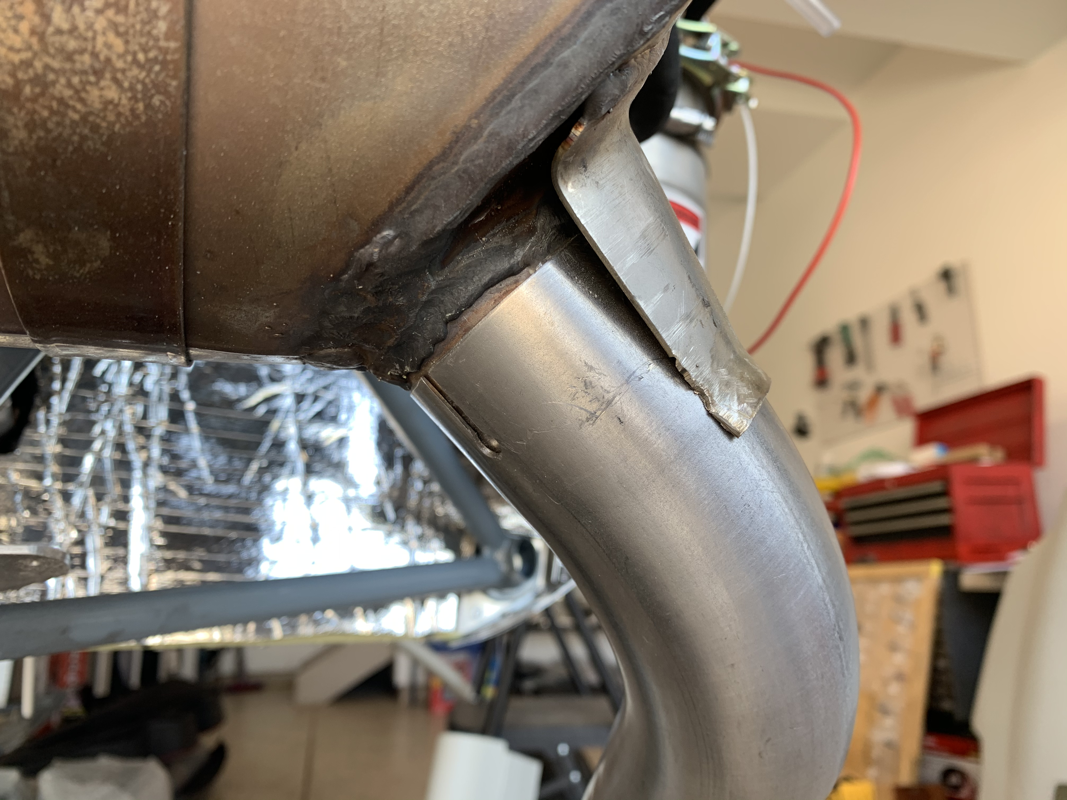
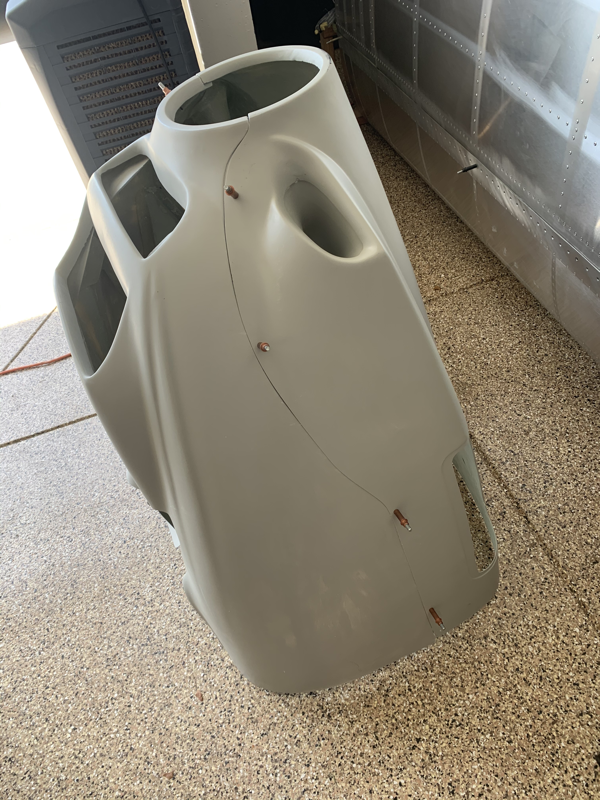
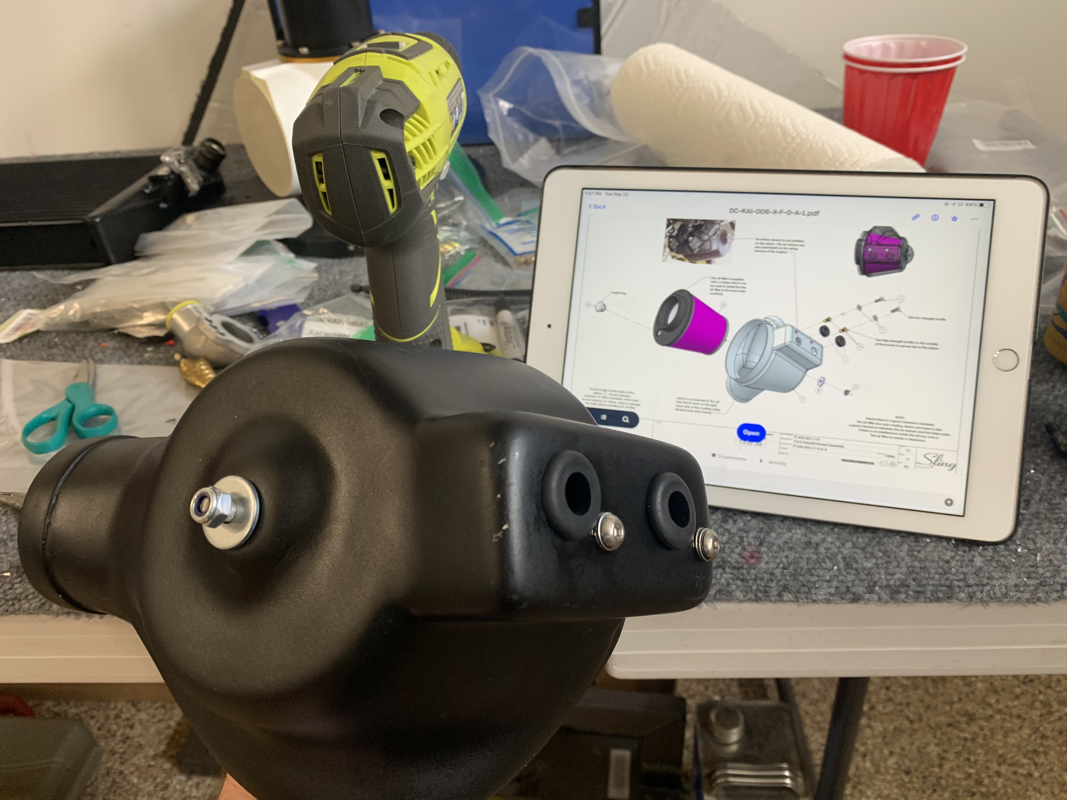
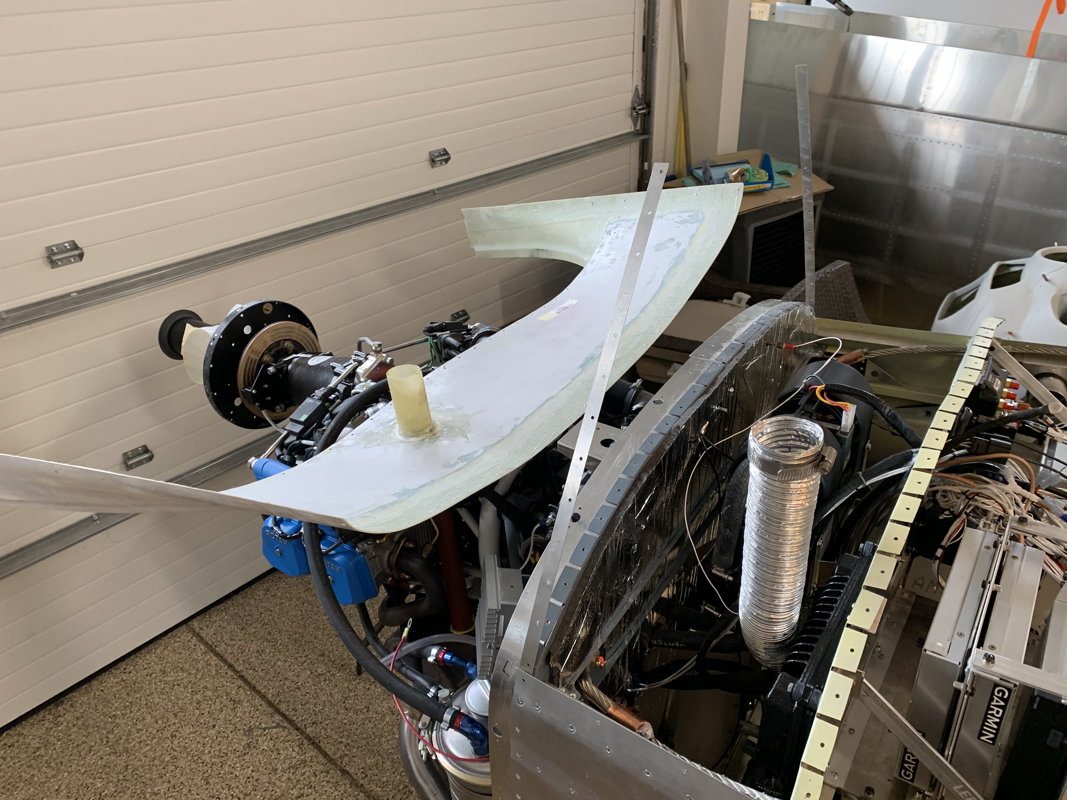
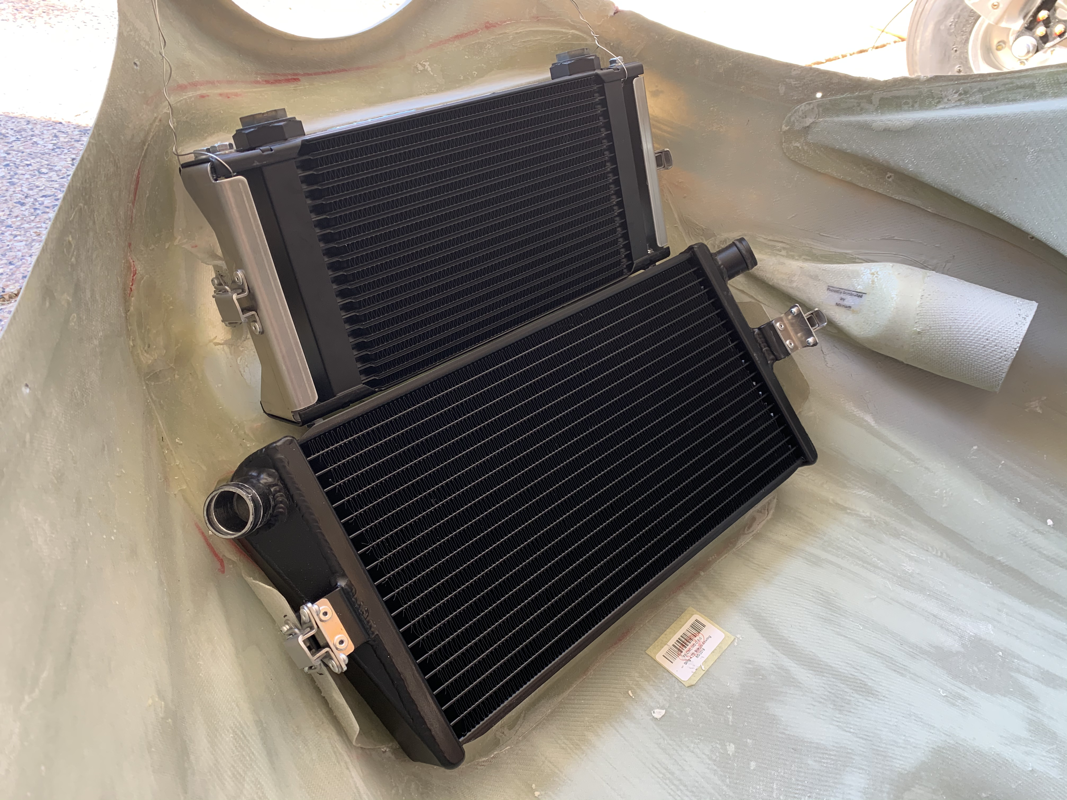
When mounting the engine, the bolt that is nearest to the turbo needs to be trimmed a bit.. maybe a half centimeter. Be sure to measure 125mm from the bottom of the bolt head instead of the top. I initially cut mine too short and had to order another M10x130mm bolt from Bolt Depot... oops! Once that was done, I swapped the coolant outlet at the back of the engine that comes with the kit. Otherwise, you can't reach the bottom bolt with the wrench as that is in the way. Next up was connecting all the oil lines. Be sure to twist the AN fittings to the correct direction before tightening them with the ear clamps. Also, be careful when you remove the yellow stoppers - there's a good cup or so of oil left in the engine from when the factory tested it. Just have a collection cup ready and 10 mins to spare to catch all the oil that drains out. It's a tight fit on the left side getting the wrench in there to tighten the AN fitting. The right side is impossible to get to unless you remove one of the exhaust pipes. They detail how to do this in the manual. It's pretty simple removing the pipe clamp and loosening the bolts on the engine. I wanted to start fitting the cowling, but first needed to get the propeller mounted. Be sure to follow the Airmaster manual for this. You'll need Aeroshell 22 grease and some anti-seize grease. The firewall forward kit does come with Copper Slip, which is what I used on the propeller lugs to prevent rust and ease of future disassembly when needed. However, when inserting the lugs, make sure to insert them with the bolts, otherwise you won't be able to fit the bolts through later. I also recommend using the lug fitting tool that comes with the kit, don't push the bolts from the back, use the bolt threads to pull the lug through with a straight even force. These aren't easy to get in and require some decent pressure to get them set. I was surprised that the propeller doesn't use any thread locking fluid on the bolts. Instead, they use the Nord-Lock washers. Apparently their design prevents any loosening from vibration and require more torque force to unscrew than to lock in. After that, I put on the propeller hub and loosely fit the bolts for now. I need to get a crow foot wrench adapter for my torque wrench because the wrench won't fit between the prop flange and the engine. Next up was some grinding.. removing the pipe below the welded section was easy, but it's not so easy getting to the section below the piece that sticks out. With that thickness in metal, it's going to take quite a few dremel metal cutting heads... I'll get to that eventually, but at least now I can fit the cowling! I drilled the 4 holes on each side where the manual says to do. Not a perfect fit, but will trim that later. I fit the latches to the front so I can put the coolers in front. I also drilled the hole in the top of the air filter and fit it to the plastic element provided. I was inspecting the fuel pump on how the connections are fit. The stock 915is fuel wire doesn't have enough length to reach to the other side, so I'll have to splice and extend that to fit. Comments are closed.
|
Archives
September 2021
Categories
All
|


 RSS Feed
