|
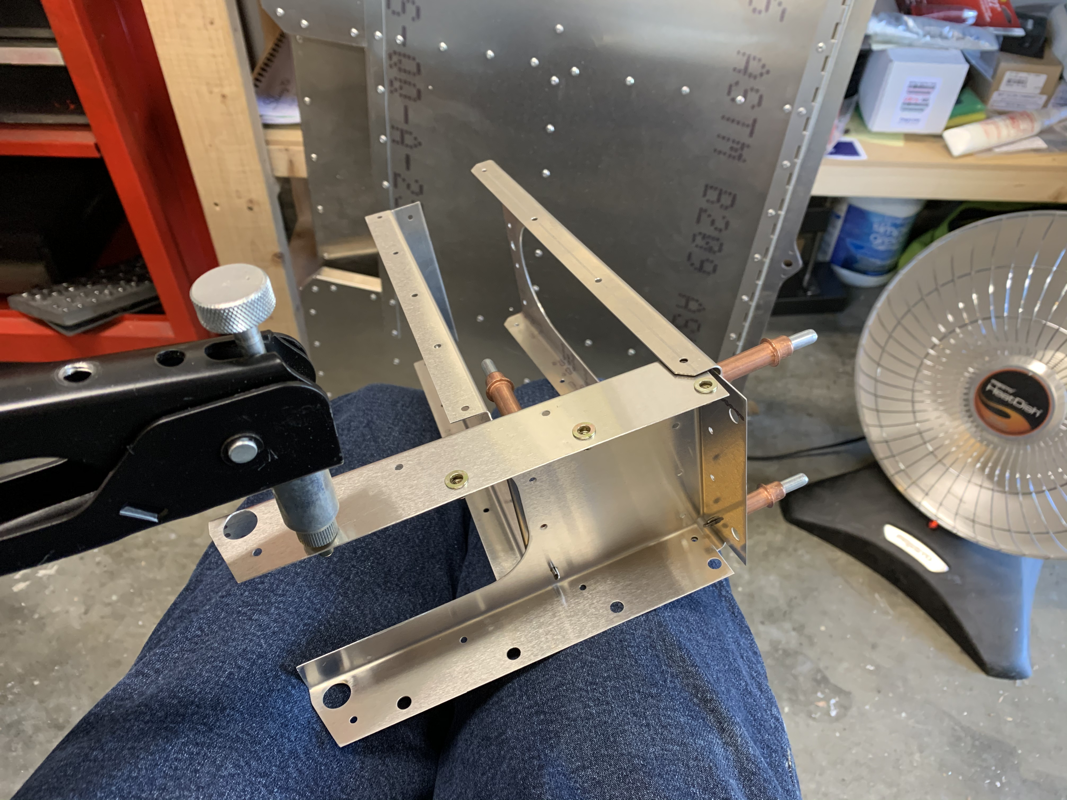
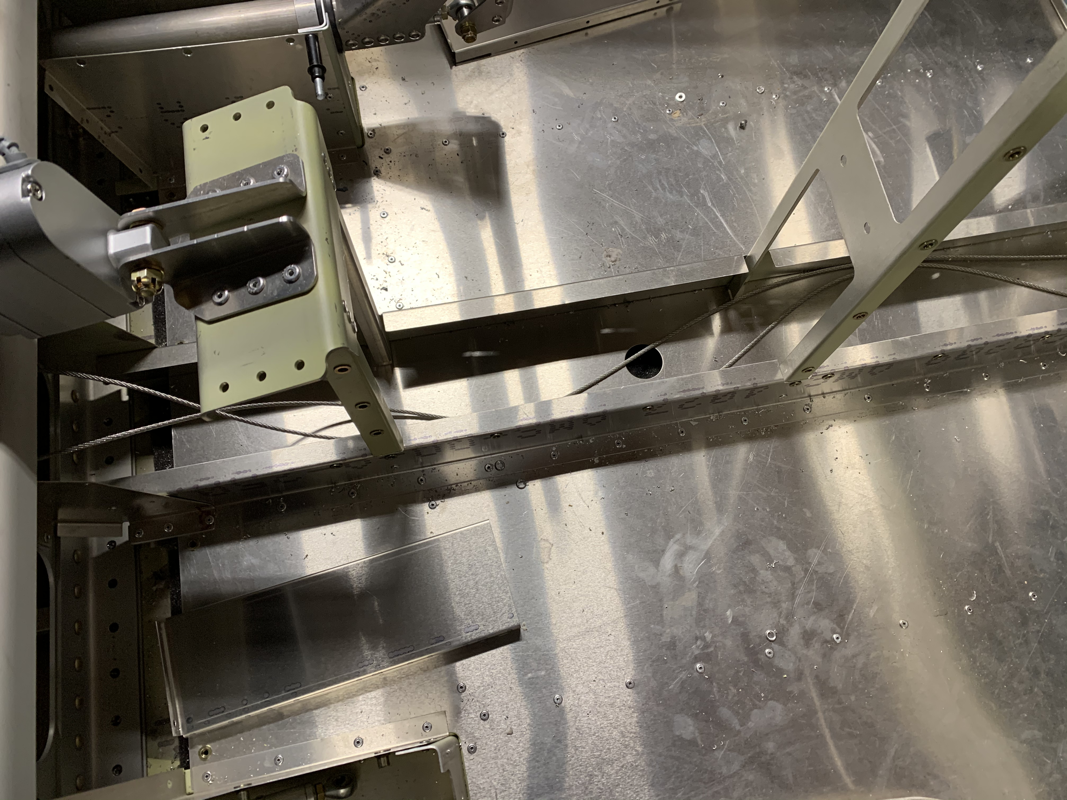
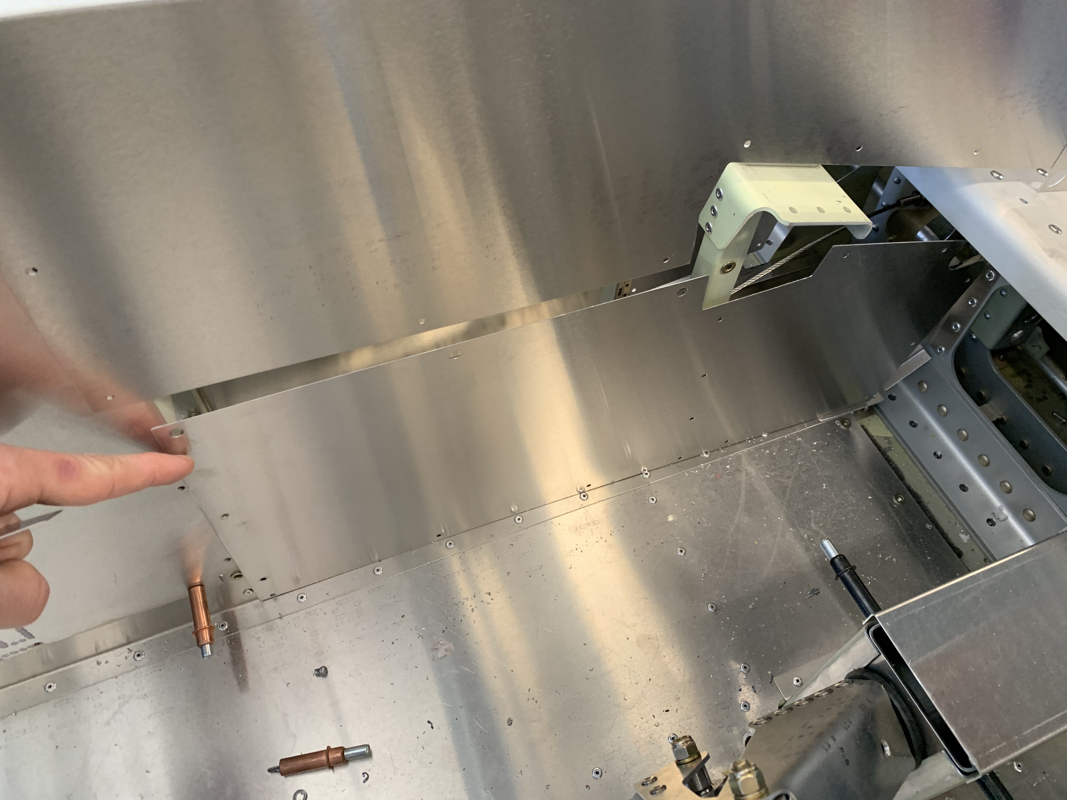
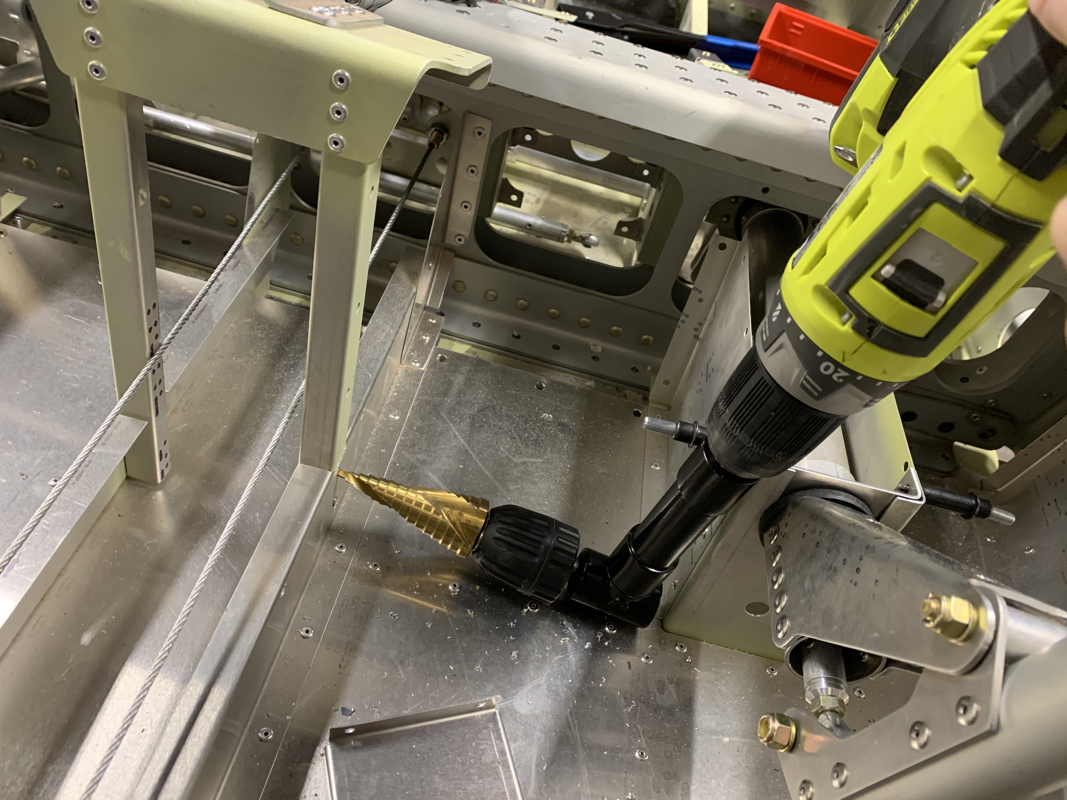
With the help of the wife, I was able to move the wing to the table. The garage is starting to feel like a game of Tetris as the space is a bit limited. Not the biggest deal, but I am sure looking forward to moving to a bigger house next year in Colorado. The flaps and ailerons went on easily. I checked the alignment and had no major issues since I kept the leading edge unriveted. Once I felt the alignment was good, I placed the rivets in and started popping them from the center of the flap/aileron outward to avoid any inadvertent twisting. The Ailerons did have a slight twist toward the tip of the wing, so I had to de-rivet the leading edge. Jean suggested to line up the Aileron on the wing, then rivet each hole one by one and check alignment on the way. I also placed the pushrods in the wing and secured them with the bolts. I then tested the maneuverability of the components and the flaps had no issue. The Aileron, however, seemed to catch at the end of the wingtip where the brackets rub against the rivets. Looking at either bending the brackets or adding spacers. I then test fit the wing tip and discovered the form factor was narrower than the wing’s thickness. Not knowing any good tricks for expanding the fiberglass tip to the form and allow for match drilling/riveting, I reached out to Jean and he recommended a great idea. Grab a styrofoam block and press it against the end of the wing to get the outline. Then, cut out the foam and glue it in place in the fiberglass wing tip to get the right form. Ill be able to drill and rivet once the fiberglass tip is lined up with the metal. Comments are closed.
|
Archives
September 2021
Categories
All
|
 RSS Feed
