|
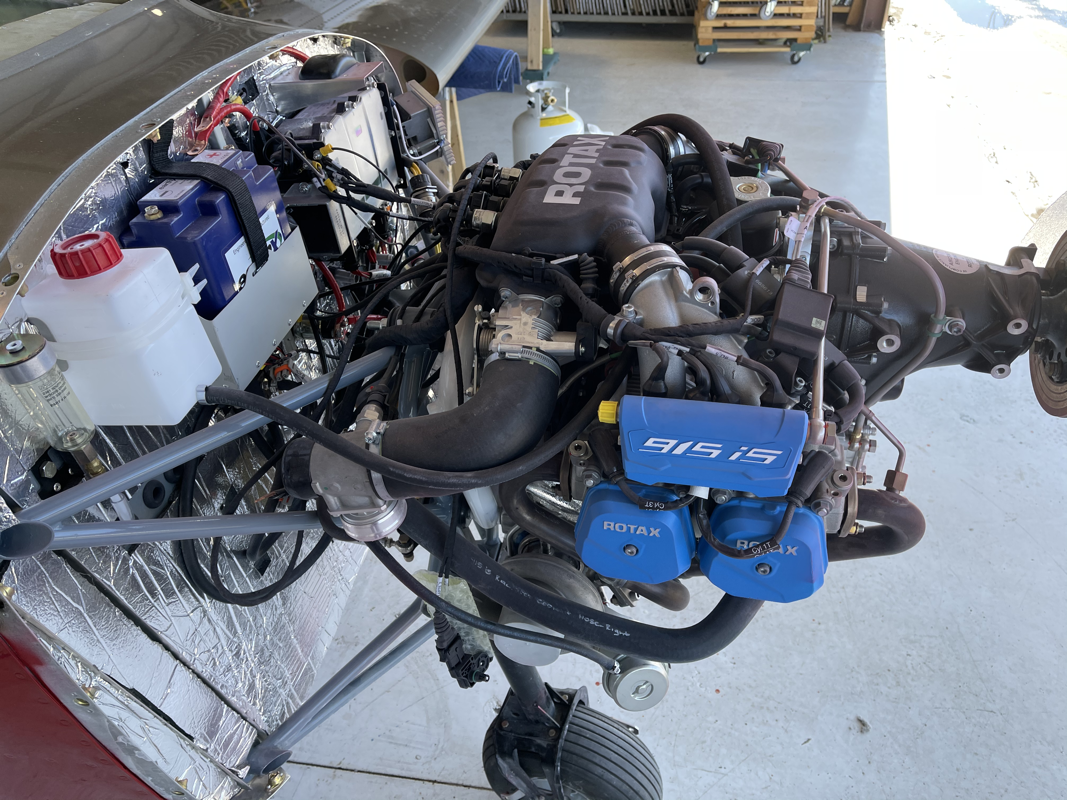
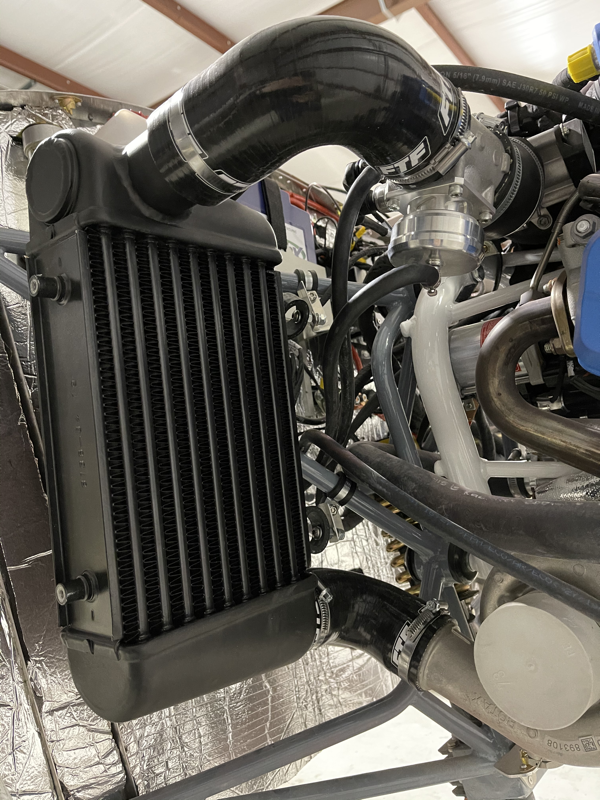
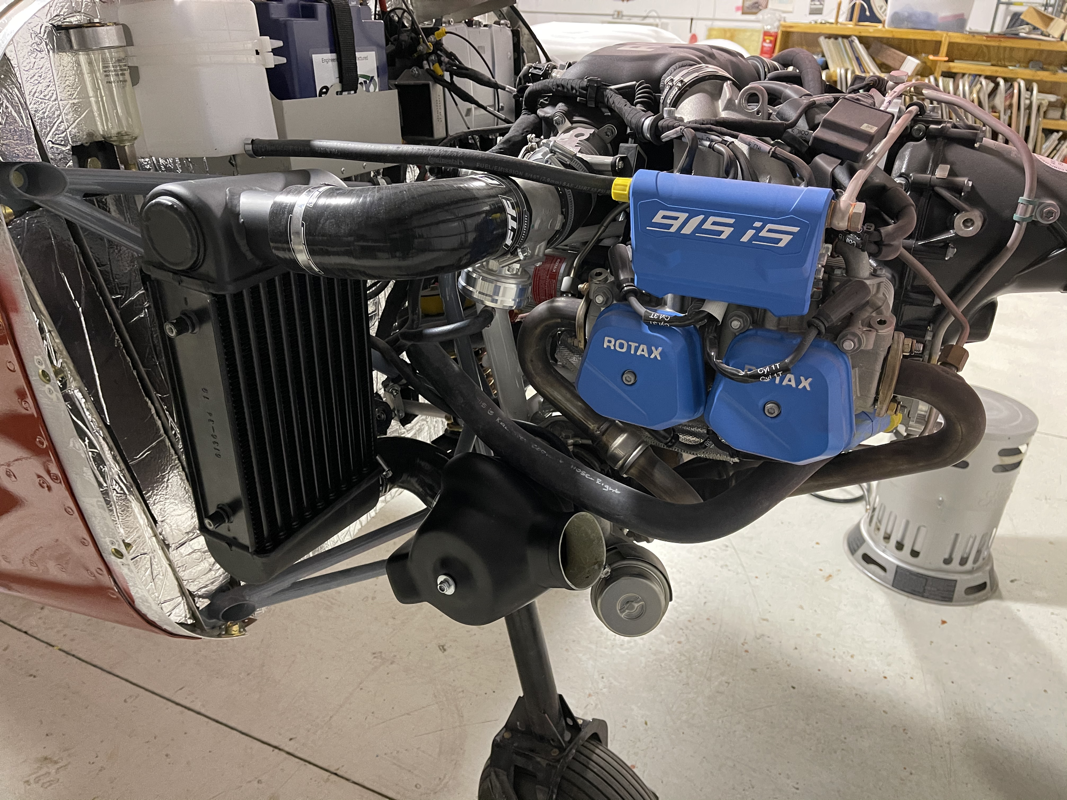
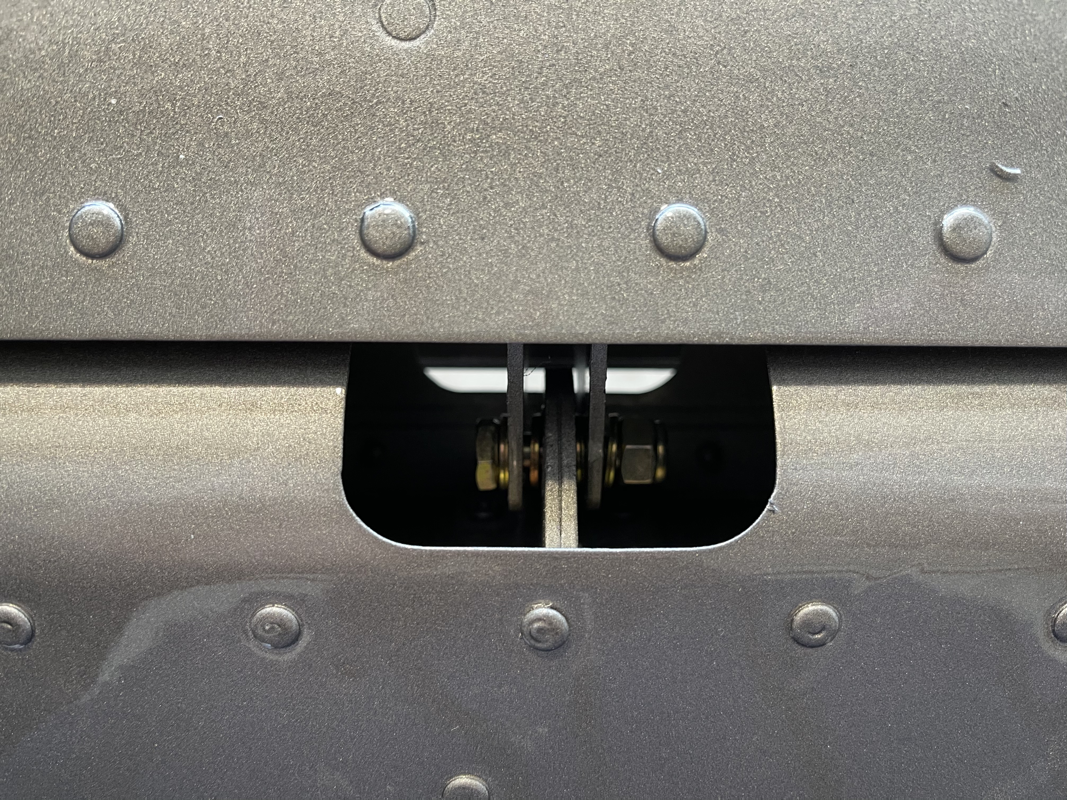
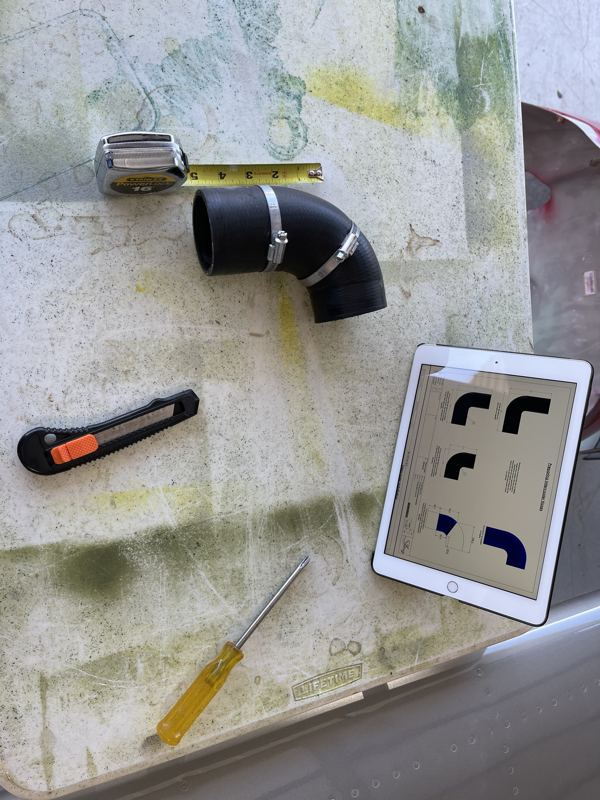
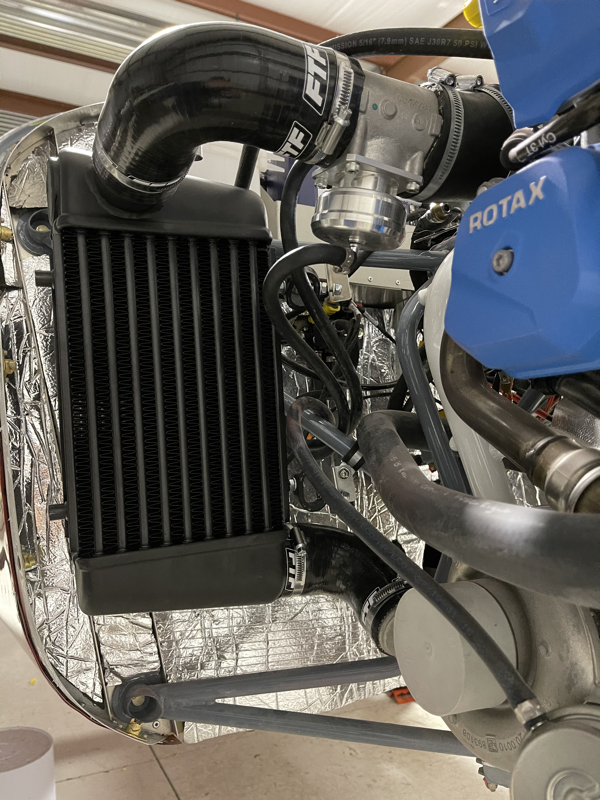
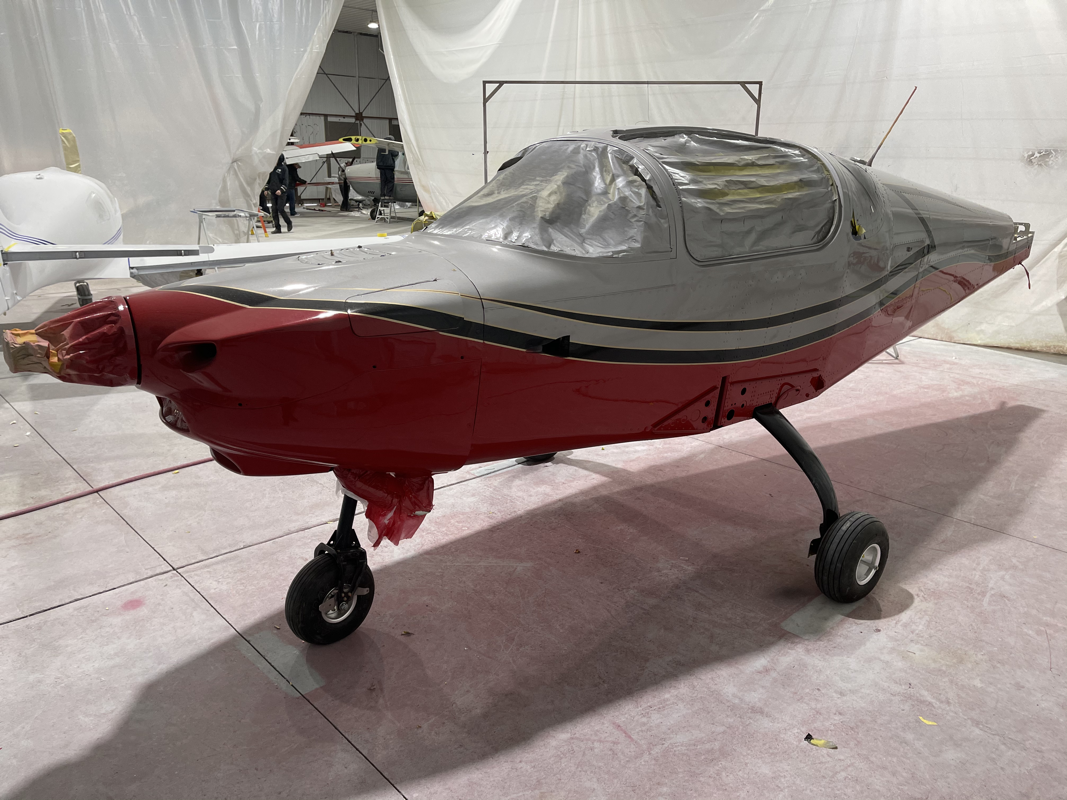
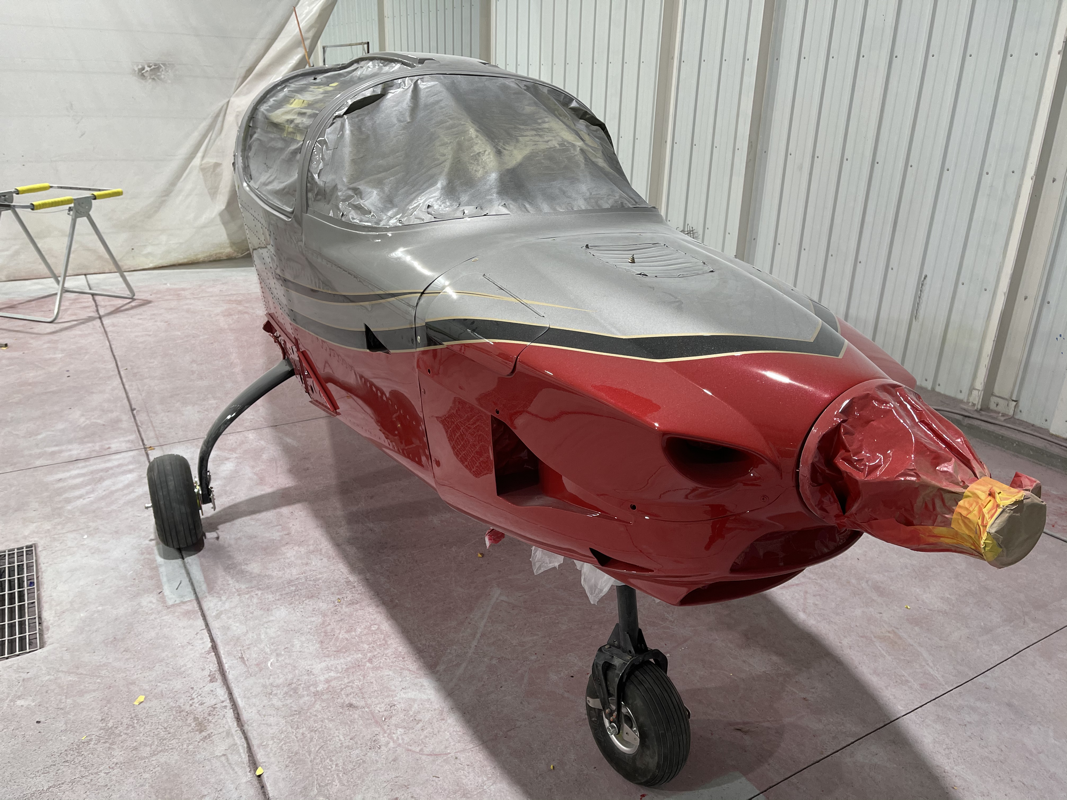
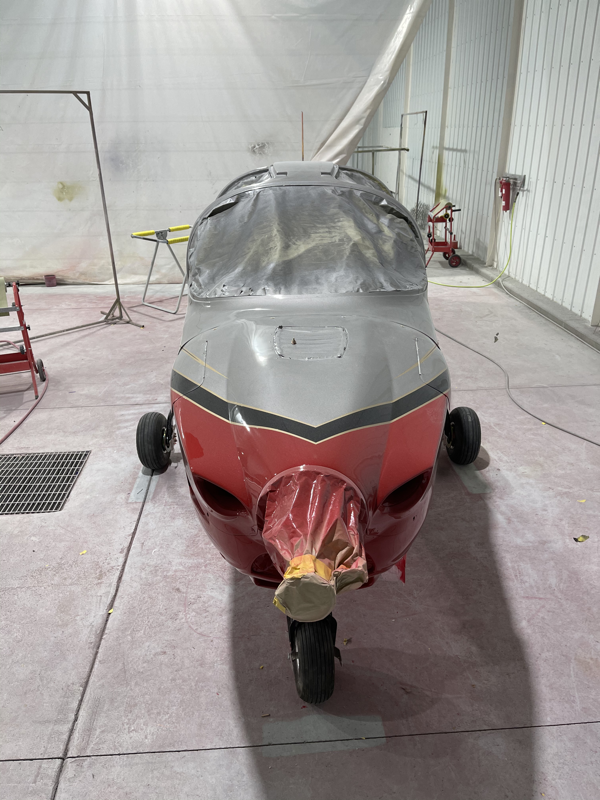
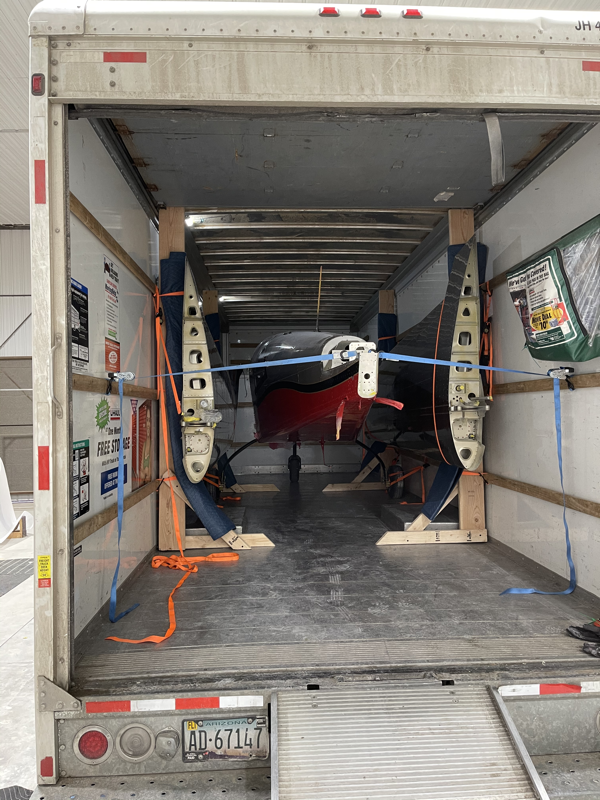
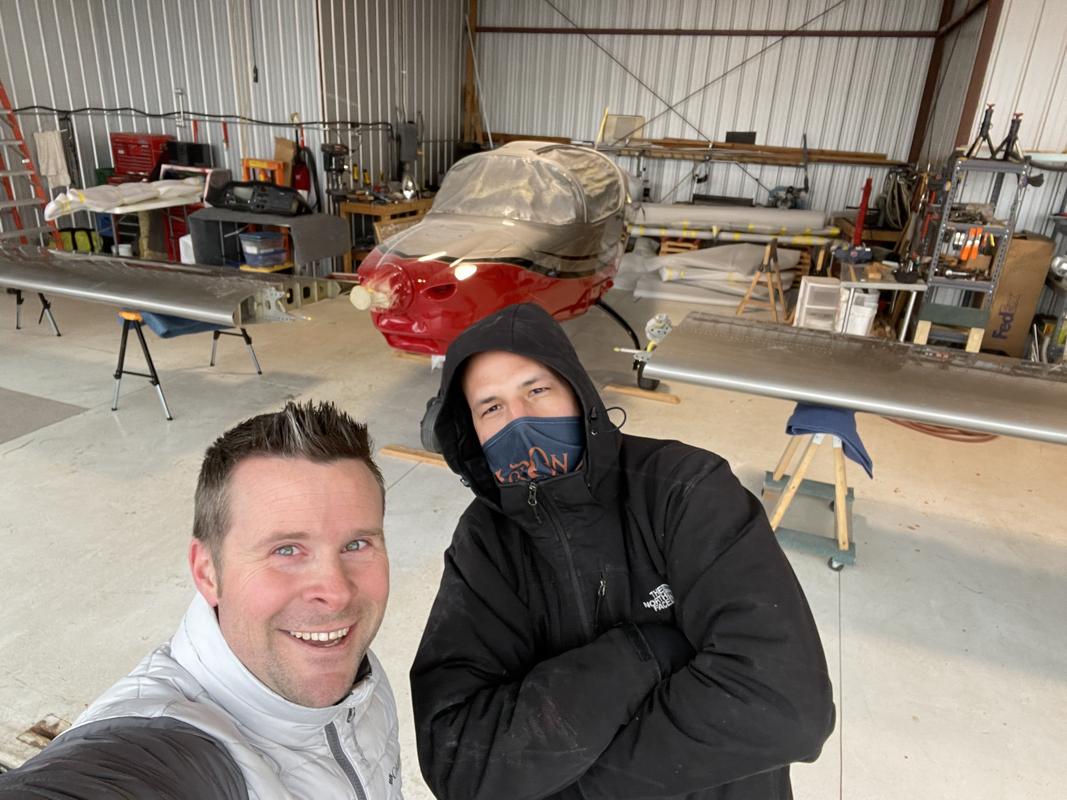
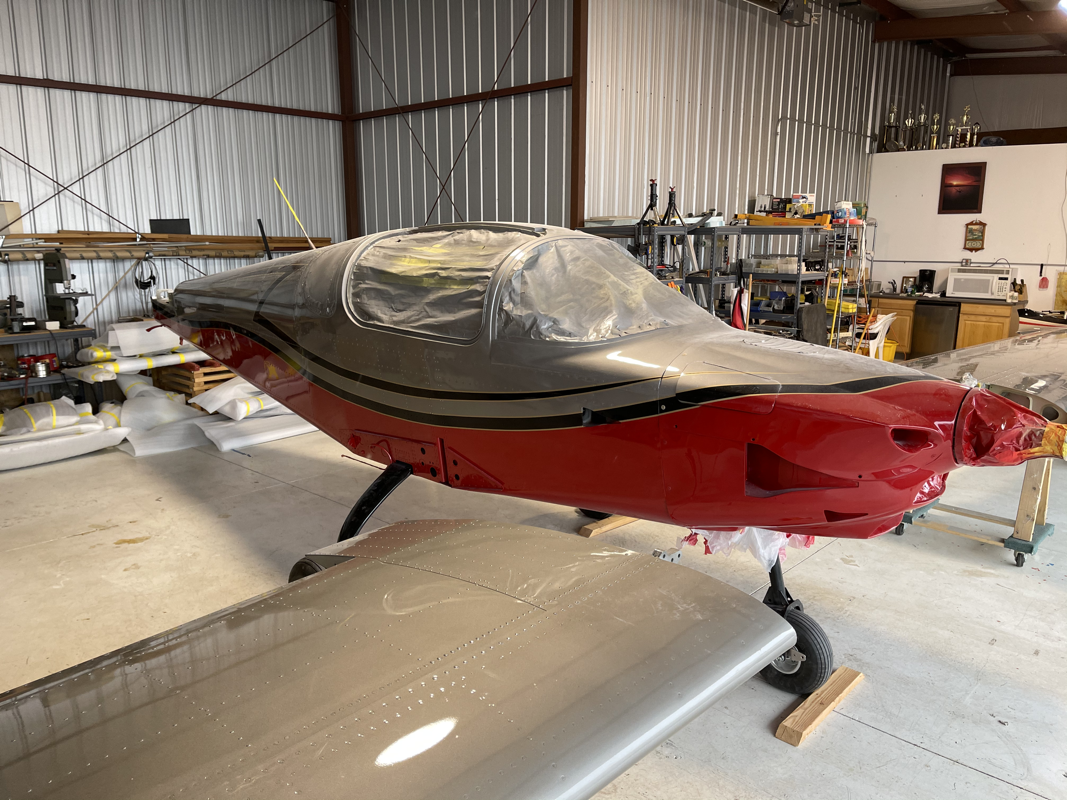
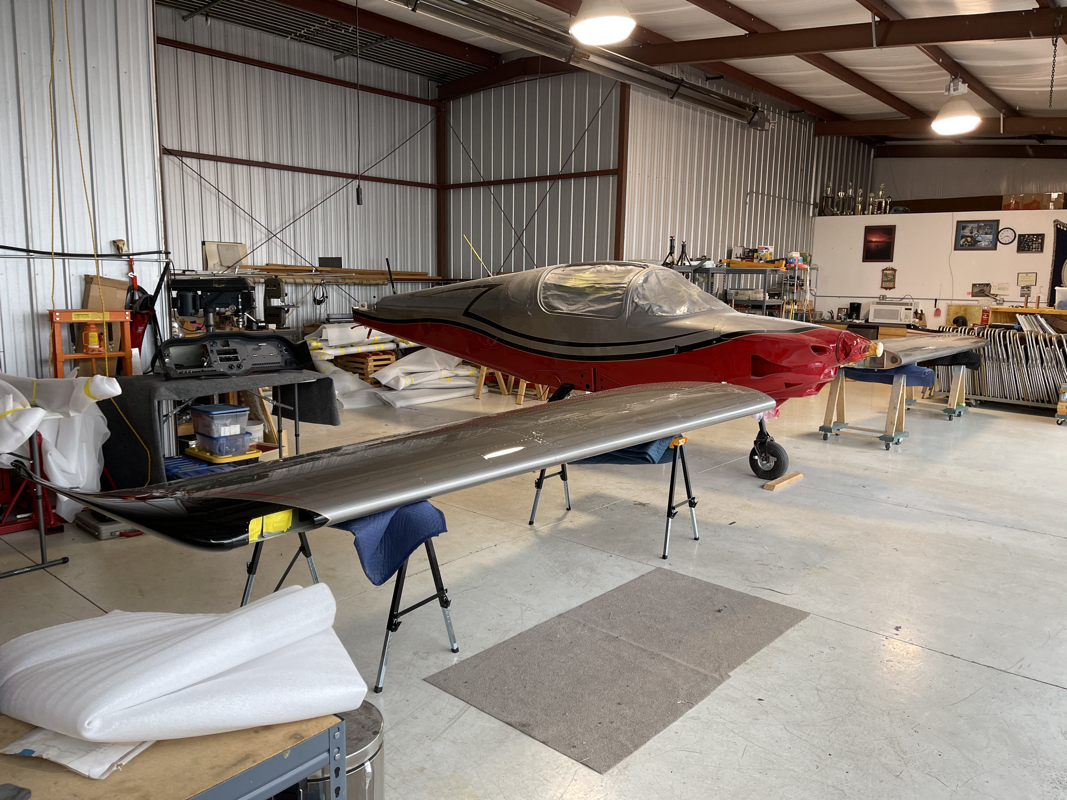
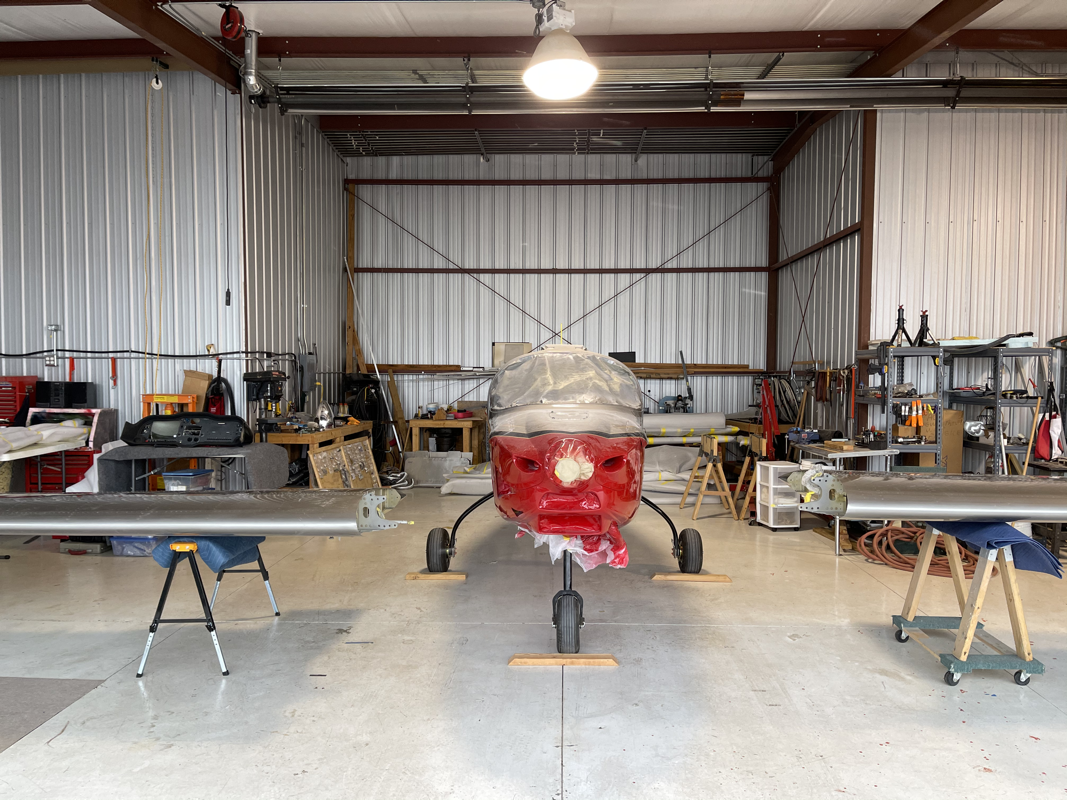
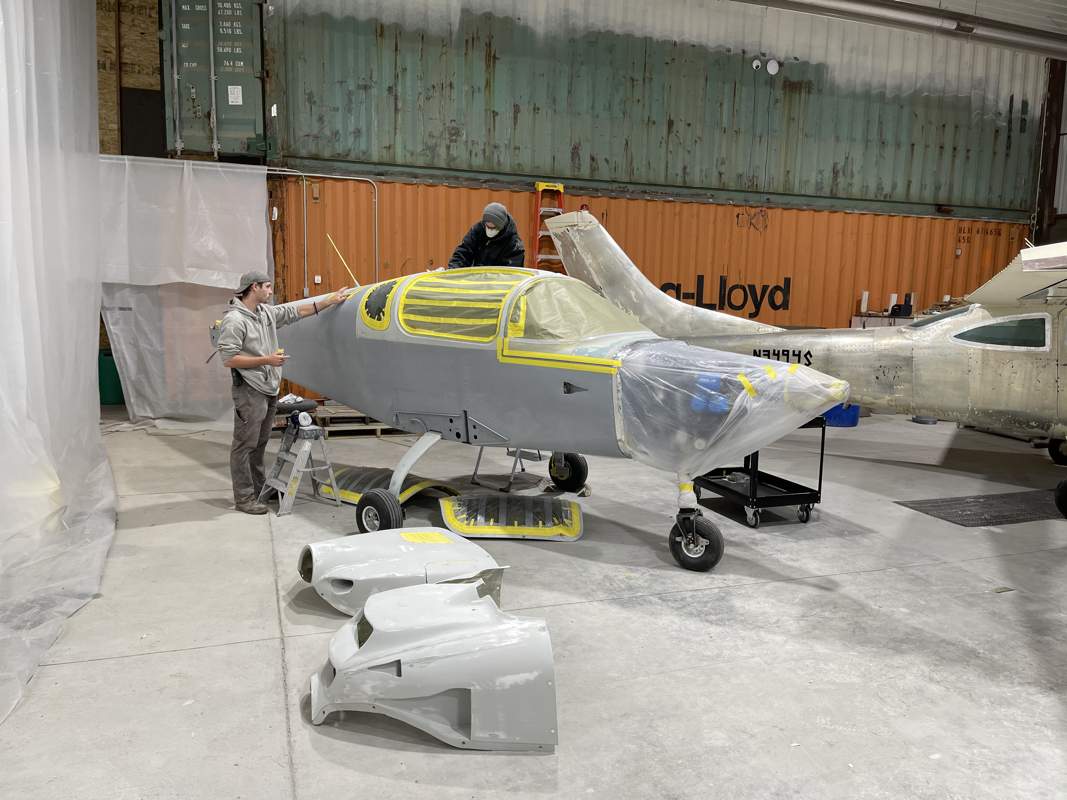
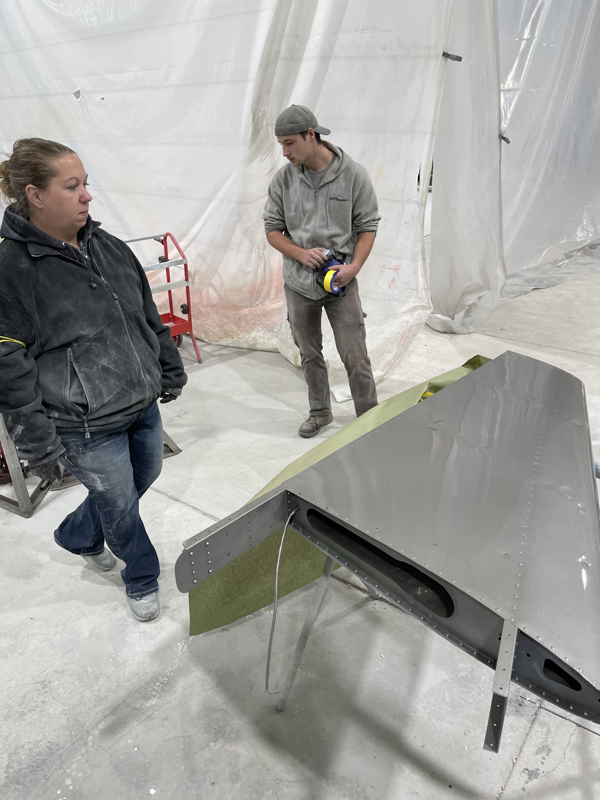
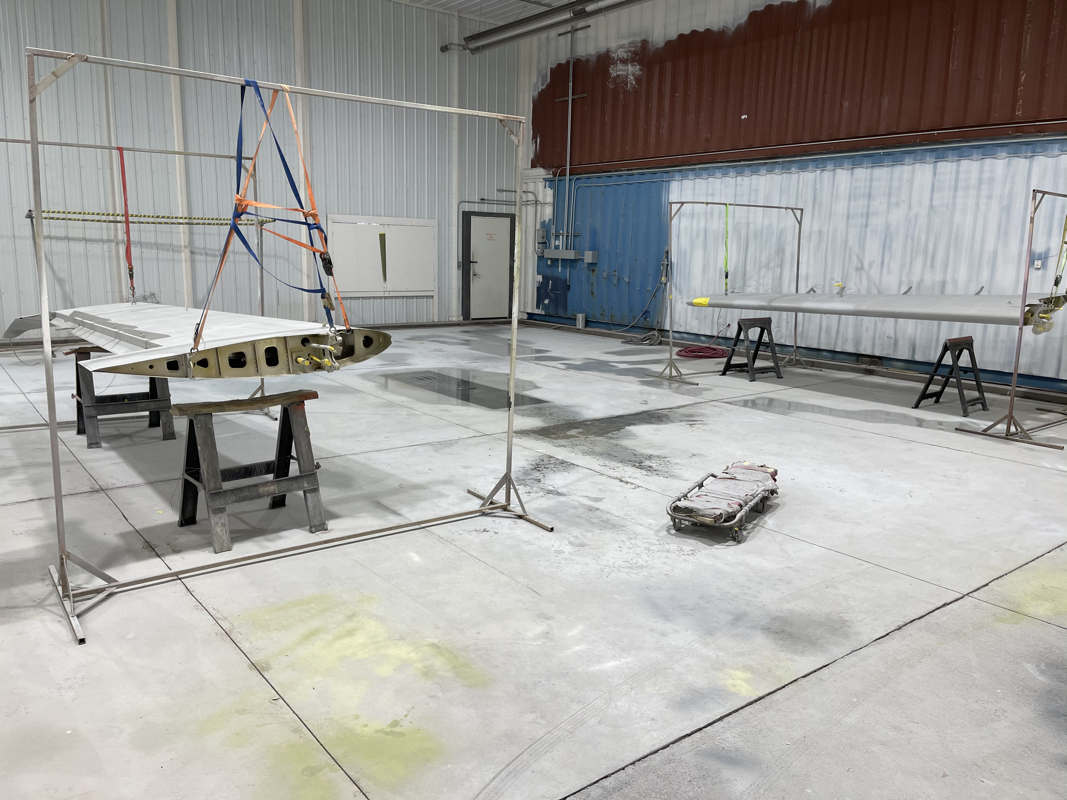
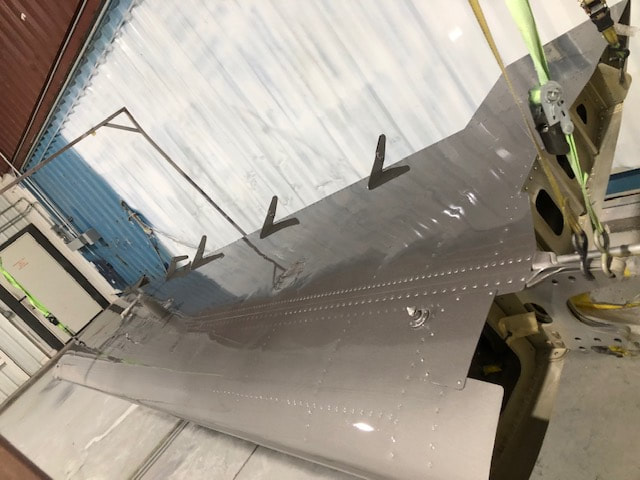
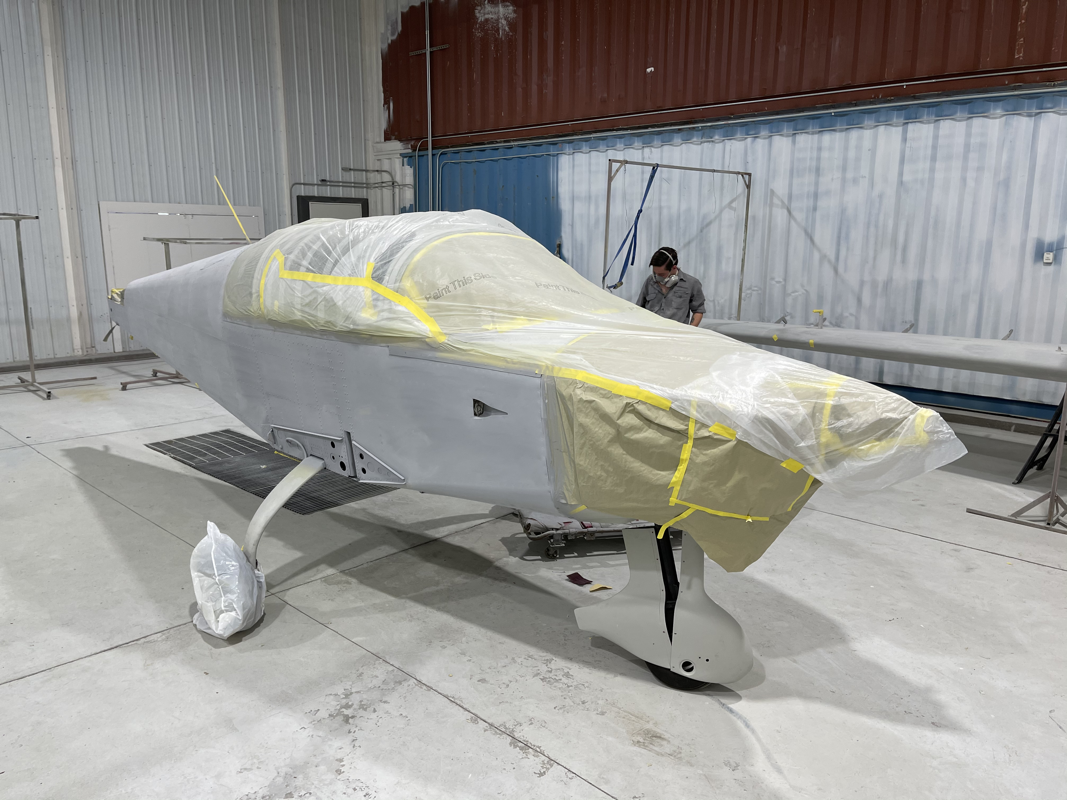
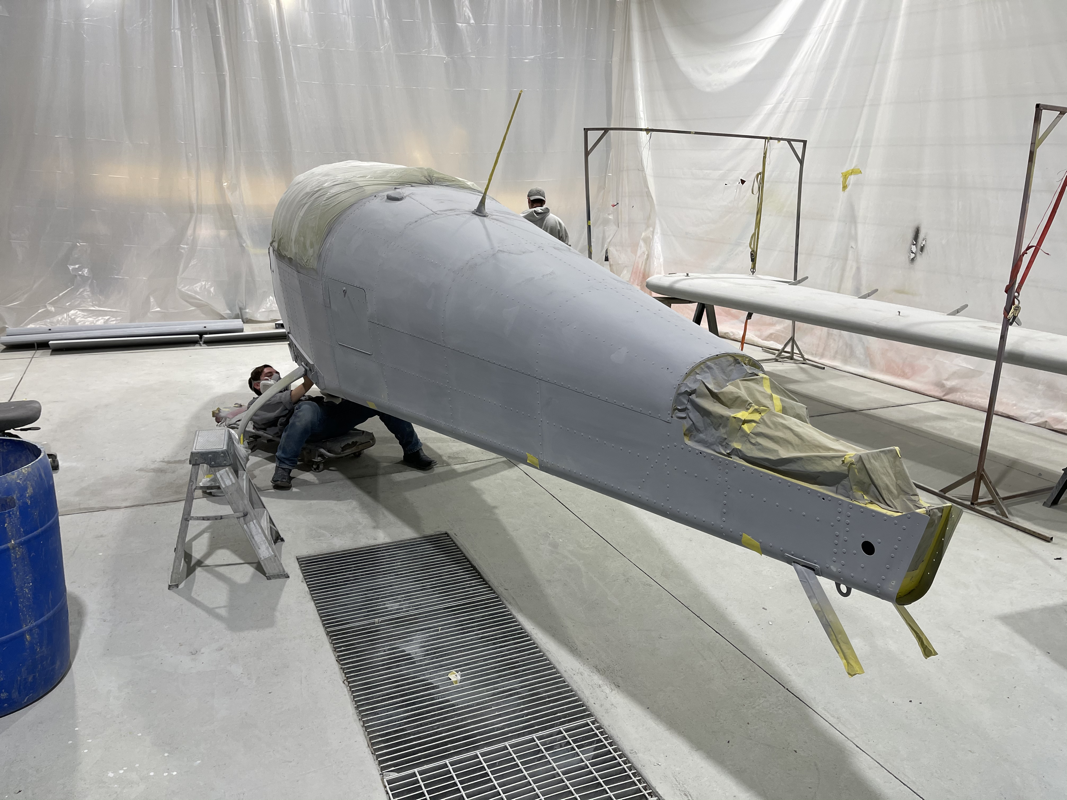
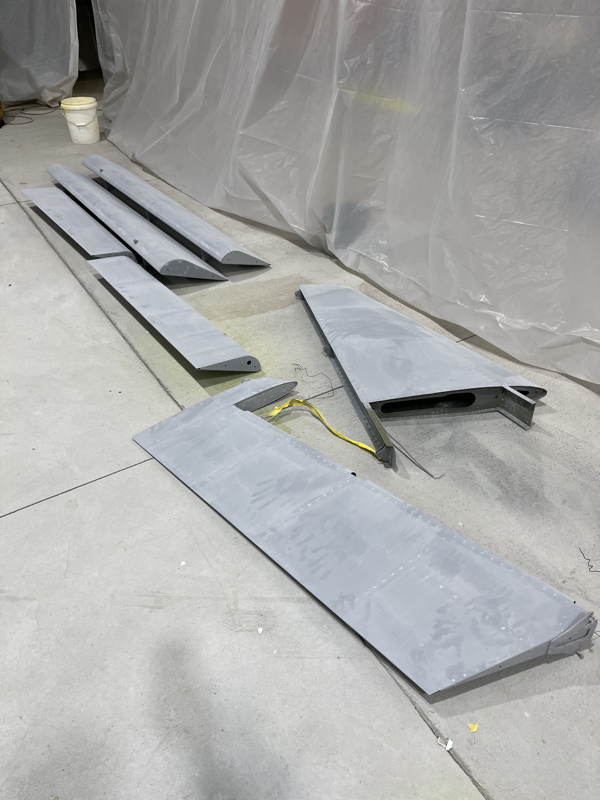
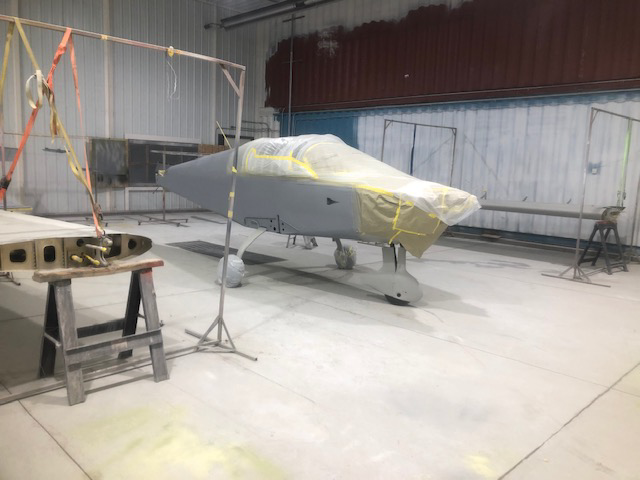
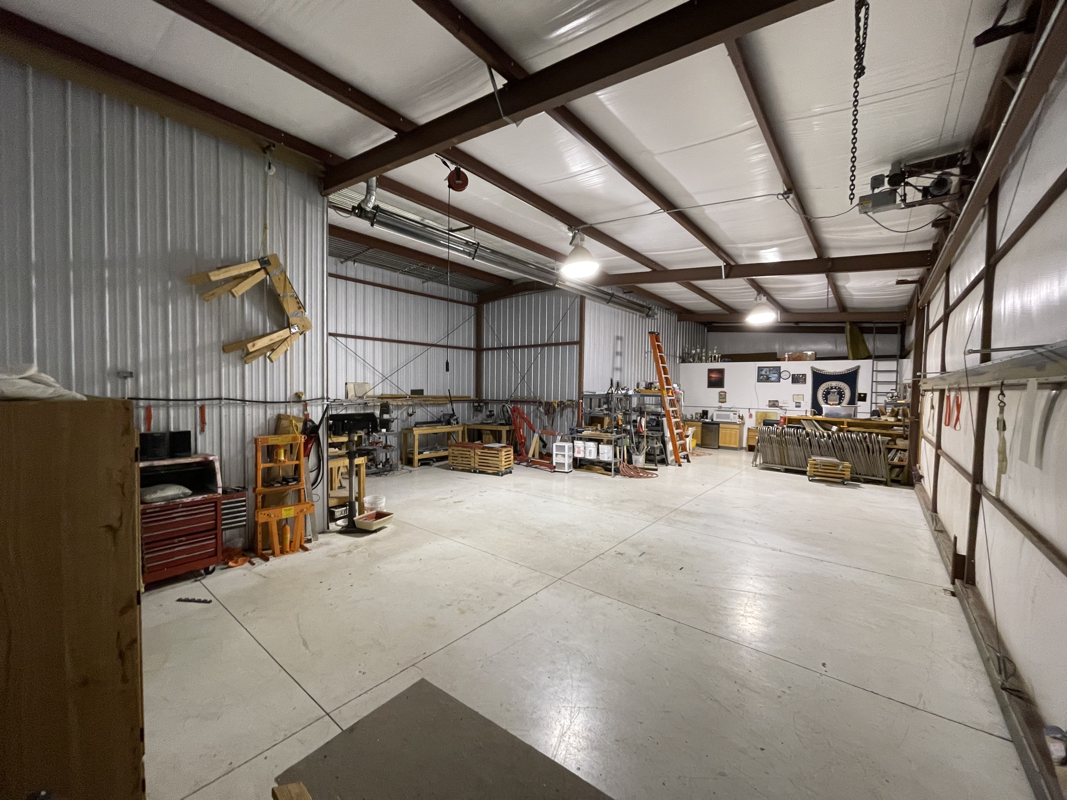
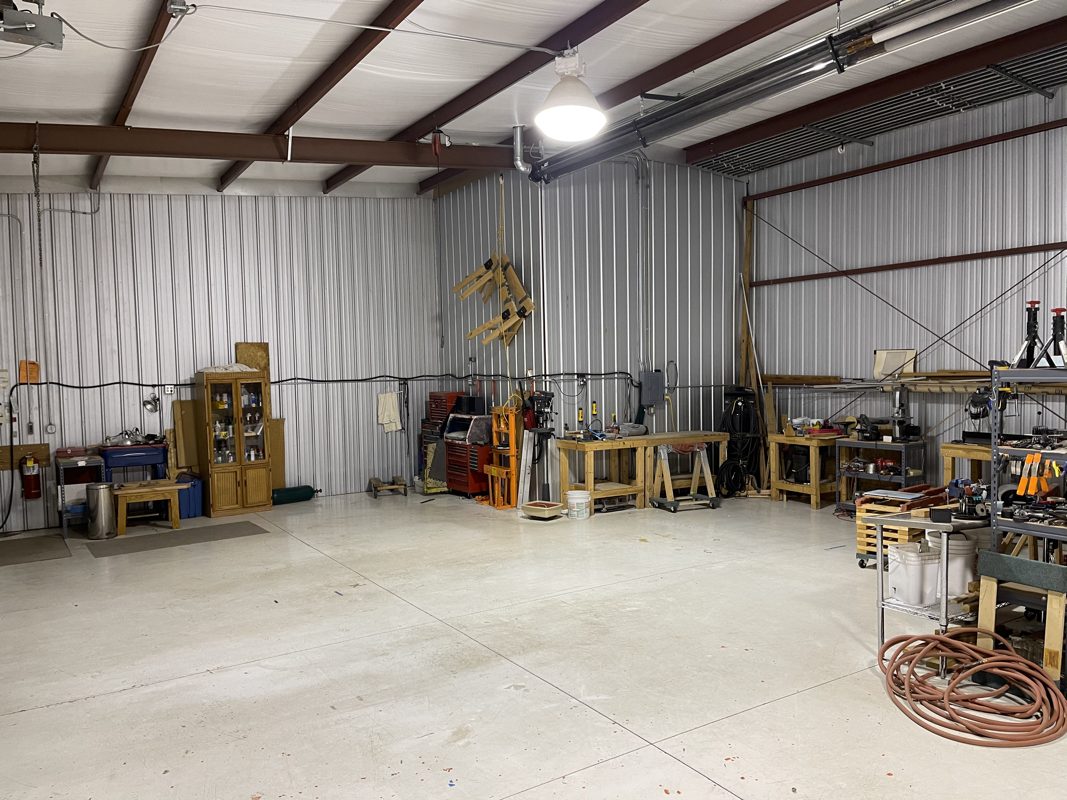
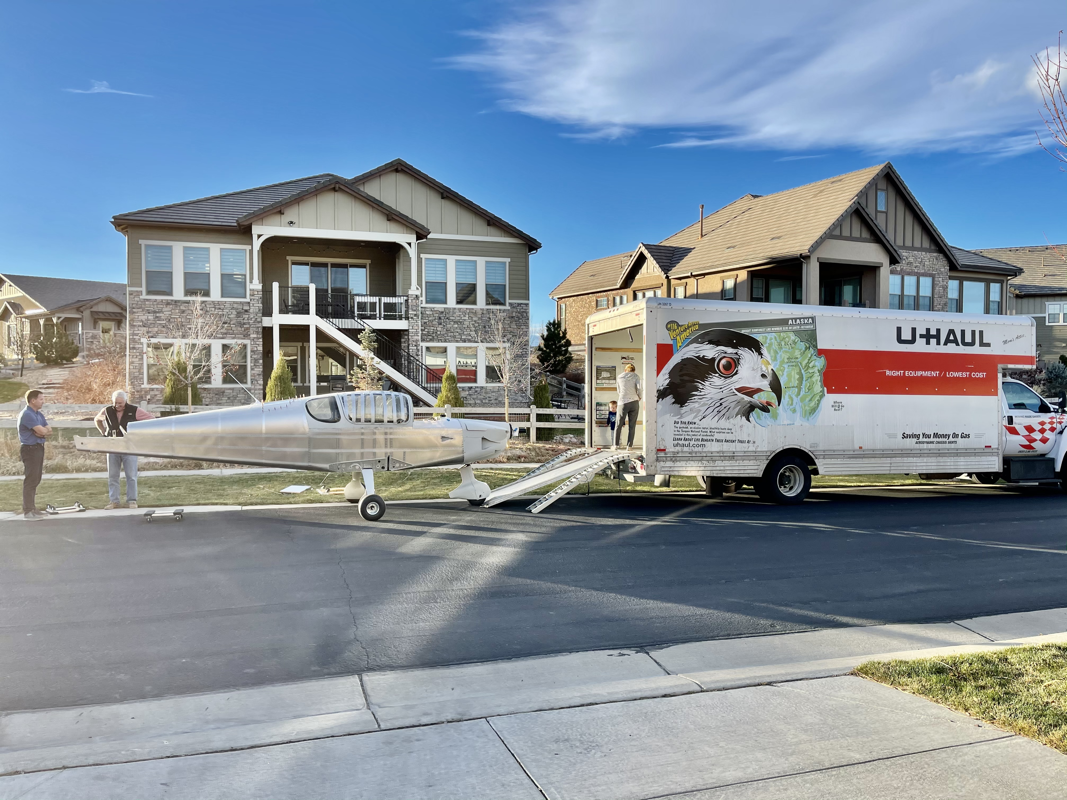
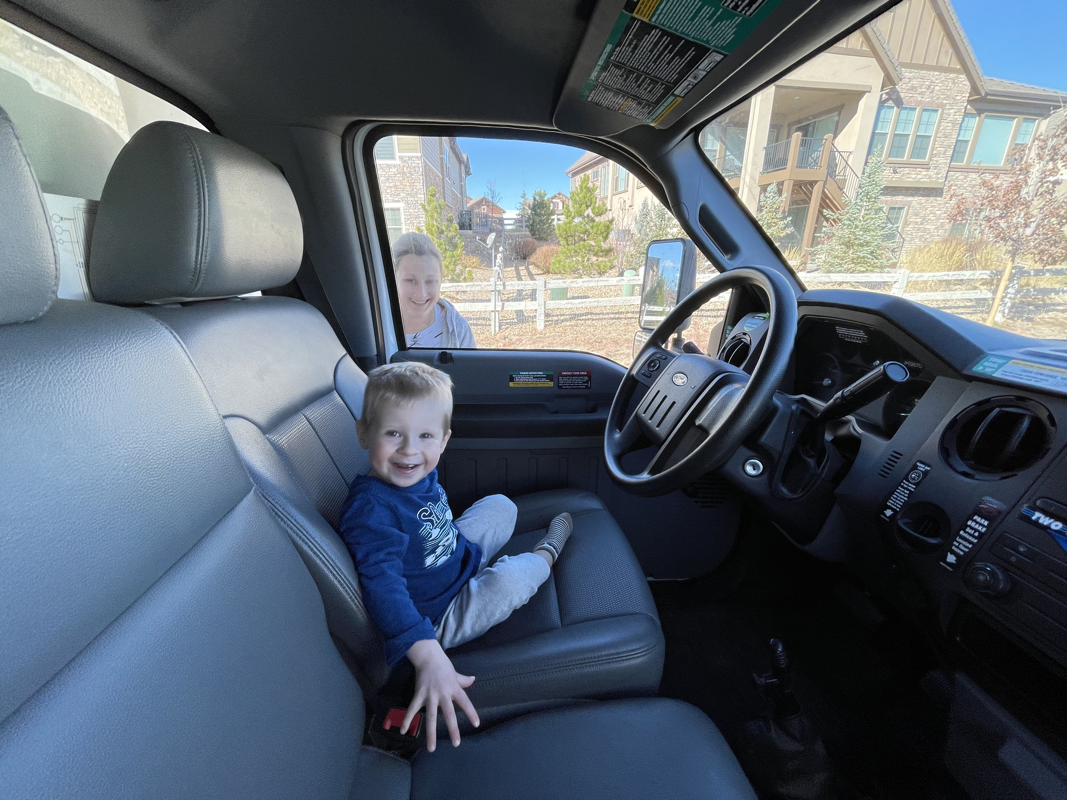
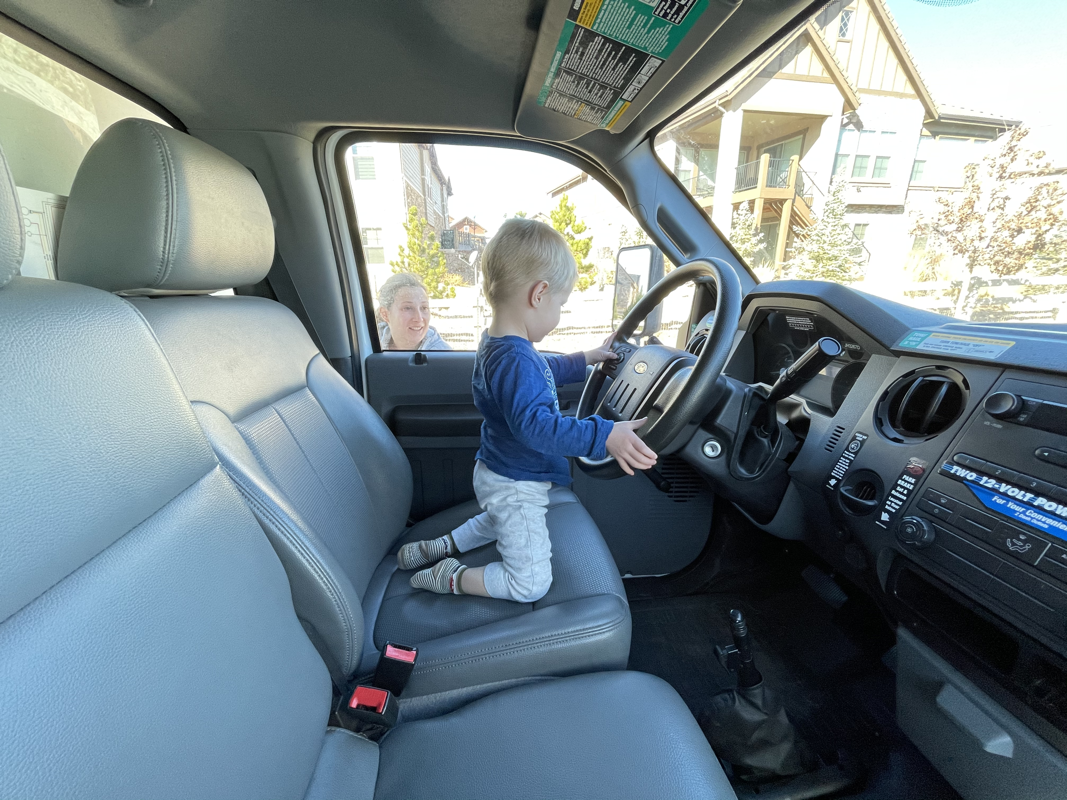
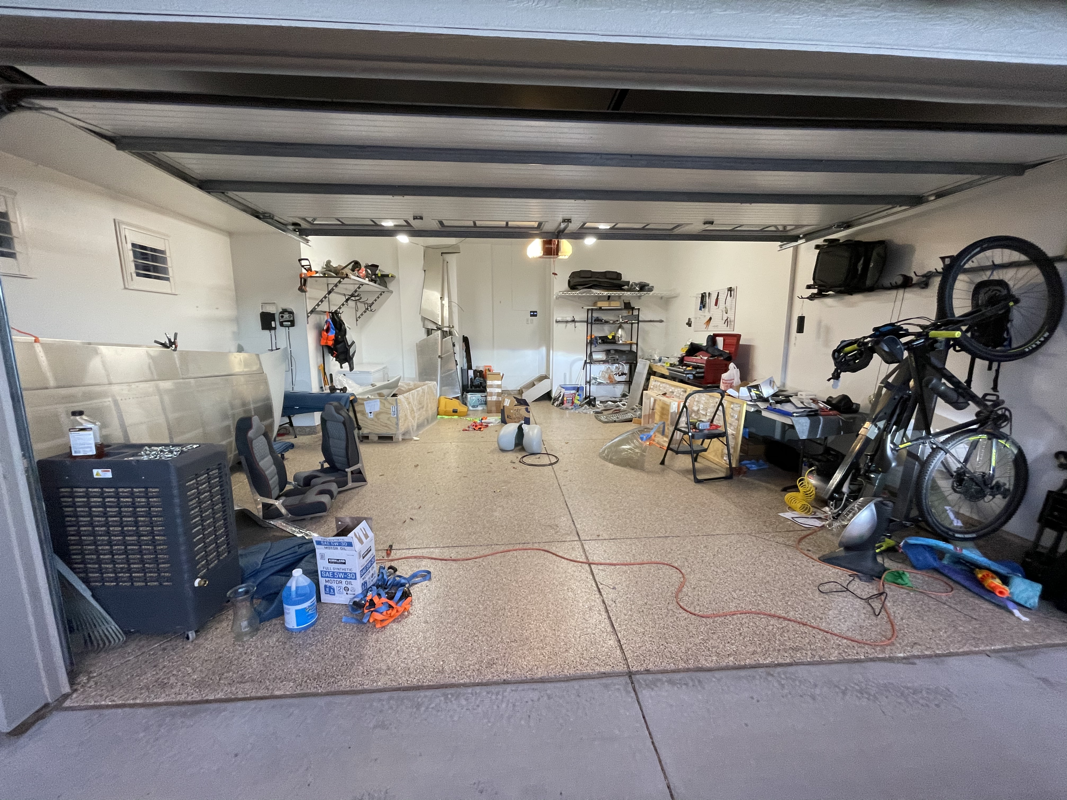
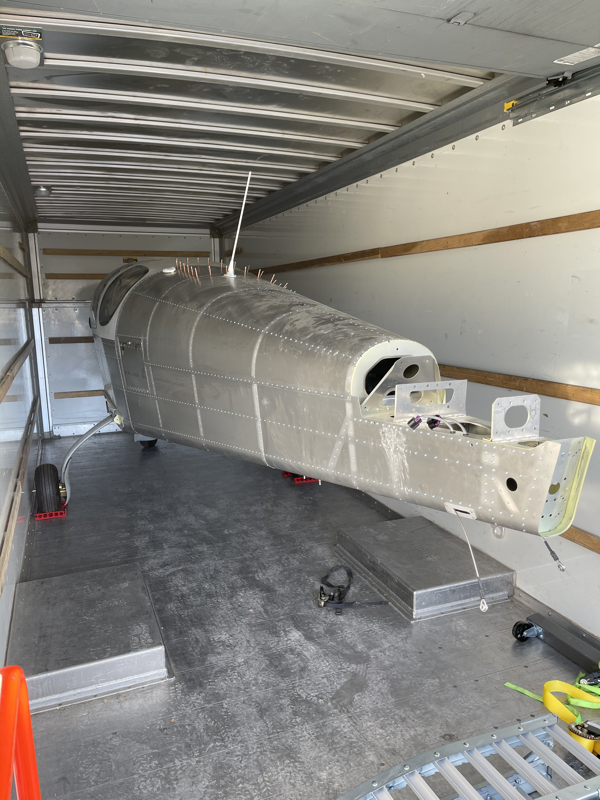
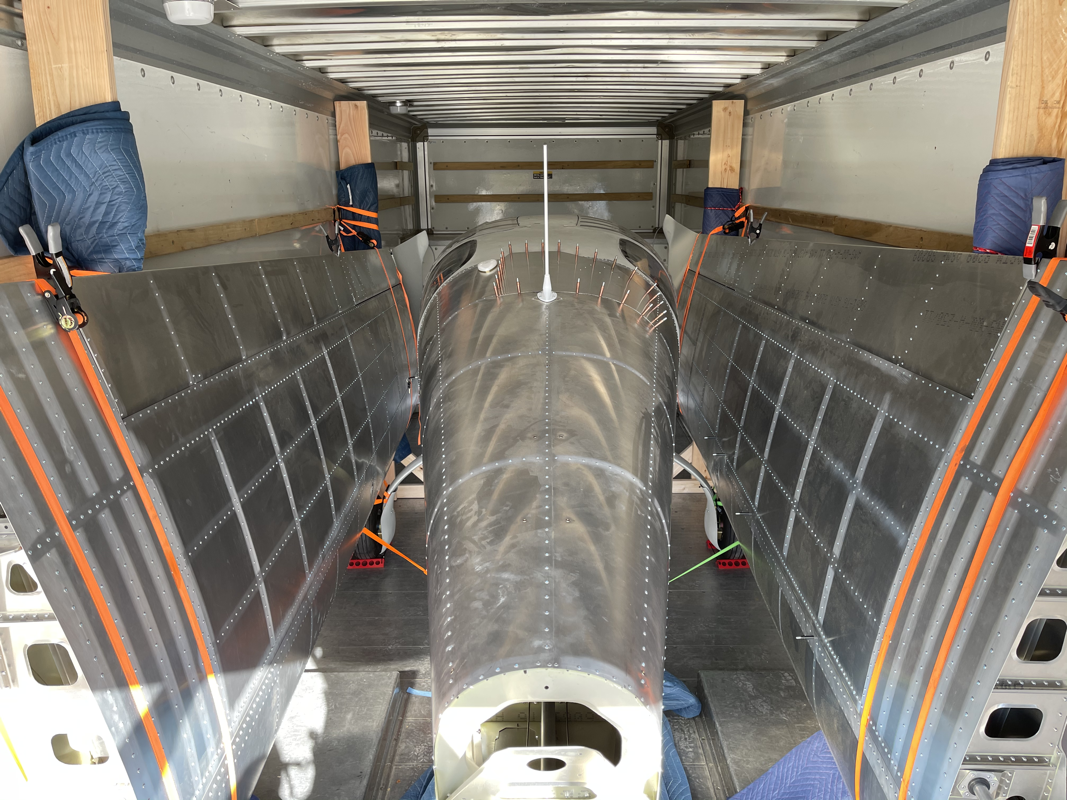
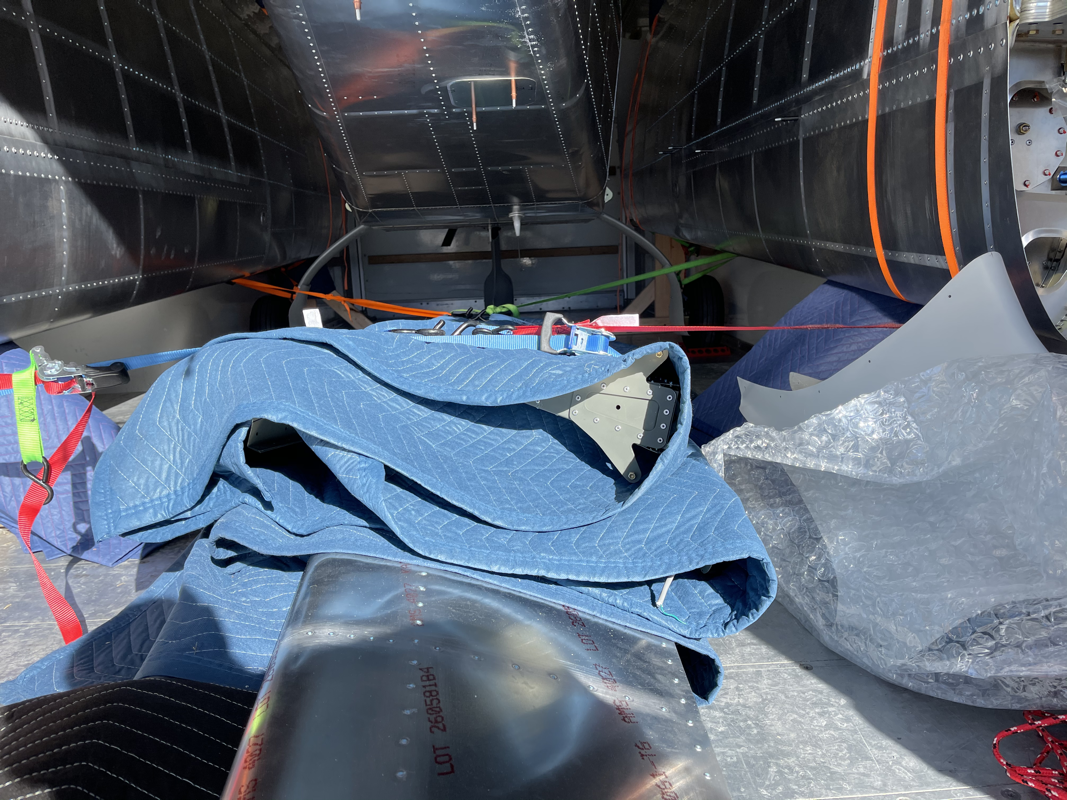
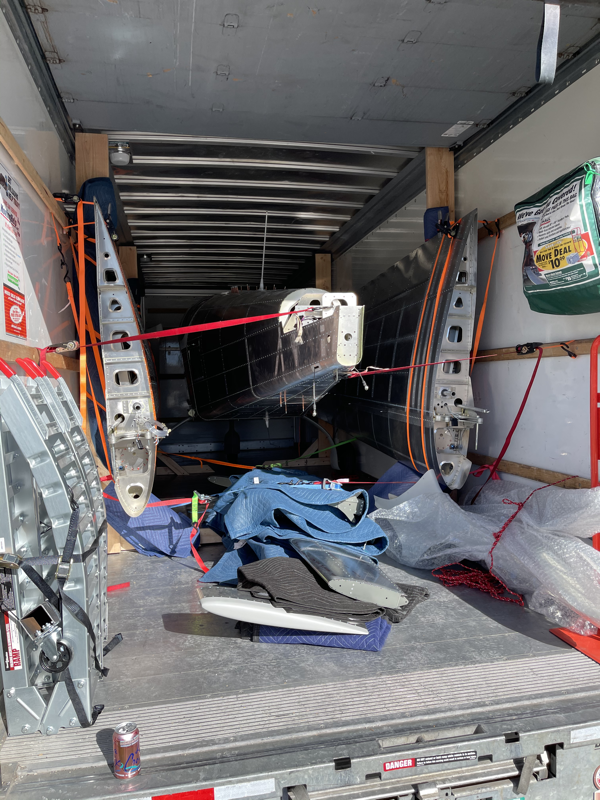
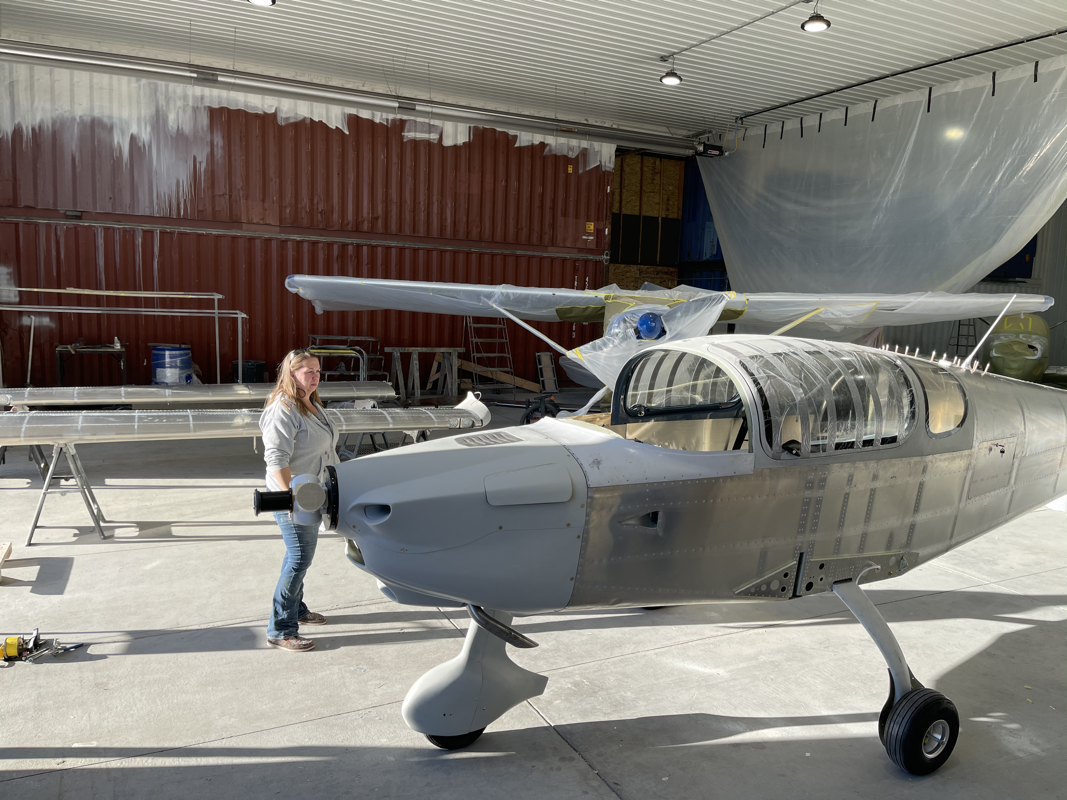
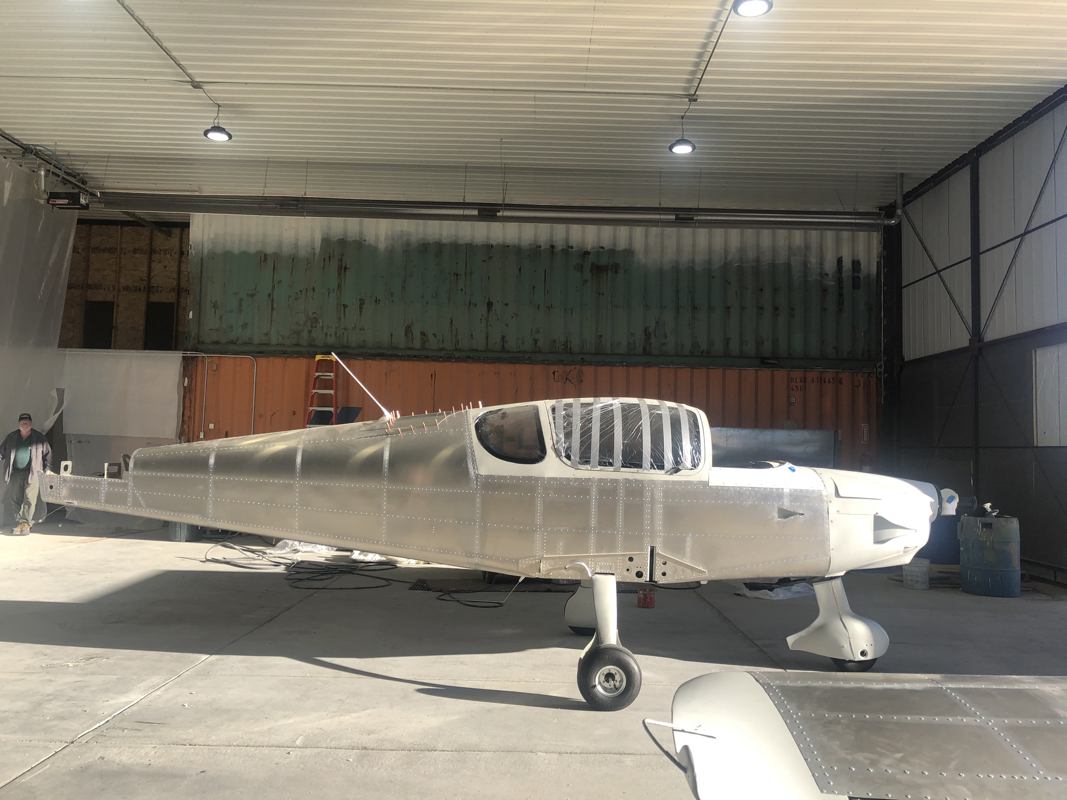
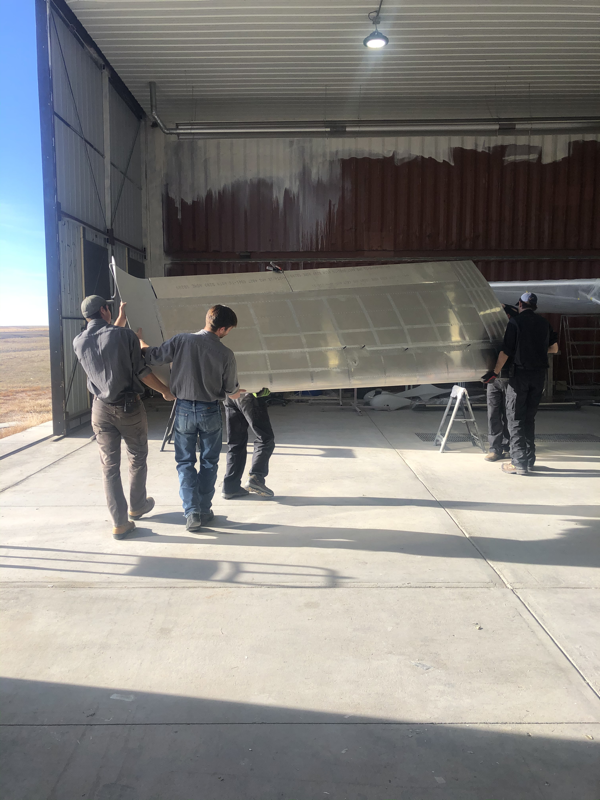
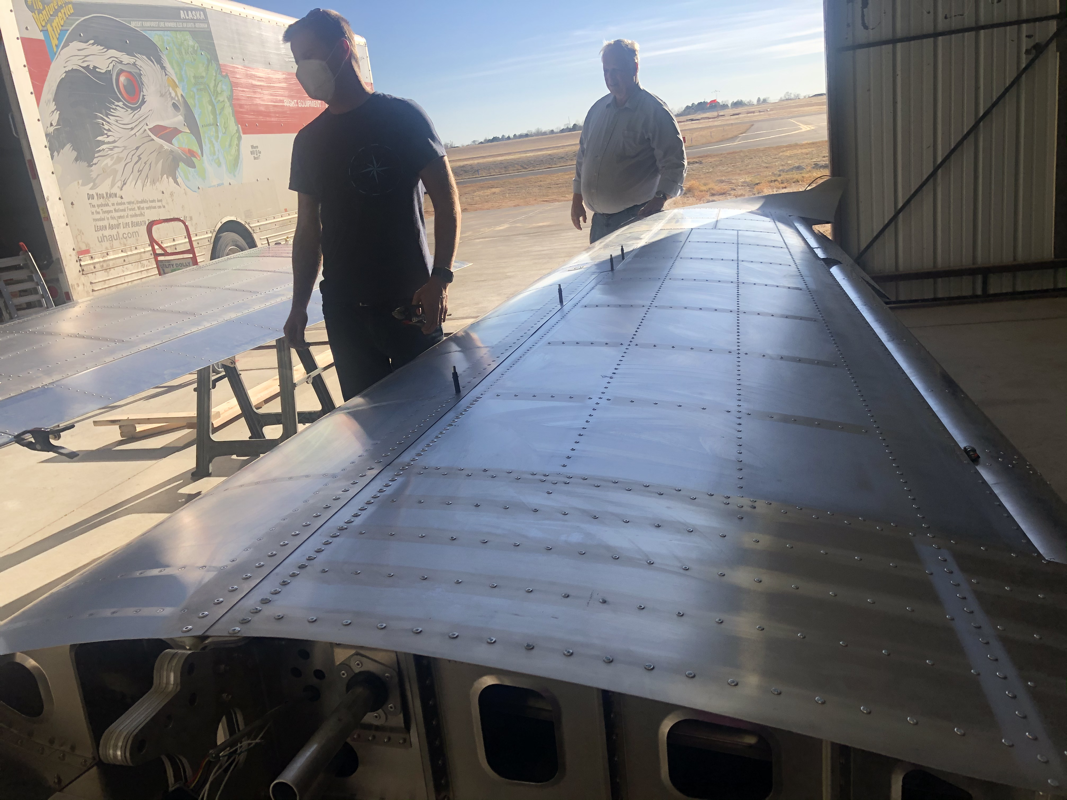
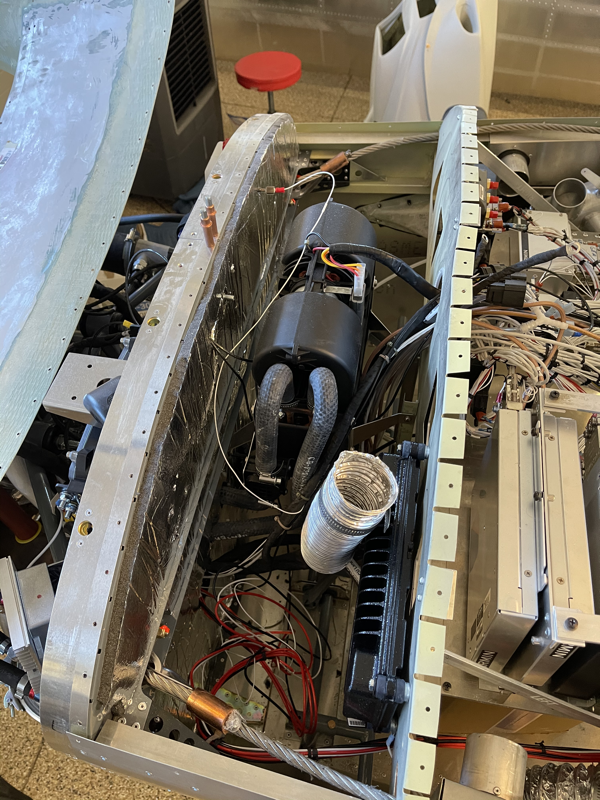
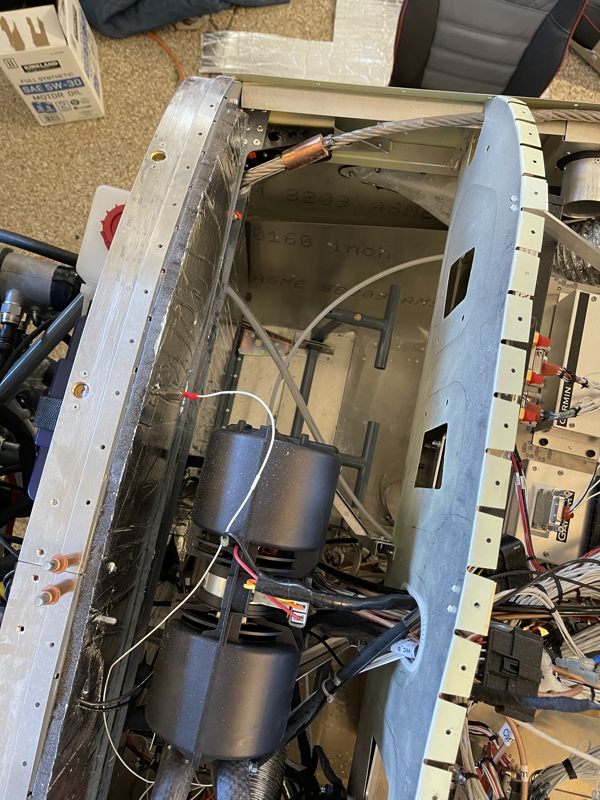
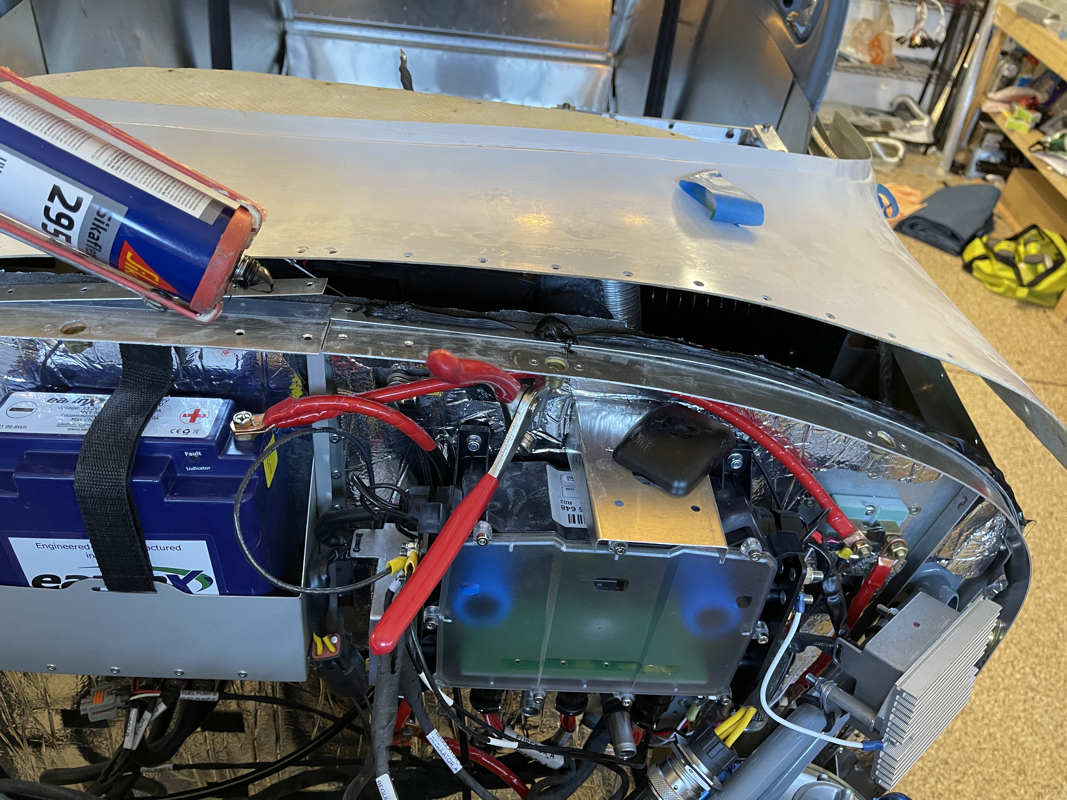
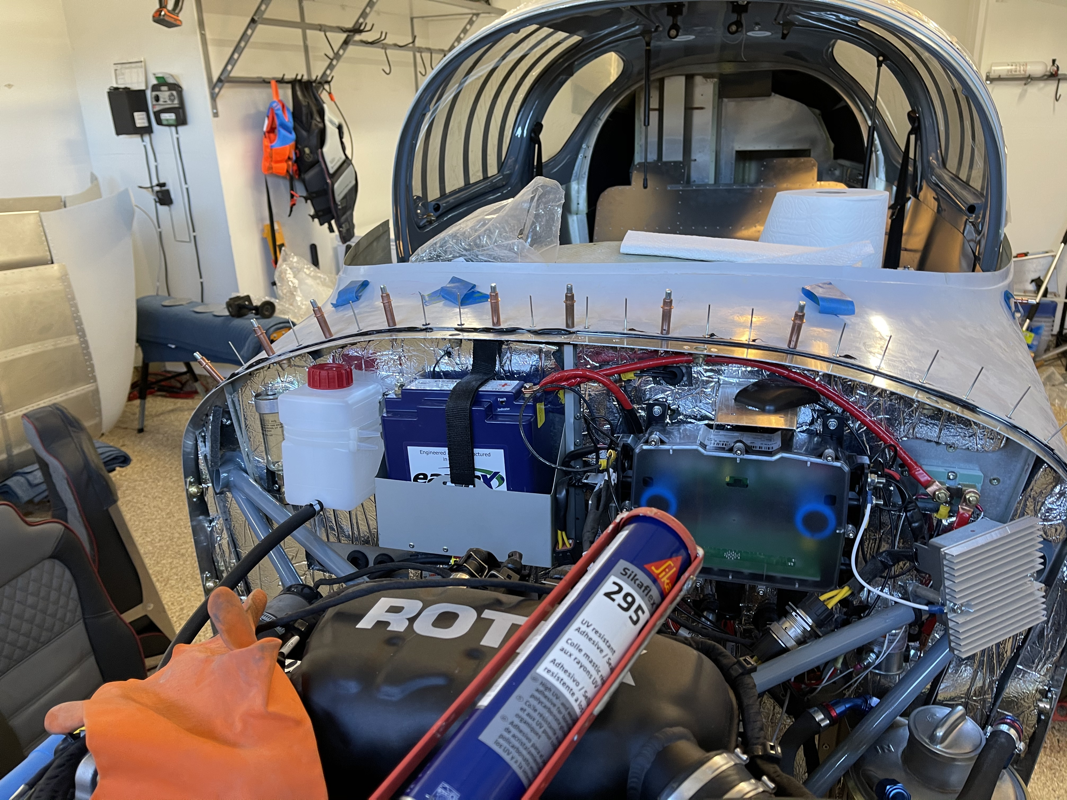
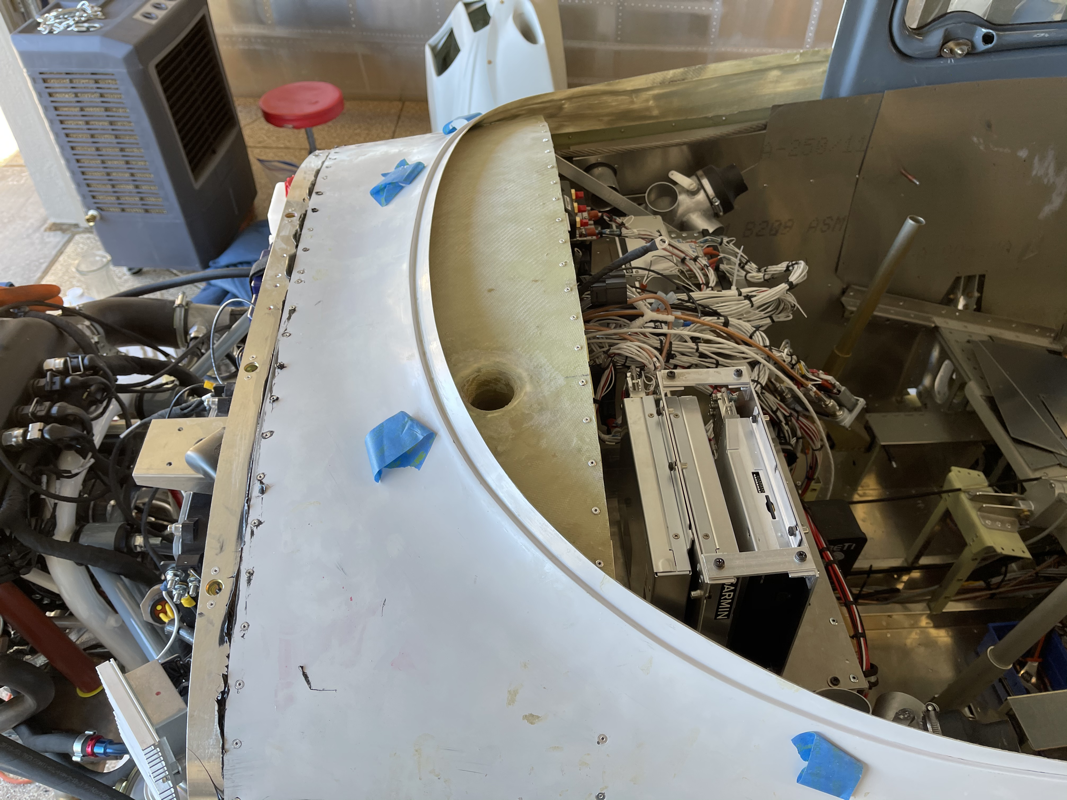
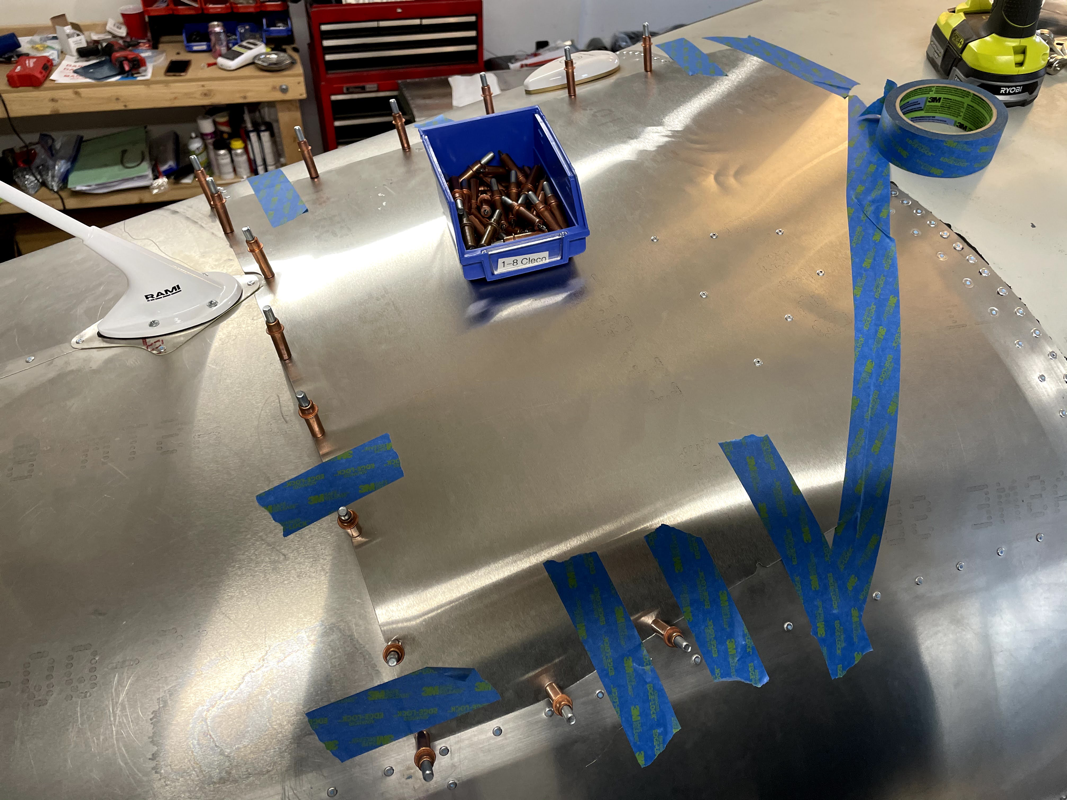
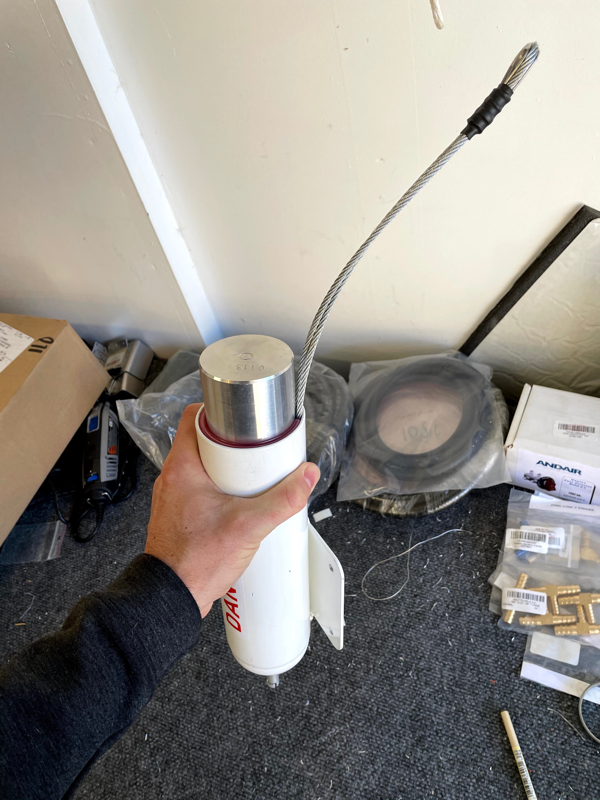
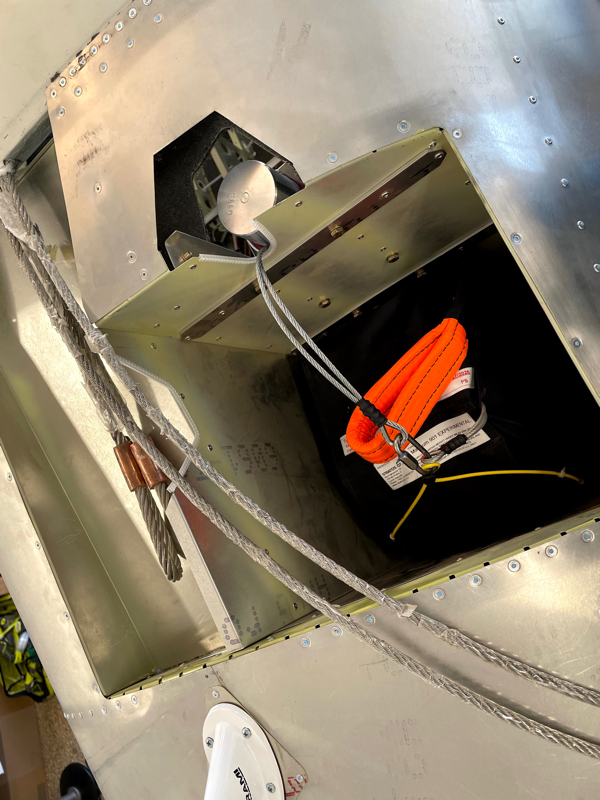
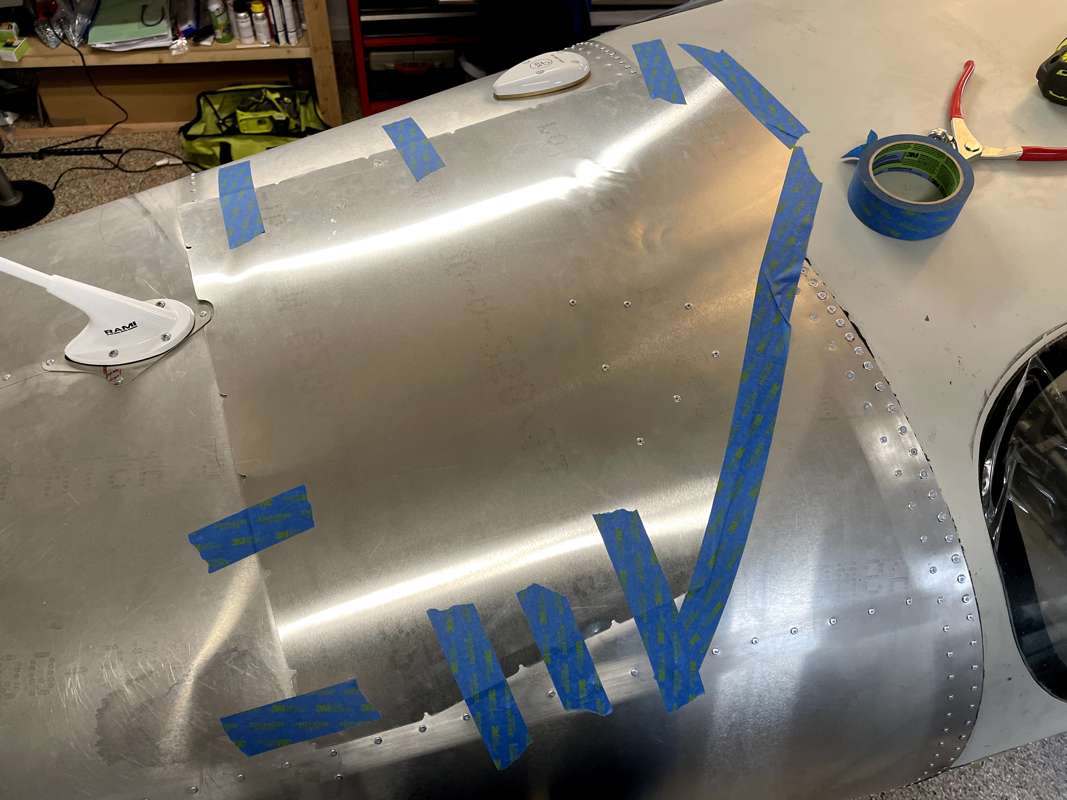
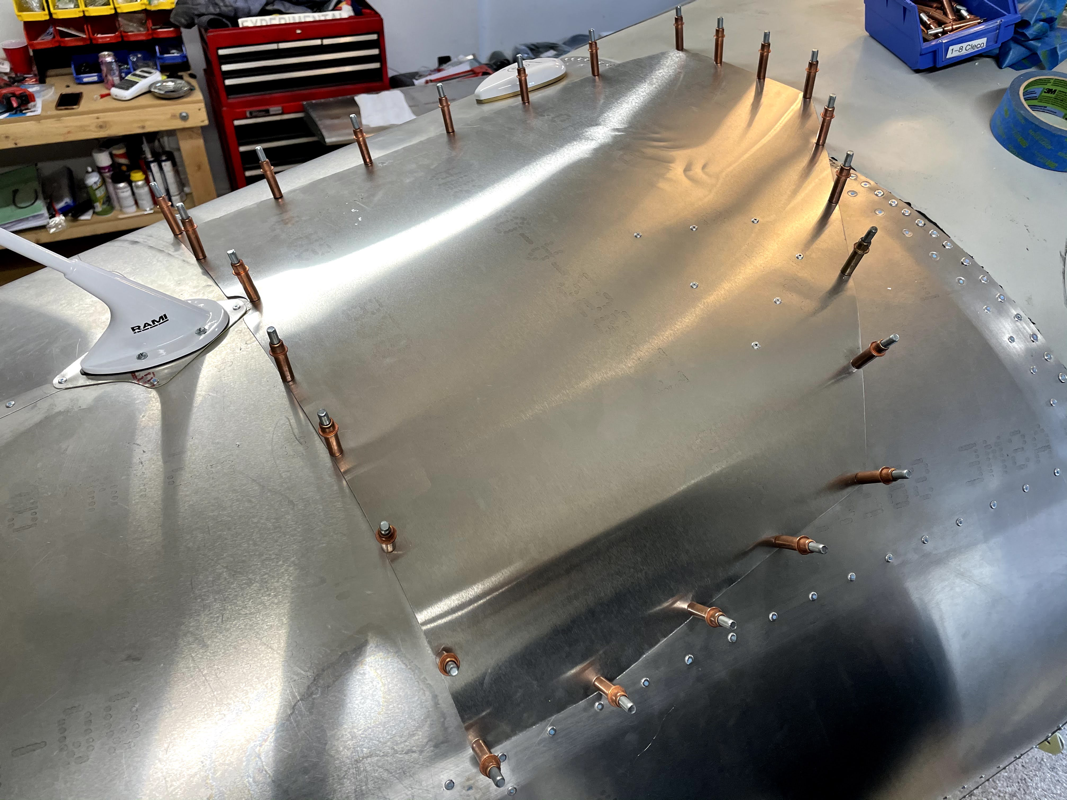
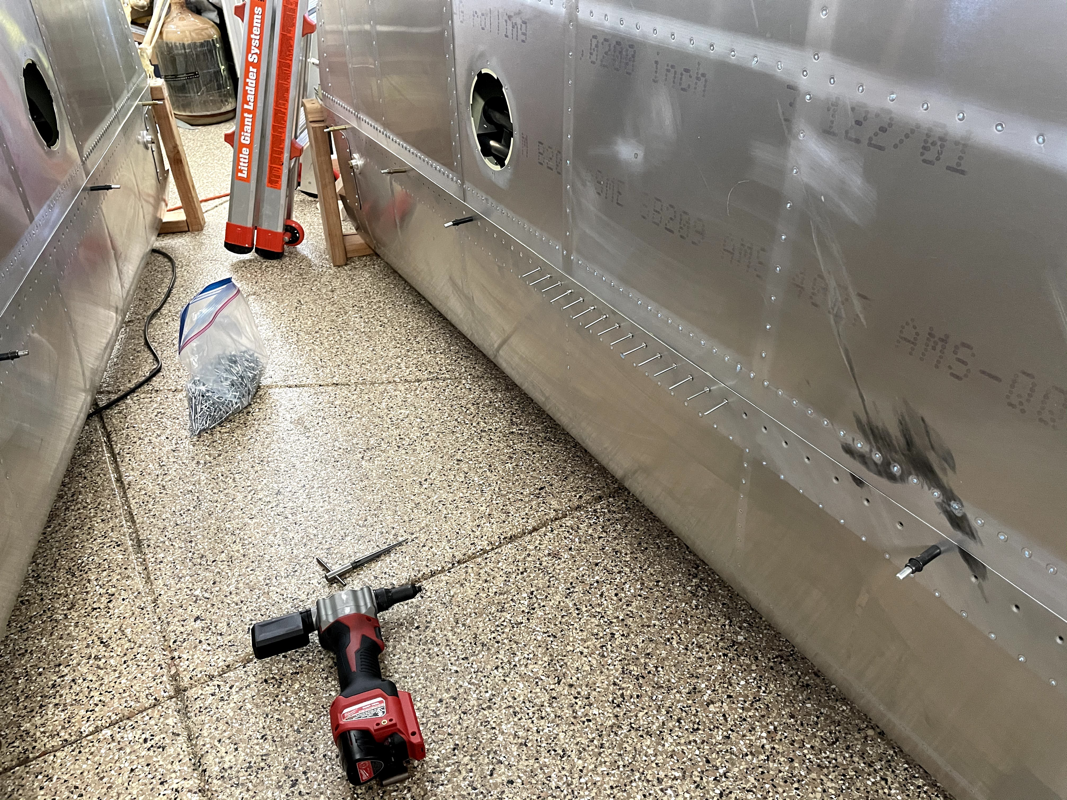
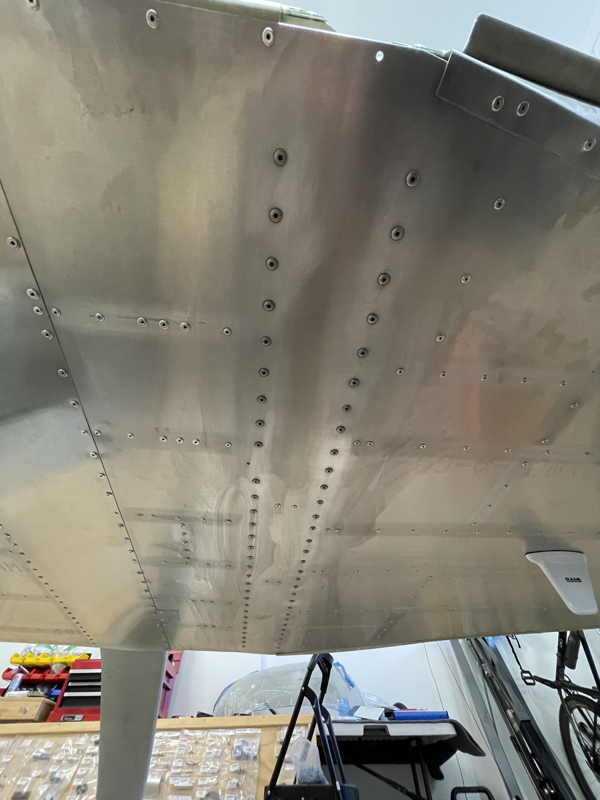
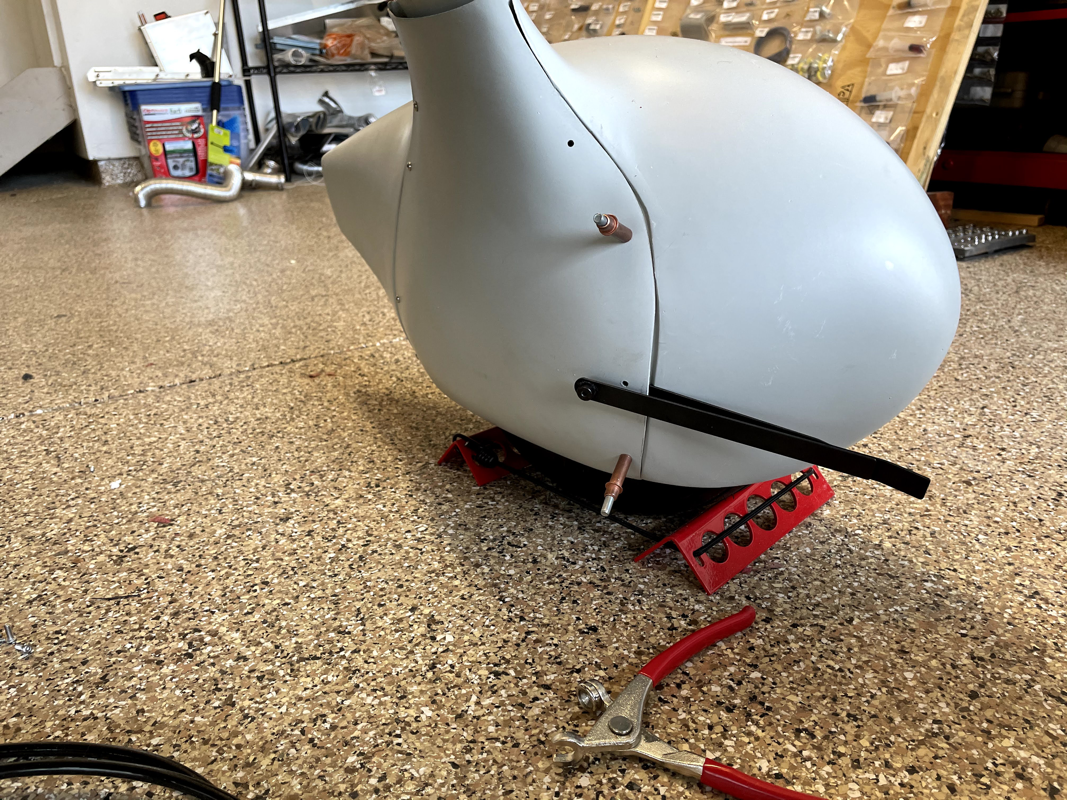
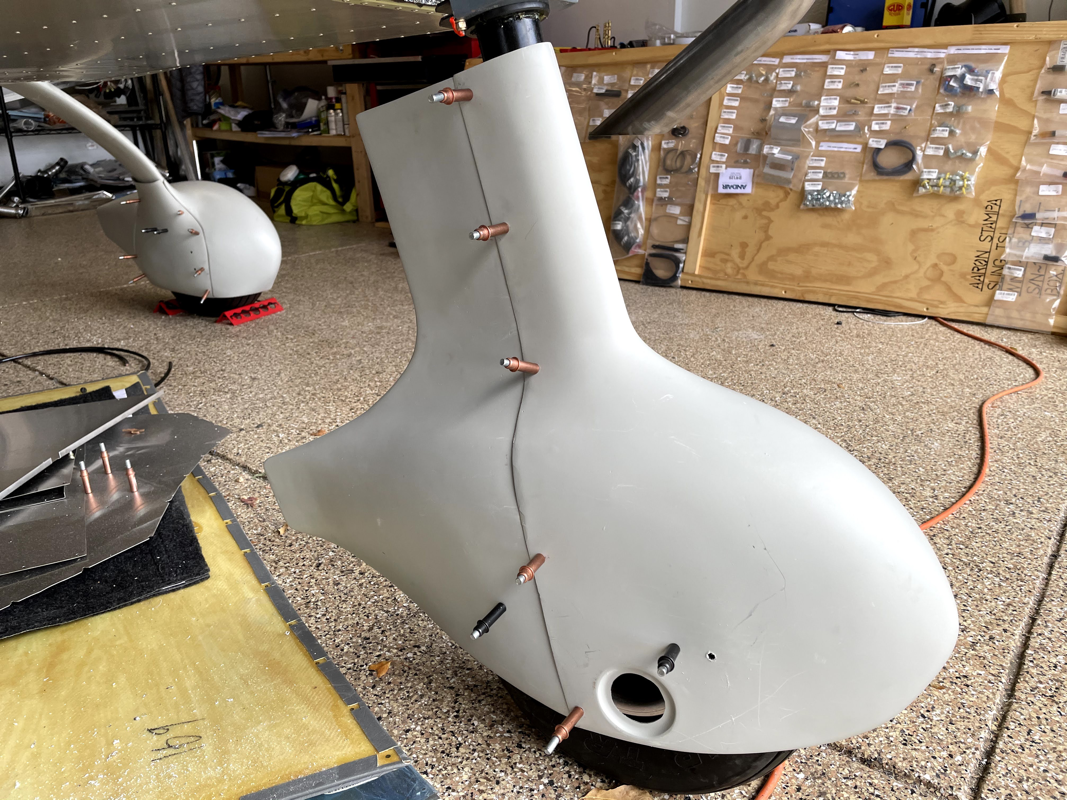
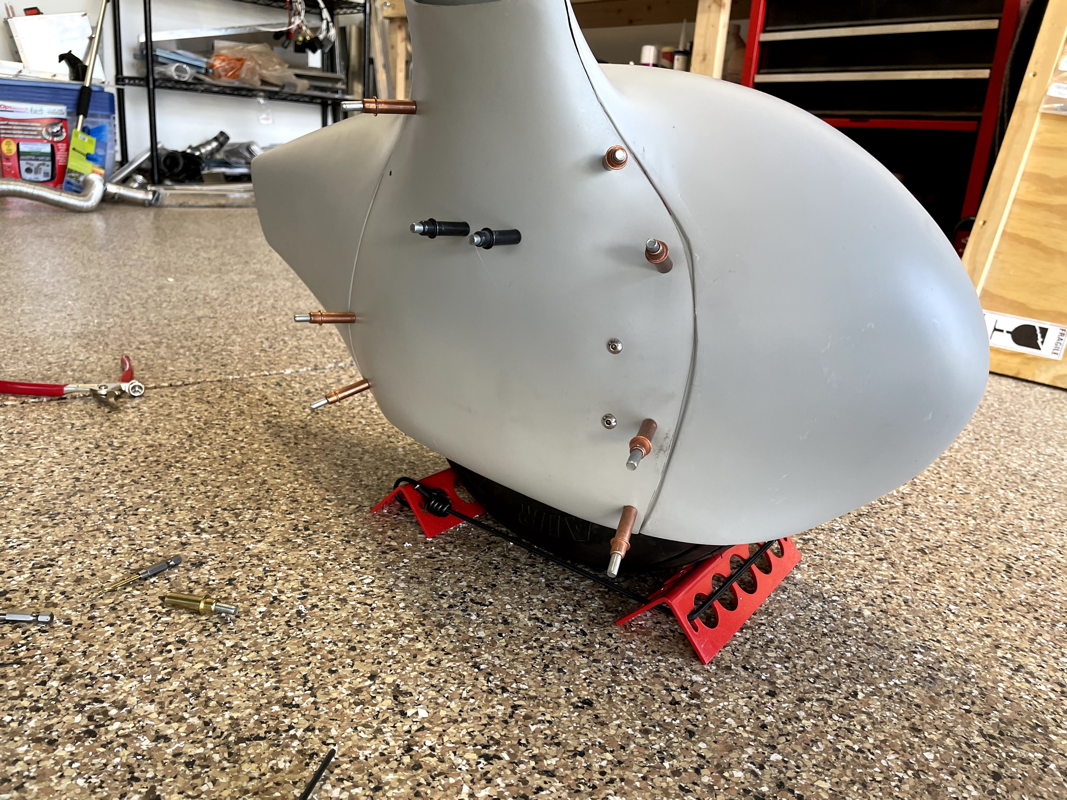
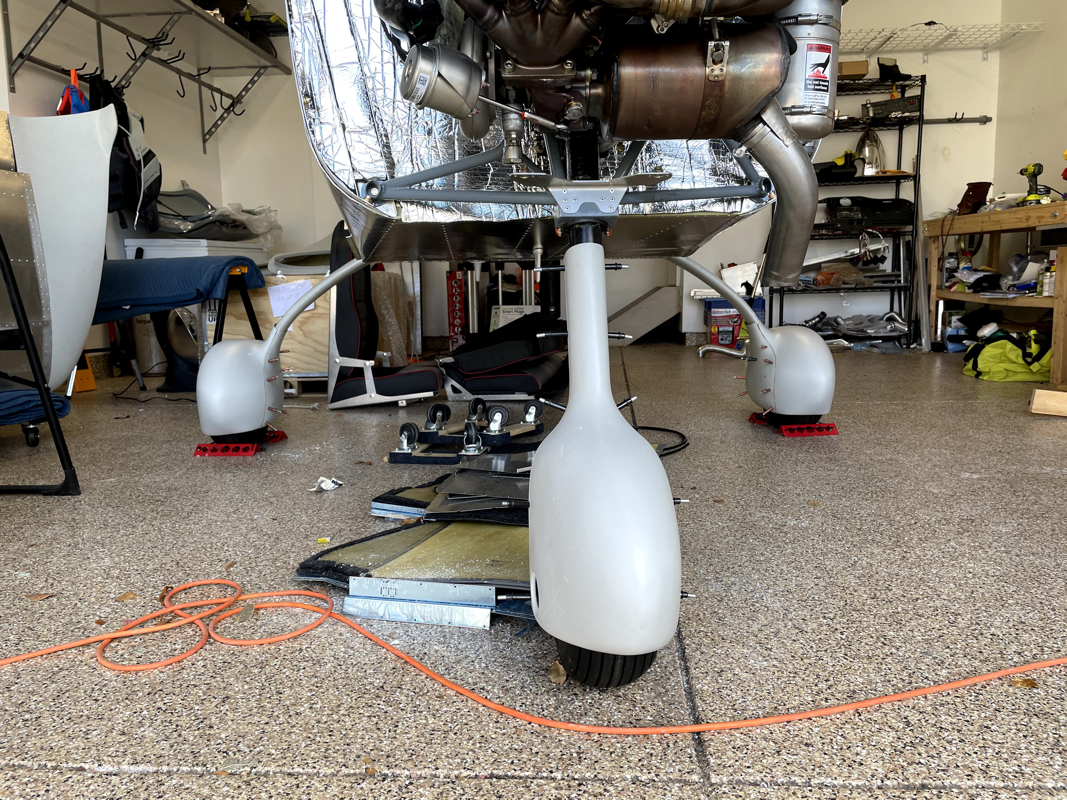
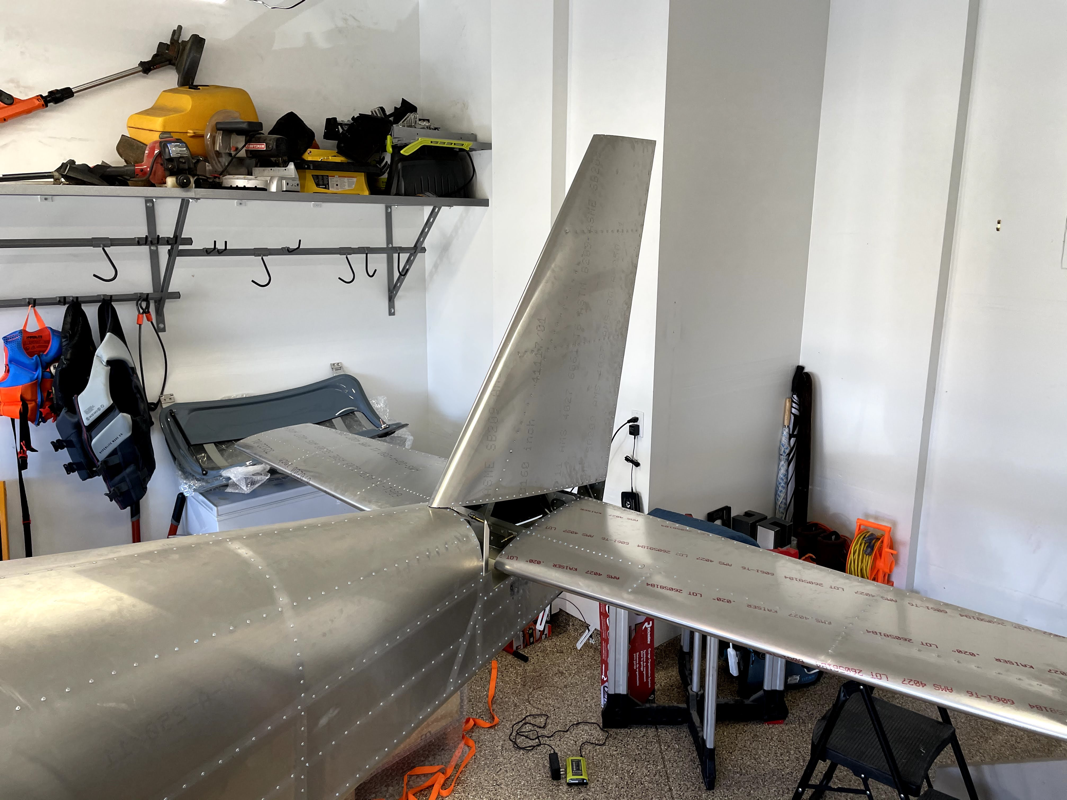
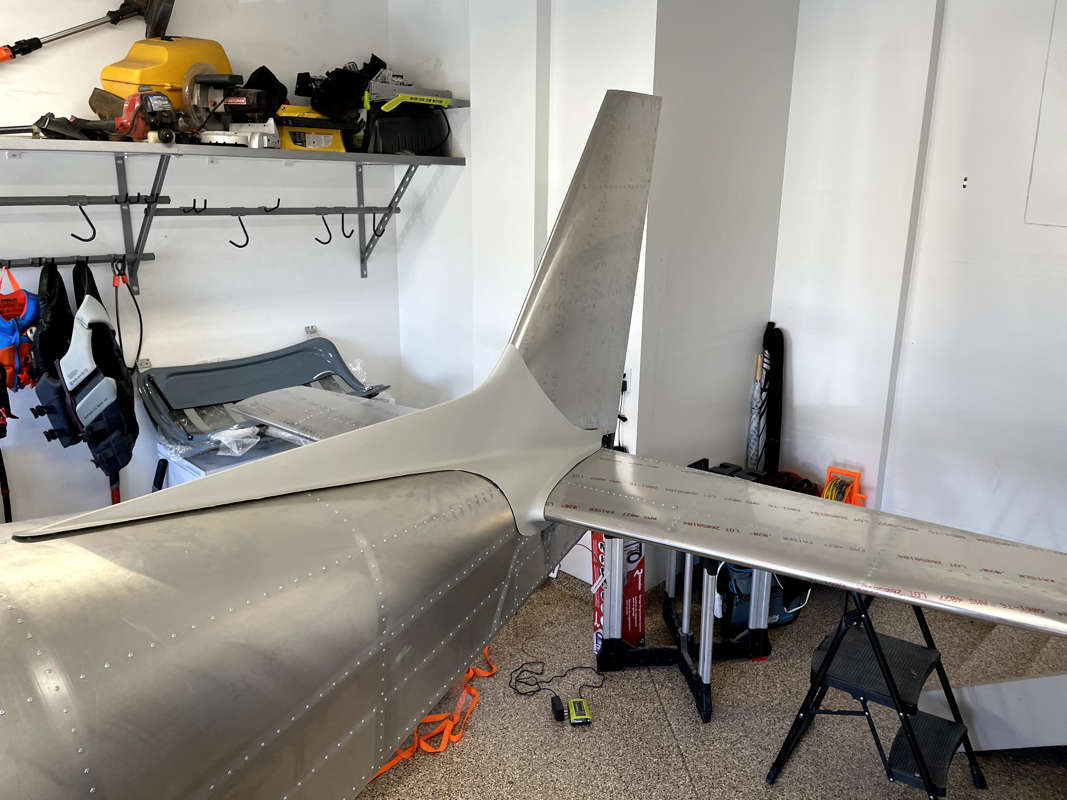
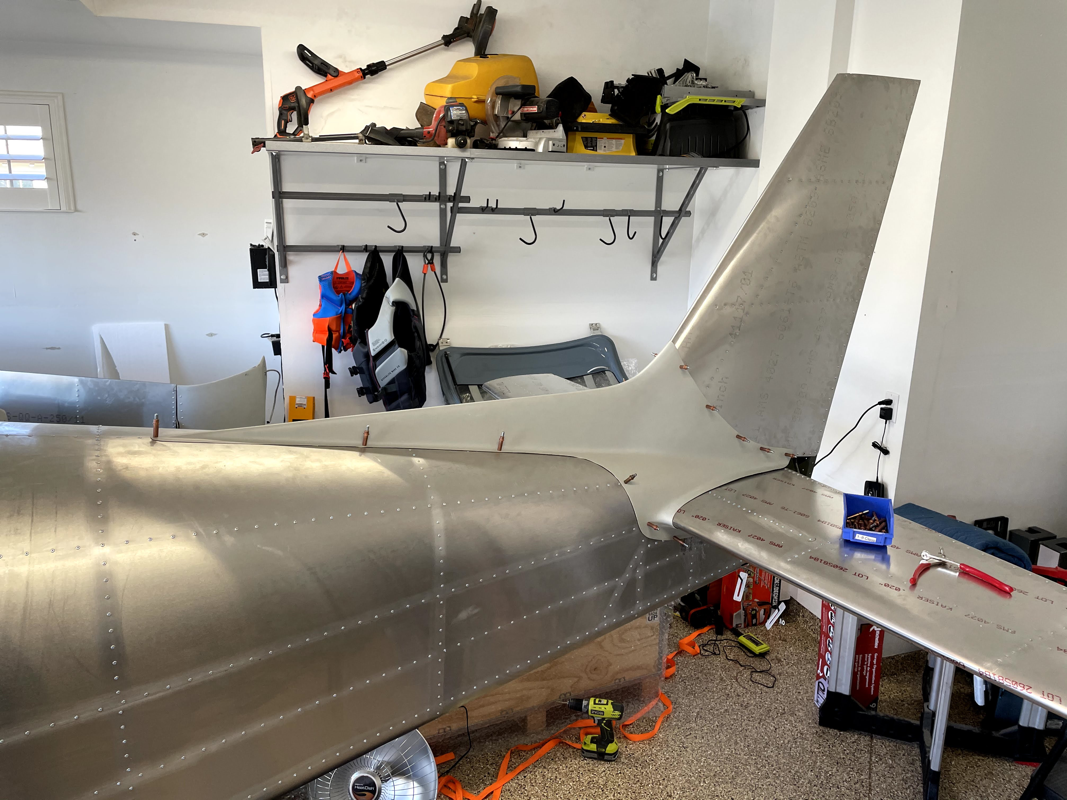
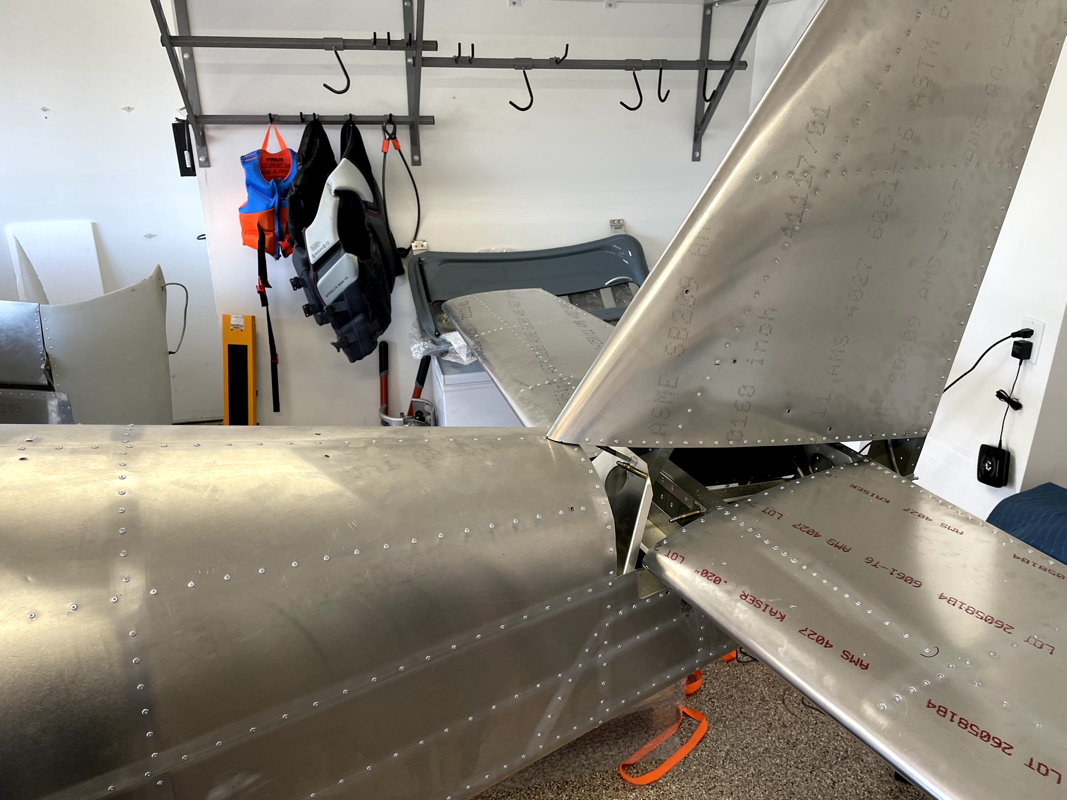
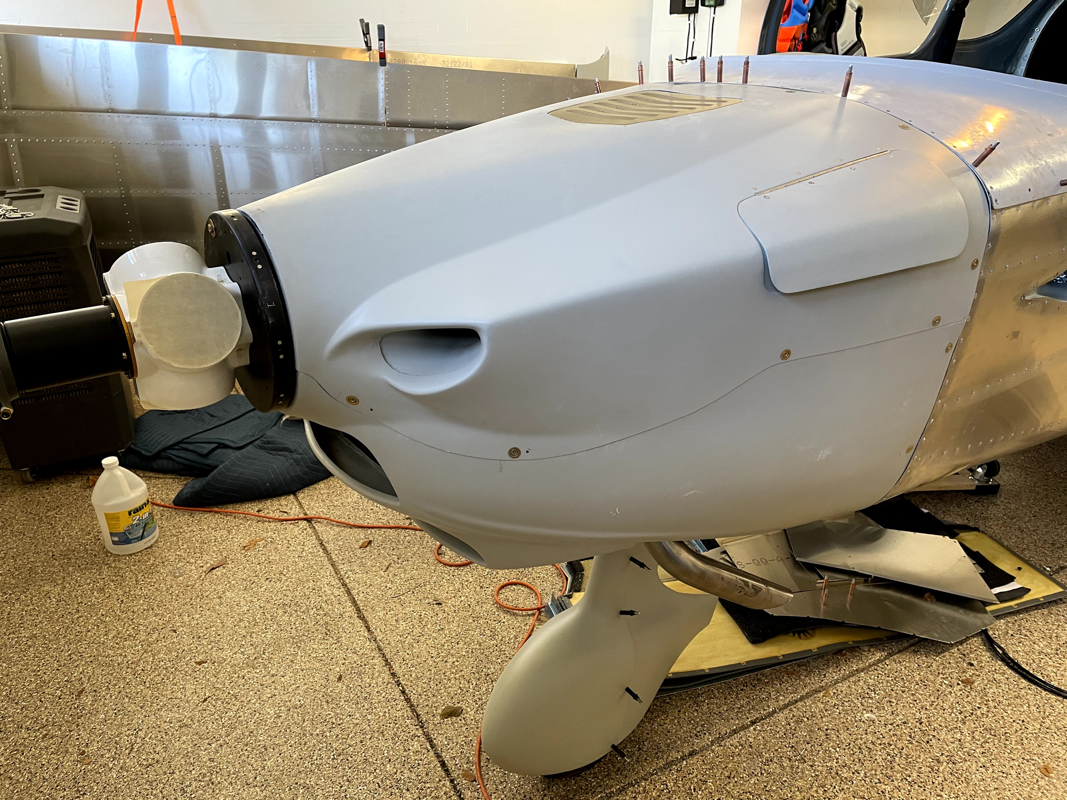
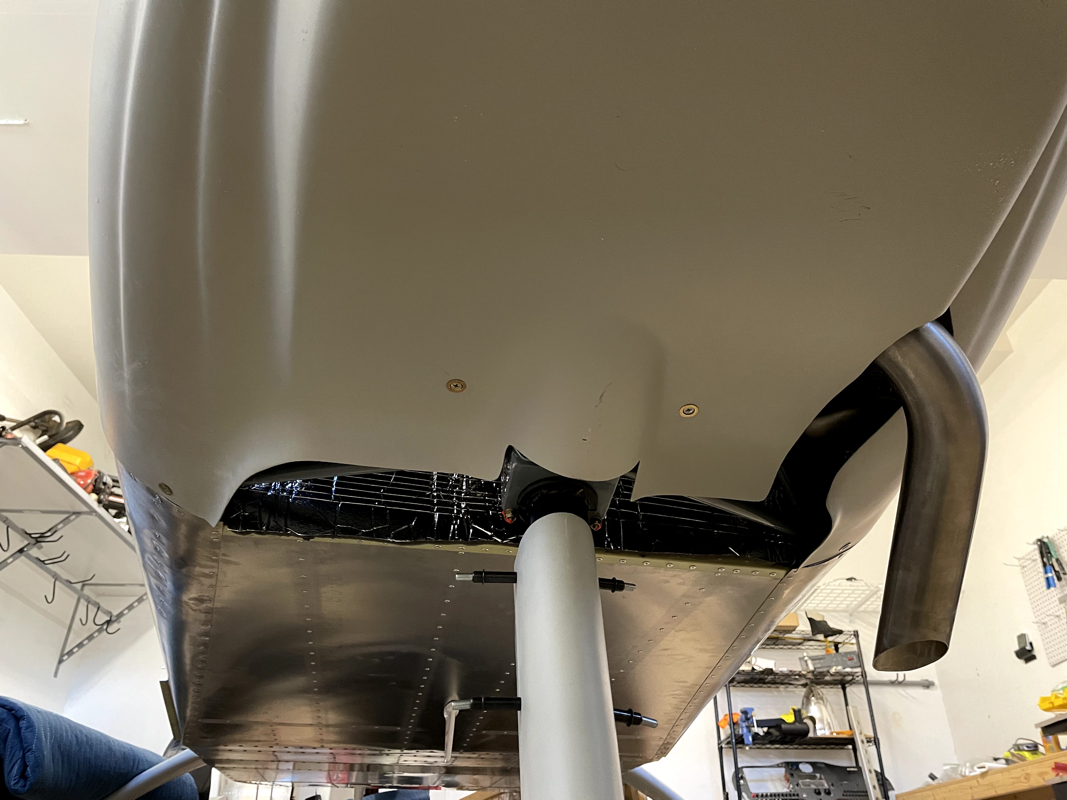
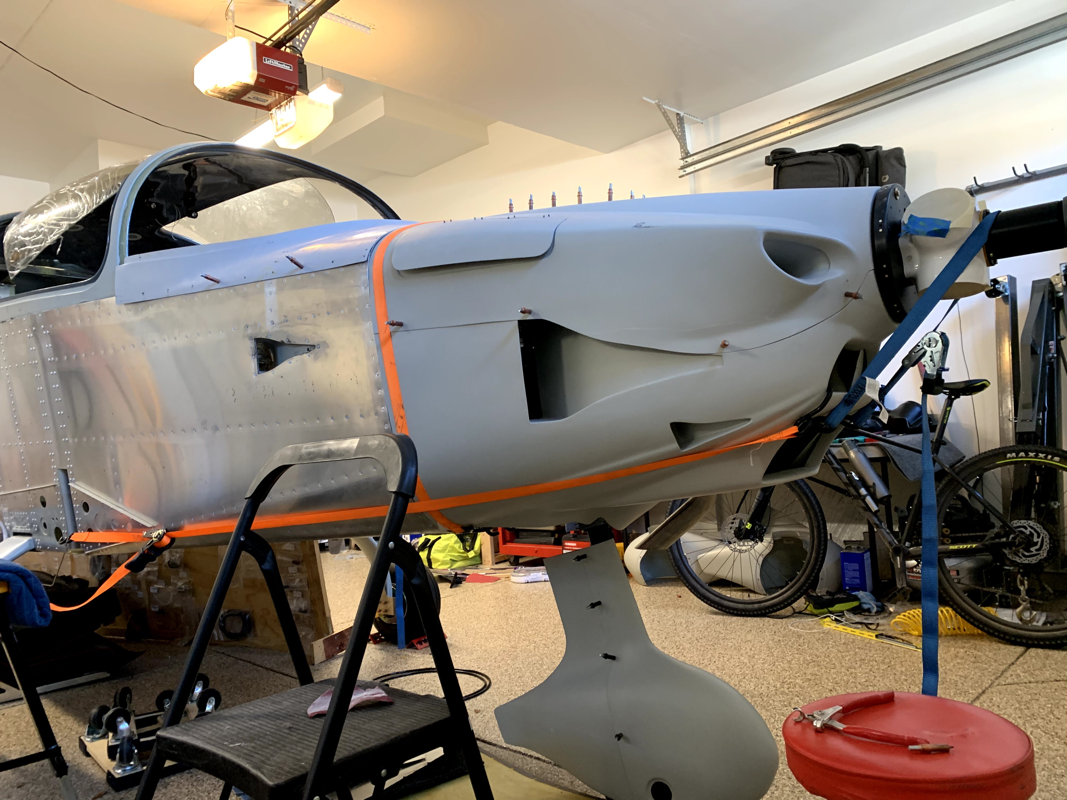
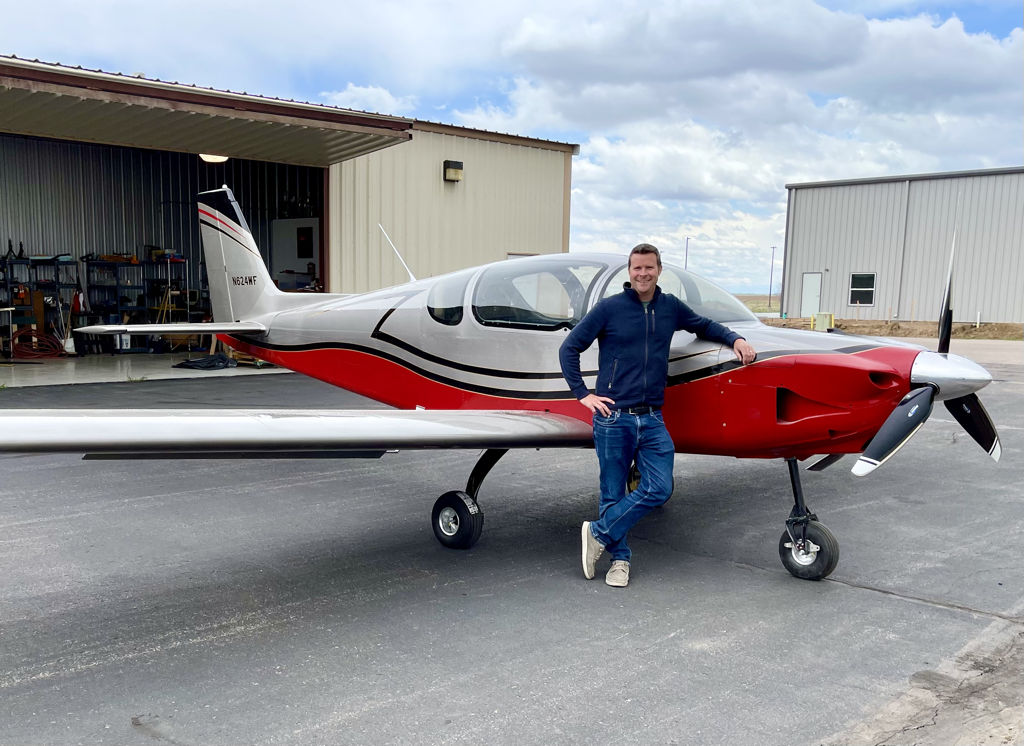
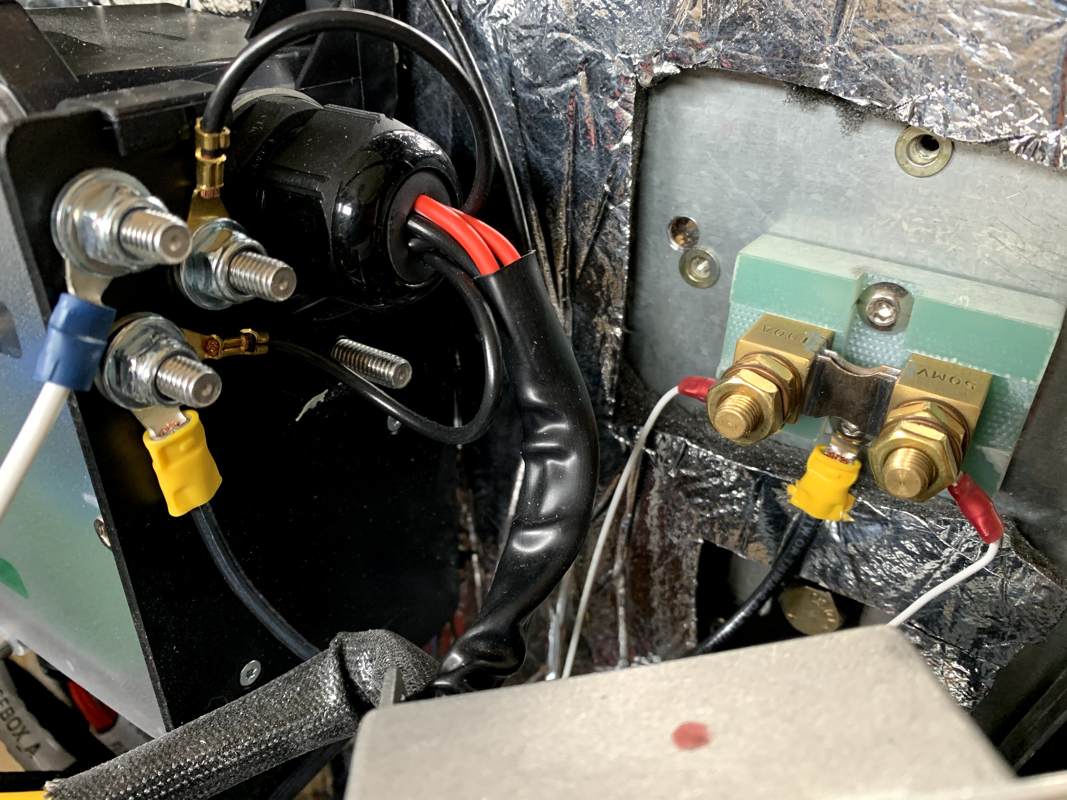
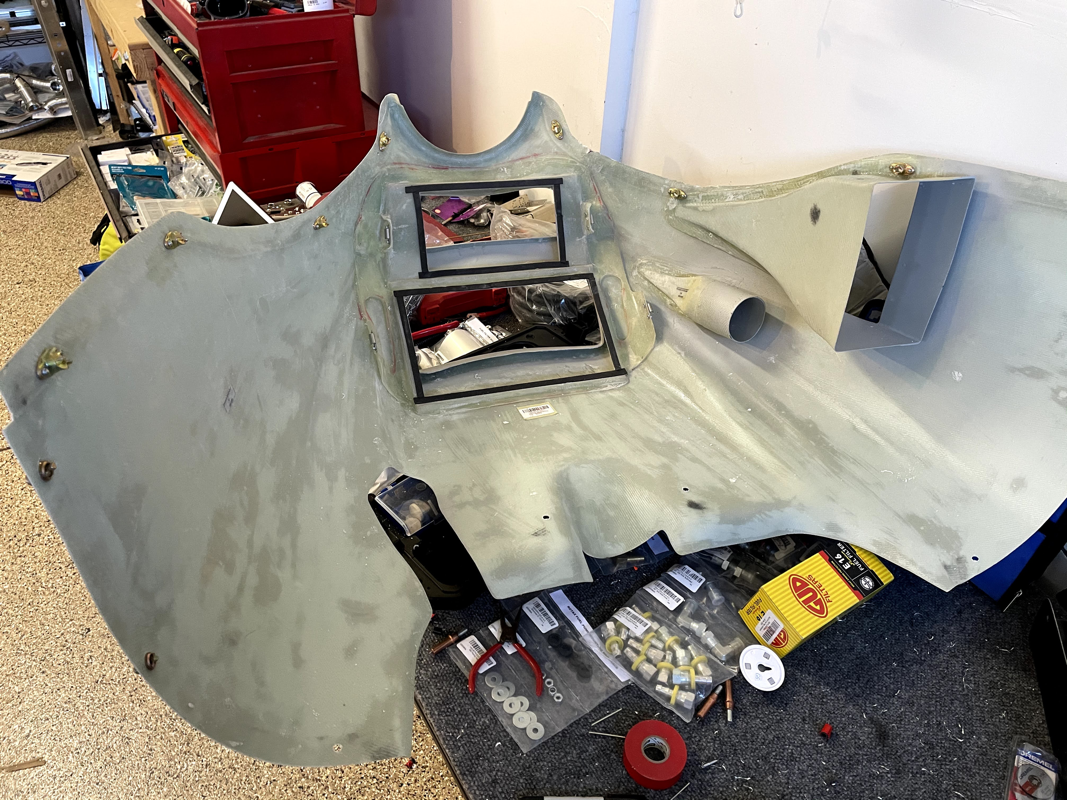
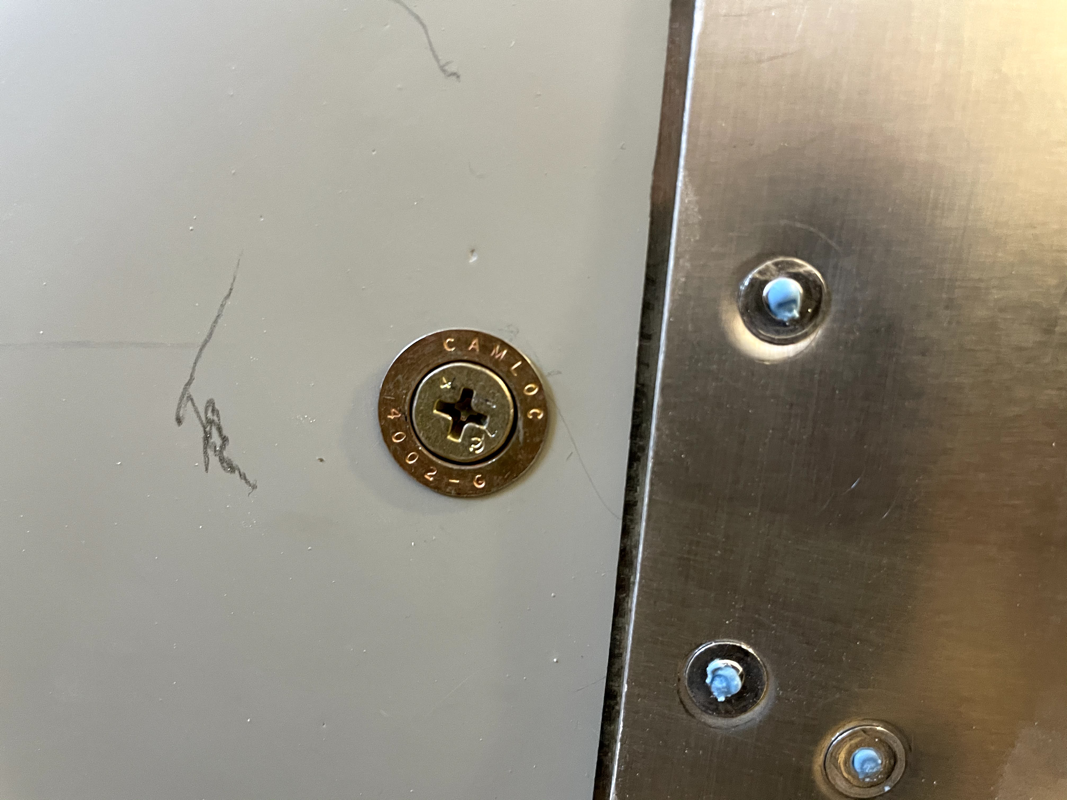
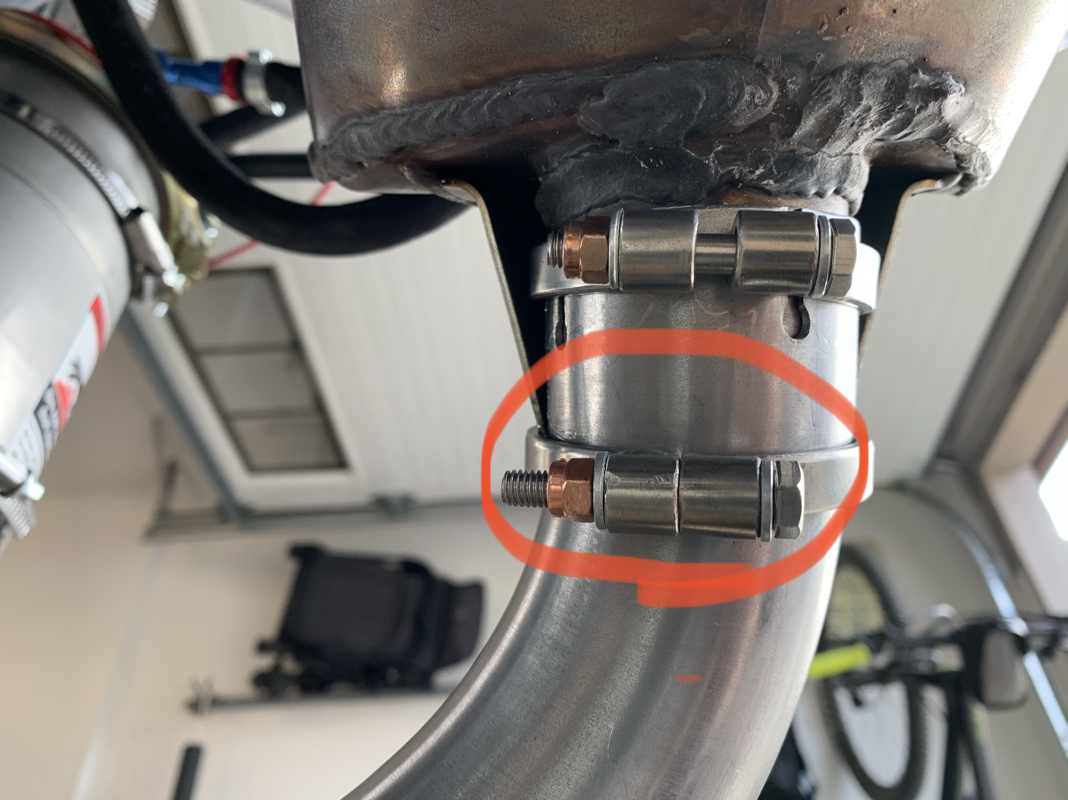
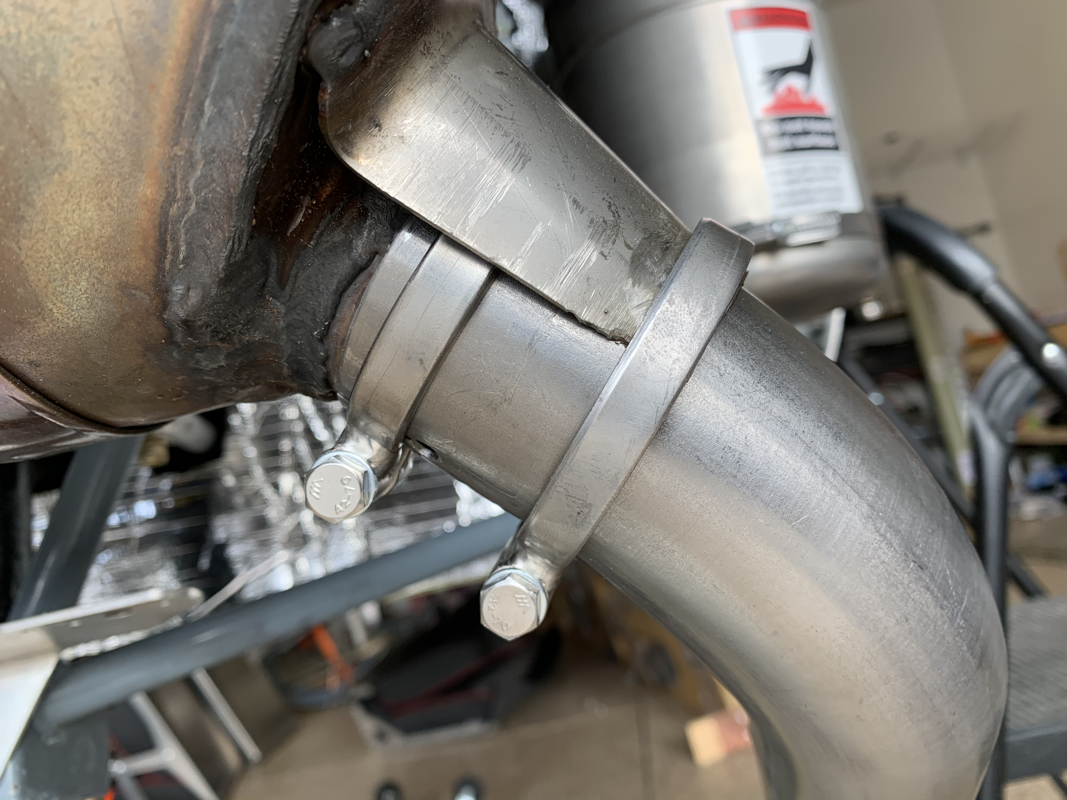
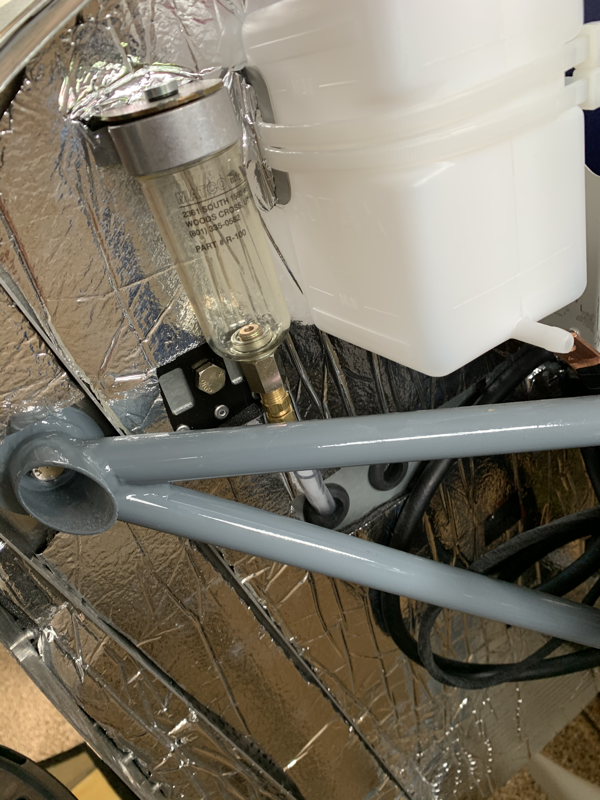
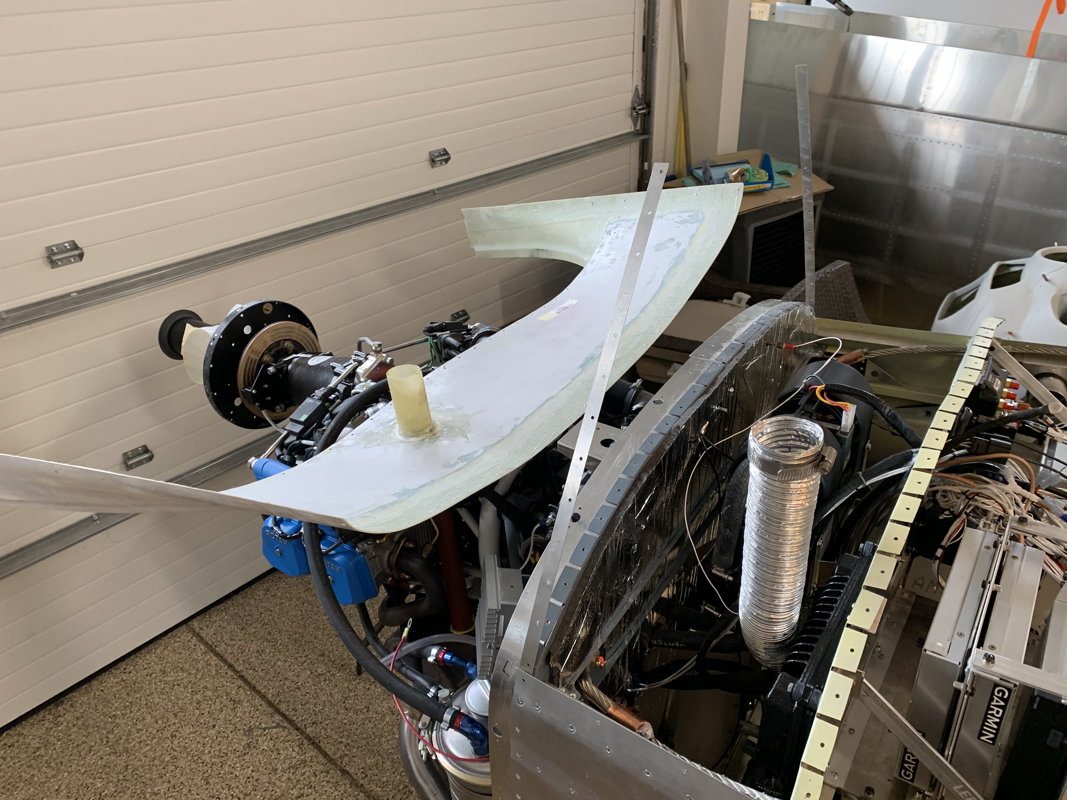
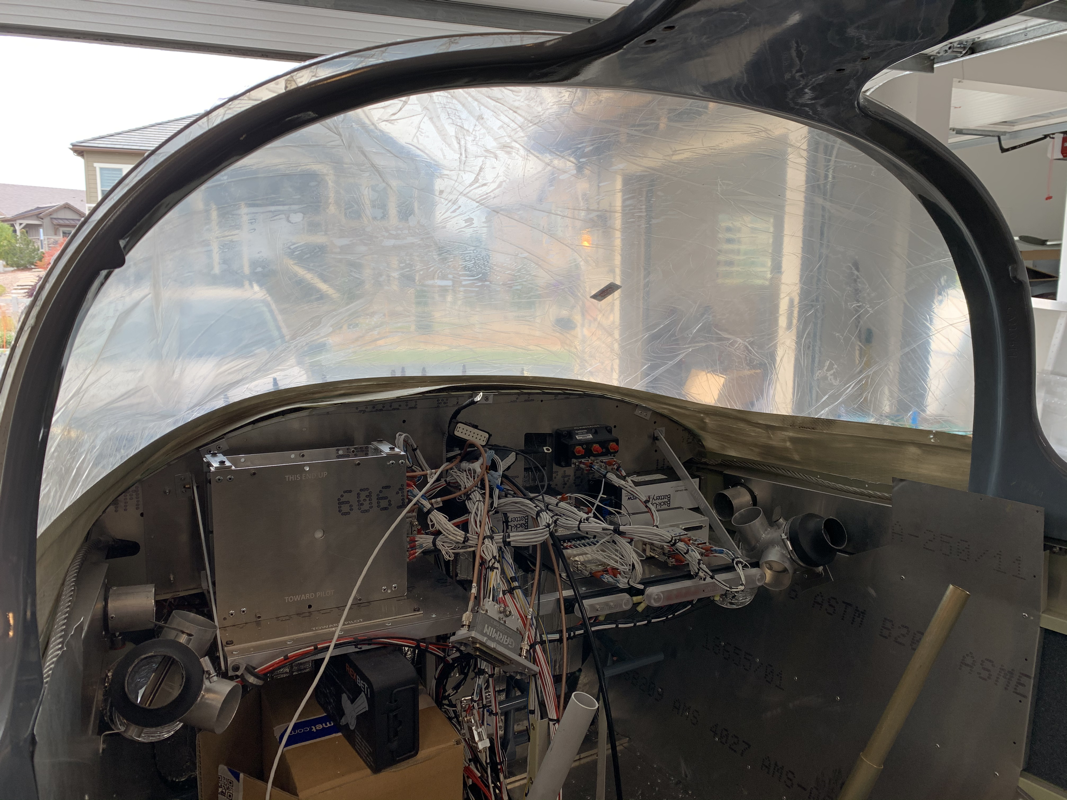
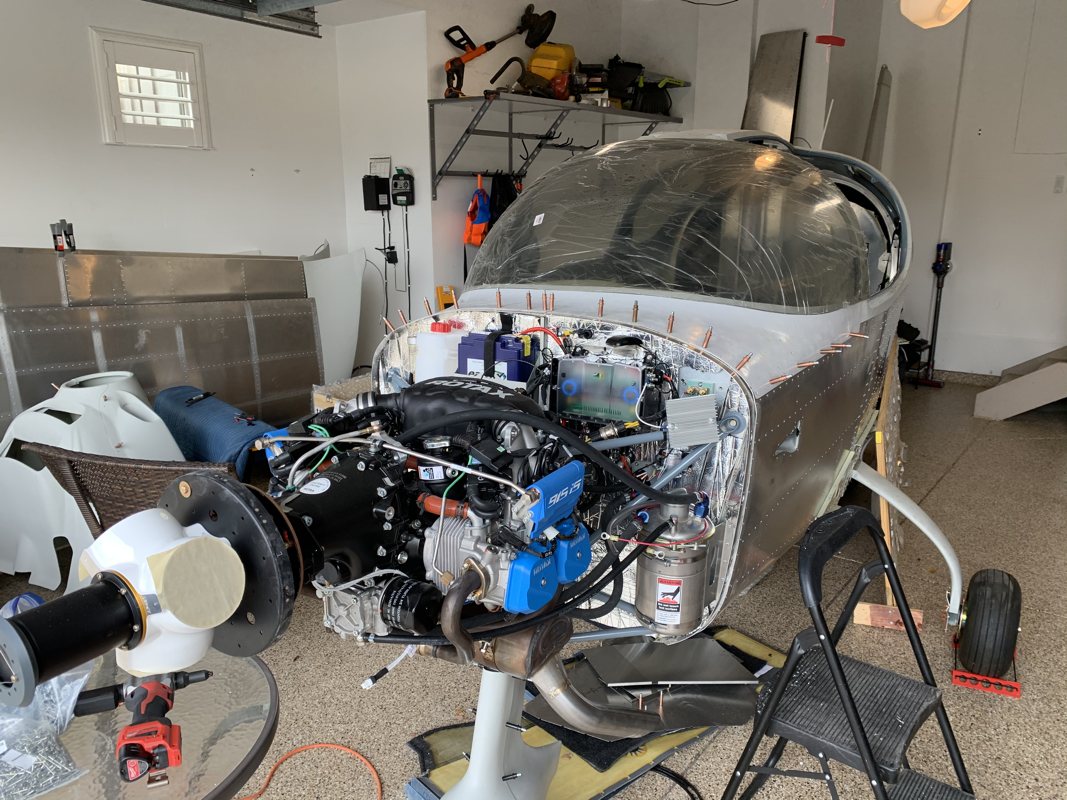
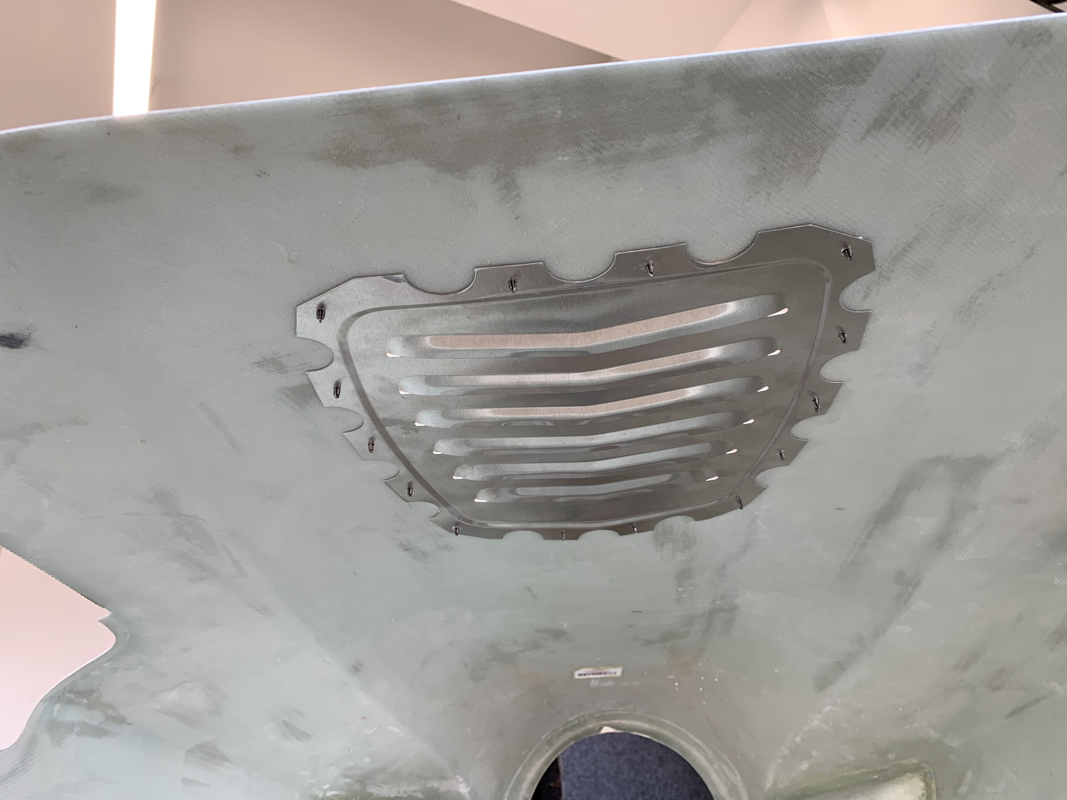
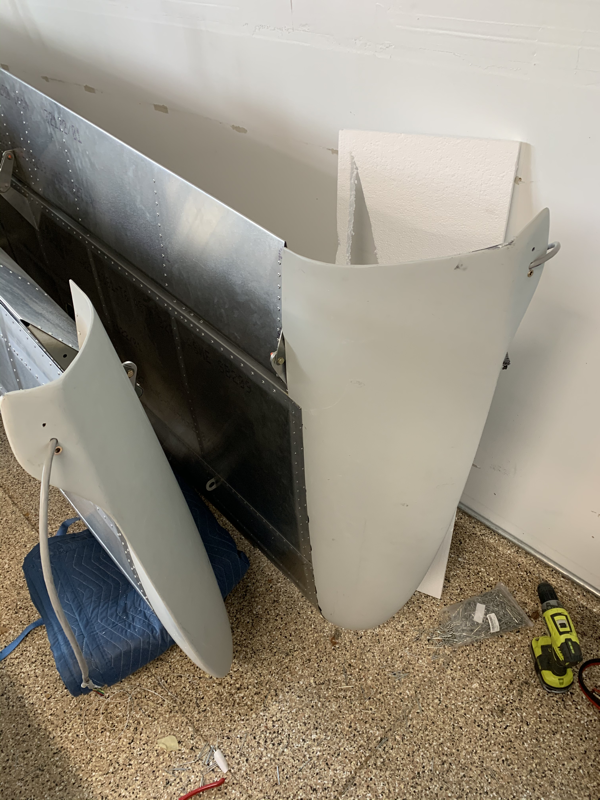
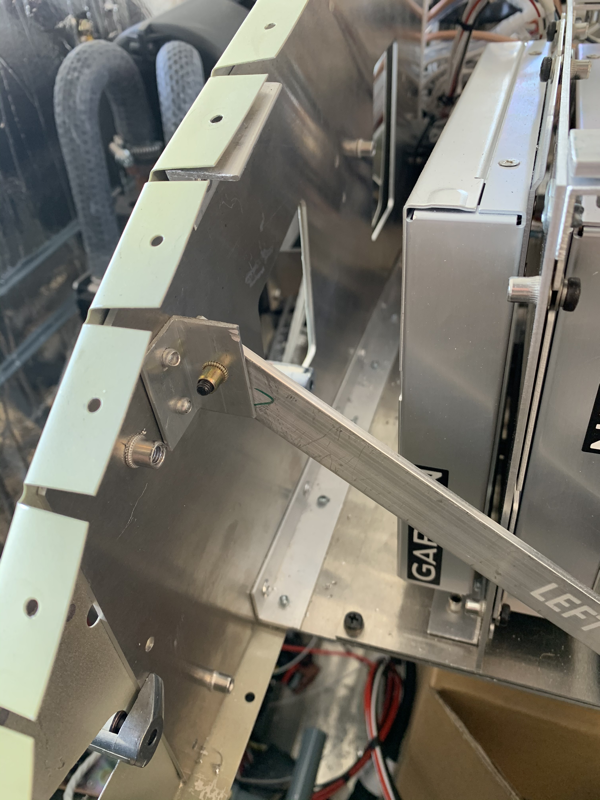
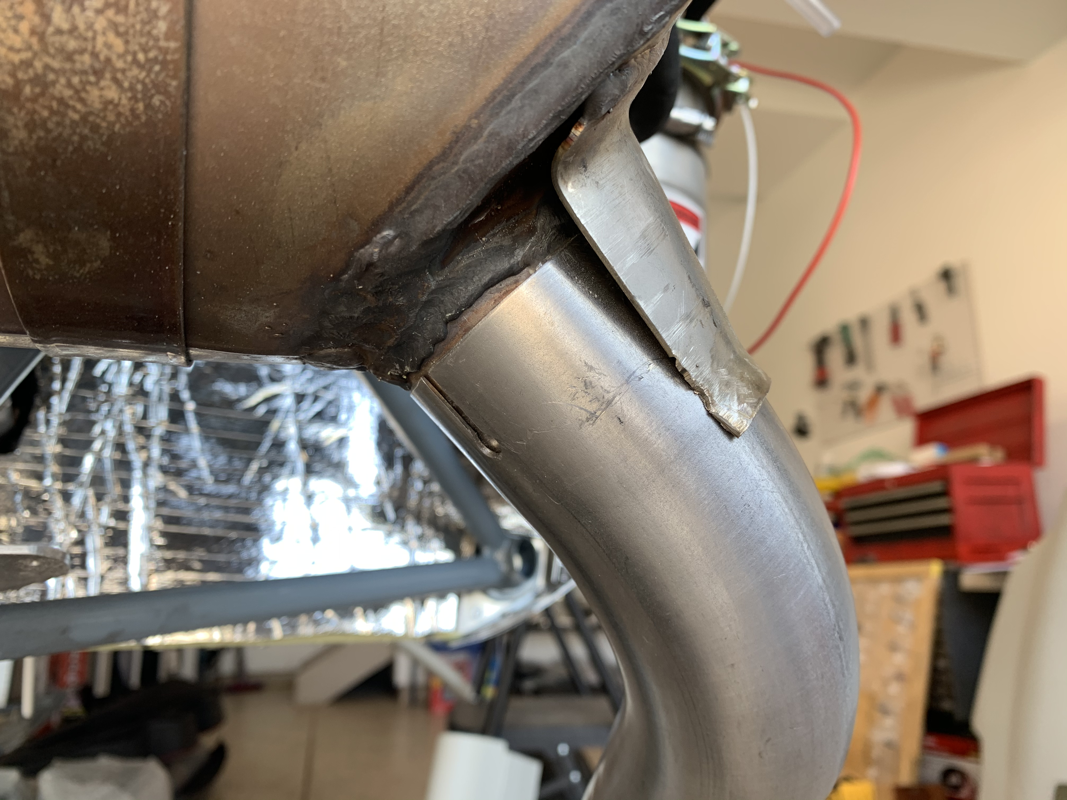
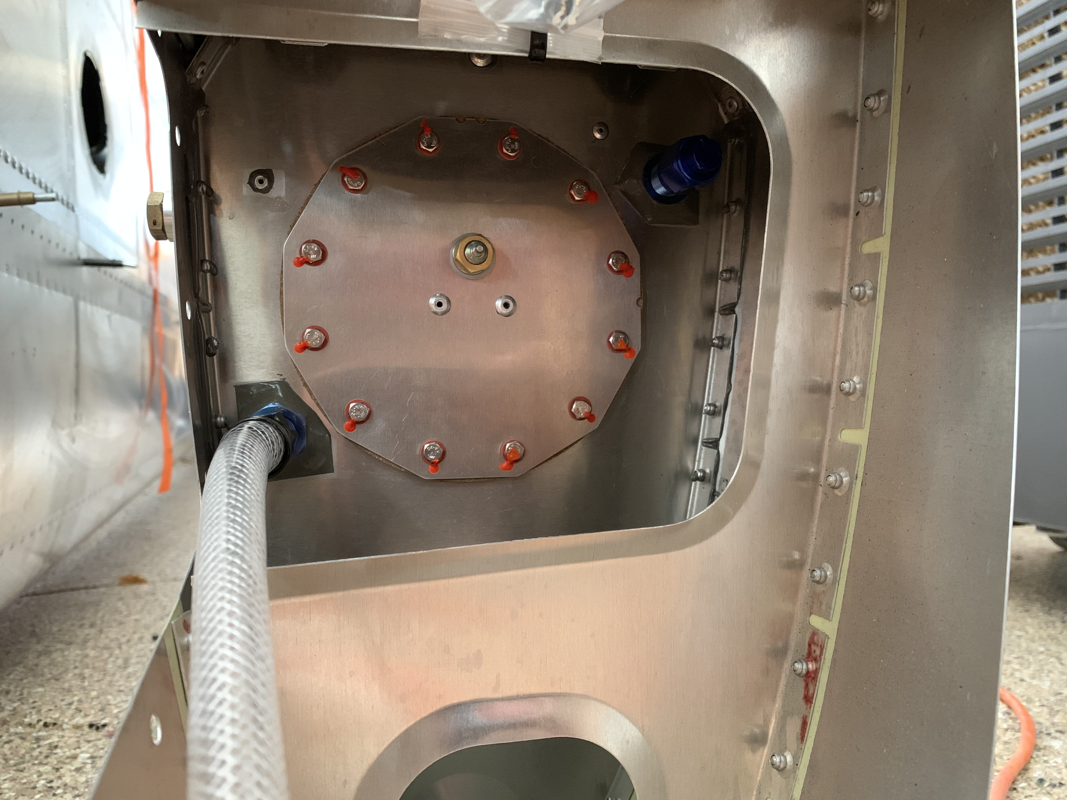
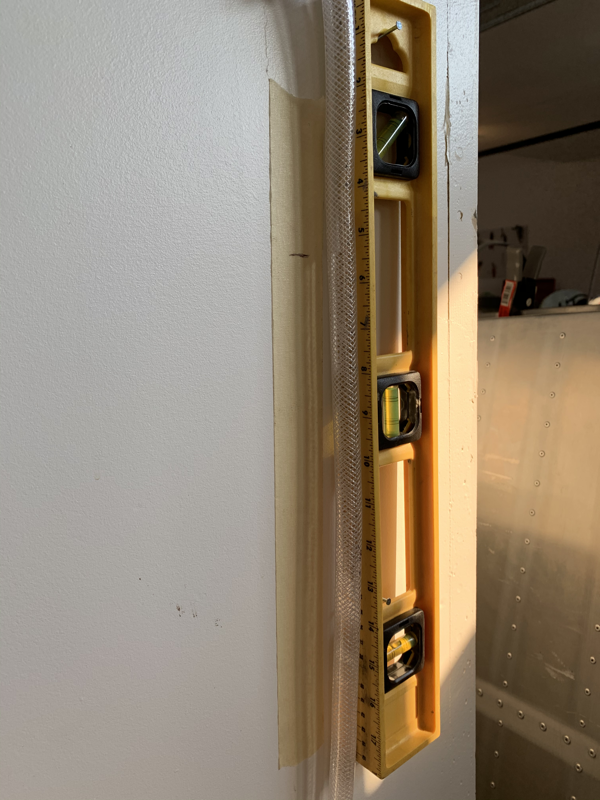
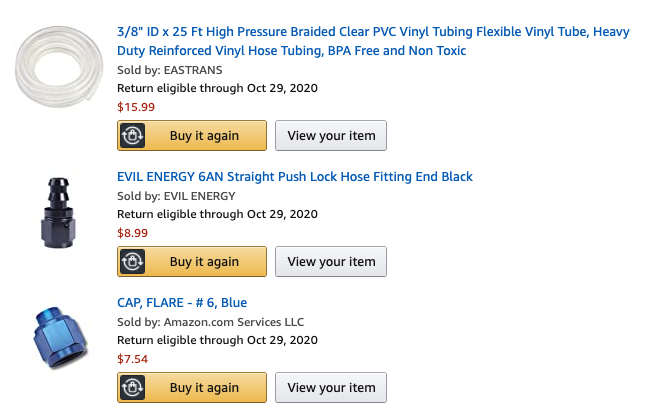
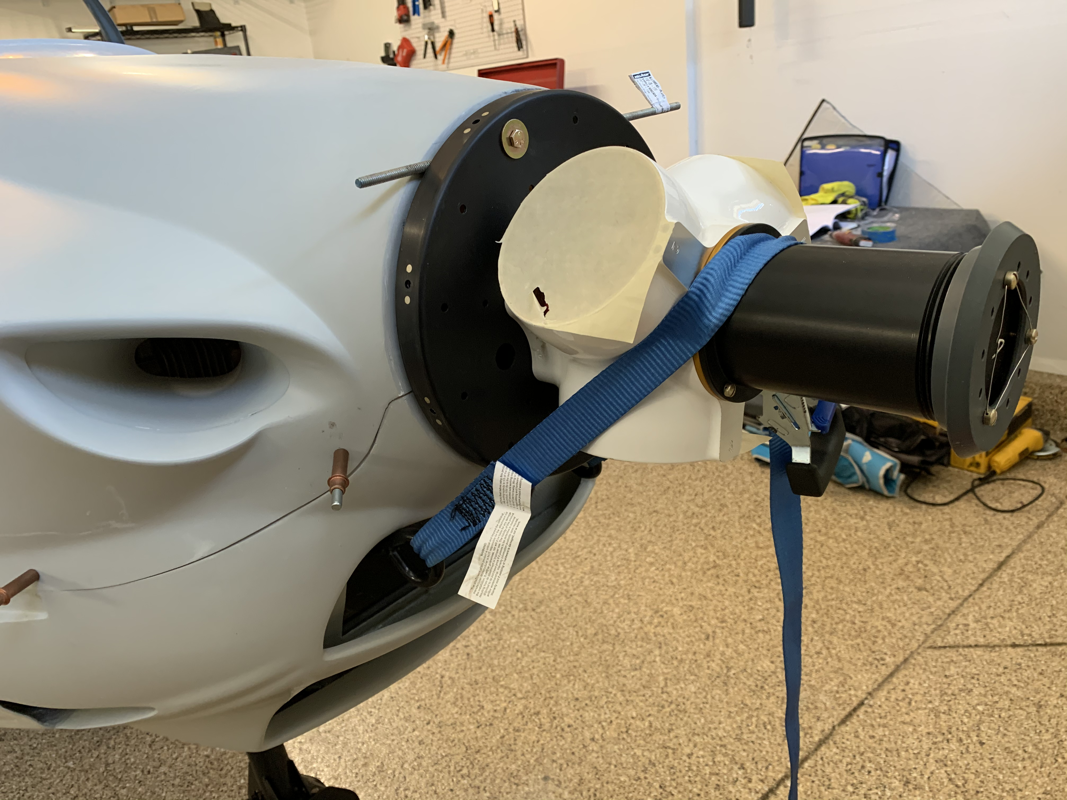
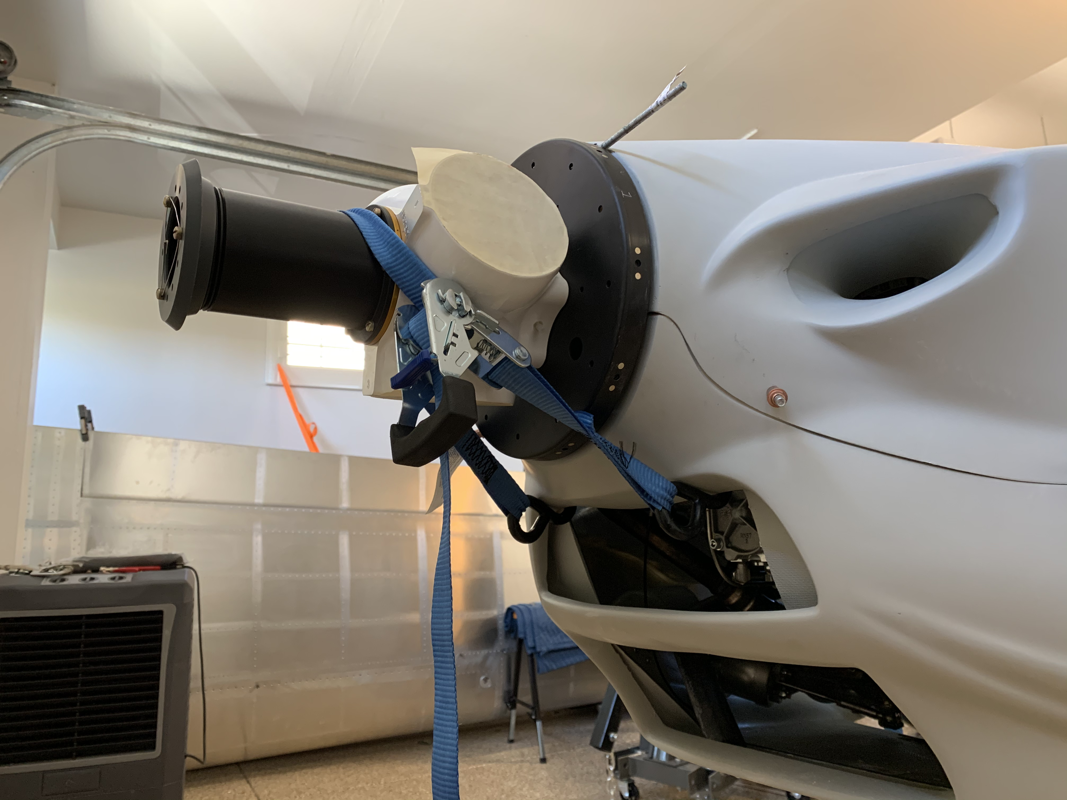
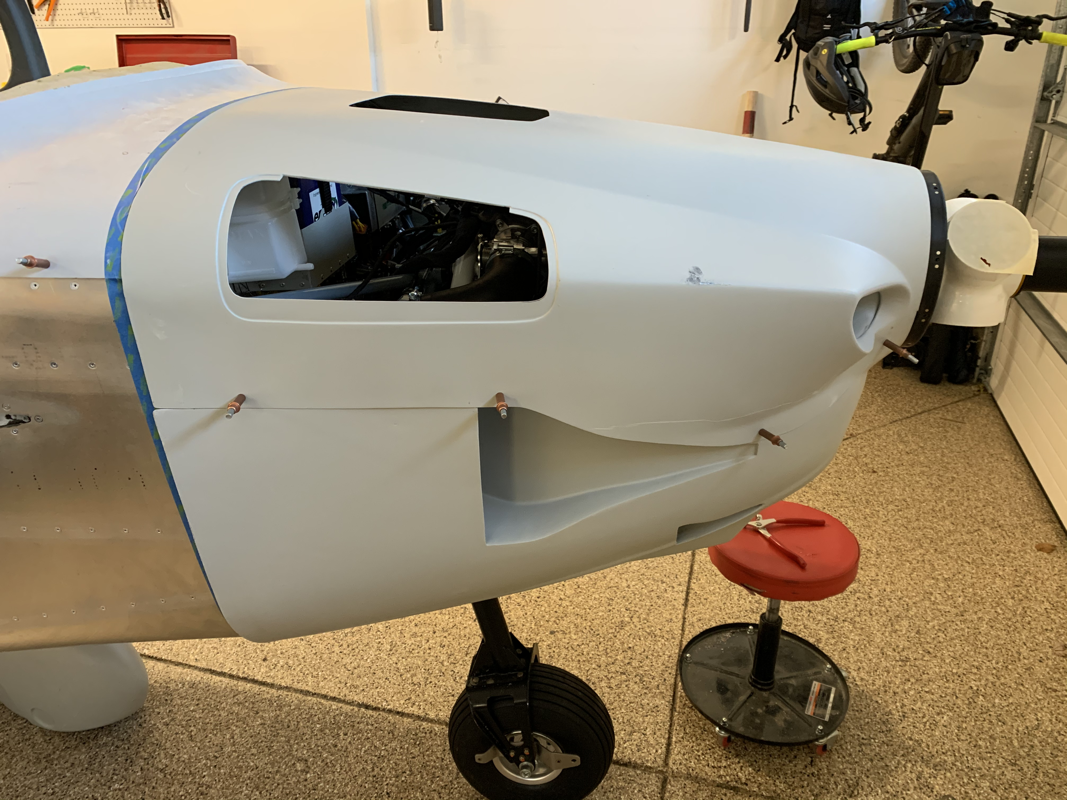
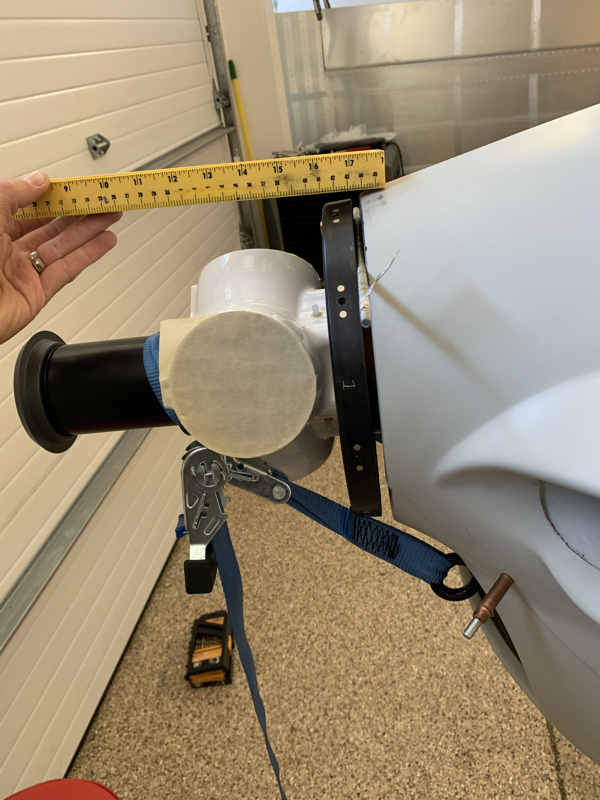
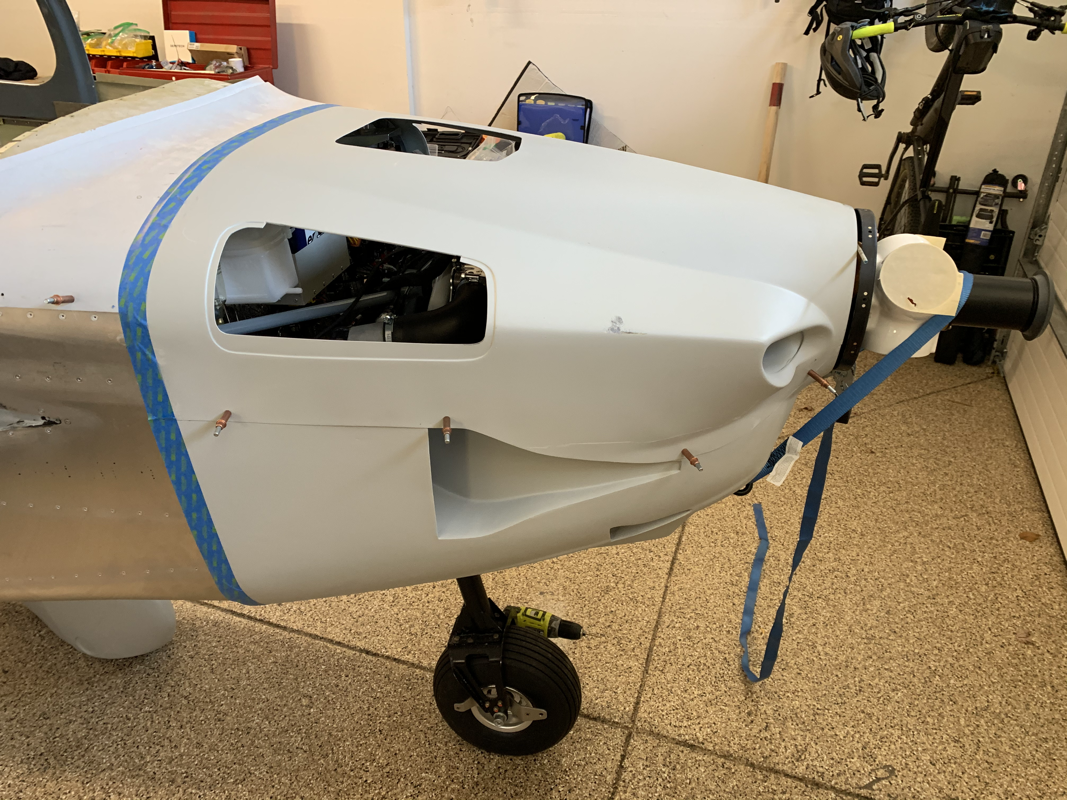
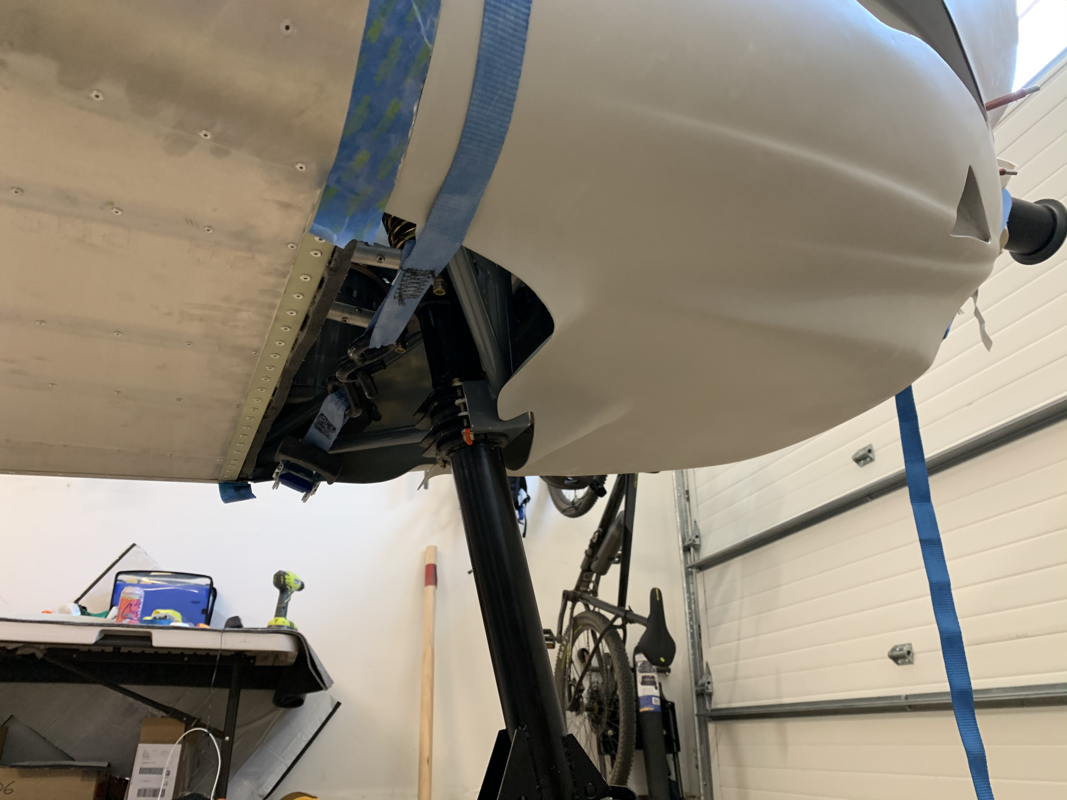
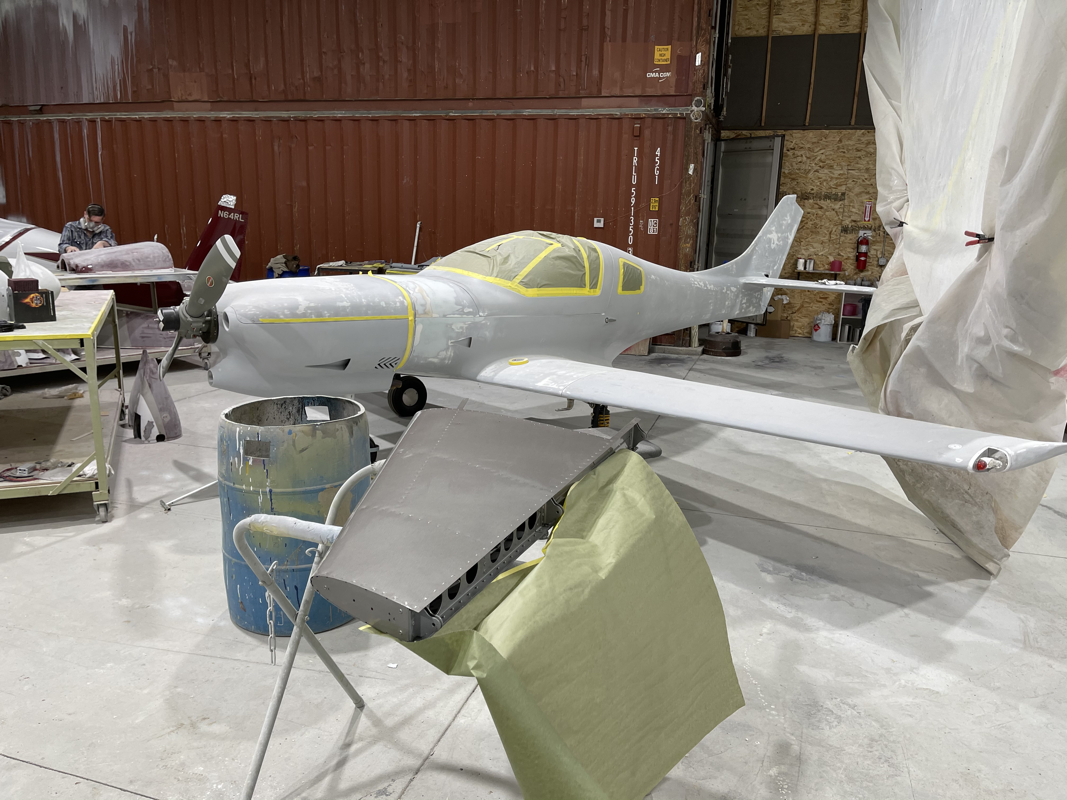
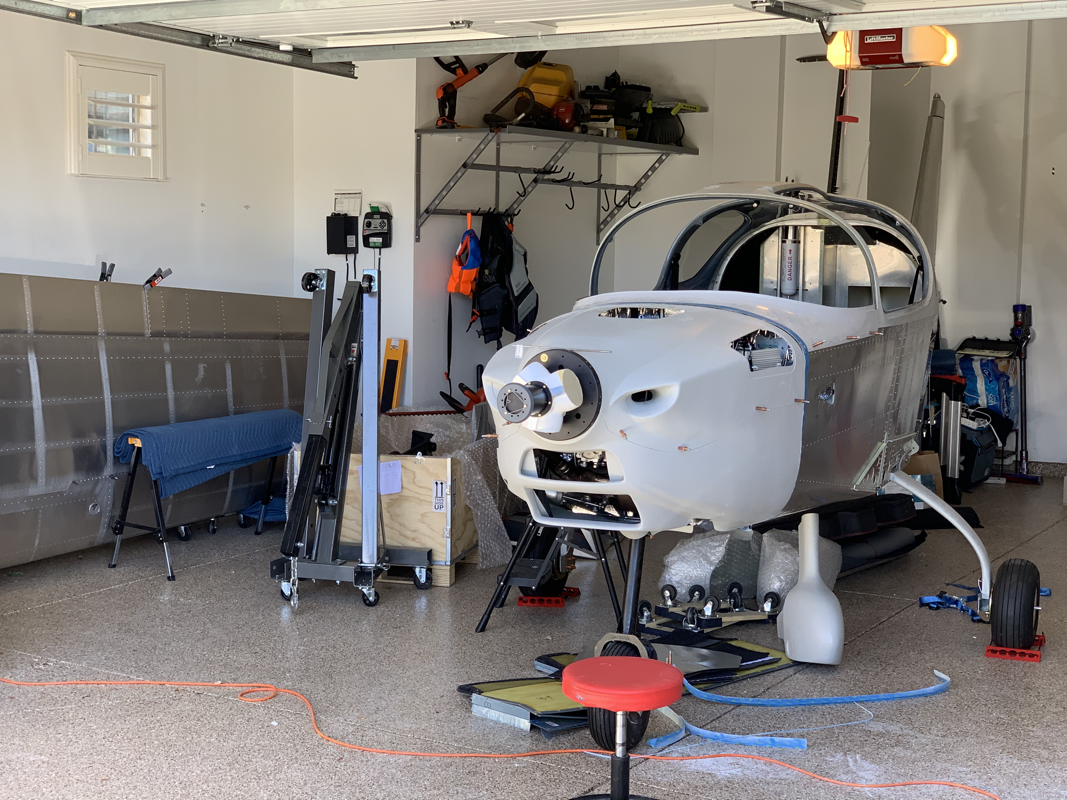
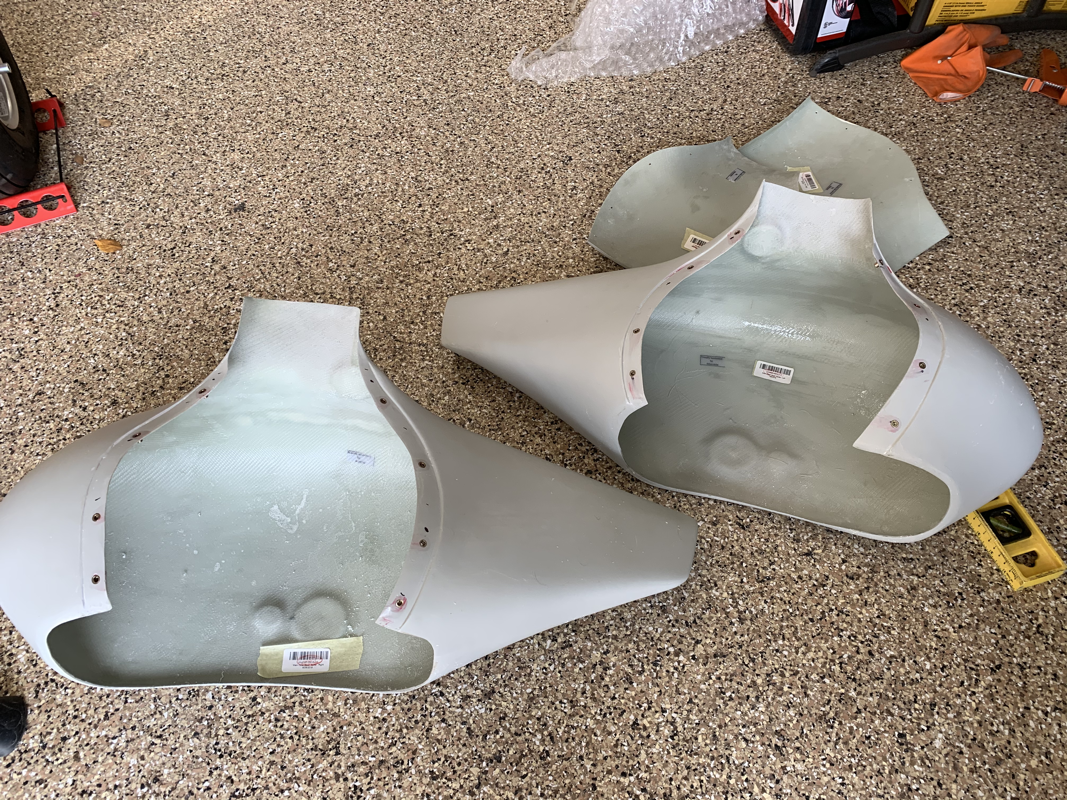
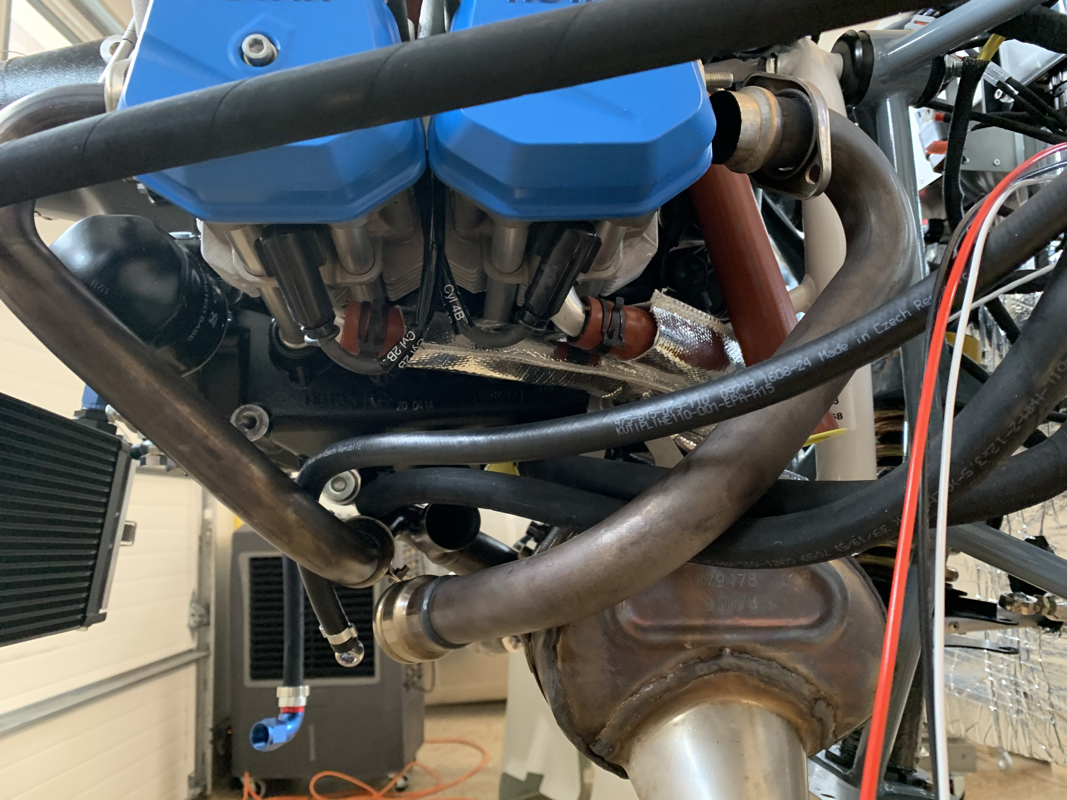
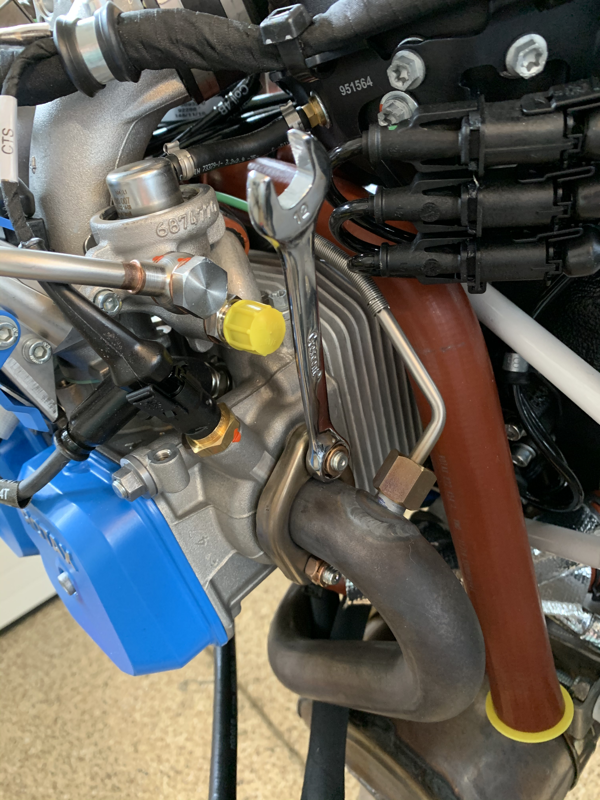
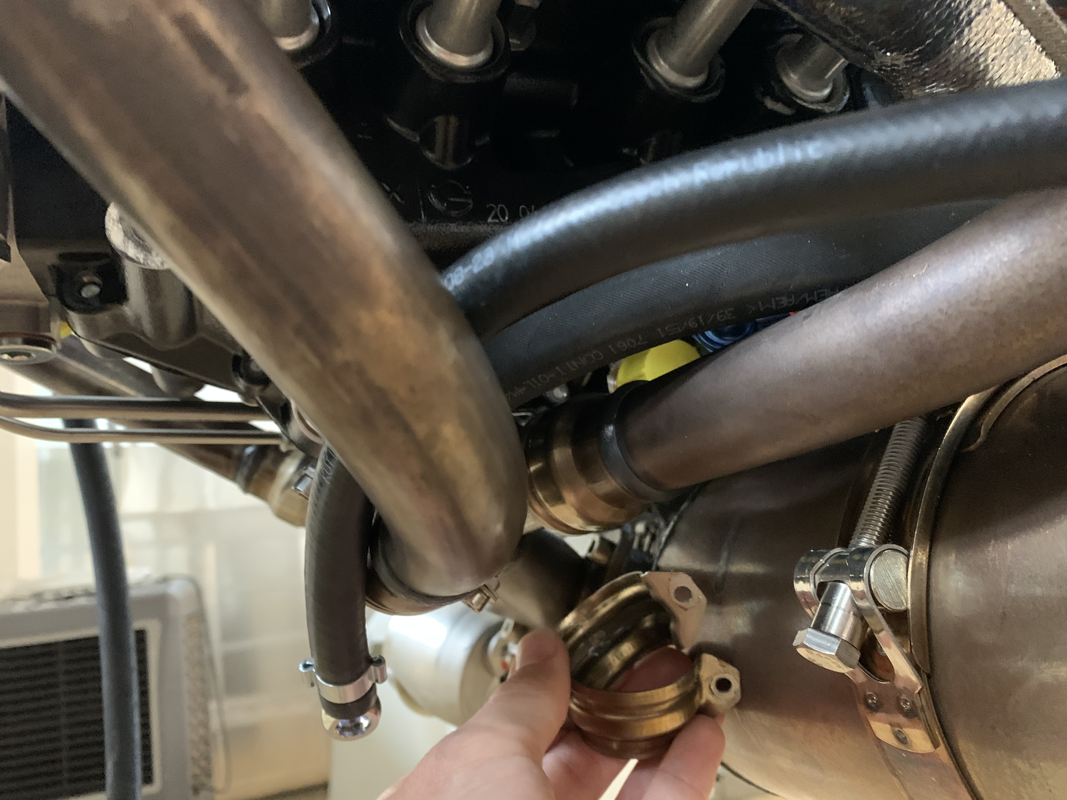
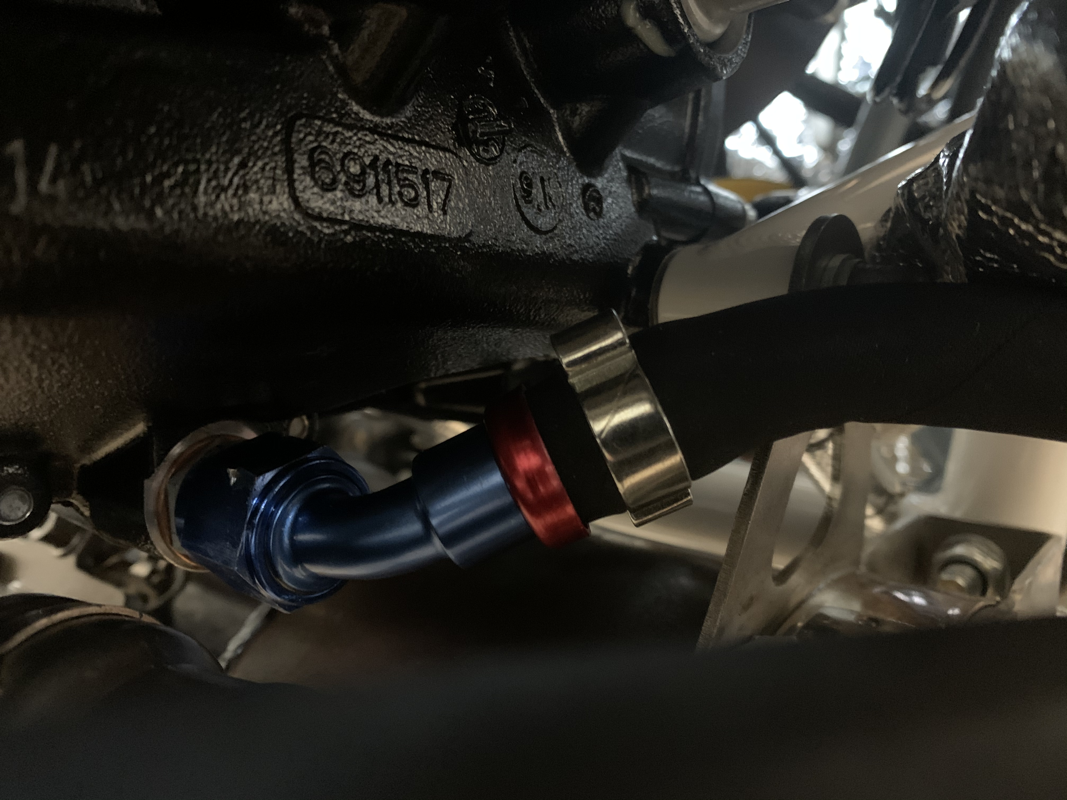
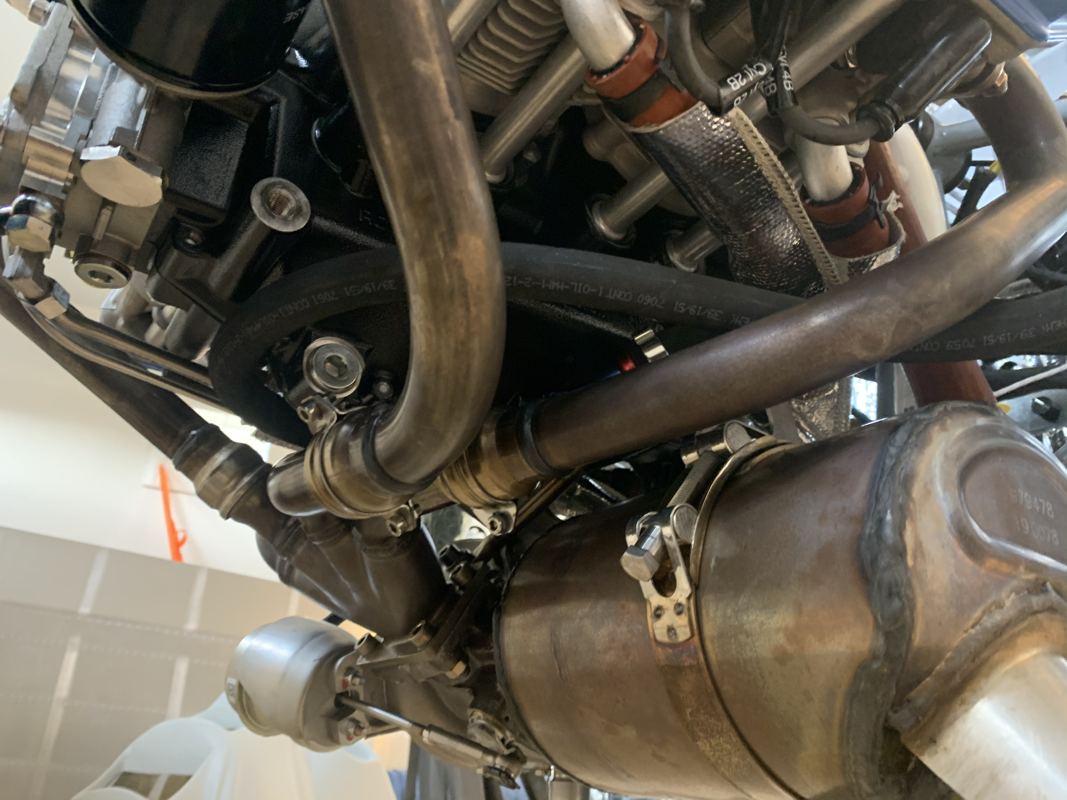
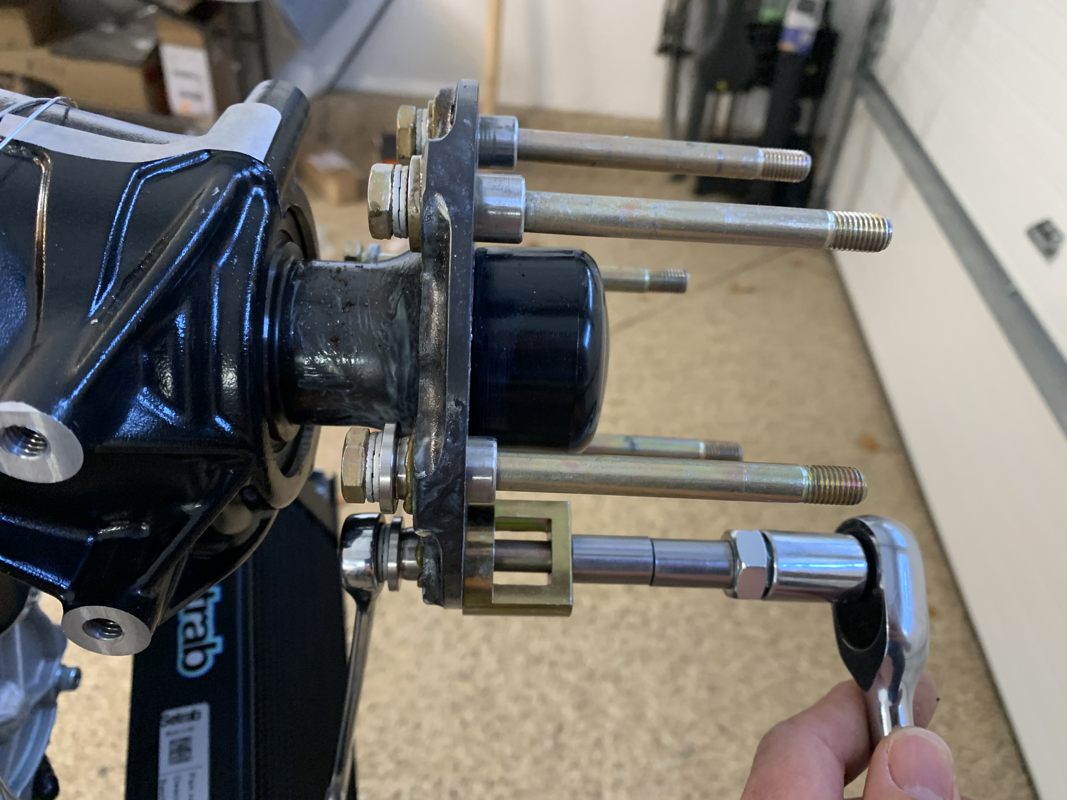
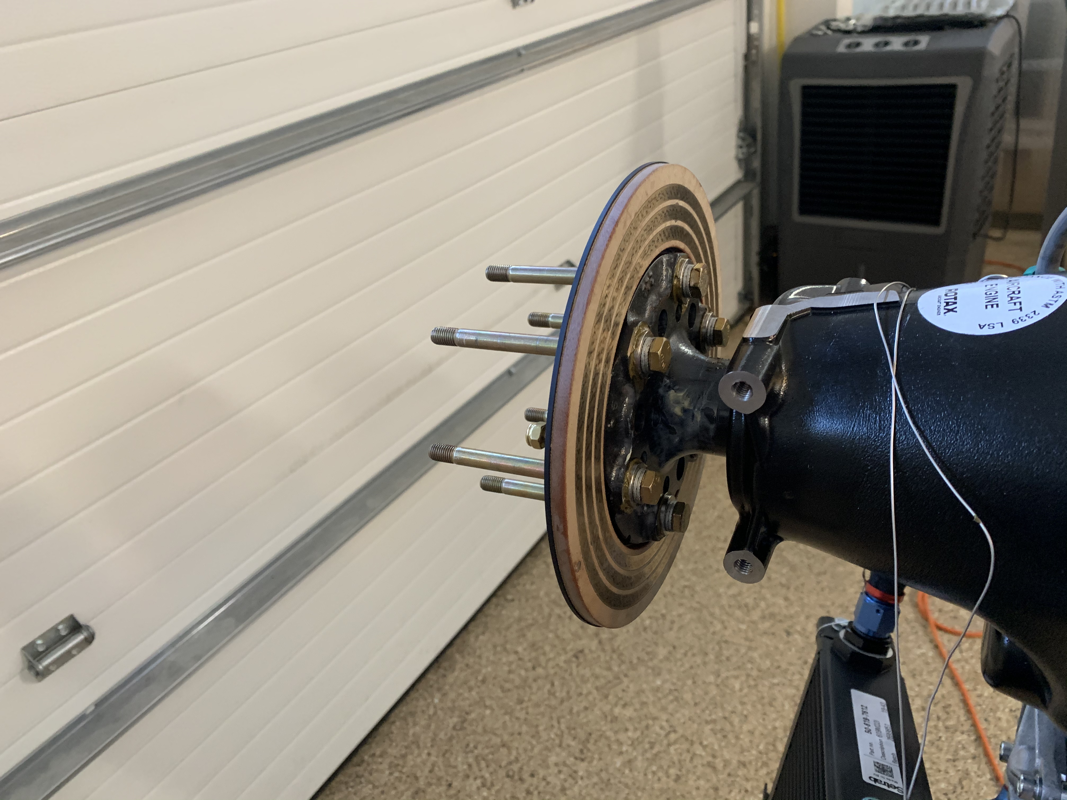
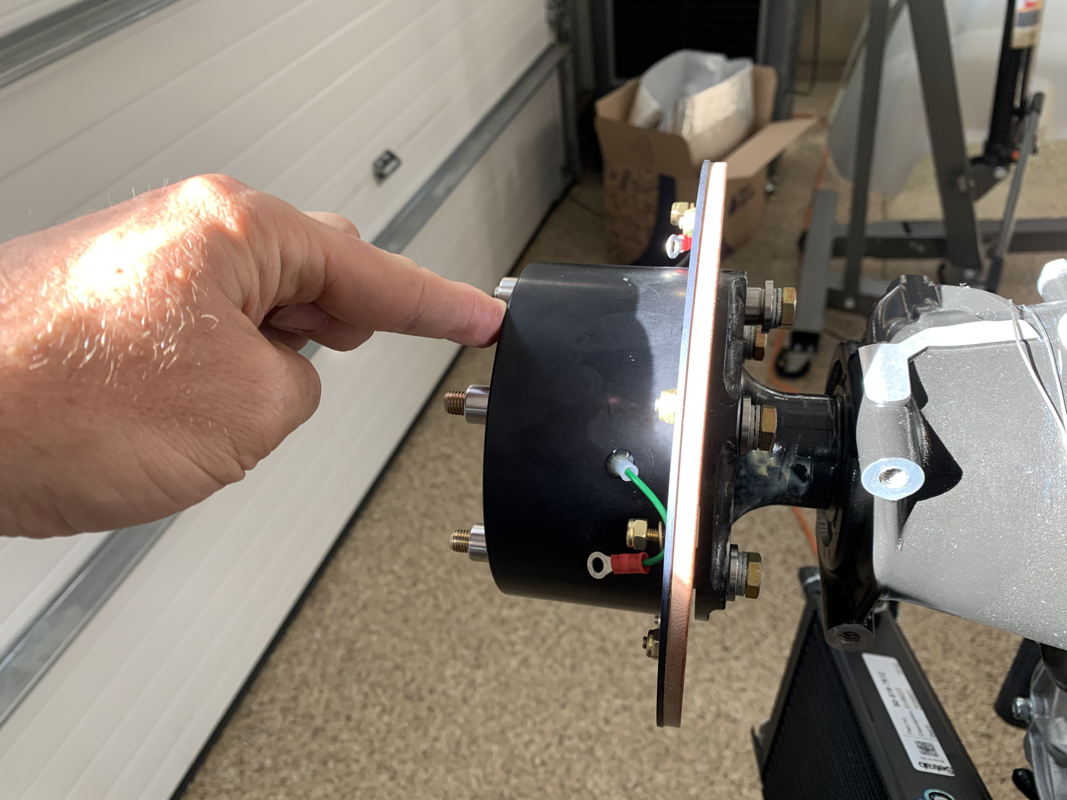
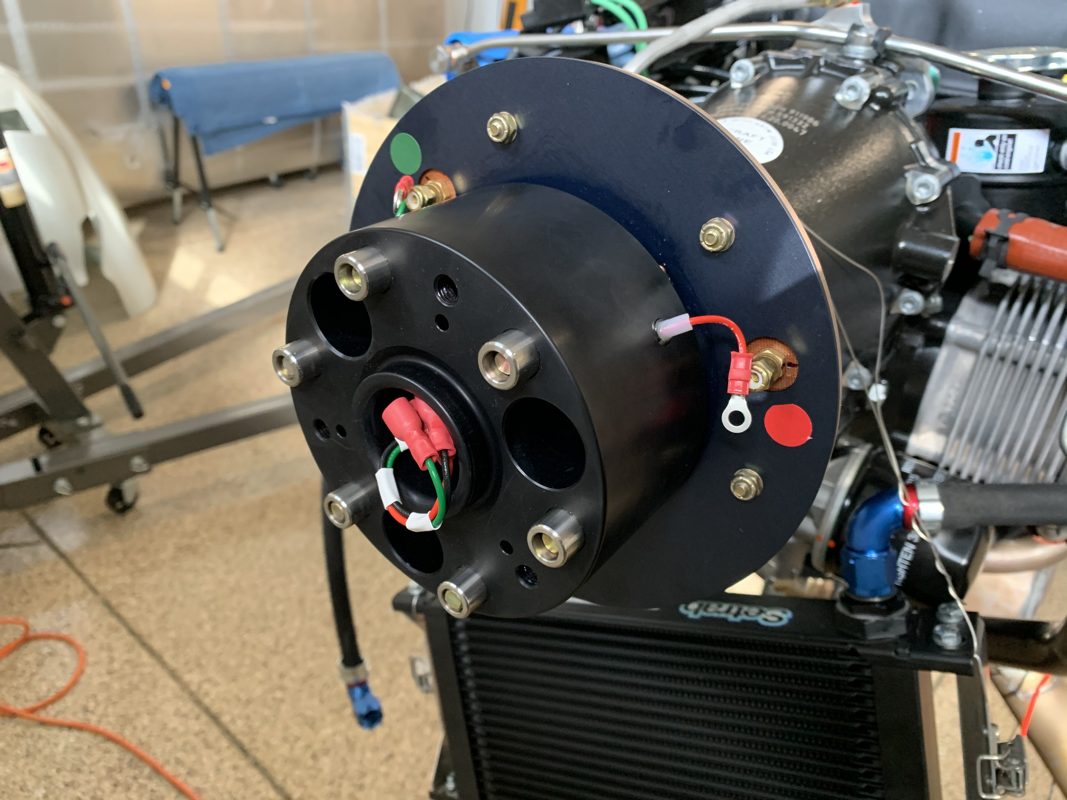
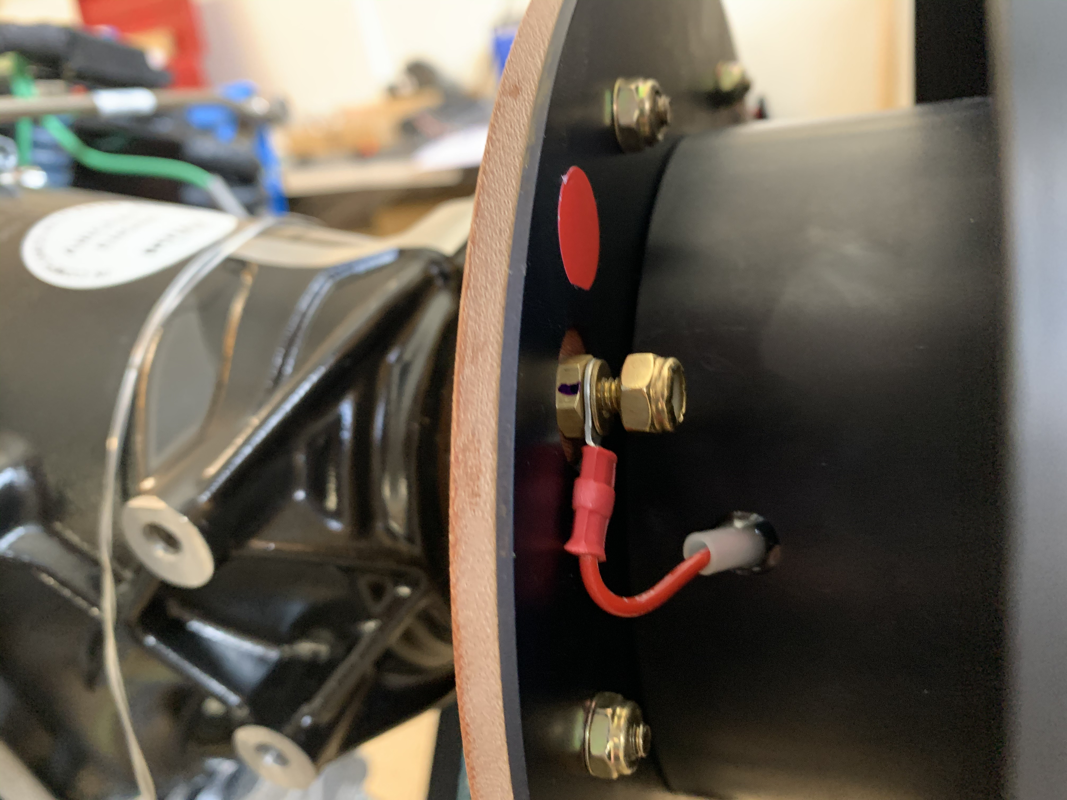
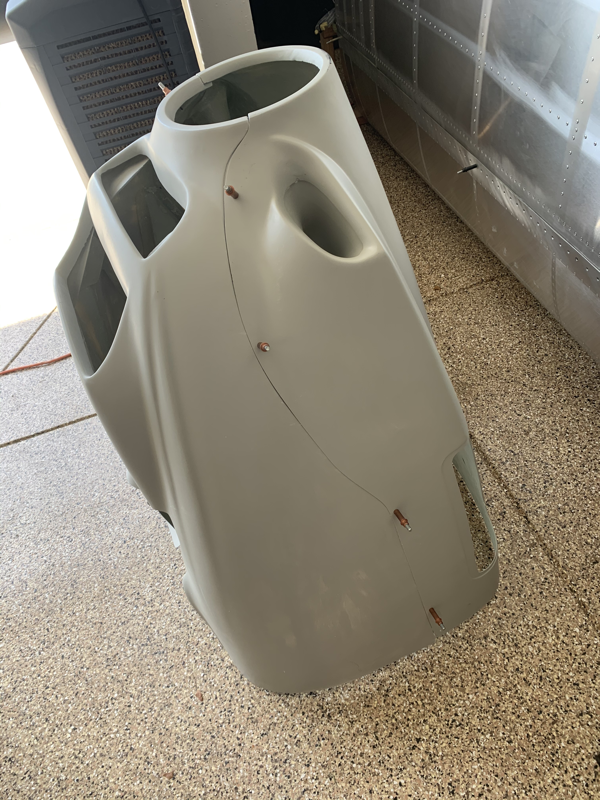
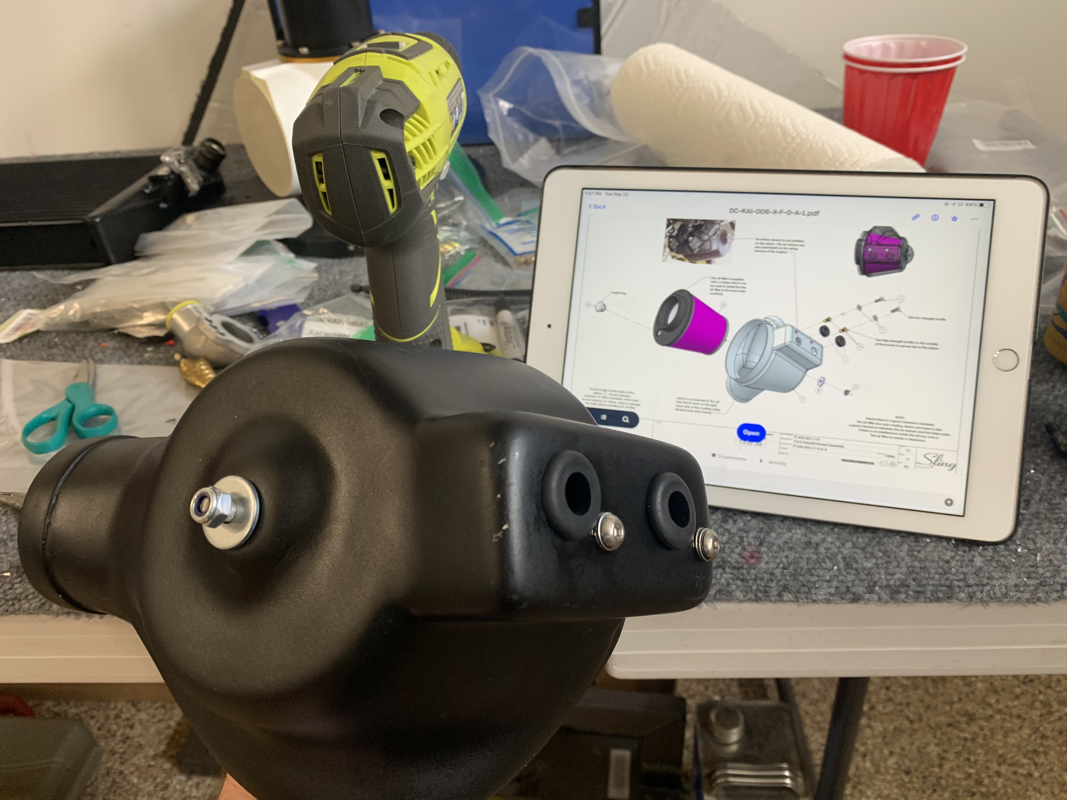
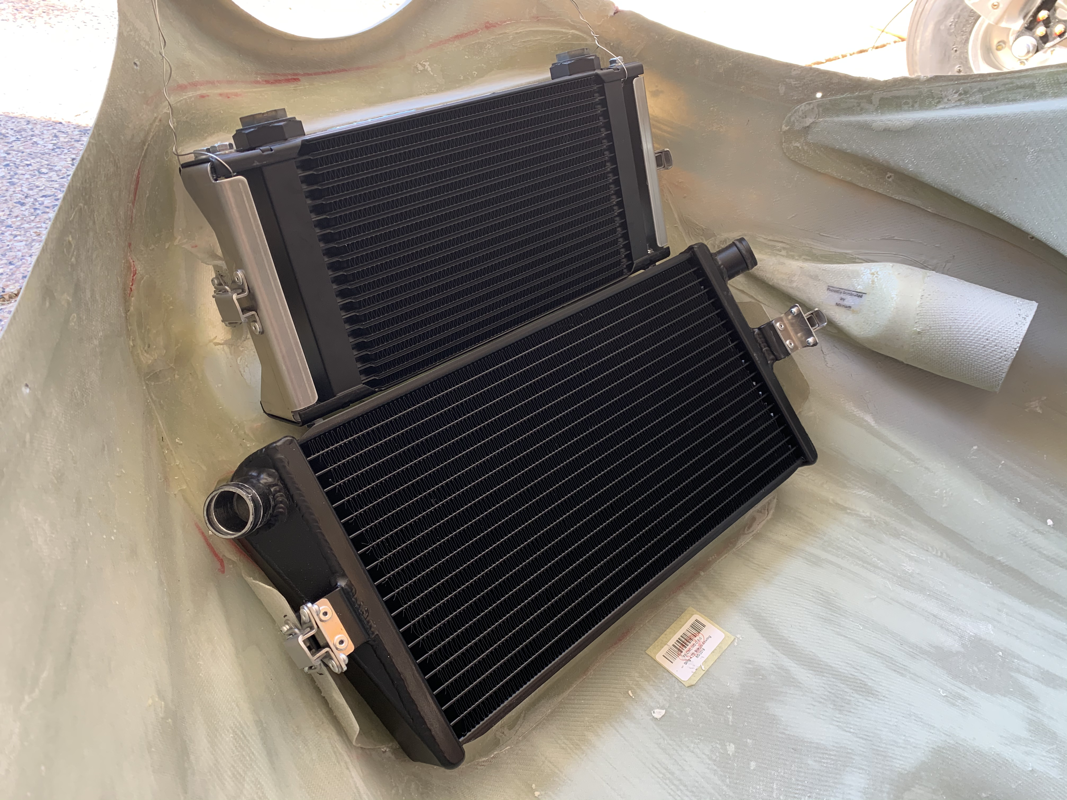
It’s a BIG day! My airplane now has its Airworthiness Certificate! Which means, I can go fly! (As soon as I get some training in the same type of aircraft first, baby steps!) I can’t believe that it’s finally done.. a 2 year effort overall, with some significant stops in between waiting on paint as well as taking care of my newborn daughter. Looking forward to Phase 1 flight testing and ensuring everything is safe for the family’s first flight. 🥳🍾🥂 Today was quite the milestone! I spent a good amount of time priming the system with Oil, Coolant and Fuel in the morning. Once the engine was burped and all the indicators looked good, I went for engine start! The first time cranking it up, I had the throttle set a bit too low, but once I gave it a bit more it started purring. Once I did the initial run for a few minutes, I took off the cowling and inspected for leaks - none! What did I do wrong? Hehe I decided to go for a short taxi around the hangars with my Mother. The engine stats looked good and the warning light eventually went away at higher RPMs. It was mainly flashing because of the fuel pressure, but it worked itself out. Just a bit more to go on the interior. - Connect Joysticks - Connect and configure fuel tank sensors - Connect the pitot and AOA tubes - Tighten up a few bolts here and there - Clean up the wires under the dash - Finish gluing the upholstery - Install the wing light covers Not too much, but going on hiatus for a bit as I’m expecting my 2nd child any day now. 🐣😉 - started to add upholstery - rear golf cubby hole as a test for carpets - center console leather - rear passenger heat routing - bled brake lines - filled the fuel tanks! I’d recommend Wurx Containers.. saw them on Trent Palmer’s channel and he even has a discount code. 👍 Today I tightened up everything firewall forward and put the cowling on (for show) and then put the propeller blades on. Pulled it outside to get a good look and I’m so happy with how it’s turning out! Now I just need to focus on the cabin area, putting in the final bolts and start working on upholstery. From there, engine start and inspection!  What a big day! So excited to get the wings attached. Thanks for the help today, Brian! 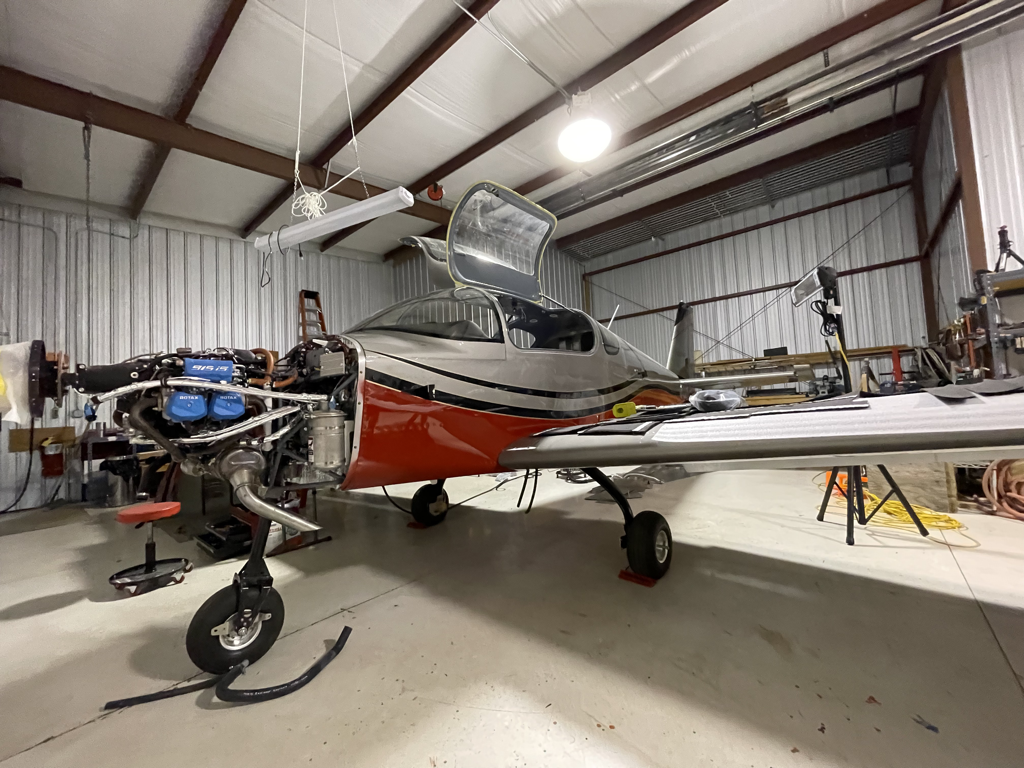 Today was a fun day! Now that the windshield is bonded, I was able to install the avionics panel and get everything connected to the harness. What an easy process thanks to Midwest Panel Builders. I think it only took us about a half hour to fit the panel and get everything connected with the plug and play harness with labeled connectors. Next up - Wings, Prop, Upholstery and then just sprinkle in some fuel and oil and we're ready for blast off! Documented the process of bonding the windshield: - taping / masking fuselage - taping / masking windshield - bonding and applying contact pressure - dash vent tweak - Aveo 2” Maxi Vent.. I’ll be running the outside air directly to these. Heat will be routed to the front floor and through the side channels. Here’s the latest update from the last week or so.. - Routed the fuel lines in the fuselage - Tidy’d up the fuel lines with some zip tie and fuel line stand offs - Spliced an extended the fuel pump wire, it was too short to reach around to the other side of the pump - Added heat shield to the oil lines - Trimmed the windshield to fit and get ready for bonding I’ve been traveling a lot in March and the weather has been quite cold here in the Denver area. We’ve been getting record amounts of snow here! Anyway, a short video of the latest items I’ve been working on. Thinking video updates are better to do than writing updates with pictures. Plus, seems it’s a bit easier to provide context. On a cold and snowy morning, my friend and I unloaded the Sling TSi into hangar at KCFO, bringing this build into the next chapter! The paint looks phenomenal! If anyone is interested in the colors, it’s Sherwin Williams metallic colors. - Phantom Gray - Nobel Red - Las Vegas Gold - Black Radiance I was able to get out to Hayes Aviation in Akron, CO to check in on the paint progress. They are finishing up the detail work and about to throw some paint on! They already did the vertical stabilizer and WOW.. I'm digging the base color - Sherwin Williams Metallic Phantom Gray. They'll be adding Metallic Nobel Red to the bottom of the fuselage with a Black accent stripe with some Las Vegas Gold accents. Can't wait to see the final product! If things go smoothly, then I might be able to pick it up late next week and take it to my hangar at KCFO. I'm ready to get back to work! While I was hoping to get my plane back before the end of the year, it has been taking longer than expected to paint. Several things got in the way.. rivet hole filling, unexpected leave from paint shop folks, and the holidays.. I’ll just chock it up to 2020 luck. 🤷♂️ Either way, I’m hearing some good status updates from Hayes Aviation. Turns out they primed it twice for a better finish and helps identify any initial problem areas. I’m hoping I can head out there the first week of January and they’ll have one side taped up with the lines. Once I approve, they will spray the colors and it should be ready to load up shortly after that! I’m a member of the Denver EAA Chapter 301 and it worked out perfectly that the current build in the chapter hangar was finishing up. I started my search months ago for a hangar and it’s almost impossible to find in this area. Centennial has over a year wait list and unfortunately you’re not allowed to do ‘maintenance’ on the aircraft at a tie down / covered location. A huge thank you to the local chapter for allowing me to use the space! The day finally arrived! I was able to get all the exterior components ready for paint - except the windshield. The Sika primer never arrived on time, so the paint shop will just have to seal that up really good. My son, Ethan, had a blast sitting in the 'big truck' and honking the horn. Glad he did, because he got the neighbor's attention. It was just me out there and I was going to try to figure out how to get the plane in with a winch and pulley system of some sort... Not exactly a one man job. Luckily, I have curious and helpful neighbors that came out and offered assistance! My winch actually ended up breaking at the handle, so another neighbor went and got his. By the end of the event, I ended up with 5-6 people out there. ;-) Finally was able to get the fuselage in and secure it with straps using the side wall slats. The next morning I loaded the wings using the wooden stands I built and secured them against the wall. It's nice to have an empty garage - just in time for snow season. Don't have to clear off the car anymore! When I arrived at Hayes Aviation in Akron, CO, a few hours outside of Denver, he had a full team of people ready to unload the truck. It was bittersweet leaving the plane there, but I'm looking forward to the final result! In order to fit the windshield, I need to get the front fuselage cover on. Since it's just held on by rivets, I could imagine some water getting pushed through this section, so I decided to add sikaflex for a solid seal. It's messy, but worth it. I did have some trouble fitting the parachute rocket all the way in since the cables that connect to the bottom of the rocket push on the housing. The trigger doesn't line up through the hole on the bottom. I gave up trying to do it while attached to the plane, so I took off the rocket housing and was able to fit the rocket easier. Scary nonetheless handling a live rocket. Glad that's done! I lined up the parachute blast skin and drilled the holes into the fuselage and canopy. The factory recommends that you use some PVA release agent and apply some clear silicone underneath the skin to prevent water seepage. Just doing some final riveting on the wings, attaching the fuel tanks since they passed the pressure test. I was going to do the Service Bulletin 14 - replacing the aluminum rivets with stainless steel ones on the spar carry through, but it seems that the factory already did that for me in my quickbuild. Note the darker rivets with rounded edges compared to the same size rivets nearby. Continuing my exterior component adventure, I decided to focus on fitting the wheel paints and the tail cover. The hole finder came in handy for this exercise. I've seen quite a few different ways, but this seemed the most logical and I didn't have to 'redrill' any missed holes! The tail cover was straight forward, just line it up flush against the vertical and horizontal stabilizers and drill.. fill with rivnuts. In preparation of getting the airplane ready for paint, I'm focusing on the exterior components. I took the fitted cowling and put in the camlocs. It was a bit tricky since I'm not using any of the 'easy' tools. I basically used my fingernails and some needle nose pliers to get the retaining ring on and some locking pliers to squeeze the camloc screws and fit them in. Not easy, but it's possible! In addition, I secured the metal vent on the top. It's coming together! I am working to finish up the firewall forward electrical and any final placement of the wires that will be covered once I put the front fiberglass piece on. I had to reroute some of the heater ducting and also remembered to attach the heater control cable. I also routed the brake line through the firewall forward gromet. One thing to note, and I've heard about this from another builder, the bottom muffler bracket that mounts over the muffler shroud is a manufactured incorrectly - it's a bit too big. The fix is to shave off some of the metal where the bolt joins them, maybe a quarter inch total. It didn't take too long with a grinder and it fit just fine afterwards. It's been a busy few weeks working on the fiberglass components of the airplane. The main goal is to get it 'Paint Ready' before November.. tick tock! That means riveting on the cowling components, putting in rivnuts on the wheel pants, installing the wing tips, etc.. The most time spent was on the wing tips. I used the straps to push them into the place against the leading edge of the wing in addition to widening the wing tip to match the shape of the wing. Once in place, I match drilled the holes and then countersunk the fiberglass. There were parts that weren't reinforced with the second layer of fiberglass underneath, so I figured I would add some additional strength by applying SikaFlex to the bonding of tip to the wing. Some other items I worked on were the ECU mounting and shaving off enough muffler to slip in the factory supplied muffler extension. Lastly, my Fuel System arrived! This is the last bit of components I'll need to finish up the plane. I inventoried the components and some fittings were on back order, but overall I can make a dent in the installation here soon. Next up, I'll be permanently mounting the cover over the heater section so I can trim the windshield and I'll also be adding the fasteners to the cowling to the fuselage. I decided it was time to risk my life and mess with a live rocket... I read the instructions provided several times before I took the rocket out of the protective cage and inventoried what I needed. It was pretty simple to put together actually, you just need to install the firing pins and the trigger, and attach the cable that pulls the chute. However, installing the rocket into the canister proved to be quite difficult. The cable rings at the bottom protrude enough that it's hard to fit it in the white canister, so had to squeeze them a bit. However, when the trigger reached the bottom, the hole didn't align with it since the cables were 'pushing' the rocket to one side of the canister. I'm not going to try to force it in it's current state since it's a bit awkward to get to. I thought I was saving myself time by mounting the canister to the aircraft, but really it's just not enough clearance to work with. I'll be unmounting the canister and reattempting assembly on the table. Now that I'm getting close to permanently mounting the fuel tanks on the wing, I thought it would be a good time to pressure test them once again. This time I used the method that Pascal Latten mentioned in his blog with a manometer. I blocked one of the fuel connections with an AN-6 Cap, then connected some hose to a barbed fitting and put some water in the line. I then connected a smaller hose to the overflow and blew into it. Not much pressure, just enough to raise the water a bit. Then just use a measuring tape on the wall and some tape to mark the starting and ending positions. Take note of the date, temperature and atmospheric pressure. Then.. wait. Depending on the temperature and pressure differences over the next 24-48 hours, the water level will vary. I kept mine connected for 3-4 days each and didn't see much of a drop below a certain point so I figure it was a solid seal. It's time to make the plane look sexy! Love this cowling's aggressive looking design. First thing to do is drill some holes to mate the top and bottom pieces, just lay it on the ground and make sure the leading edge of the cowling is aligned, then work your way down to the rear and drill some holes. Measurements for the holes are provided in the manual. The cowling comes a bit too big and will slip over the fuselage a bit, so you'll need to mark it for trimming. First thing to do is fit your fiberglass piece that connects to the windshield and covers the front part of the fuselage. From there, use some painter's tape to mark the leading edge of the fuselage. Now you can fit the cowling to the aircraft and secure with clecos. I didn't have a second person to assist, so I found a metal rod that was about 5mm in diameter and fit that in between the prop and the cowling. I also needed to support the cowling, so used some ratcheting straps over the prop. Worked out pretty well and stayed relatively still while working the back. Next, you'll want to squeeze the cowling to match the form of the fuselage, so use another ratcheting strap around the rear of the cowling. Then, you can finally lay another layer of painters tape on the cowling, making sure the line up the rear edge of the fuselage layer of painter's tape. The idea is that the painter's tape is the same width, so you'll know where to trim the cowling. After that, I used the dremel bit 543 to shave off the painter's tape. It did take some fine sanding to get the cowling to line up evenly on all sides. Next up, I'll need to mark off where the Camlocks and Dzus connectors will attach. When mounting the engine, the bolt that is nearest to the turbo needs to be trimmed a bit.. maybe a half centimeter. Be sure to measure 125mm from the bottom of the bolt head instead of the top. I initially cut mine too short and had to order another M10x130mm bolt from Bolt Depot... oops! Once that was done, I swapped the coolant outlet at the back of the engine that comes with the kit. Otherwise, you can't reach the bottom bolt with the wrench as that is in the way. Next up was connecting all the oil lines. Be sure to twist the AN fittings to the correct direction before tightening them with the ear clamps. Also, be careful when you remove the yellow stoppers - there's a good cup or so of oil left in the engine from when the factory tested it. Just have a collection cup ready and 10 mins to spare to catch all the oil that drains out. It's a tight fit on the left side getting the wrench in there to tighten the AN fitting. The right side is impossible to get to unless you remove one of the exhaust pipes. They detail how to do this in the manual. It's pretty simple removing the pipe clamp and loosening the bolts on the engine. I wanted to start fitting the cowling, but first needed to get the propeller mounted. Be sure to follow the Airmaster manual for this. You'll need Aeroshell 22 grease and some anti-seize grease. The firewall forward kit does come with Copper Slip, which is what I used on the propeller lugs to prevent rust and ease of future disassembly when needed. However, when inserting the lugs, make sure to insert them with the bolts, otherwise you won't be able to fit the bolts through later. I also recommend using the lug fitting tool that comes with the kit, don't push the bolts from the back, use the bolt threads to pull the lug through with a straight even force. These aren't easy to get in and require some decent pressure to get them set. I was surprised that the propeller doesn't use any thread locking fluid on the bolts. Instead, they use the Nord-Lock washers. Apparently their design prevents any loosening from vibration and require more torque force to unscrew than to lock in. After that, I put on the propeller hub and loosely fit the bolts for now. I need to get a crow foot wrench adapter for my torque wrench because the wrench won't fit between the prop flange and the engine. Next up was some grinding.. removing the pipe below the welded section was easy, but it's not so easy getting to the section below the piece that sticks out. With that thickness in metal, it's going to take quite a few dremel metal cutting heads... I'll get to that eventually, but at least now I can fit the cowling! I drilled the 4 holes on each side where the manual says to do. Not a perfect fit, but will trim that later. I fit the latches to the front so I can put the coolers in front. I also drilled the hole in the top of the air filter and fit it to the plastic element provided. I was inspecting the fuel pump on how the connections are fit. The stock 915is fuel wire doesn't have enough length to reach to the other side, so I'll have to splice and extend that to fit. |
Archives
September 2021
Categories
All
|


 RSS Feed
