|
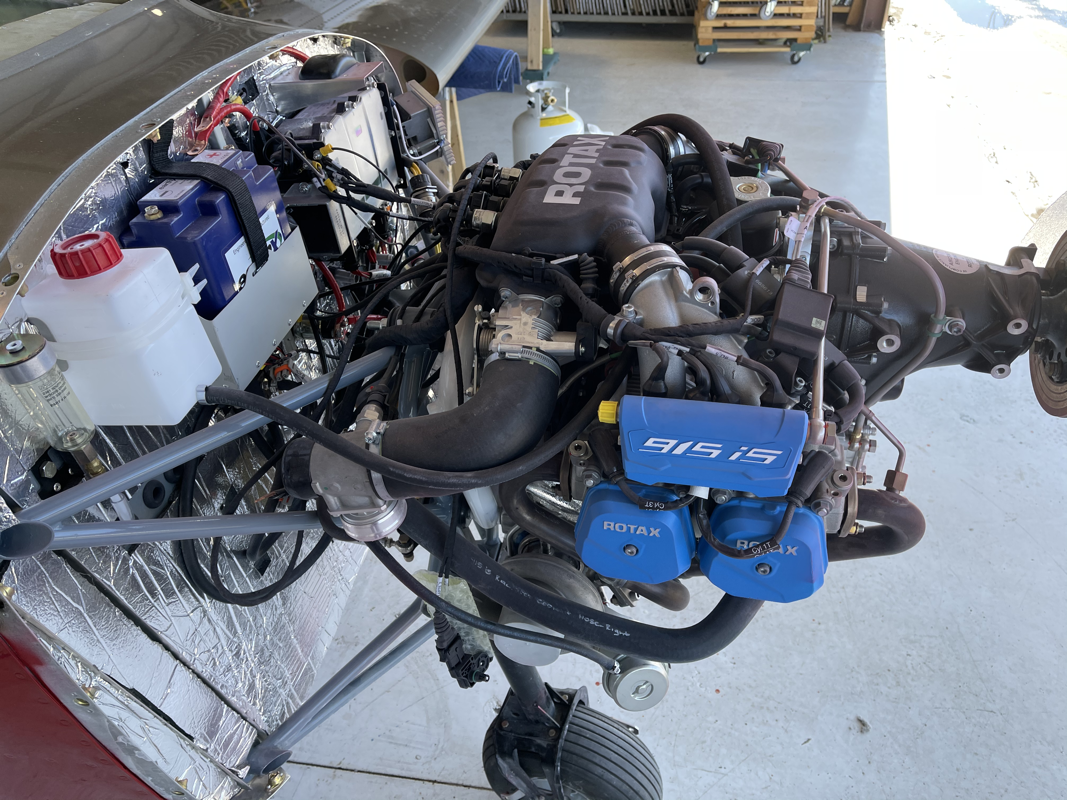
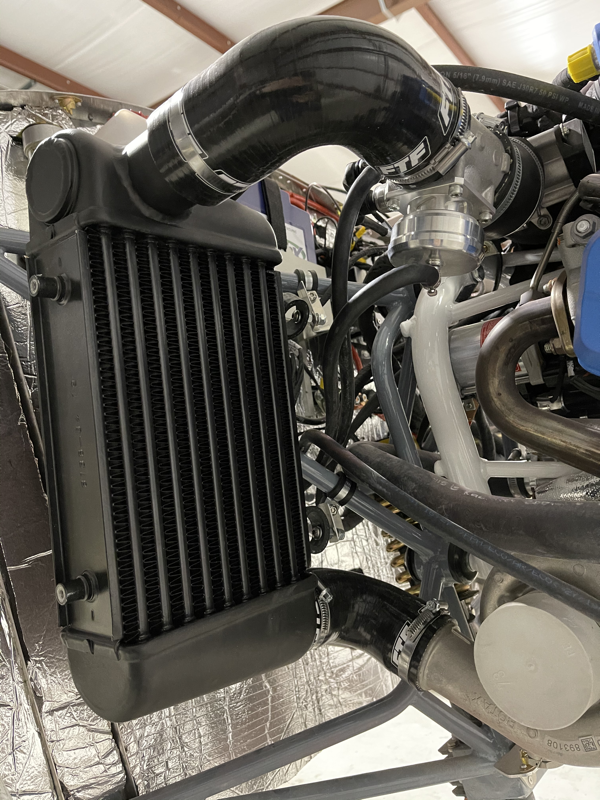
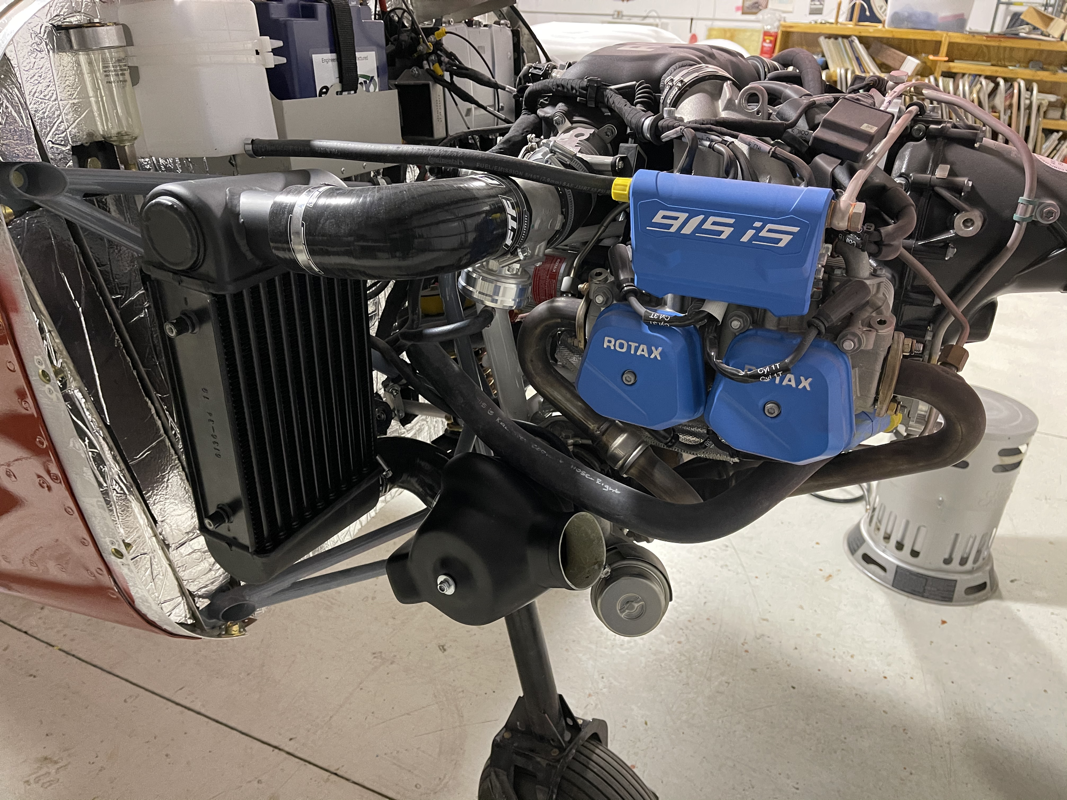
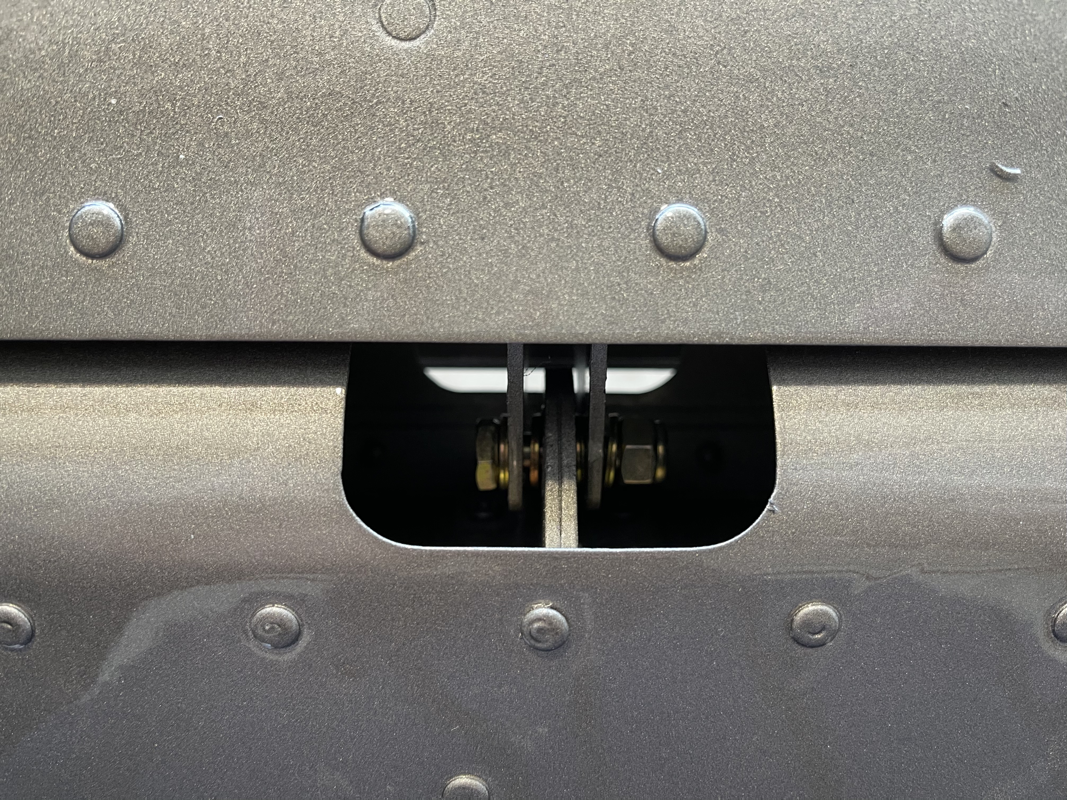
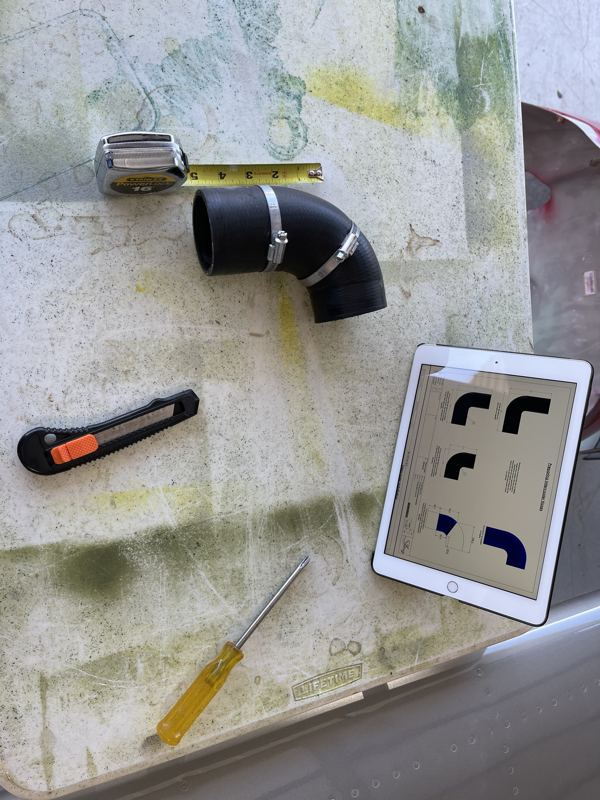
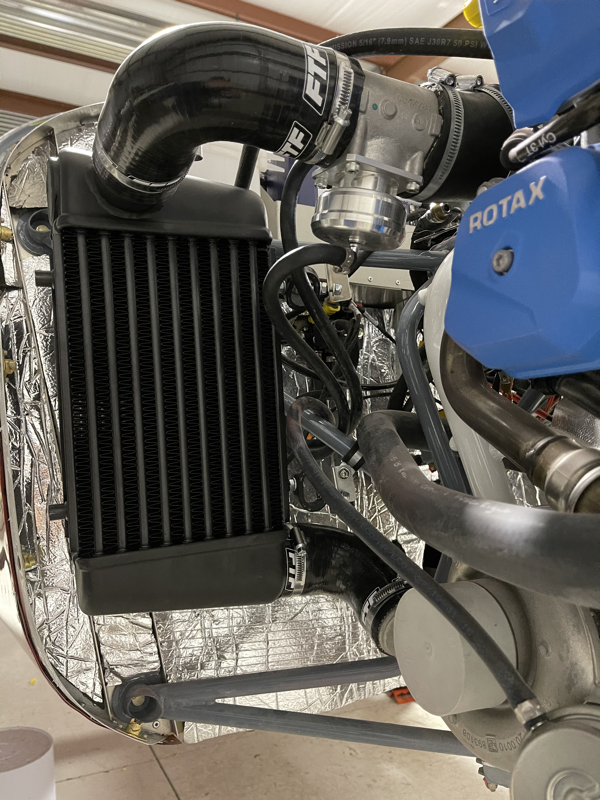
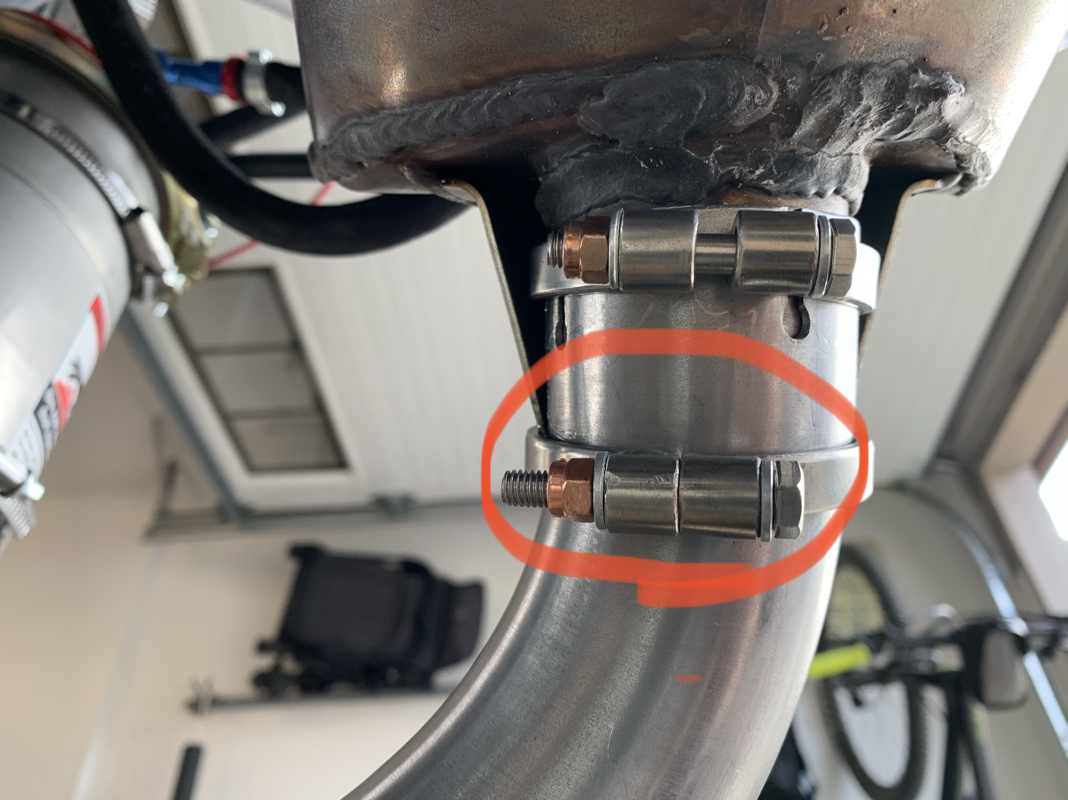
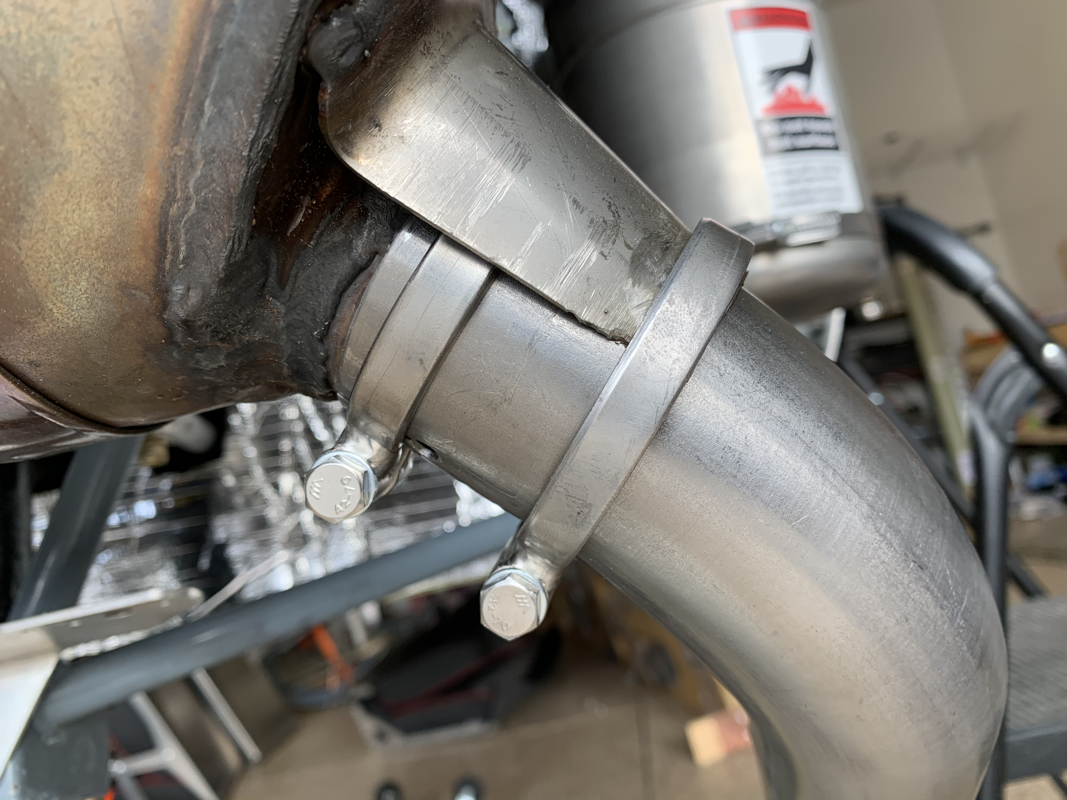
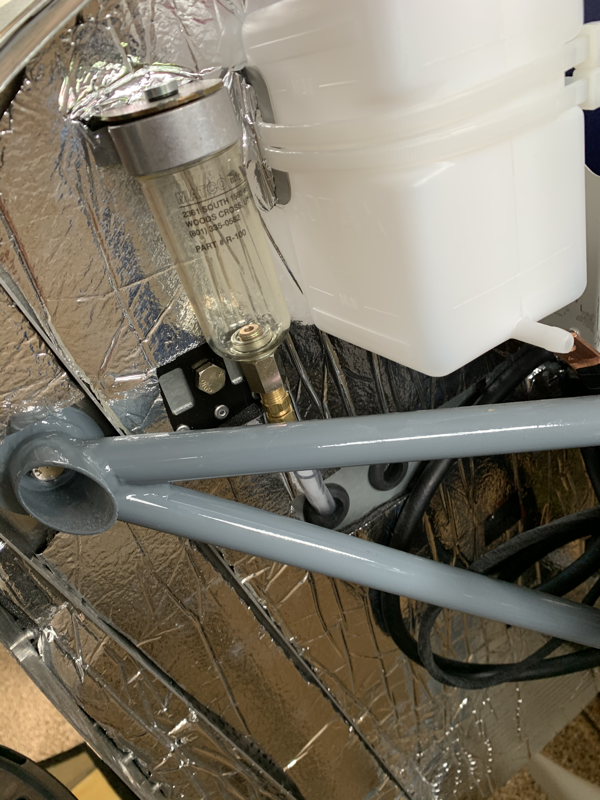
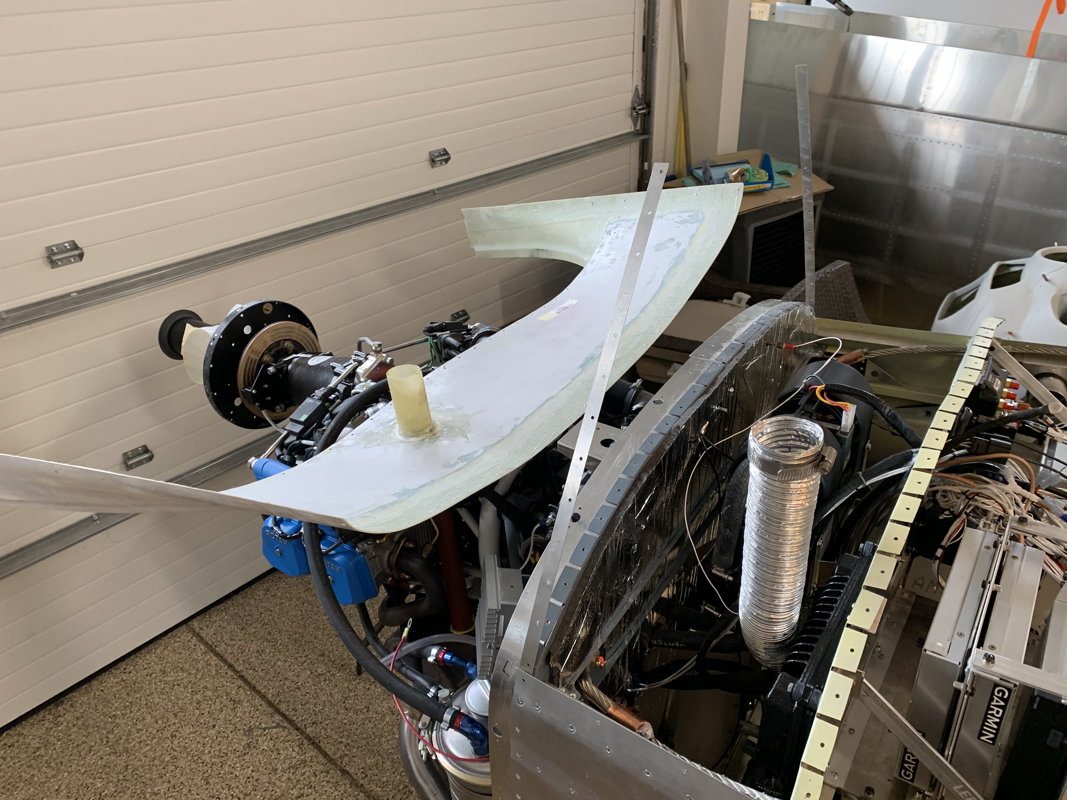
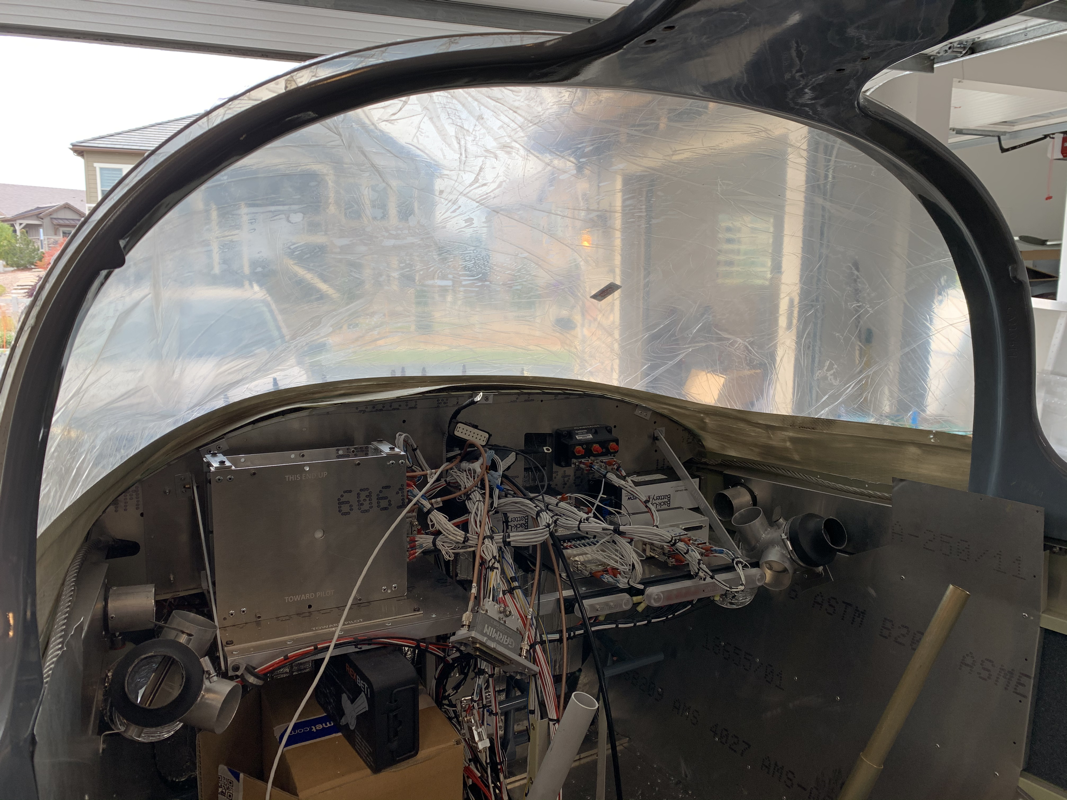
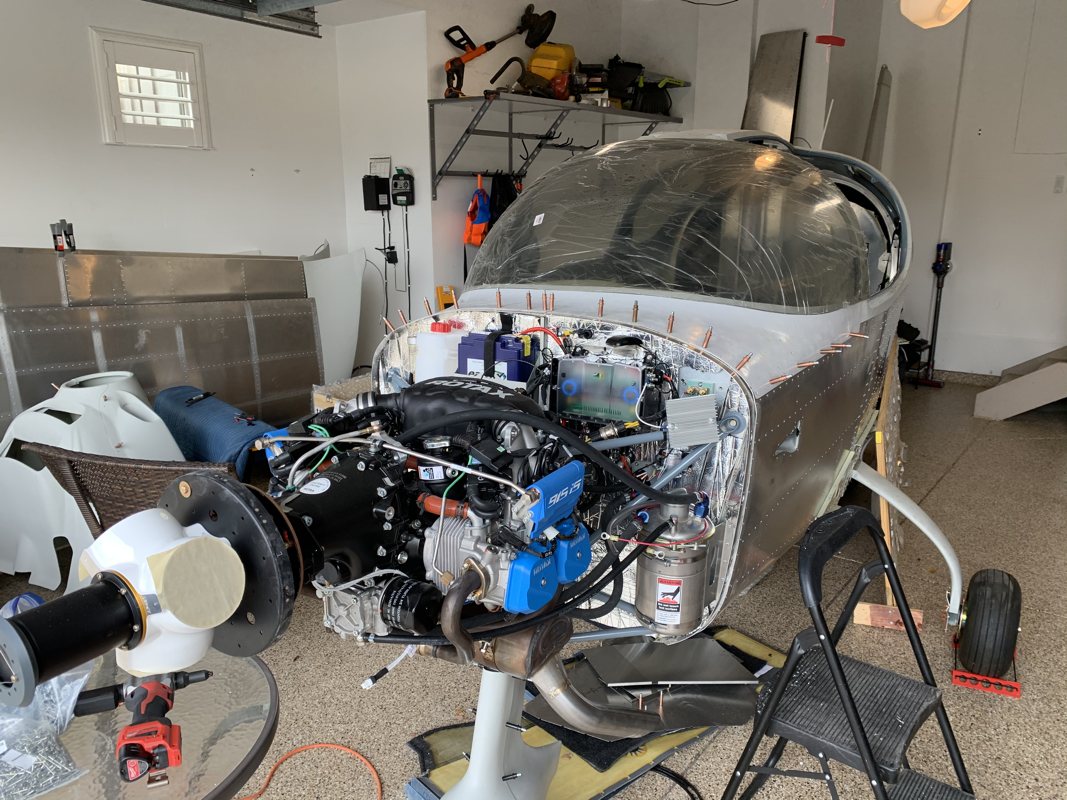
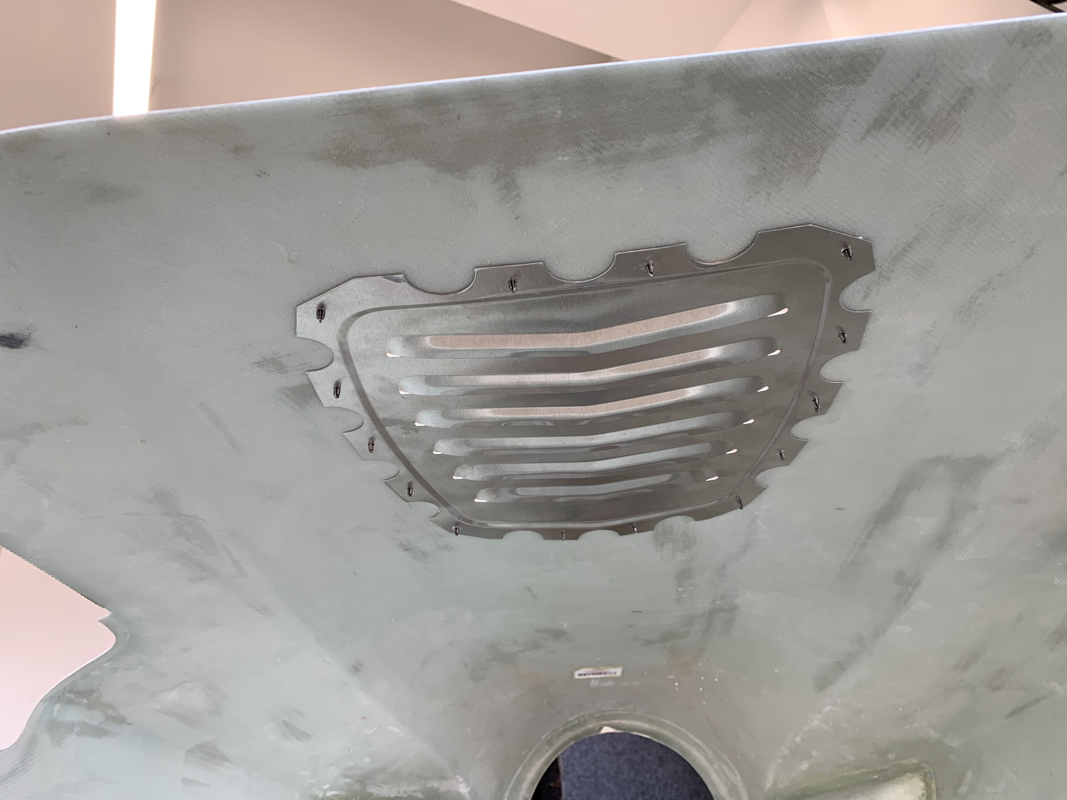
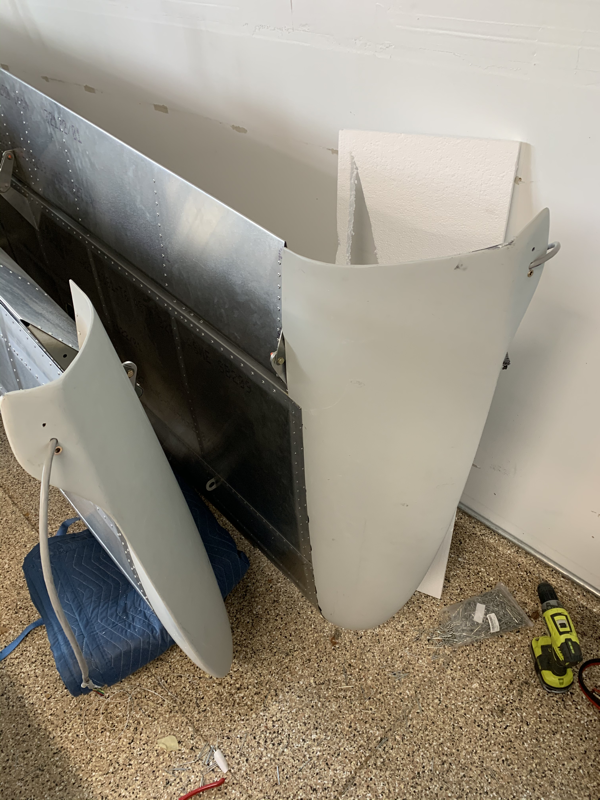
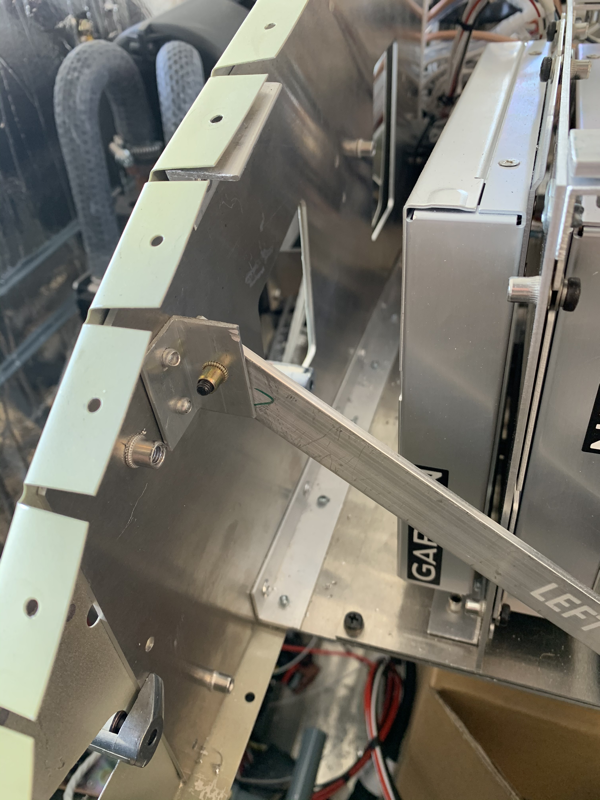
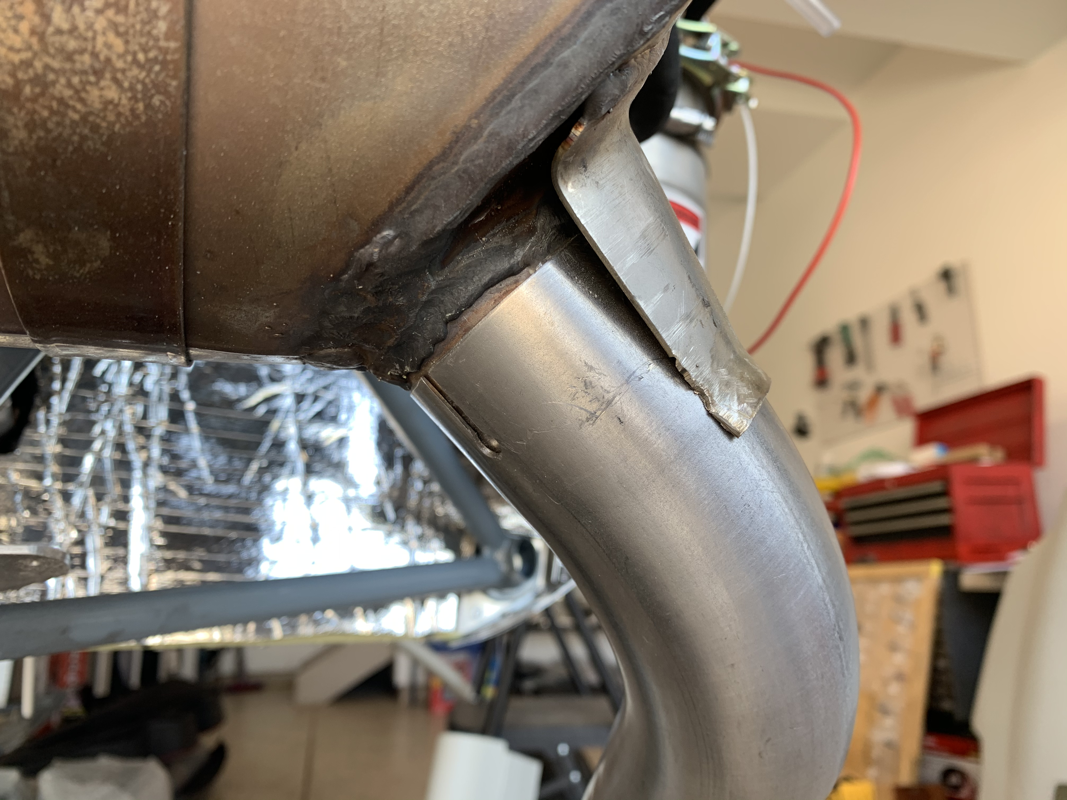
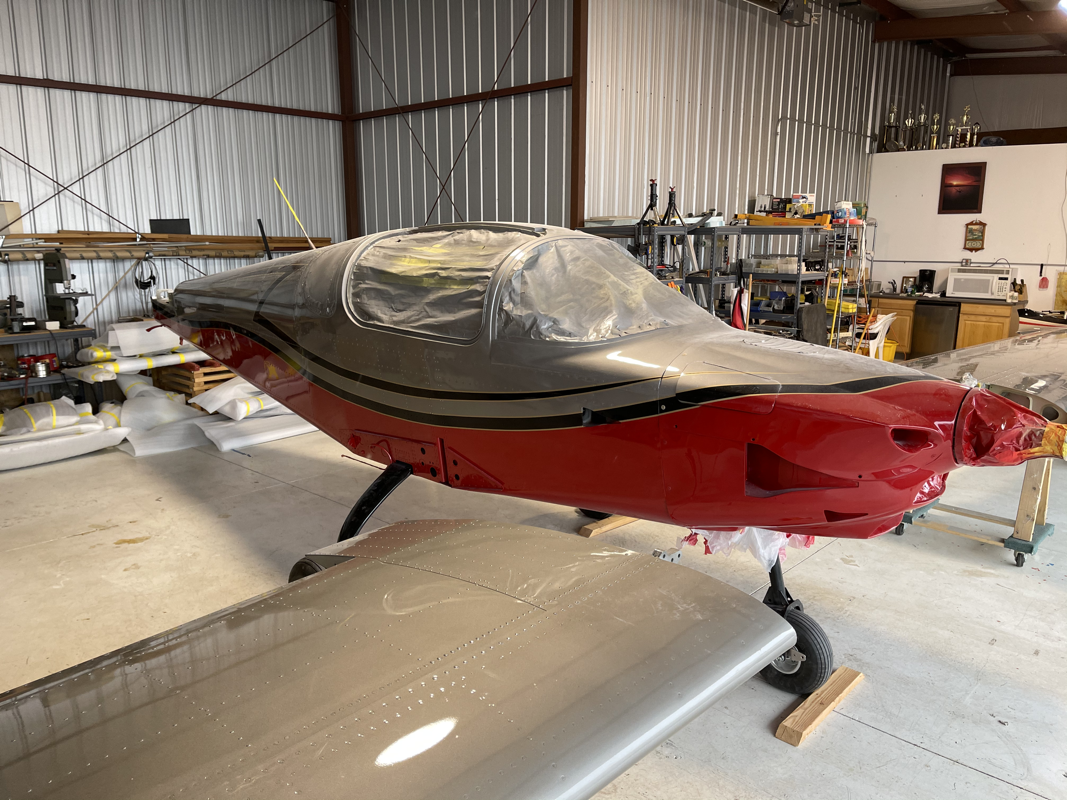
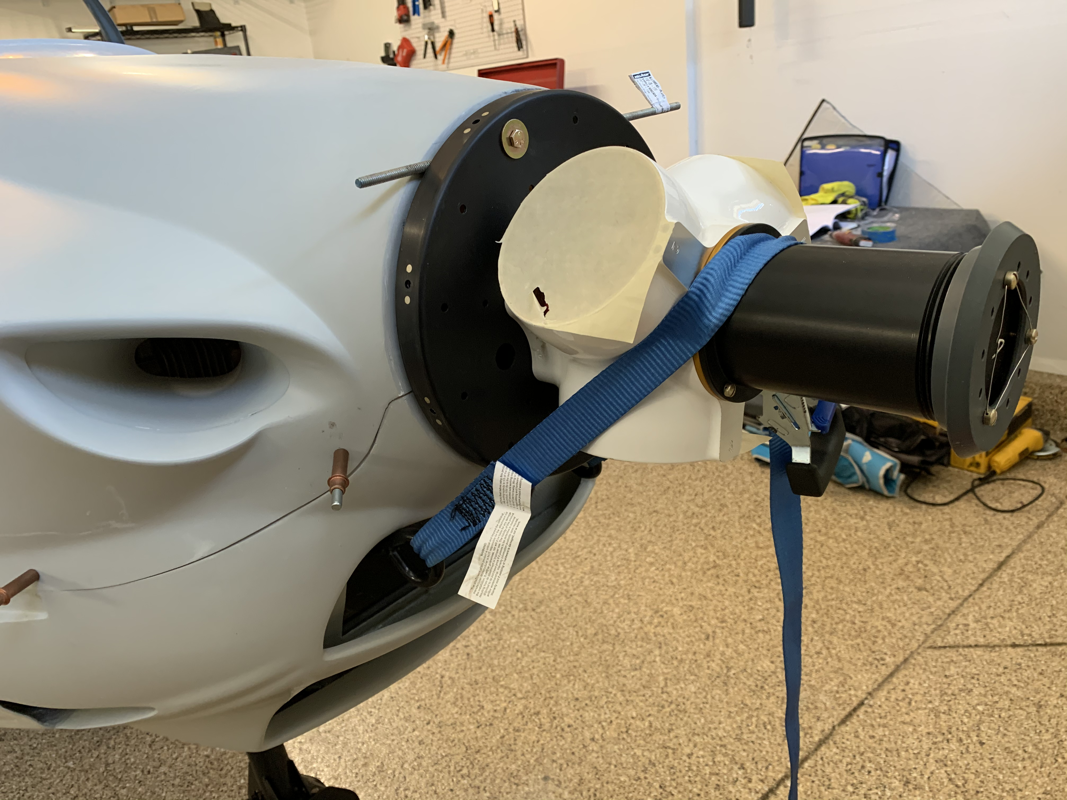
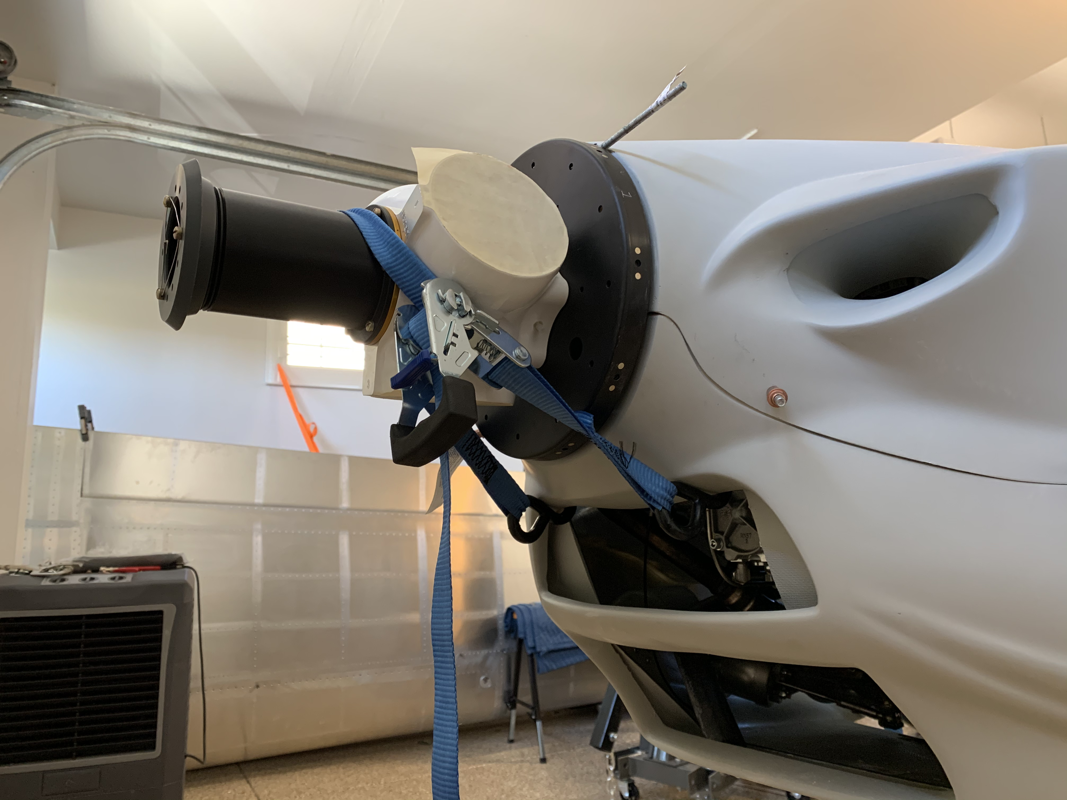
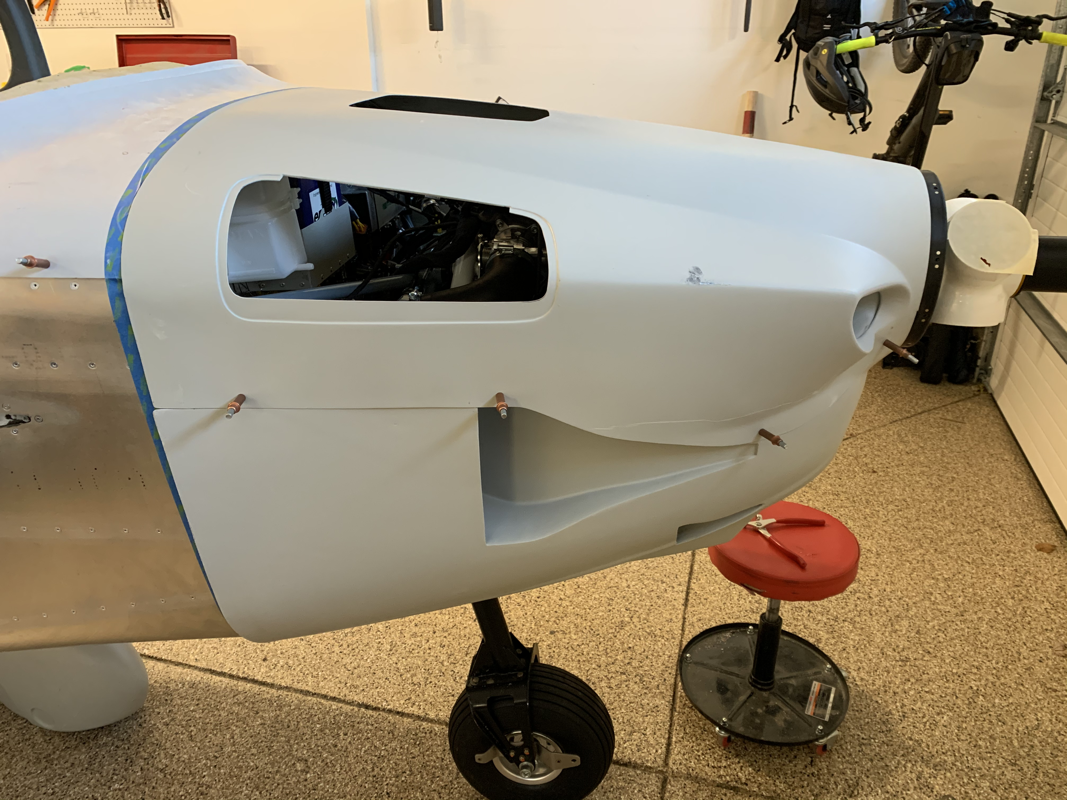
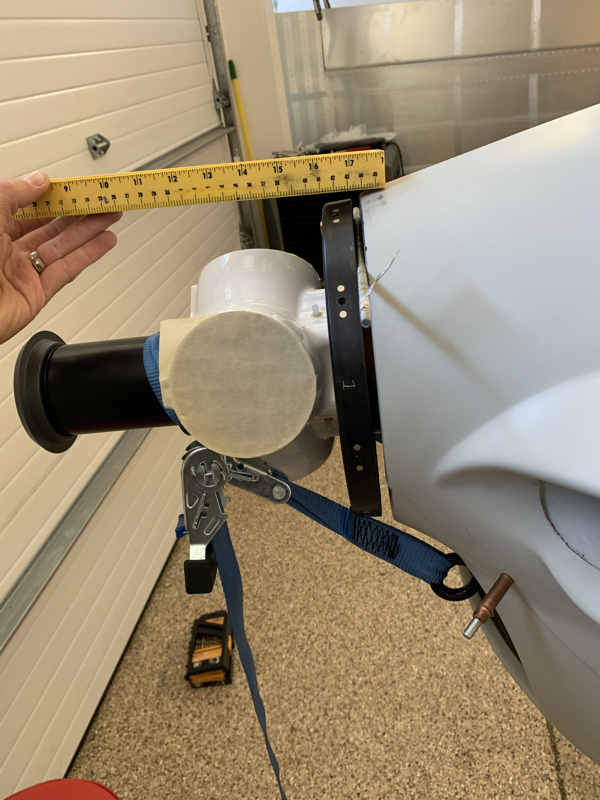
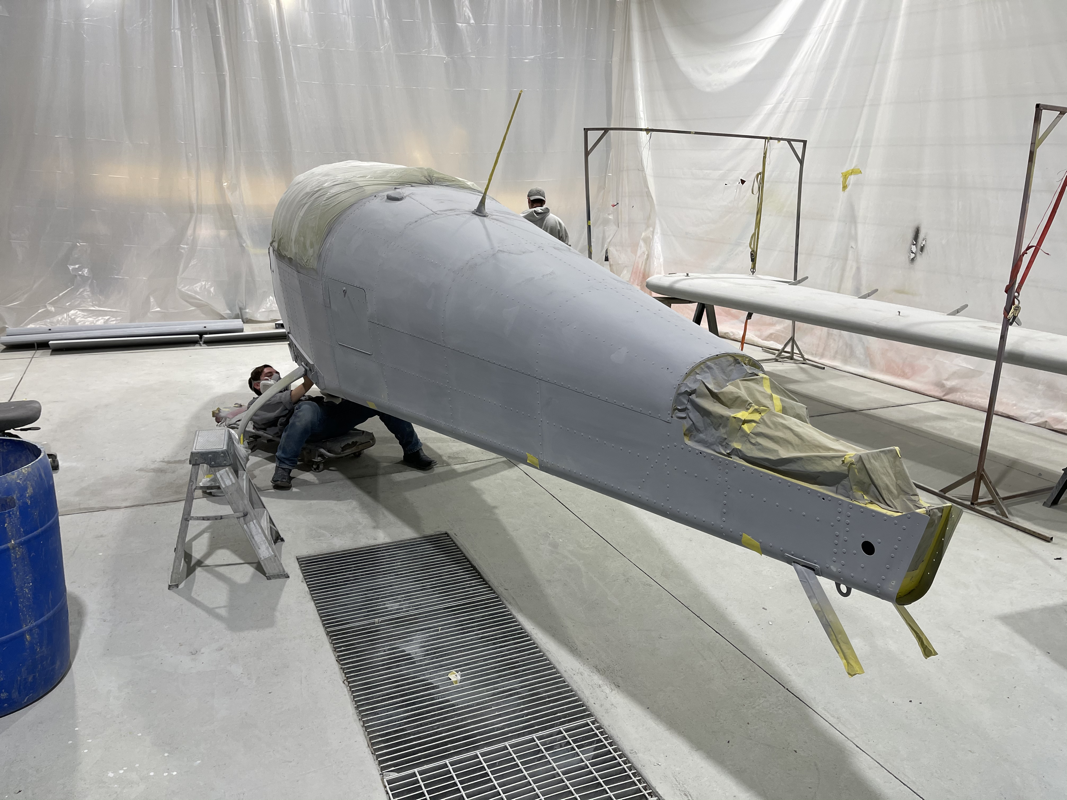
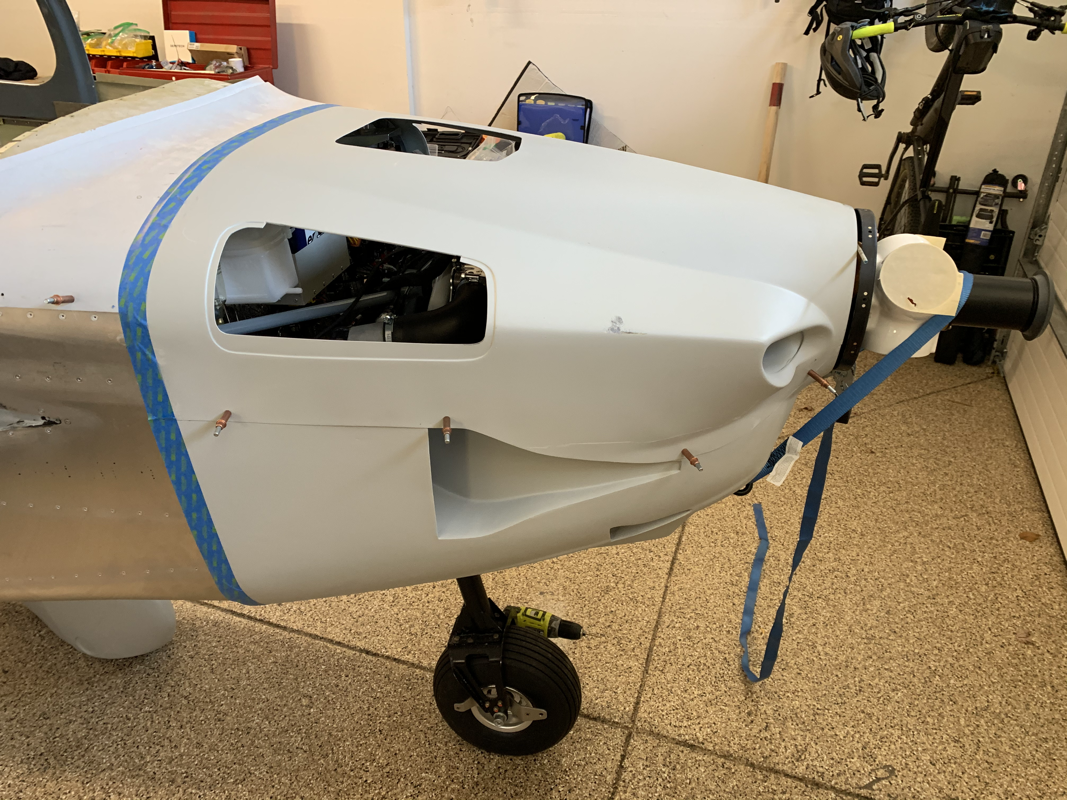
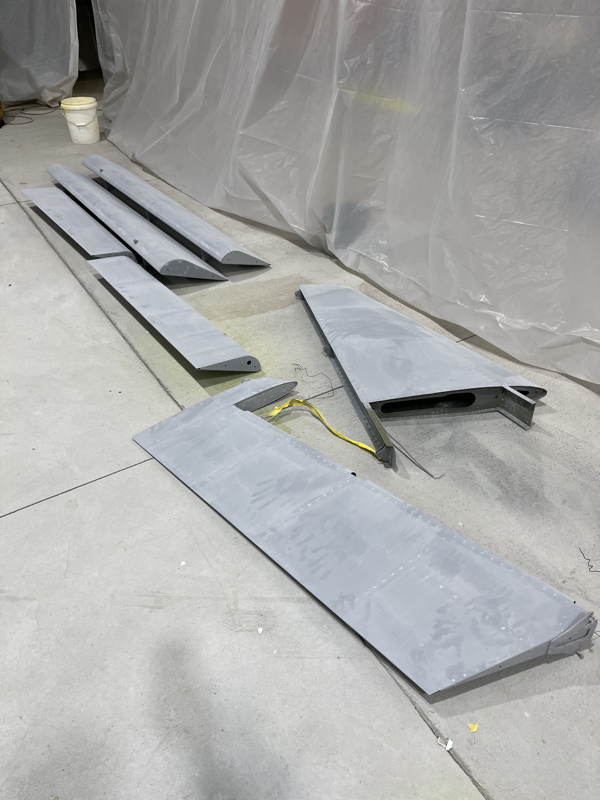
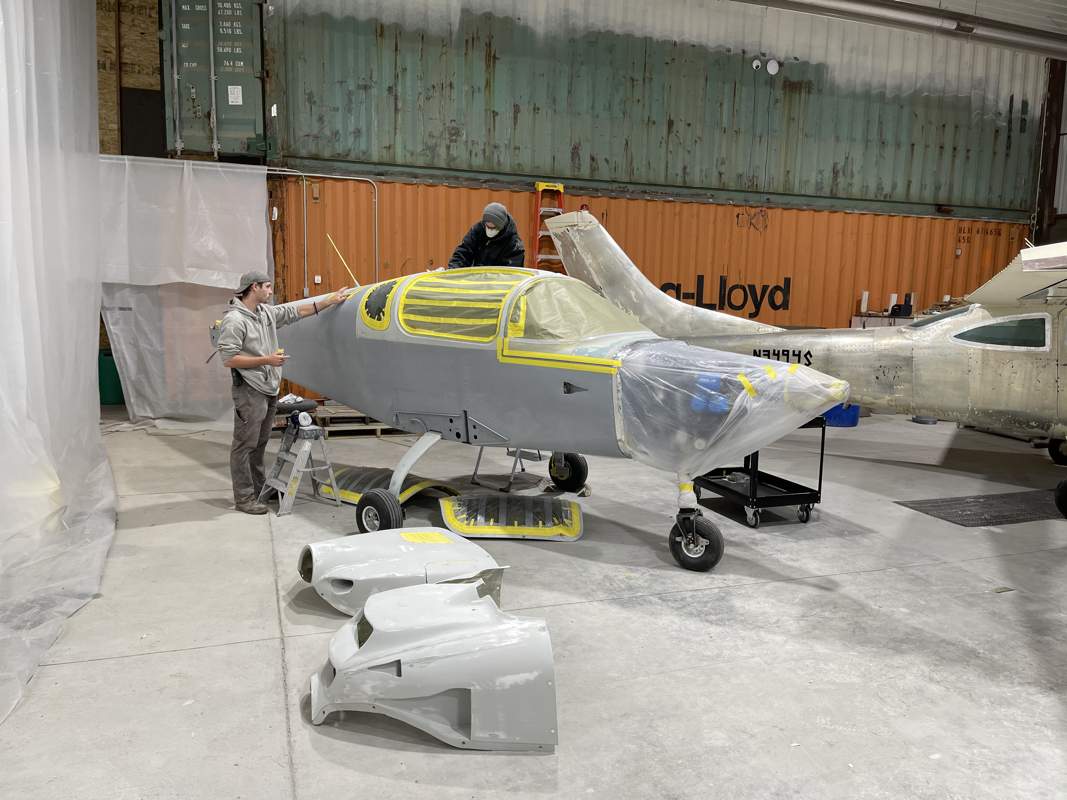
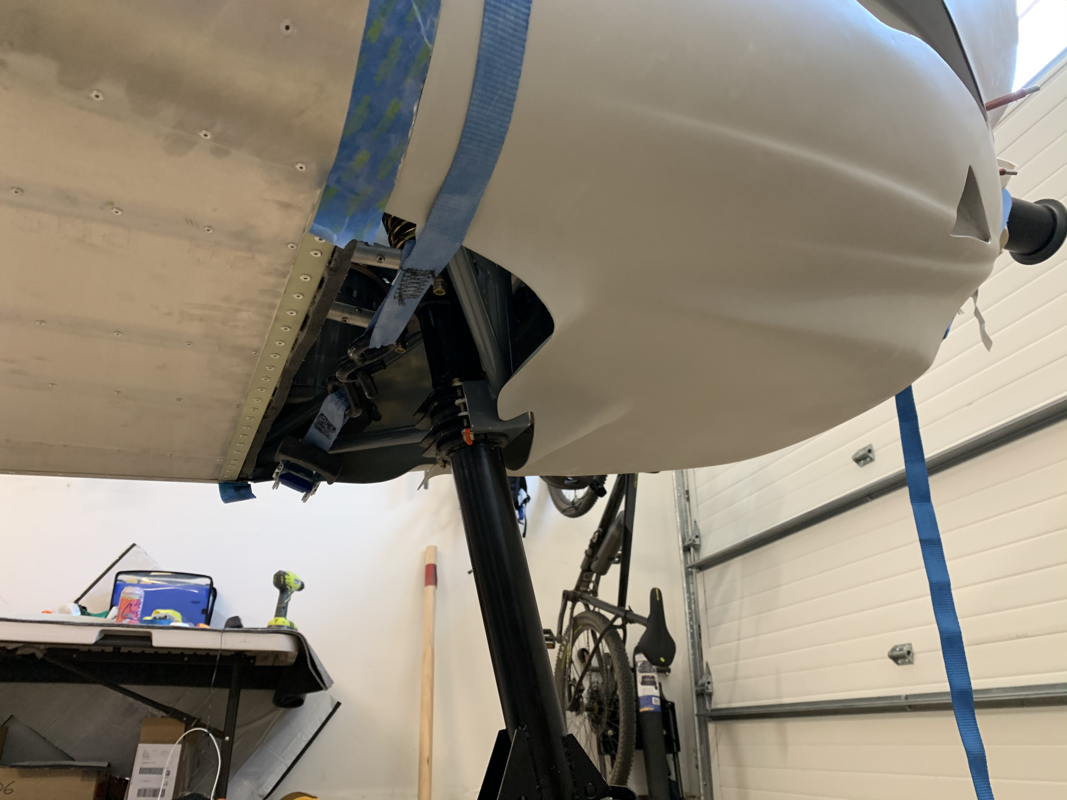
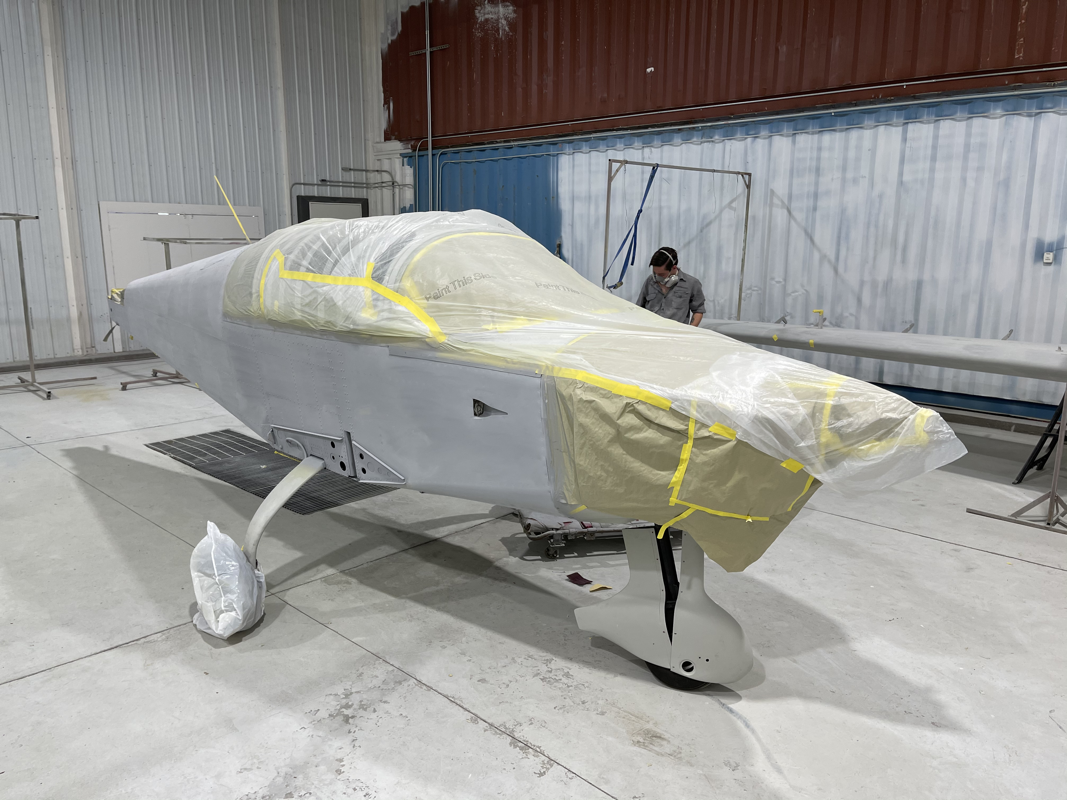
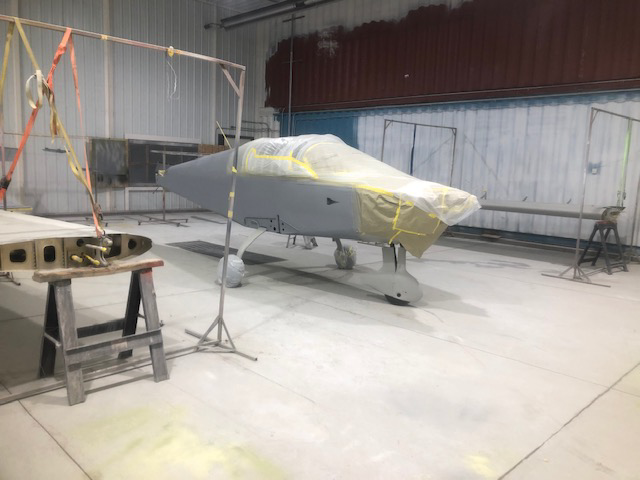
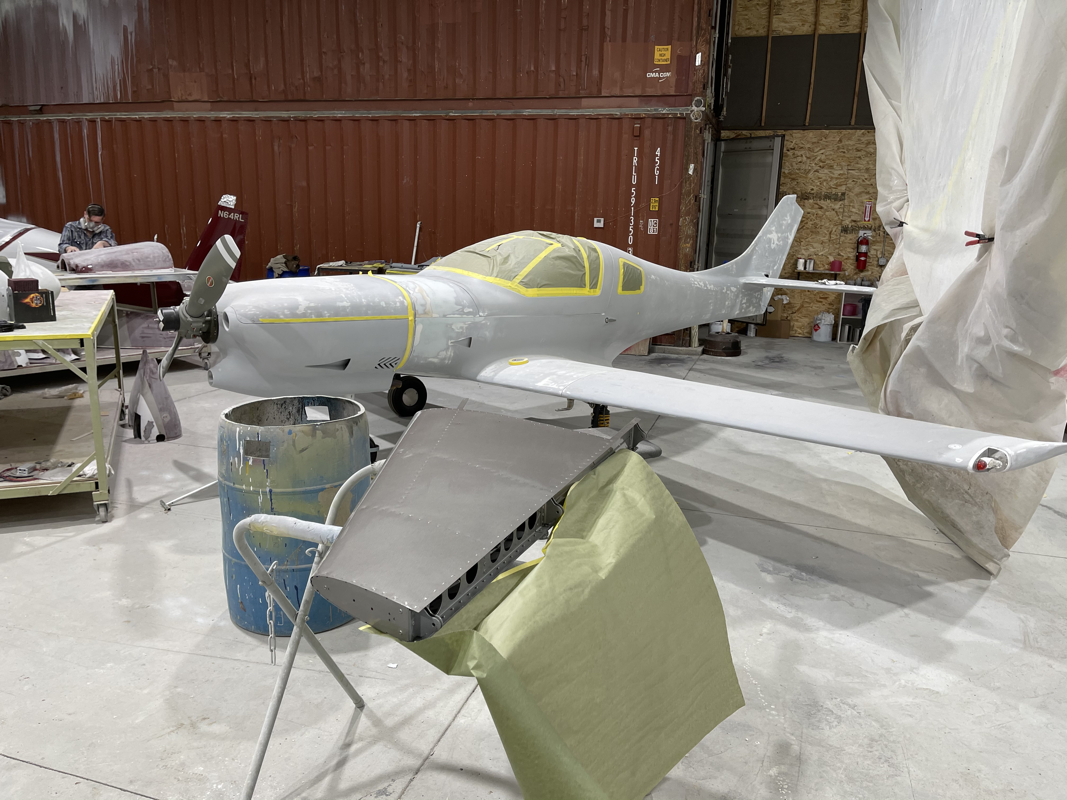
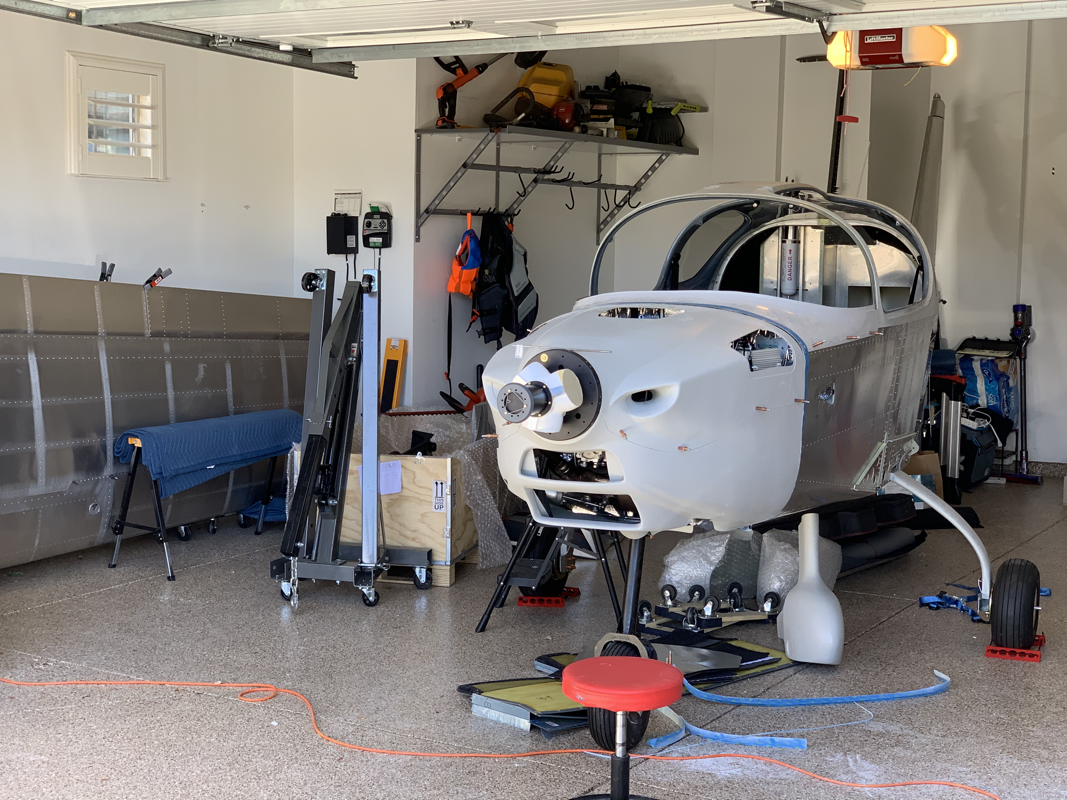
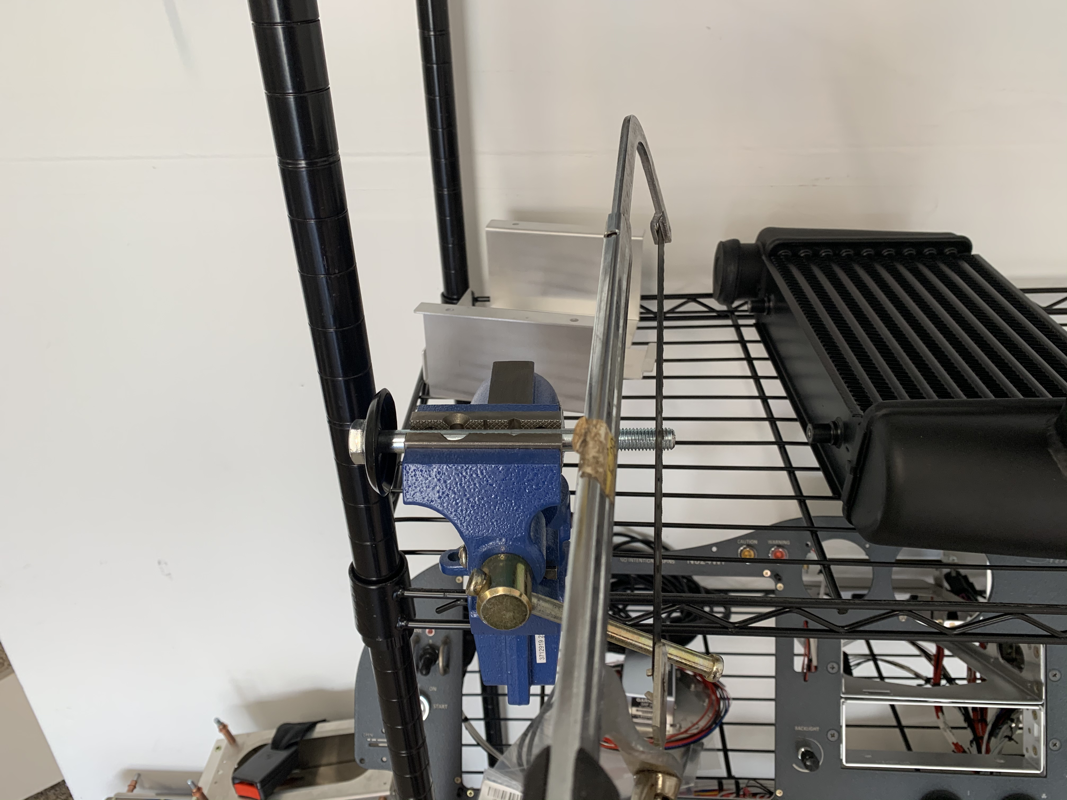
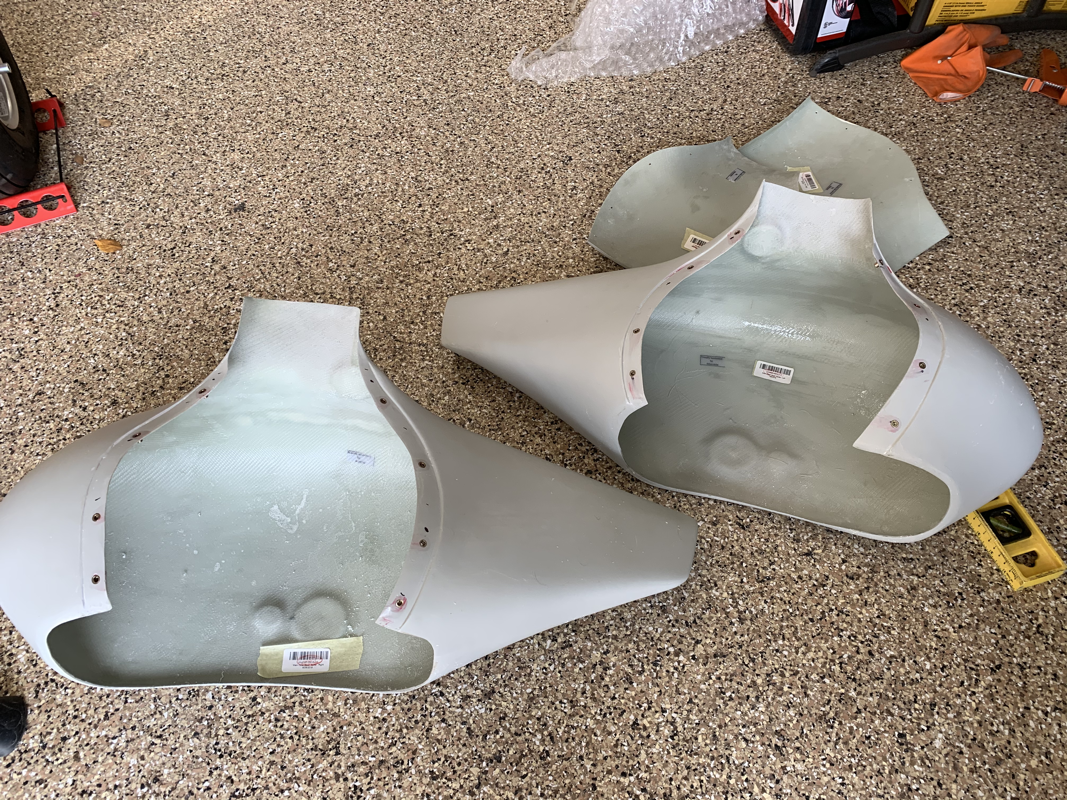
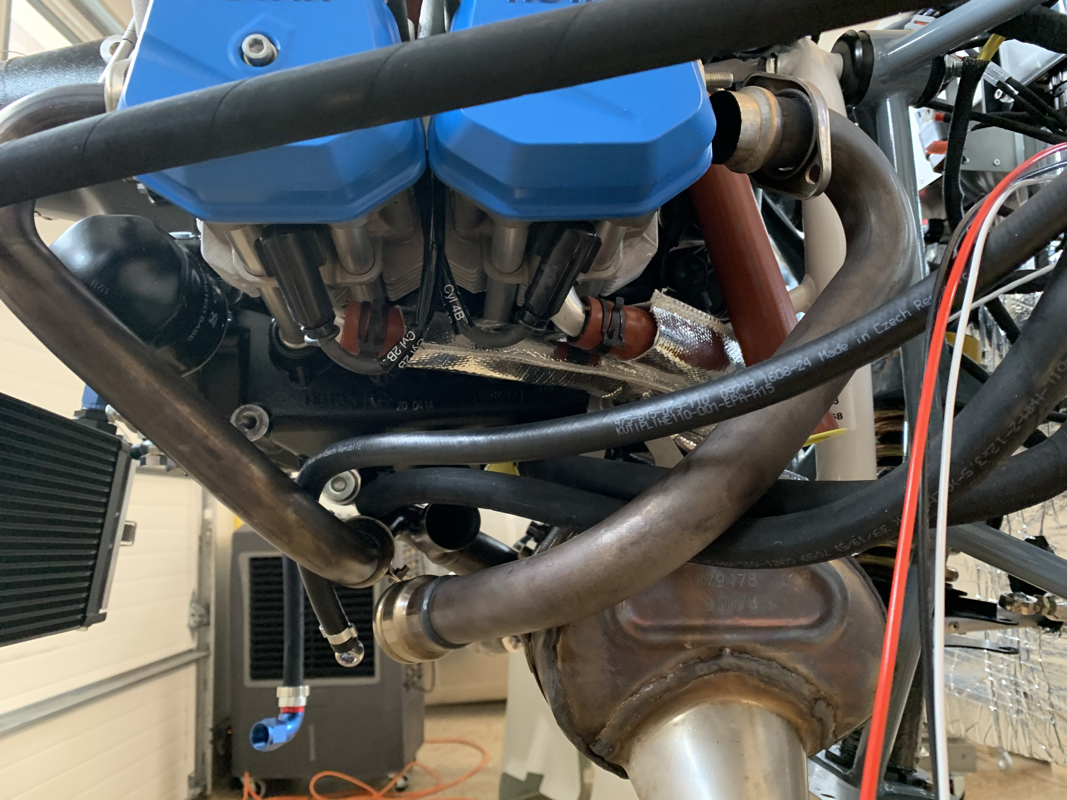
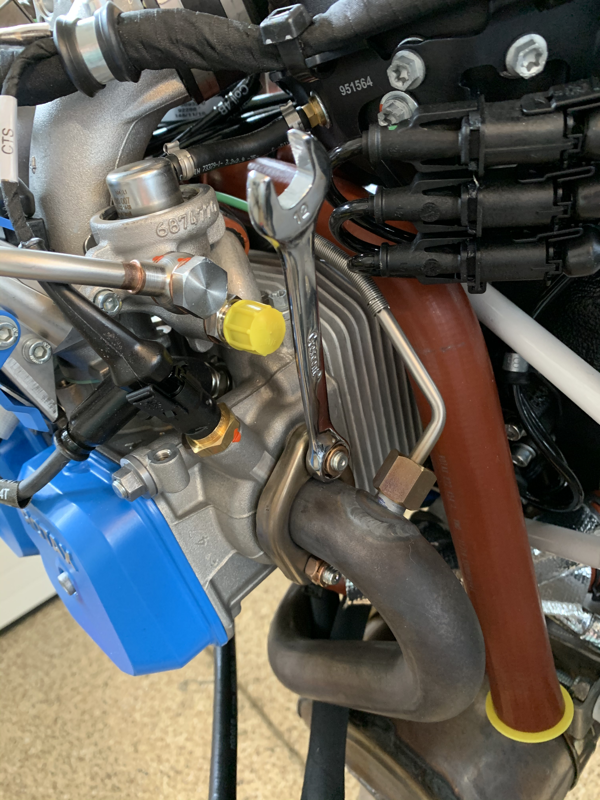
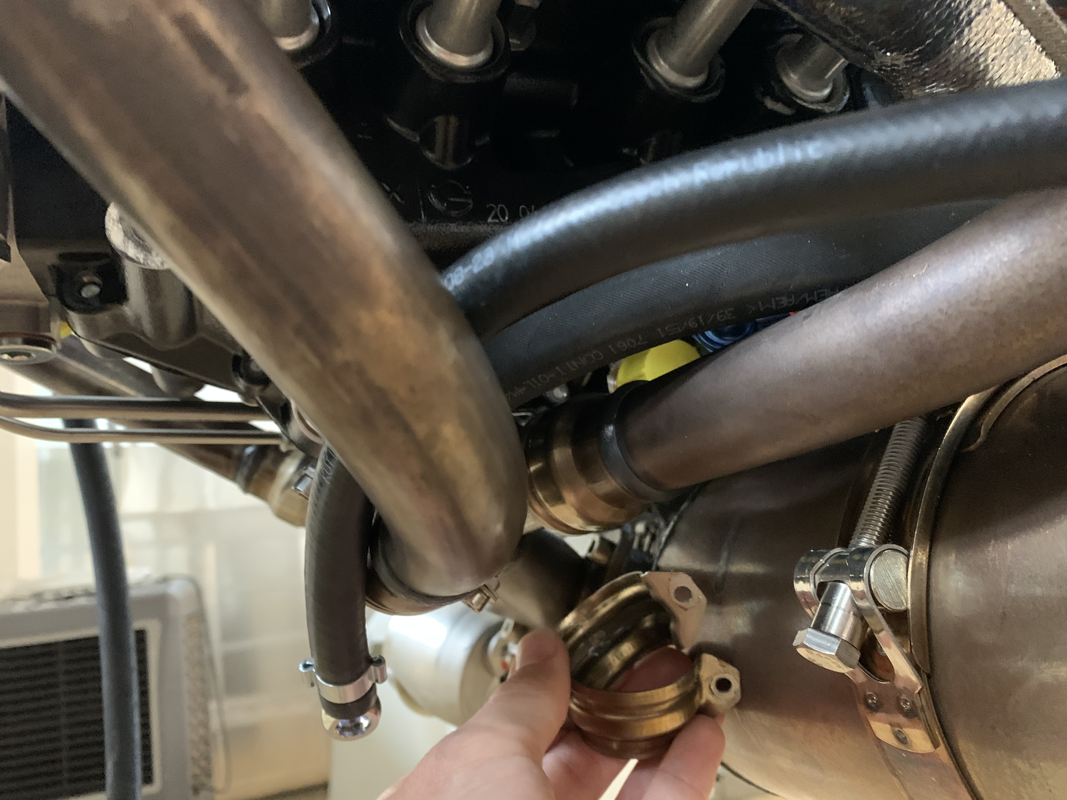
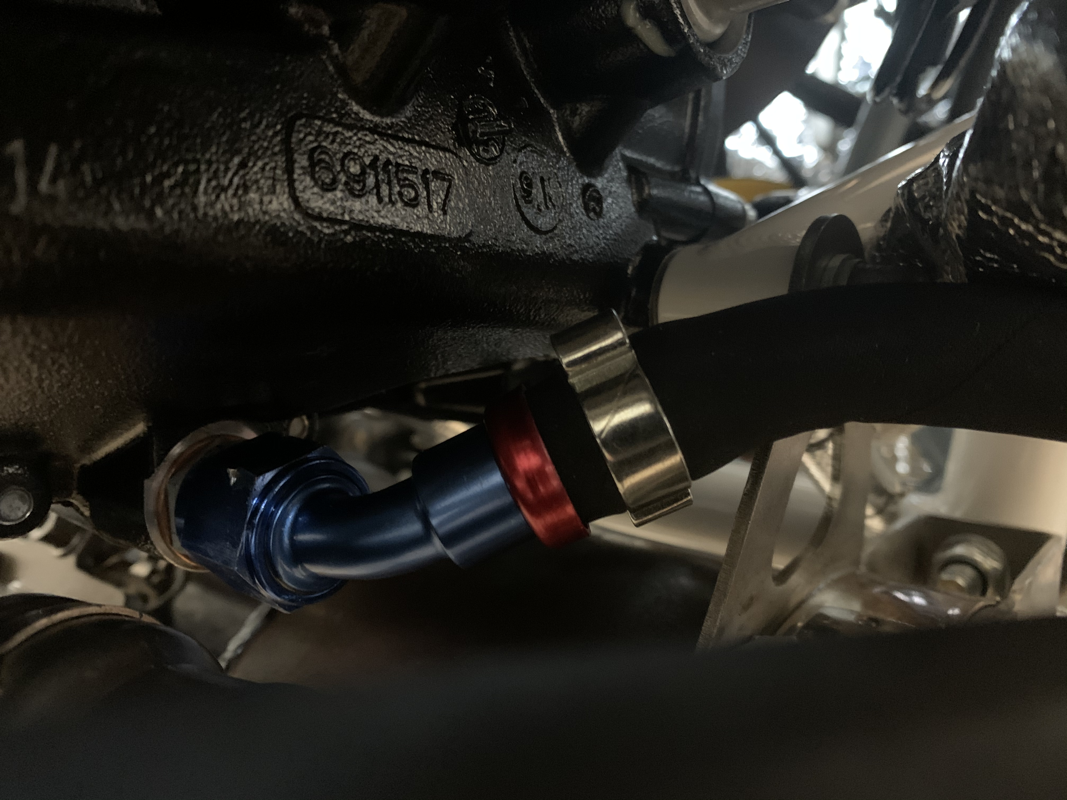
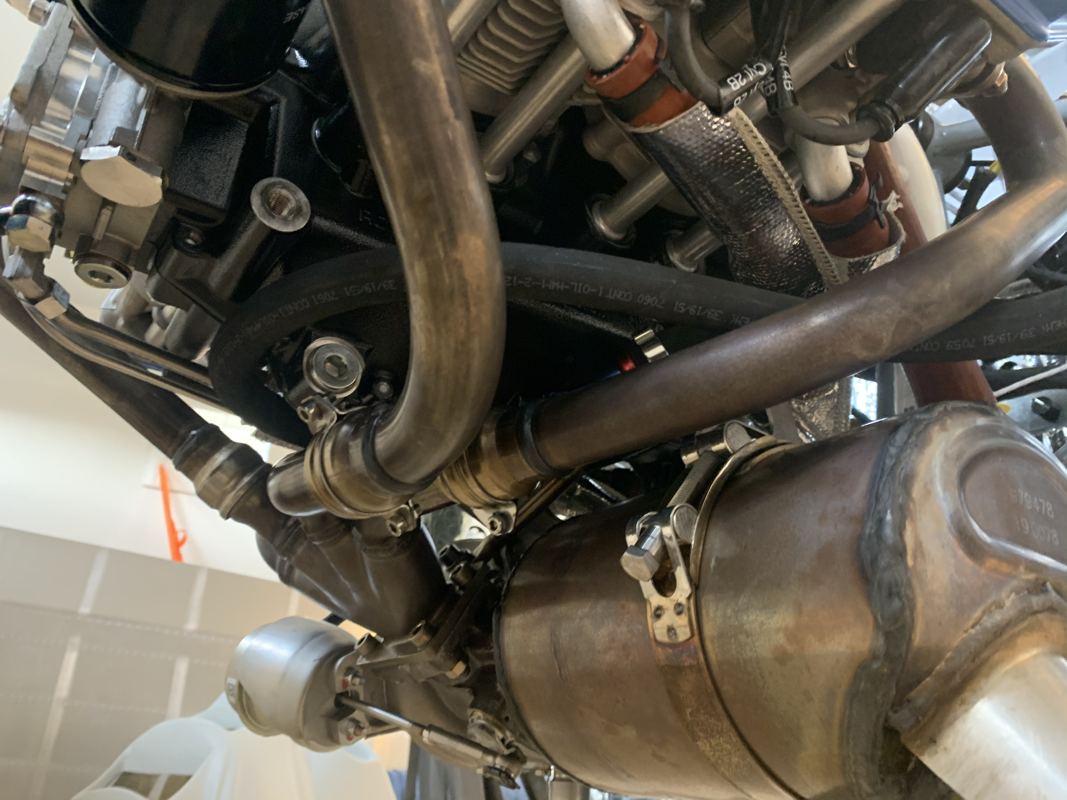
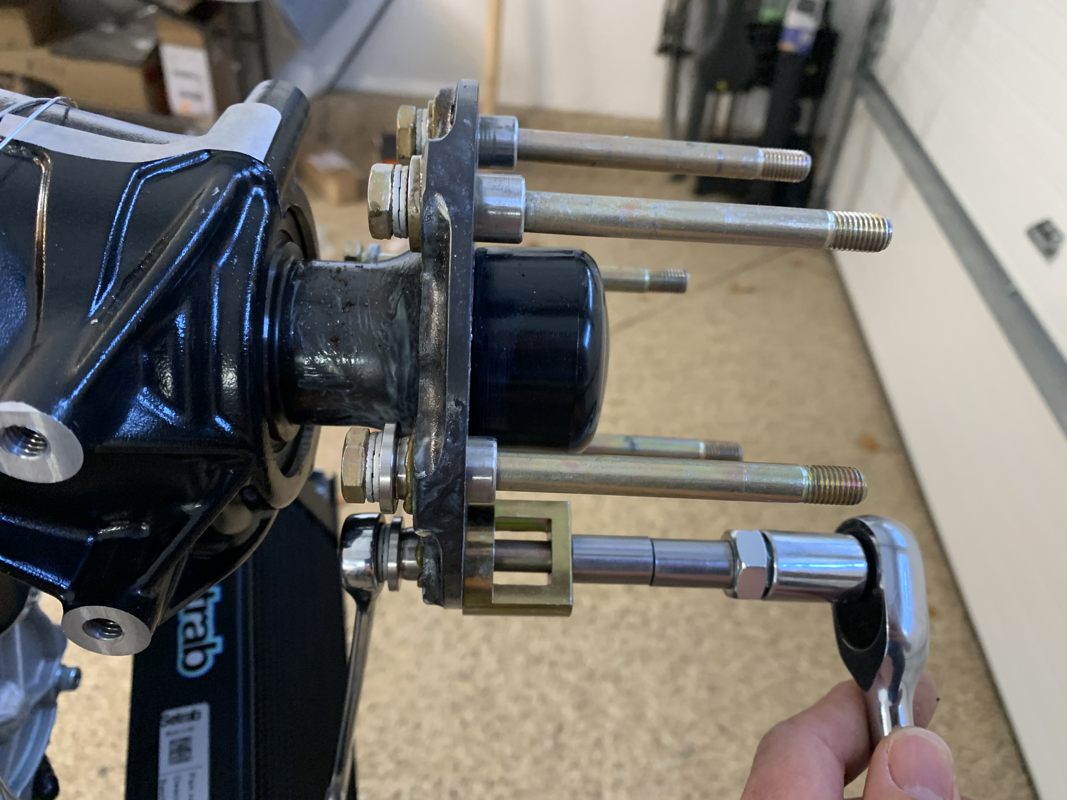
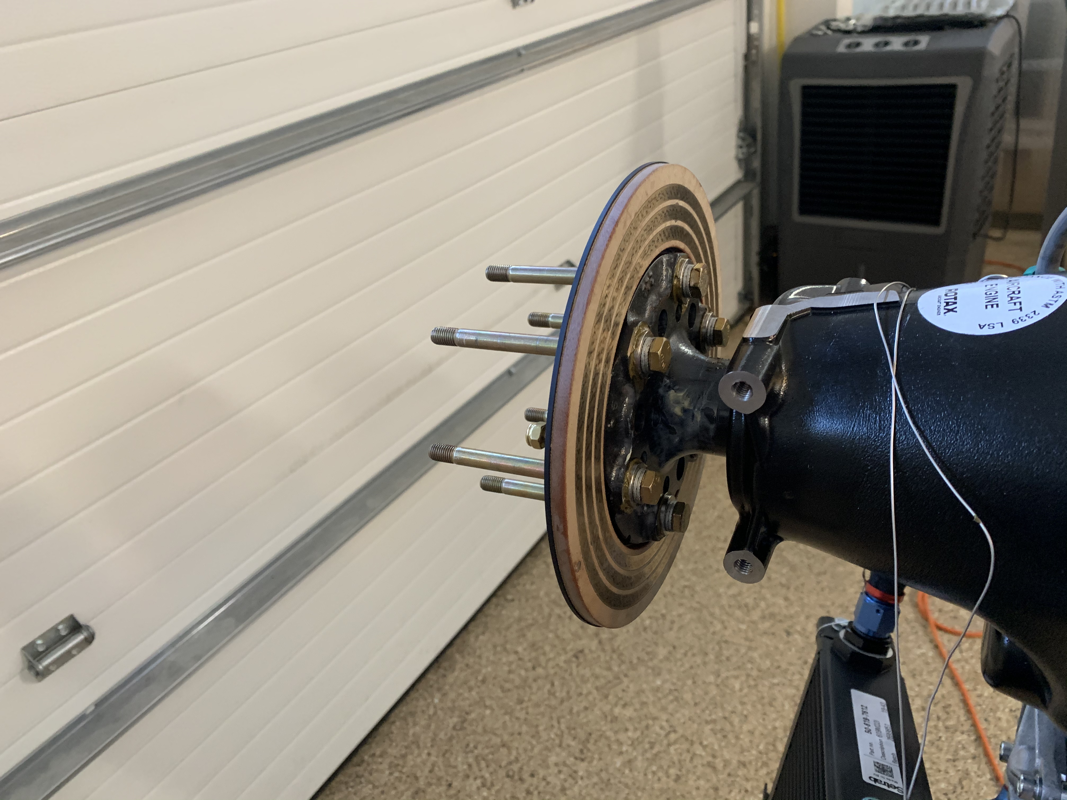
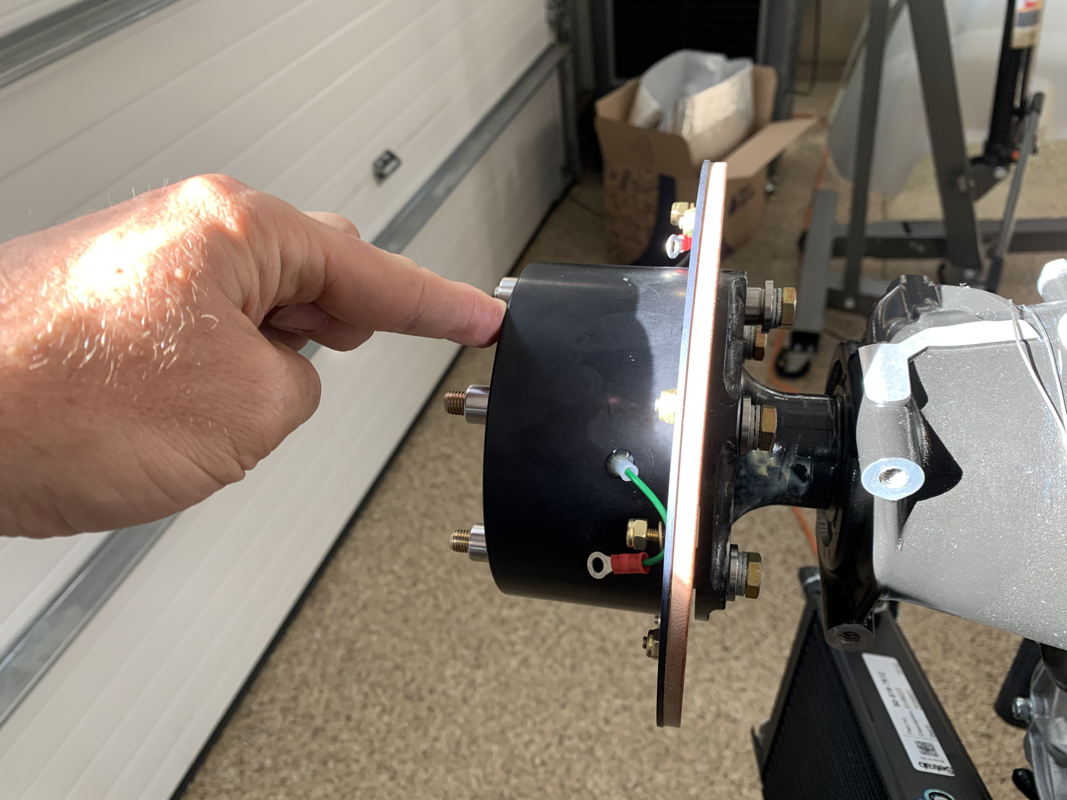
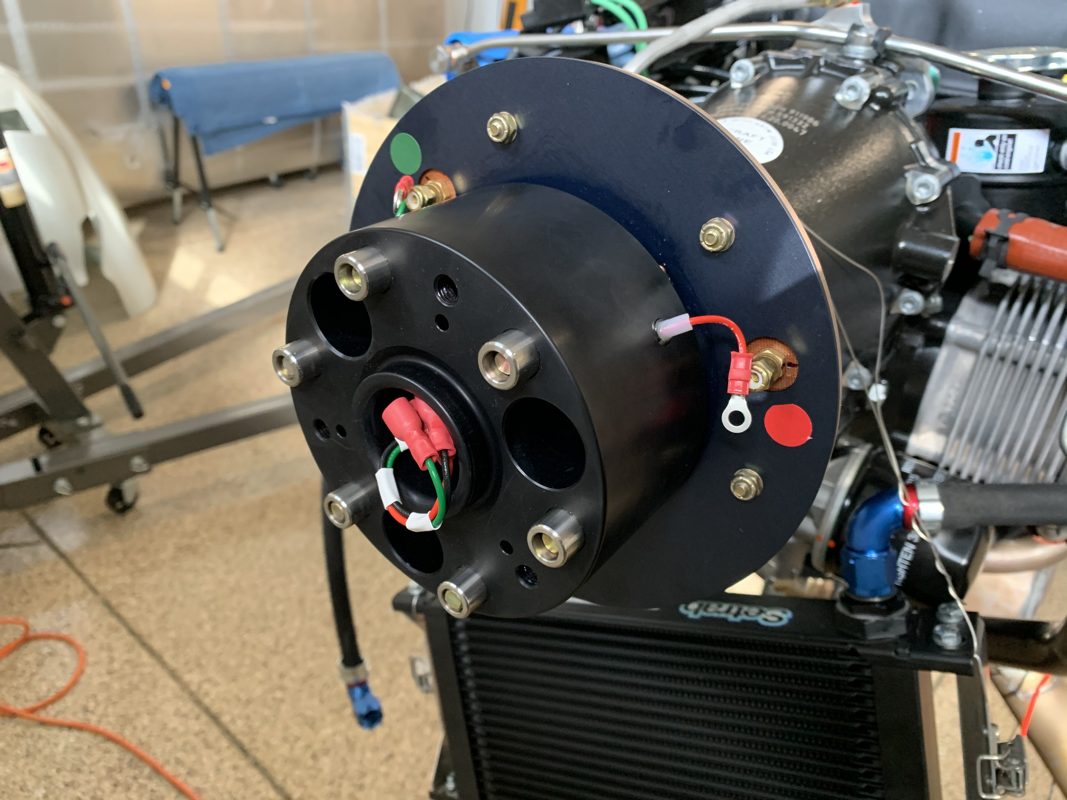
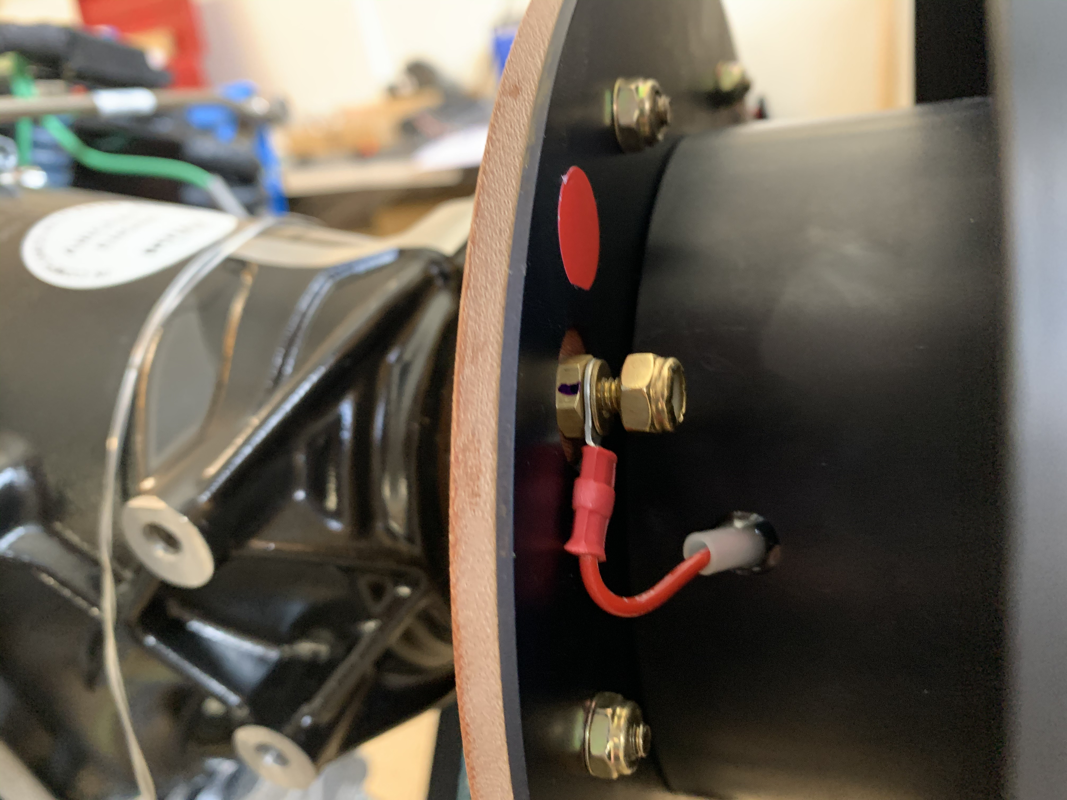
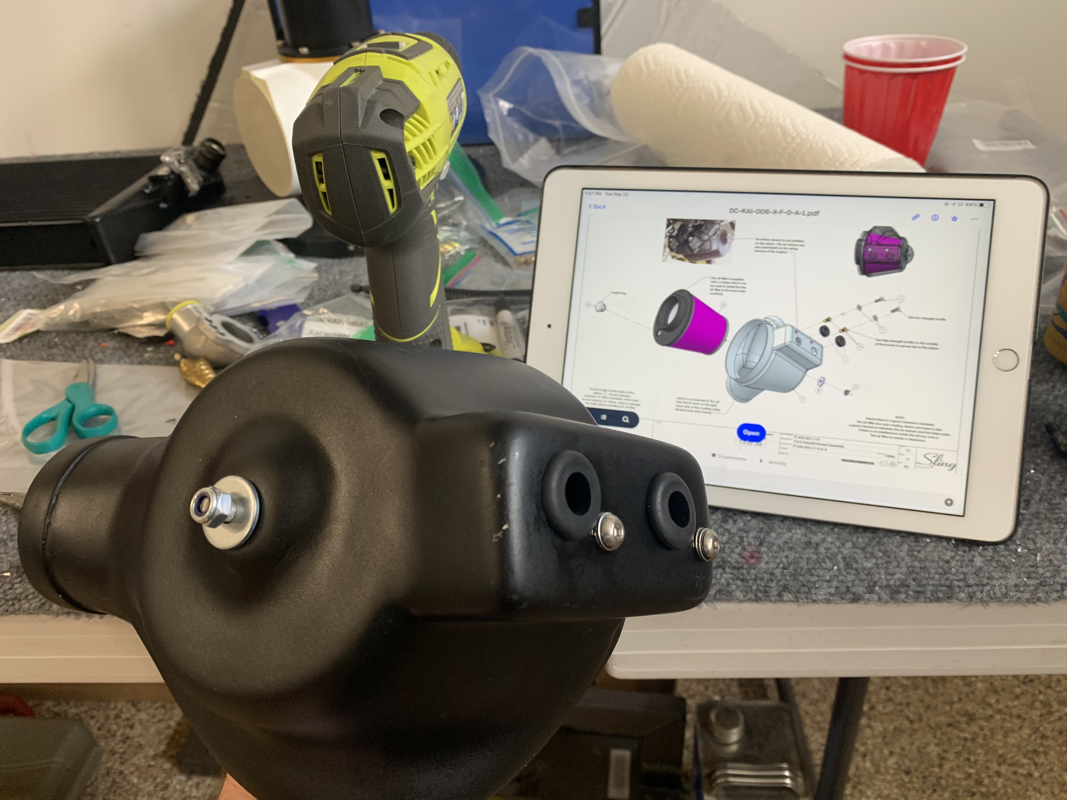
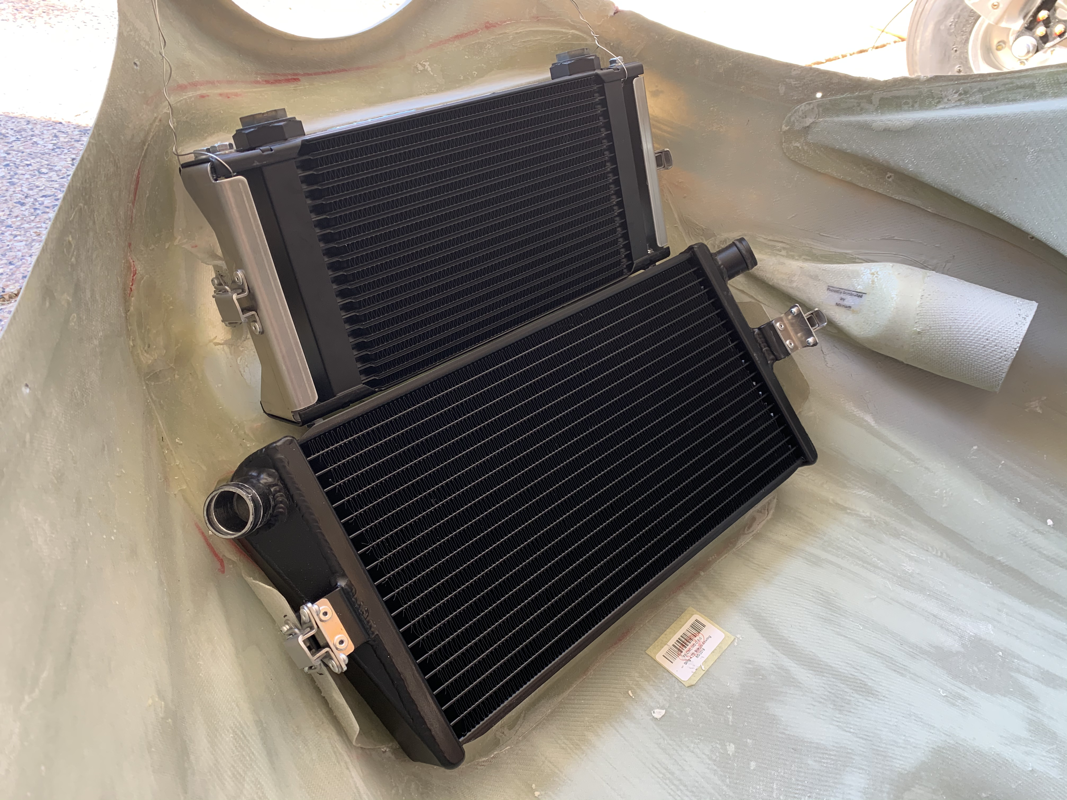
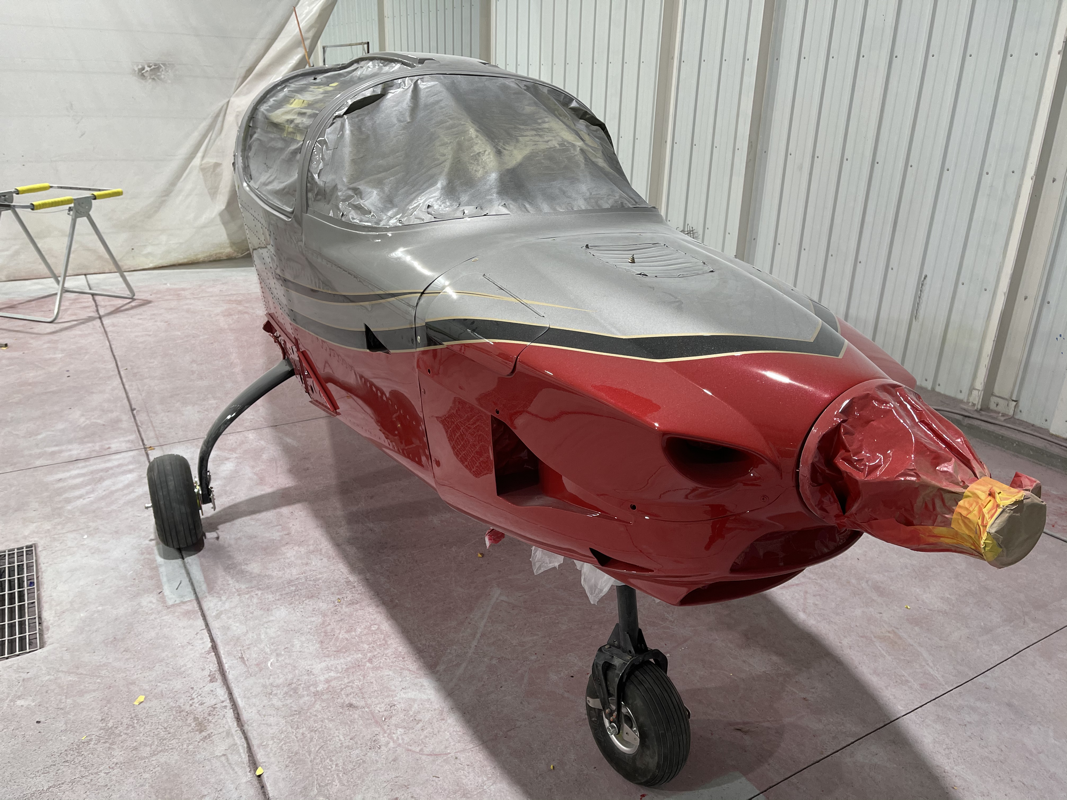
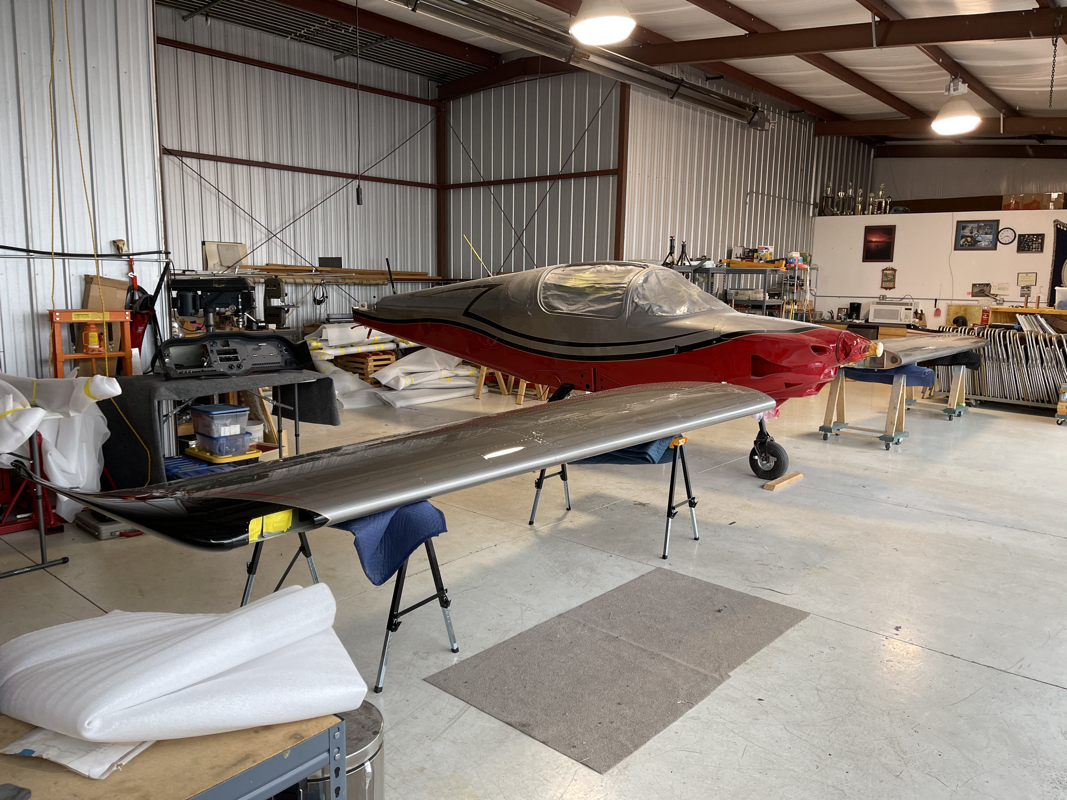
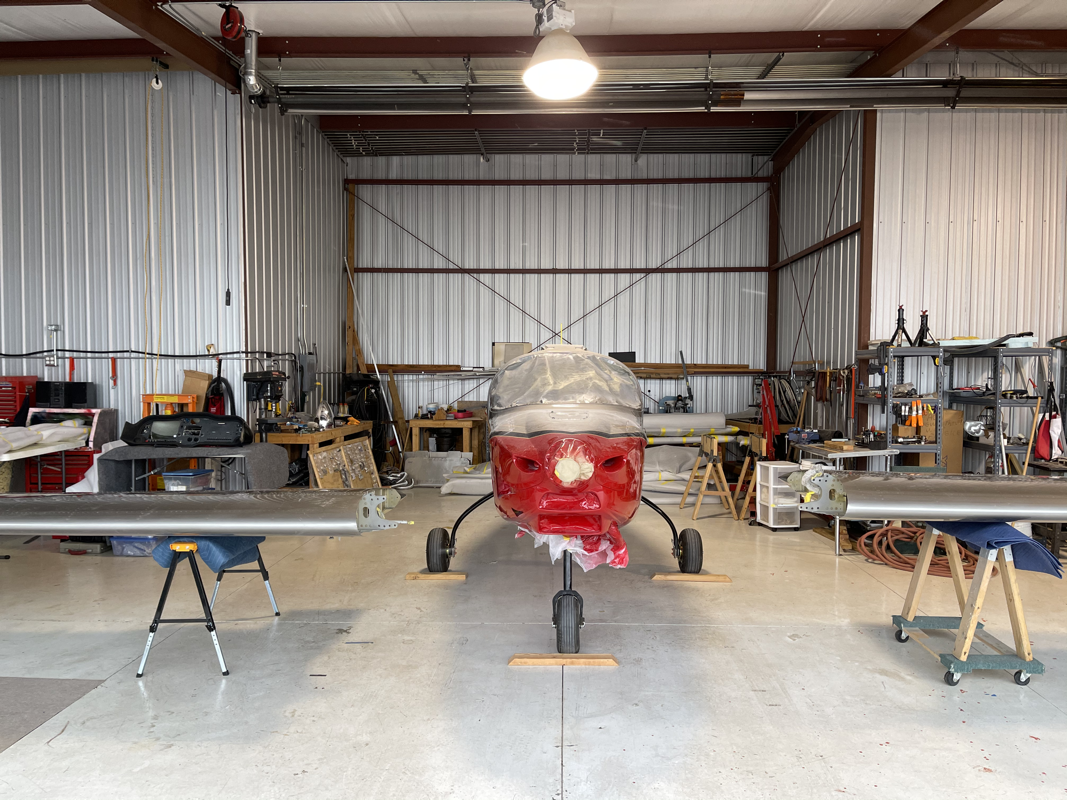
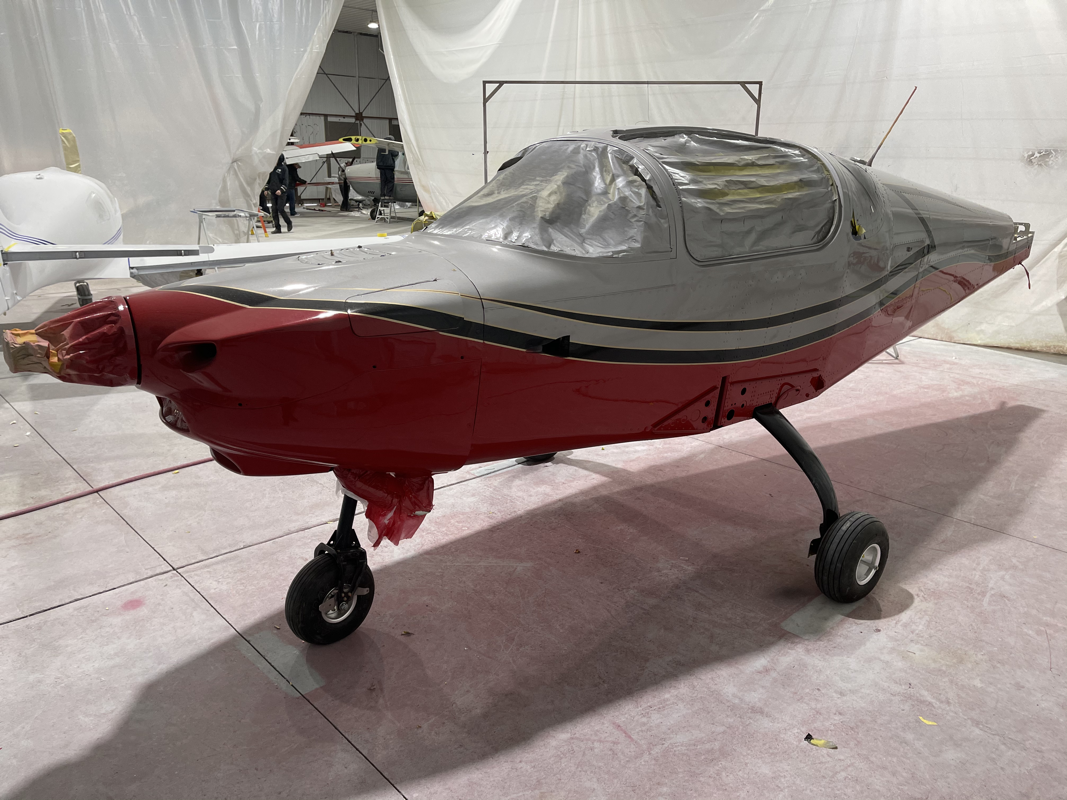
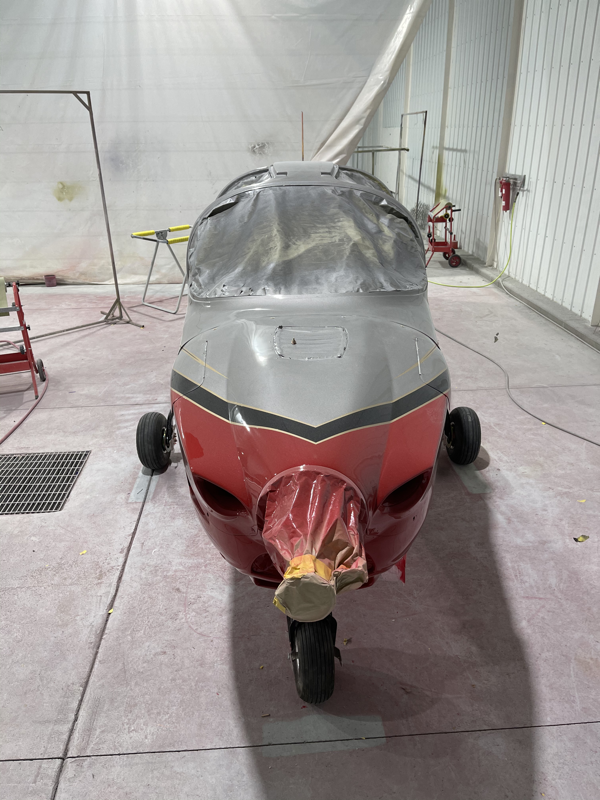
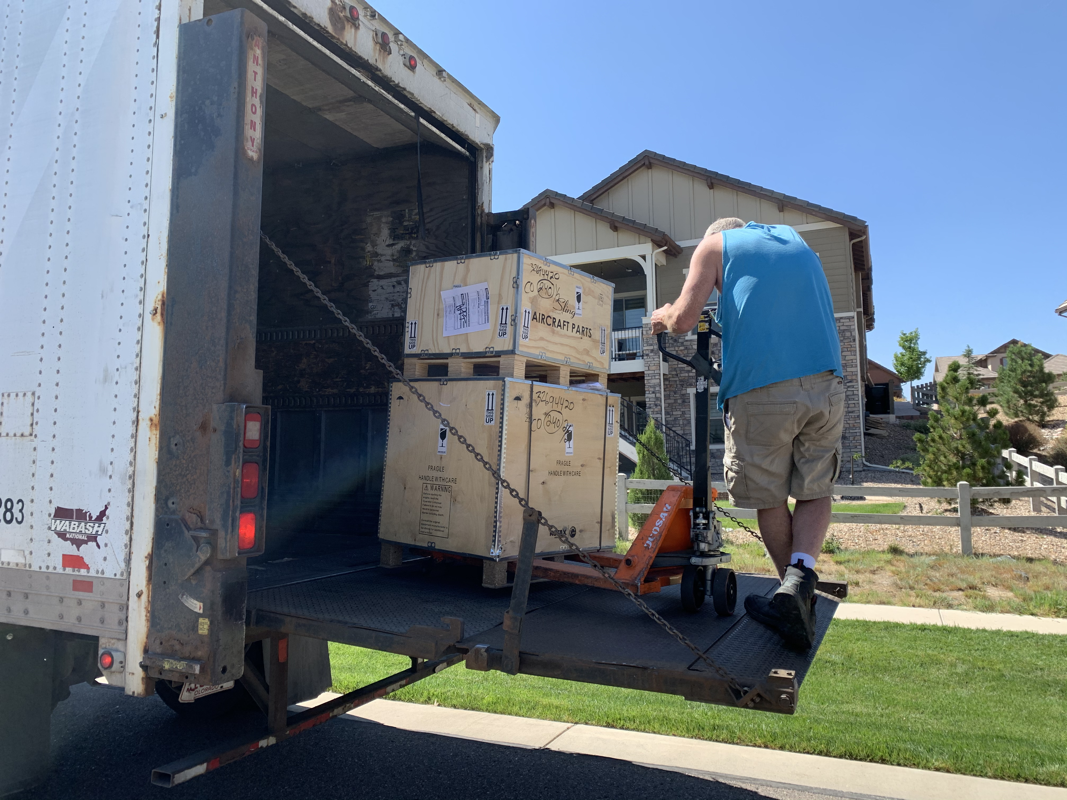
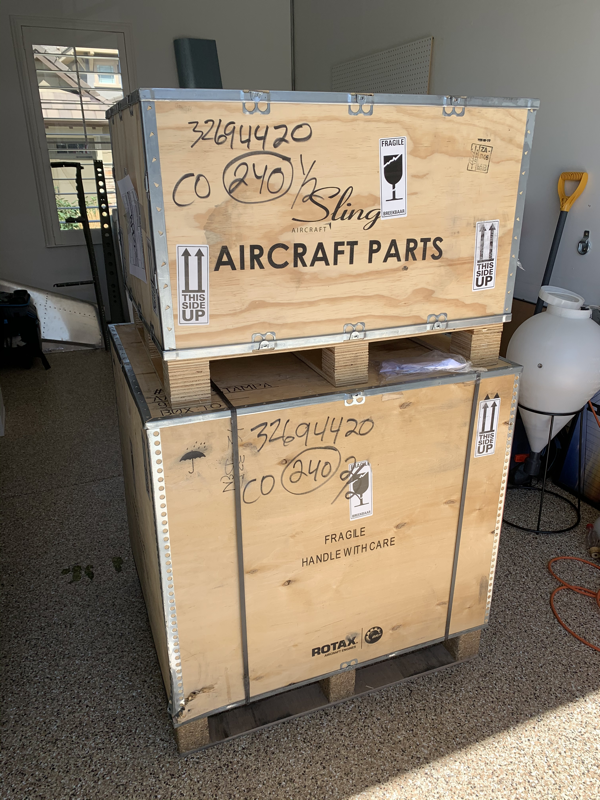
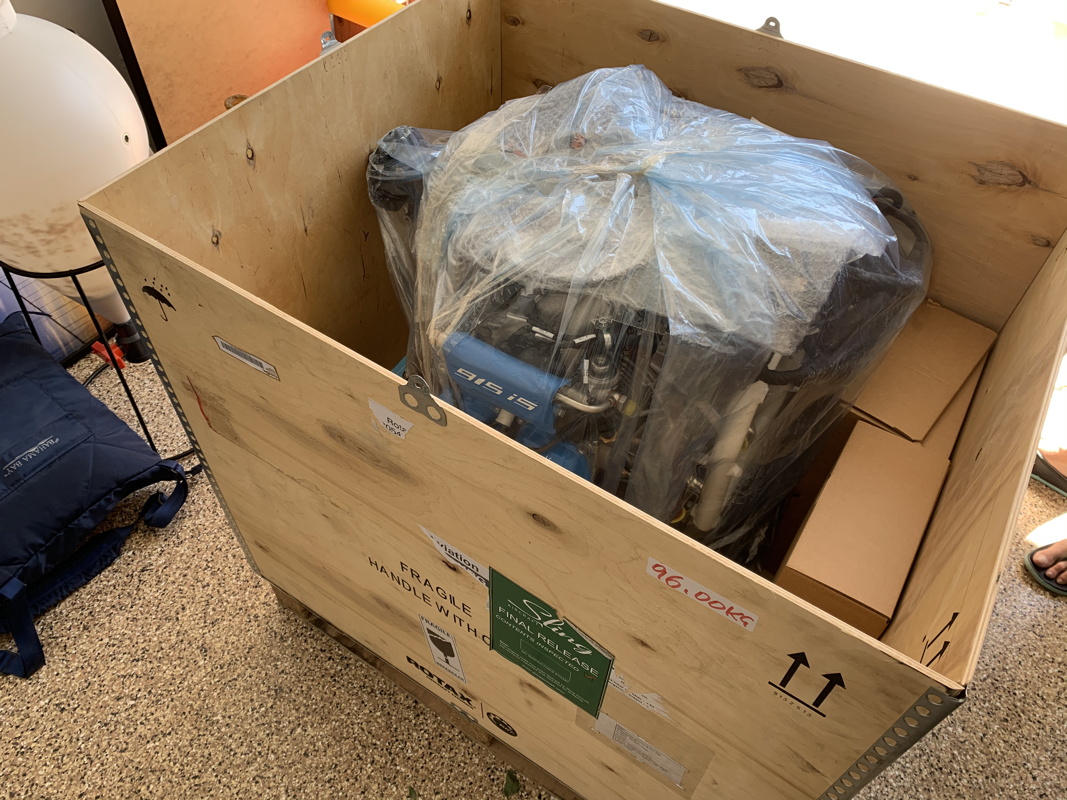
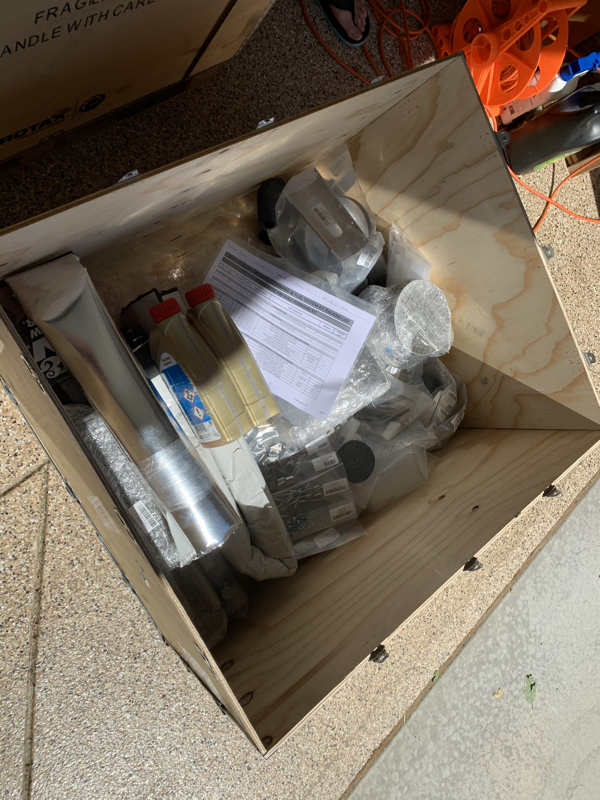
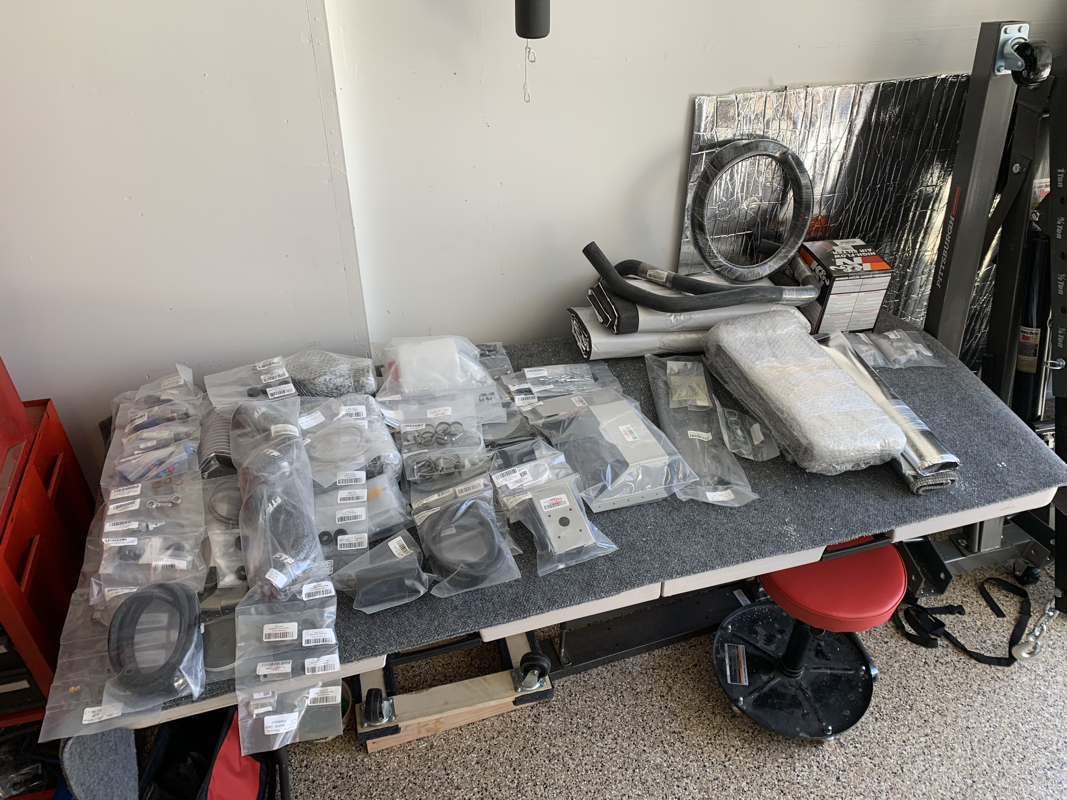
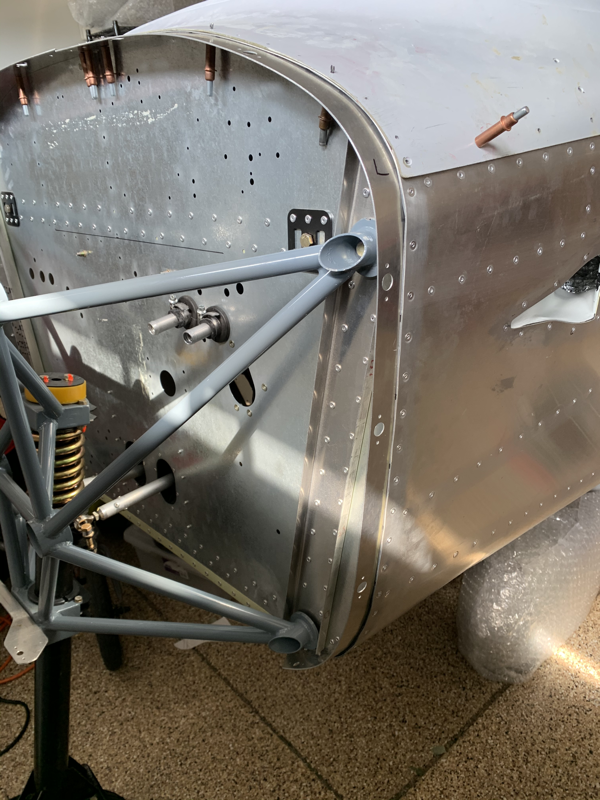
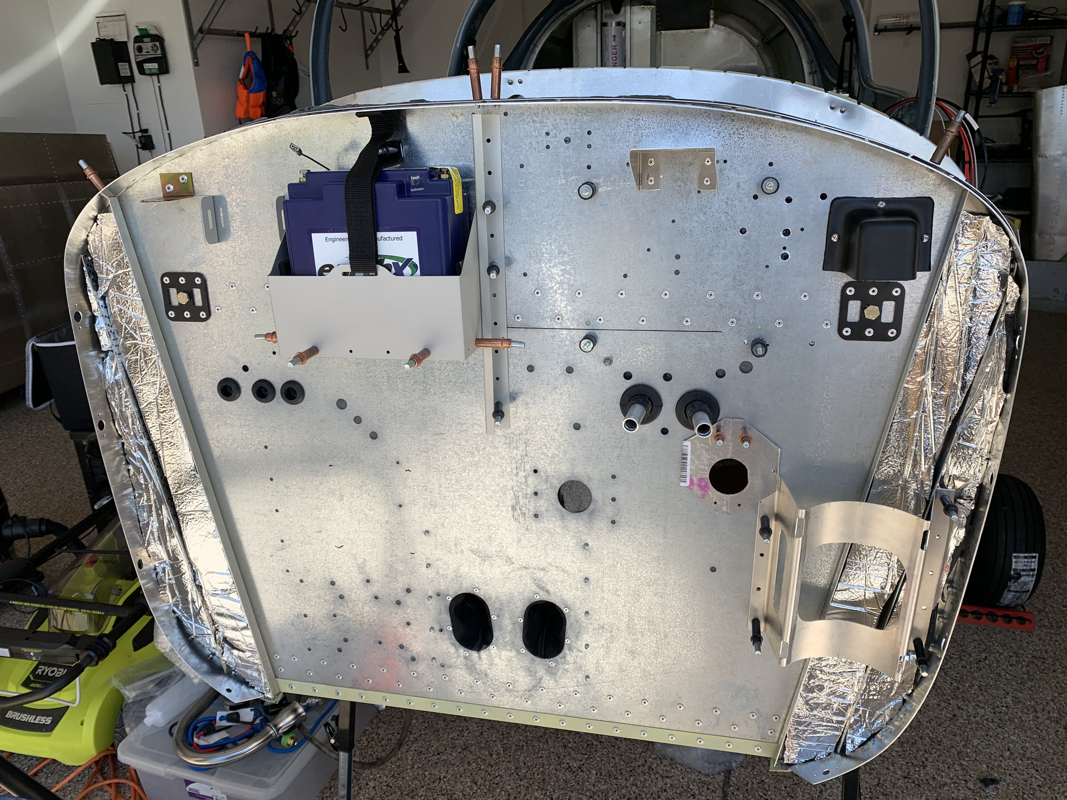
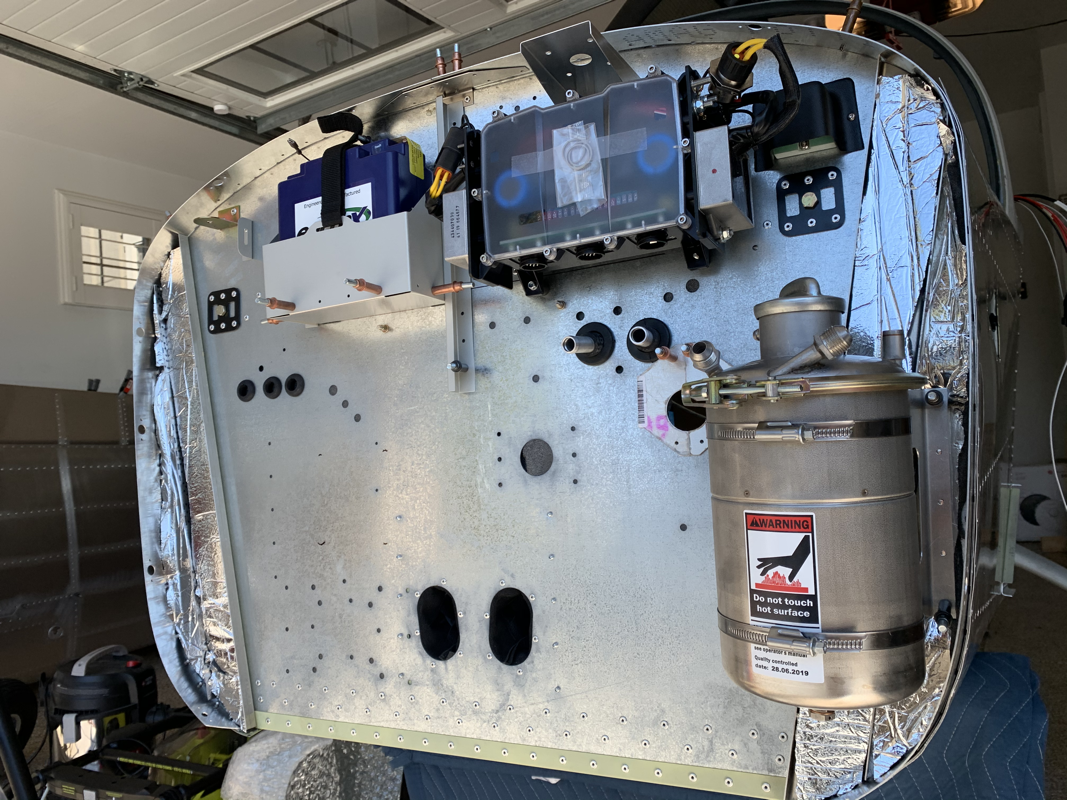
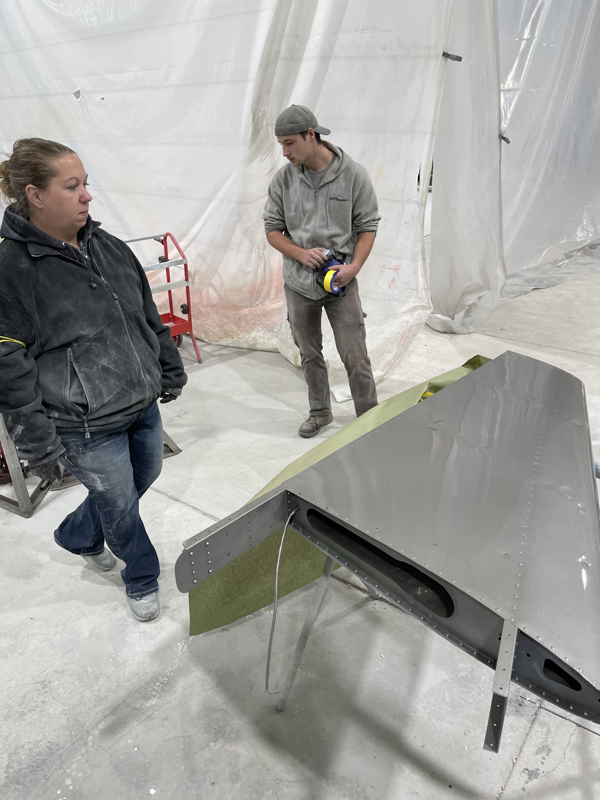
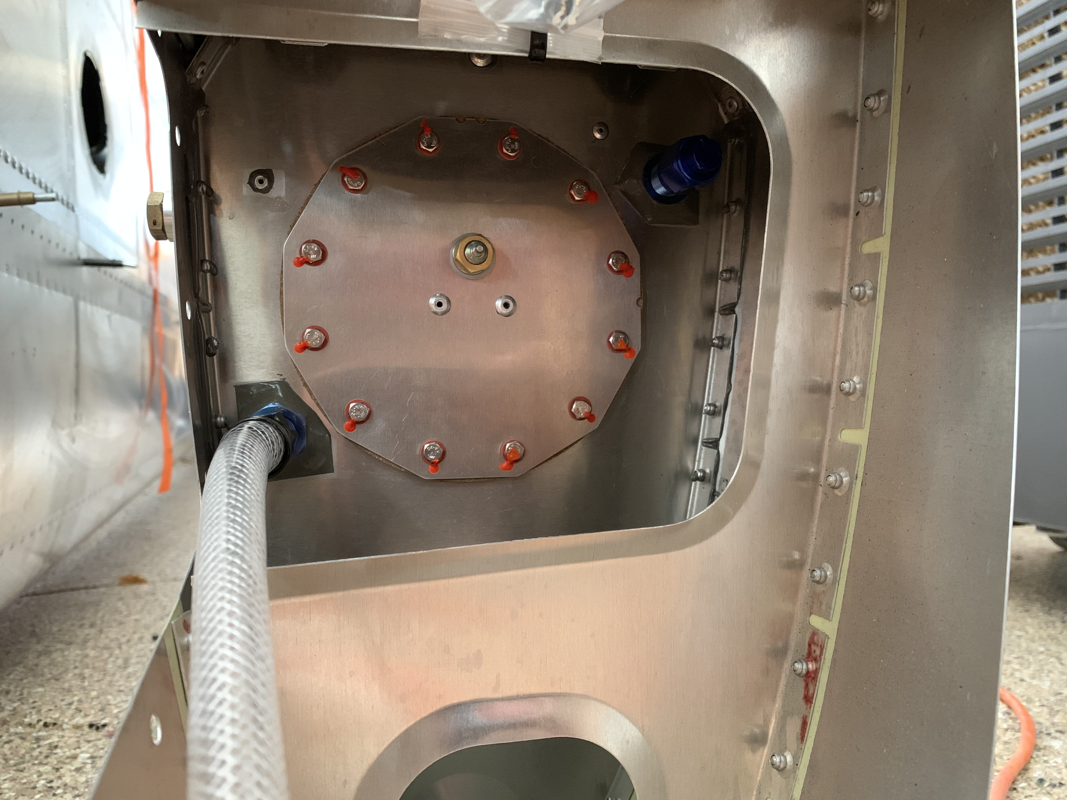
Today I tightened up everything firewall forward and put the cowling on (for show) and then put the propeller blades on. Pulled it outside to get a good look and I’m so happy with how it’s turning out! Now I just need to focus on the cabin area, putting in the final bolts and start working on upholstery. From there, engine start and inspection! 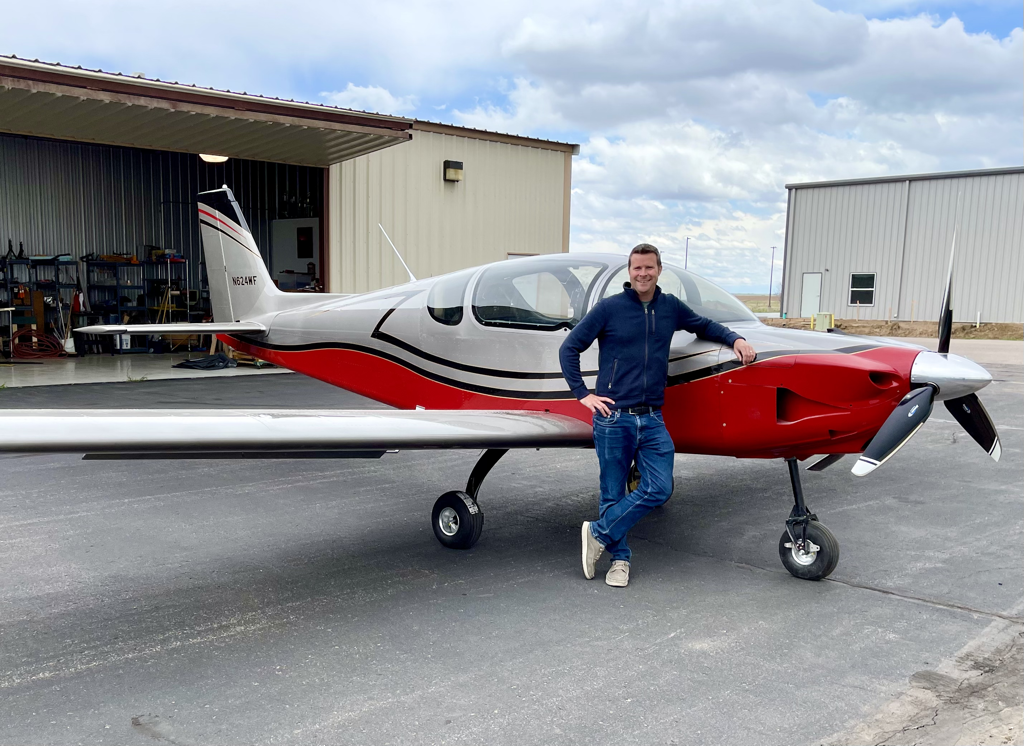 Here’s the latest update from the last week or so.. - Routed the fuel lines in the fuselage - Tidy’d up the fuel lines with some zip tie and fuel line stand offs - Spliced an extended the fuel pump wire, it was too short to reach around to the other side of the pump - Added heat shield to the oil lines - Trimmed the windshield to fit and get ready for bonding I’ve been traveling a lot in March and the weather has been quite cold here in the Denver area. We’ve been getting record amounts of snow here! Anyway, a short video of the latest items I’ve been working on. Thinking video updates are better to do than writing updates with pictures. Plus, seems it’s a bit easier to provide context. I am working to finish up the firewall forward electrical and any final placement of the wires that will be covered once I put the front fiberglass piece on. I had to reroute some of the heater ducting and also remembered to attach the heater control cable. I also routed the brake line through the firewall forward gromet. One thing to note, and I've heard about this from another builder, the bottom muffler bracket that mounts over the muffler shroud is a manufactured incorrectly - it's a bit too big. The fix is to shave off some of the metal where the bolt joins them, maybe a quarter inch total. It didn't take too long with a grinder and it fit just fine afterwards. It's been a busy few weeks working on the fiberglass components of the airplane. The main goal is to get it 'Paint Ready' before November.. tick tock! That means riveting on the cowling components, putting in rivnuts on the wheel pants, installing the wing tips, etc.. The most time spent was on the wing tips. I used the straps to push them into the place against the leading edge of the wing in addition to widening the wing tip to match the shape of the wing. Once in place, I match drilled the holes and then countersunk the fiberglass. There were parts that weren't reinforced with the second layer of fiberglass underneath, so I figured I would add some additional strength by applying SikaFlex to the bonding of tip to the wing. Some other items I worked on were the ECU mounting and shaving off enough muffler to slip in the factory supplied muffler extension. Lastly, my Fuel System arrived! This is the last bit of components I'll need to finish up the plane. I inventoried the components and some fittings were on back order, but overall I can make a dent in the installation here soon. Next up, I'll be permanently mounting the cover over the heater section so I can trim the windshield and I'll also be adding the fasteners to the cowling to the fuselage. It's time to make the plane look sexy! Love this cowling's aggressive looking design. First thing to do is drill some holes to mate the top and bottom pieces, just lay it on the ground and make sure the leading edge of the cowling is aligned, then work your way down to the rear and drill some holes. Measurements for the holes are provided in the manual. The cowling comes a bit too big and will slip over the fuselage a bit, so you'll need to mark it for trimming. First thing to do is fit your fiberglass piece that connects to the windshield and covers the front part of the fuselage. From there, use some painter's tape to mark the leading edge of the fuselage. Now you can fit the cowling to the aircraft and secure with clecos. I didn't have a second person to assist, so I found a metal rod that was about 5mm in diameter and fit that in between the prop and the cowling. I also needed to support the cowling, so used some ratcheting straps over the prop. Worked out pretty well and stayed relatively still while working the back. Next, you'll want to squeeze the cowling to match the form of the fuselage, so use another ratcheting strap around the rear of the cowling. Then, you can finally lay another layer of painters tape on the cowling, making sure the line up the rear edge of the fuselage layer of painter's tape. The idea is that the painter's tape is the same width, so you'll know where to trim the cowling. After that, I used the dremel bit 543 to shave off the painter's tape. It did take some fine sanding to get the cowling to line up evenly on all sides. Next up, I'll need to mark off where the Camlocks and Dzus connectors will attach. When mounting the engine, the bolt that is nearest to the turbo needs to be trimmed a bit.. maybe a half centimeter. Be sure to measure 125mm from the bottom of the bolt head instead of the top. I initially cut mine too short and had to order another M10x130mm bolt from Bolt Depot... oops! Once that was done, I swapped the coolant outlet at the back of the engine that comes with the kit. Otherwise, you can't reach the bottom bolt with the wrench as that is in the way. Next up was connecting all the oil lines. Be sure to twist the AN fittings to the correct direction before tightening them with the ear clamps. Also, be careful when you remove the yellow stoppers - there's a good cup or so of oil left in the engine from when the factory tested it. Just have a collection cup ready and 10 mins to spare to catch all the oil that drains out. It's a tight fit on the left side getting the wrench in there to tighten the AN fitting. The right side is impossible to get to unless you remove one of the exhaust pipes. They detail how to do this in the manual. It's pretty simple removing the pipe clamp and loosening the bolts on the engine. I wanted to start fitting the cowling, but first needed to get the propeller mounted. Be sure to follow the Airmaster manual for this. You'll need Aeroshell 22 grease and some anti-seize grease. The firewall forward kit does come with Copper Slip, which is what I used on the propeller lugs to prevent rust and ease of future disassembly when needed. However, when inserting the lugs, make sure to insert them with the bolts, otherwise you won't be able to fit the bolts through later. I also recommend using the lug fitting tool that comes with the kit, don't push the bolts from the back, use the bolt threads to pull the lug through with a straight even force. These aren't easy to get in and require some decent pressure to get them set. I was surprised that the propeller doesn't use any thread locking fluid on the bolts. Instead, they use the Nord-Lock washers. Apparently their design prevents any loosening from vibration and require more torque force to unscrew than to lock in. After that, I put on the propeller hub and loosely fit the bolts for now. I need to get a crow foot wrench adapter for my torque wrench because the wrench won't fit between the prop flange and the engine. Next up was some grinding.. removing the pipe below the welded section was easy, but it's not so easy getting to the section below the piece that sticks out. With that thickness in metal, it's going to take quite a few dremel metal cutting heads... I'll get to that eventually, but at least now I can fit the cowling! I drilled the 4 holes on each side where the manual says to do. Not a perfect fit, but will trim that later. I fit the latches to the front so I can put the coolers in front. I also drilled the hole in the top of the air filter and fit it to the plastic element provided. I was inspecting the fuel pump on how the connections are fit. The stock 915is fuel wire doesn't have enough length to reach to the other side, so I'll have to splice and extend that to fit. It feels great to finally see the engine mounted! Starting to feel like a real plane. Before mounting the engine, I wanted to revisit the nose wheel movement. It was still a bit stiff and took a few pounds of force to move it. I was thinking I don’t want the rudder to stick during flight, so it was timely there was a discussion on the Sling Builder’s Facebook group on the issue. The idea is to take a 2” dowel, about the same size as the nose wheel, sand it down a bit so you can staple some sandpaper to the dowel. From there, insert it into the assembly and rotate it until you get smooth turns. What a difference! From there, I torqued the nose gear assembly to the firewall and it was time for the big moment - mounting the engine! Note: the engine did come with a bolt, mounted to the fairing just above the turbo that is held on by a rivet. Be sure to drill that rivet out and remove the bolt, it’s only used for mounting to the shipping crate. Once the engine was mounted, I started assembling the oil hoses. It’s nearly impossible to get them on without any loosening. To help with that, I just put one end in boiling water for a minute or so and then lubricated the barb and hose with some oil. Be sure to slide it on in one quick movement.. it’s really hard to get the hose off once on the barb.. trust me. ;-) The intercooler assembly is pretty straight forward, just connect the hoses and mount it in the approximate location. Next up, mounting the propeller and fitting the cowling. It’s like Christmas Morning when you get that phone call.. “the truck will be arriving in the next 30 minutes...”!!!!!! I’ve been anticipating this day for a while since this final shipment contained the finishing touches that transform the plane from a aluminum form to a luxurious efficient fast flying machine. 😎 Soon after the parts arrived, I began inventorying and stapling them to the parts board. Everything is there (except the fuel system 🤨 ugh..). Apparently the factory is revamping the fuel system kit and it’s a “TBD” on shipping date, but I have plenty to play with until I press on that subject. I’ve made quick progress on the Firewall Foreward, despite having a Sling 4 Firewall - basically just had to move the oil tank to the right side and drill a few other M5 Rivnut holes. They did send me an extra silver adhesive foam, so I decided to double it on the front and back of the firewall for some extra sound protection. The Upholstery looks awesome with the grey tones and red trim along the edges.. looking at paint schemes to similarly match! Next up, finishing up the firewall forward items and lifting up the engine for mounting! It's been a while since I was able to work on the plane with summer vacation, family visiting etc... So I was happy to get my hands dirty again. I drilled a hole for the outside air temperature sensor on the pilot side air scoop. It's good to get this done before you mess with trying to mount the avionics panel, as things get pretty tight. The modular panel rack system that MidWest Panel Builders provided requires that the top fiberglass skin be on to provide adequate support of the 'panel' rib. So I went ahead and used my nifty hole finder tool. Just plug it in the rivet hole and place the drill on the other end and viola! I couldn't imagine trying to get those holes aligned blindly. I'd highly recommend them! The only remaining metal pieces I have are the cowling strips that connect the fuselage and the cowling. It is a bit difficult to figure out exactly how they are placed based on the instructions, so hoping the close up pictures help others. It took me reaching out to a fellow builder to stop scratching my head! You take one skinny strip and one larger strip and line them up. The side with an angle will be at the bottom of the fuselage, the flat end on top. You then have to dimple the first 18 holes in each for the countersunk rivets on the fuselage. Make sure to fit the pieces to the frame before and label which side is which first - they only fit one way. You don't want to end up with a strip with dimples the wrong direction (almost made that mistake). From there, you'll fit the skinny strip between the outer fuselage skin and the firewall flanges. I used a rubber mallet to assist getting that in there. Then you can fit the larger strip on the inside of the firewall flanges. It helps to cleco from the bottom up as you go to make sure the holes align. Now that those items are done, I can finally start mounting my avionics panel! |
Archives
September 2021
Categories
All
|


 RSS Feed
