|
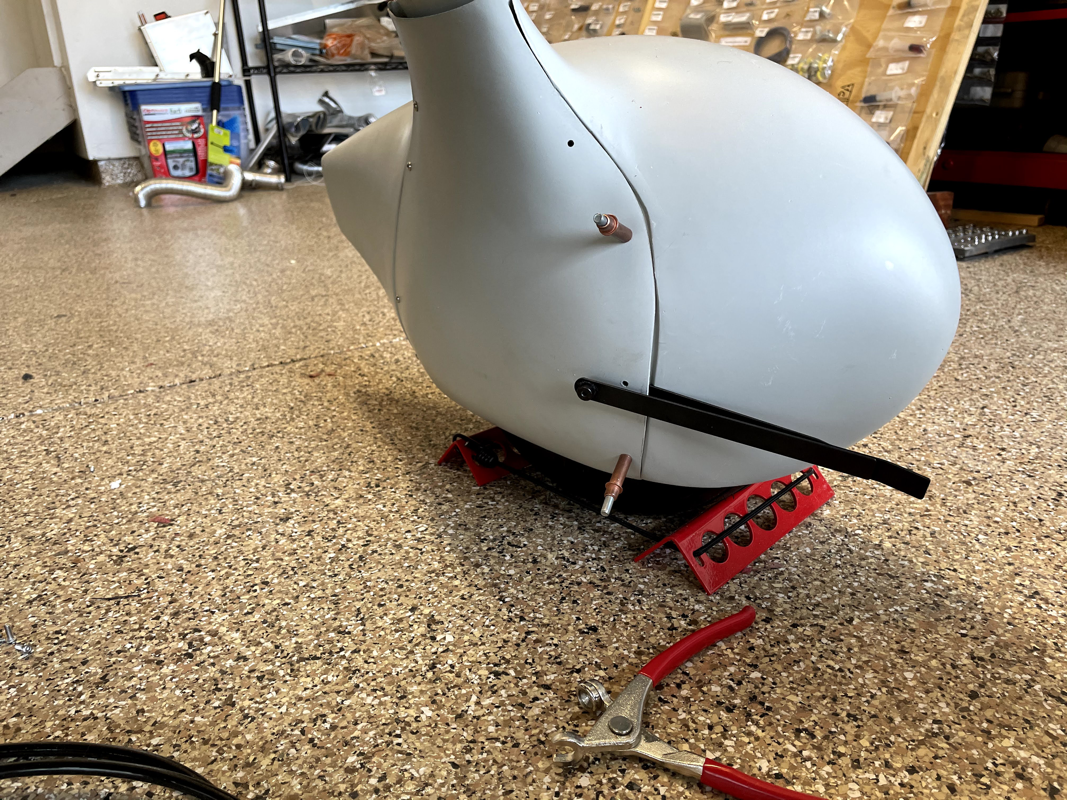
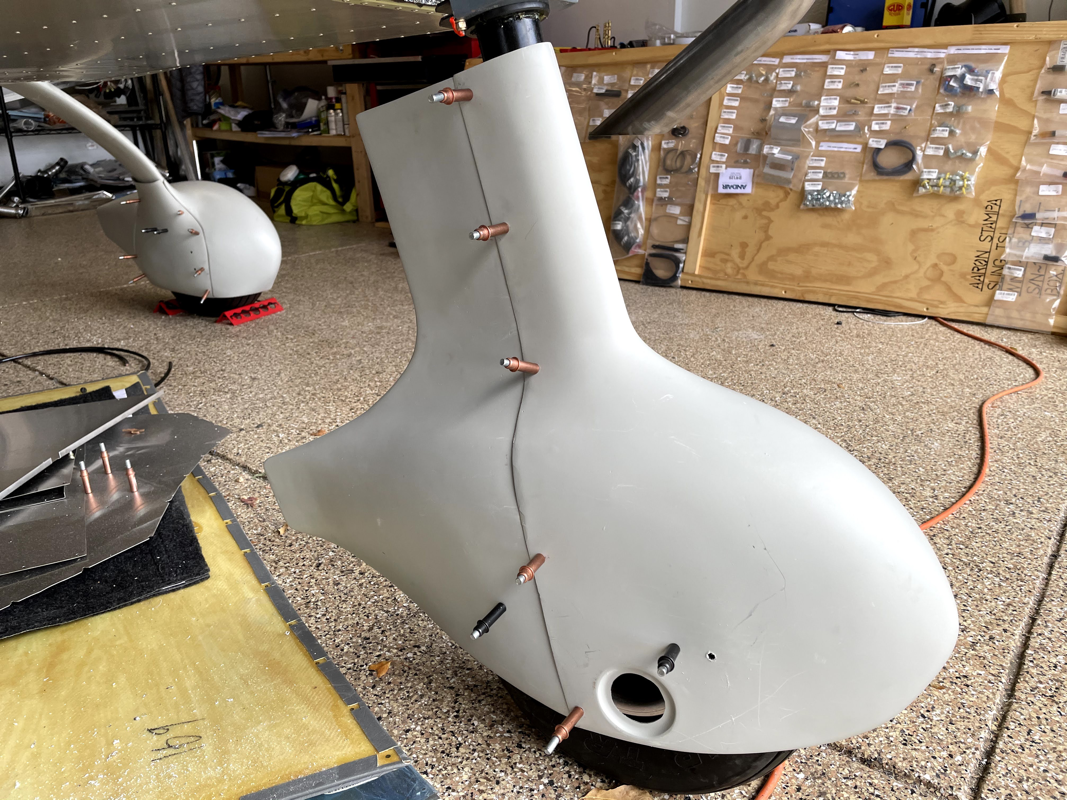
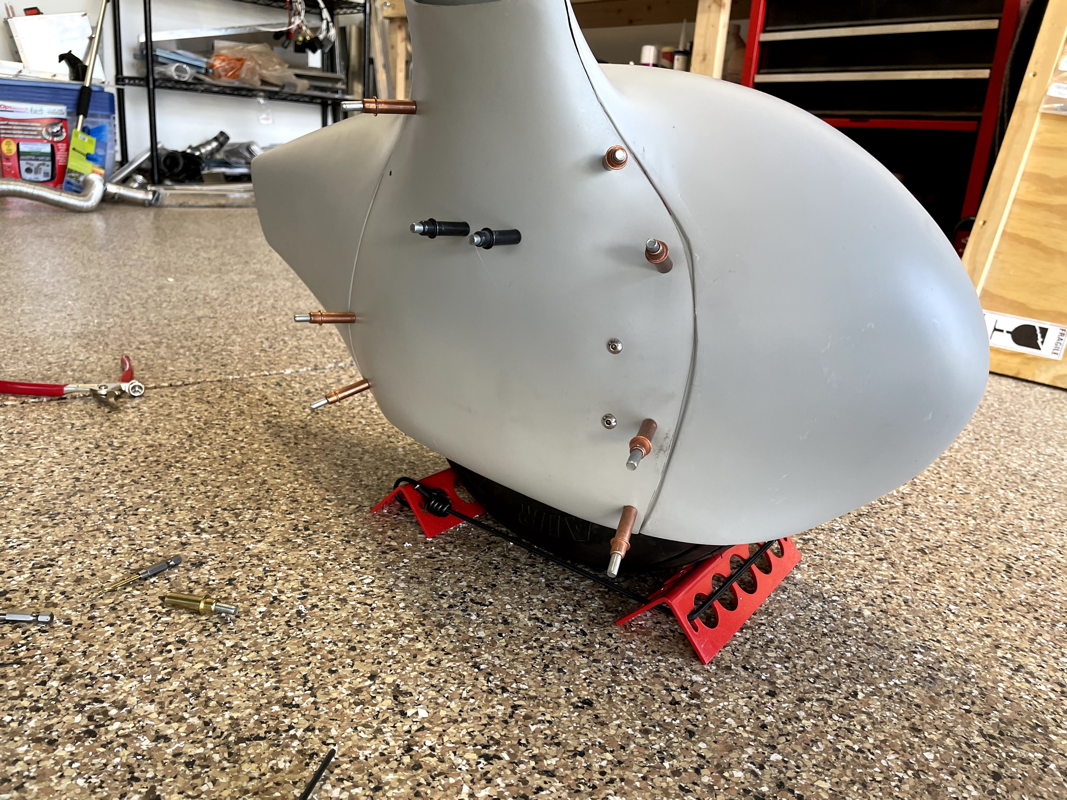
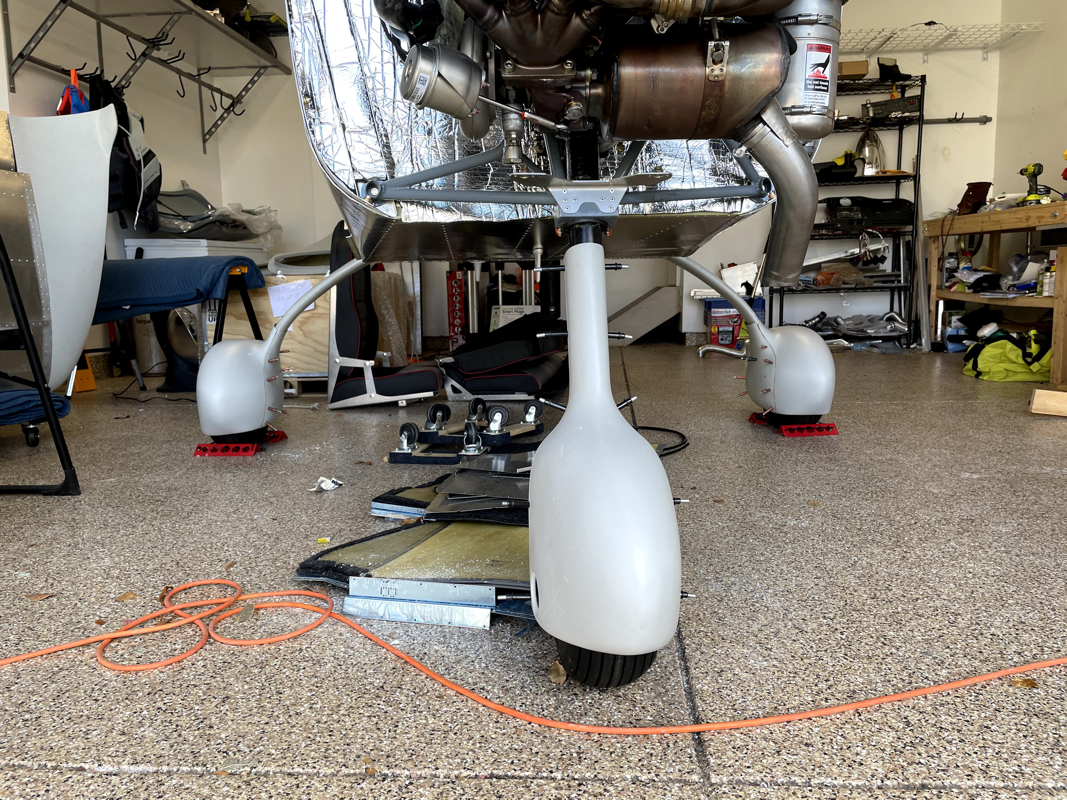
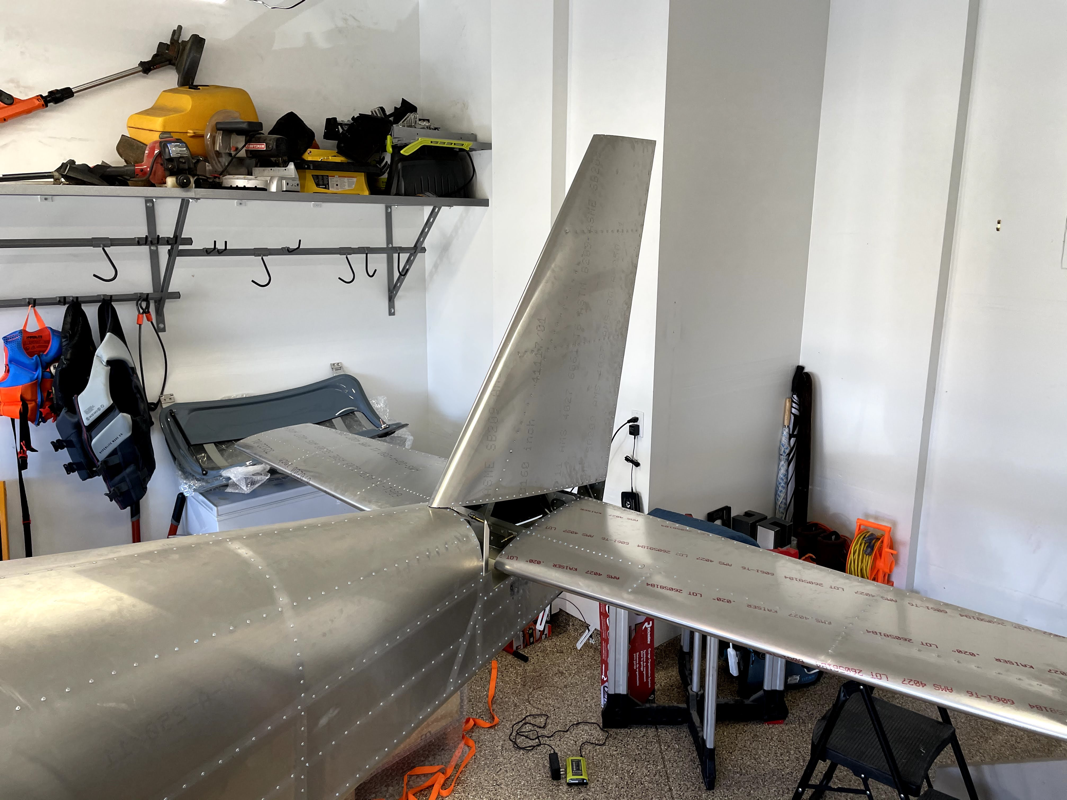
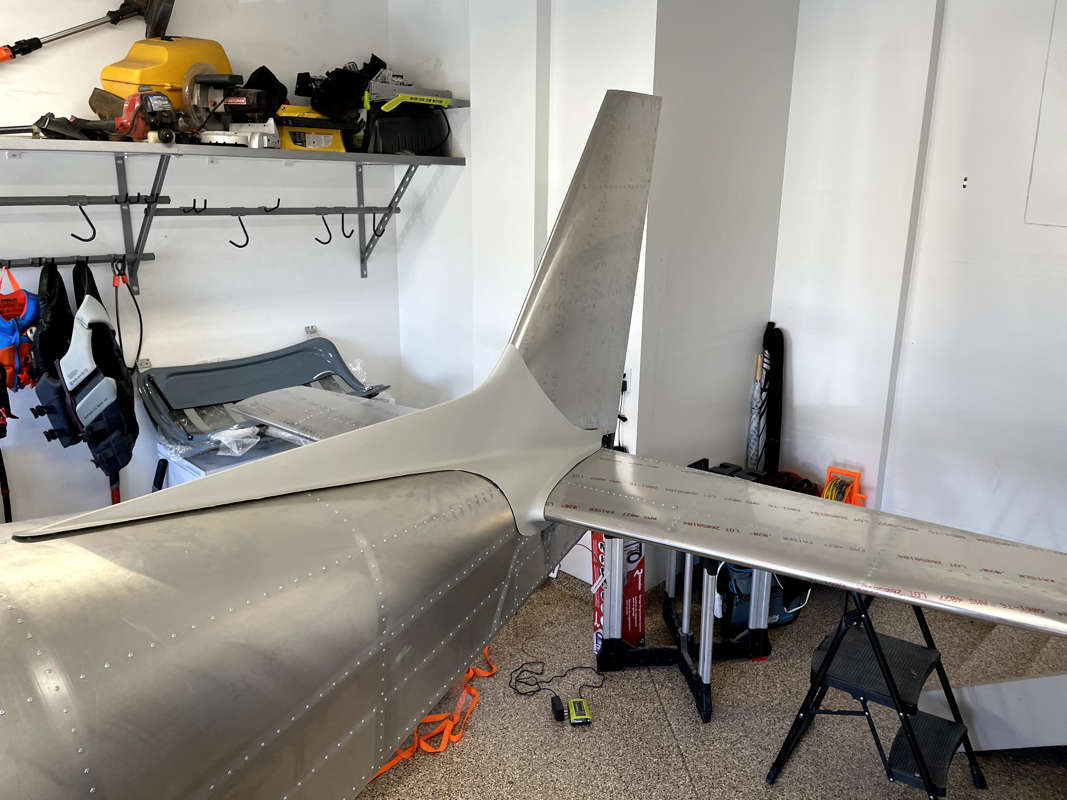
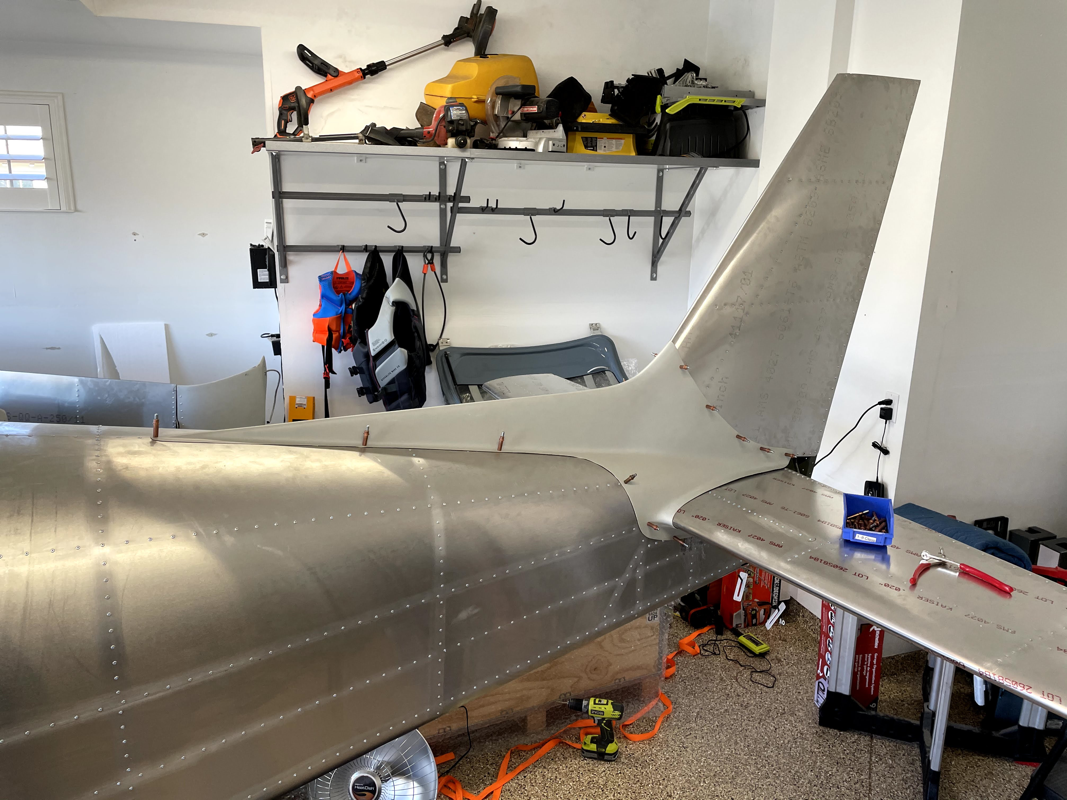
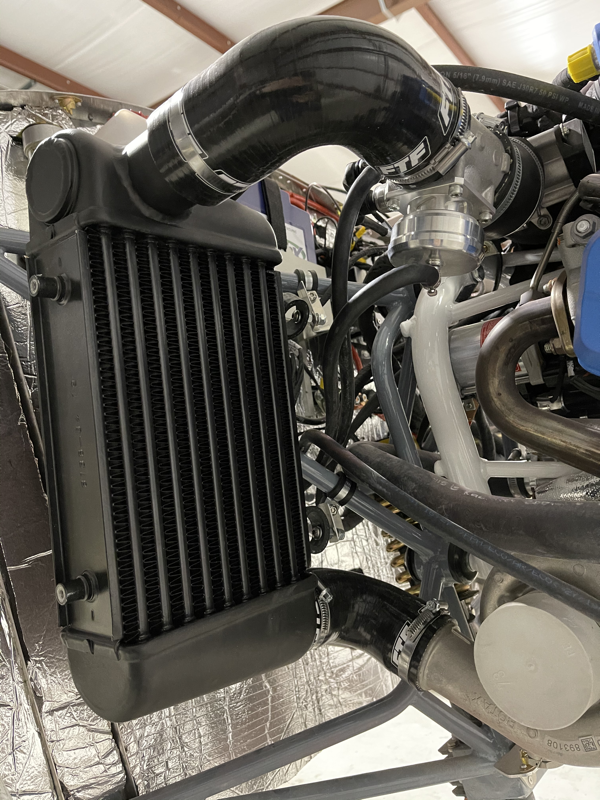
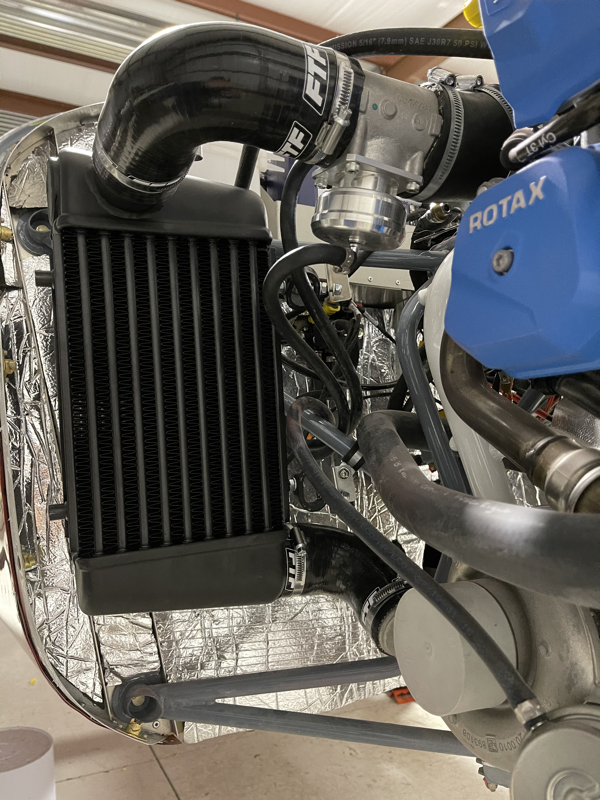
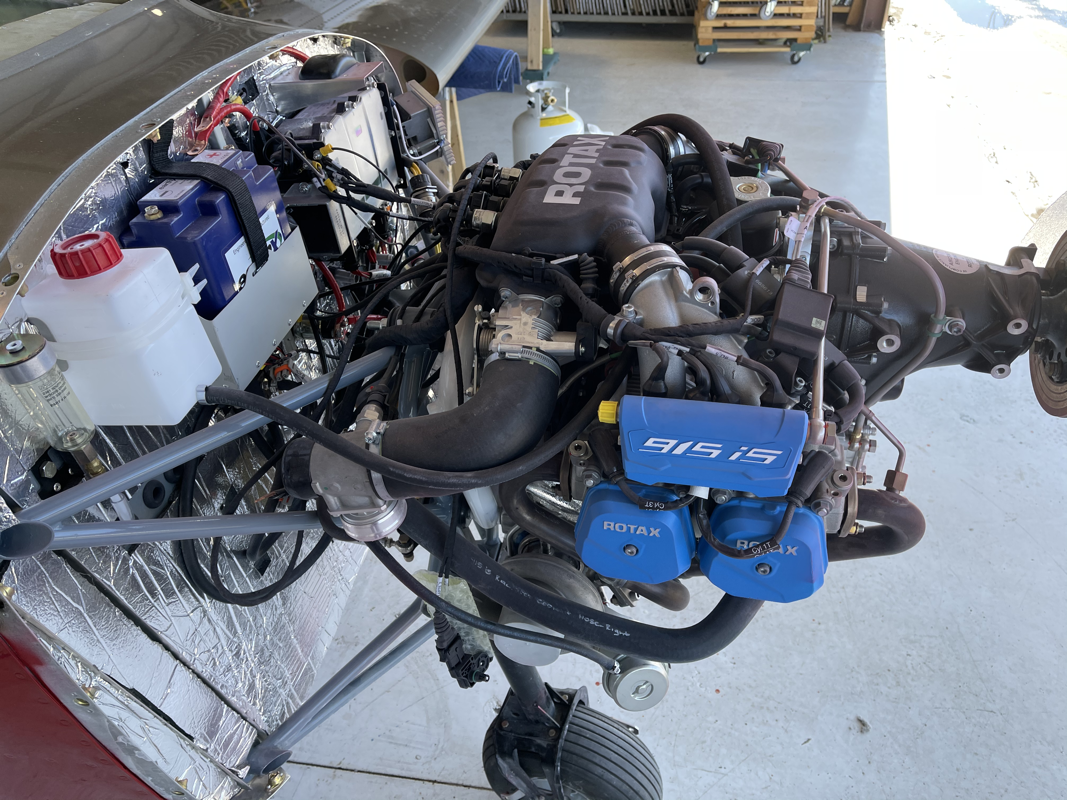
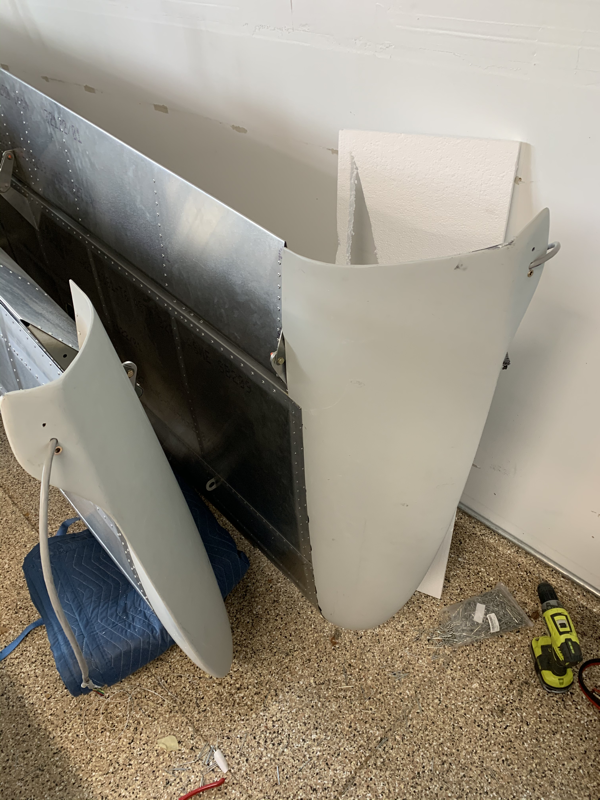
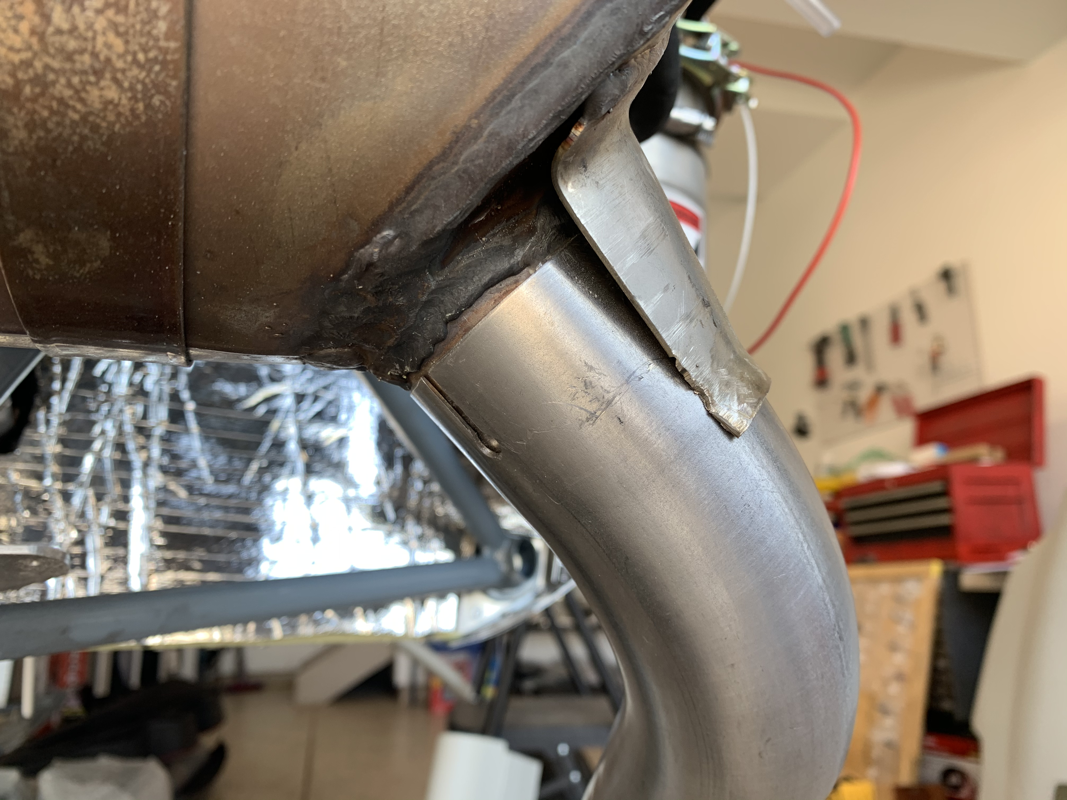
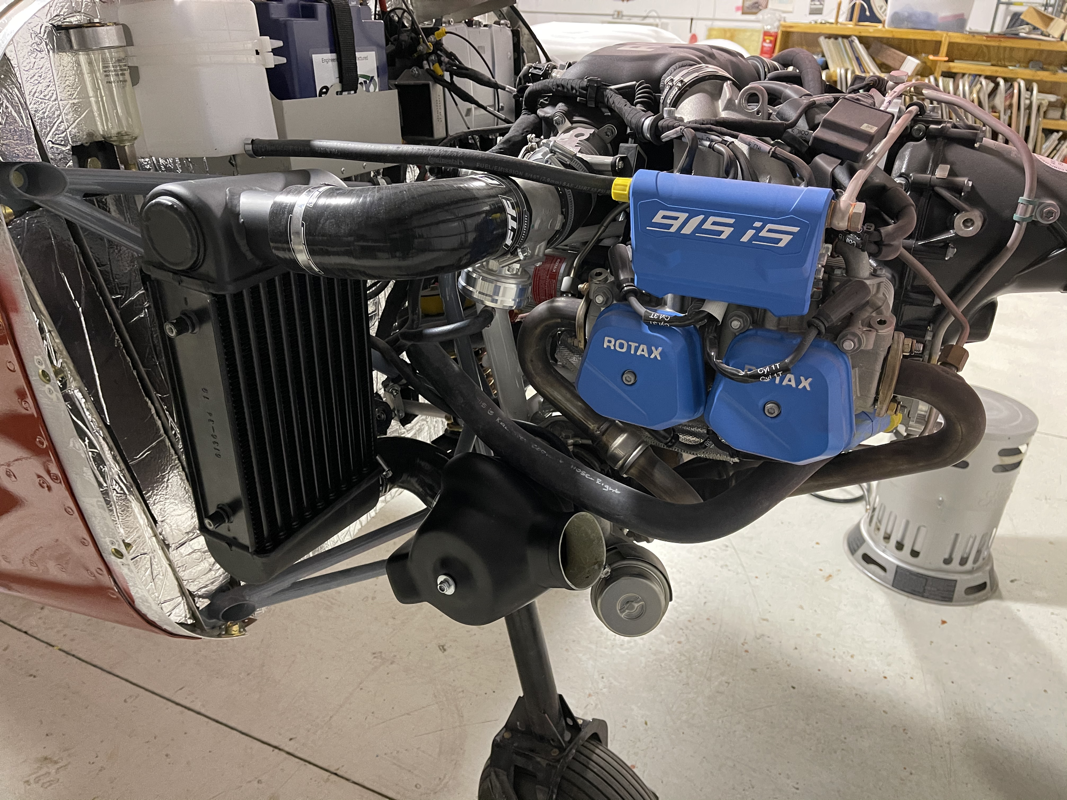
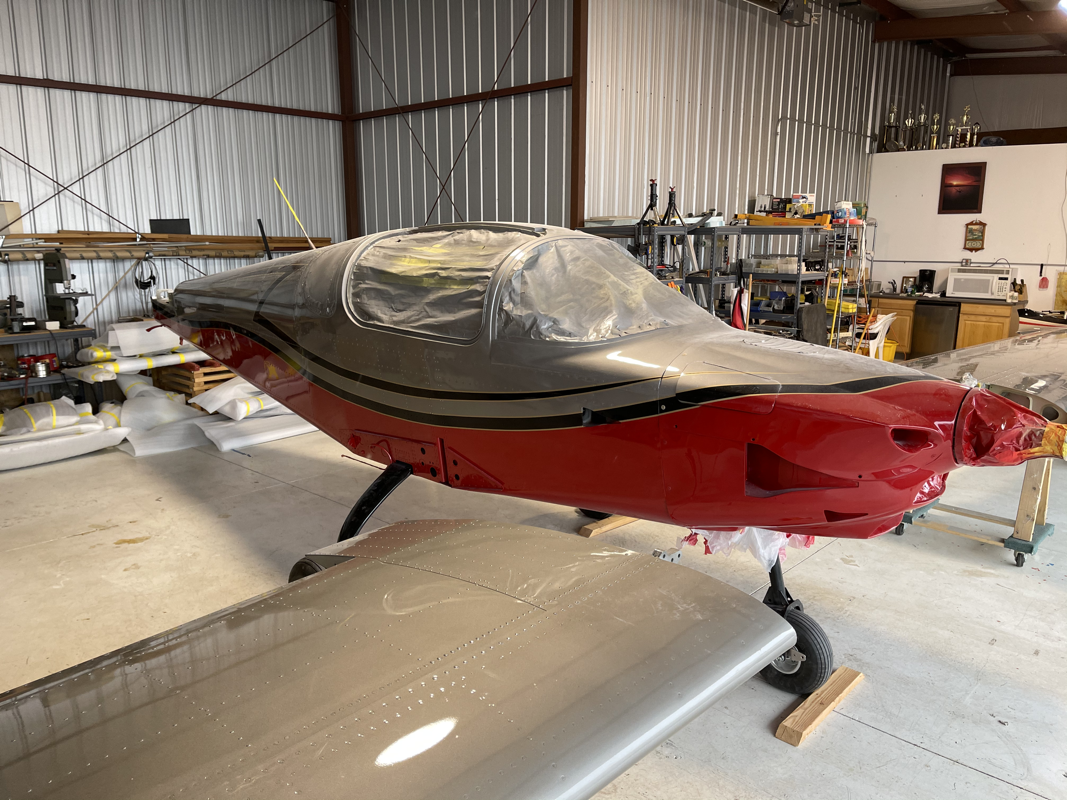
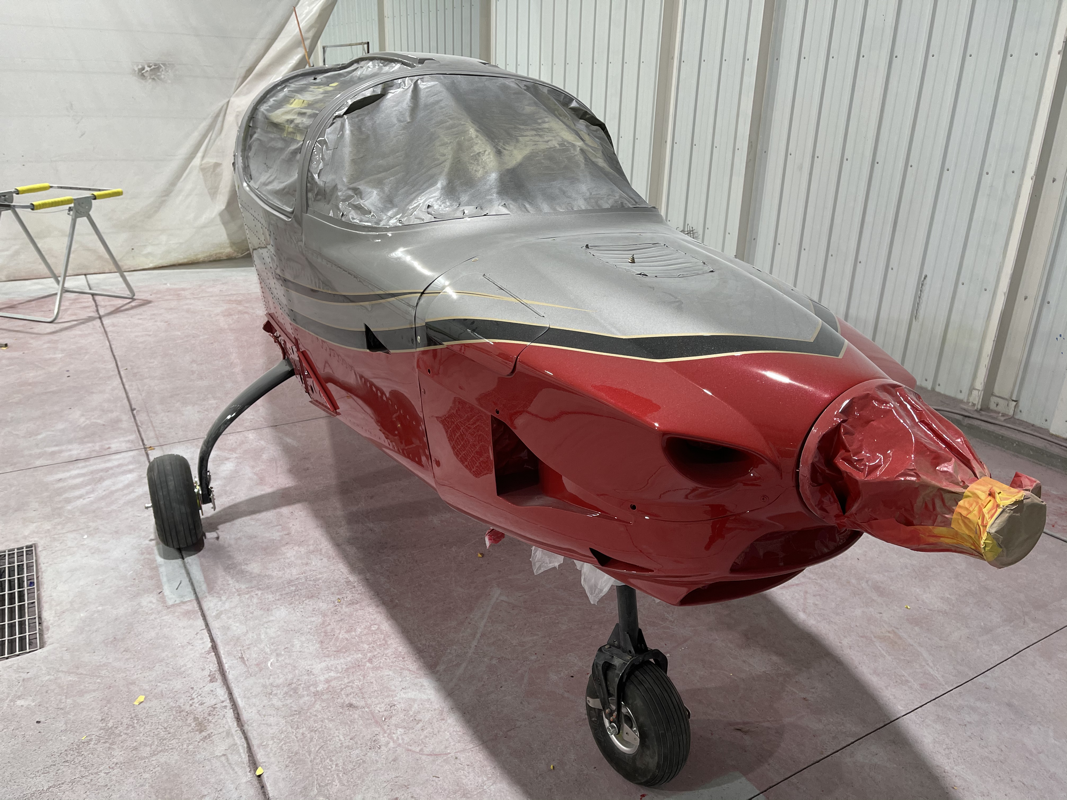
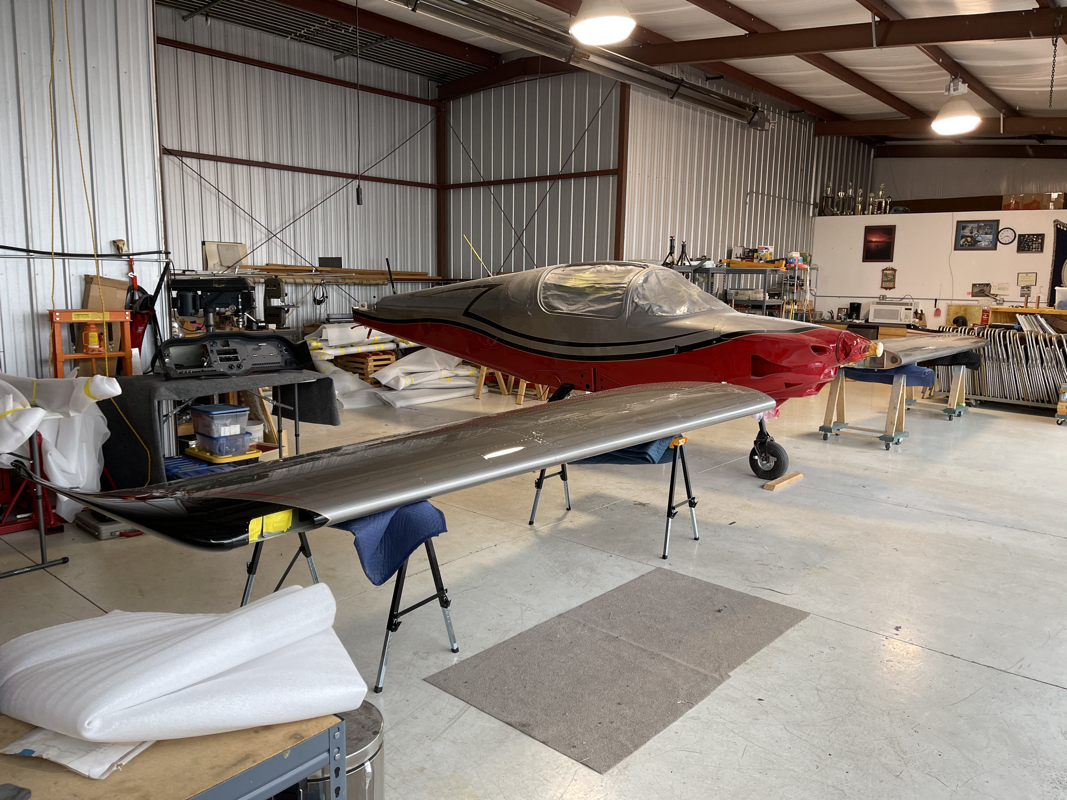
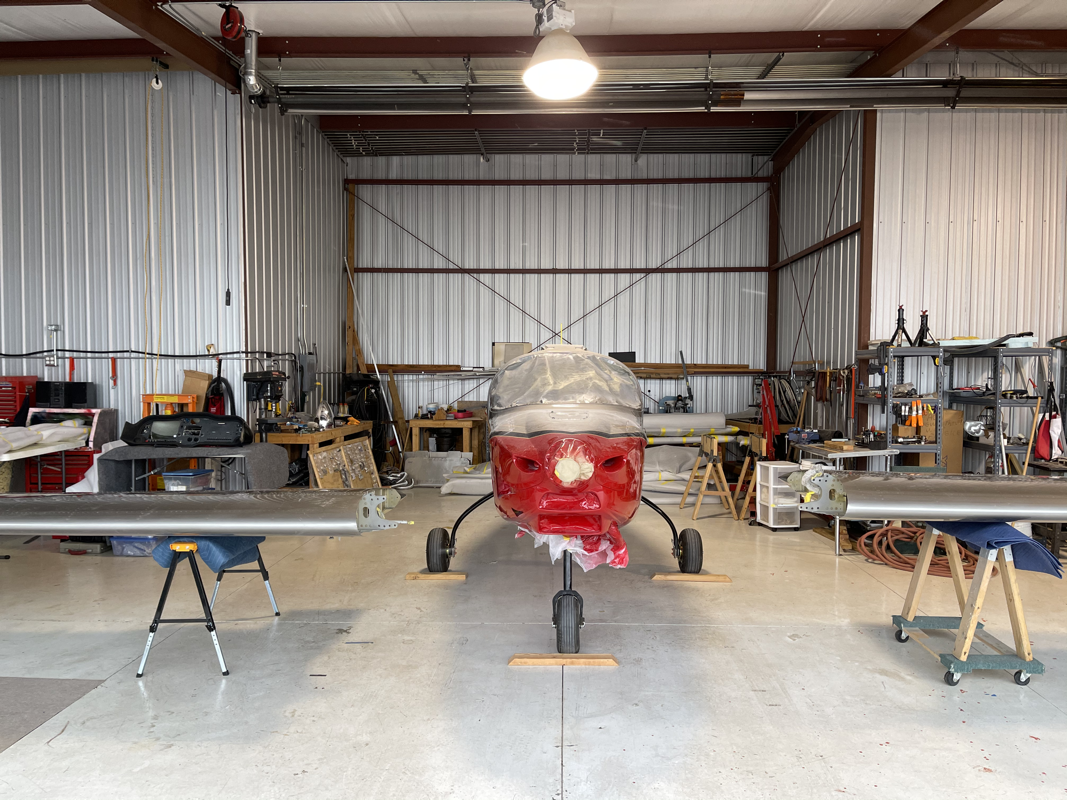
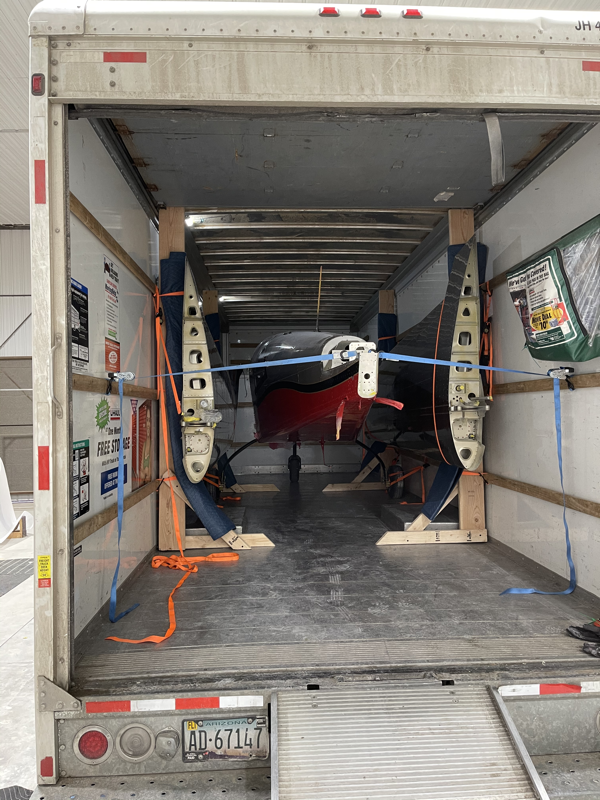
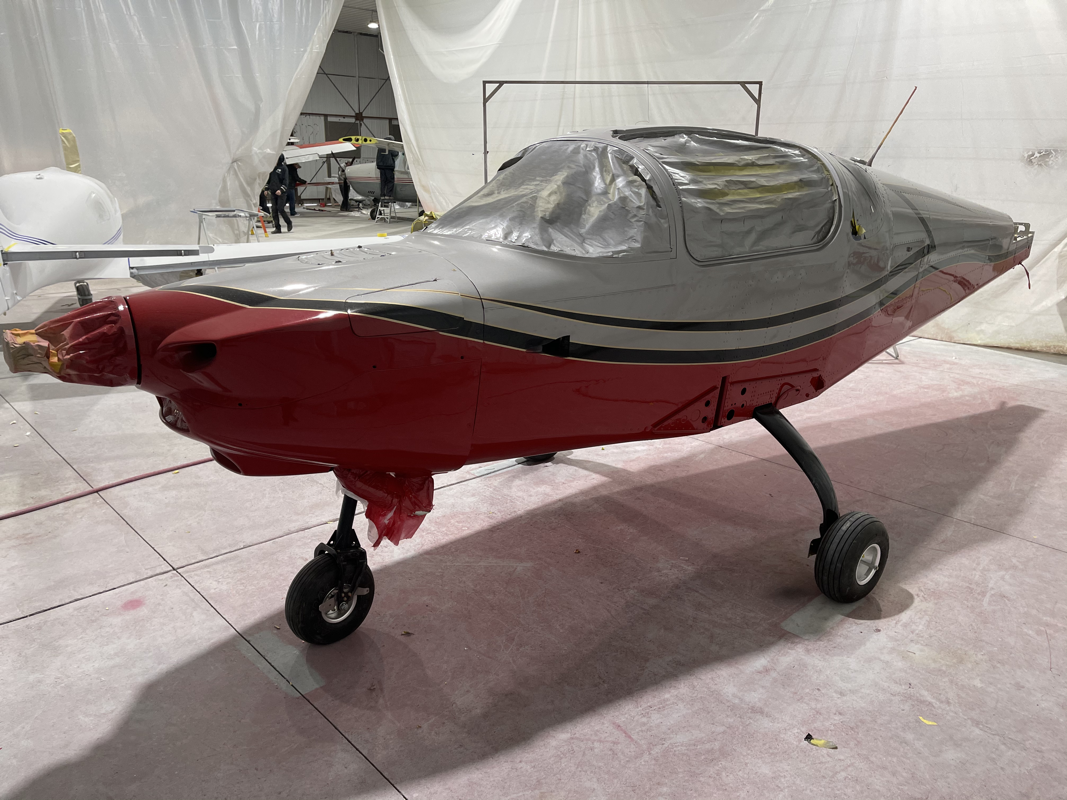
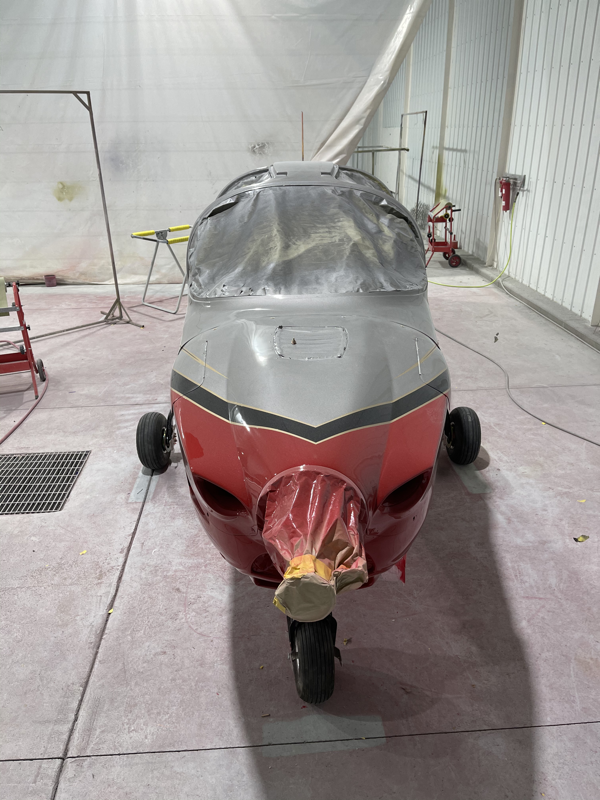
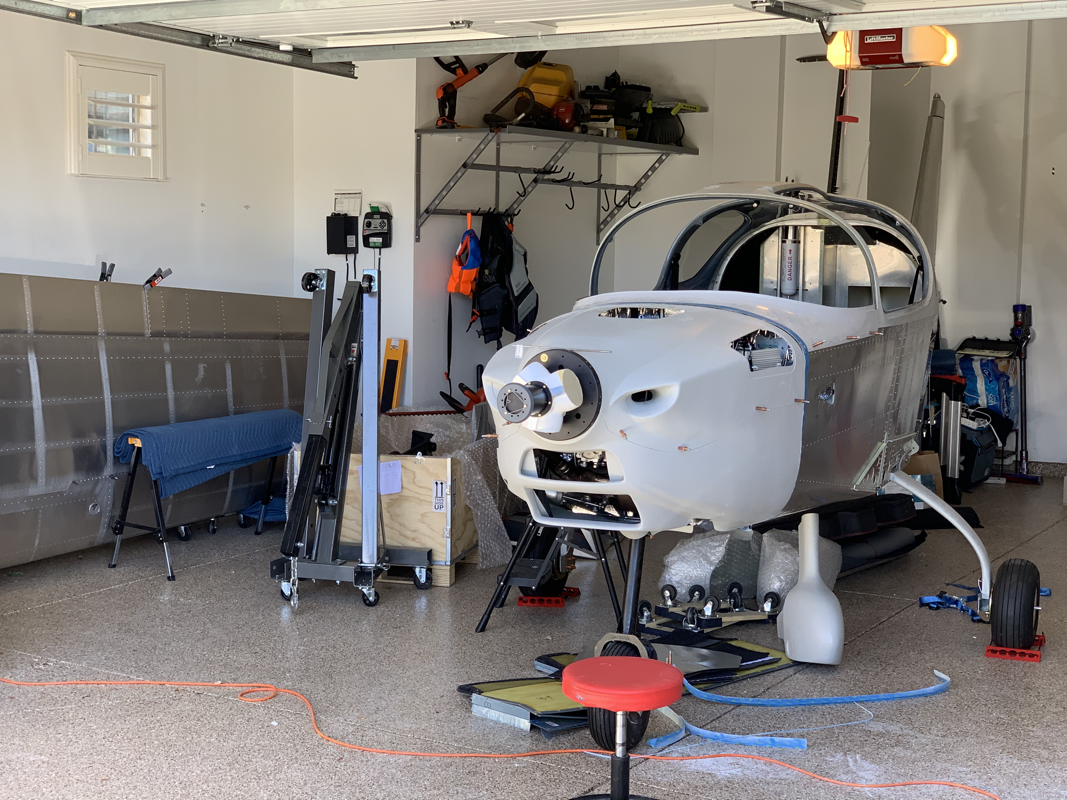
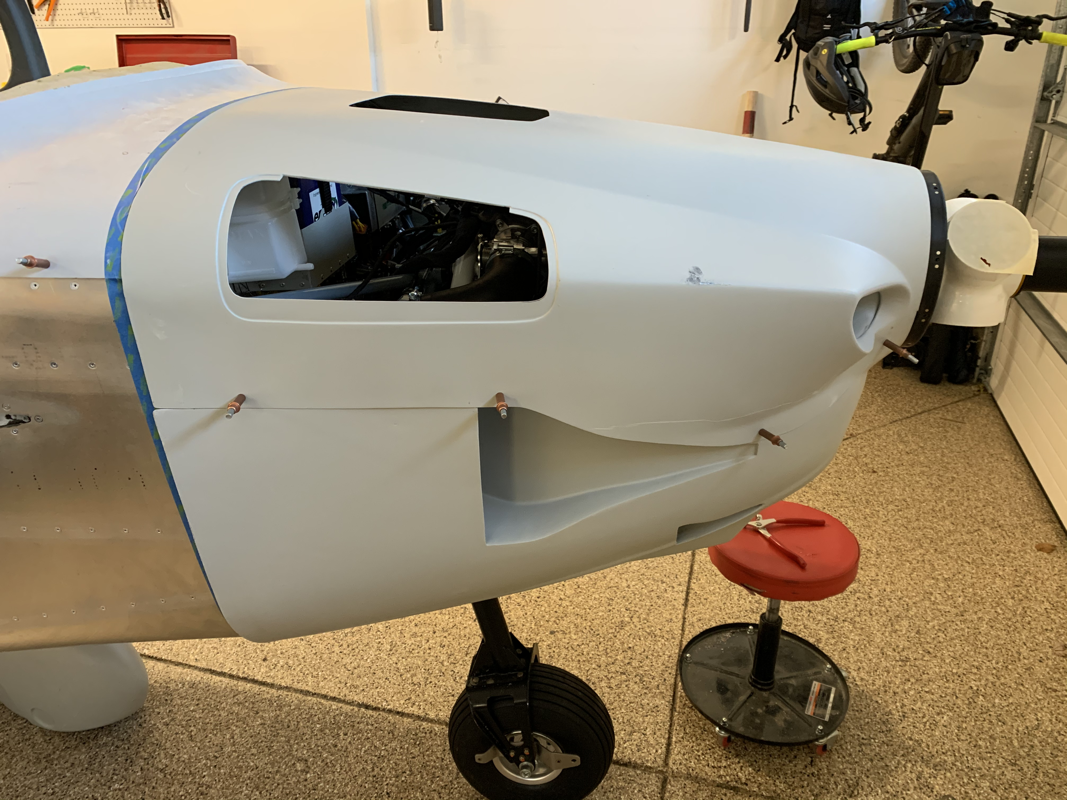
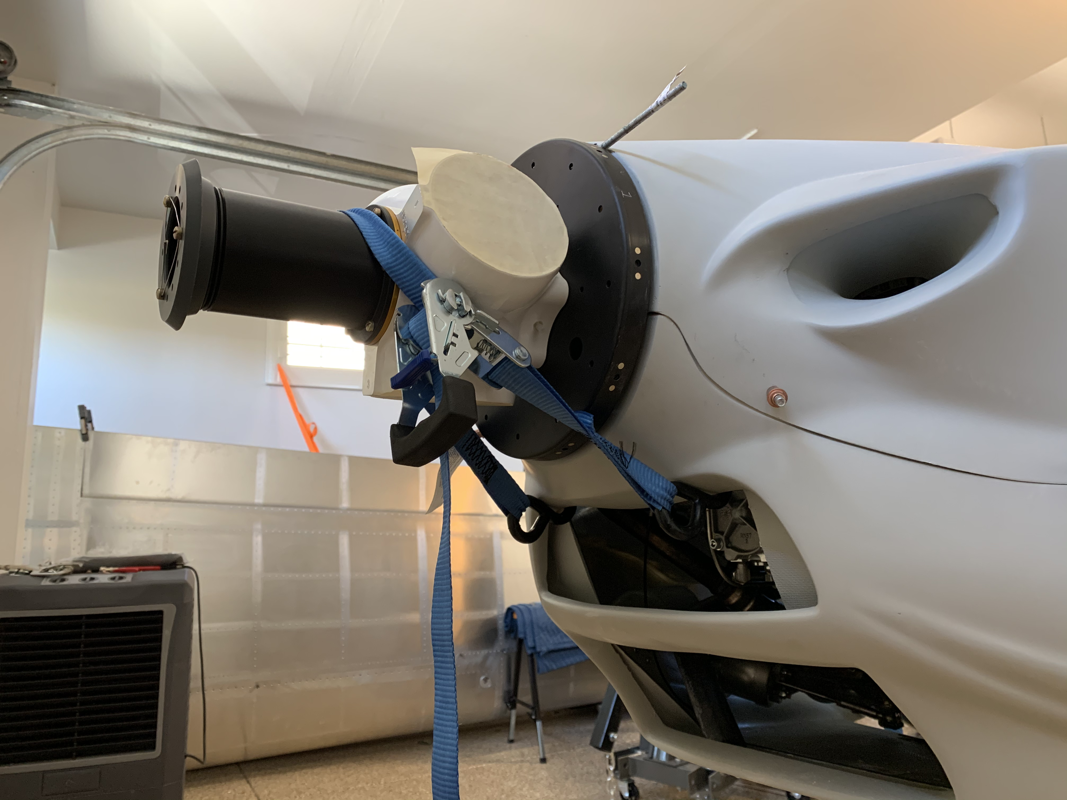
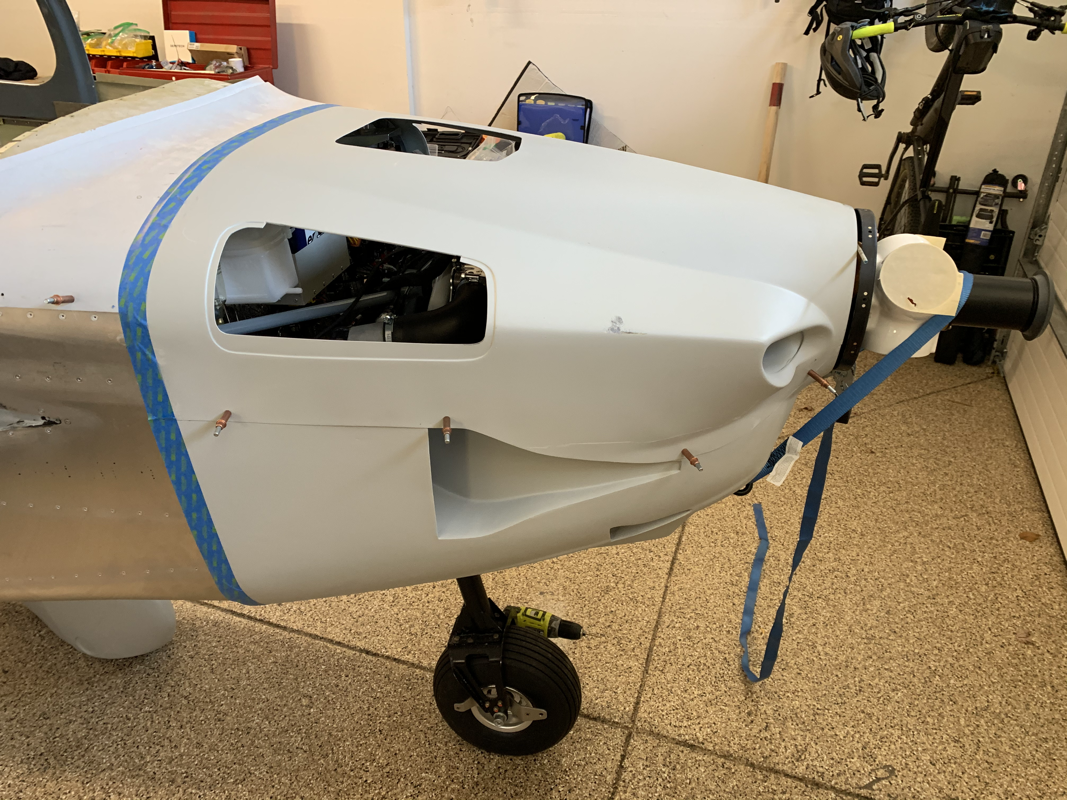
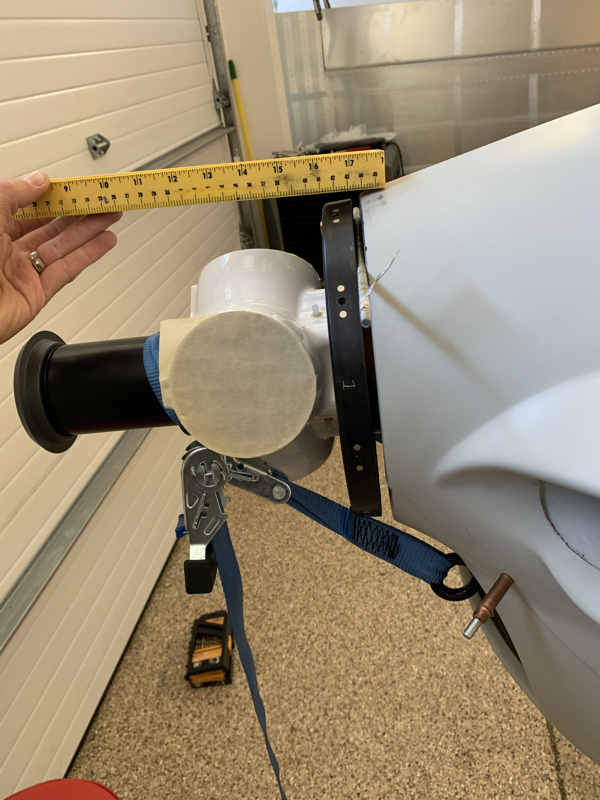
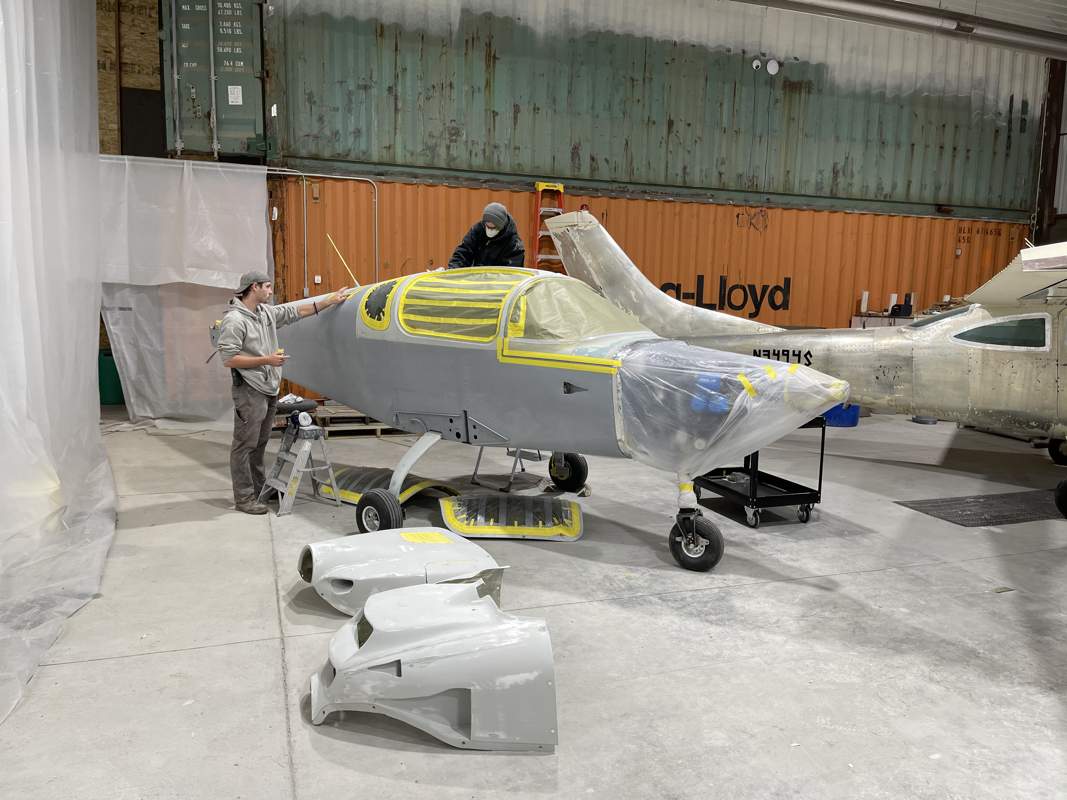
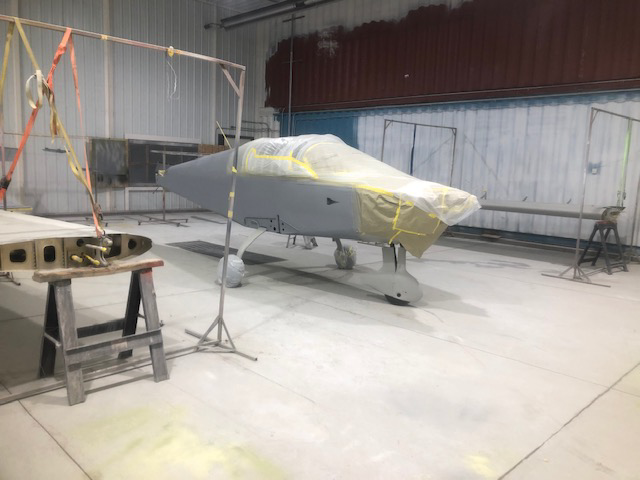
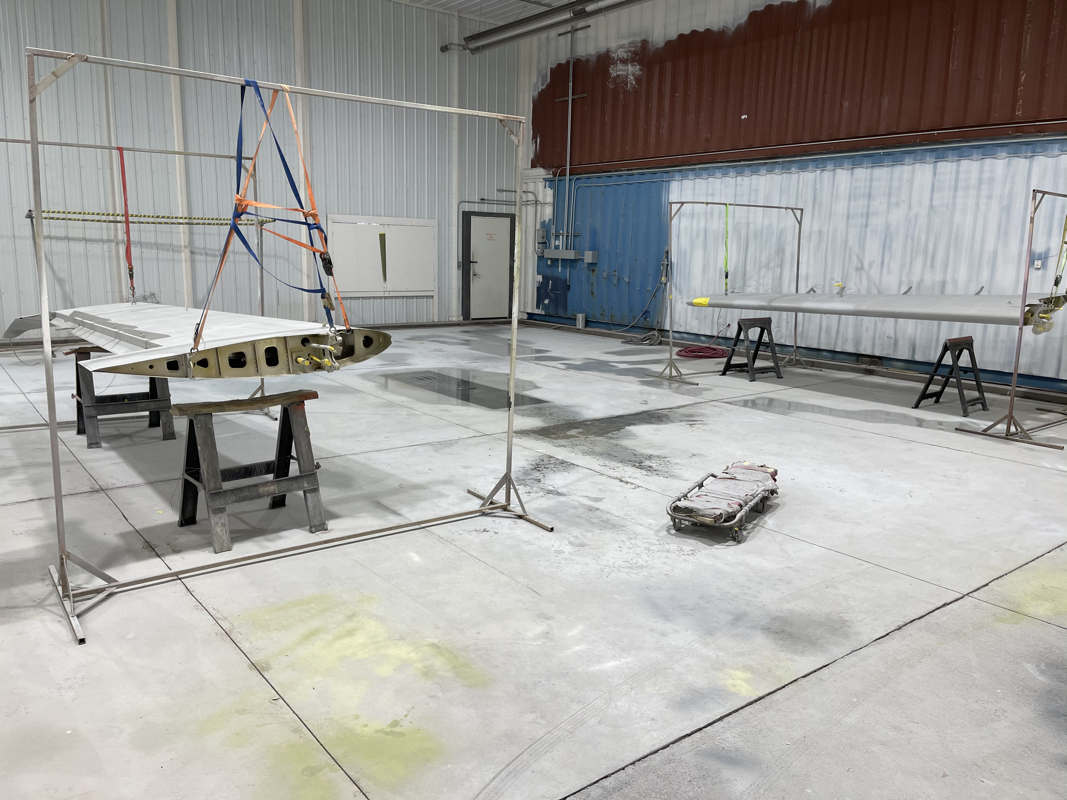
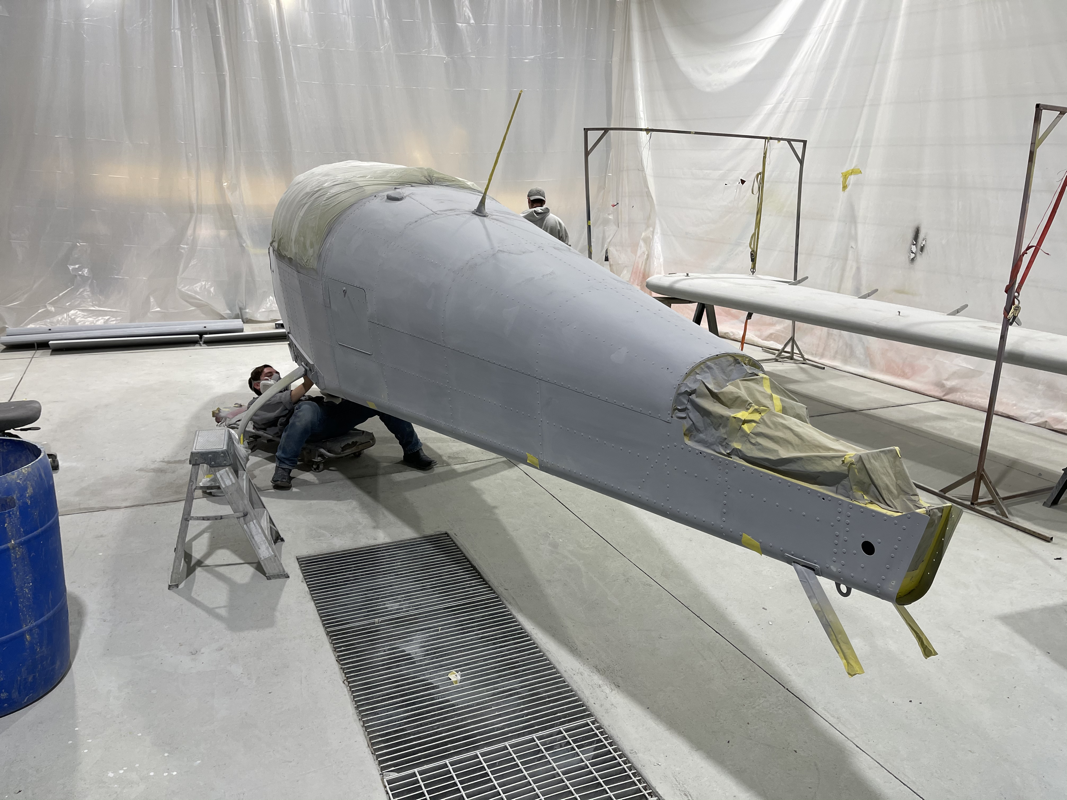
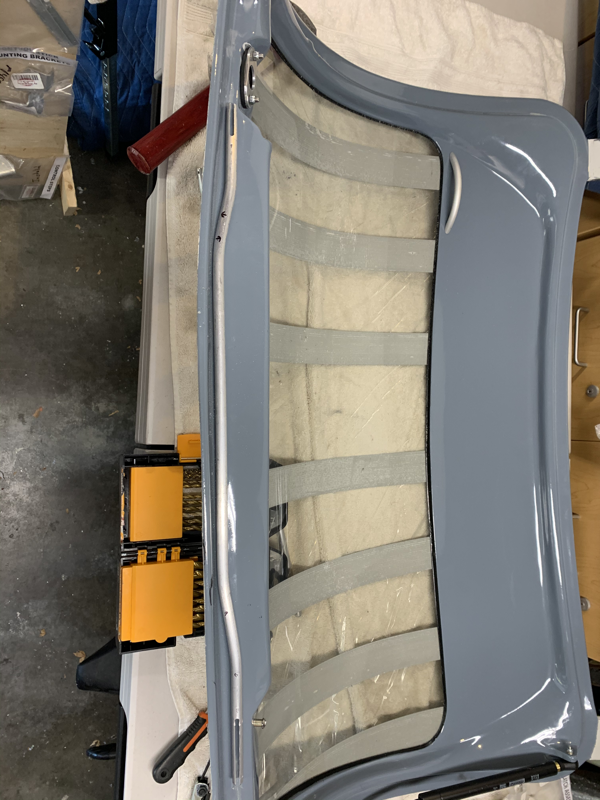
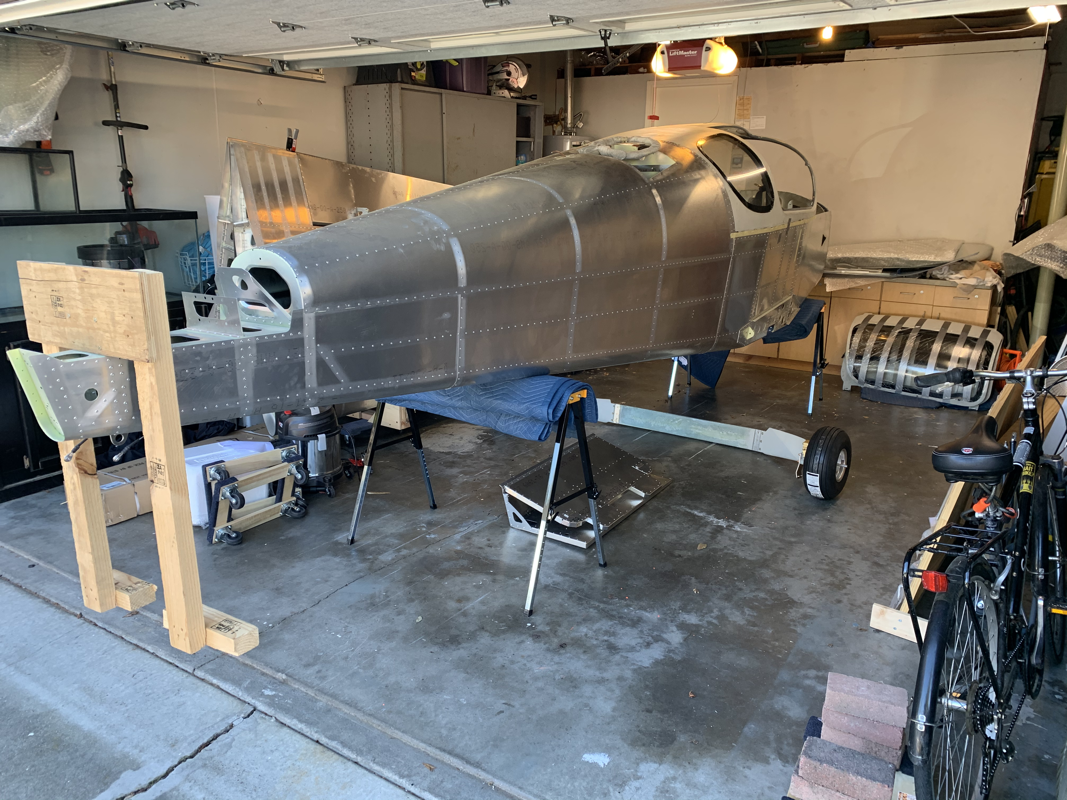
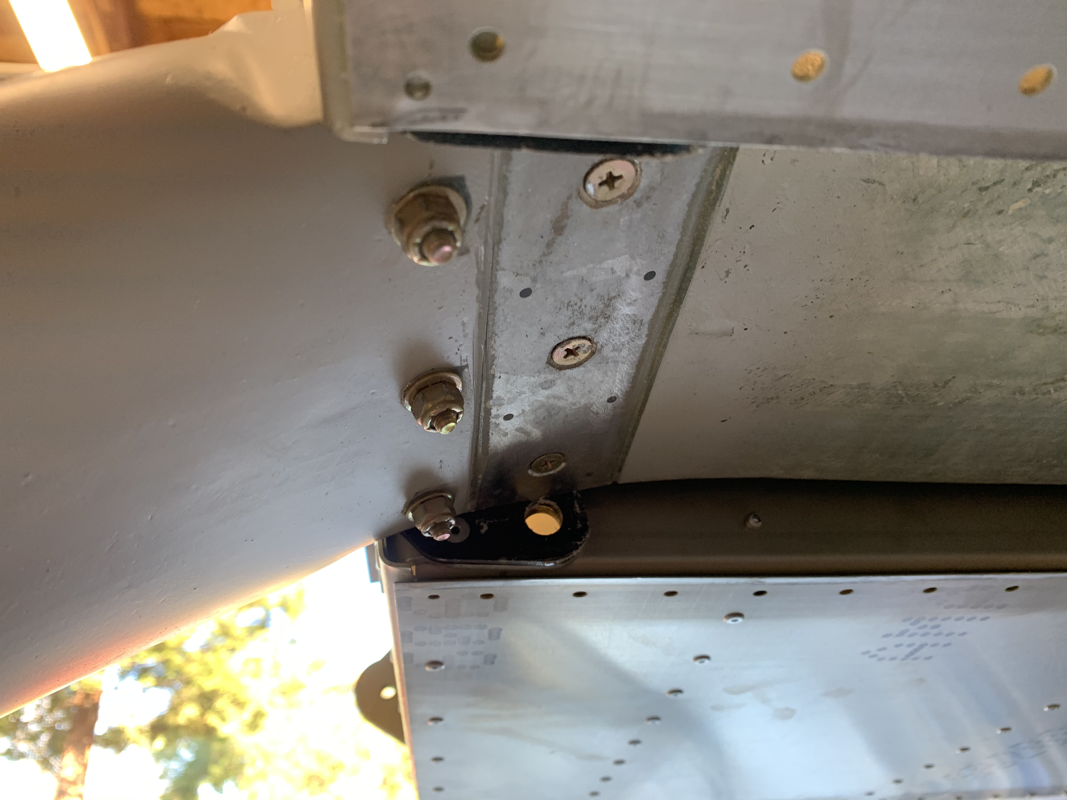
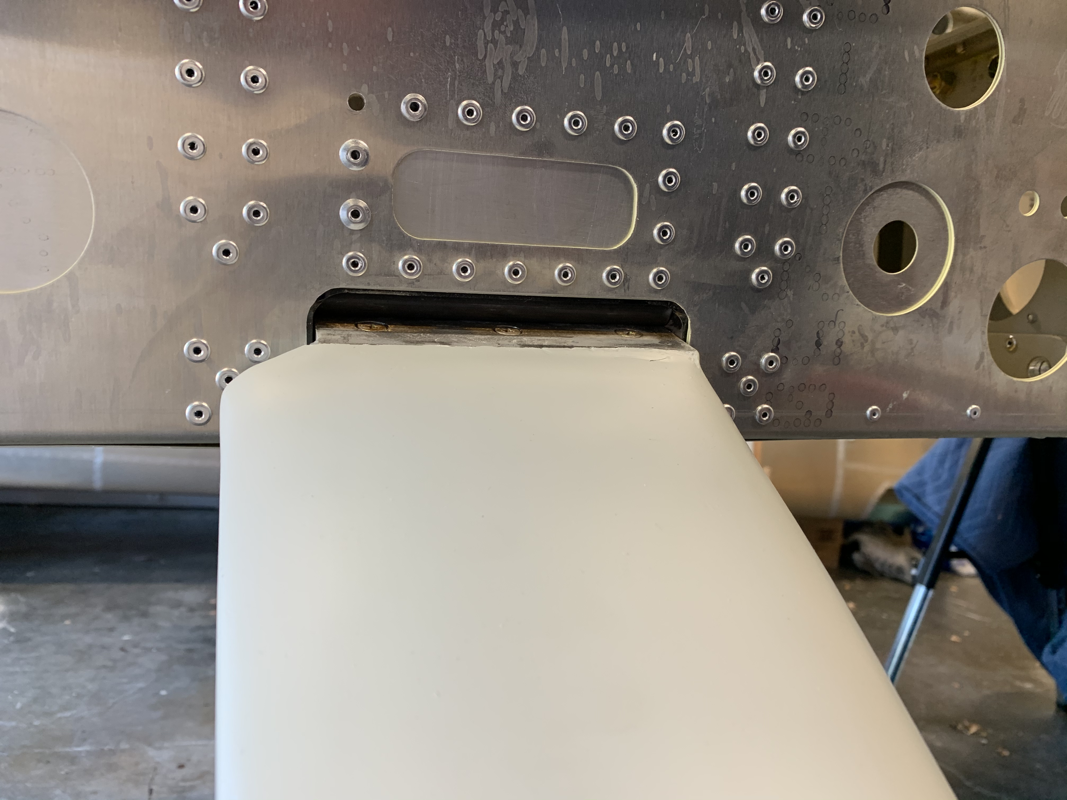
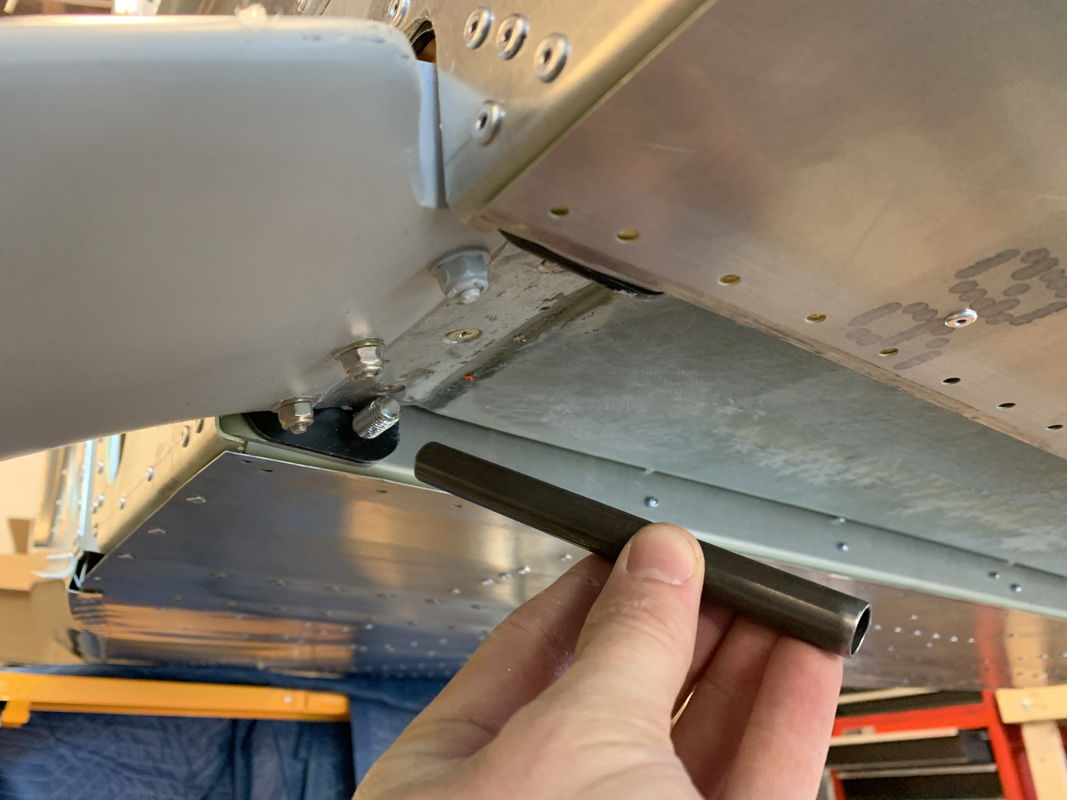
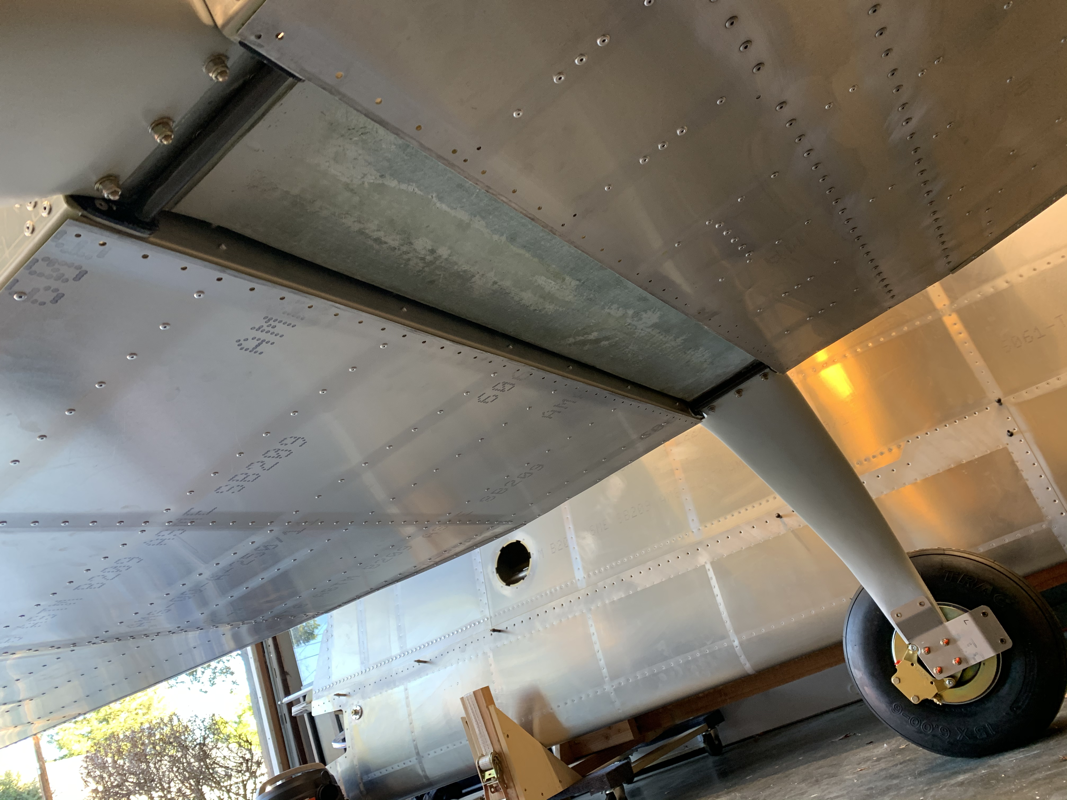
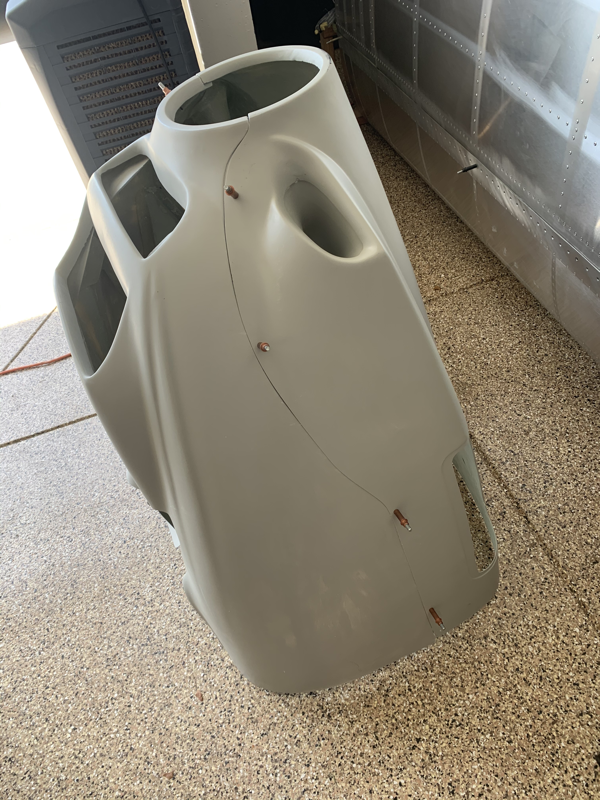
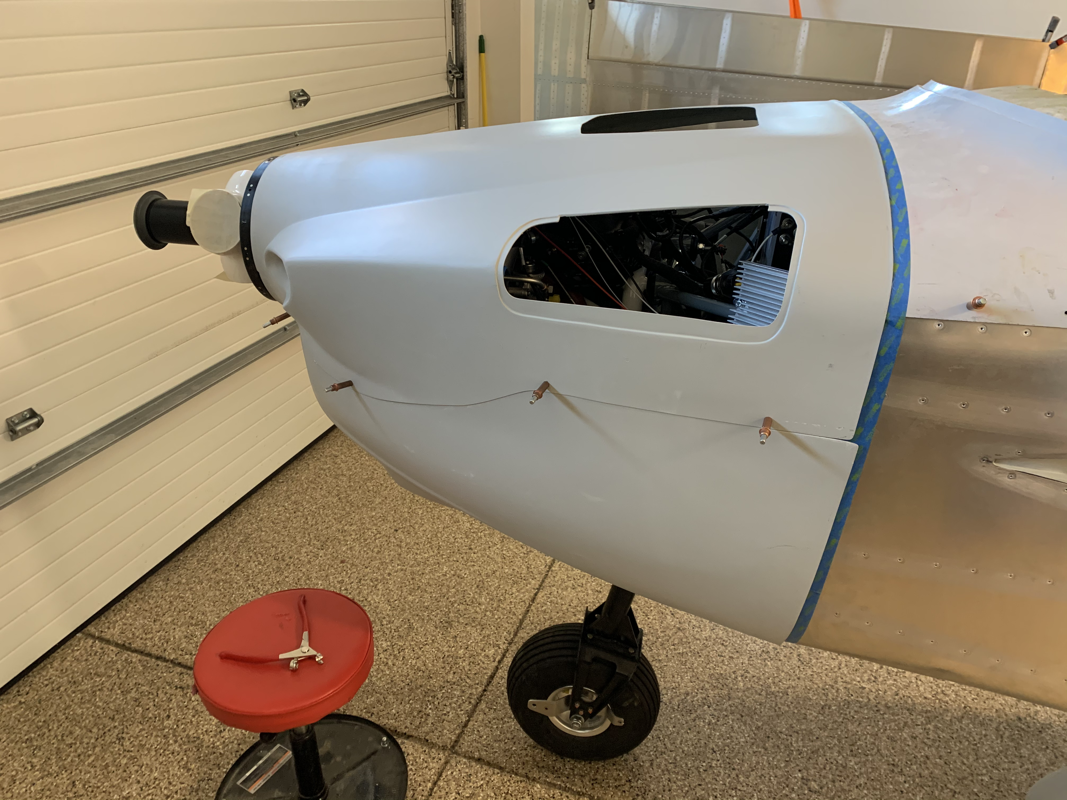
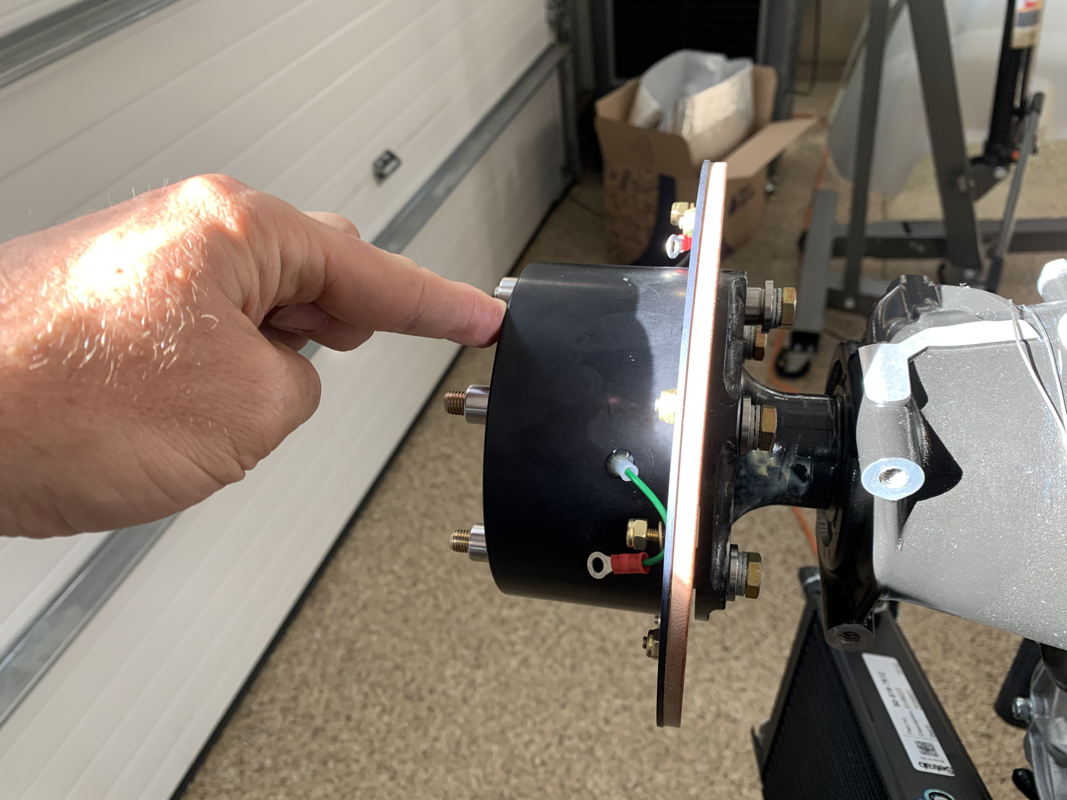
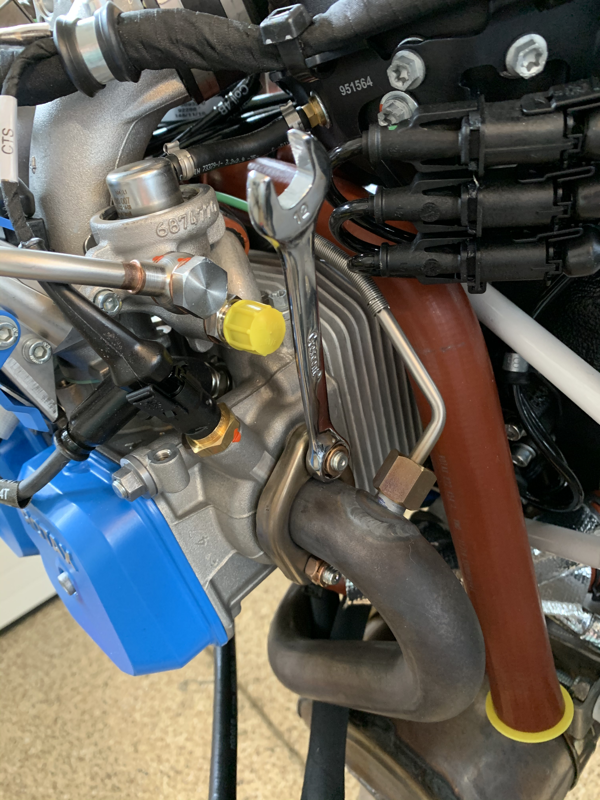
Continuing my exterior component adventure, I decided to focus on fitting the wheel paints and the tail cover. The hole finder came in handy for this exercise. I've seen quite a few different ways, but this seemed the most logical and I didn't have to 'redrill' any missed holes! The tail cover was straight forward, just line it up flush against the vertical and horizontal stabilizers and drill.. fill with rivnuts. It's been a busy few weeks working on the fiberglass components of the airplane. The main goal is to get it 'Paint Ready' before November.. tick tock! That means riveting on the cowling components, putting in rivnuts on the wheel pants, installing the wing tips, etc.. The most time spent was on the wing tips. I used the straps to push them into the place against the leading edge of the wing in addition to widening the wing tip to match the shape of the wing. Once in place, I match drilled the holes and then countersunk the fiberglass. There were parts that weren't reinforced with the second layer of fiberglass underneath, so I figured I would add some additional strength by applying SikaFlex to the bonding of tip to the wing. Some other items I worked on were the ECU mounting and shaving off enough muffler to slip in the factory supplied muffler extension. Lastly, my Fuel System arrived! This is the last bit of components I'll need to finish up the plane. I inventoried the components and some fittings were on back order, but overall I can make a dent in the installation here soon. Next up, I'll be permanently mounting the cover over the heater section so I can trim the windshield and I'll also be adding the fasteners to the cowling to the fuselage. It feels great to finally see the engine mounted! Starting to feel like a real plane. Before mounting the engine, I wanted to revisit the nose wheel movement. It was still a bit stiff and took a few pounds of force to move it. I was thinking I don’t want the rudder to stick during flight, so it was timely there was a discussion on the Sling Builder’s Facebook group on the issue. The idea is to take a 2” dowel, about the same size as the nose wheel, sand it down a bit so you can staple some sandpaper to the dowel. From there, insert it into the assembly and rotate it until you get smooth turns. What a difference! From there, I torqued the nose gear assembly to the firewall and it was time for the big moment - mounting the engine! Note: the engine did come with a bolt, mounted to the fairing just above the turbo that is held on by a rivet. Be sure to drill that rivet out and remove the bolt, it’s only used for mounting to the shipping crate. Once the engine was mounted, I started assembling the oil hoses. It’s nearly impossible to get them on without any loosening. To help with that, I just put one end in boiling water for a minute or so and then lubricated the barb and hose with some oil. Be sure to slide it on in one quick movement.. it’s really hard to get the hose off once on the barb.. trust me. ;-) The intercooler assembly is pretty straight forward, just connect the hoses and mount it in the approximate location. Next up, mounting the propeller and fitting the cowling. This week I focused on fixing things I made mistakes on or that were quick and easy.
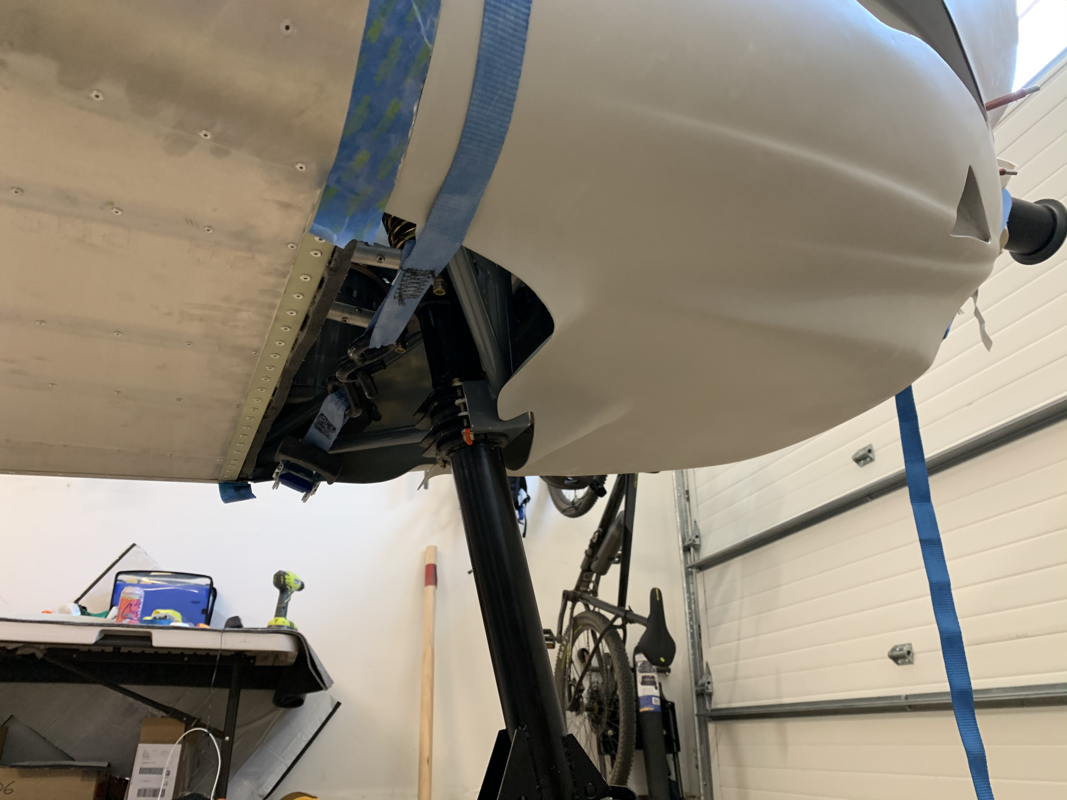
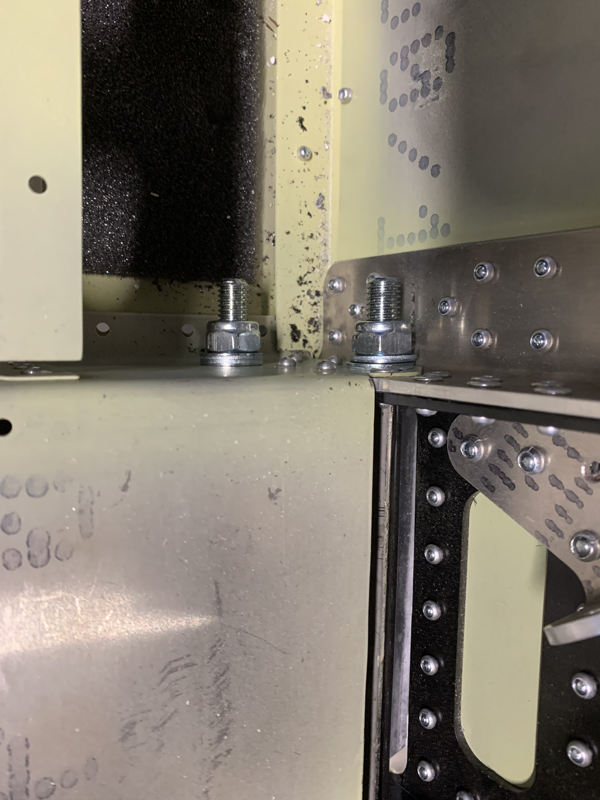
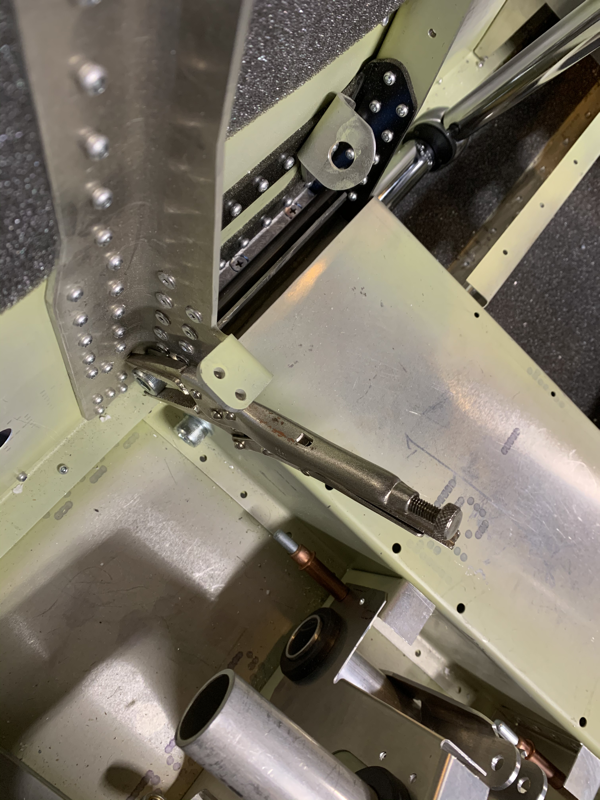
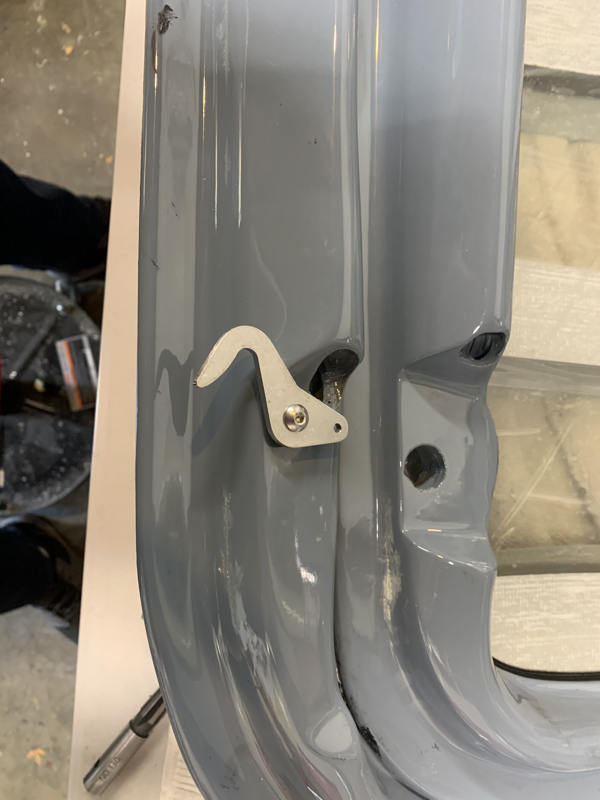
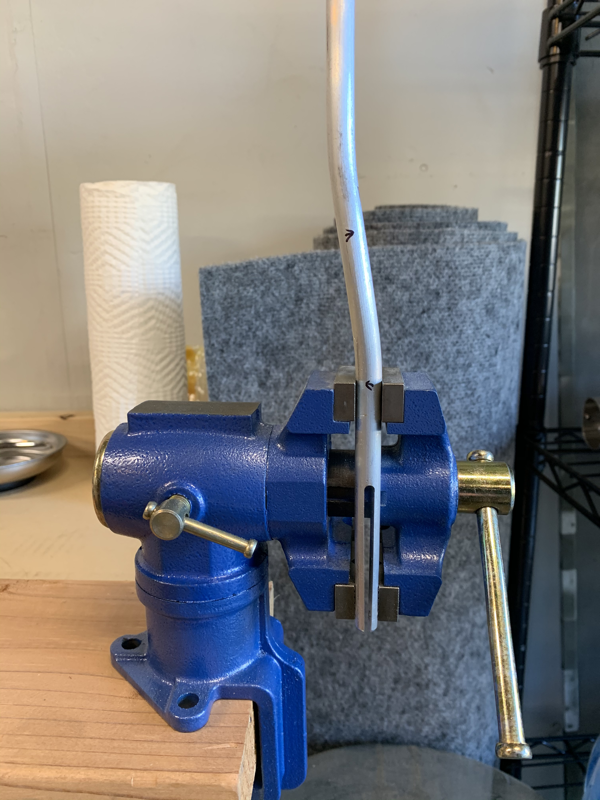
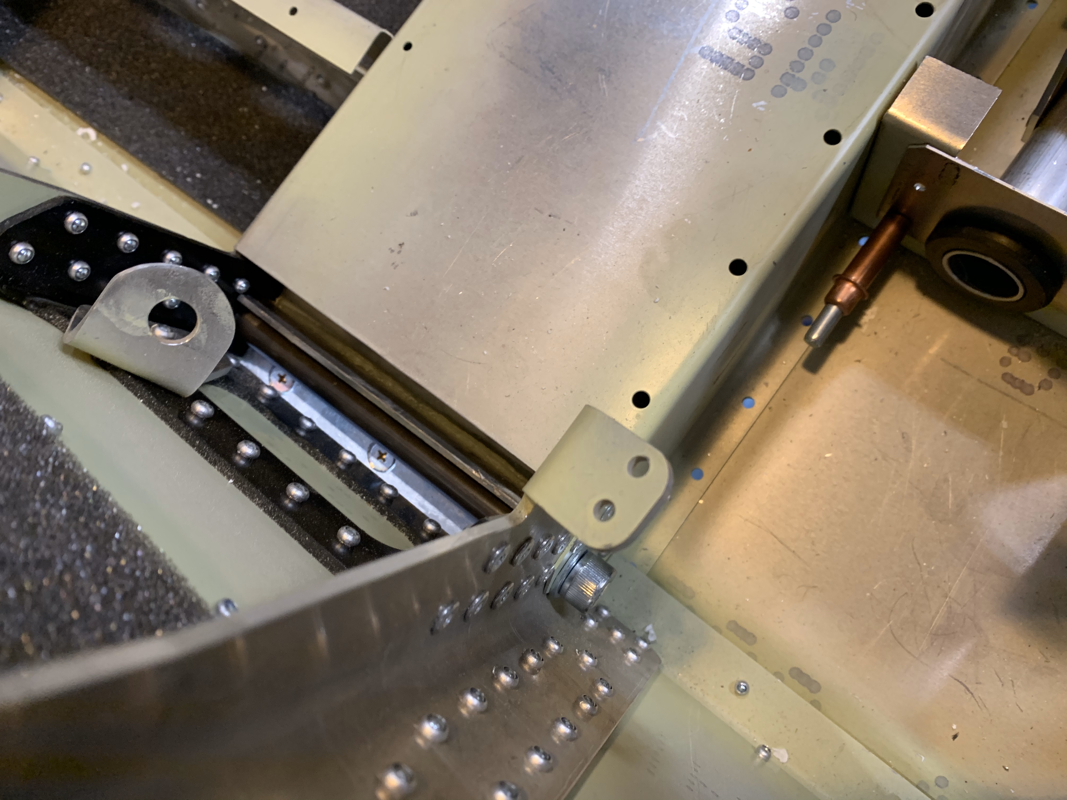
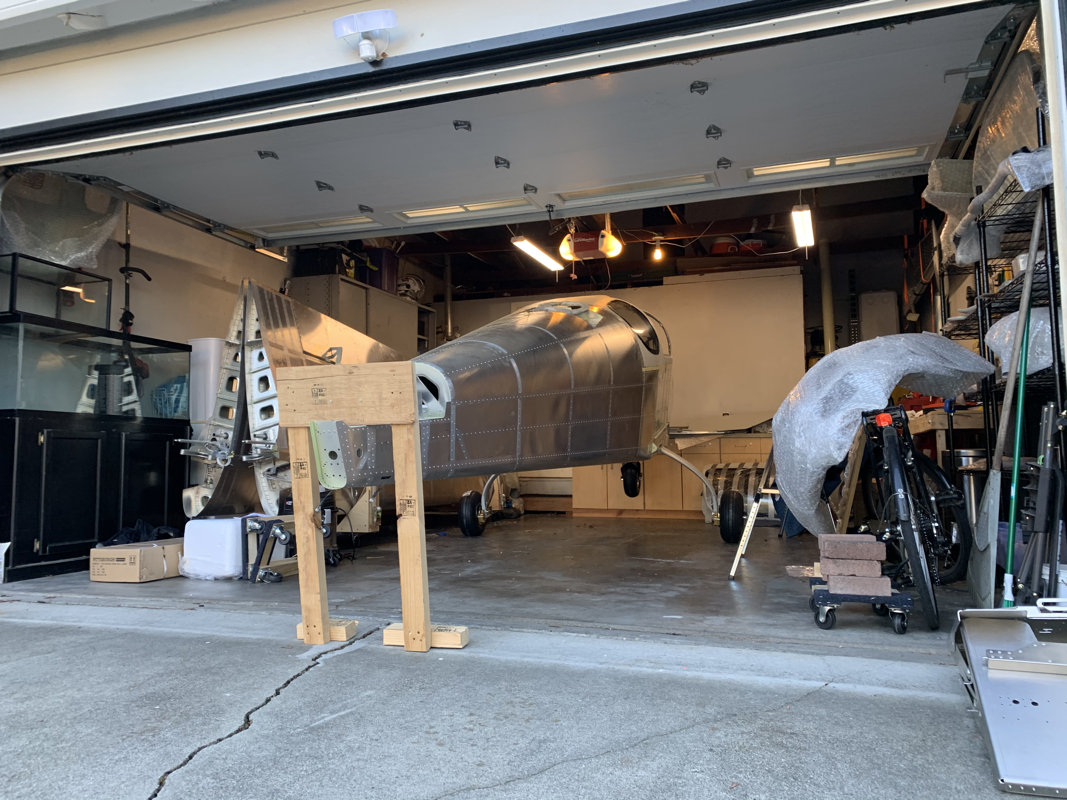
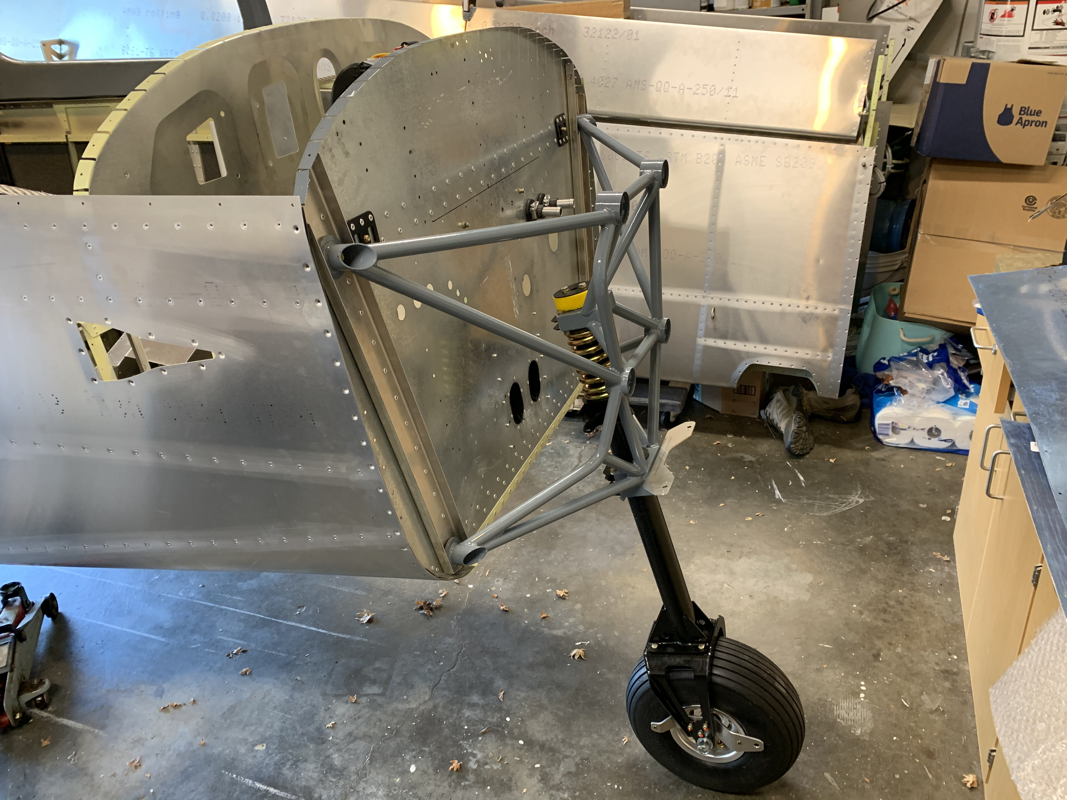
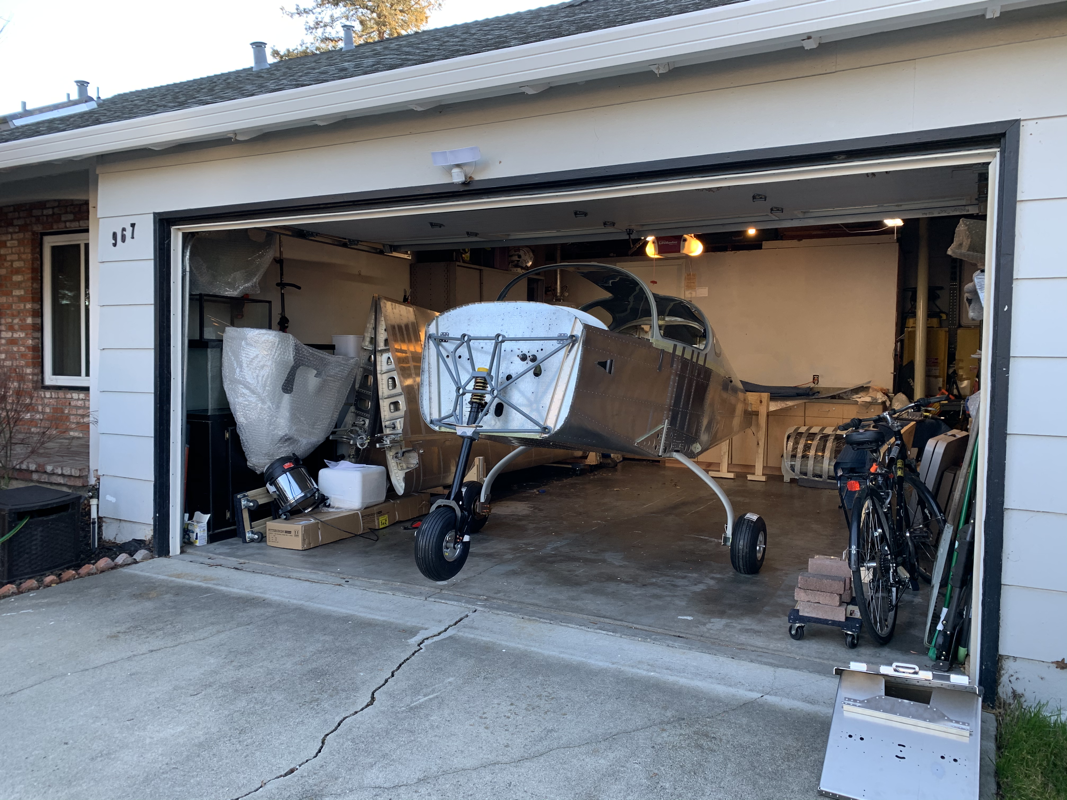
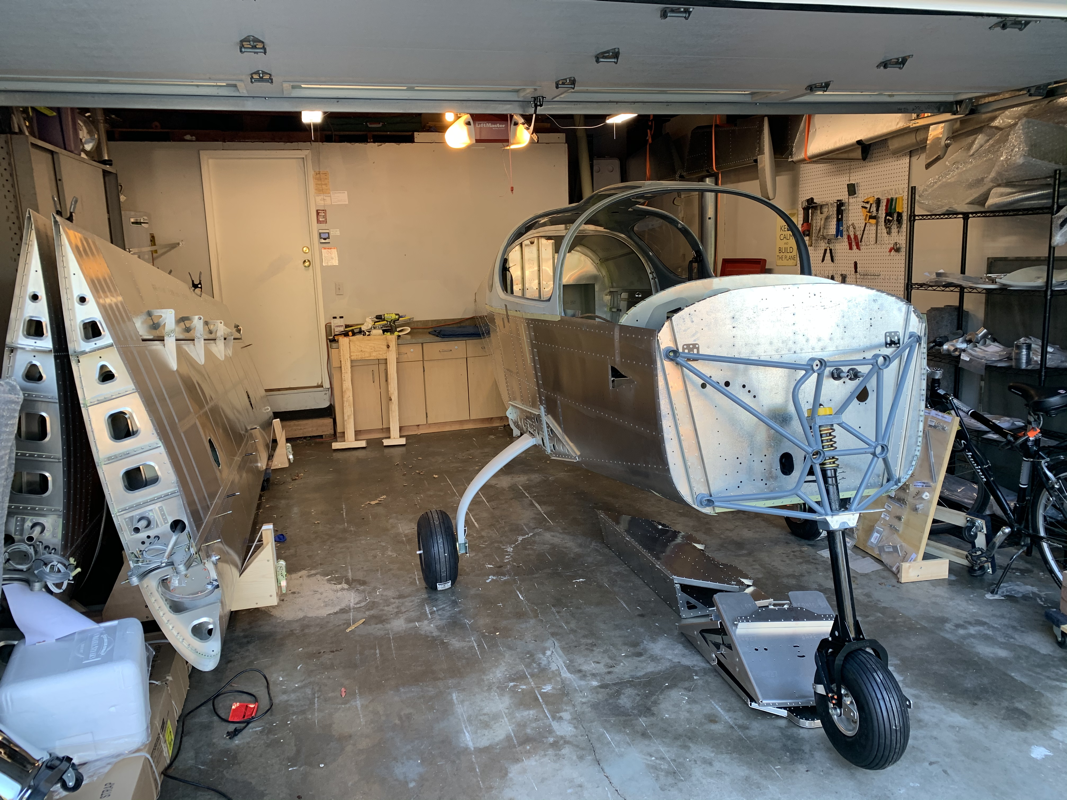
Phew! That was a lot.. looking forward to moving on to digging into the avionics a bit more next week! Now that the landing gear strut is in place, I went ahead and torqued the bolts in place. It was a bit difficult since I didn’t have any metric wrench that fit an M12 bolt. Luckily, vice grip pliers were strong enough to hold and get the required torque value. I decided to give the canopy doors another shot. To get the lock mechanism to fit flush, I had to shave off a bit of the canopy resin with a dremel. The real challenge was trying to get the aluminum rod to fit inside the canopy. The curvature of the canopy is somewhat unique to each door. I was able to get one door done pretty easily with only a few slight bends. I used a table vice to grip the bar and get the bend where I wanted. However, the second door I bend the rod in different directions to try to fit the canopy curvature, it started to look a bit like spaghetti. I was able to finally get it to fit, but the angle of the cut that fits the door latch was off by about 30 degrees. Doh! I’ll have to straighten it out and give it another shot later.. It was a quick exercise, but probably one of the more satisfying tasks to date! I decided it was time to attach the landing gear. This bird has to learn to walk before she can fly! I supported the front and rear with adjustable sawhorses from Harbor Freight so it would allow me to adjust the height as needed. Once I was able to fit the gear under, I carefully moved the rear sawhorse backward so the fuselage would start to rest on the gear. It took a bit to get the right height and placement of the gear. I realized I couldn’t rest the fuselage on the gear right away, otherwise I couldn’t fit the bolt sleeves in. It’s not possible to insert them from inside the fuselage. Once the placement was good, the bolts went in quickly. Just took a light tapping with a hammer to drive them all the way through. I then removed the front sawhorse and rested the fuselage on the main gear! Now on to the nose gear! The bolts didn’t fit through the firewall very well, it took a bit of reaming to get them to pass through. I certainly didn’t want any ‘play’ with the bolts, so I took my time getting the fit just right. Now that everything was put together, the plane didn’t fit! I had to turn the plane around and rest the tail on the cabinets. No big deal moving the plane.. surprised by how light it is! Working on some odds and ends this week as I’ve had several items ready to be completed. Ideally I’d like to work on a single item and see it through to completion, but I either have a missing part, tool, problem to figure out, etc so I find something else to work on to move forward. I received a shipment from TAF recently that had the autopilot pushrods, some misc parts and my joystick control assembly. Unfortunately, they only sent one, so I’m still waiting on the other. At least now I can finish up the control pushrods and test it out! I finished up the main landing gear, so it’s all ready to mount. I went with the AN4-26A bolt they provided and just added 2 washers under the head of the bolt to make sure the bolt ends don't hit the wheel spat. I now just have to lift the plane and see how it fits. However, I'm going to have to flip the plane around in the garage with the nose wheel on and angle it for it to fit in the garage. I've also attached the rudder springs. I had to get a flexible drill bit to enlarge the holes for the M5 Rivnut as the luggage floor prevented the drill from fitting. The nose gear took some time to get unbined. The vesconite bushing on the top of the gear was the main culprit, so I took some sandpaper and started sanding by hand and test fitting often. Once I was able to freely twist the bushing, I used a smoother grit to make sure the bushing was contacting the metal with a smooth surface. Next up I'll be finishing up the control torque tubes and connecting the pushrods.. more to come! Happy New Year! For the second half of the month I’ve been traveling and spending time with the family, so not much progress on the plane recently. I did find a couple days before the new year to start working on the landing gear. First I started putting together the nose gear, thinking this would be a quick install. It turned into anything but quick. The first issue I ran into was the alignment of the long bolts that hold in the bushings. I had to run a drill through the brackets in place, but without the nose gear in place to be able to align the drill. When I put the nose gear in place it was quite a tight fit. It took some light tapping and fiddling, but eventually got them in place. However, now it is quite hard to turn the nose gear.. I couldn’t imagine a smooth flying experience with it requiring that much pressure to turn. I tried applying some grease to the bushings to help, but that didn’t do much. I have seen other builder’s nose gear and it seems they have sanded off the powder coating to get a better fit. Looks like I’ll have to get the belt sander out with some fine grit to shave off a few micrometers. Update 1/3/20: I spoke with Jean and he recommended to identify which bushing is causing the binding and shaving the vesconite bushing itself instead of the nose gear. The welds that hold the brackets settle and cause a bit of misalignment, so the easiest course of action is to just loosen the bushing a bit to relieve the binding issues. Will provide an update once this is done. The next item was the nose gear tire. It was going along pretty well until I realized I needed to secure a washer and nut on the tire valve stem. I tried this with the tube in the tire first, but couldn’t get enough leverage to push the valve stem far enough into the rim for it to catch. I took the tube out and pressed the valve stem from behind, resting on the rubber mallet. That gave me enough leverage for it to finally catch! From there, securing the bolts and ensuring the tire wasn’t pinched between the rims was a breeze. Now on to the Main Landing Gear! I repeated the same process for the tires and applied the grease to the bearings. I thought securing the axle to the mains would be quick.. it’s only 8 bolts... Well, it seems the predrilled holes from the factory had some alignment issues and I couldn’t get all 4 bolts through. It took me a few hours of light drilling, tapping, removing everything and trying again for it to finally fit. I didn’t want any ‘play’ in the bolts since this is an obvious area of large forces and if there was any movement, it could easily snap a bolt. I finally got one side down and the other side was easier since I knew what I was doing. One thing to note is there is an axle edge spacer that goes between the axle and the main gear to ensure a snug fit. It’s not mentioned in the instructions and I only noticed this after I finally got the bolts to fit, there was a space between the axle and the mains. I put the wedge in and it was a perfect fit! I does look like the supplied bolts (AN4-26a) are a bit too long. I could add 4 washers to the bolt, but that doesn’t seem practical and the bolts will likely hit the wheel spat anyway. The instructions call for AN4-22a, so I’ll have to replace them when I put in my next order with aircraft spruce.. |
Archives
September 2021
Categories
All
|


 RSS Feed
