|
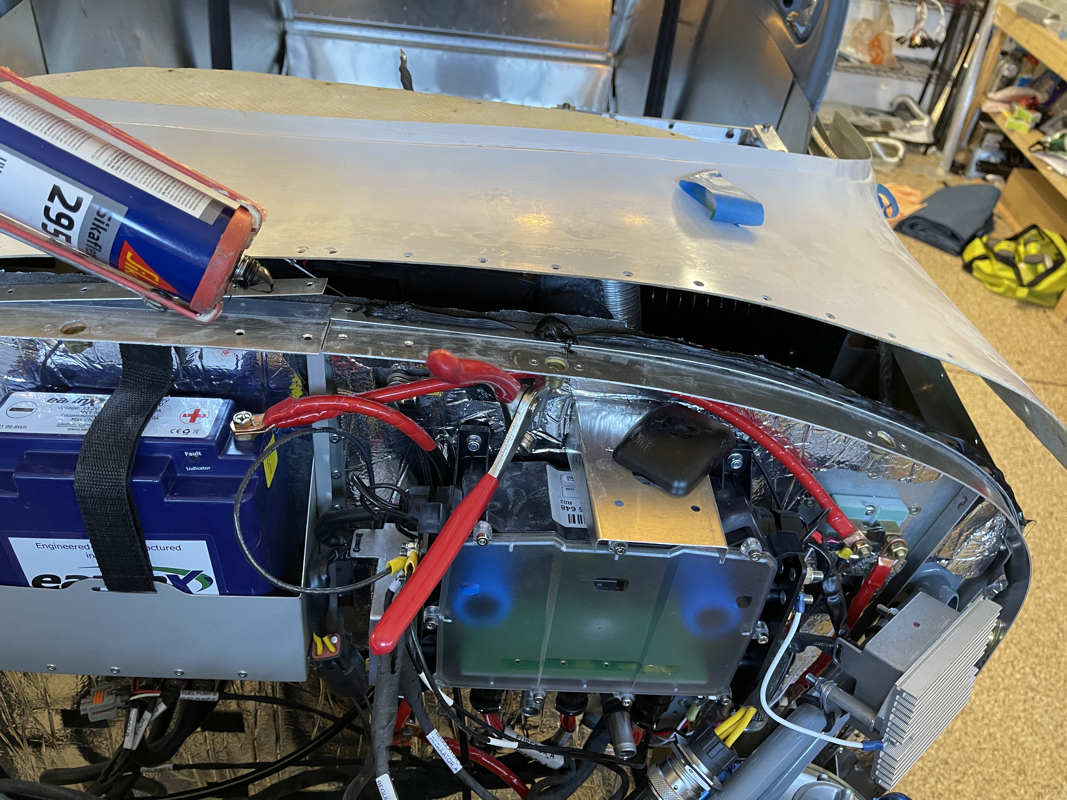
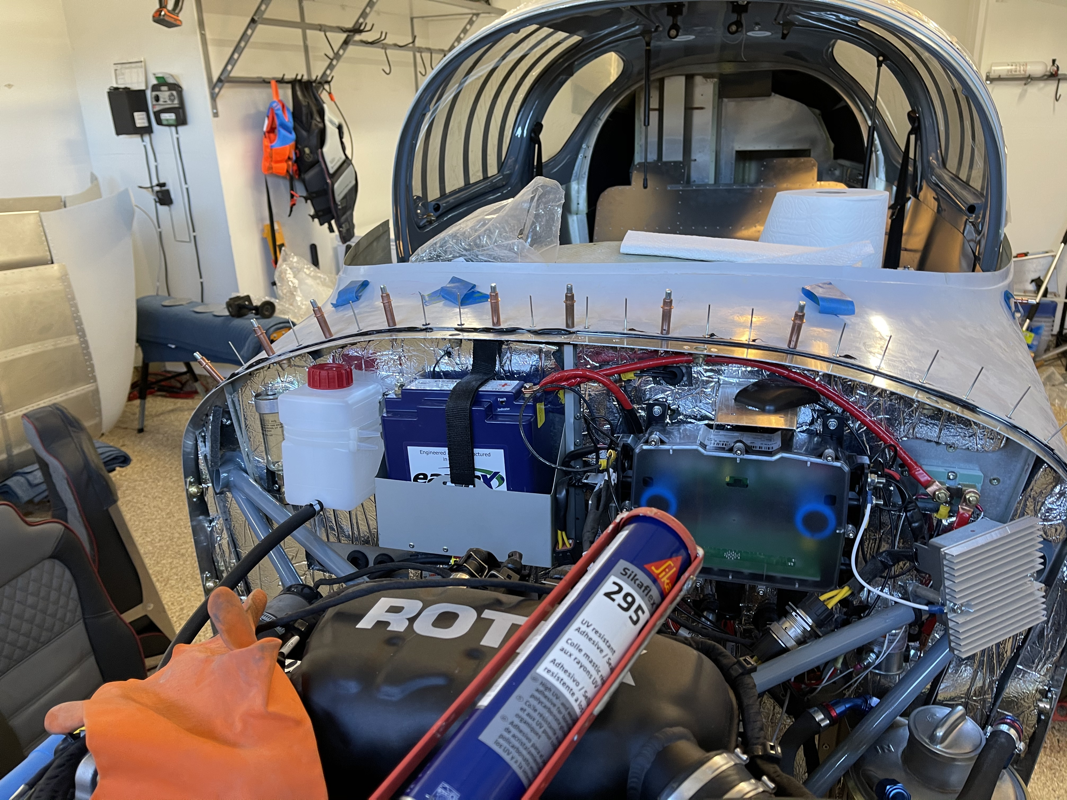
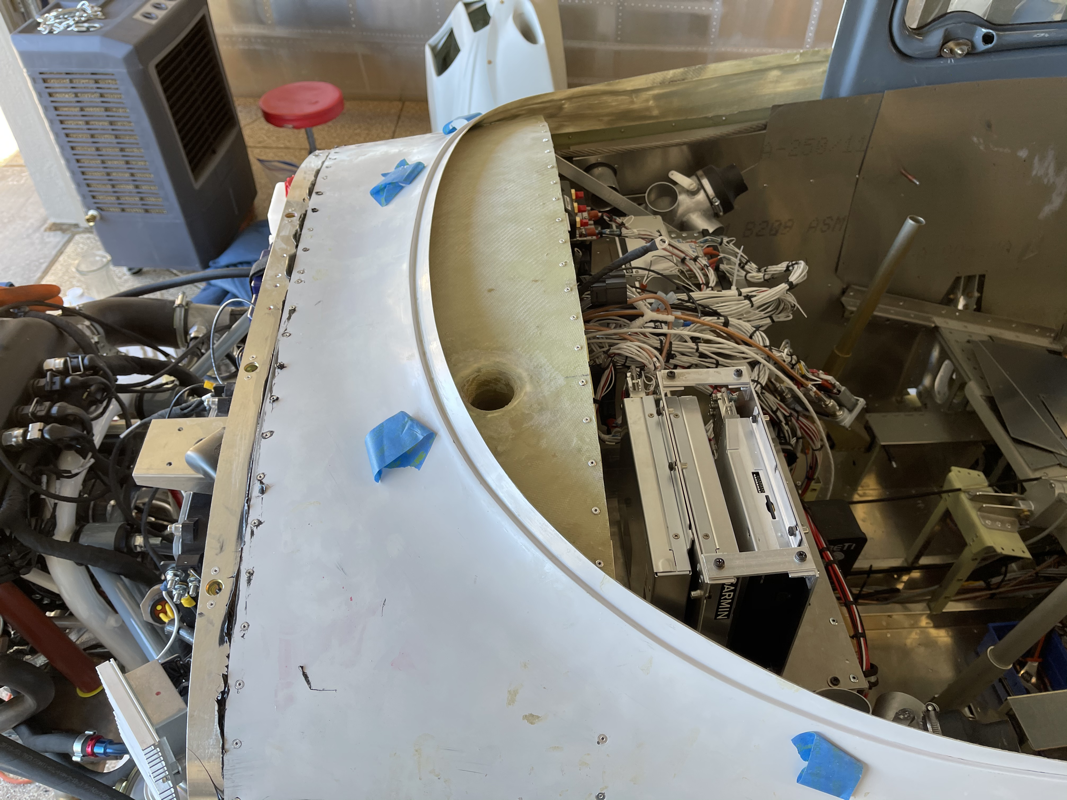
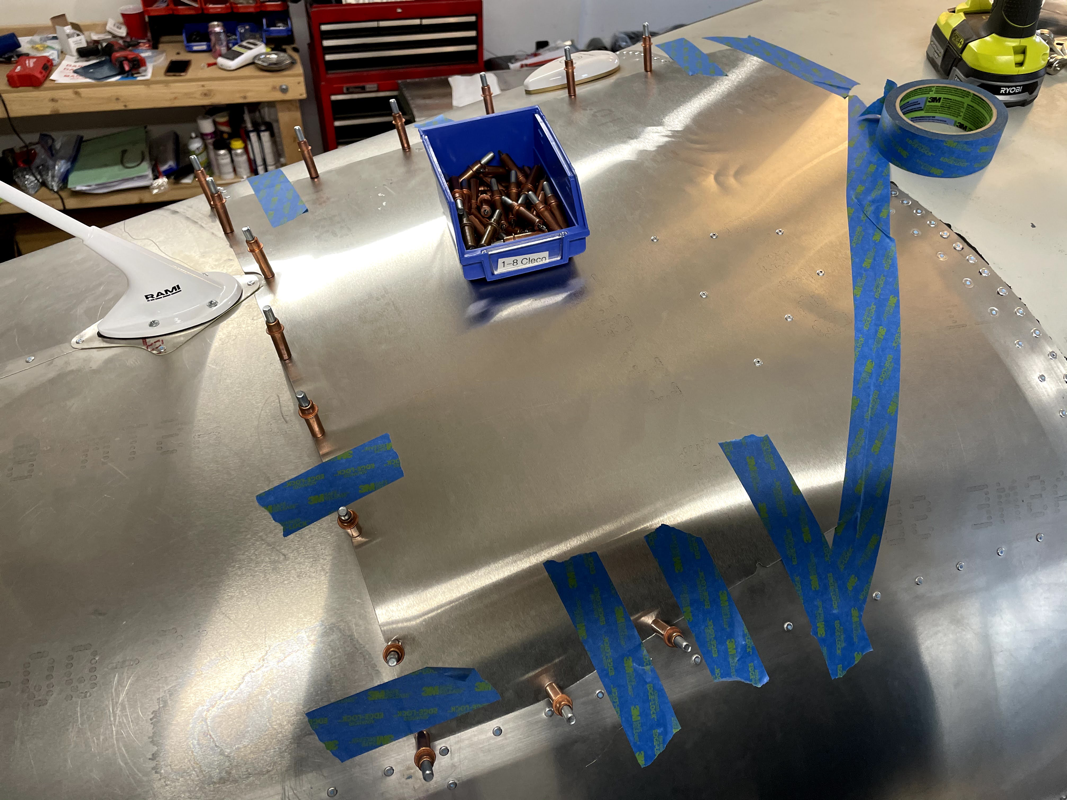
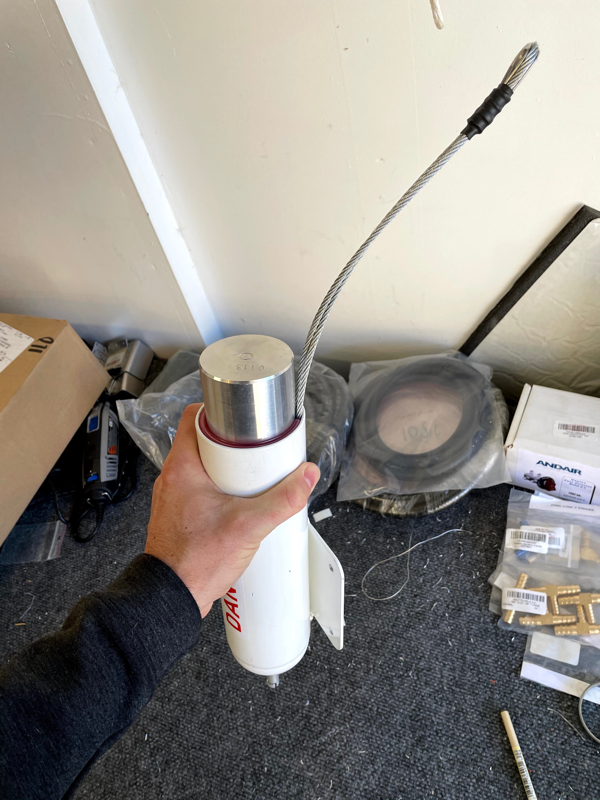
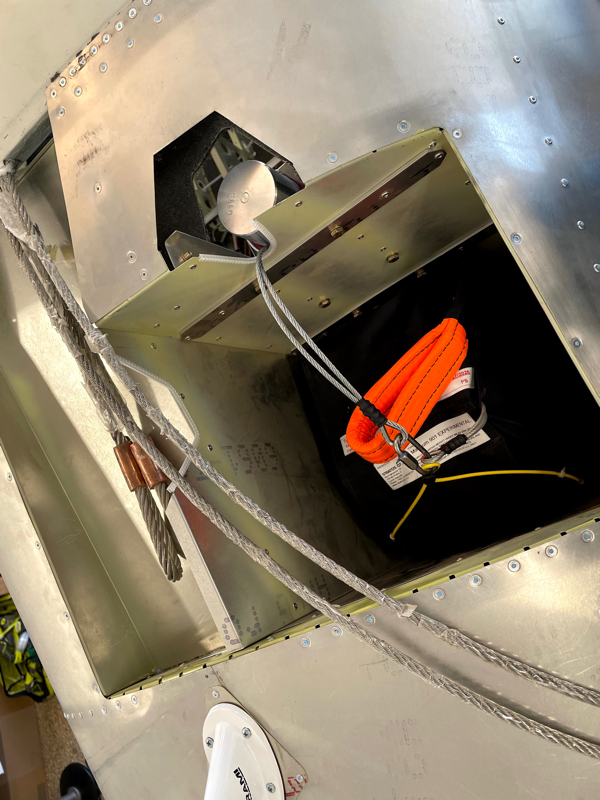
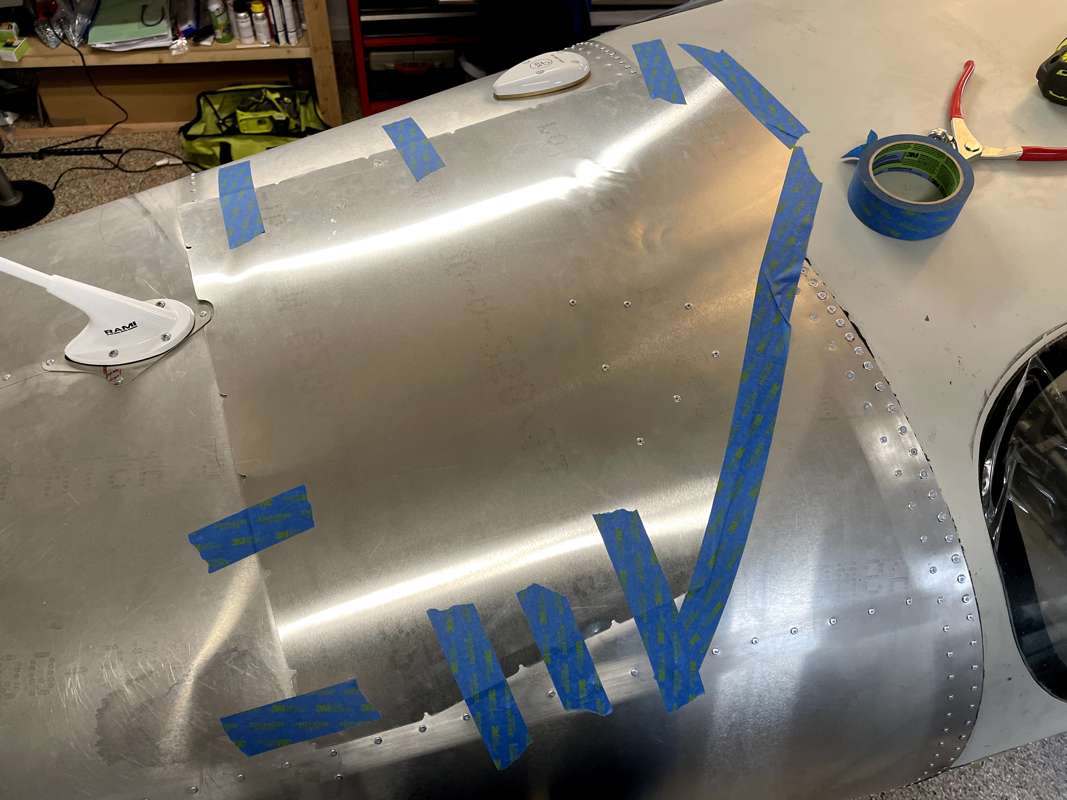
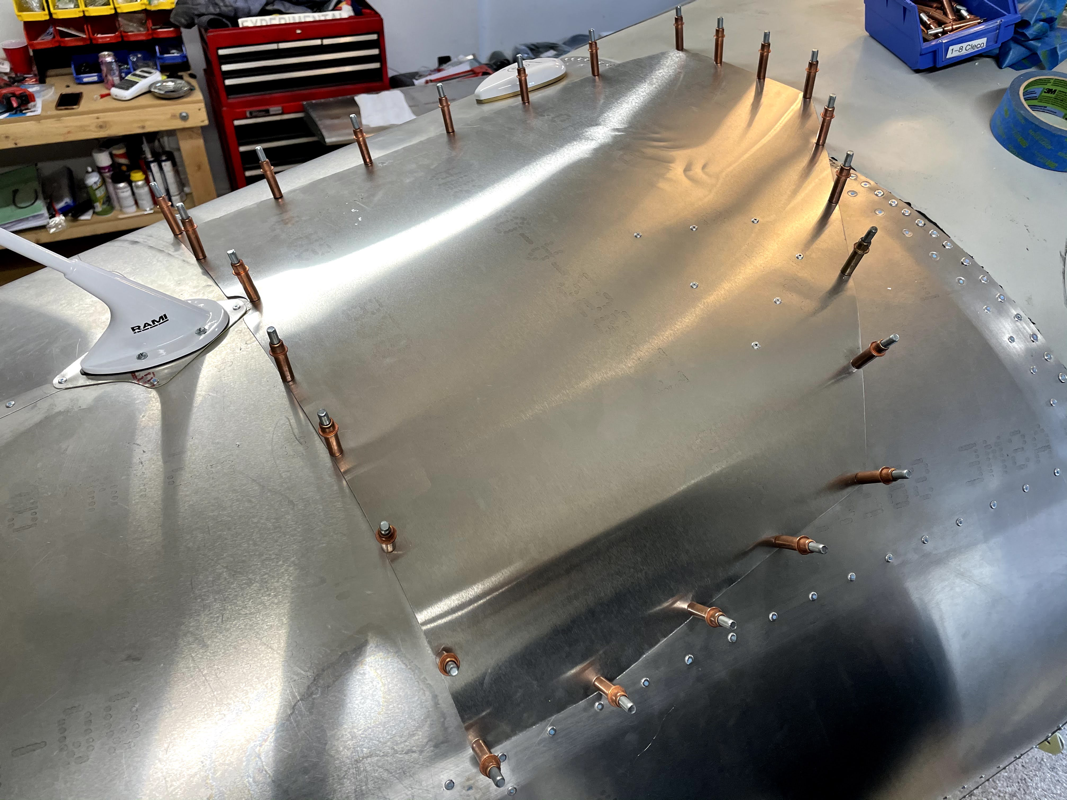
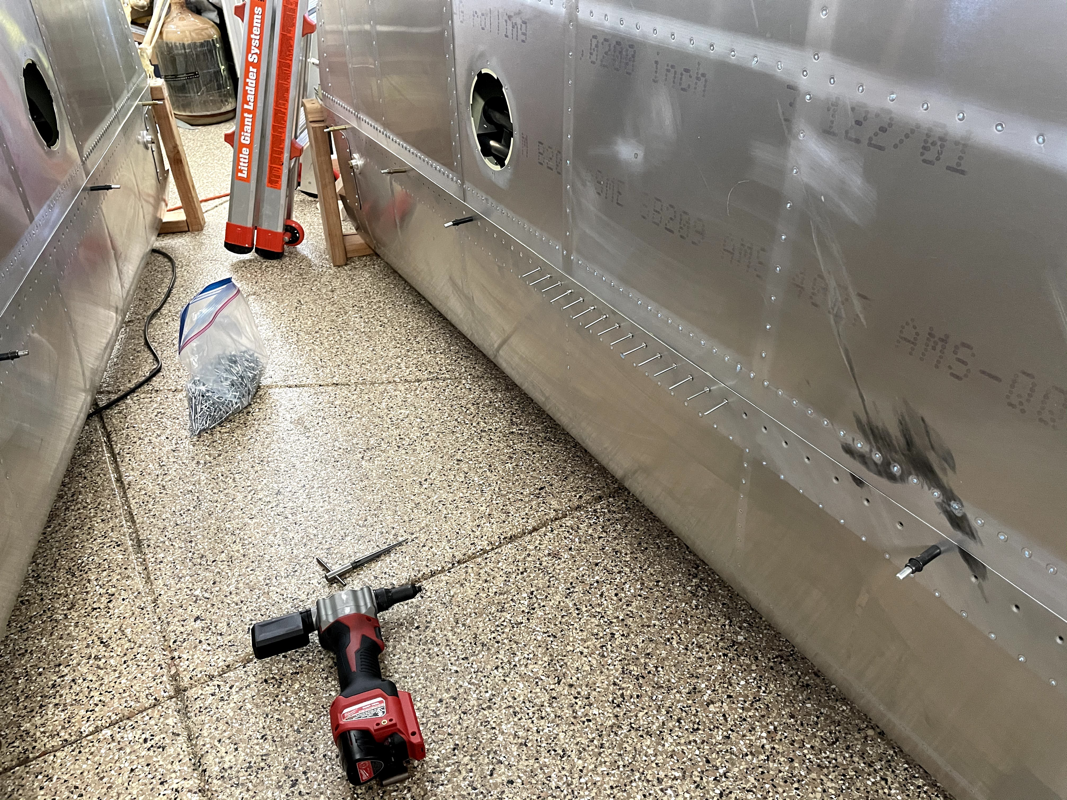
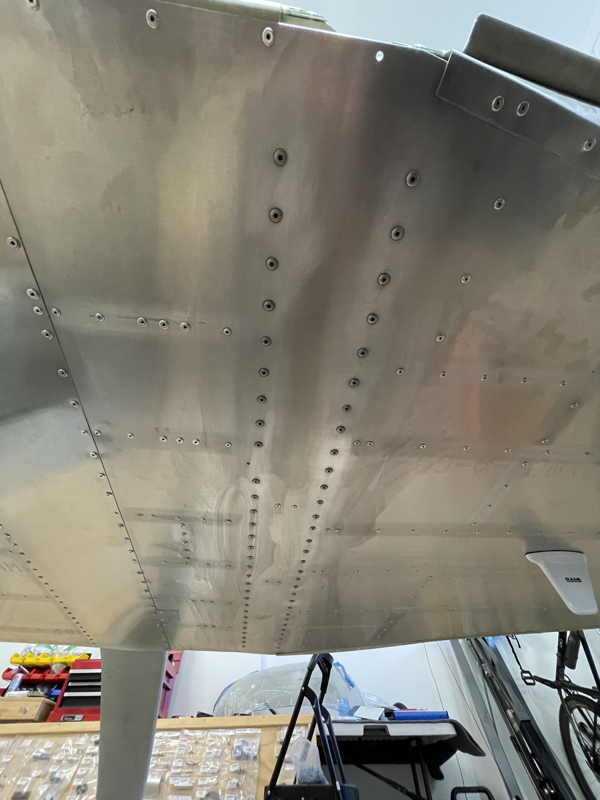
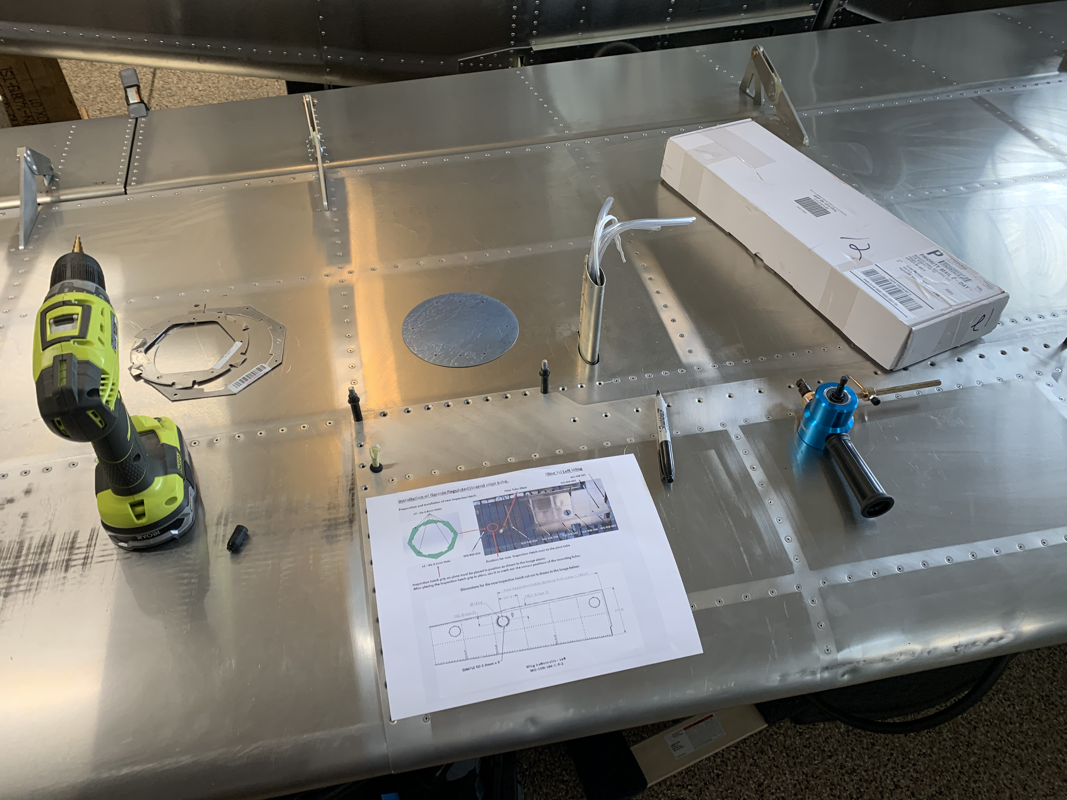
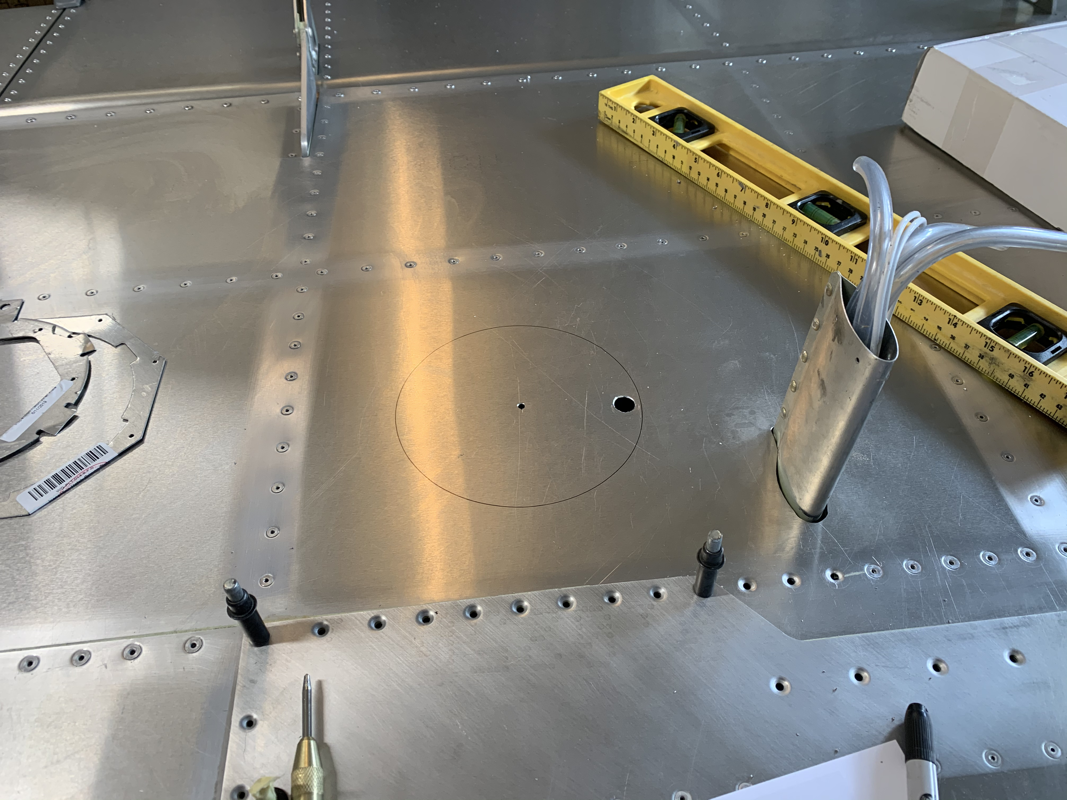
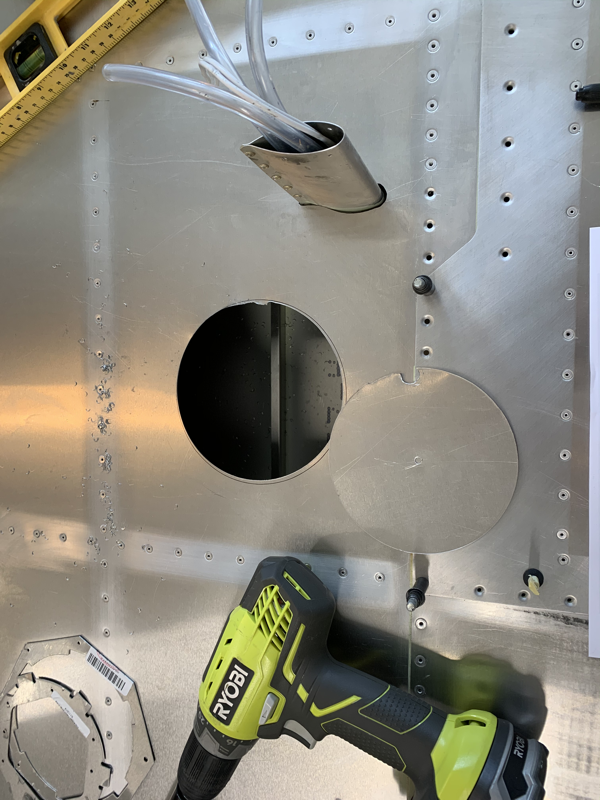
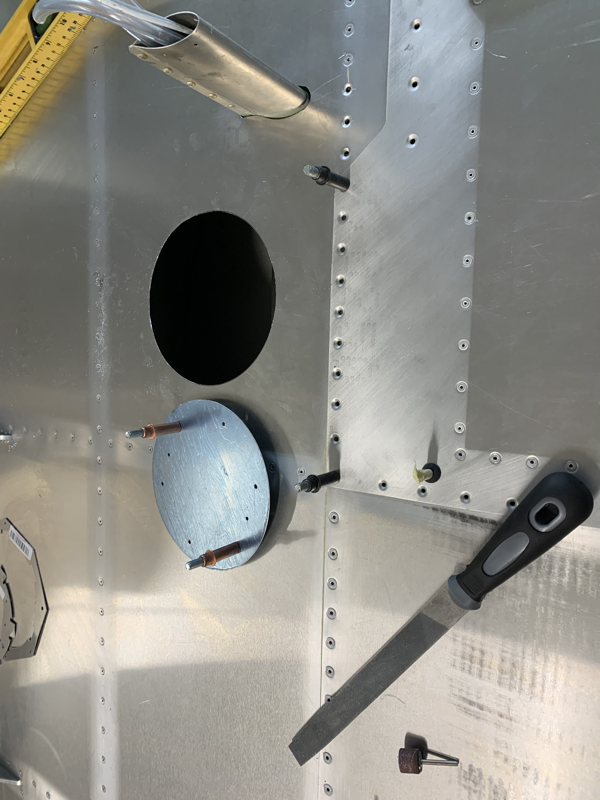
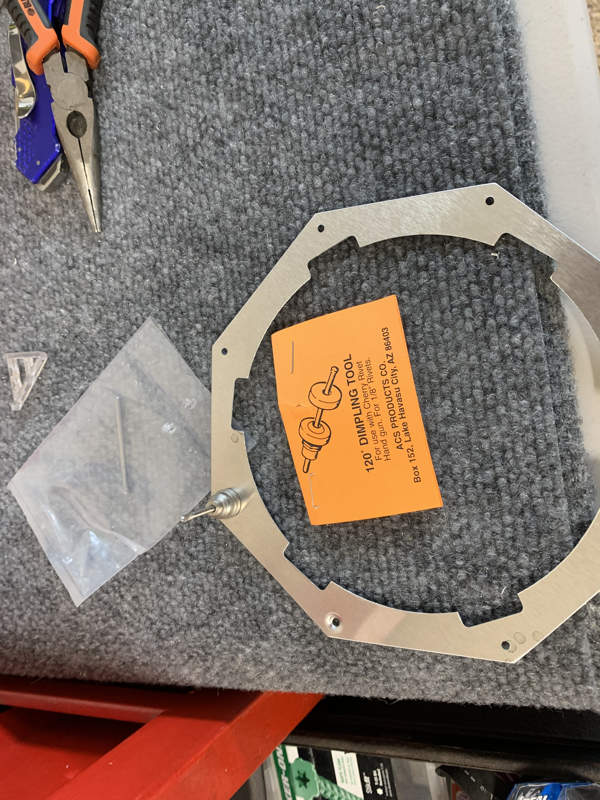
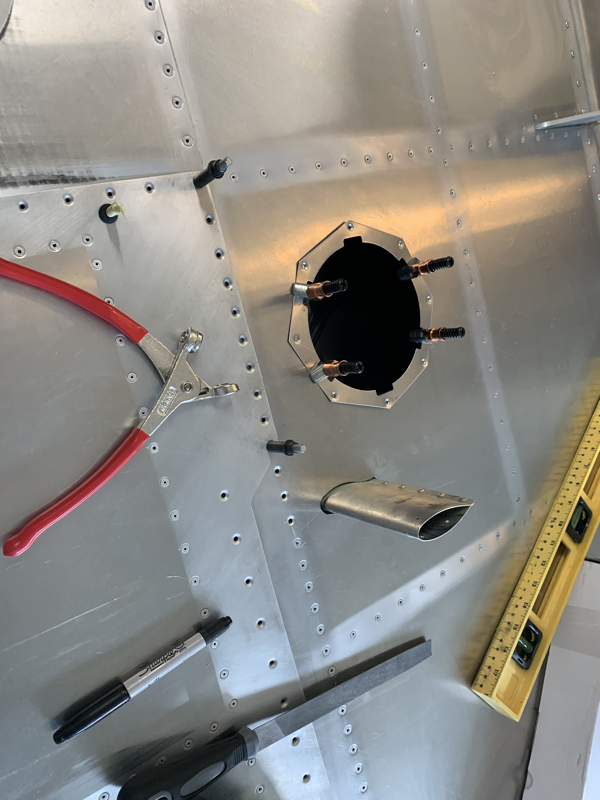
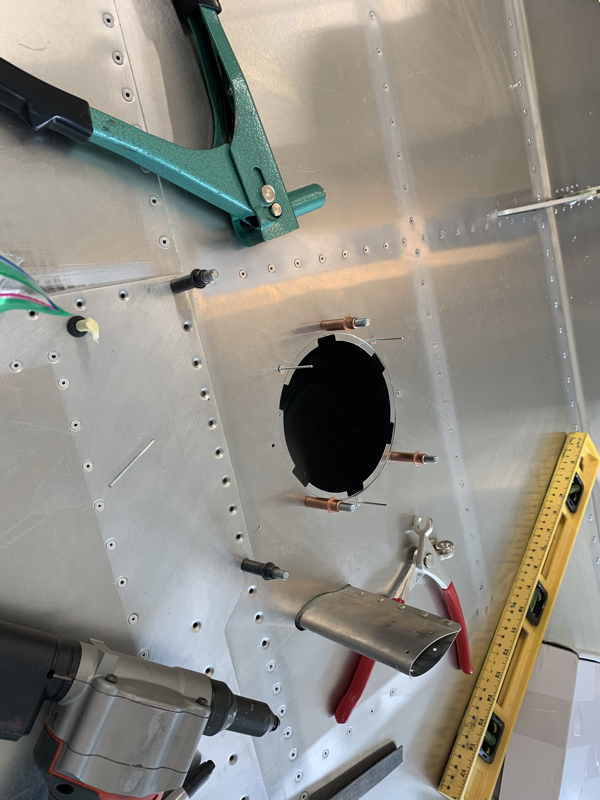
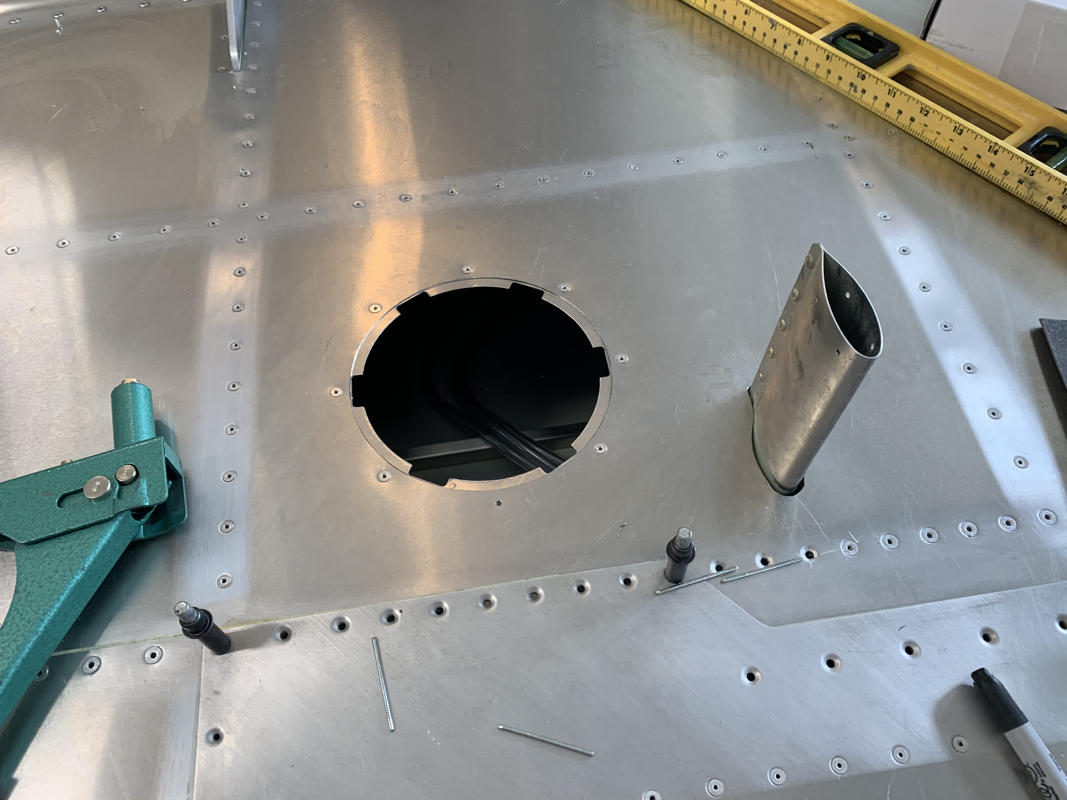
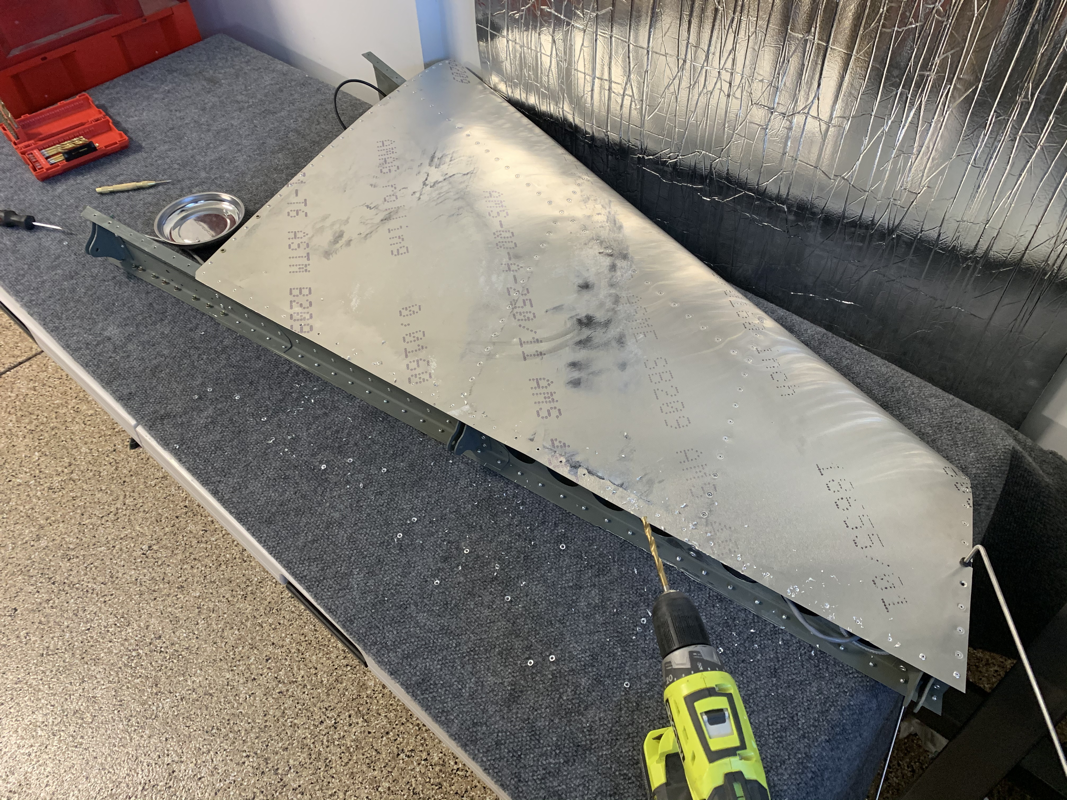
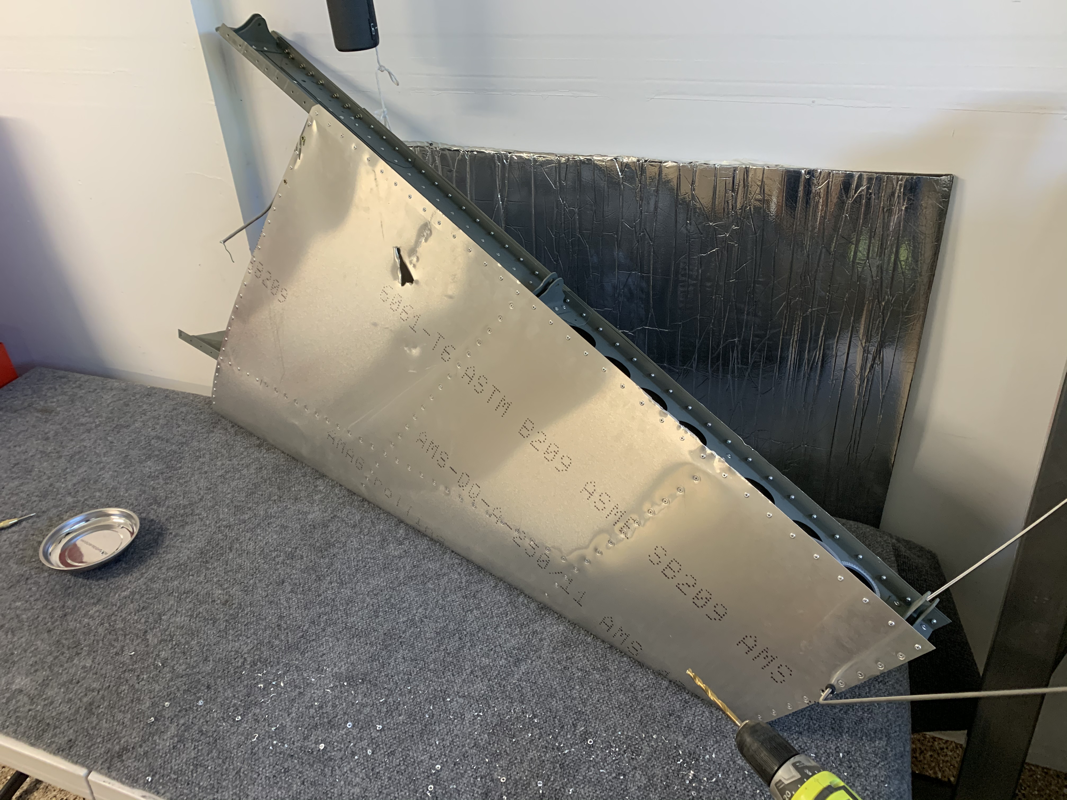
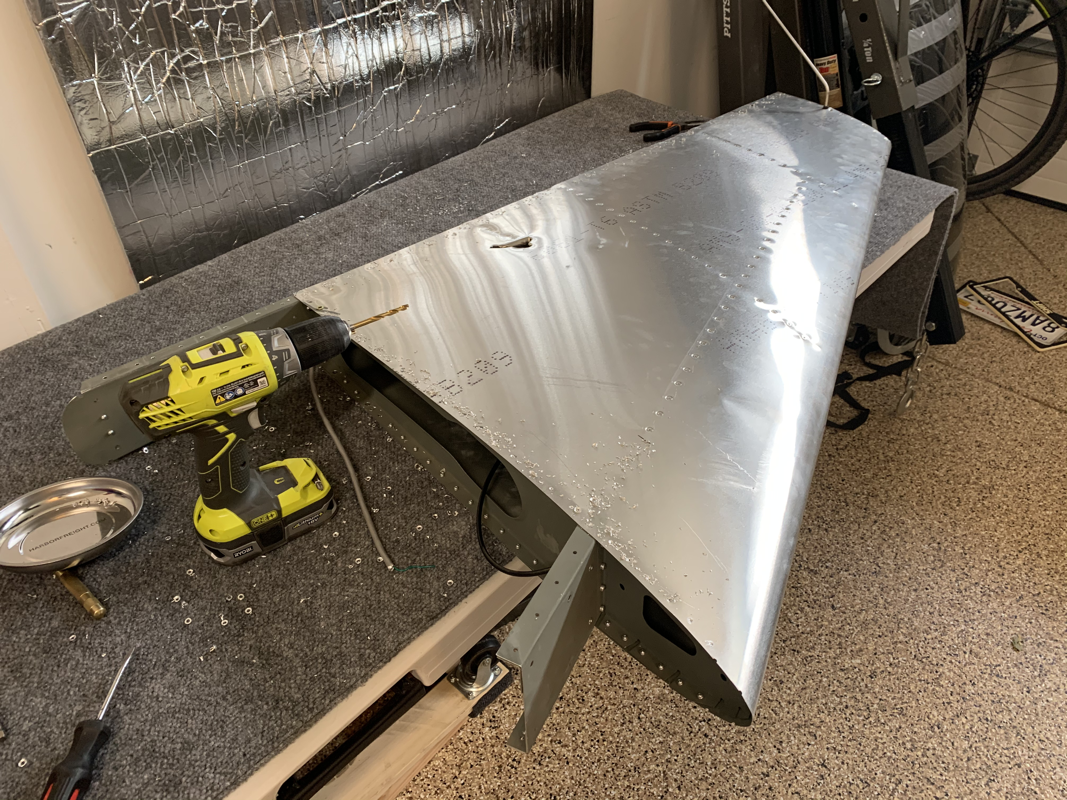
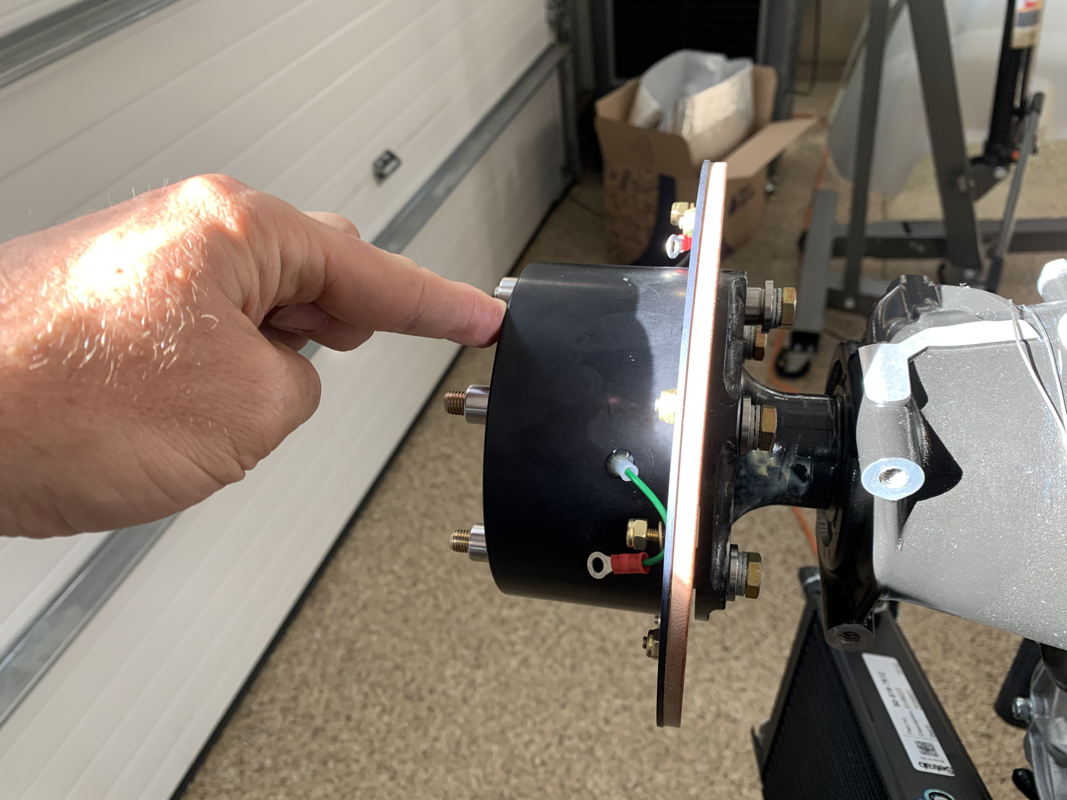
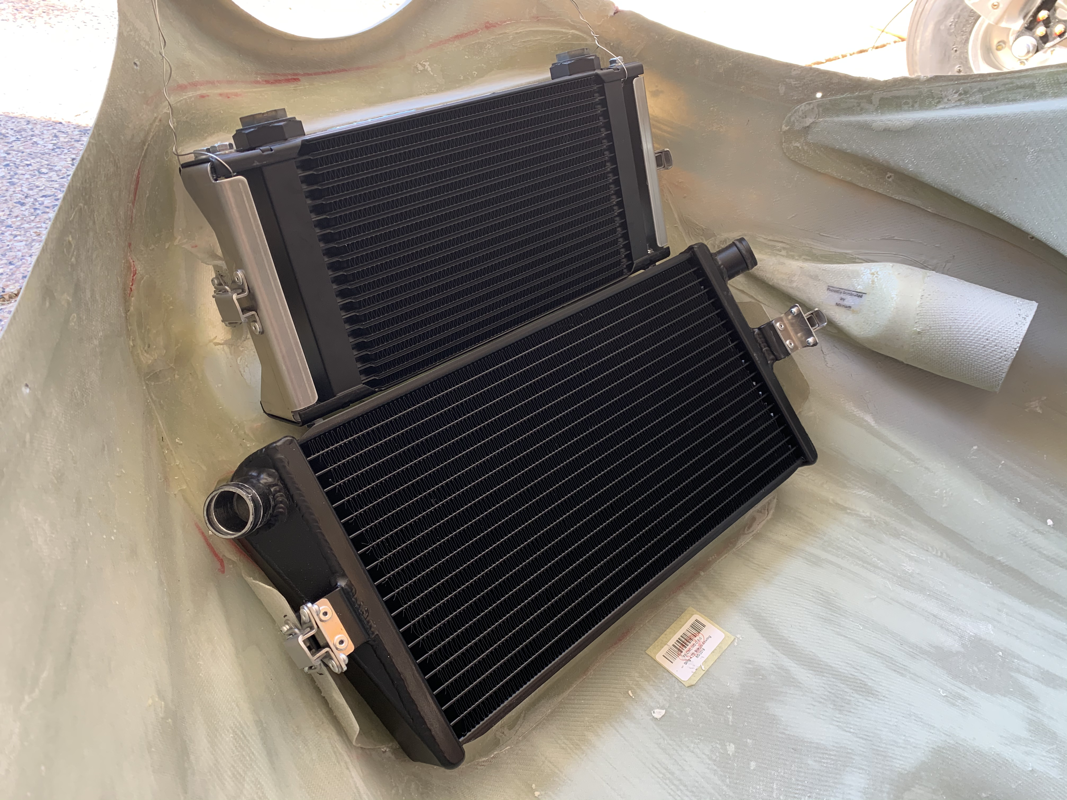
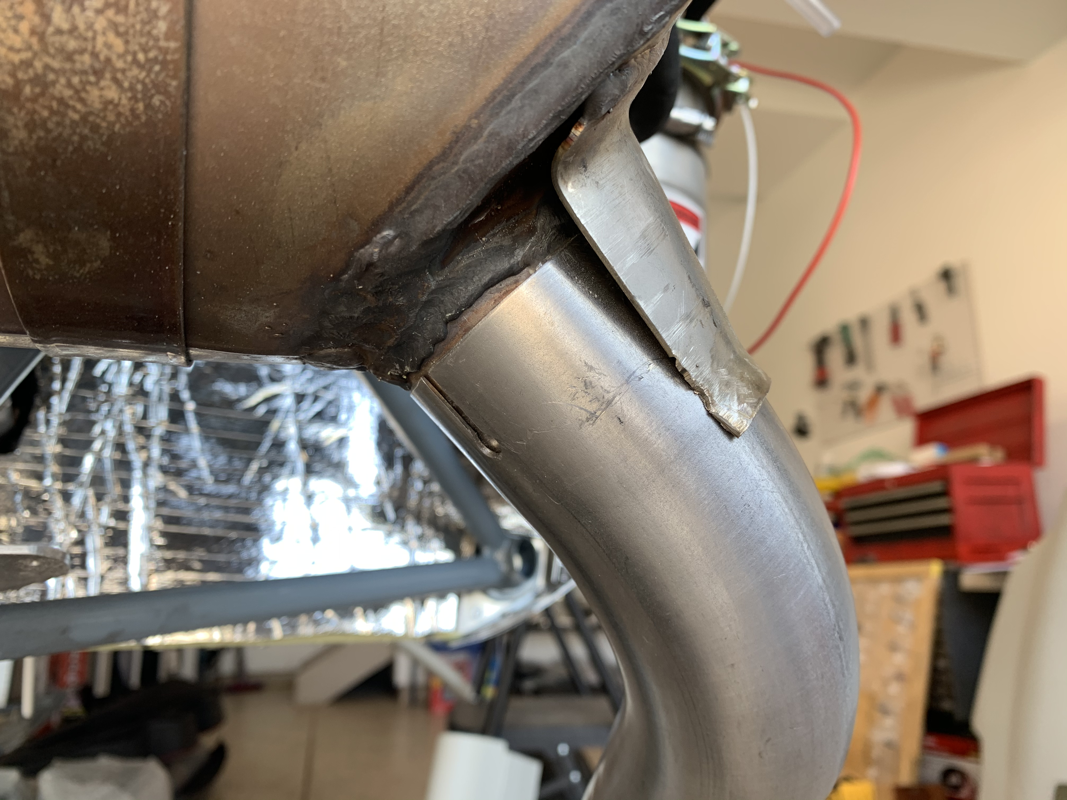
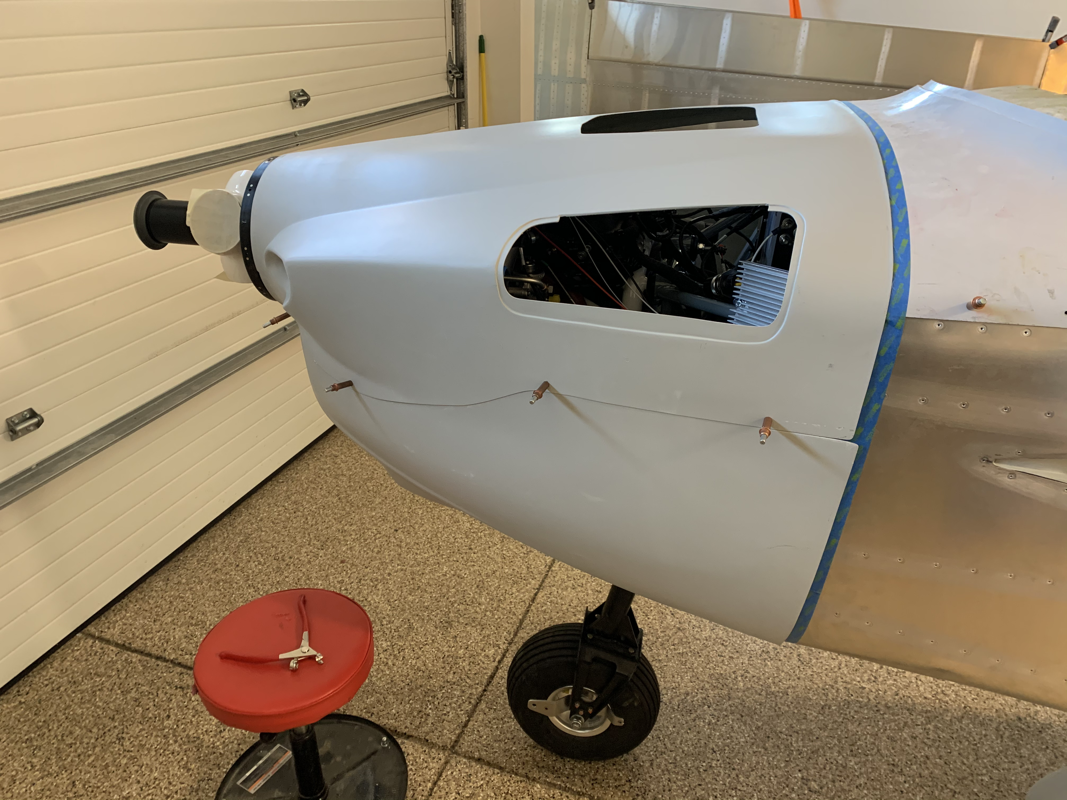
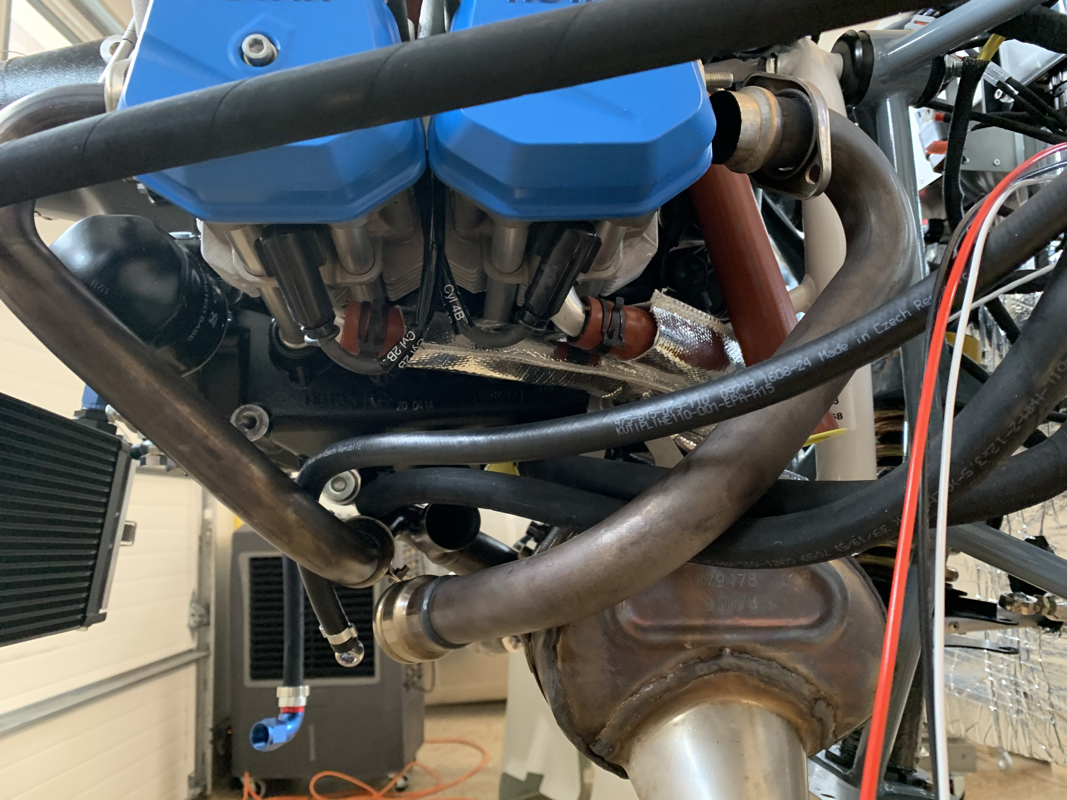
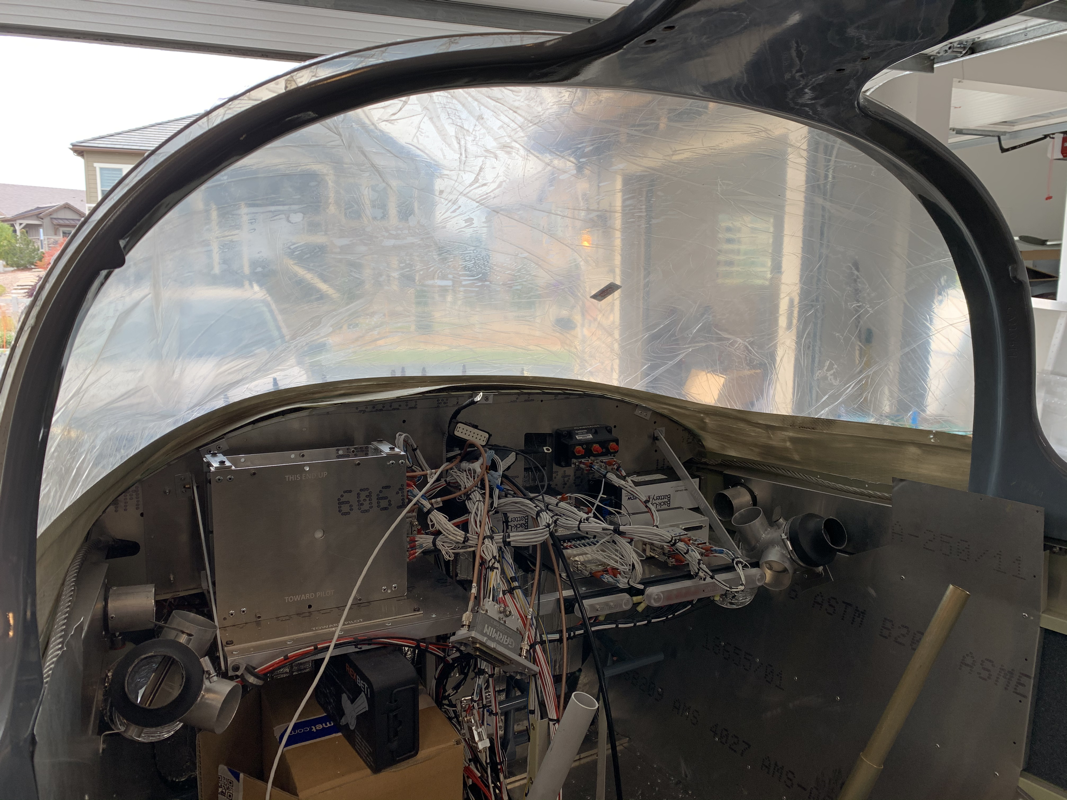
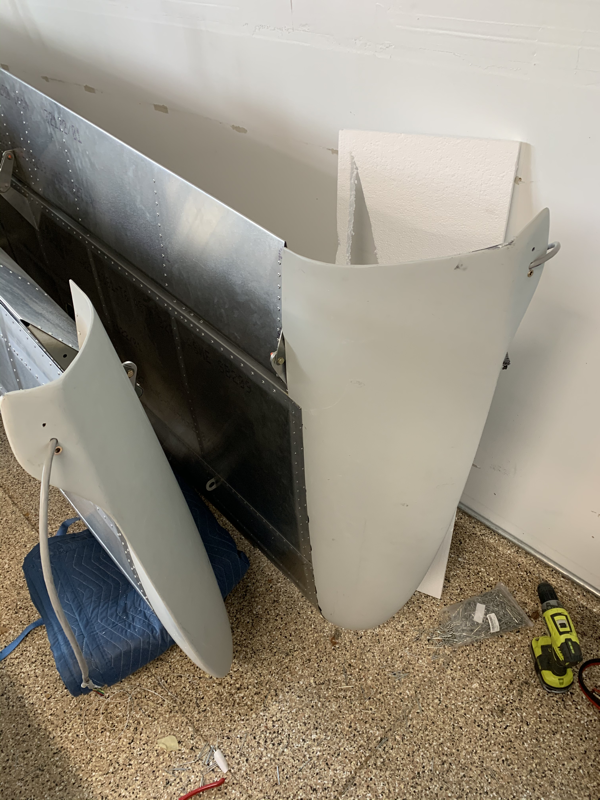
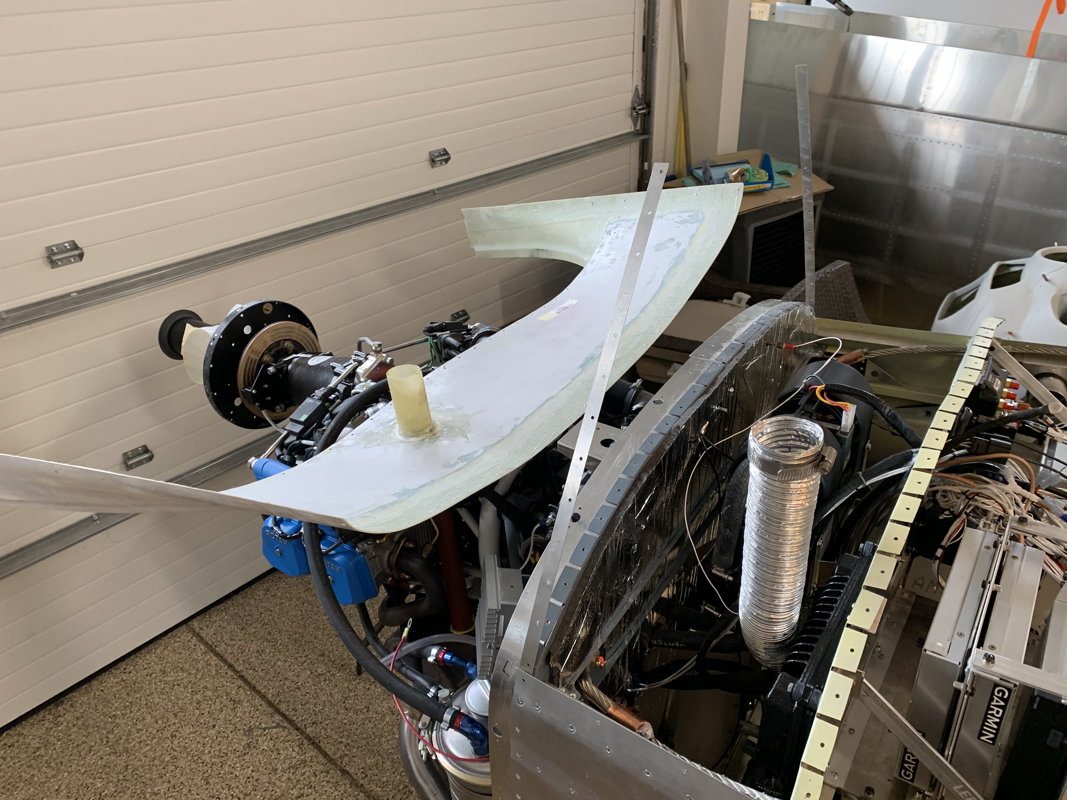
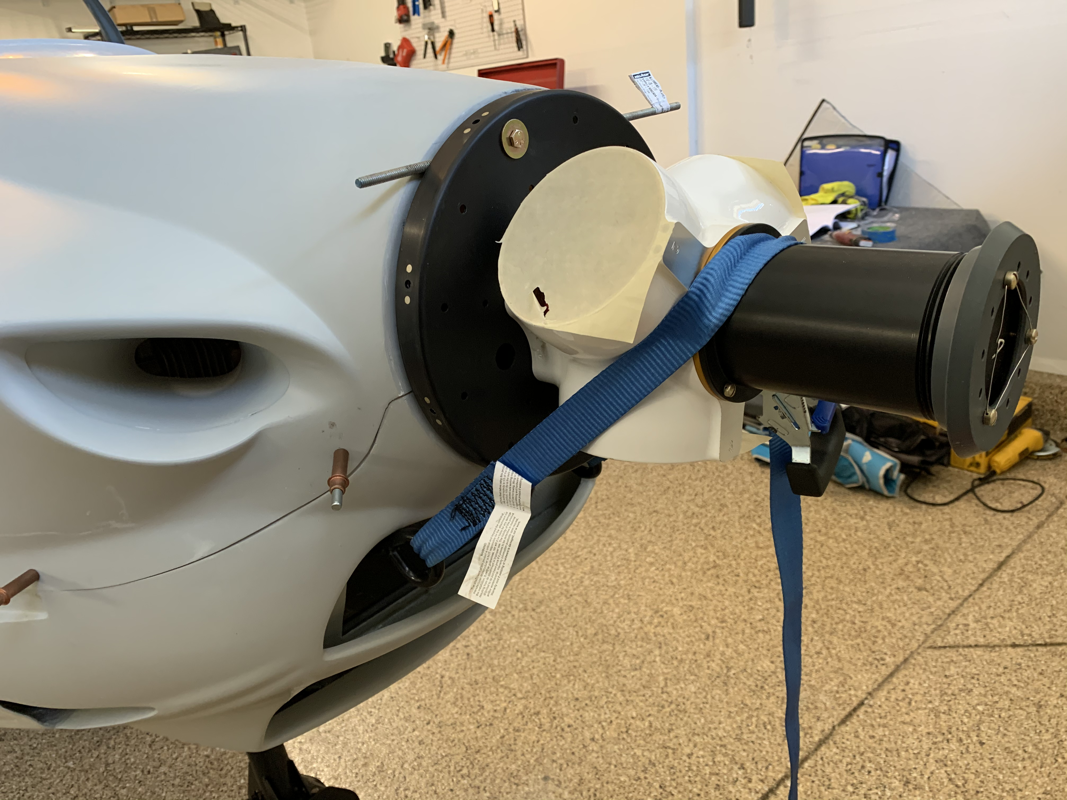
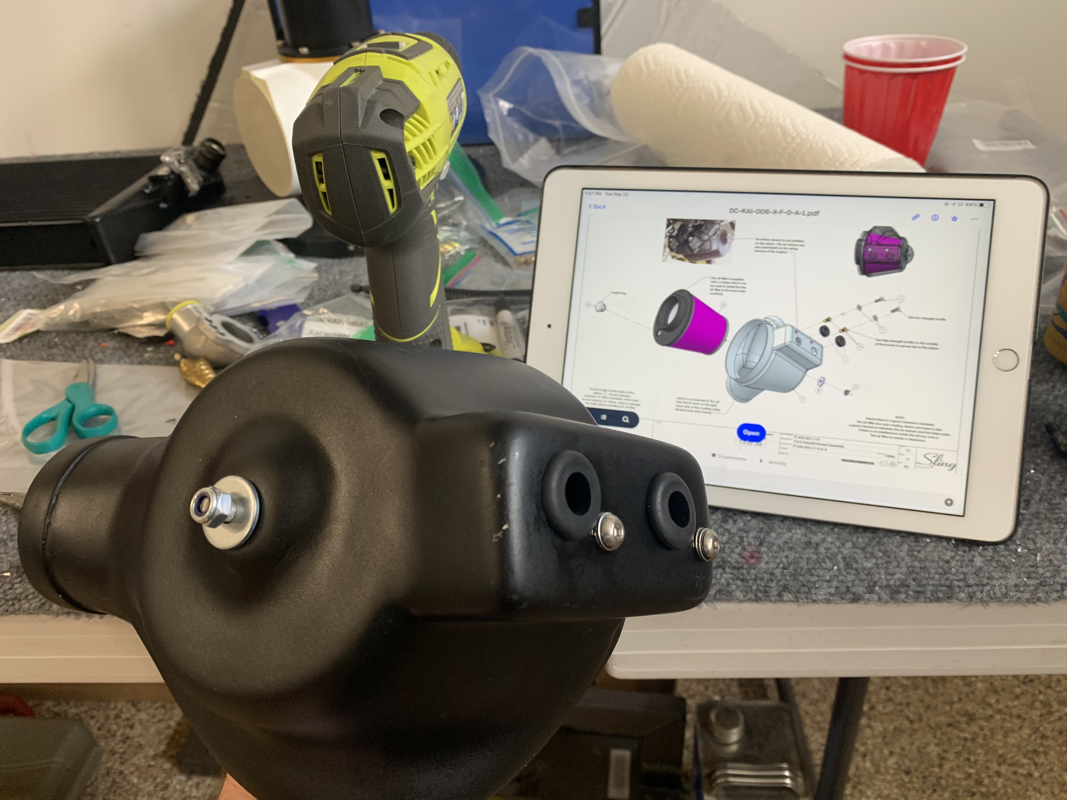
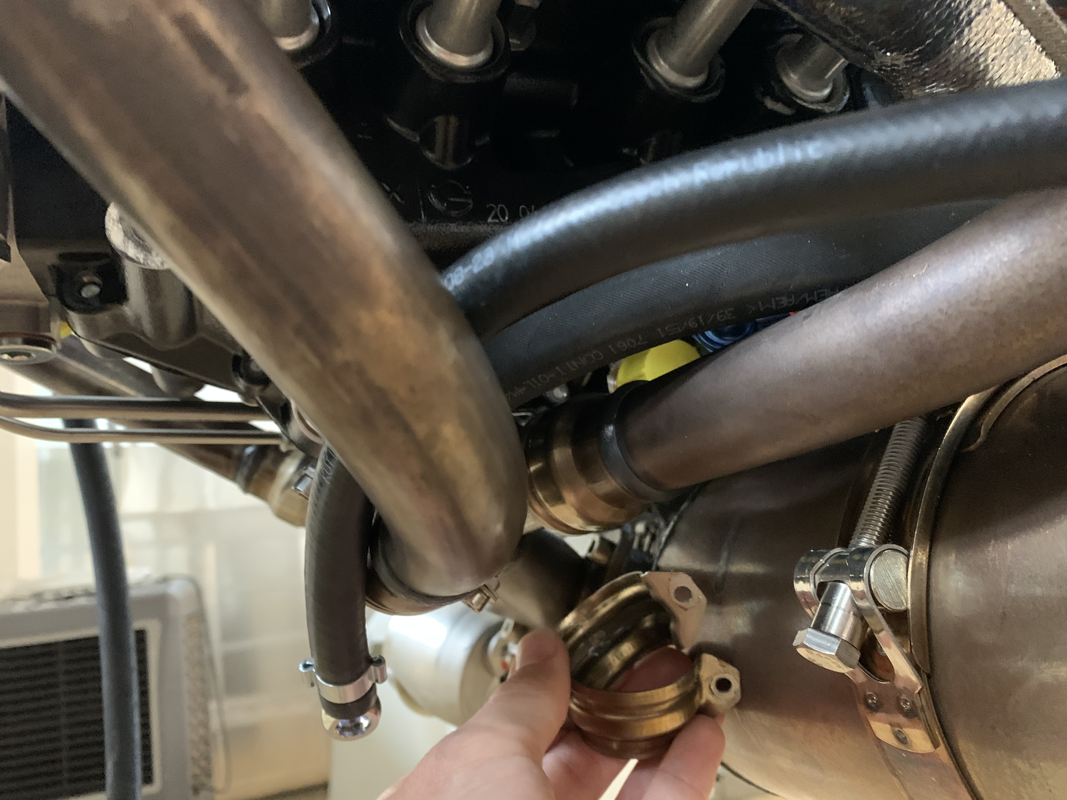
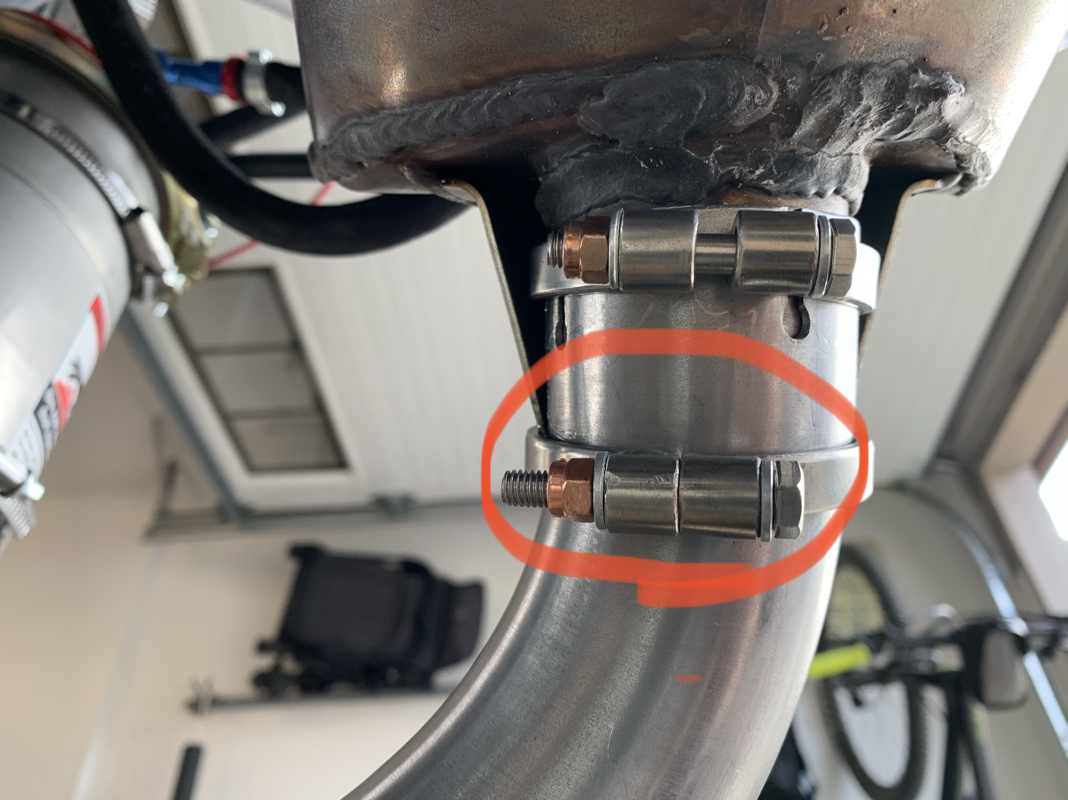
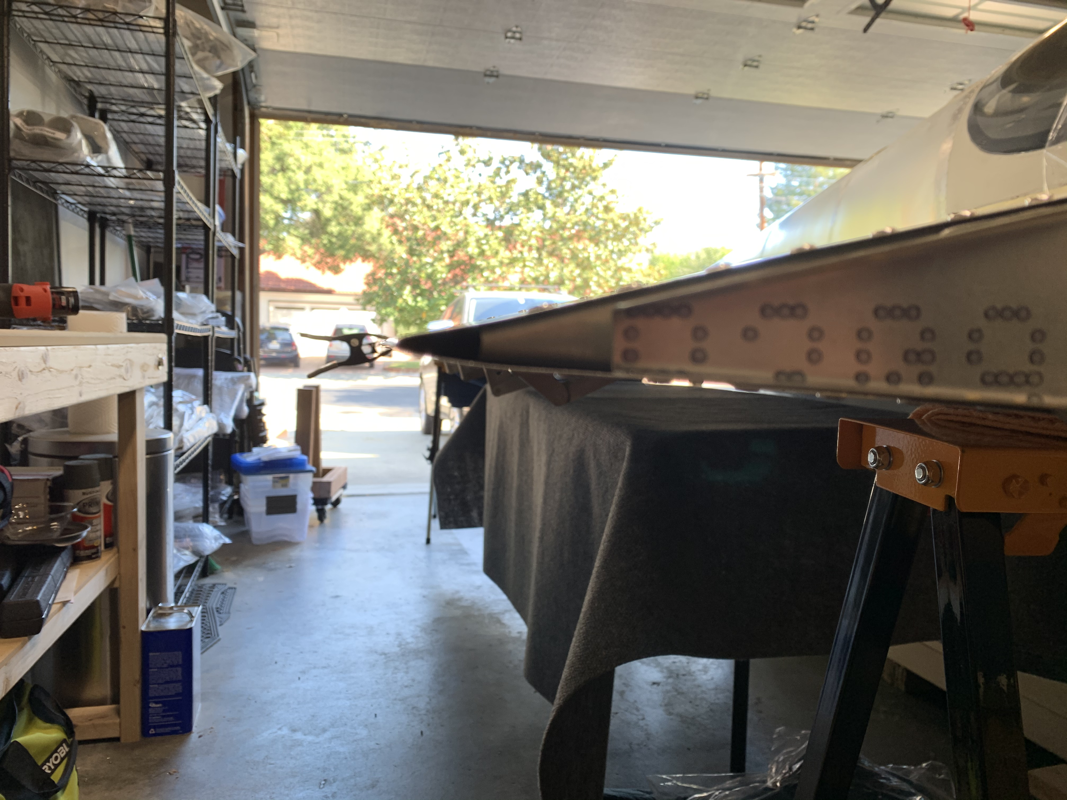
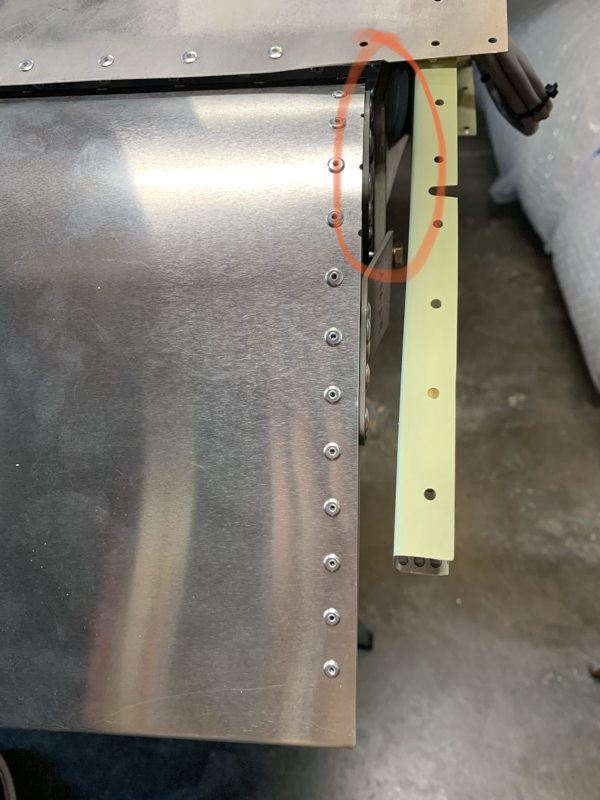
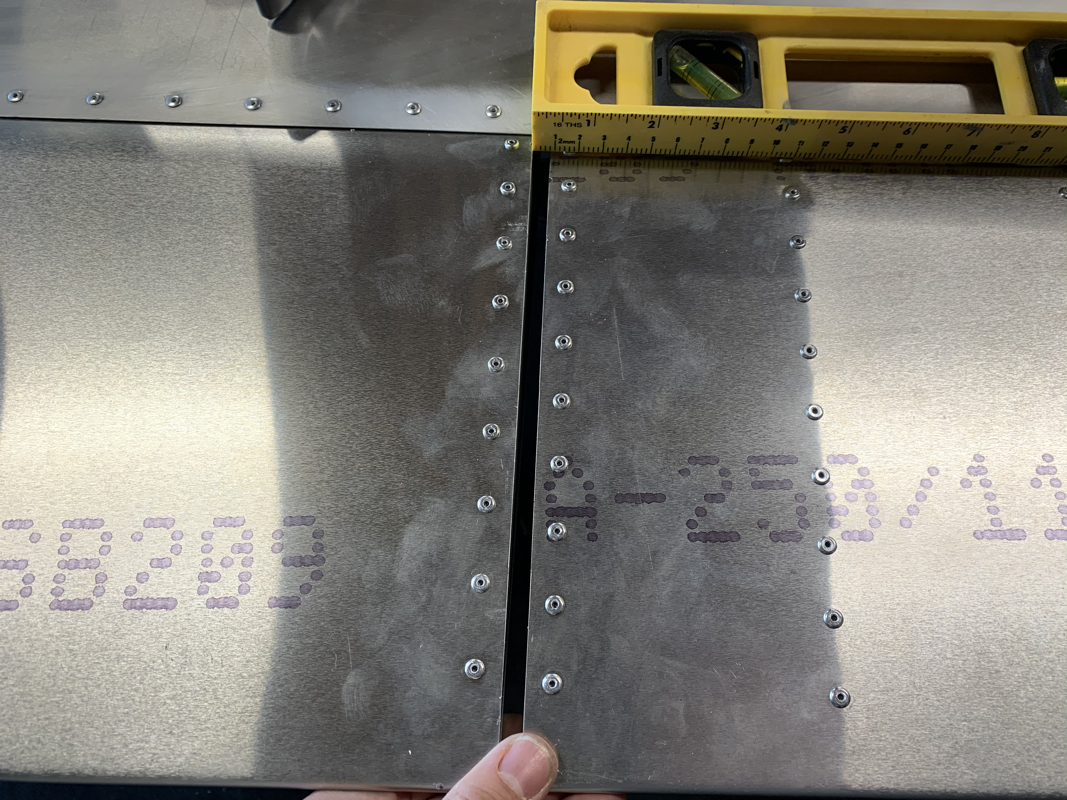
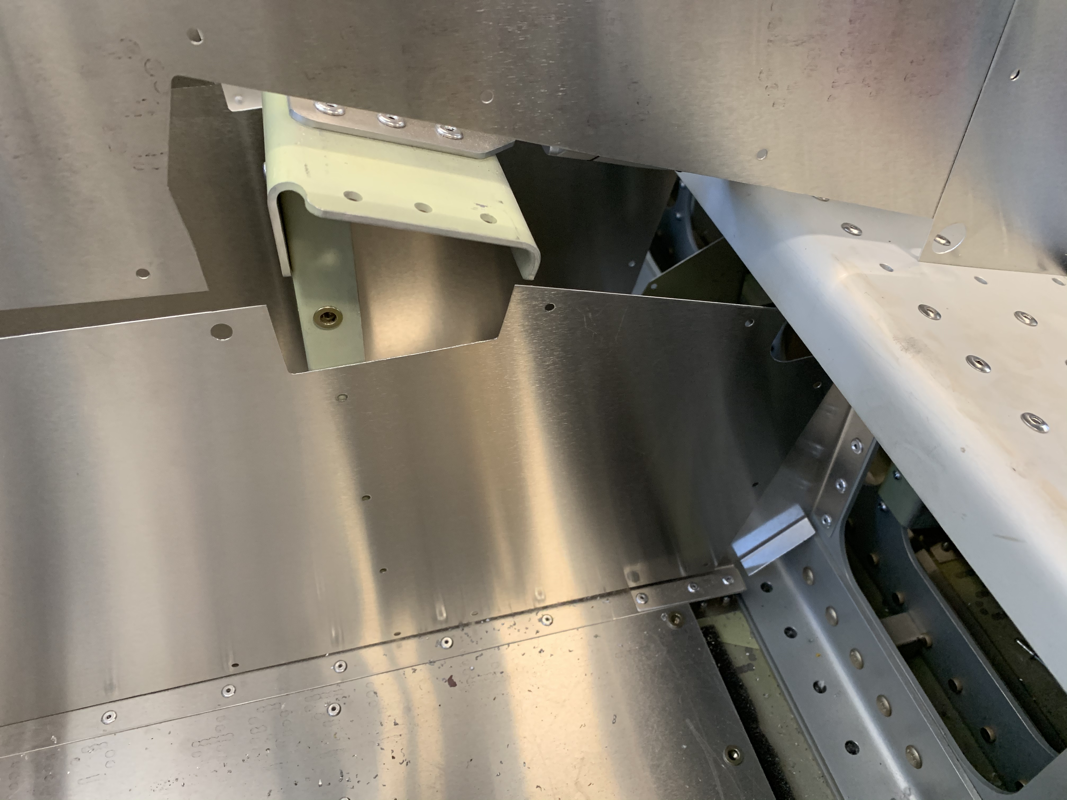
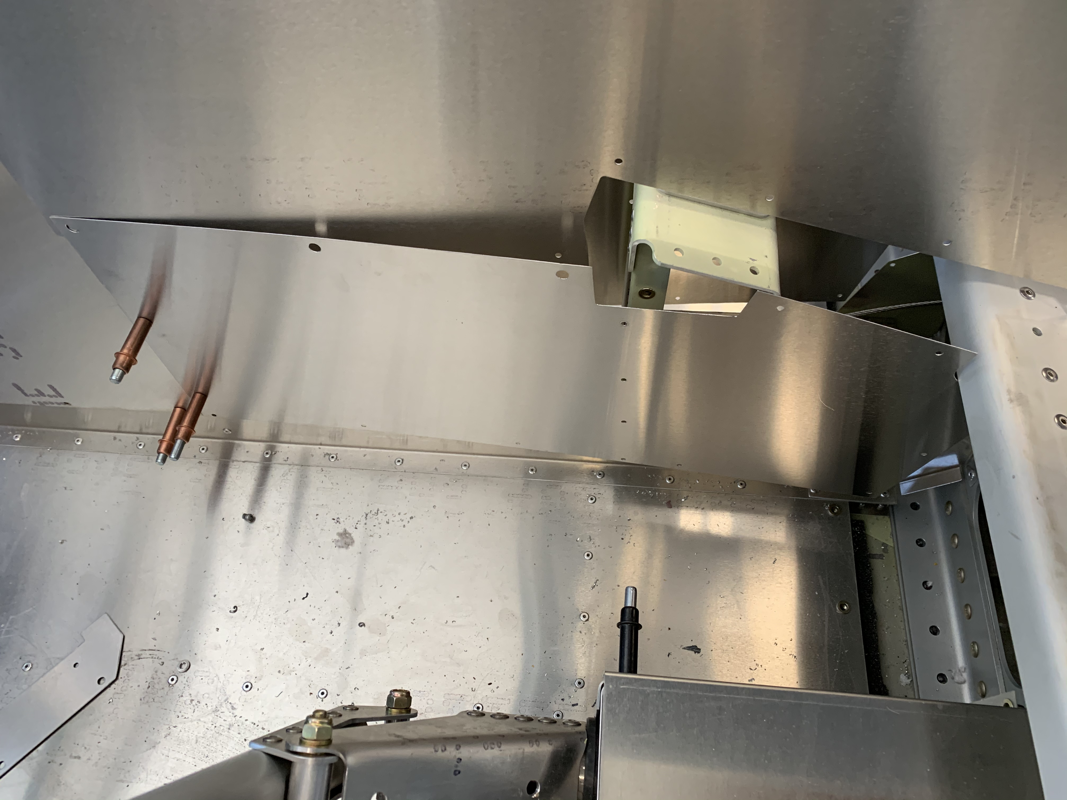
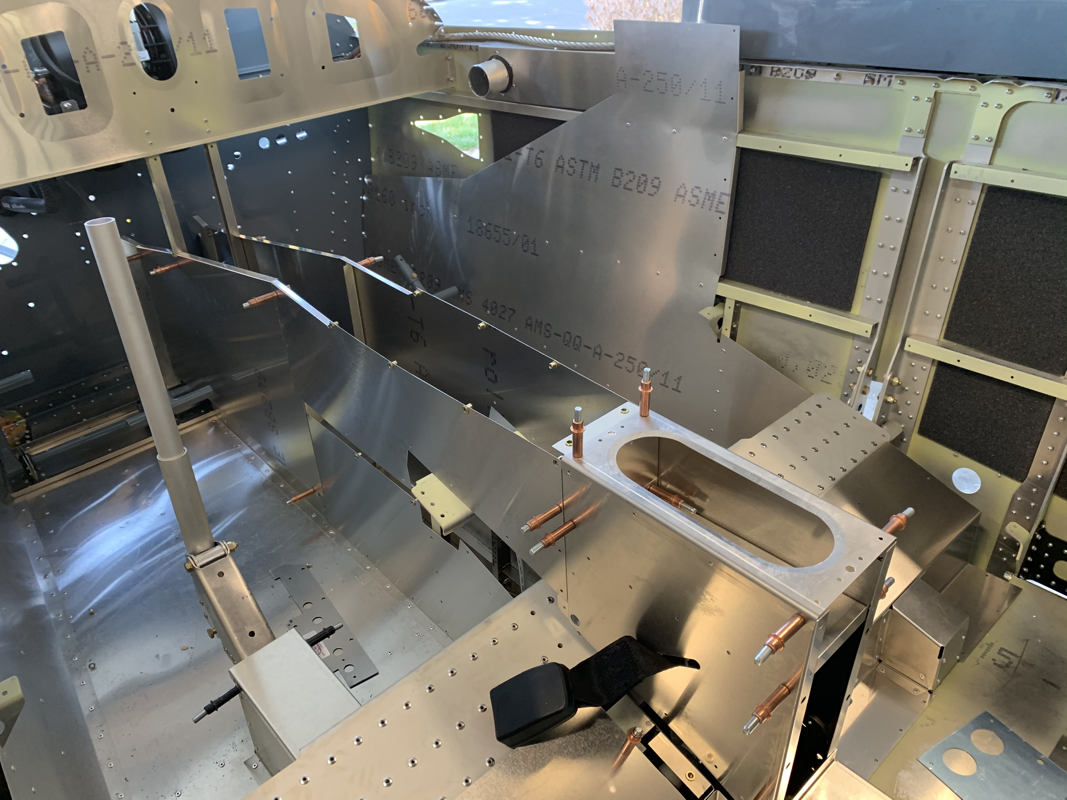
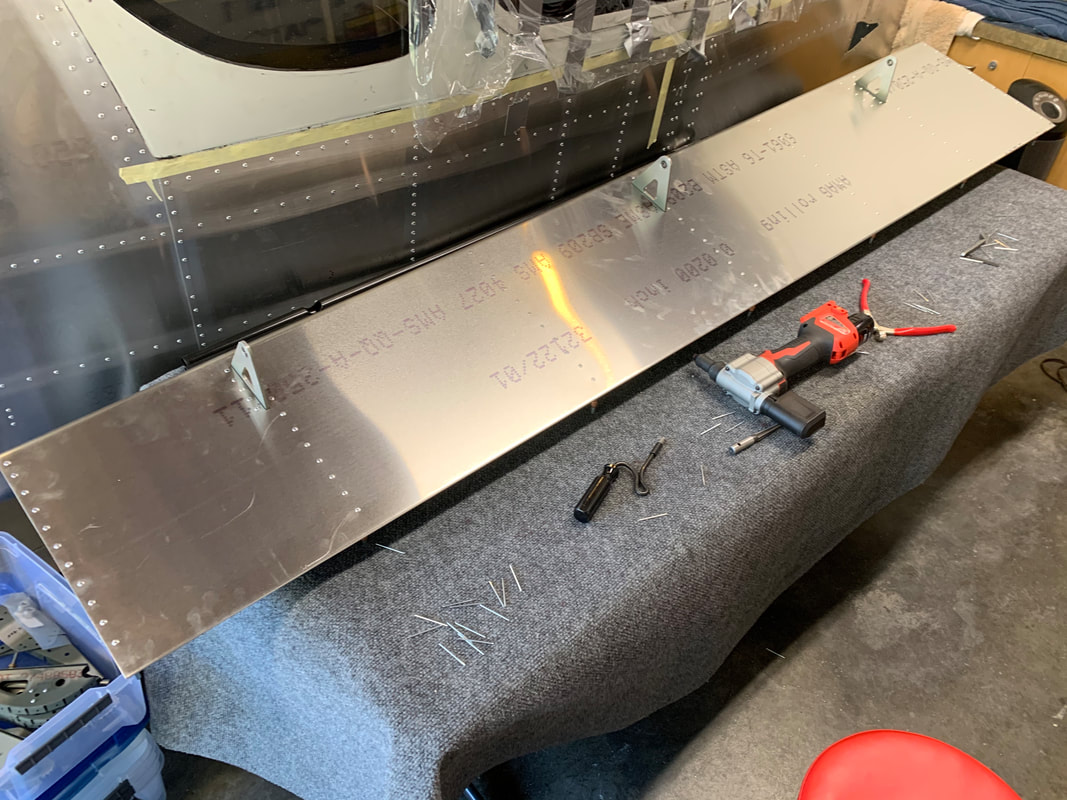
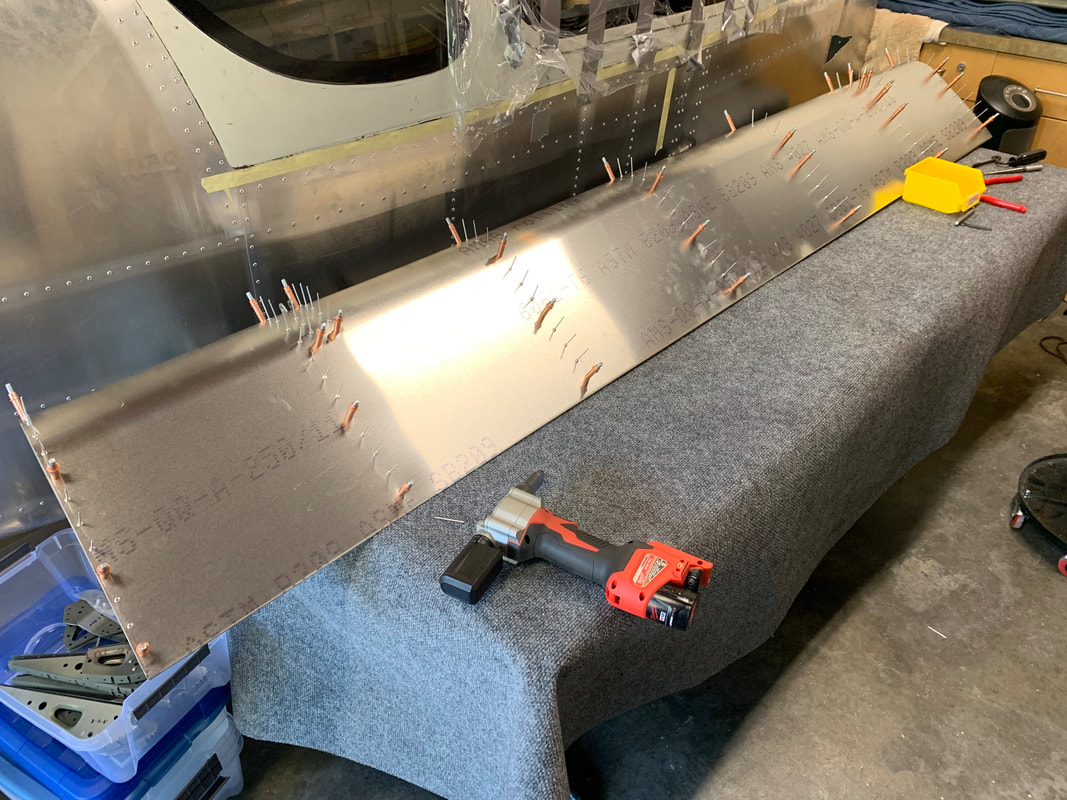
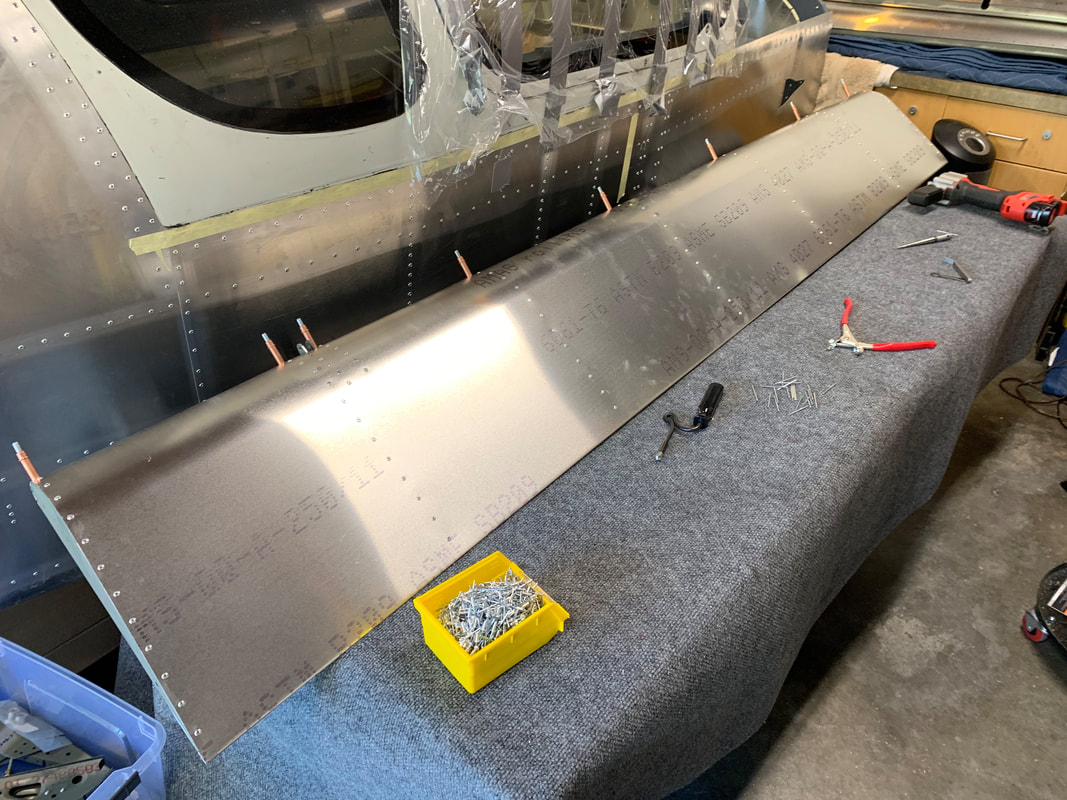
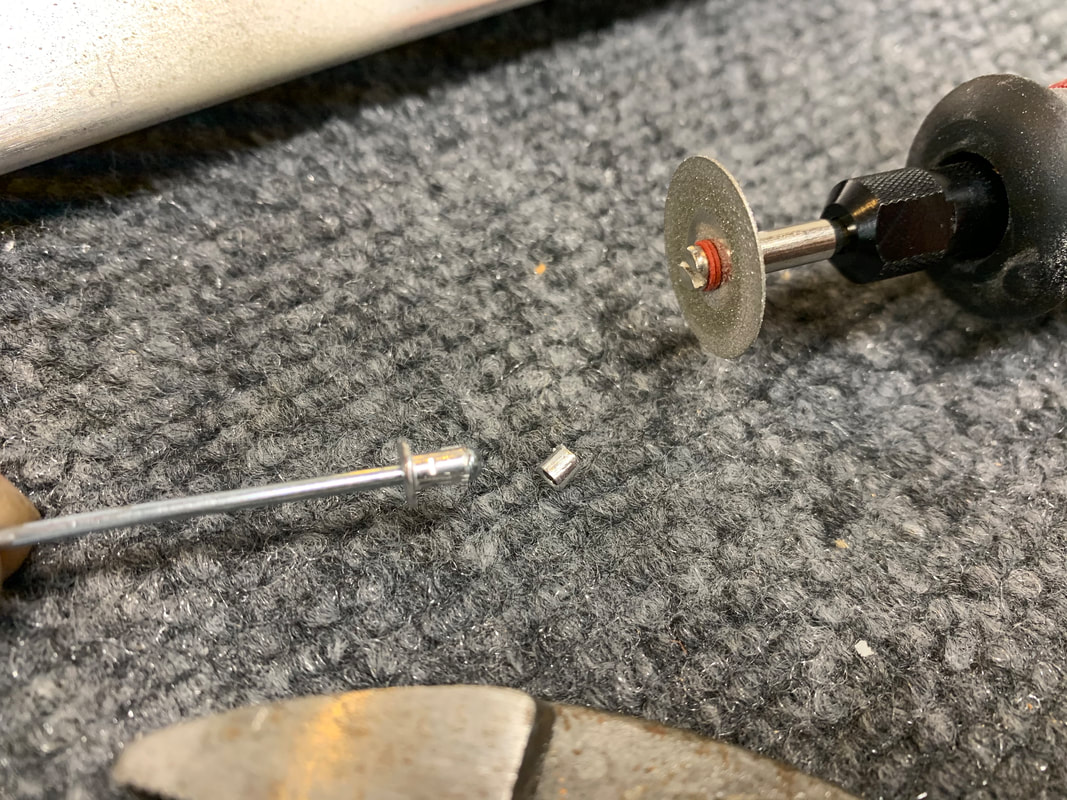
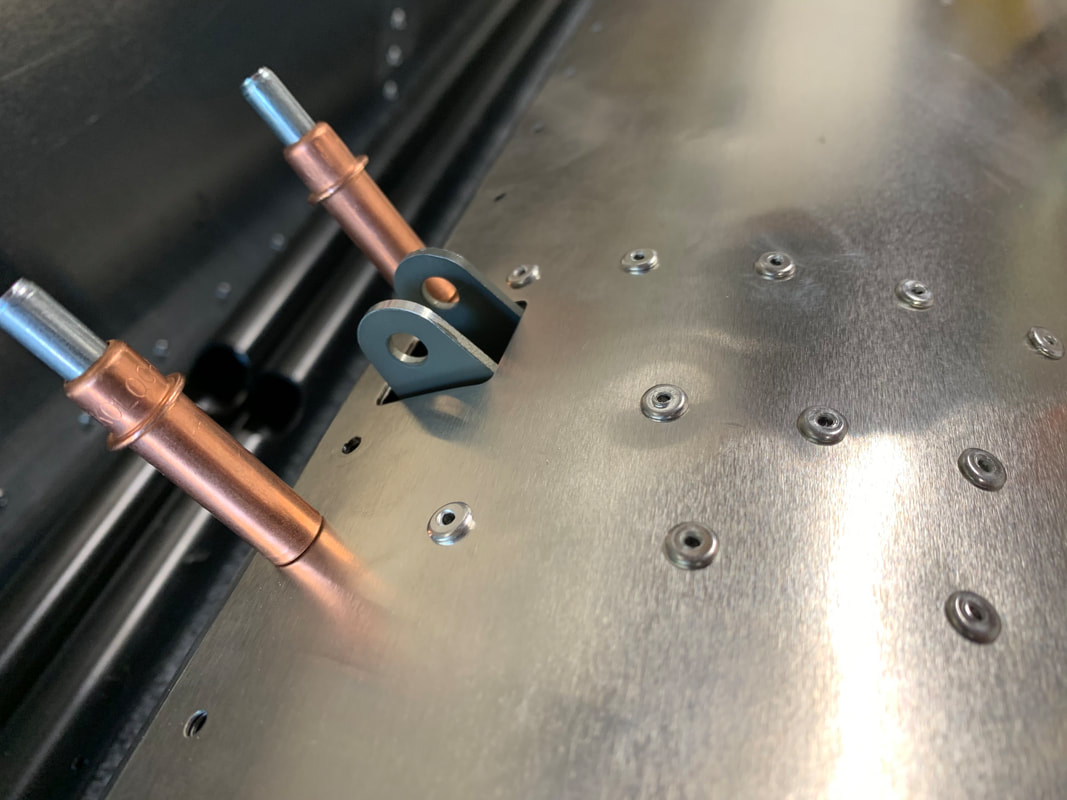
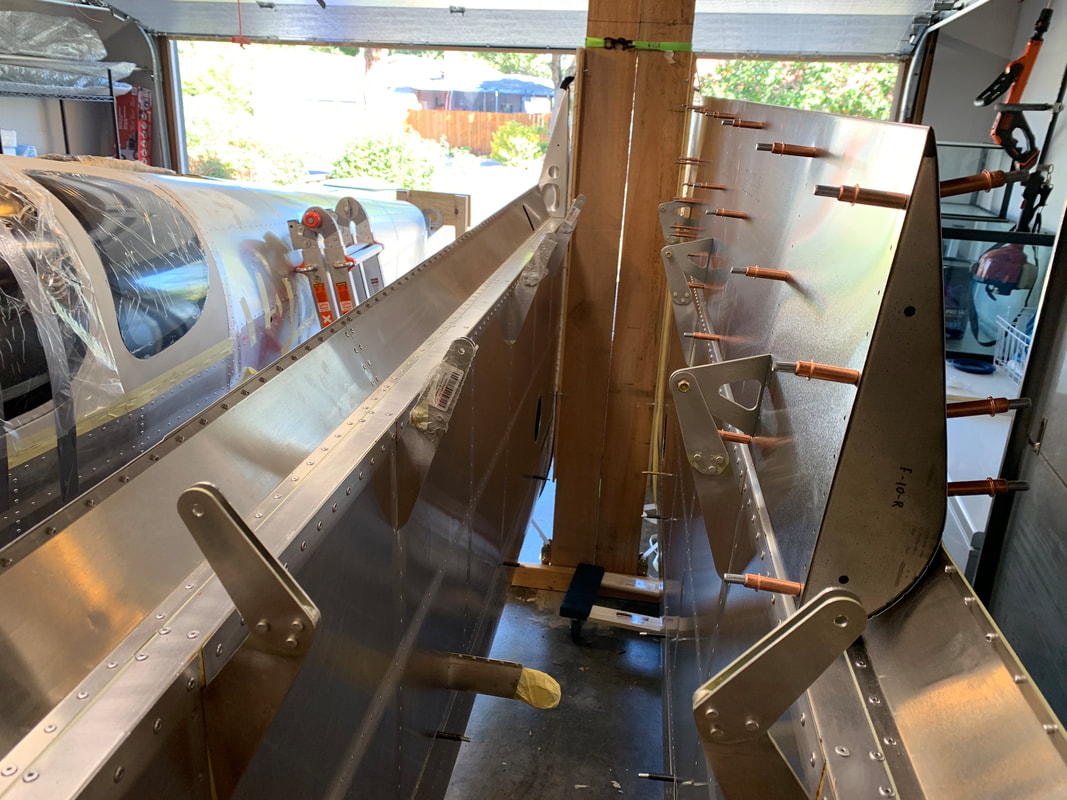
- started to add upholstery - rear golf cubby hole as a test for carpets - center console leather - rear passenger heat routing - bled brake lines - filled the fuel tanks! I’d recommend Wurx Containers.. saw them on Trent Palmer’s channel and he even has a discount code. 👍 What a big day! So excited to get the wings attached. Thanks for the help today, Brian! 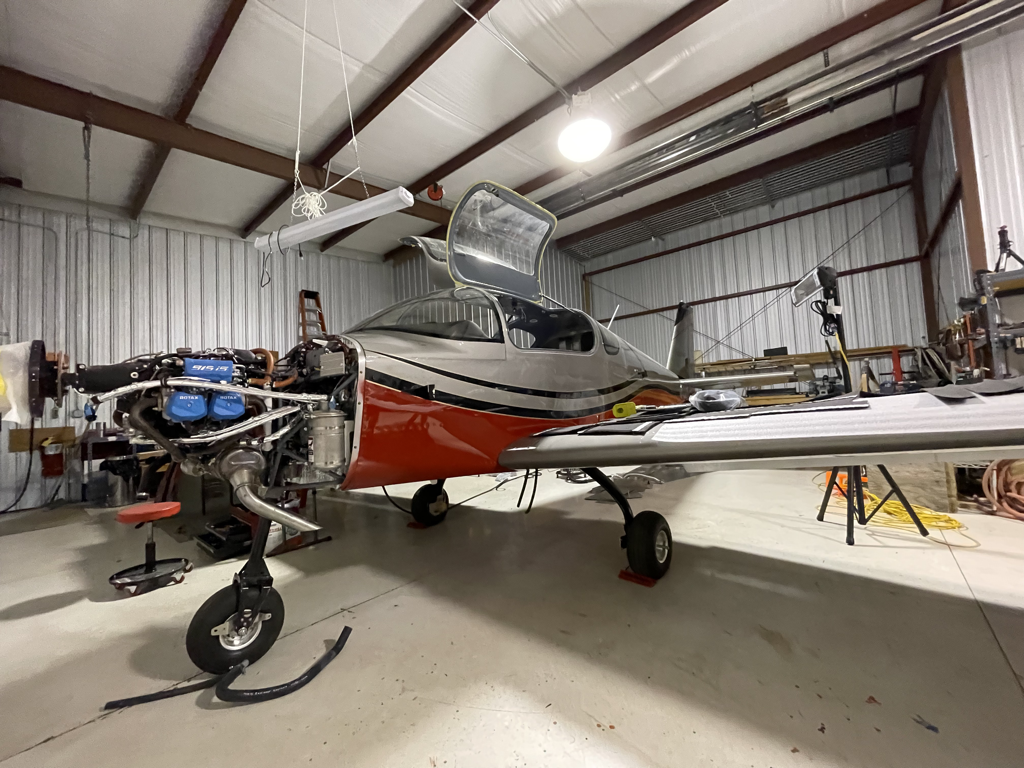 Here’s the latest update from the last week or so.. - Routed the fuel lines in the fuselage - Tidy’d up the fuel lines with some zip tie and fuel line stand offs - Spliced an extended the fuel pump wire, it was too short to reach around to the other side of the pump - Added heat shield to the oil lines - Trimmed the windshield to fit and get ready for bonding In order to fit the windshield, I need to get the front fuselage cover on. Since it's just held on by rivets, I could imagine some water getting pushed through this section, so I decided to add sikaflex for a solid seal. It's messy, but worth it. I did have some trouble fitting the parachute rocket all the way in since the cables that connect to the bottom of the rocket push on the housing. The trigger doesn't line up through the hole on the bottom. I gave up trying to do it while attached to the plane, so I took off the rocket housing and was able to fit the rocket easier. Scary nonetheless handling a live rocket. Glad that's done! I lined up the parachute blast skin and drilled the holes into the fuselage and canopy. The factory recommends that you use some PVA release agent and apply some clear silicone underneath the skin to prevent water seepage. Just doing some final riveting on the wings, attaching the fuel tanks since they passed the pressure test. I was going to do the Service Bulletin 14 - replacing the aluminum rivets with stainless steel ones on the spar carry through, but it seems that the factory already did that for me in my quickbuild. Note the darker rivets with rounded edges compared to the same size rivets nearby. I finally decided to try my hand at some metal work again. It’s been a bit since I had to rivet or cut any aluminum, so I was a bit rusty. A huge thanks to Phillip’s blog showing the steps to install the missing inspection door for the pitot tube. I certainly wasn’t as precise as he was, but mainly I measured the placement recommendations from the factory and traces the outline of the cover. From there I tried my best to find center. I knew it wouldn’t be perfect so I intentionally set the nibbler to be a smaller diameter than the cover. Once done cutting, I just used the file to get the hole to match the drawn outline. I did use a handy pull rivet style dimpler, which made things really easy to get flush rivets in there. Once everything was dimpled, I just drilled the holes for the rings and viola! So during my move to Colorado, I did have some damage to the vertical stabilizer skin - a nice hole on the side and some major scuffing on the skin. I ordered the new skin back in April and it finally came last week. I made sure I had some sharp drill bits and started de-riveting the skin.. ugh. While I have the skin off, I’m going to remove the VOR/ILS antenna since I decided to use the GNX375 (GPS only for approaches) instead of going for the more expensive option of the GTN650. That’ll save me about 3lbs of drag! ;-) I heard from the factory that my Engine, Firewall Forward Kit, and Upholstery is on it's way. It's a pretty big and heavy mix of items, so they had to put them in a container and on a boat - 6-8 weeks delivery time... ugh. Looks like a September timeframe for delivery with an order that I put in January. So I'm doing a mix of odds and ends, torquing bolts, kicking tires, etc..
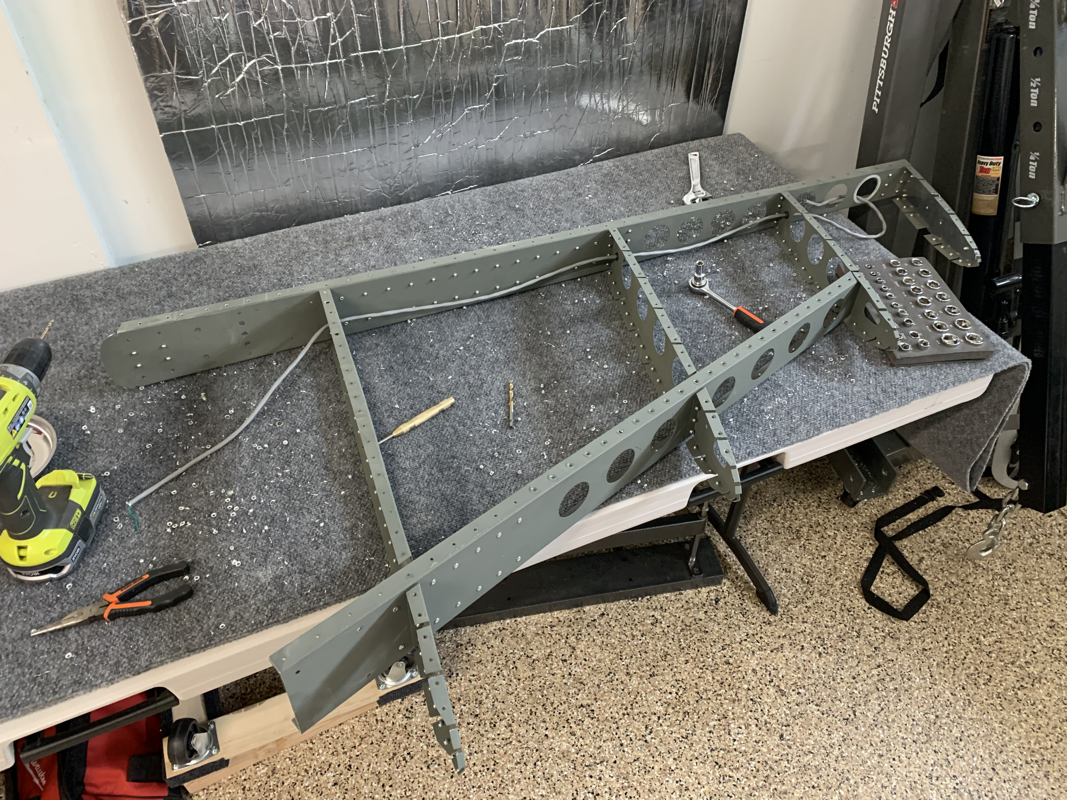
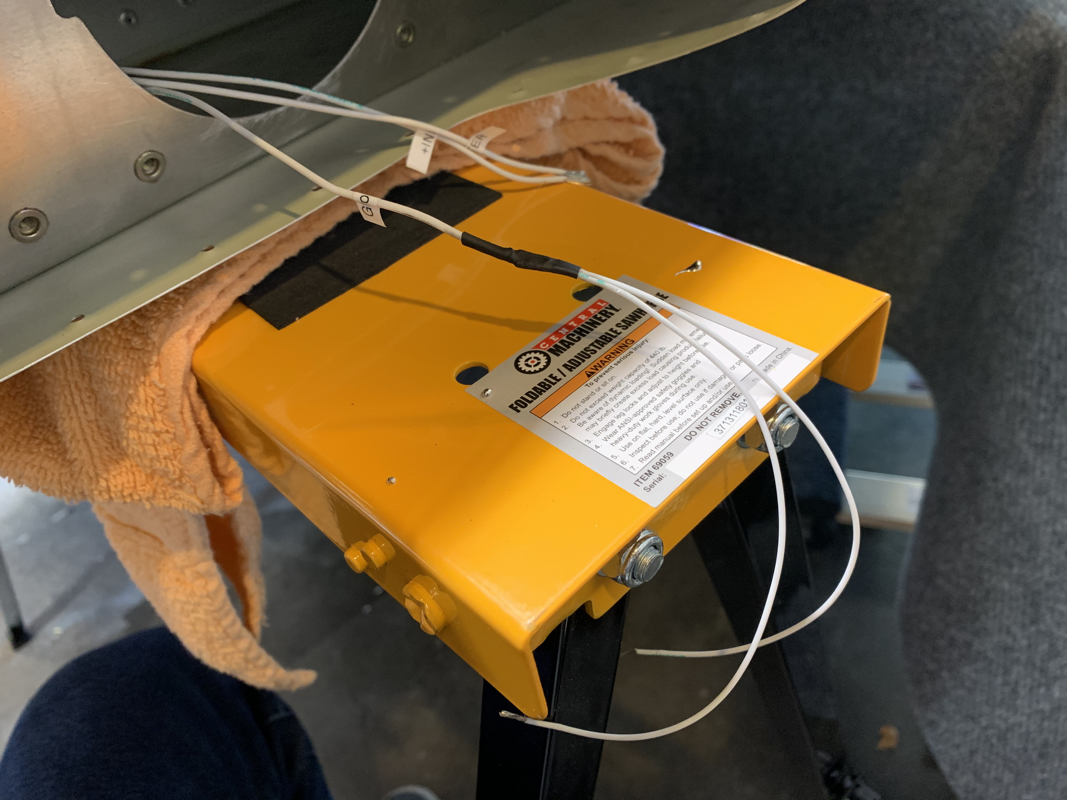
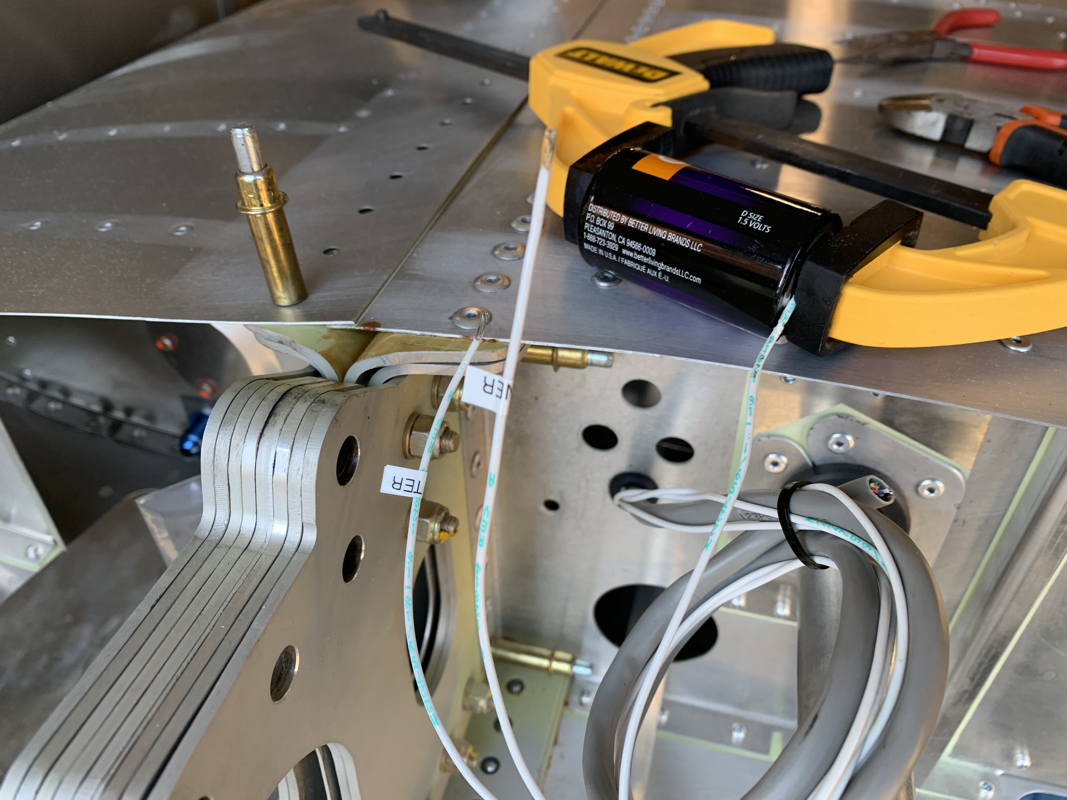
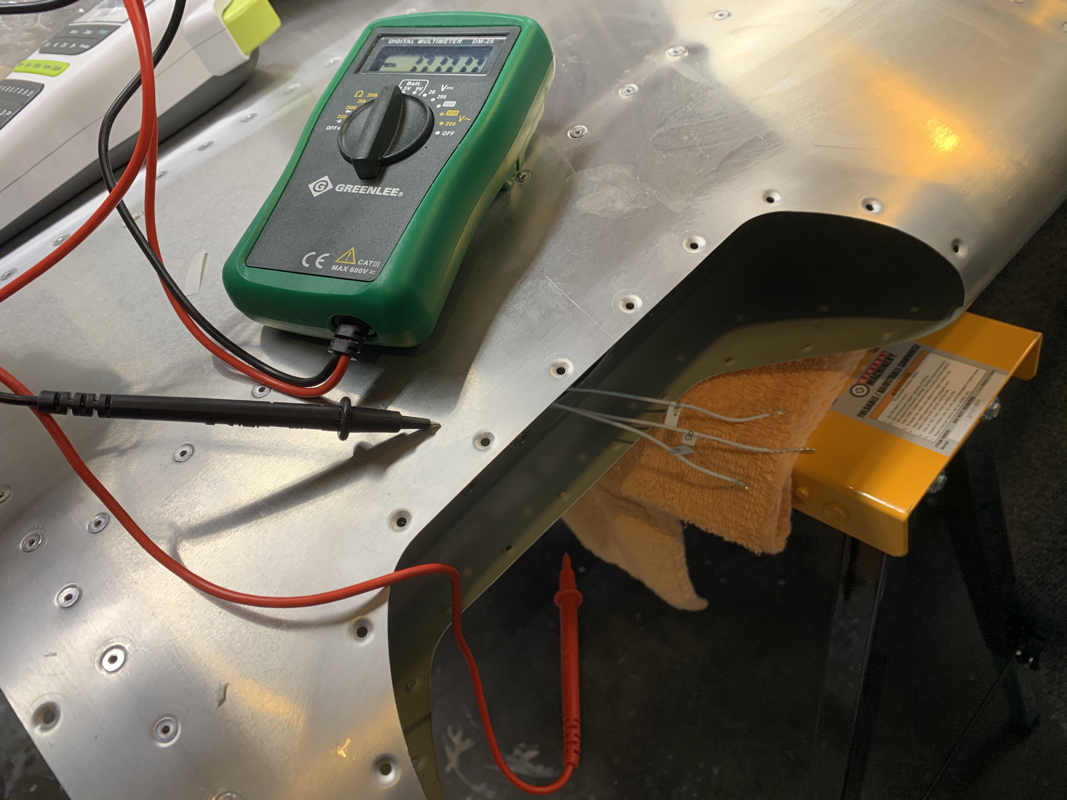
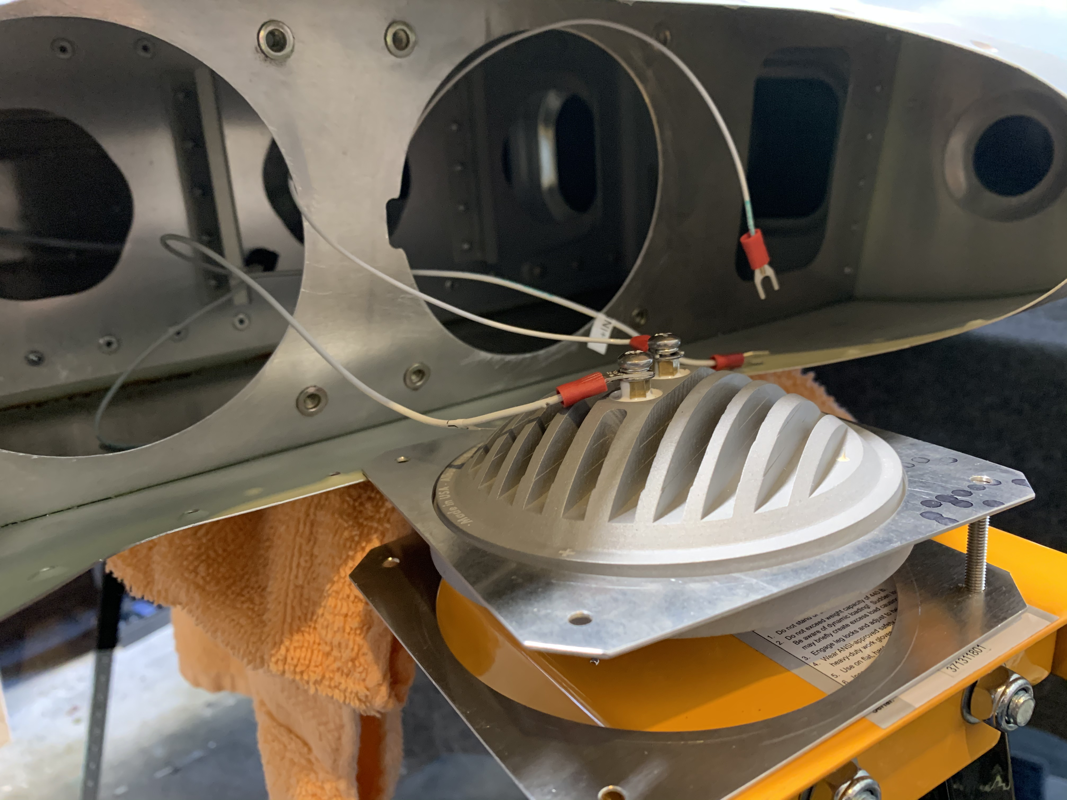
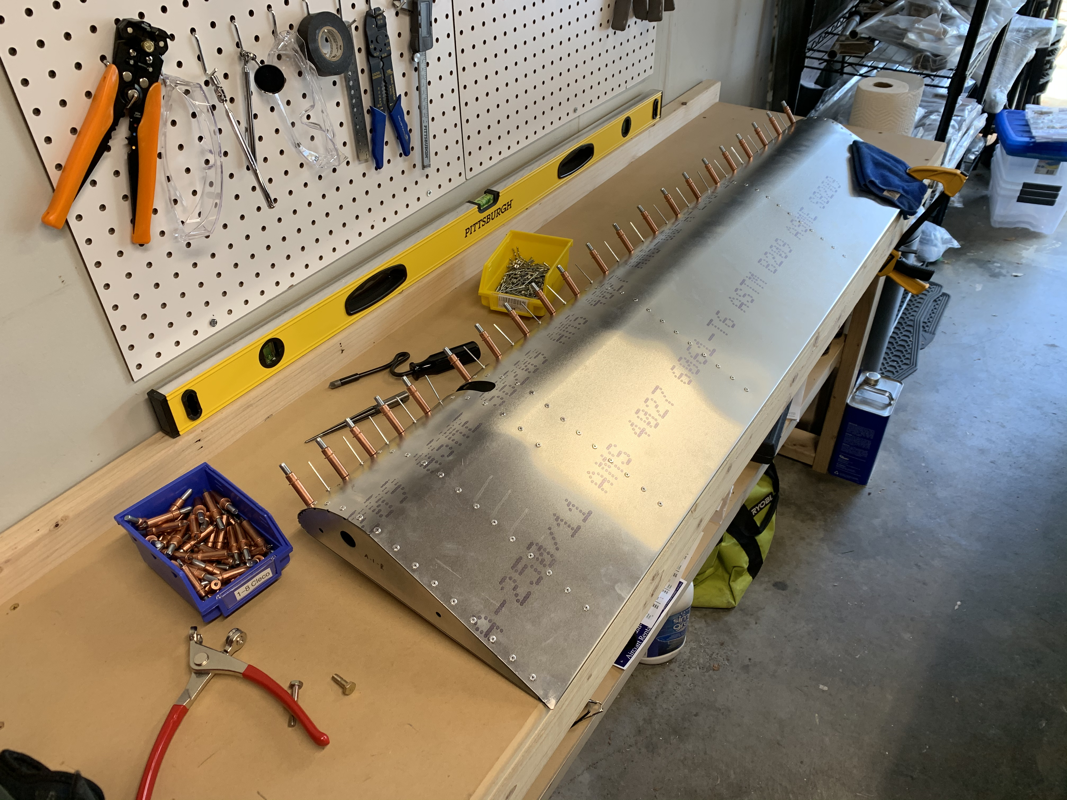
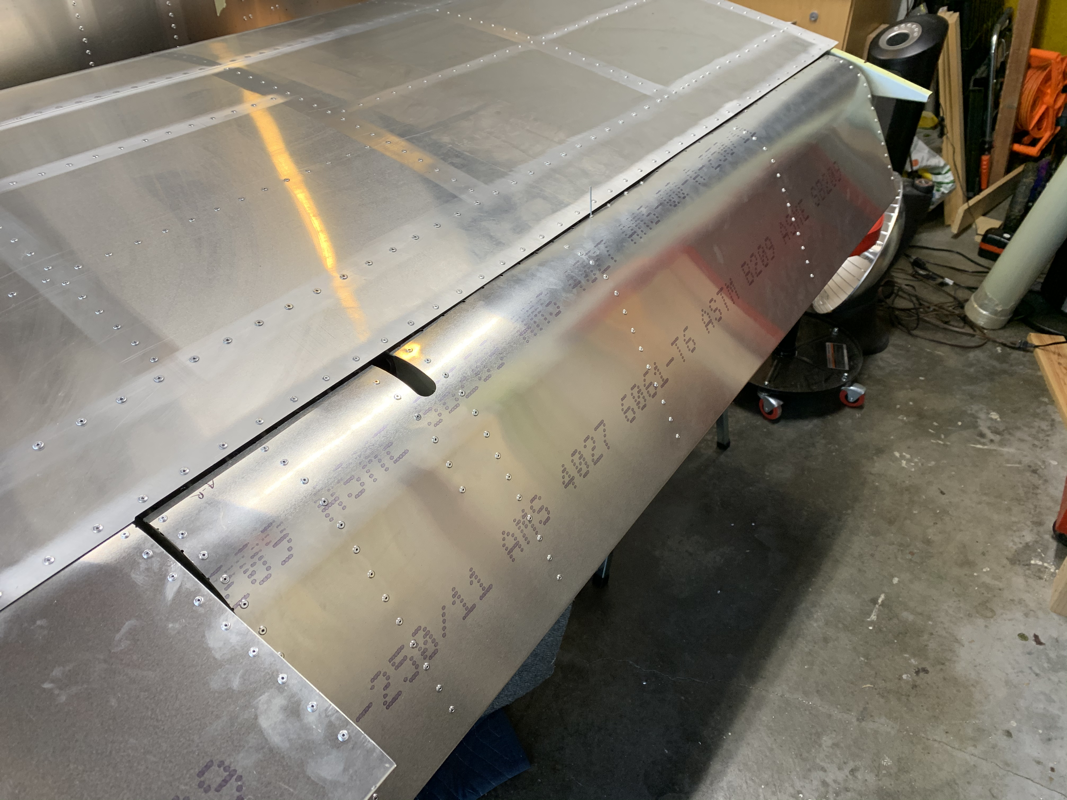
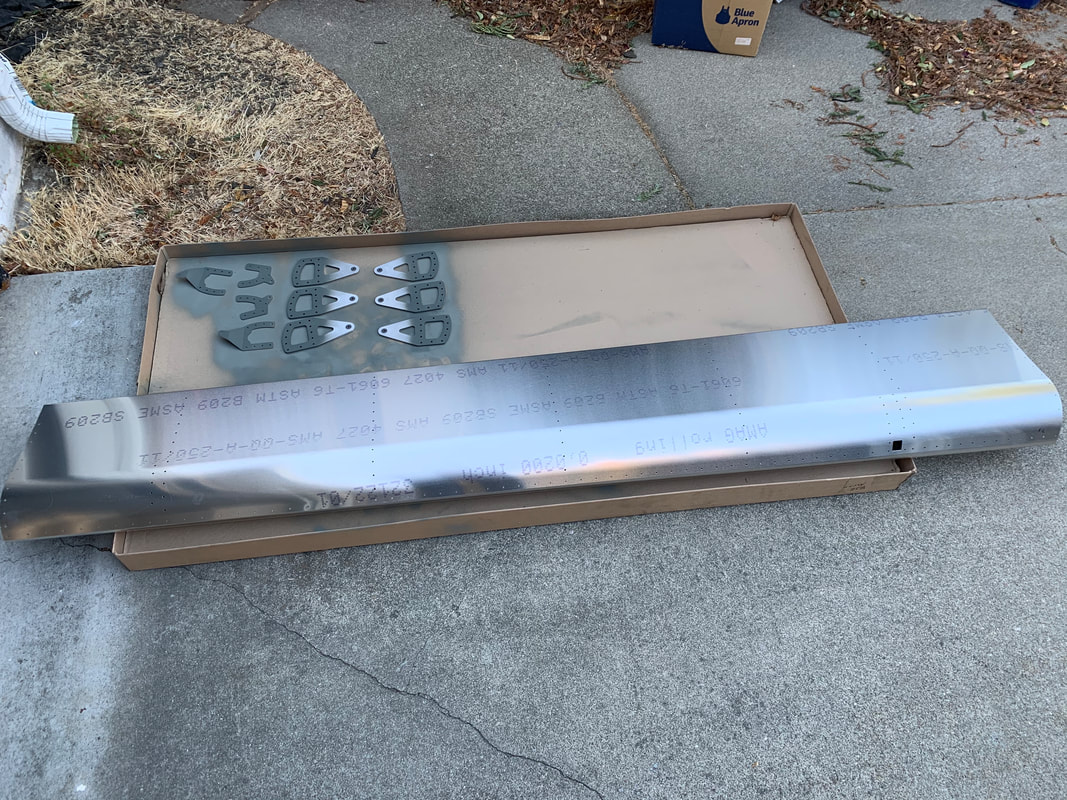
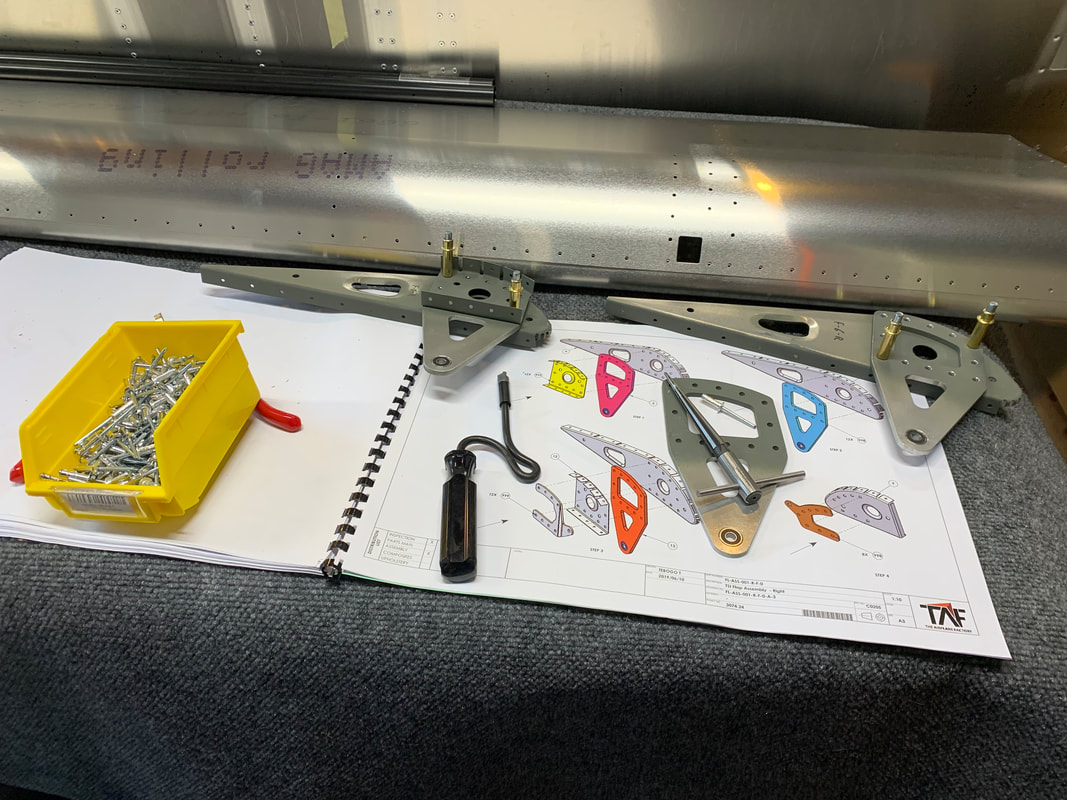
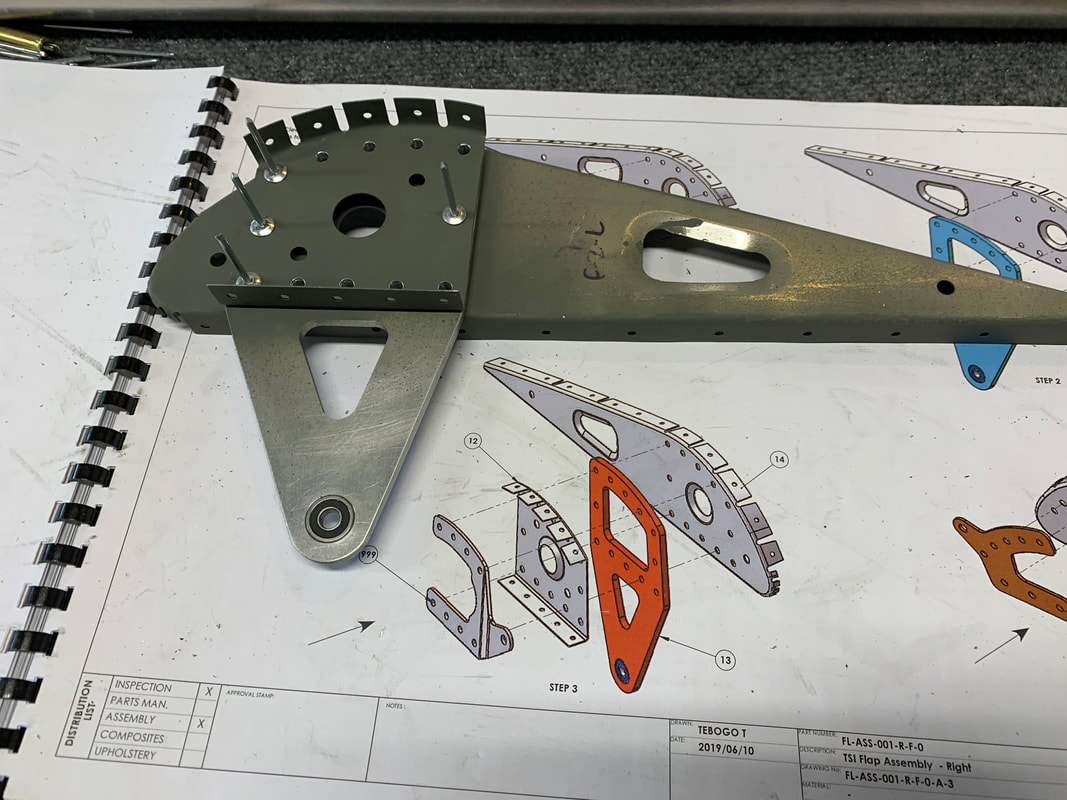
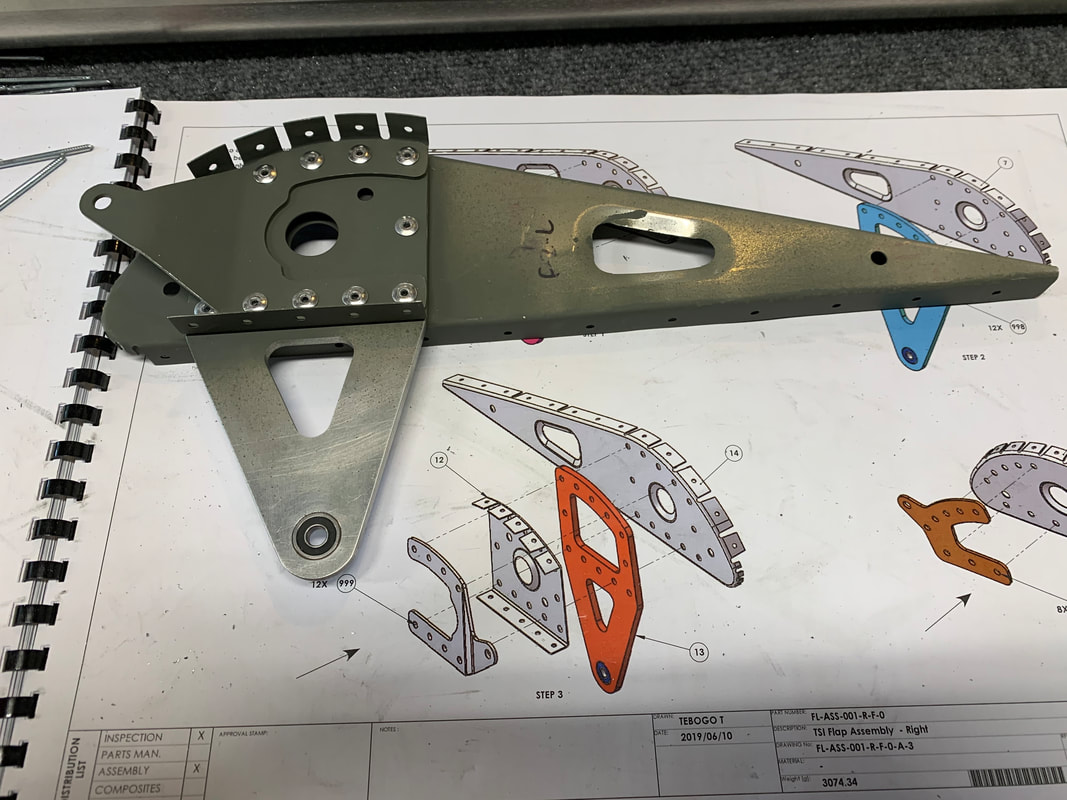
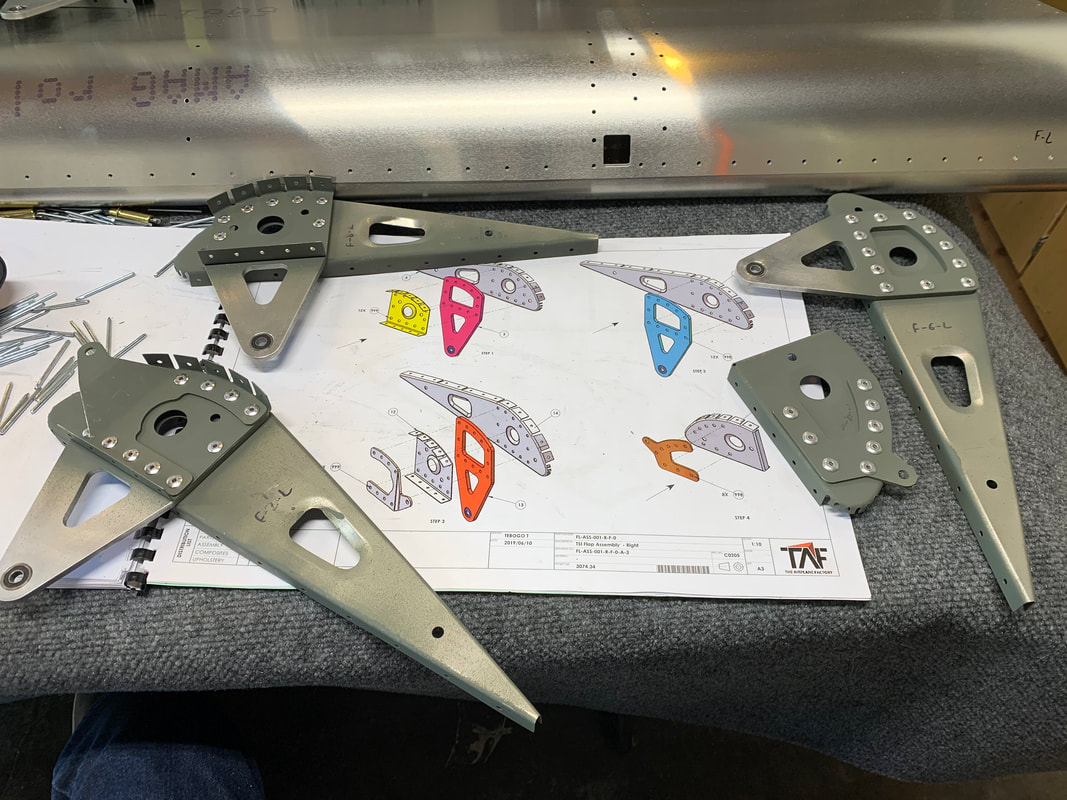
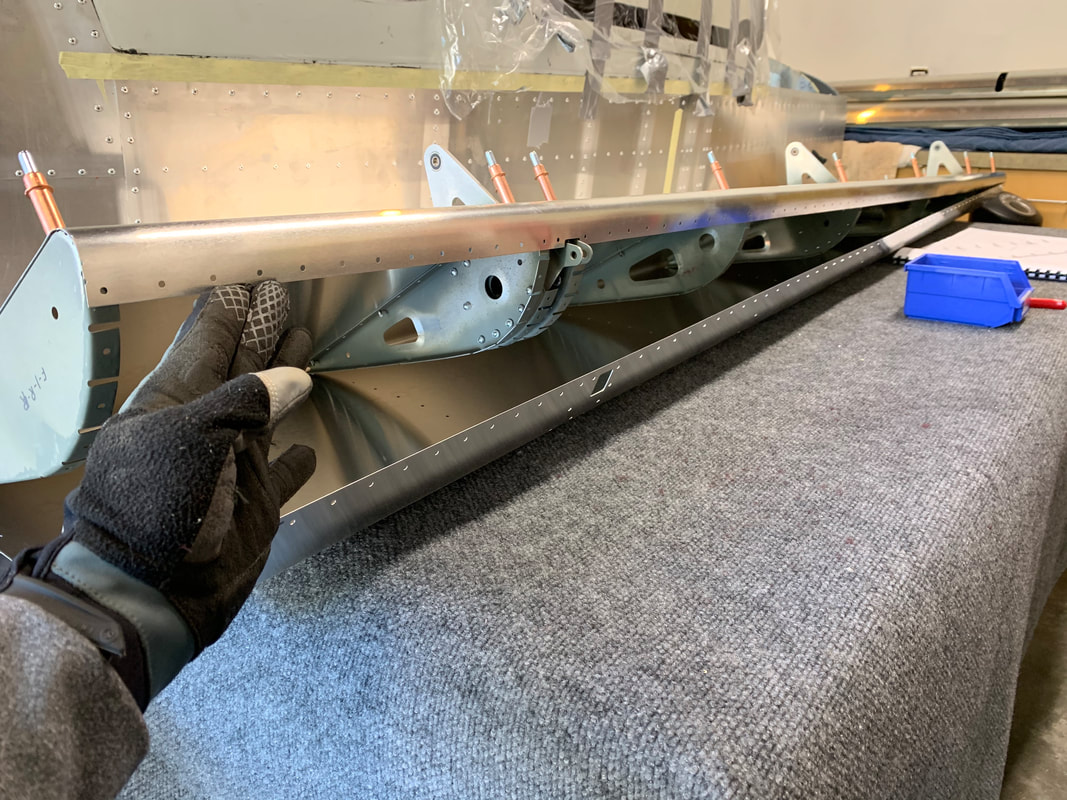
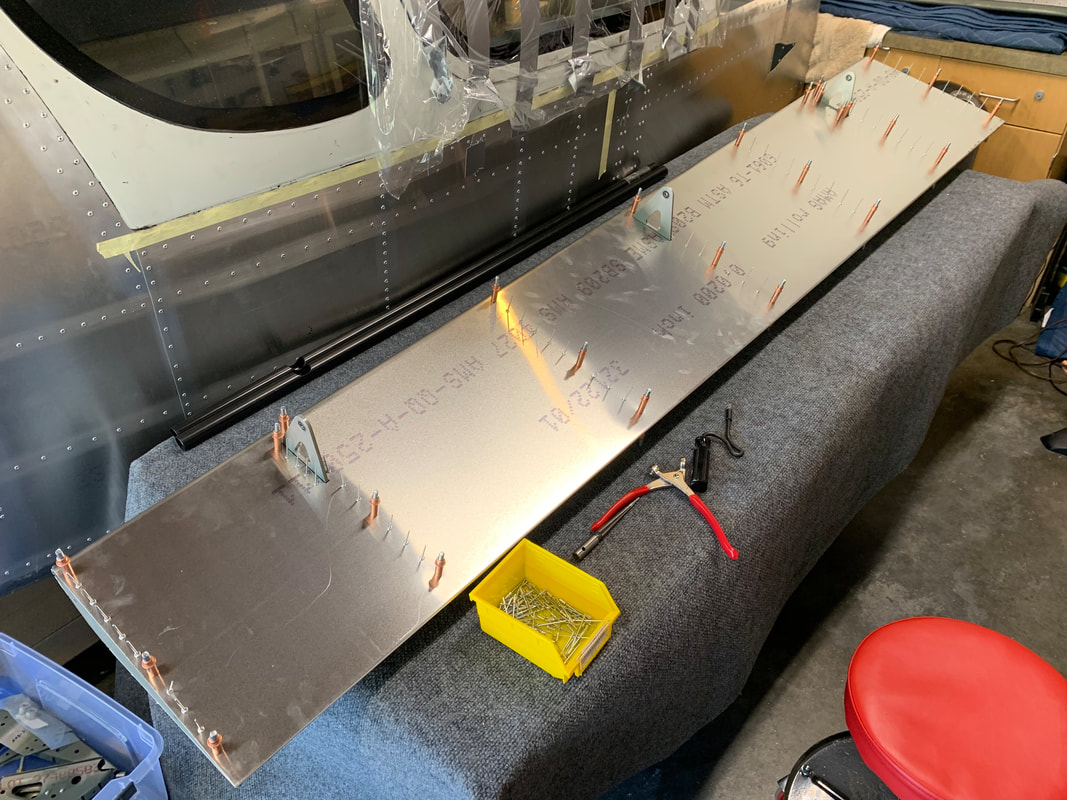
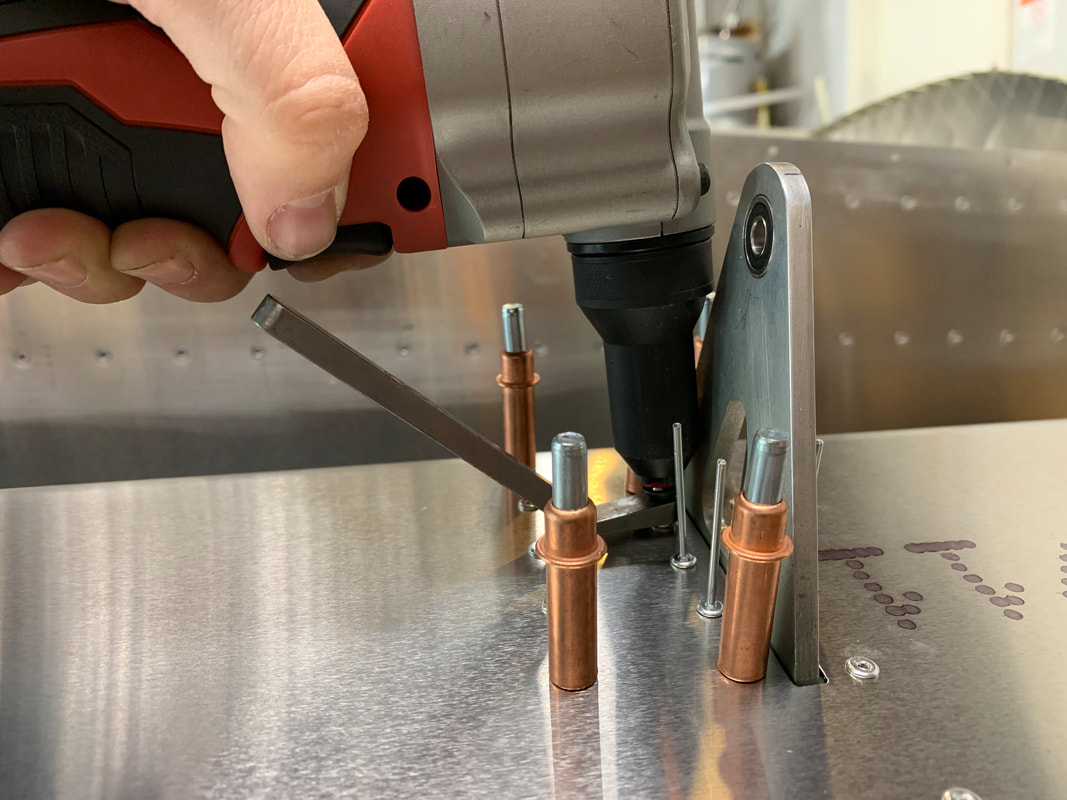
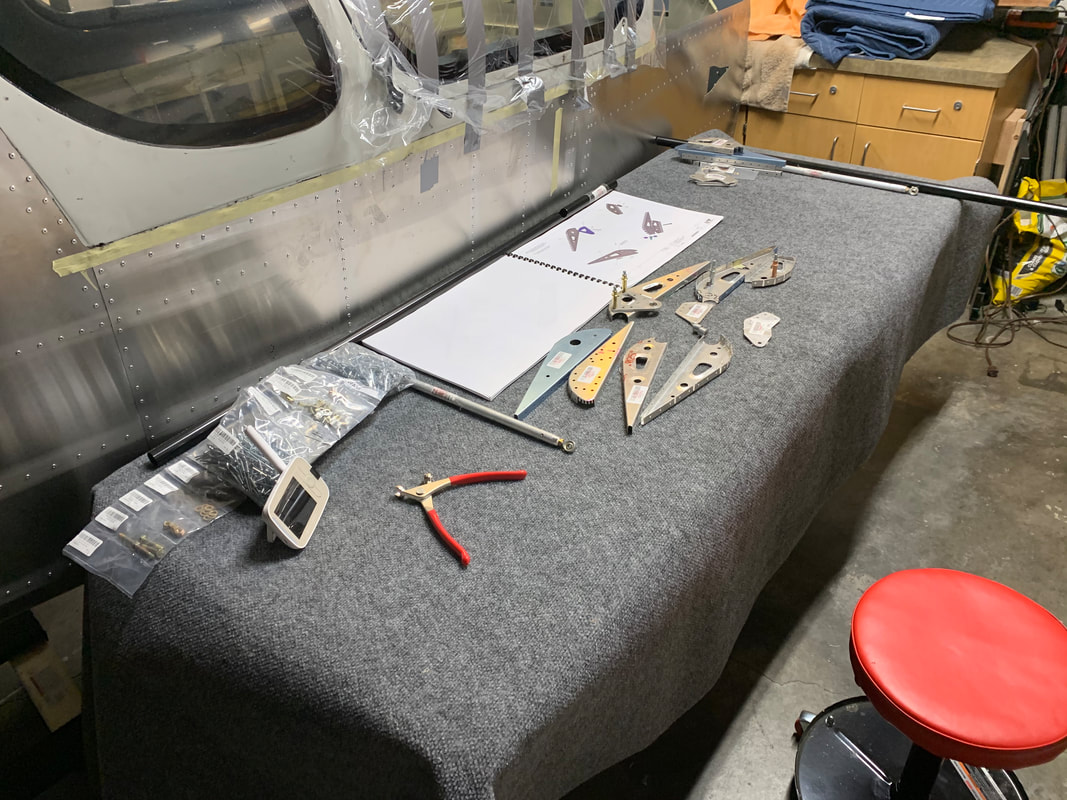
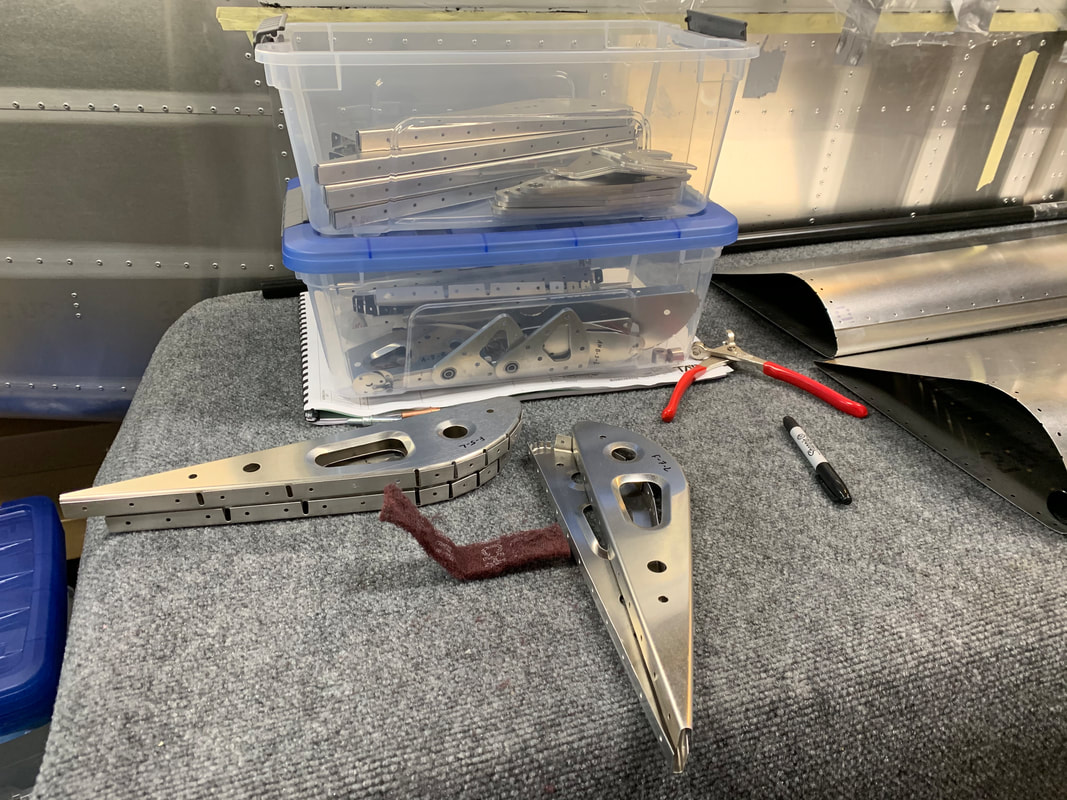
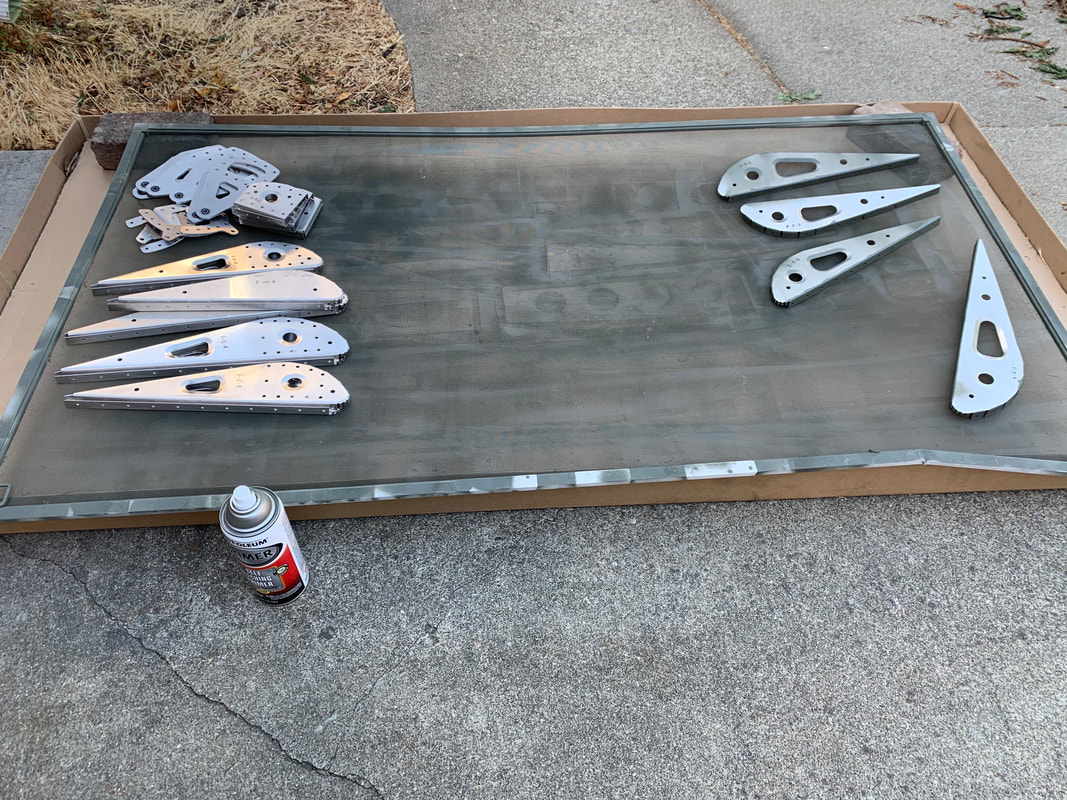
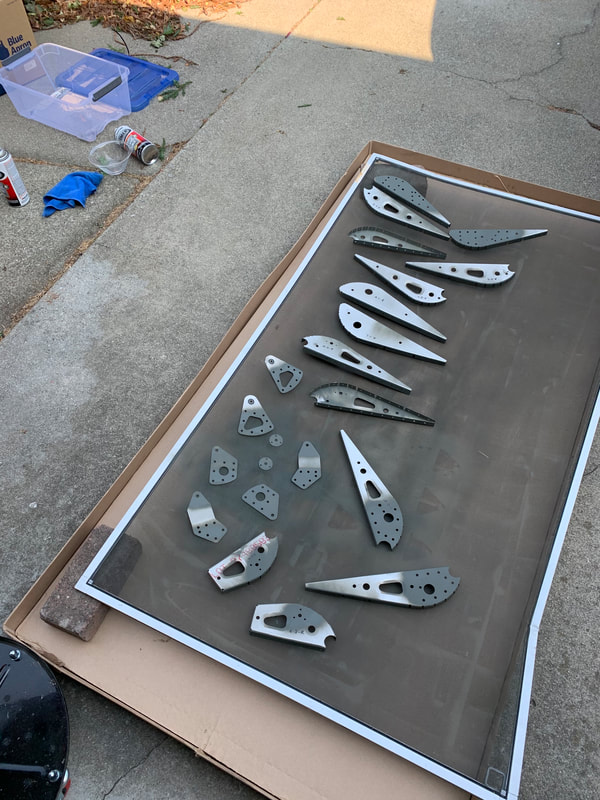
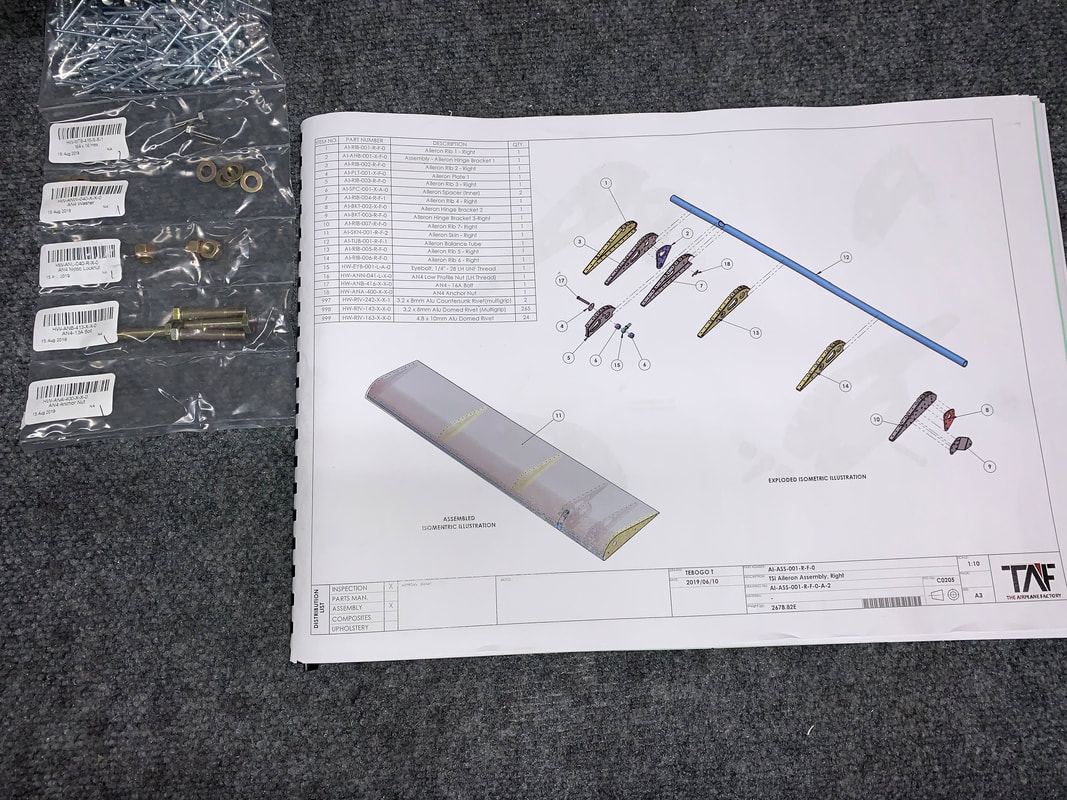
The factory initially included 2 right flaps in my kit due to some mislabeling. They were able to ship me that along with some other small parts that were missing. Kinda fun to rivet something again, oddly enough. The flap went together within an hour since I already had the ribs prepared and I knew what I was doing. Once that was done I fit it to the wing along with the aileron I had already done, except for the riveting leading edge. I made sure they alignment was good and riveted the leading edge of the flap while on the wing. From there, I checked alignment with the aileron and the wing tip. It required some maneuvering. I put in one rivet in the center of the leading edge of the aileron and checked again. Made another adjustment, added a rivet, made another adjustment.. getting harder now. And placed the third rivet in. Now it was pretty much secure and aligned! Went ahead and did the rest and it turned out great. From there I connected the pushrods to the aileron and flaps, bolted, applied blue loctite and torqued. On to other things! Next up on the right wing is to place the landing lights. In the QuickBuild, they supplied 3 wires for the landing light. I assumed that this meant there should be an inner and outer landing light positive line and a shared negative line. I first had to determine which lines led to ones on the other end, pretty easy to do with a battery and voltage meter. Once the lines were identified I used my label maker to print out labels for each. I then soldered the negative line to 2 other wires and covered with heat shrink. Placing the lights took some time as the angle isn’t that easy for holding everything in place and fitting the screws. It all eventually fit after some finagling. So I riveted the leading edge while the Aileron was braced and flat on the table. However, when I put it on the wing, I was disappointed to see there was about a 3-4mm deflection. I went ahead and drilled out the rivets and reached out to Jean if he had any tips. Of course he did! He suggested doing one rivet at a time, starting in the center of the Aileron. With 1 rivet done in the center, I was still able to adjust for any twisting, but it was a bit more difficult to move. I then reamed the holes to the left and right of the center rivet and riveted those holes. I checked alignment again and it was still spot on. I continued the process of reaming out and riveting from the center and the Aileron stayed aligned! Once that was done, I fit it to the wing and ran into the issue of the outer rivets rubbing against the wing bracket. Jean said that sometimes the wing brackets are a bit under bent. The real fix is to bend the wing bracket inward. However, after a few hard pushes, there wasn't anyway I was going to be able to budge that thing. So, I settled on adding 2 regular sized washers in between the aileron and wing bracket to allow for adequate spacing. Now it moves quite well! I measured the aileron movement and it looks like I have approximately 26 degrees deflection in either direction. With the help of the wife, I was able to move the wing to the table. The garage is starting to feel like a game of Tetris as the space is a bit limited. Not the biggest deal, but I am sure looking forward to moving to a bigger house next year in Colorado. The flaps and ailerons went on easily. I checked the alignment and had no major issues since I kept the leading edge unriveted. Once I felt the alignment was good, I placed the rivets in and started popping them from the center of the flap/aileron outward to avoid any inadvertent twisting. The Ailerons did have a slight twist toward the tip of the wing, so I had to de-rivet the leading edge. Jean suggested to line up the Aileron on the wing, then rivet each hole one by one and check alignment on the way. I also placed the pushrods in the wing and secured them with the bolts. I then tested the maneuverability of the components and the flaps had no issue. The Aileron, however, seemed to catch at the end of the wingtip where the brackets rub against the rivets. Looking at either bending the brackets or adding spacers. I then test fit the wing tip and discovered the form factor was narrower than the wing’s thickness. Not knowing any good tricks for expanding the fiberglass tip to the form and allow for match drilling/riveting, I reached out to Jean and he recommended a great idea. Grab a styrofoam block and press it against the end of the wing to get the outline. Then, cut out the foam and glue it in place in the fiberglass wing tip to get the right form. Ill be able to drill and rivet once the fiberglass tip is lined up with the metal. With the great advice from Phillip on locating the AN4-16A bolts provided in the finishing kit, I was able to finish up the Ailerons. I am quite surprised how much hardware there is in the finishing kit, really. When in doubt, look in there! That’s where a whole host of nuts and bolts live.. My father-in-law was visiting this weekend and he was interested in the process. We split up the tasks of clecoing, reaming, putting in the rivets and popping the rivets. It was quite nice to have an extra set of hands and made quick work of the Ailerons! A couple things to note, the bar that goes inside the leading edge of the Aileron was straight, however the rivet holes that hold it in place to the skin were not. I tried clecoing those holes and the whole skin had a pretty bad bend. Instead of using those holes, I'll just drill out new ones to make sure it is held in place with the Aileron perfectly aligned. Also, the brackets at the edge of the Aileron are only depicted on the first page, but not in the step by step page. Other than that, it went pretty smoothly! Since I was blocked on the Ailerons from the missing bolt, I decided to turn the page to the next item - the flaps. As I laid everything out, I finally had all the parts for the ribs, bolts, etc. However, it looks like I received two of the right side flap skins. Doh! I put in an order for the left side flap skin with the factory. They are estimating a shipment to come in at the end of the month. At least I can press forward with the left side and get the ribs all done for both. I cleaned, scuffed and primed the ribs and skin and started assembling the parts. Most of the flap ribs were pretty straight forward. However, there was one rib that had a 2 step process - there is an overlapping design that would make the rivet holes inaccessible if done all in one step. Once I figured that out, things were quite smooth. I fitted the ribs in the skins, cleco'd, temporarily fitted to the wing and checked alignment. Everything seemed to be in order, so I started riveting the skins to the ribs, leaving the leading edge unriveted per instructions for the final alignment check. There was an issue with riveting the flap skin, it seems one of the brackets was blocking the rivet. I had to shorten the rivet to get it in. As soon as I get the other flap skin and the missing bolts for the Ailerons, I'll fit everything on the wing and do the final alignment check with all the parts. Back to work! Feels good to get my hands dirty again. After working through the overwhelming feeling of having suddenly so much to do, I started to focus in on the wing components first, as that is the recommended order. I unpacked and inventoried the wing components crate and checked off everything on the packing inventory list as I found them. I decided I will be following the same method I used for the Empennage kit for cleaning, scuffing and priming. I know this does take some additional time but since these are exterior, and pretty critical parts, I figure it's worth an extra hour or so of my time. I finally got to the point where I was assembling the Aileron ribs and tried to find the AN4-16A bolt that connects the Aileron to the push rod in the wing. Unfortunately, it was not included in the inventory packing list, so it wasn't sent - even though it is referenced in the instructions. I tried to use the AN4-11A bolt provided in the inventory, but as you can see in the last photo, it isn't long enough to get the threads past the spacers and into the lock nut. I put an order into the TAF ordering system and Perry said they'll send the bolts with the Service Bulletin 14 Rivet replacements next week. Until then, I'll start on the flaps. UPDATE 11/2/2019 - Since I posted this in the Sling Builders group on Facebook, Phillip was kind enough to give me a pro tip on where to find the AN4-16A bolts - in the finishing kit! The one box I haven't inventoried yet. Thanks Phillip! You can find his blog here. Love having the active builder's community out there! |
Archives
September 2021
Categories
All
|


 RSS Feed
