|
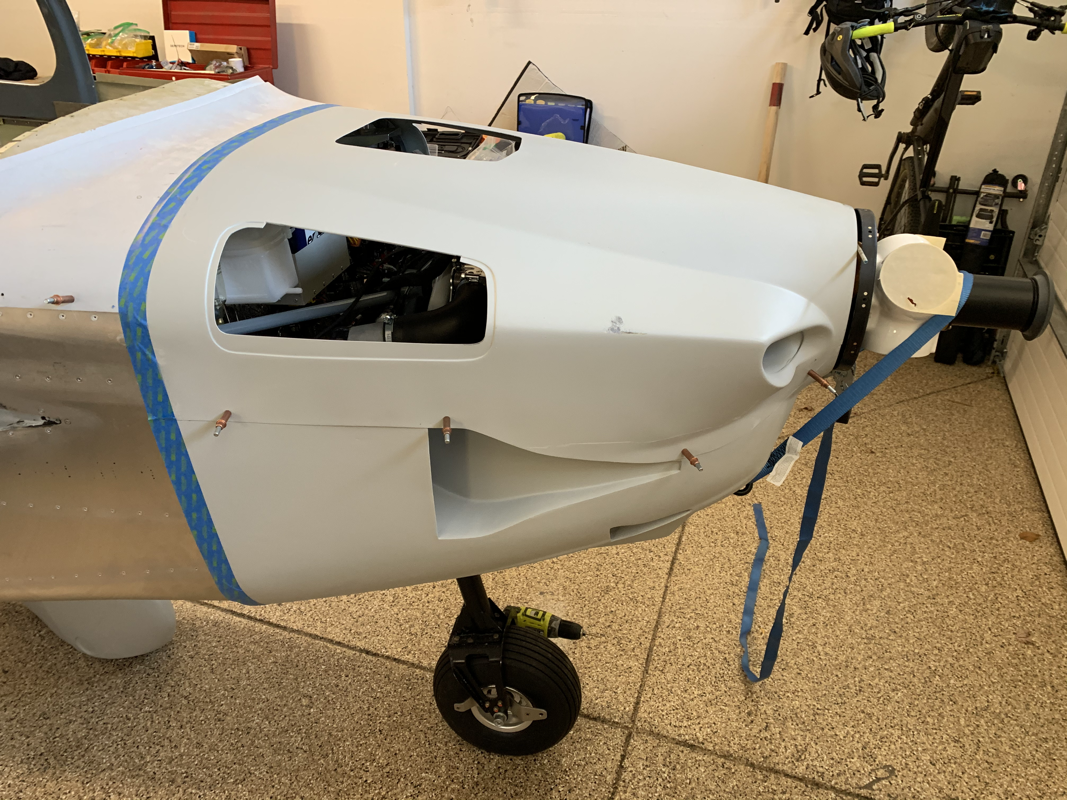
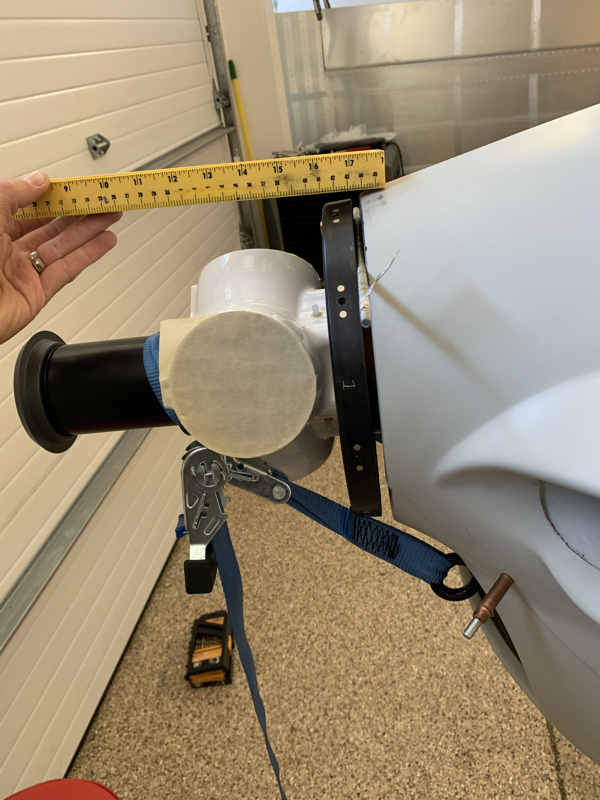
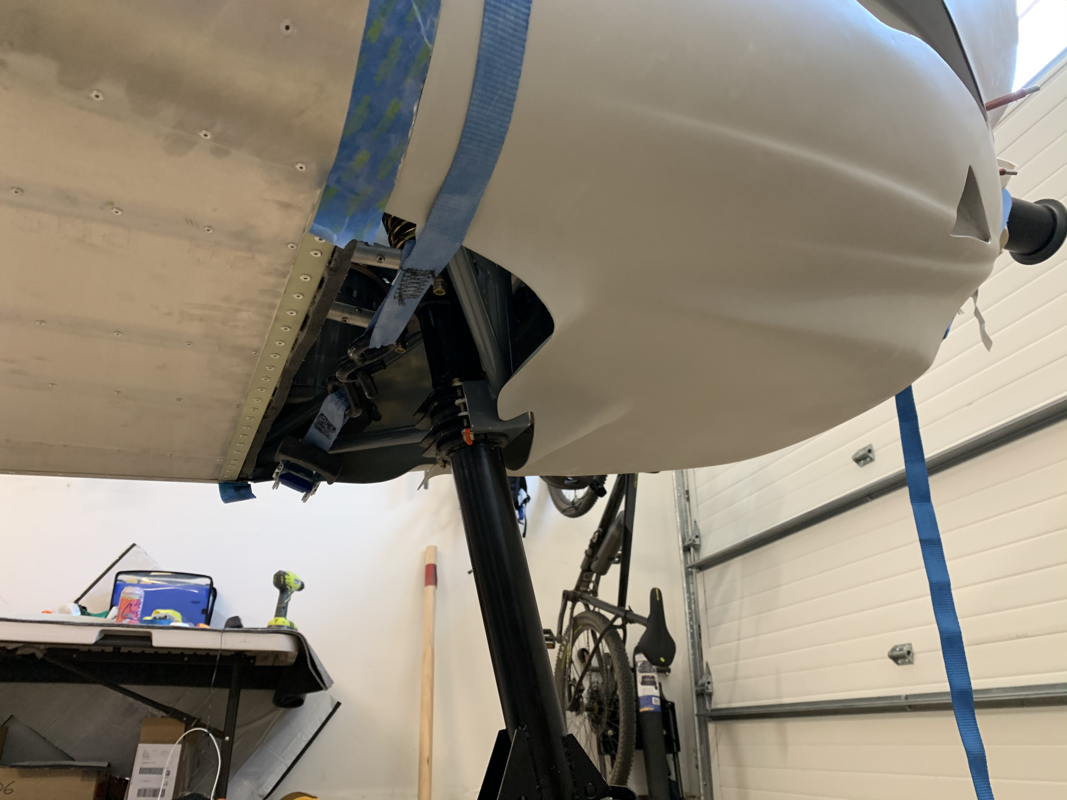
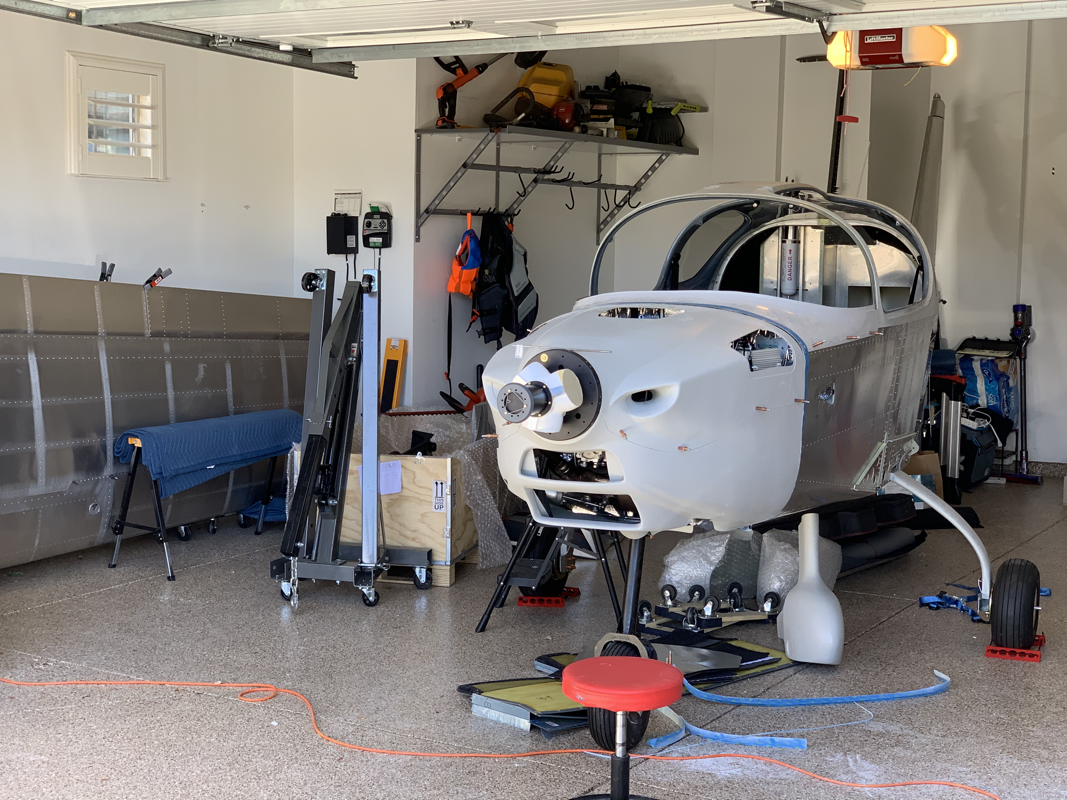
Happy New Year! For the second half of the month I’ve been traveling and spending time with the family, so not much progress on the plane recently. I did find a couple days before the new year to start working on the landing gear. First I started putting together the nose gear, thinking this would be a quick install. It turned into anything but quick. The first issue I ran into was the alignment of the long bolts that hold in the bushings. I had to run a drill through the brackets in place, but without the nose gear in place to be able to align the drill. When I put the nose gear in place it was quite a tight fit. It took some light tapping and fiddling, but eventually got them in place. However, now it is quite hard to turn the nose gear.. I couldn’t imagine a smooth flying experience with it requiring that much pressure to turn. I tried applying some grease to the bushings to help, but that didn’t do much. I have seen other builder’s nose gear and it seems they have sanded off the powder coating to get a better fit. Looks like I’ll have to get the belt sander out with some fine grit to shave off a few micrometers. Update 1/3/20: I spoke with Jean and he recommended to identify which bushing is causing the binding and shaving the vesconite bushing itself instead of the nose gear. The welds that hold the brackets settle and cause a bit of misalignment, so the easiest course of action is to just loosen the bushing a bit to relieve the binding issues. Will provide an update once this is done. The next item was the nose gear tire. It was going along pretty well until I realized I needed to secure a washer and nut on the tire valve stem. I tried this with the tube in the tire first, but couldn’t get enough leverage to push the valve stem far enough into the rim for it to catch. I took the tube out and pressed the valve stem from behind, resting on the rubber mallet. That gave me enough leverage for it to finally catch! From there, securing the bolts and ensuring the tire wasn’t pinched between the rims was a breeze. Now on to the Main Landing Gear! I repeated the same process for the tires and applied the grease to the bearings. I thought securing the axle to the mains would be quick.. it’s only 8 bolts... Well, it seems the predrilled holes from the factory had some alignment issues and I couldn’t get all 4 bolts through. It took me a few hours of light drilling, tapping, removing everything and trying again for it to finally fit. I didn’t want any ‘play’ in the bolts since this is an obvious area of large forces and if there was any movement, it could easily snap a bolt. I finally got one side down and the other side was easier since I knew what I was doing. One thing to note is there is an axle edge spacer that goes between the axle and the main gear to ensure a snug fit. It’s not mentioned in the instructions and I only noticed this after I finally got the bolts to fit, there was a space between the axle and the mains. I put the wedge in and it was a perfect fit! I does look like the supplied bolts (AN4-26a) are a bit too long. I could add 4 washers to the bolt, but that doesn’t seem practical and the bolts will likely hit the wheel spat anyway. The instructions call for AN4-22a, so I’ll have to replace them when I put in my next order with aircraft spruce..
Evan Brunye
1/1/2020 11:31:57 am
I believe your main gear wedge piece is upside down. Check out service bulletin 15 in the link below, I think the thick part of the wedge is supposed to be oriented toward the top, check out page 4. It looks like yours is oriented toward the bottom, but it might just be the angle of the picture. Just wanted to give the heads up, happy new year!
Evan Brunye
1/1/2020 11:39:17 am
Forgot to mention, I couldn't even get as far as you did with the powder coating still on the nose gear shaft! I had to sand it down, I just used 400 grit sand paper and worked up to 800. It's much easier to move but still requires some force, which I imagine is good to have no slop. Remember to sand some extra below the bushings because it'll need some suspension travel too! Also, my plastic bushings weren't fitting with the clamp piece/bolt holes either, and if you look at them they are not cut evenly. They had to be matched with each other, some are slightly larger and some slightly smaller, so if you do large with large the clamps don't sit far enough down to match the holes, if that makes sense.
Aaron Stampa
1/3/2020 08:09:52 am
So I had a chat with Jean yesterday. He said instead of shaving down the rod, I should figure out which bushing is causing the binding and shave down the vesconite bushing itself. The main cause of the binding is caused by a misalignment of the frame that holds the bushings. The welds are done in a jig and there is some settling that happens afterwards. Will give an update once I give that a shot!
Aaron Stampa
1/1/2020 12:14:27 pm
You’re right! I didn’t see SB#15.. that’s the first thing I’ve seen on the placement of the wedge. Oddly, it seems that it fits better the way I have it with the thick part down.. maybe with the load of the airplane it would make more sense. Thanks for the tip!
Evan Brunye
1/2/2020 12:35:43 pm
I think you're right with the airplane loaded, mine sits with the edge of the wheel on the ground right now. It looks like it makes the brake disc parallel to the gear though, and since they also added the heat shield piece I'm pretty sure it's just to keep the heat away from the composite gear legs. Comments are closed.
|
Archives
September 2021
Categories
All
|


 RSS Feed
