|
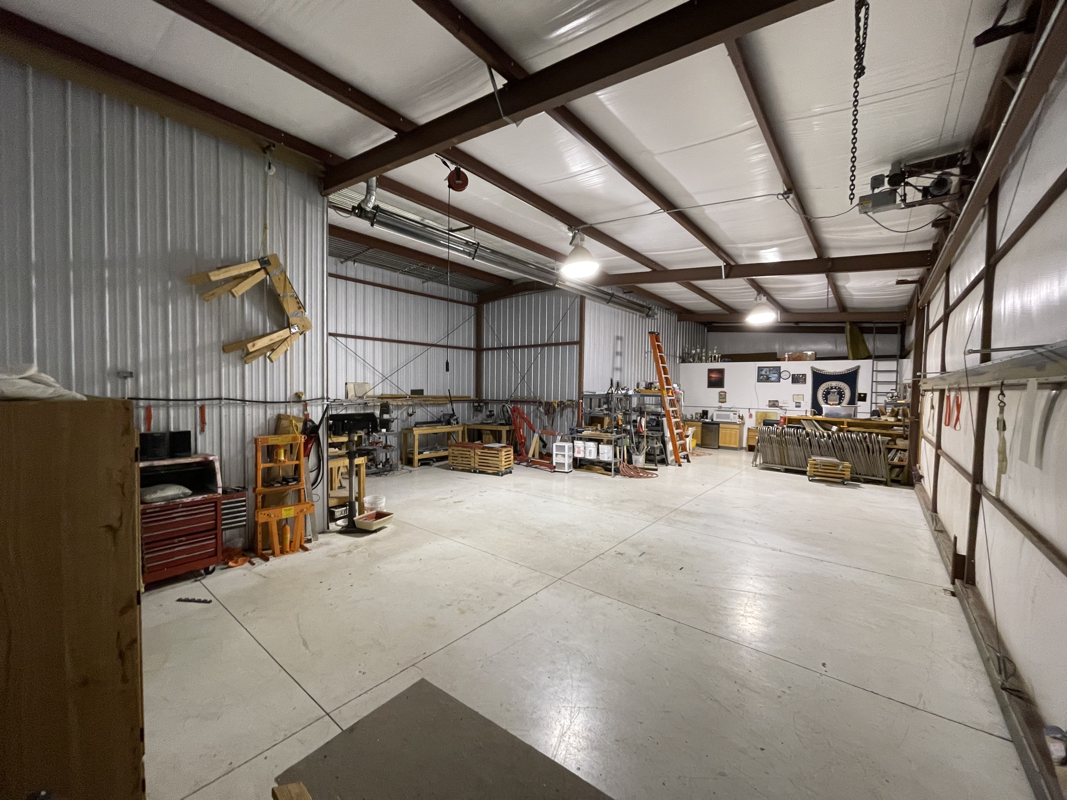
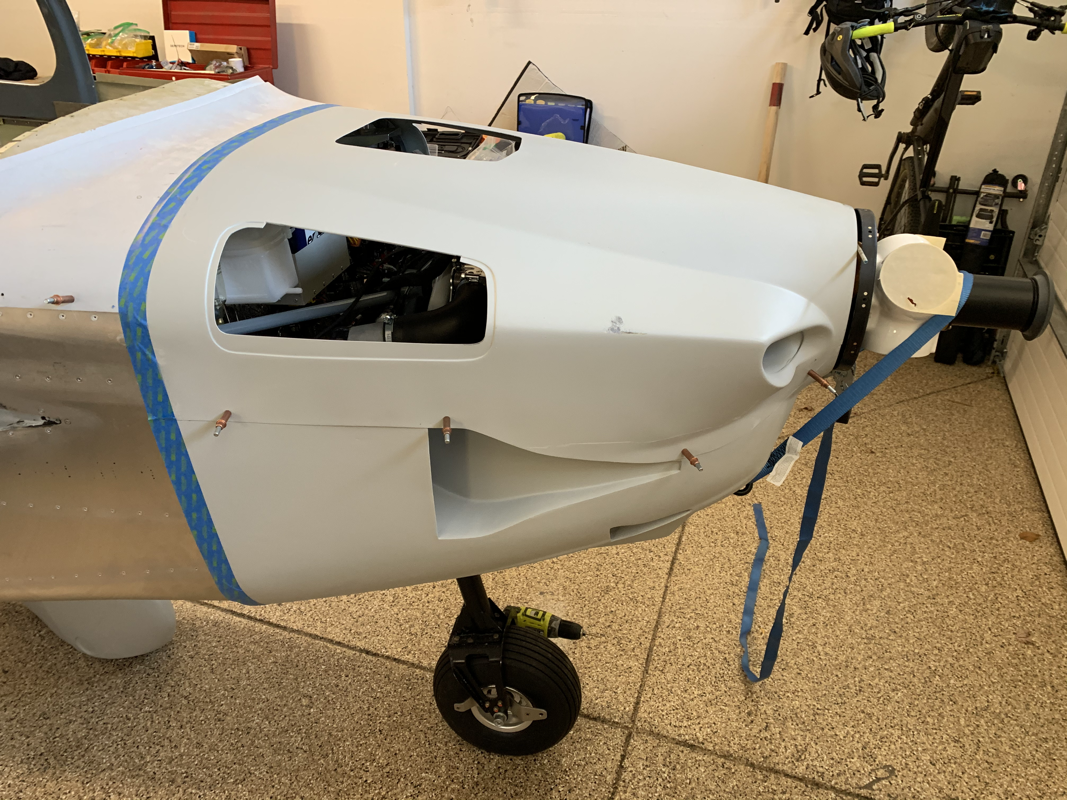
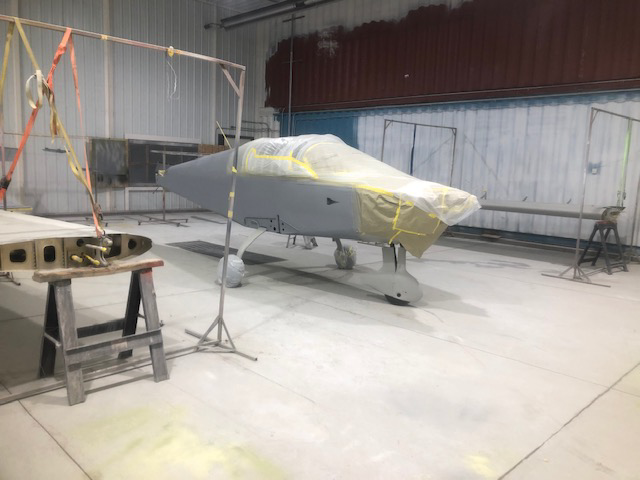
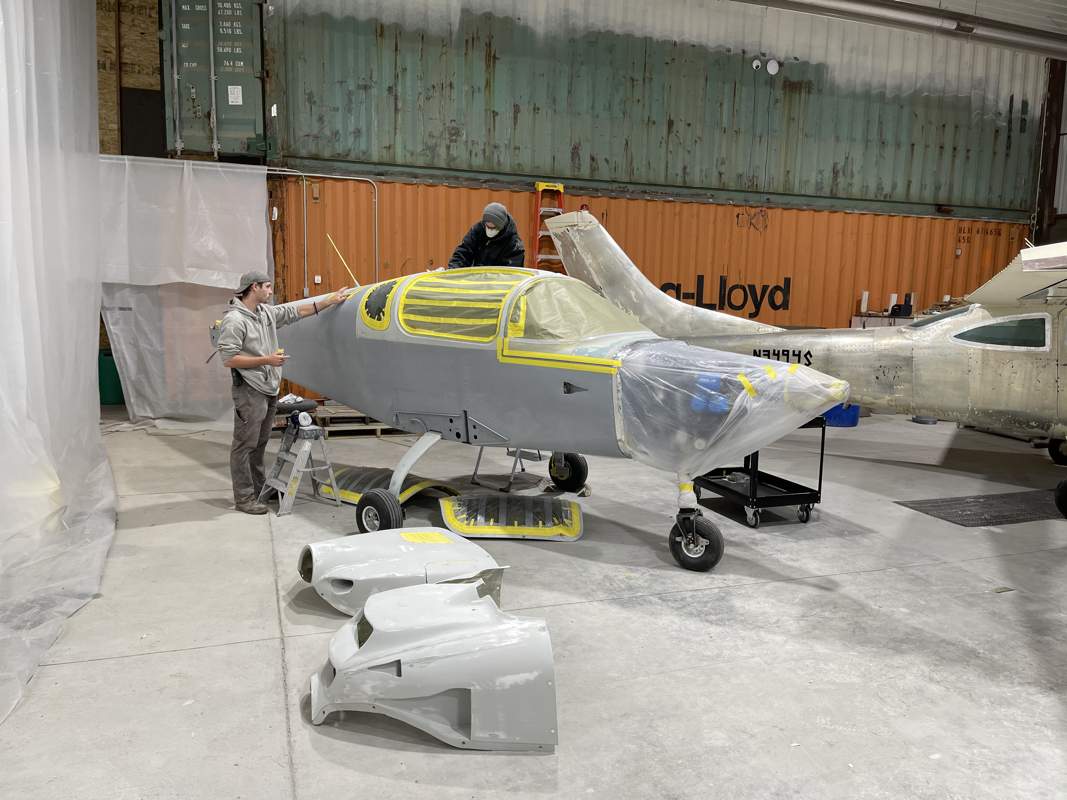
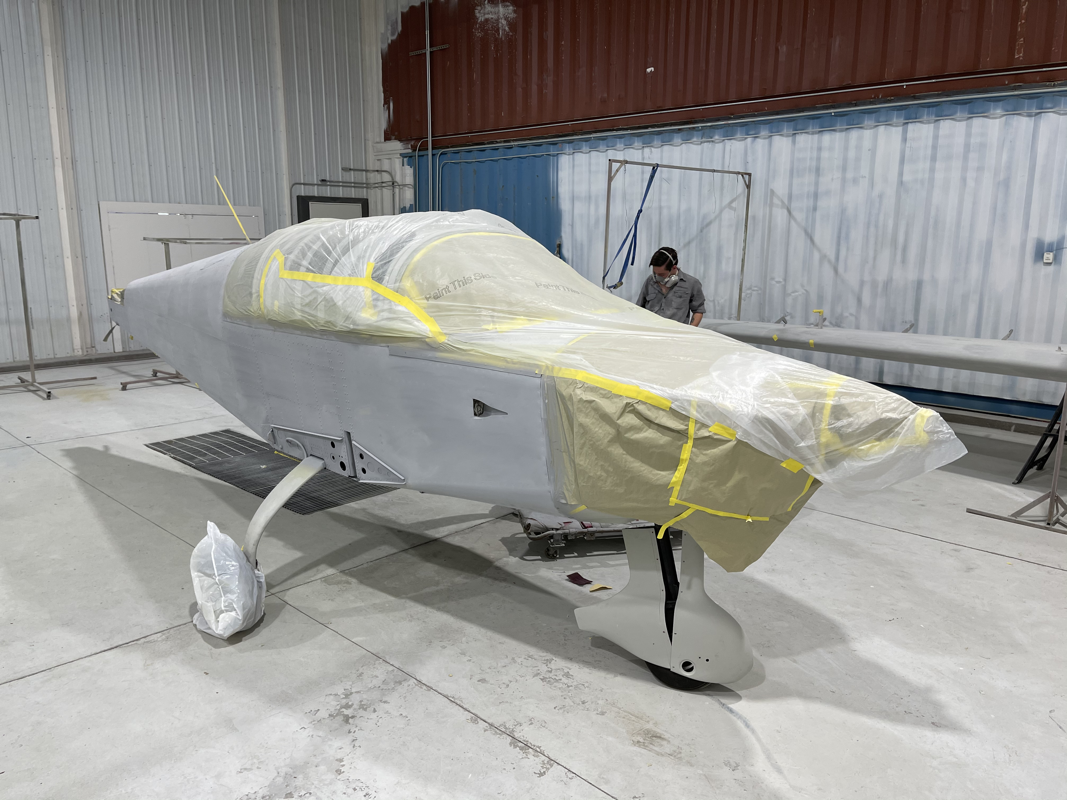
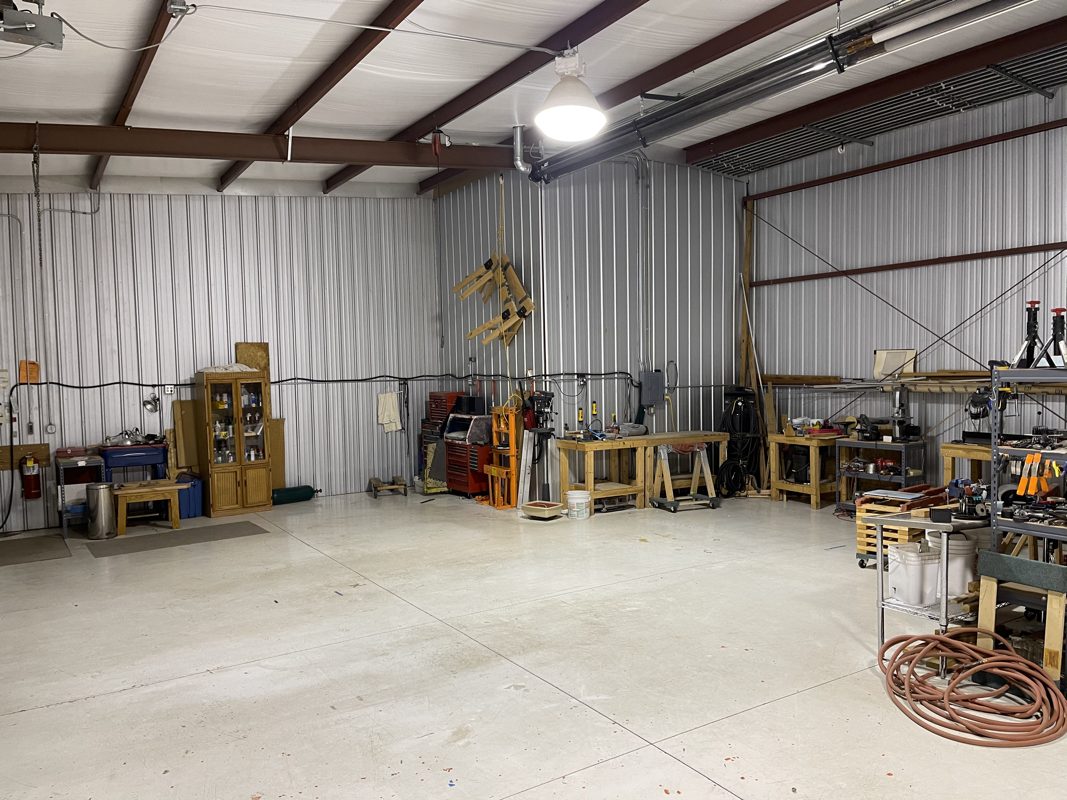
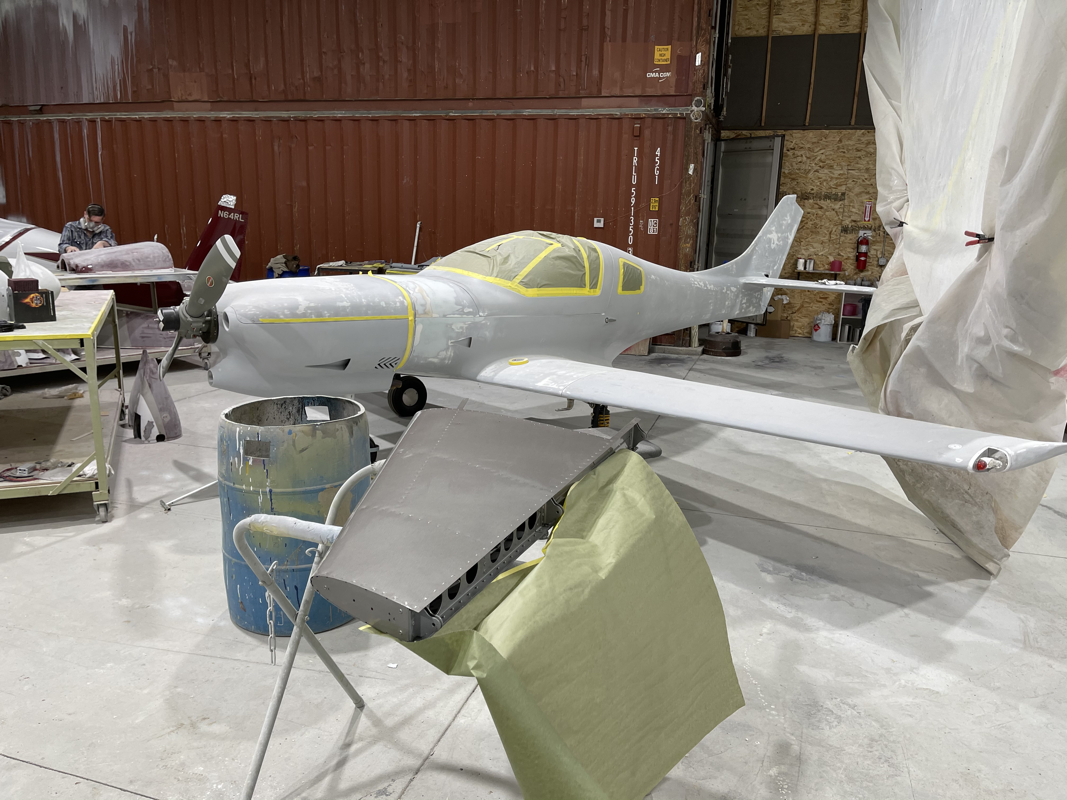
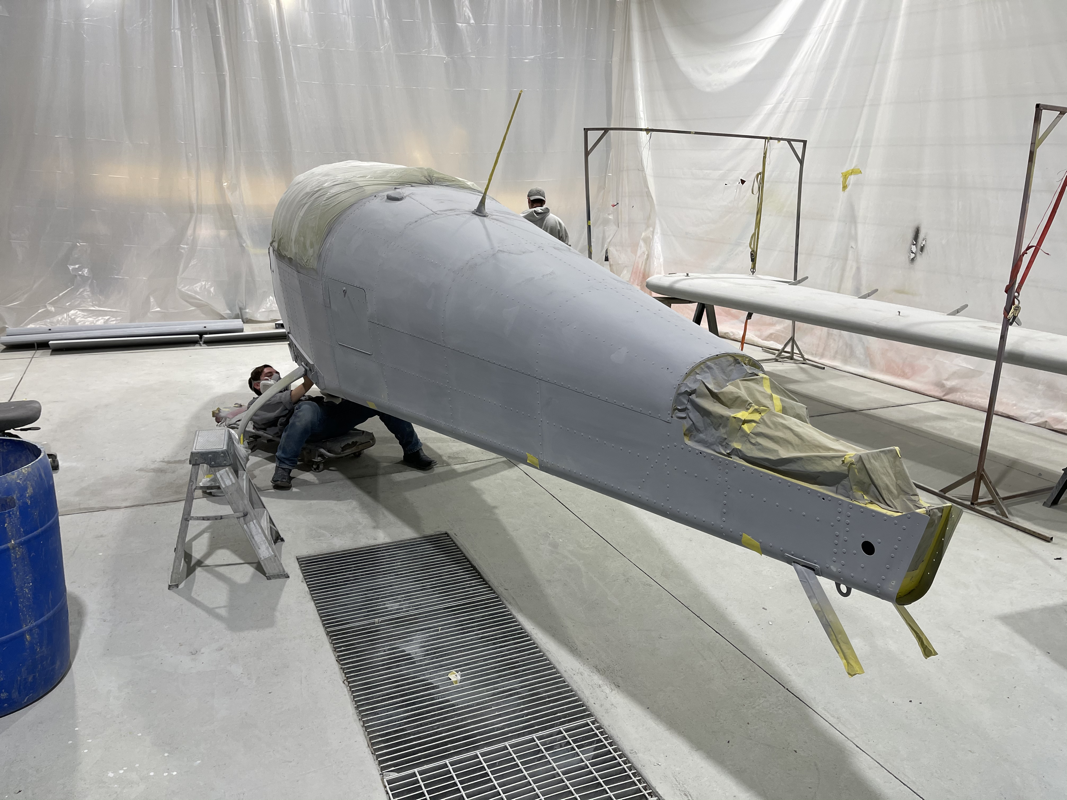
It's been a while since I was able to work on the plane with summer vacation, family visiting etc... So I was happy to get my hands dirty again. I drilled a hole for the outside air temperature sensor on the pilot side air scoop. It's good to get this done before you mess with trying to mount the avionics panel, as things get pretty tight. The modular panel rack system that MidWest Panel Builders provided requires that the top fiberglass skin be on to provide adequate support of the 'panel' rib. So I went ahead and used my nifty hole finder tool. Just plug it in the rivet hole and place the drill on the other end and viola! I couldn't imagine trying to get those holes aligned blindly. I'd highly recommend them! The only remaining metal pieces I have are the cowling strips that connect the fuselage and the cowling. It is a bit difficult to figure out exactly how they are placed based on the instructions, so hoping the close up pictures help others. It took me reaching out to a fellow builder to stop scratching my head! You take one skinny strip and one larger strip and line them up. The side with an angle will be at the bottom of the fuselage, the flat end on top. You then have to dimple the first 18 holes in each for the countersunk rivets on the fuselage. Make sure to fit the pieces to the frame before and label which side is which first - they only fit one way. You don't want to end up with a strip with dimples the wrong direction (almost made that mistake). From there, you'll fit the skinny strip between the outer fuselage skin and the firewall flanges. I used a rubber mallet to assist getting that in there. Then you can fit the larger strip on the inside of the firewall flanges. It helps to cleco from the bottom up as you go to make sure the holes align. Now that those items are done, I can finally start mounting my avionics panel! Comments are closed.
|
Archives
September 2021
Categories
All
|


 RSS Feed
